The Colours of Spring Inquiry

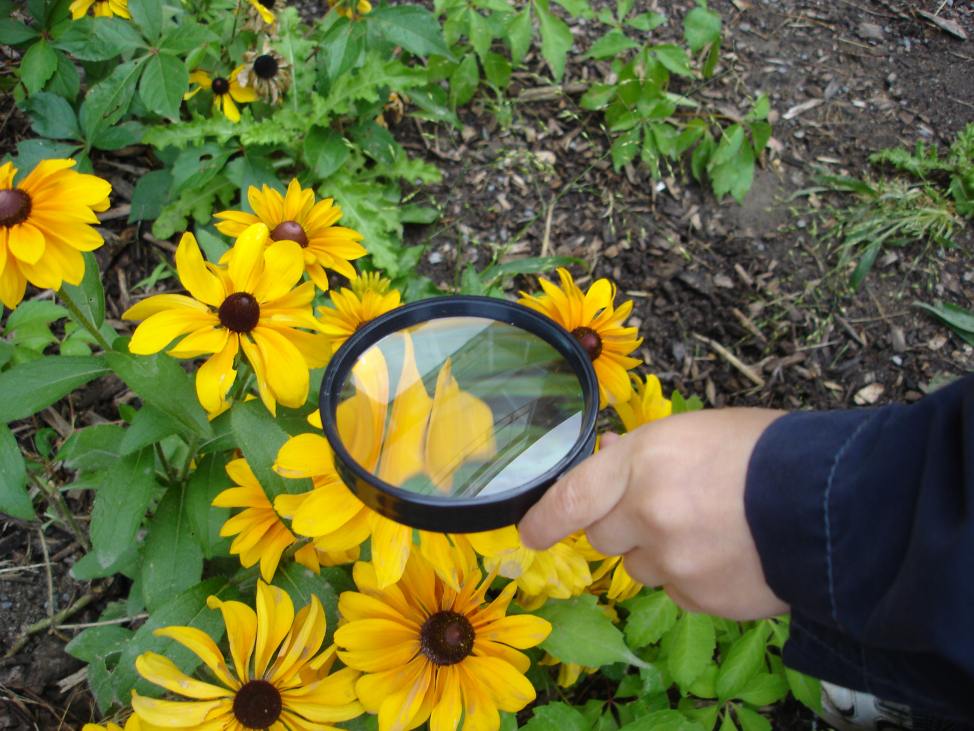
After a particularly long and cold winter, my students and I were more than ready to dive into the excitement and anticipation of the spring season. Beginning in March, we began looking for evidence that spring had arrived as we explored the play yard each day. We read a multitude of books about spring and eagerly looked forward to warmer days ahead when we could ditch the snowsuits and scarves in favour of rain boots and sweaters. During Writer’s Workshop, I introduced new coloured markers to our marker caddies – pastel hues of pale blue, grey, pink, purple, and green. These became the children’s favourite markers to use in their work, and even though I didn’t explicitly call the new markers “spring colours,” that is what the children began referring to them as. Having previously explored seasonal colours in a fall inquiry many years ago (you can read about that here: The Colours of Fall Inquiry), I began to think about how we could extend the ongoing conversations about colours as we continued our exploration of seasonal changes.

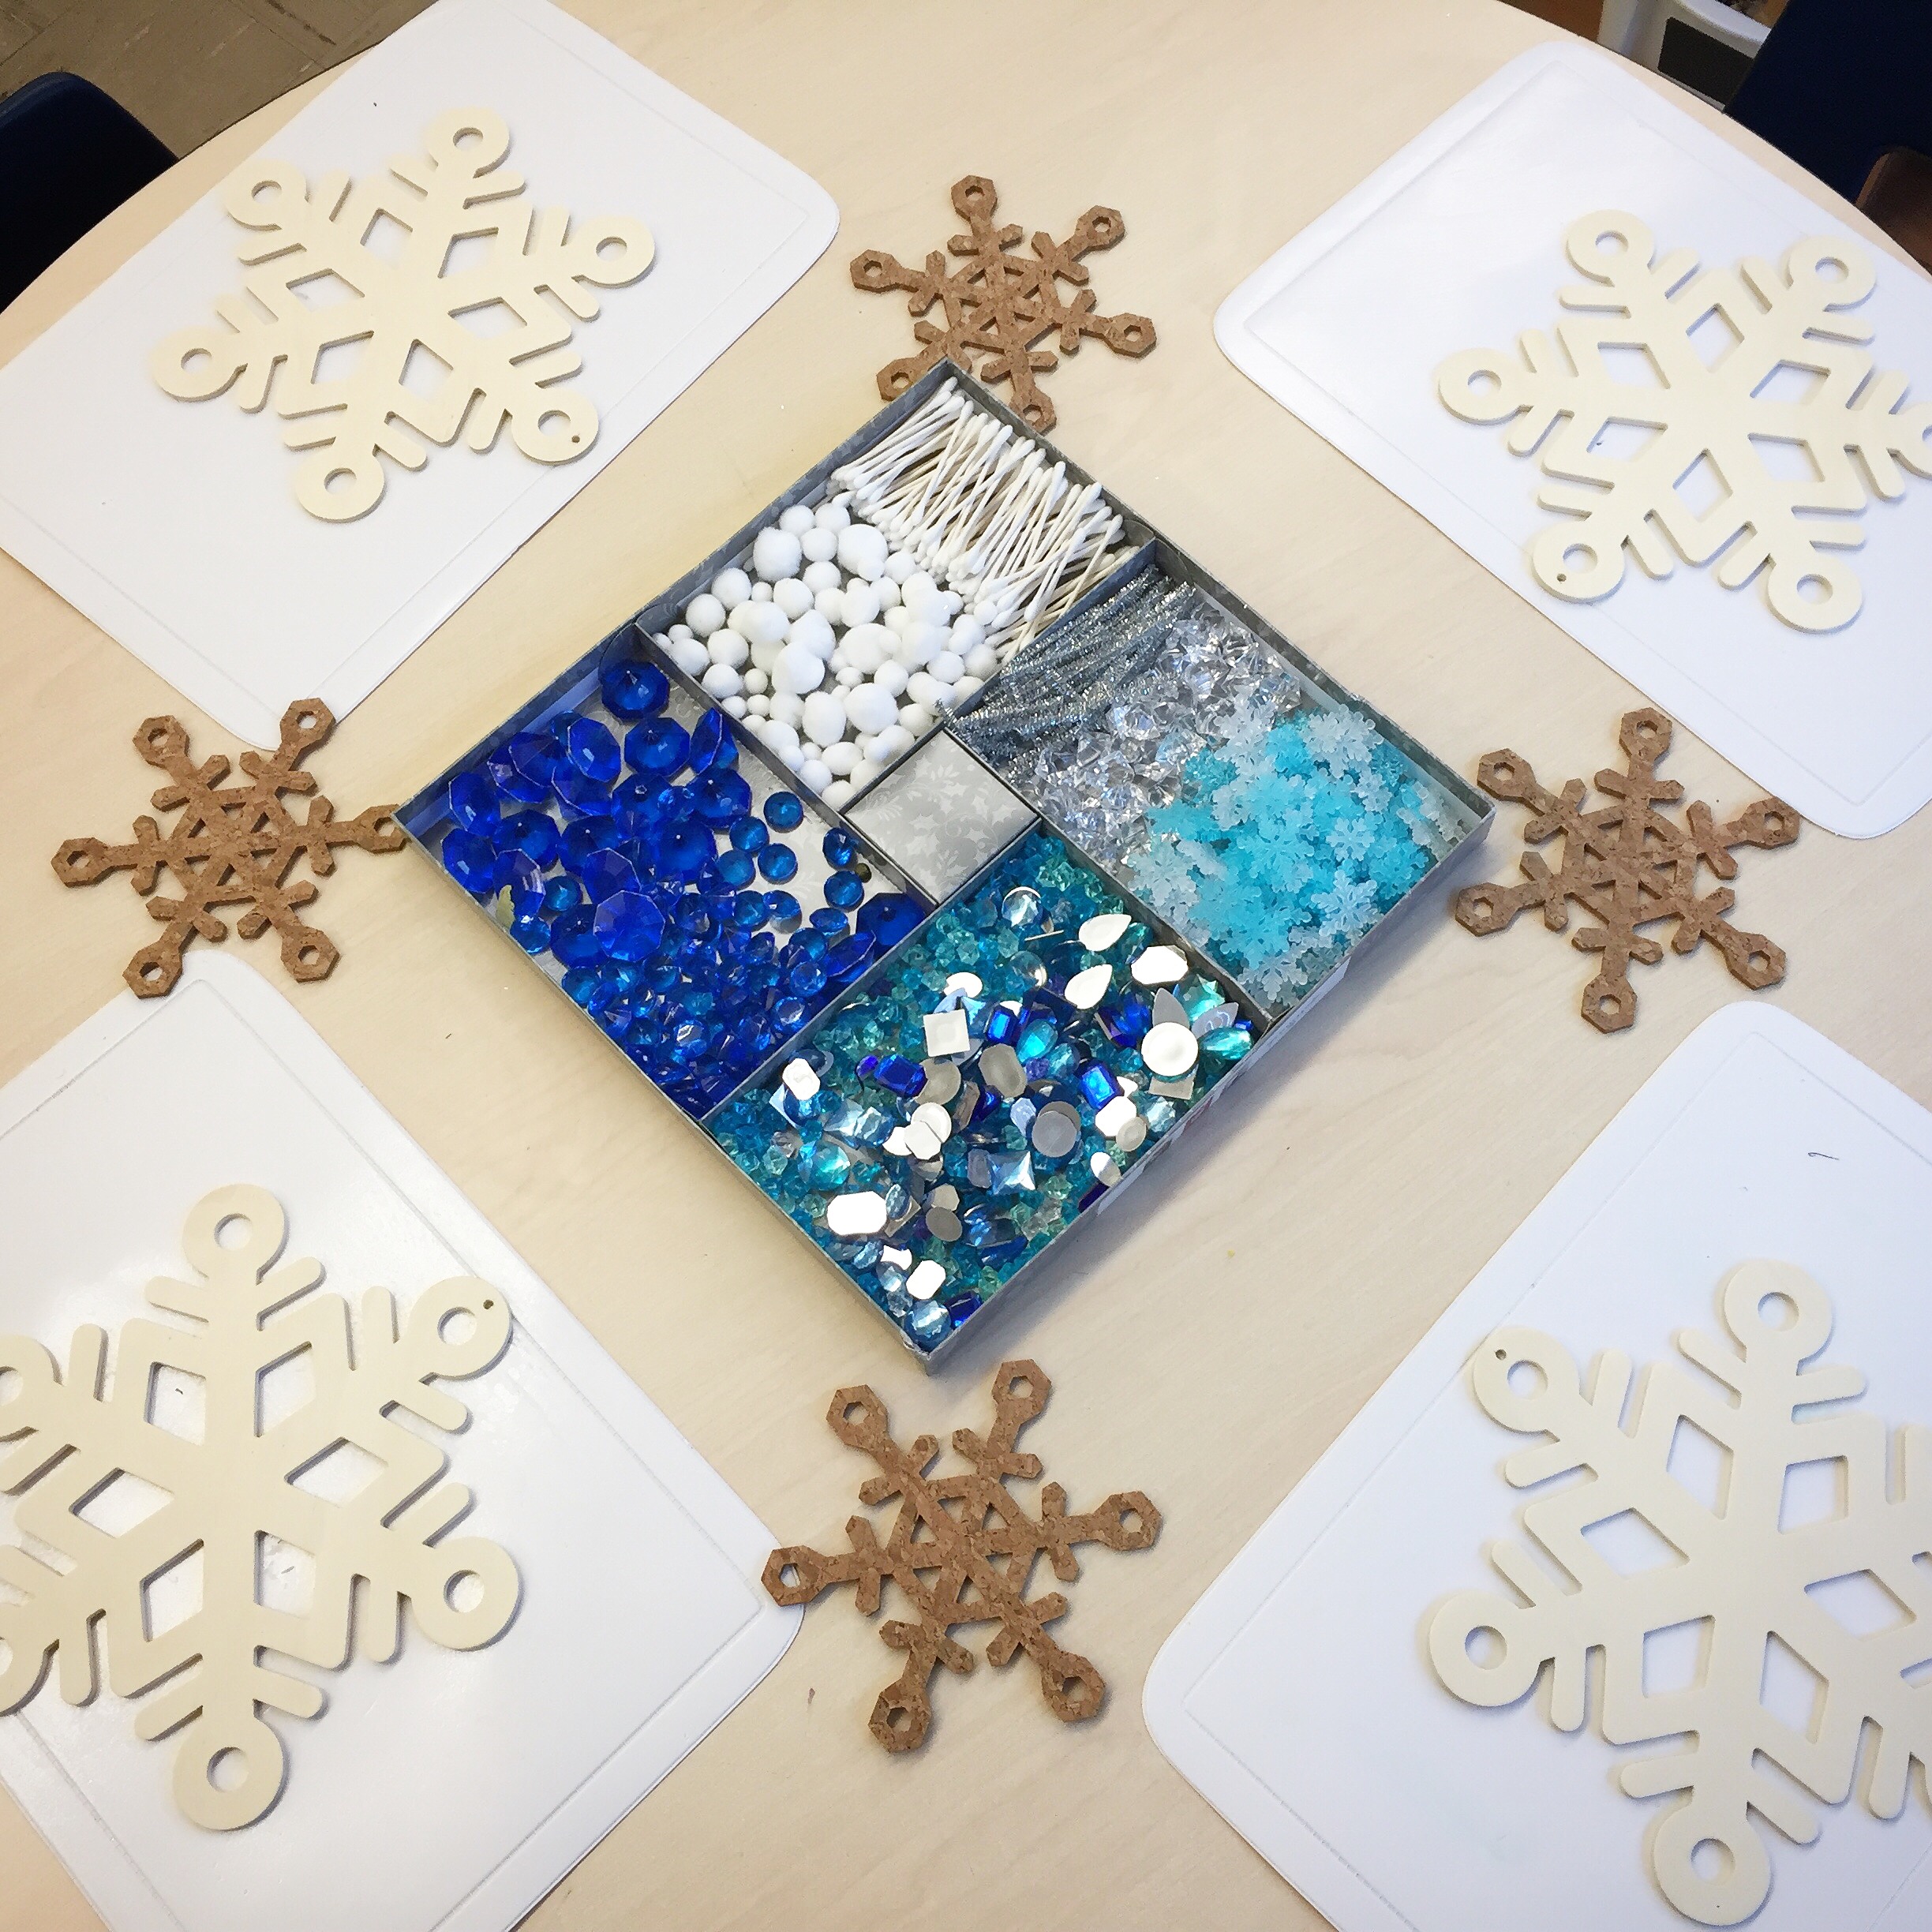
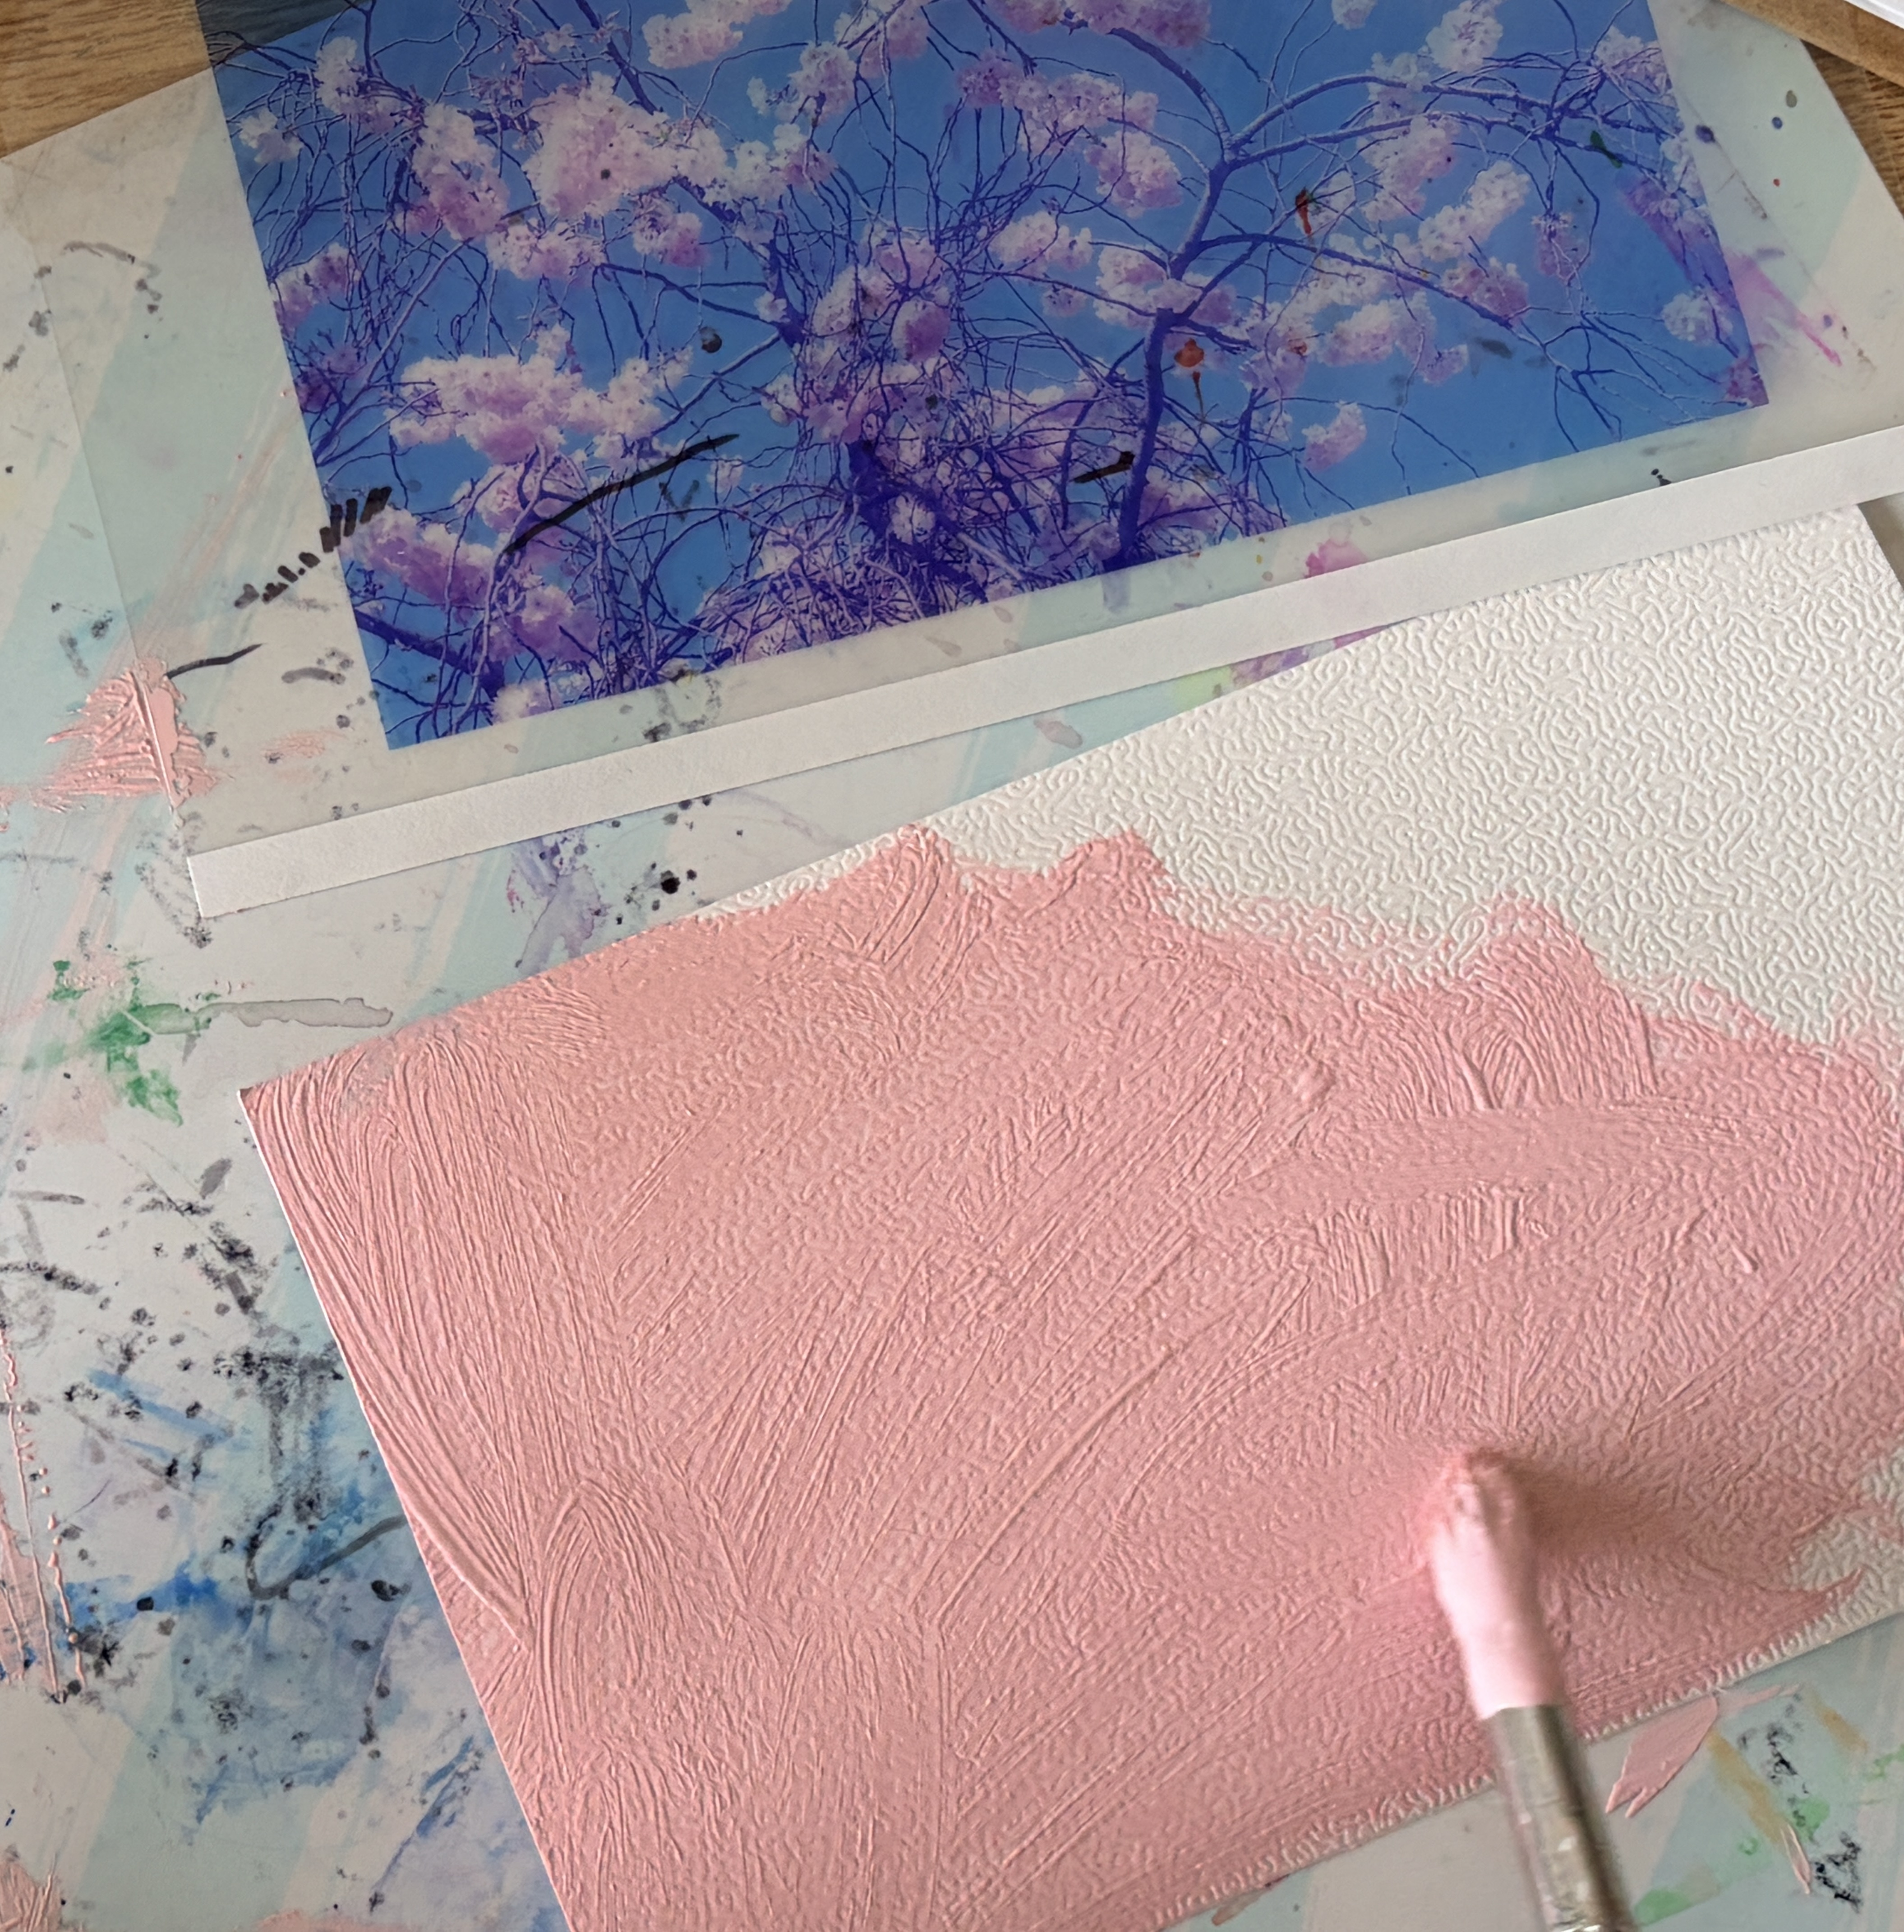
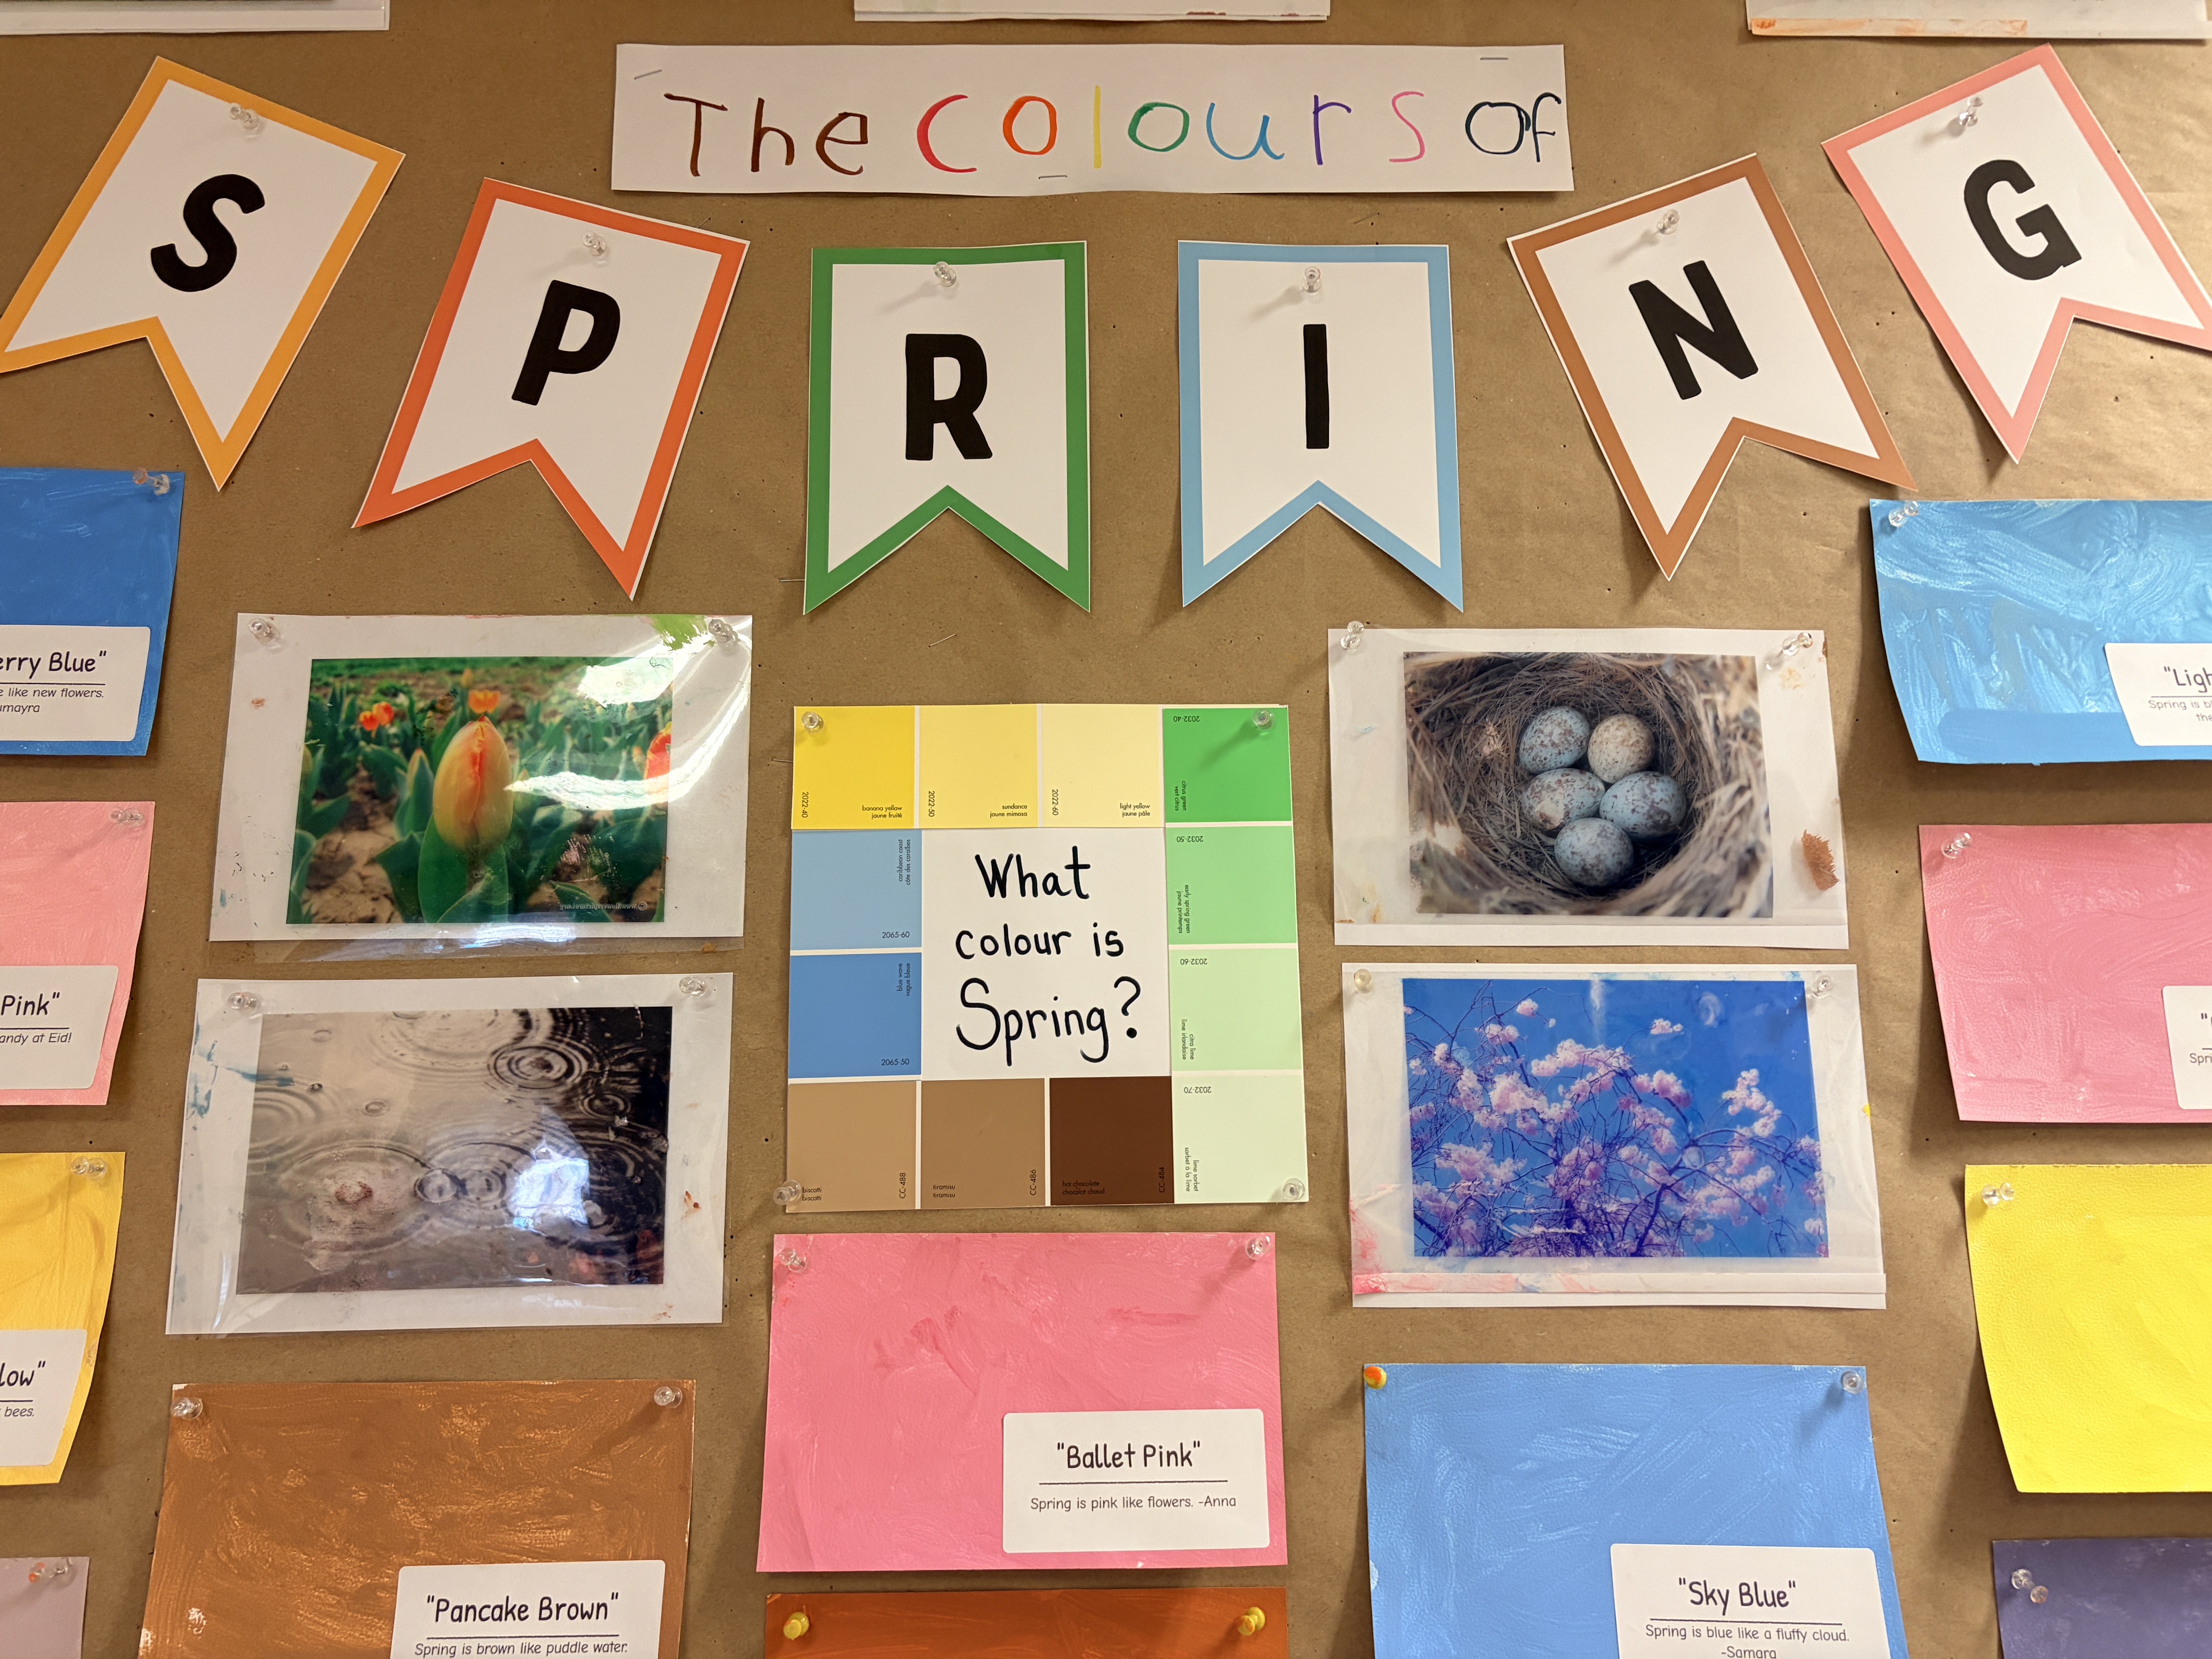
At the light table, I set up the following provocation: What colour is spring? Here, I printed off some spring photos on transparencies and placed them in the light. We had a book about the Colours of Spring and my favourite colour book by Pantone:

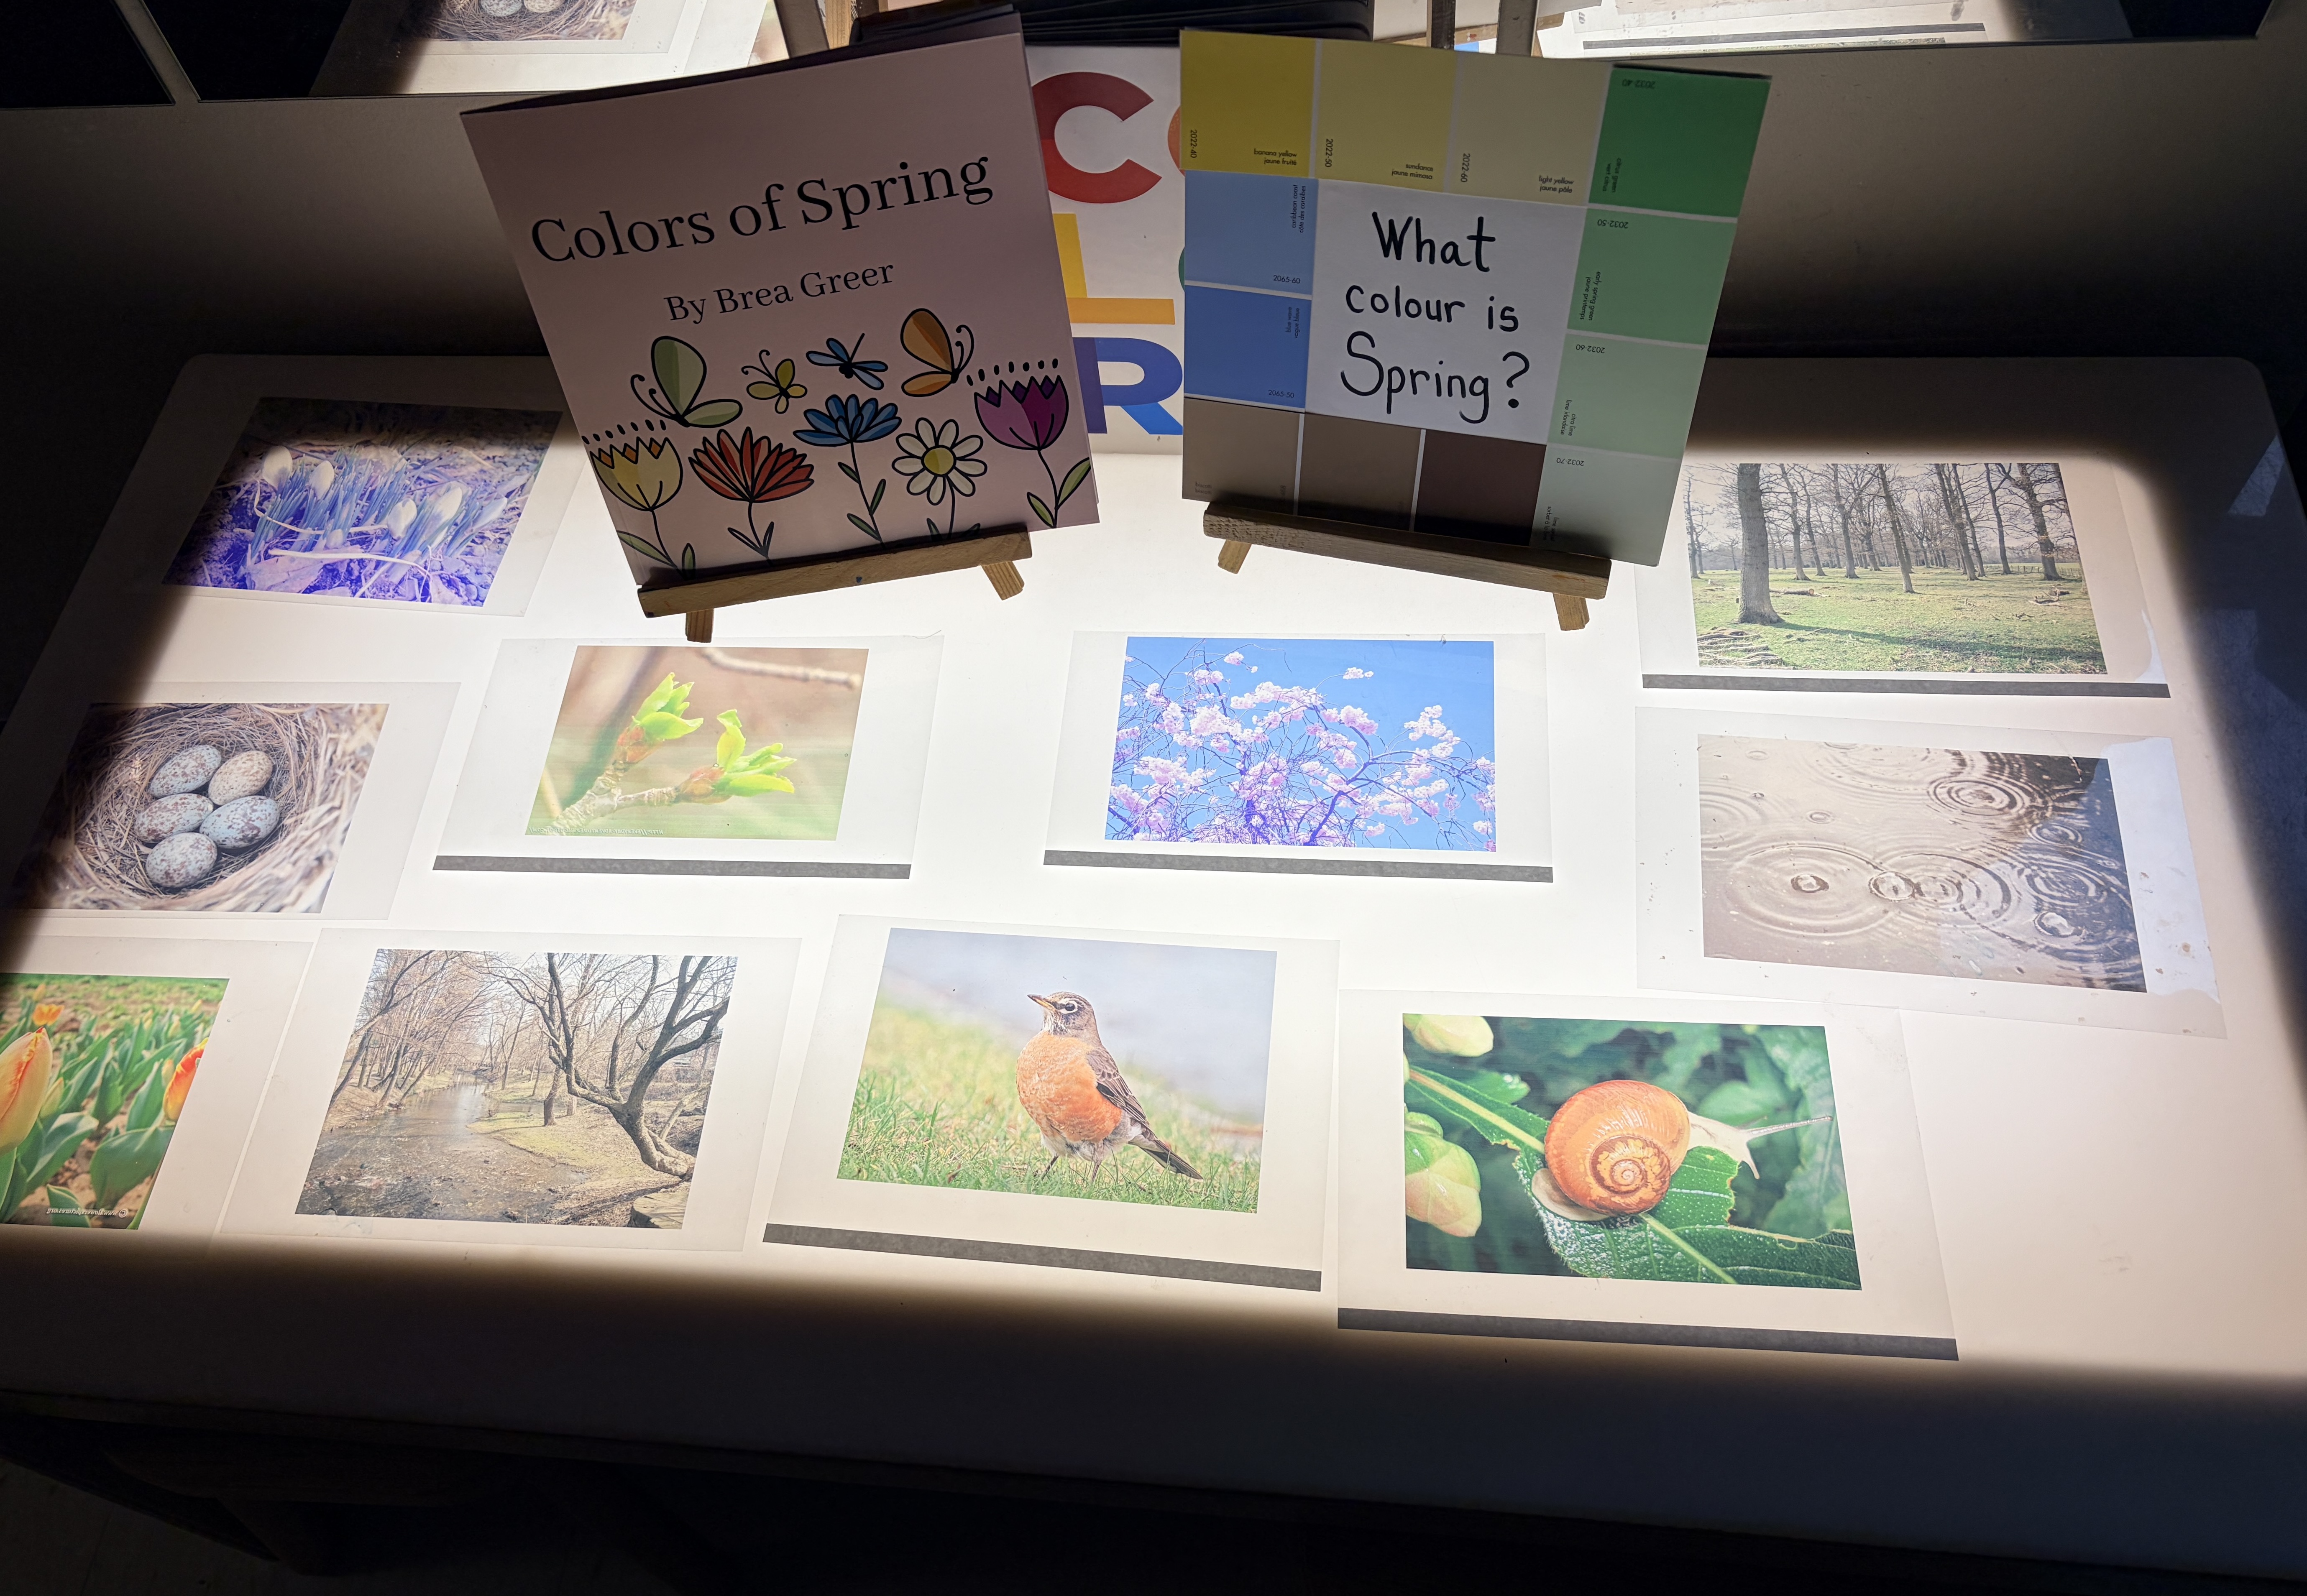
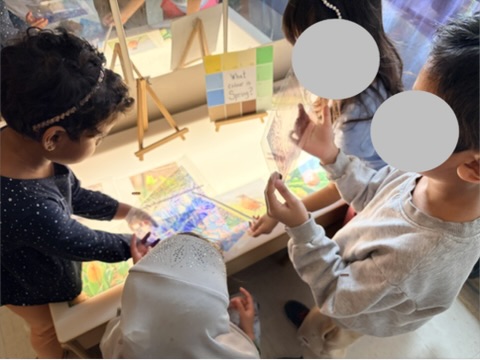
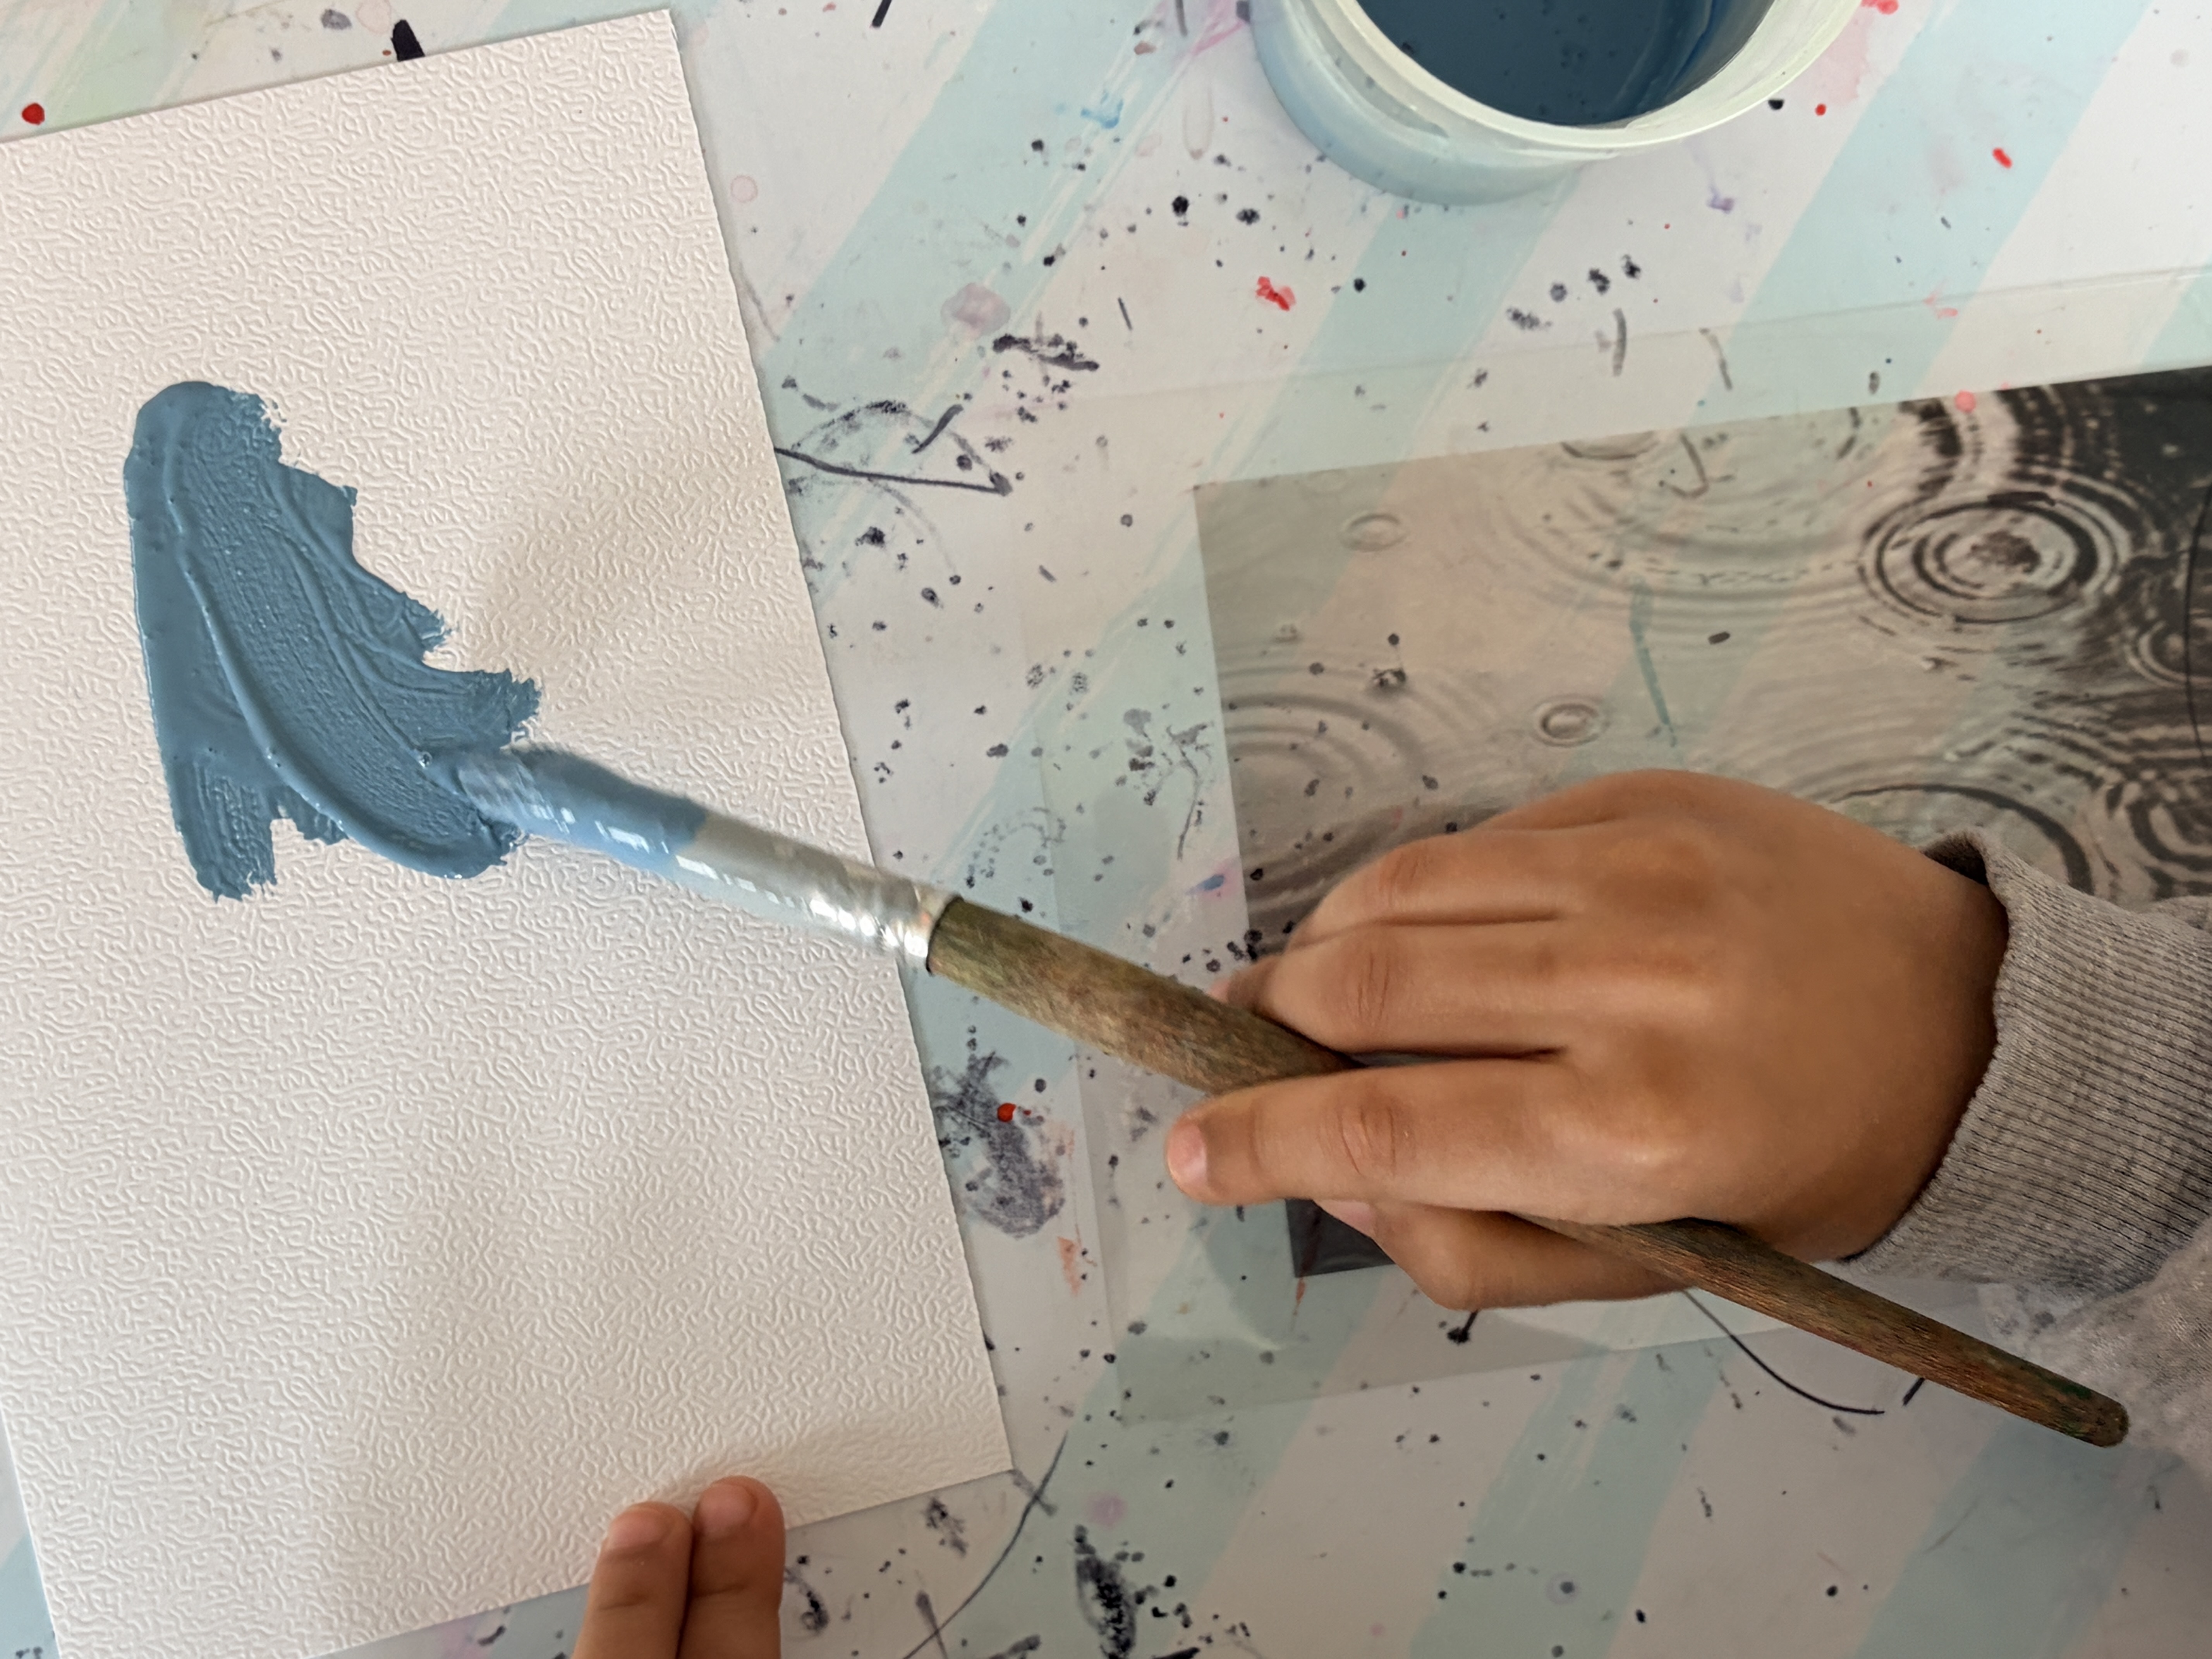
The children were immediately drawn to this set up. The photos sparked a lot of conversation as students talked about things they had seen outside in our play yard or in their own backyards. We asked the question, “What colour is spring?” and, as a follow up, invited students to create their own spring colour by mixing tempera paints at the classroom art studio.

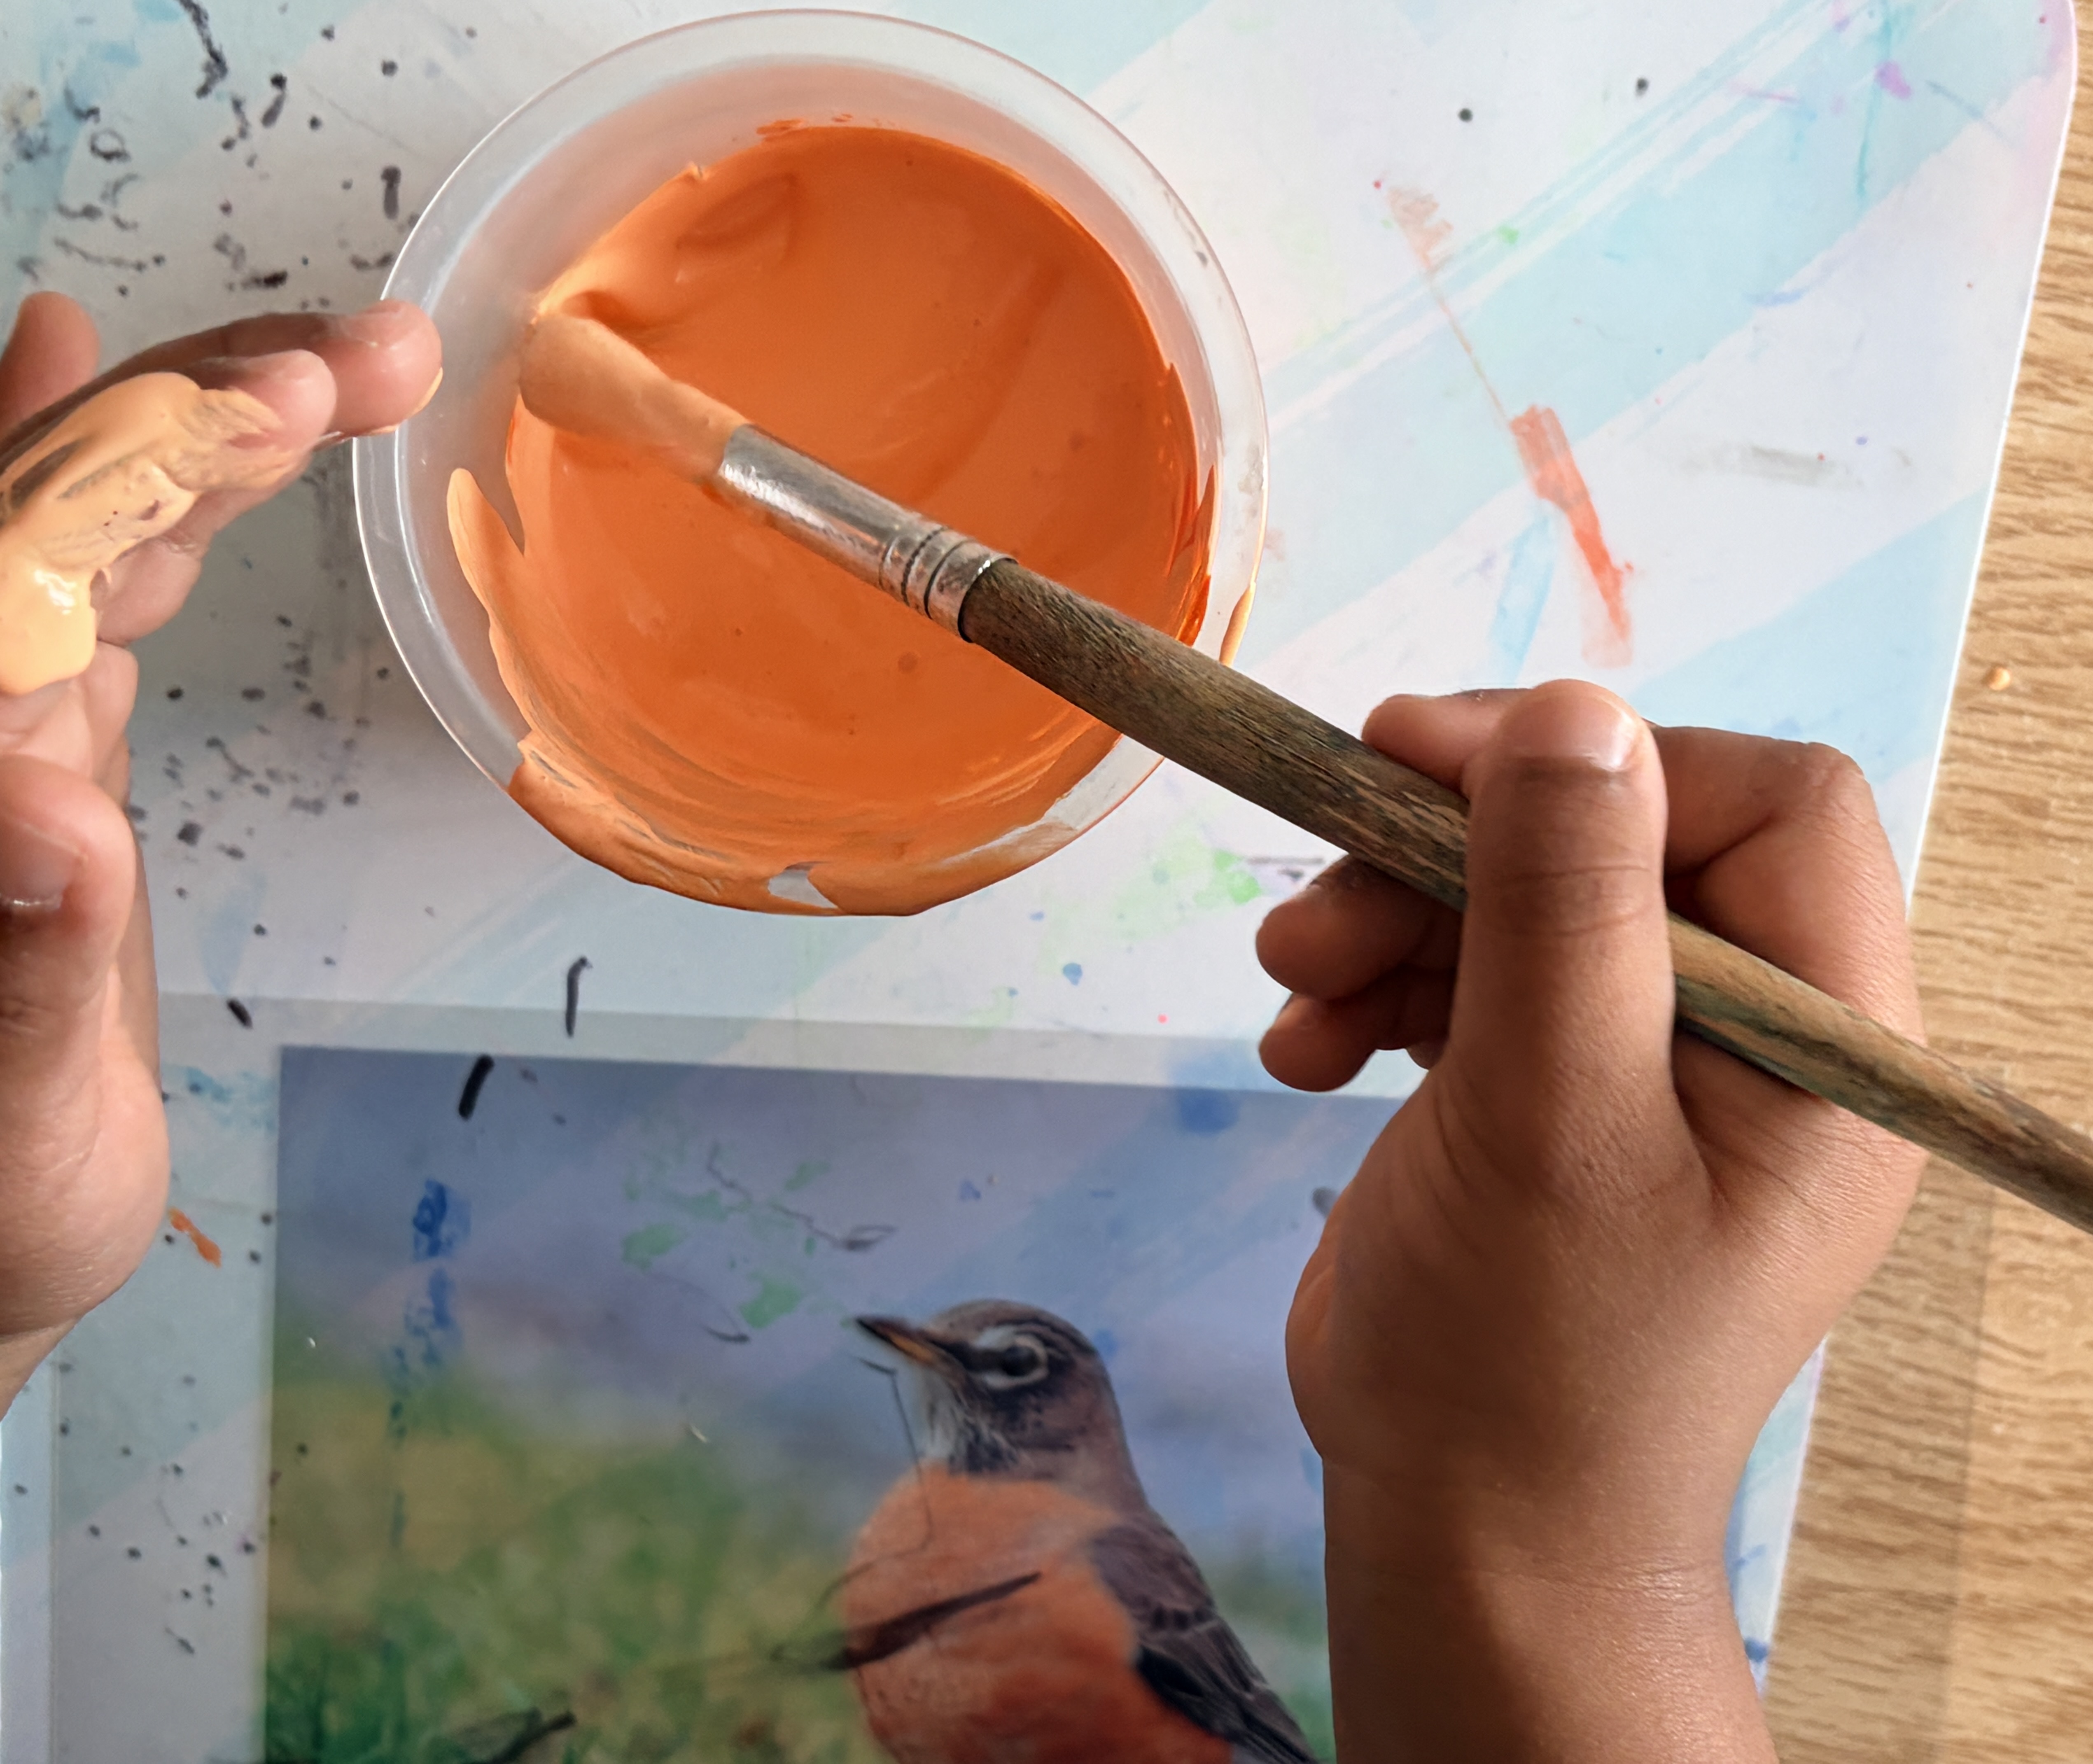
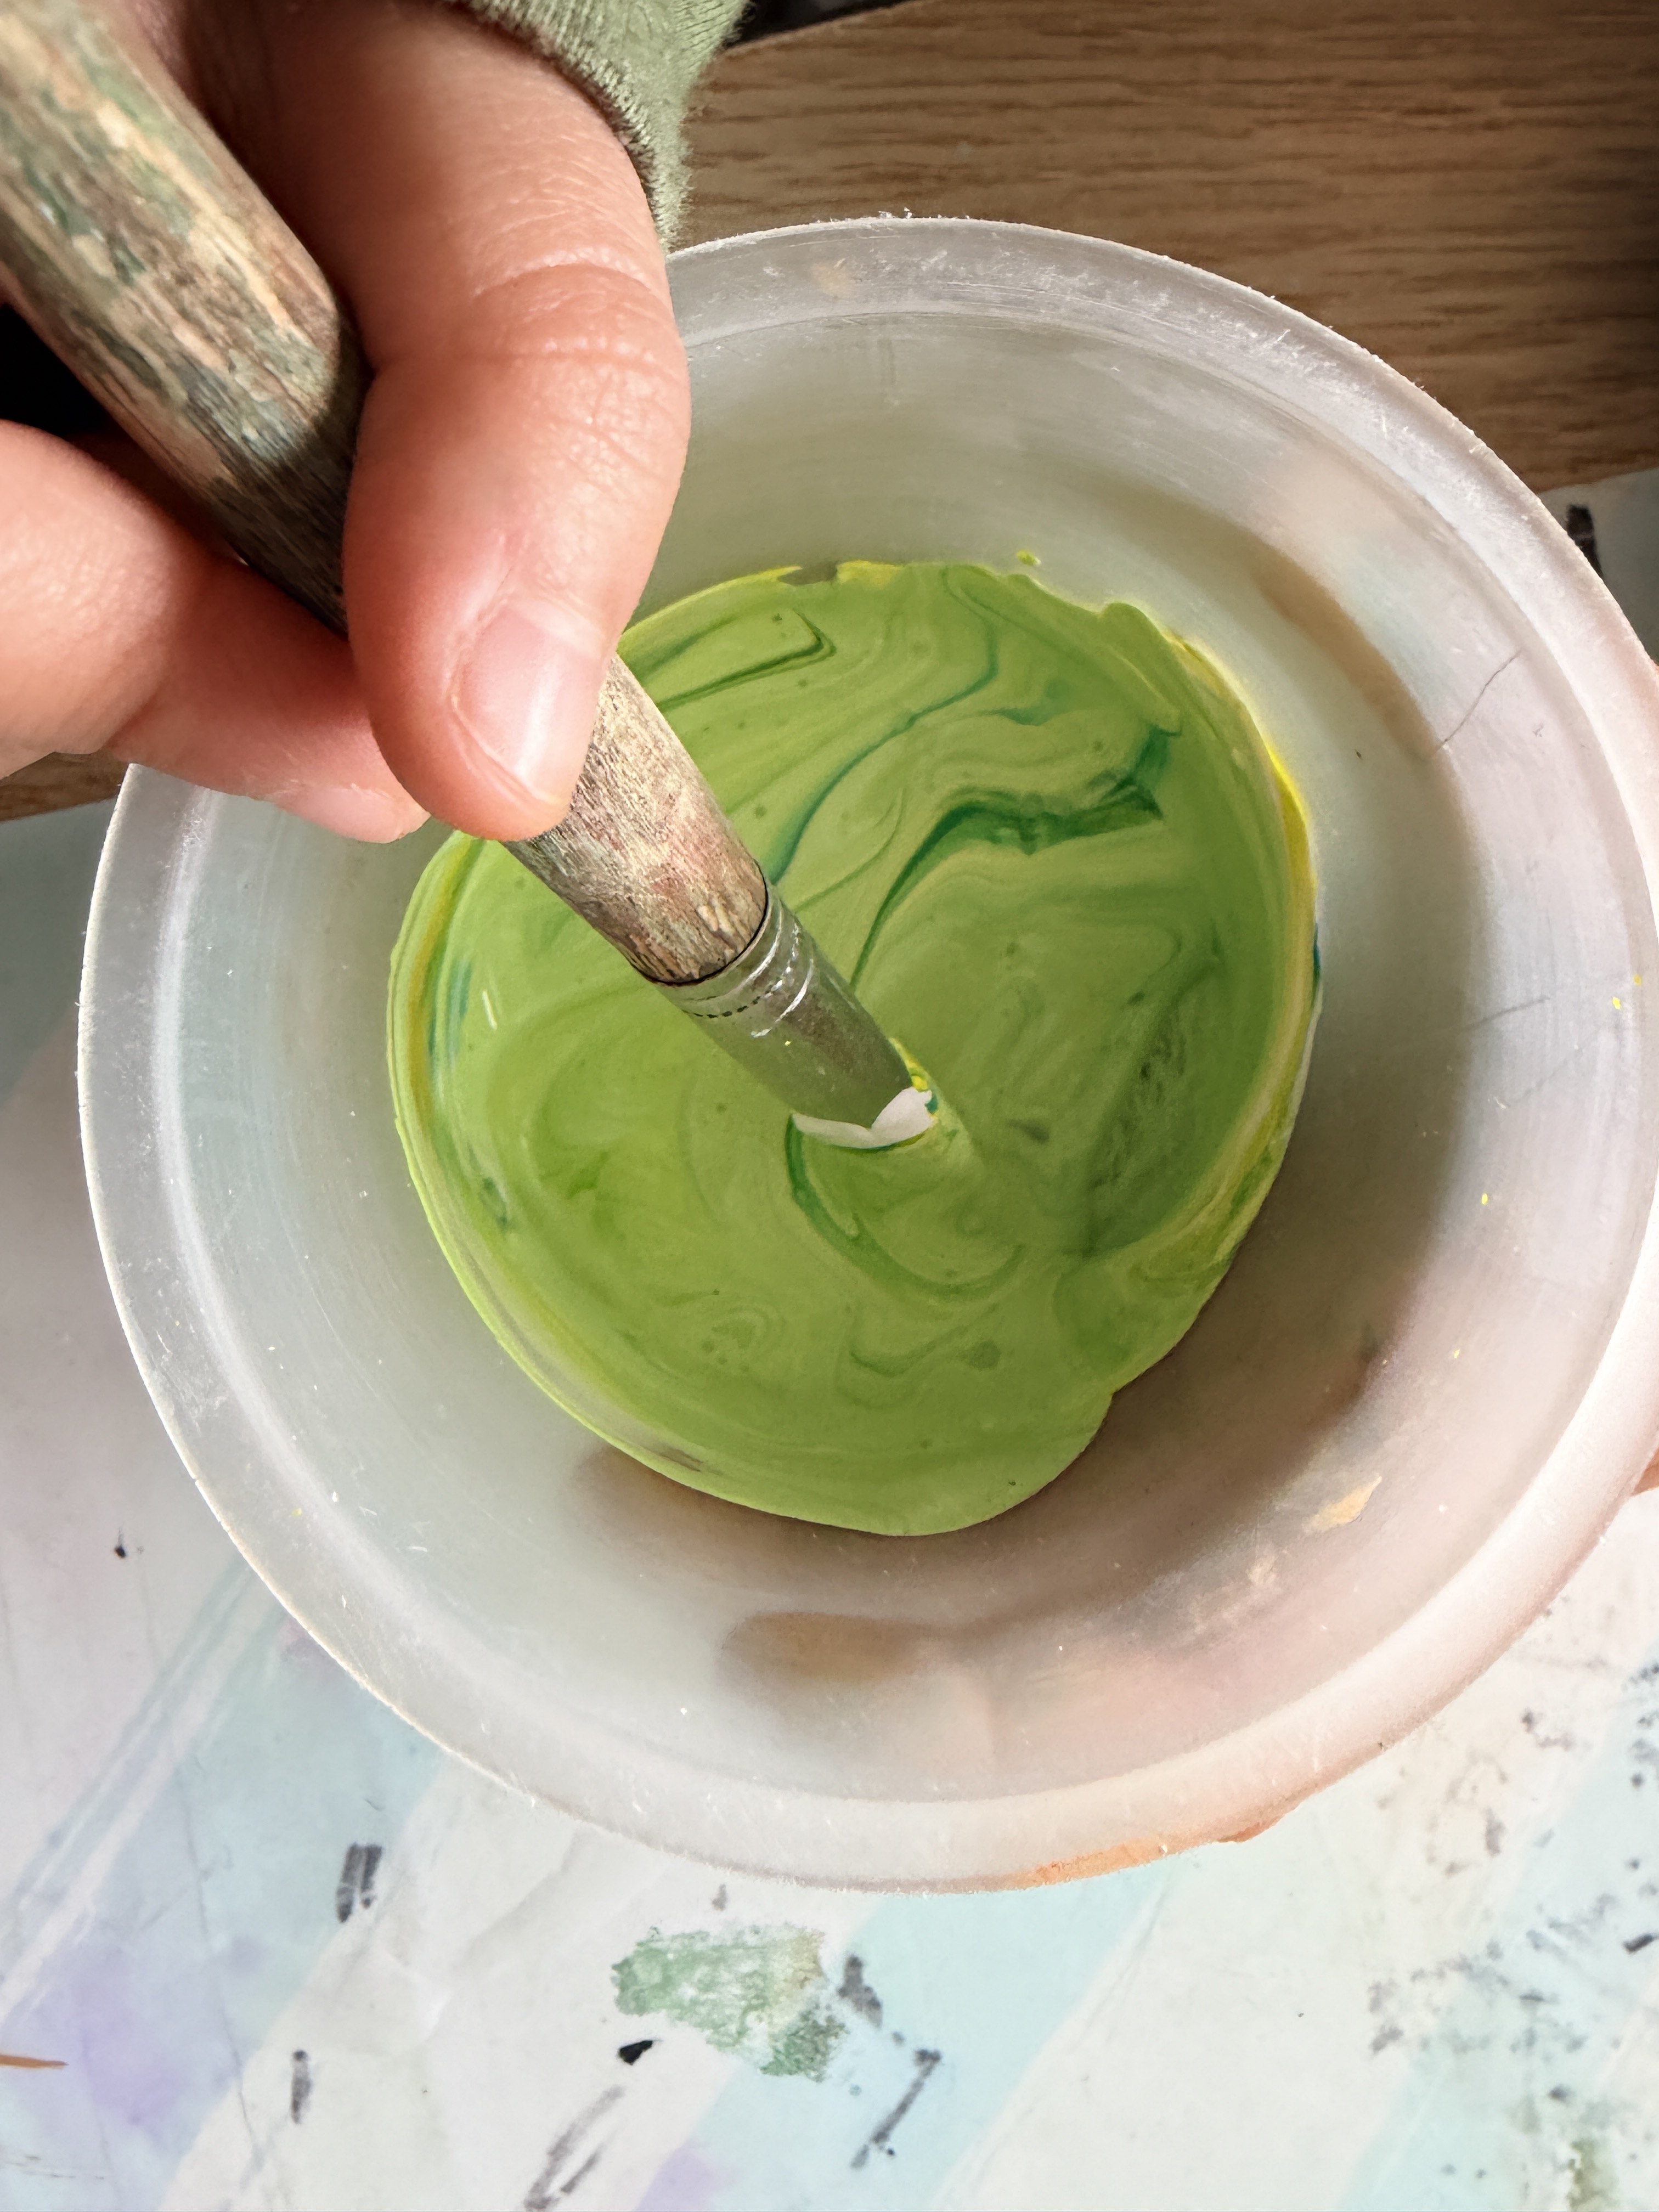
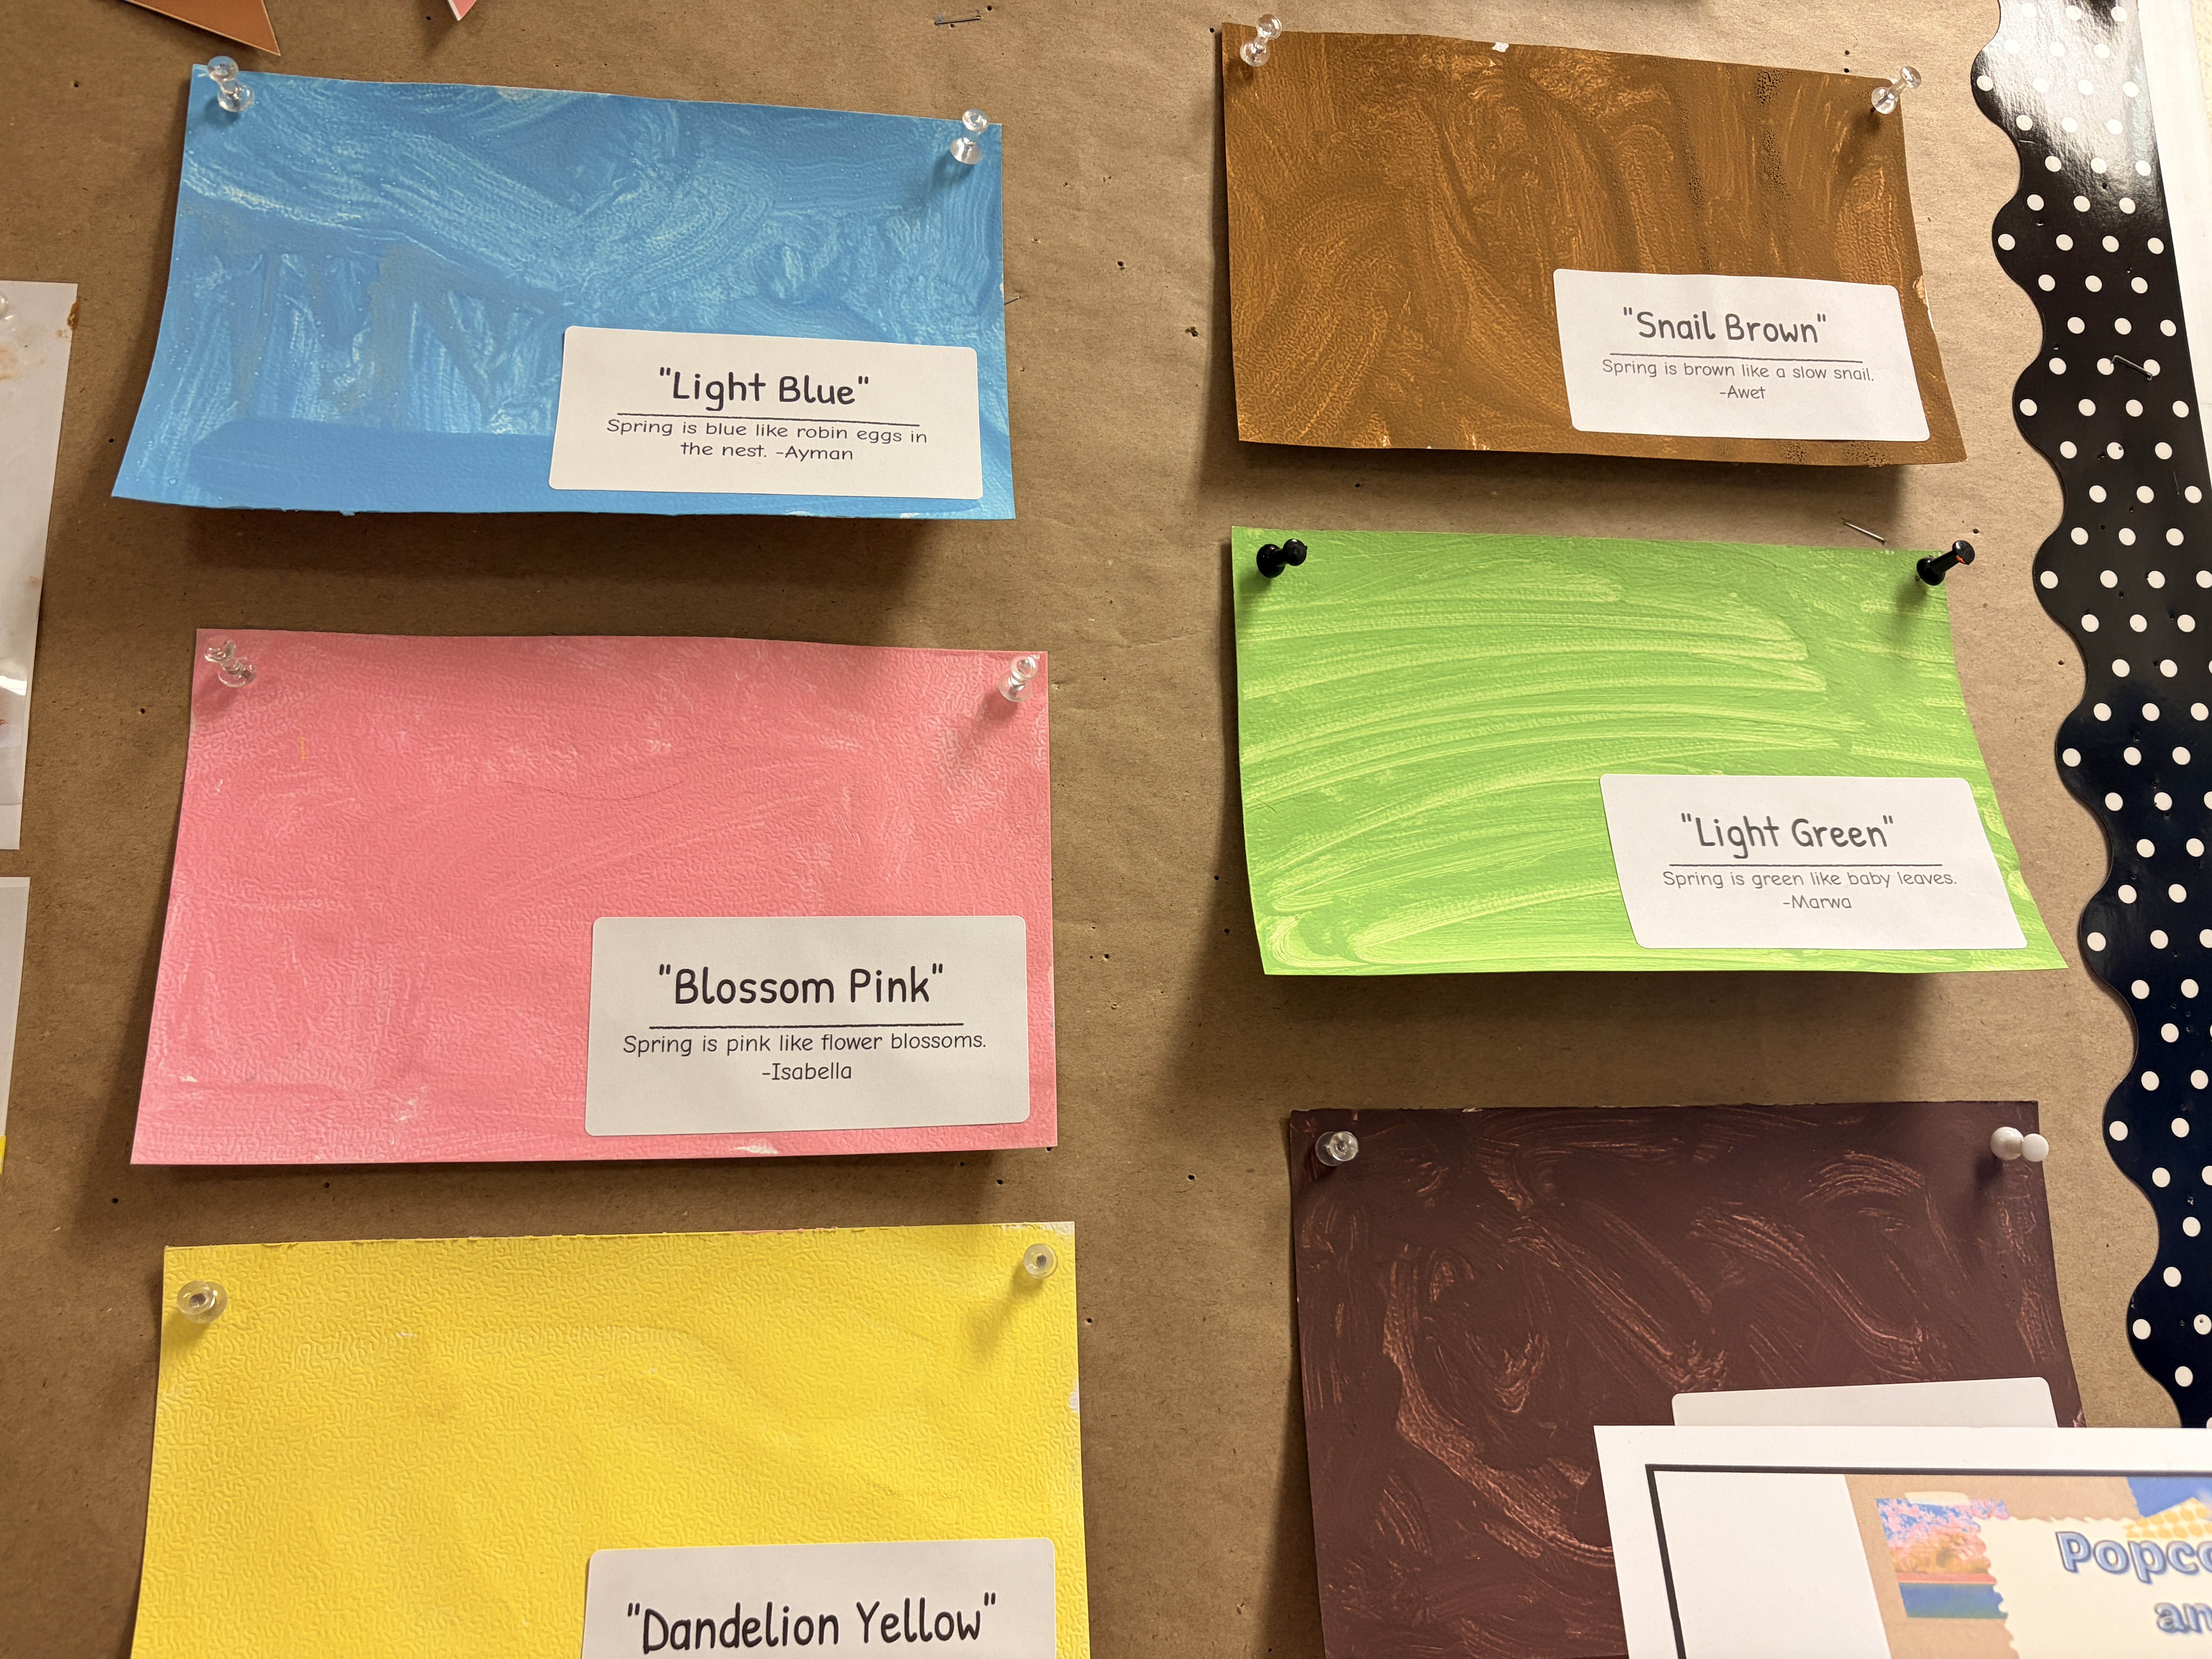
The children were beyond excited to mix the paint colours together to make their own special colour. I started each cup with about a tablespoon of white tempera paint and the children were then able to add colours to the white to mix up the colour of their choosing. After exploring the light table, most children had the colour they wanted to create in mind, some even opting to bring the transparencies from the light table over to the art studio for reference. After getting their paint to the appropriate shade, each student was given a 5×7 card to paint their colour swatch on.

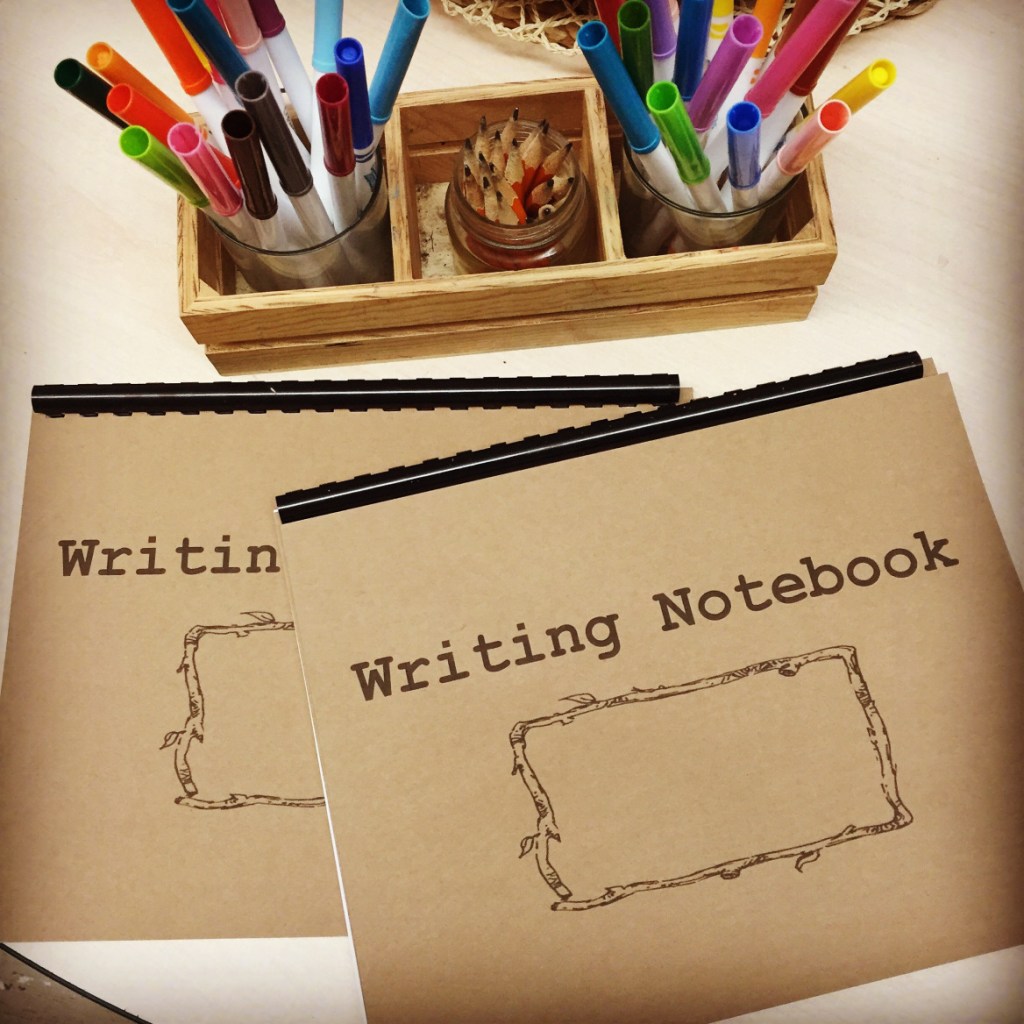
The next day, once our colour swatches were dry, we created up a follow up activity at the classroom writing table. In the month of April, we had been working on developing our thinking as poets, as part of a larger project with the other K-2 classes, for National Poetry Month. One of the skills I wanted to develop in our students was how to think like a poet. To that end, we created the following sentence for the children to fill in with their own ideas:
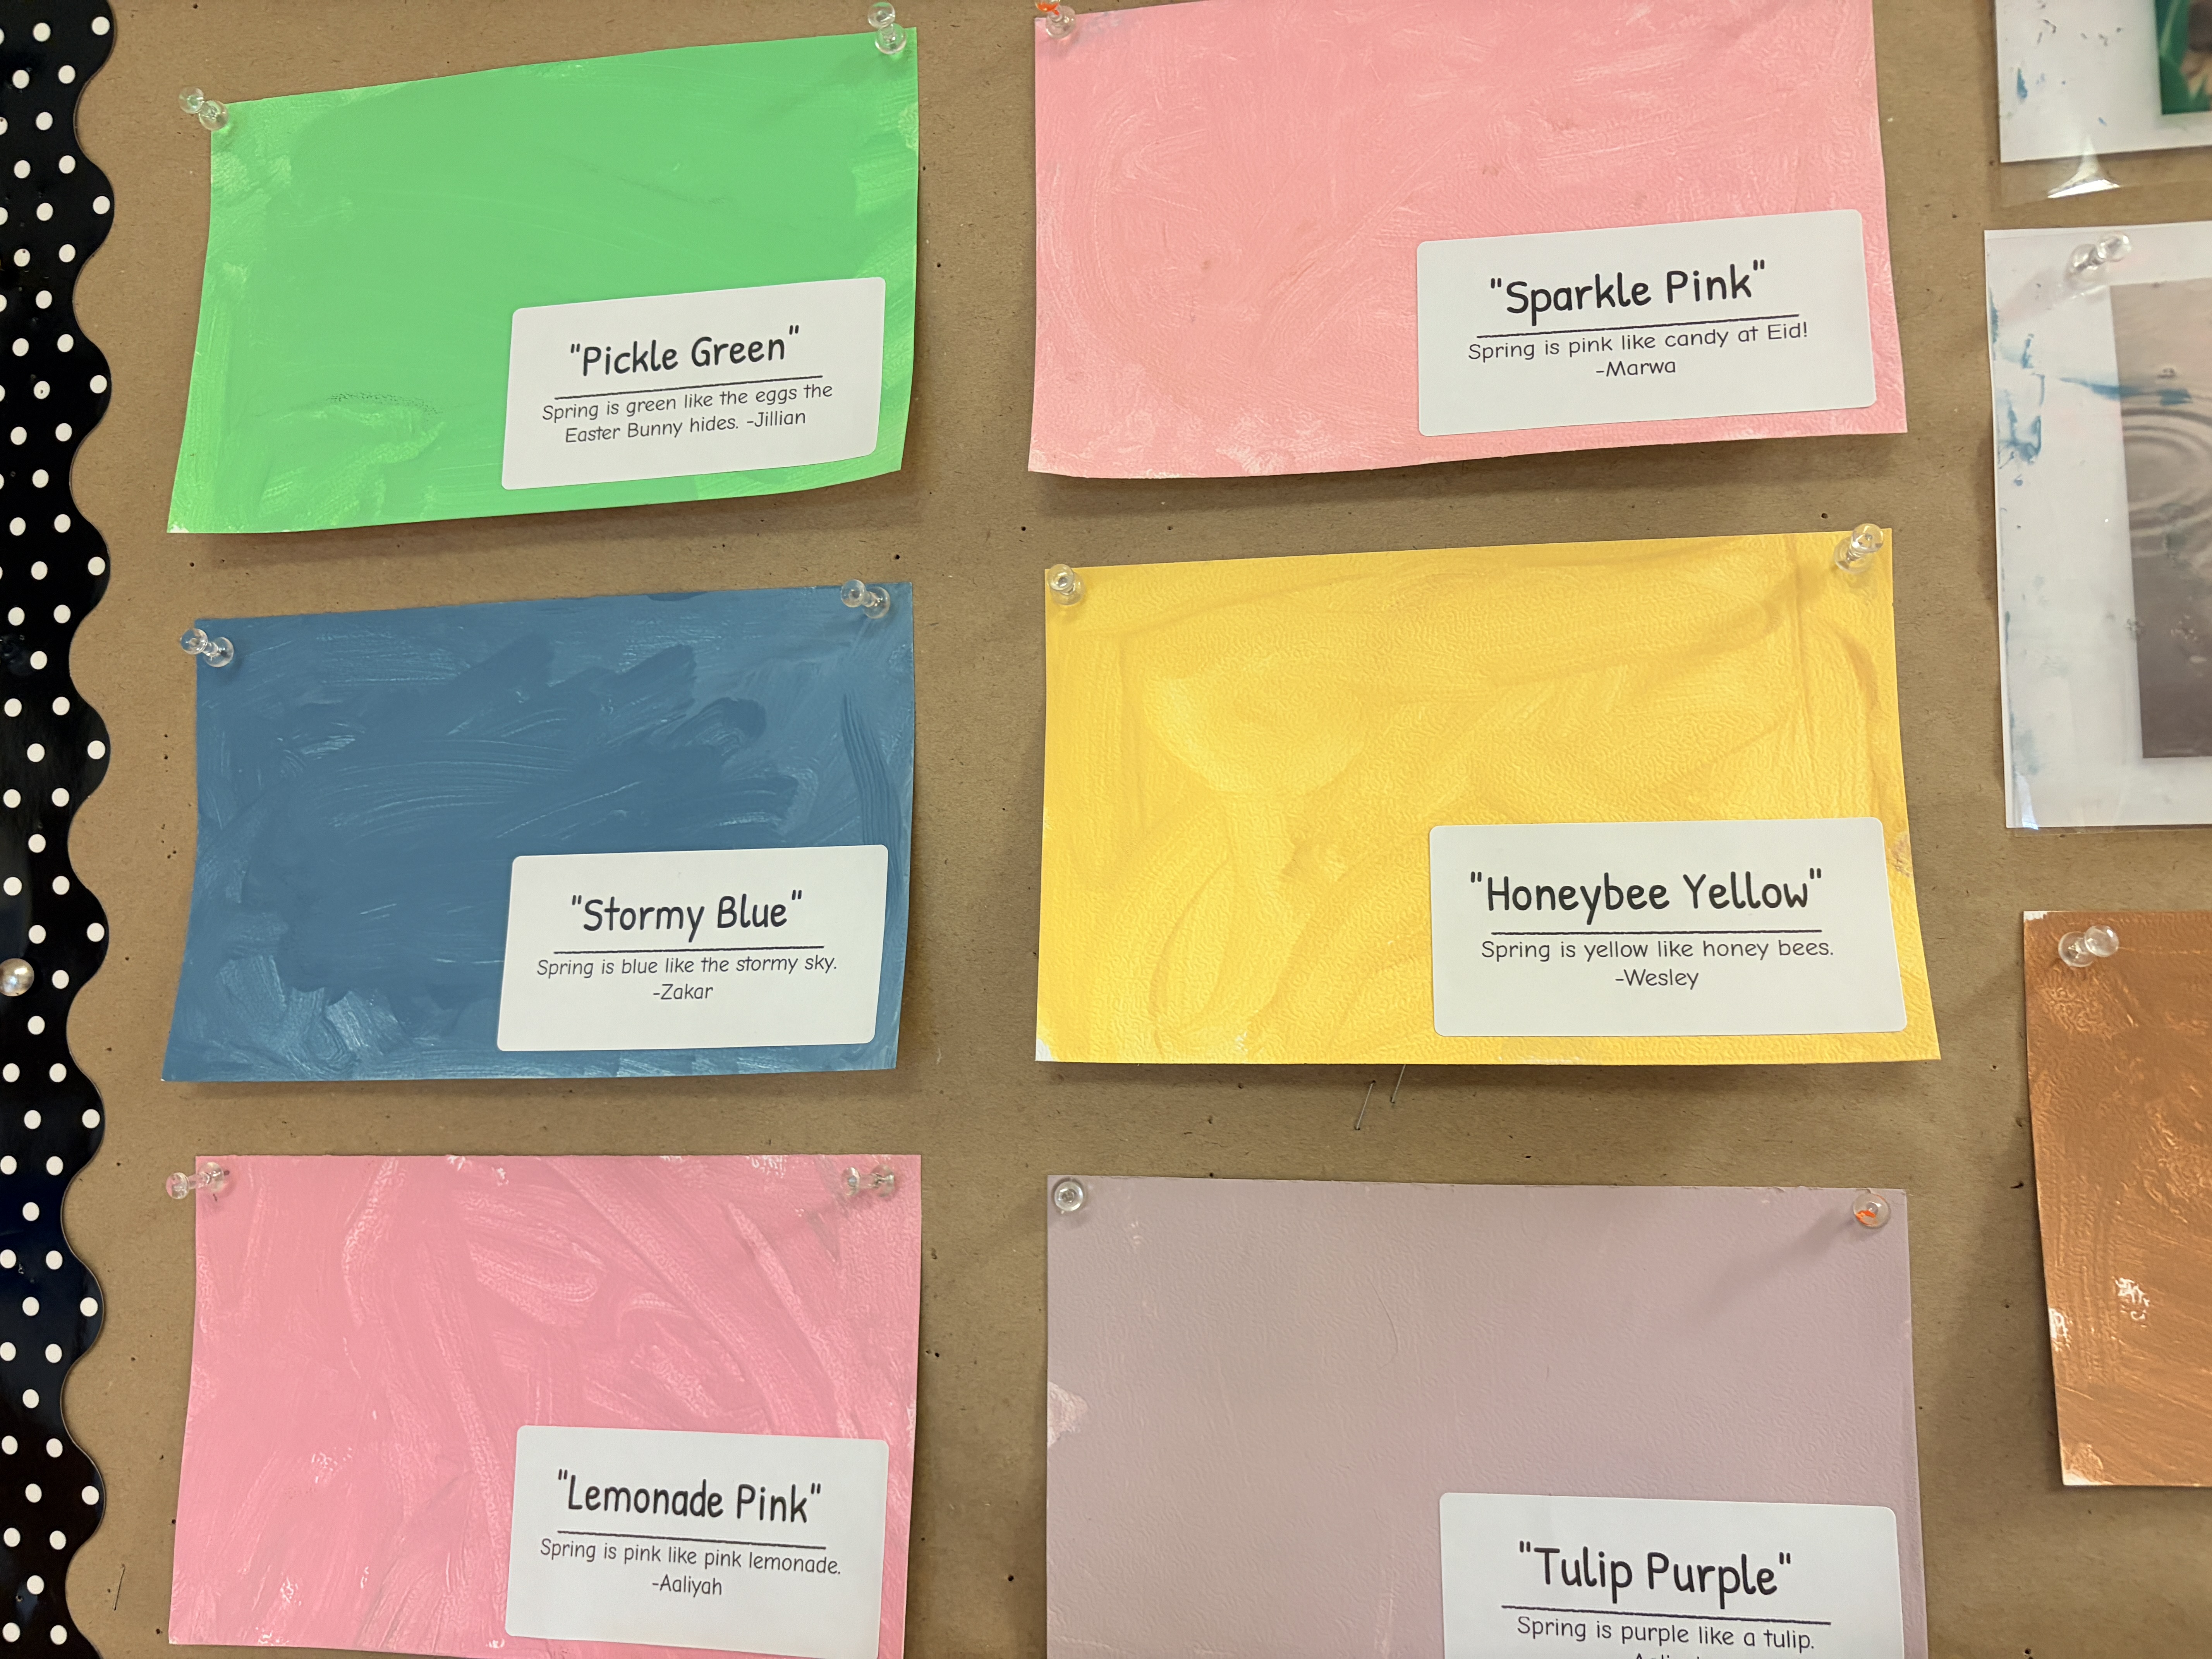
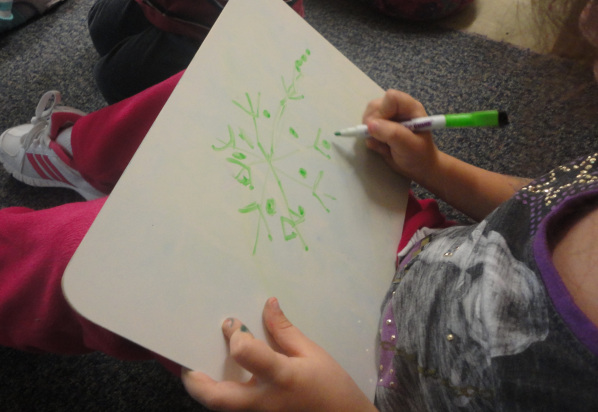
“Spring is [colour] like ______________.” Students recorded their ideas and drew a picture to illustrate their thinking.

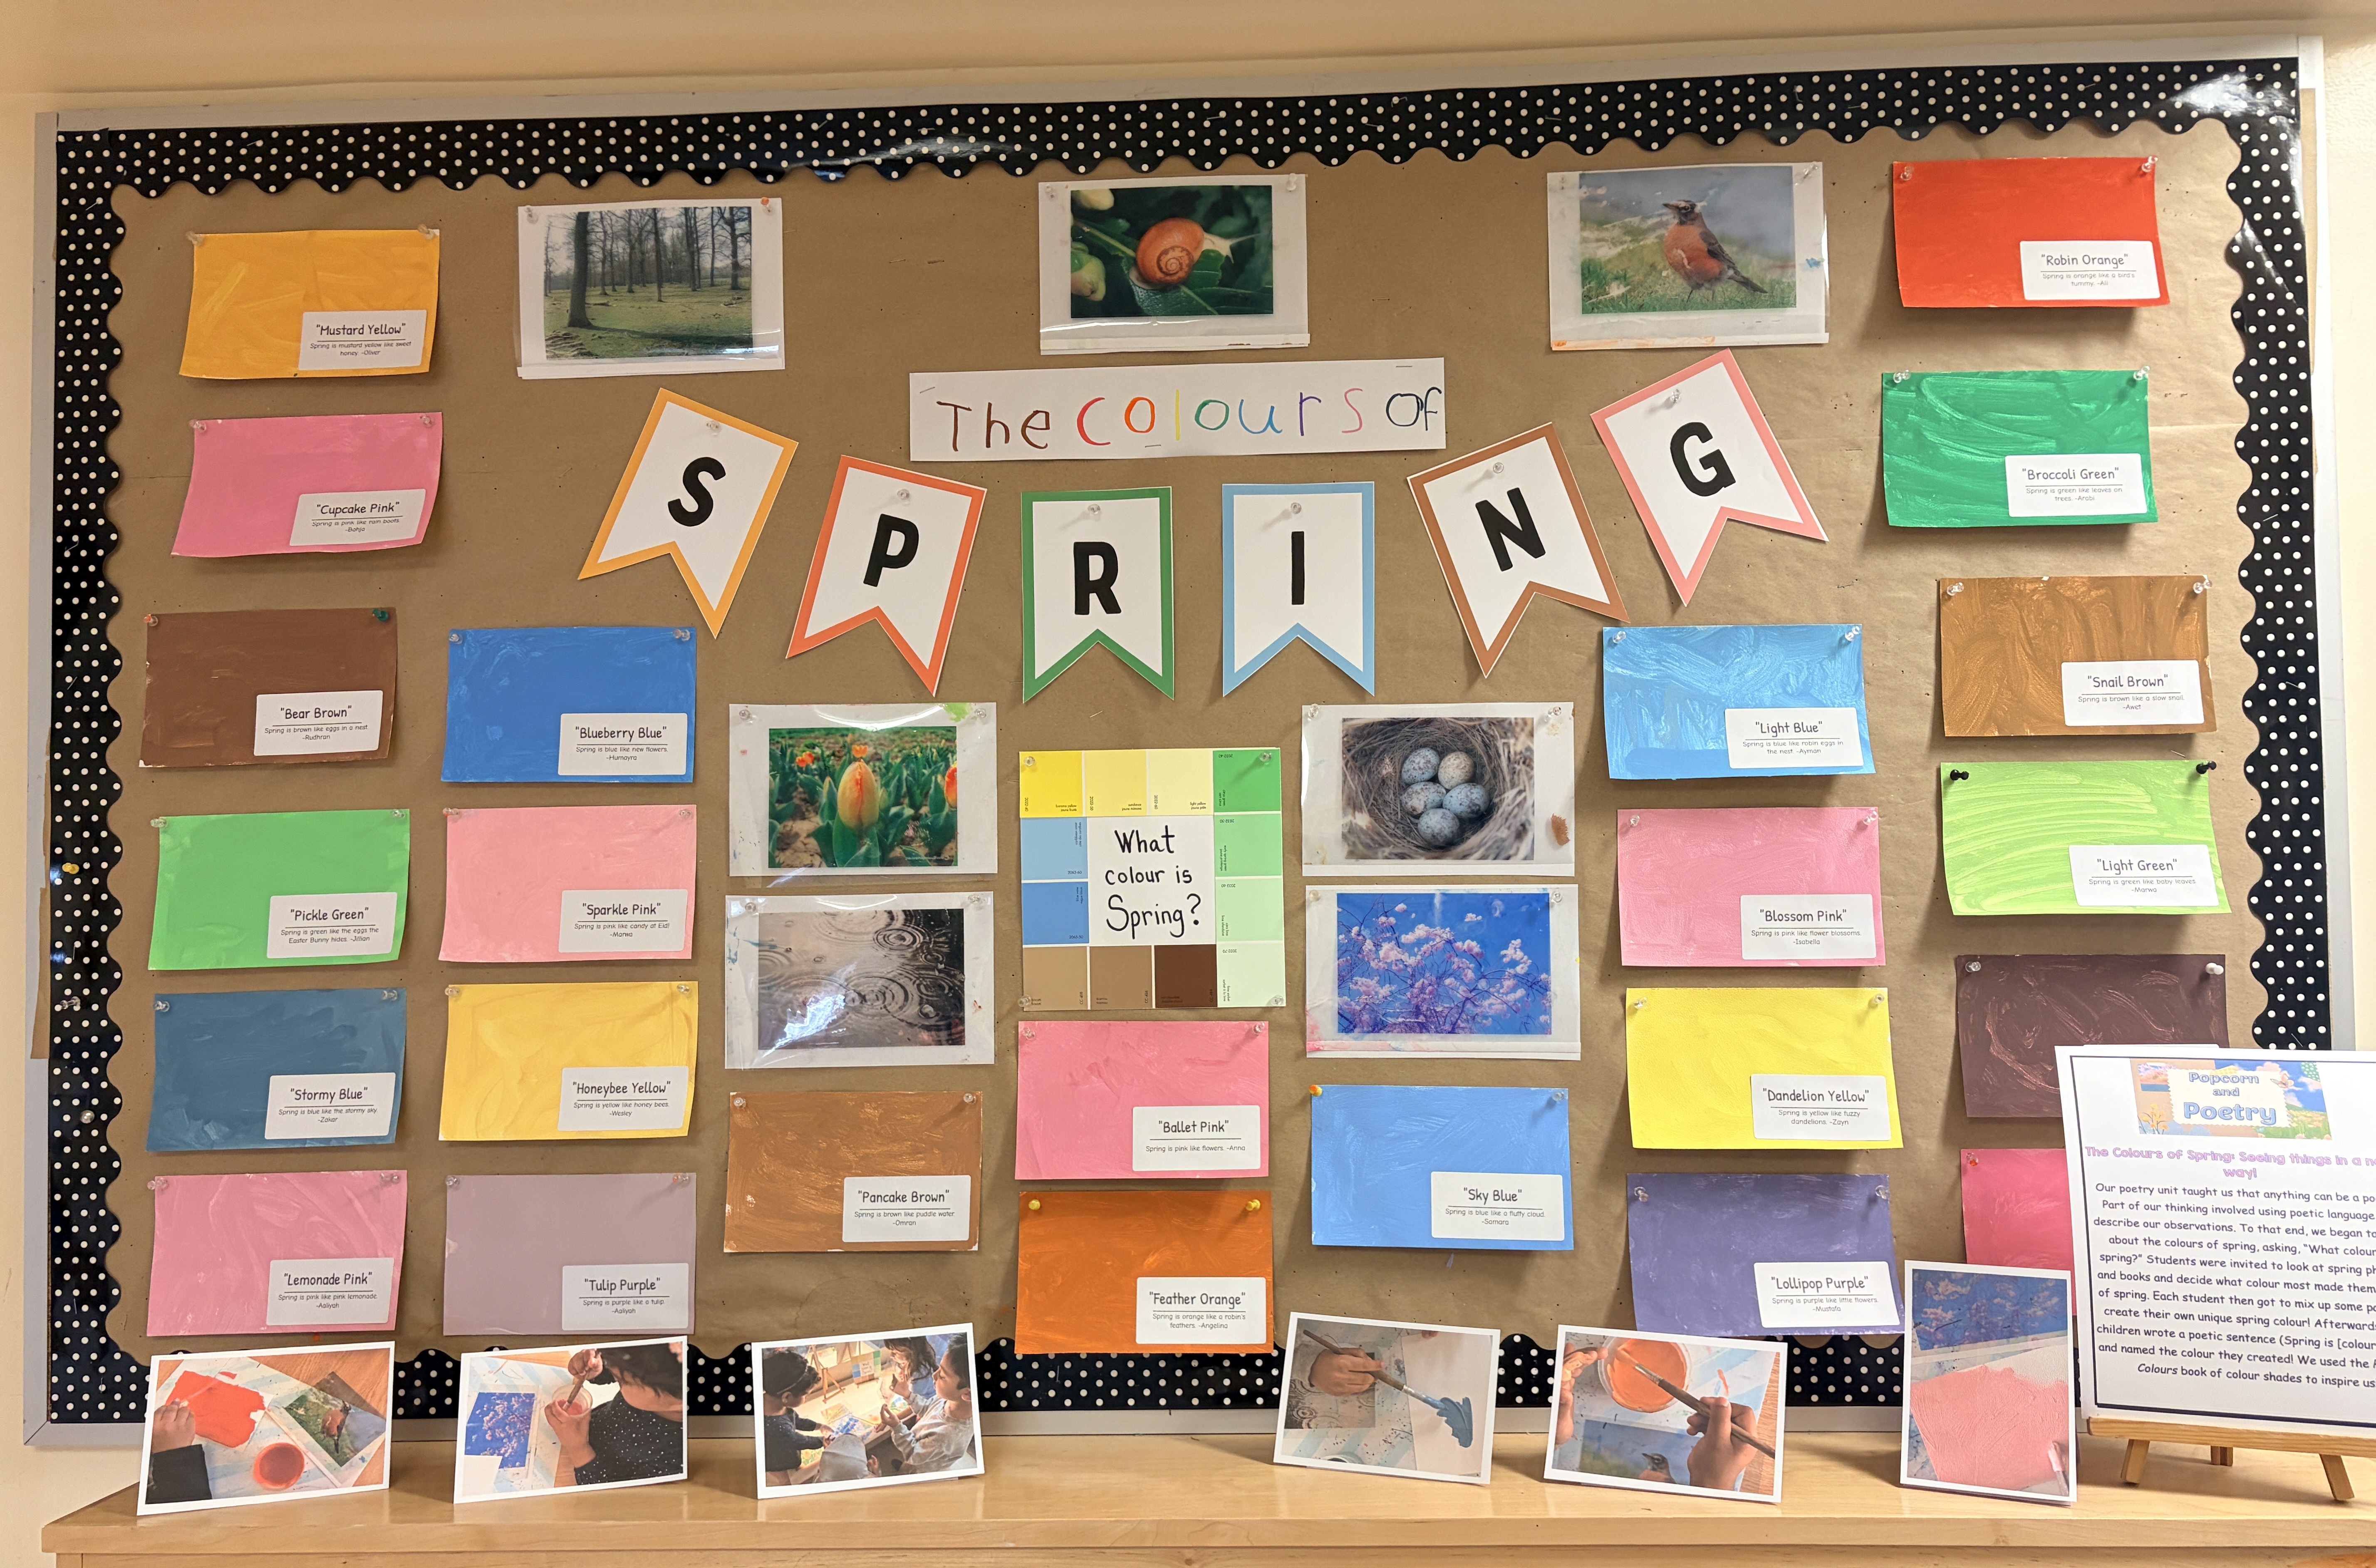
Then came the final step: NAMING their colour! We had a copy of Colours by Pantone on hand, which – if you are unfamiliar – is a book of colours where each colour is displayed in 20 different hues, all which have a unique name (e.g., “Bubblegum Pink,” “Blueberry Blue,” etc.). Some children knew instantly what they wanted to call their colour, having named it when they created it at the art studio. Others wanted to look through the Pantone book for ideas. In the end, everyone was excited about the name they came up with. I printed out the colour names and “Spring is [colour] like…” sentences on a label and attached it to each paint swatch. All of our beautifully unique spring colours are now displayed in the hall.

Stay tuned for an update about more of our poetry work for National Poetry Month!

Boxitects STEM Challenge!

Boxitects, by Kim Smith, is a book about Meg, a brilliant and creative child who can make masterpieces out of cardboard! Meg is so talented her mom decides to send her to Maker School. There, Meg meets Simone, another Boxitect, and the two creators don’t exactly get along. The story highlights the importance of collaboration and teamwork, as well as thinking “outside the box” (*ahem*) when considering what materials can be used to create works of art. This is a perfect book for teaching and learning online as it reminds children that they can use simple materials they already have at home to build and create with!

Click here to visit Kim Smith’s website to learn more about the book: https://kimillustration.com/index.php/portfolio/boxitects/

I discovered Boxitects because it was selected this year in The Forest of Reading shortlist for The Blue Spruce Award (for Canadian picture books for children in Kindergarten to Grade 2). The Forest of Reading program is run by the Ontario Library Association and aims to spread the word about new and wonderful Canadian books and foster a love of reading. Readers of the books are encouraged to vote on their favourites, and winners are chosen based on votes cast. I always find The Blue Spruce award-nominated books to be wonderful resources for teaching. If you are interested, you can visit the Forest of Reading website to learn more about this year’s shortlisted works as well as lists from years past: https://kids.tpl.ca/ready-for-reading/books/booklist/blue-spruce

After reading the book, we watched the video above to find out why cardboard is such an excellent material to build and create with! In the video, the author of Boxitects, Kim Smith, demonstrates why corrugation makes cardboard so STRONG! She also talks about how much she looks forward to seeing what the children will make with their cardboard and asks for us to send her photos of our creations – something my students were particularly excited about!

After reading the story and learning about carboard corrugation, we gave the children a challenge to create something (anything!) with the cardboard they had at home. Since we are learning remotely, it was important to me to provide my students with plenty of material options for this project. We talked about using carboard boxes used to ship parcels, shoe boxes, cereal boxes, egg cartons, and even paper tubes! Prior to the lesson, I asked our families to gather their materials so the children would have them ready for exploring. I also asked the children to bring their science notebooks (sent home in their remote learning kits) so they could work on drawing a plan or brainstorming ideas about what they could make prior to building.

And then they were off! Our Boxitect challenge was listed on this week’s choice board, which meant the children had all week to work on it. Each day, as children finished their creations, we spent time during Reflection sharing and talking about them. There was such a variety of ideas presented: from houses, to boots, to robot costumes, to airplanes! I began compiling photos of the children’s creations in our special “Boxitect Gallery” slides. My Twitter timeline has been filled with amazing ideas for teaching remotely this year, and the “Art Gallery” idea (originally posted by Kenrick DeoDat – @KenrickDeodat) has to be one of my favourites! My students are incredibly motivated to send me photos of their art works and creations when they see that they’re going to be displayed in a beautiful “art gallery” or “museum.” The art gallery is a way of highlighting the work the children are doing and communicating that what they learn and create is special and has value. At the end of the week, I posted our Boxitect Gallery on our online classroom for everyone to see.

Online learning in Kindergarten can be a challenge. I’m always looking for ways to give the children opportunities to play and create as they would if they were in person at school. This Boxitect challenge reminded me of the kind of excitement we would experience in our regular classroom – the children excitedly talking about what they could make, drawing plans in their notebooks, and getting creative with materials.

If you would like a copy of the Google Slides I prepared for presenting this to my class (including a copy of the gallery ready for editing), click on this link and “Make a Copy” for yourself: https://docs.google.com/presentation/d/19sAoUsLa6HPZ8wAAhuJfWd7Frvk_HU6mGG2Y3jhqN5E/copy?usp=sharing

Converting an iPad into a Document Camera

We’ve almost made it through our first week of learning remotely in Kindergarten! My hat is off to any of you who have been doing this since September! It’s been a big learning curve but thankfully, I have a wonderful community of colleagues online who have inspired me and given me confidence that I could make this work.

Today I thought I’d share a hack I figured out this week that has been a *lifesaver* for teaching live: turning my iPad into a document camera. I’ll do my best to lay out how I got this to work.

First off, these instructions are for you if you are using Google Meet for your live meeting, a PC computer, and an iPad. I could not find instructions online for this tech set up which is why I’m sharing mine here. I did find some instructions for doing this on Zoom, so I think my method will work for that meeting platform as well (maybe).

Start your meeting. I first log into my Google Meet on my PC. Then I log into the same Google Meet (with the same Google ID) on my iPad (so I am logged on twice in the meeting). It is very important to mute your microphone and turn off your video when you log in. You also have to make sure (this step is CRITICAL) that your volume controls on the side of the iPad are as low as they can go (off/muted) or else you might get feedback.

When I want to use my iPad as a document camera, I click on on the meeting controls on my iPad and choose “share screen” and “start broadcast” and then open my camera on the iPad. It will share what my camera sees with my students in the Meet.

You will need a stand of some kind to put your iPad on. I built one out of Duplo and a cookie rack (yup, really. Desperate times!). The cookie rack is helpful because the camera lens fits between the bars and the bars also fit nicely on the round pegs of the Duplo, which keeps it from slipping. I taped my Duplo base to my desk for added stability. There are probably a million different ways to make a stand that will work just as well depending on what you have at home. This is the best I could come up with given the time (and I didn’t want to spend any money on it either!).

An engineering masterpiece!

This is how it looks when I’m about to model a lesson for Writer’s Workshop:

Ready for a mini lesson!
Ready to read!

*I should add that I had been encouraged to try using my Osmo and iPad as a doc cam, but that didn’t work for me. If you didn’t know this is possible, give it a go and see if it works for you. The Osmo was super easy to set up, but I had a long time delay when I presented it in my live meeting and it didn’t end up being what I needed. But maybe it will work better for you, and then you won’t need any Duplo or a cookie rack!

I hope my instructions were clear enough and that if you decide to try setting this up that it works for you! Wishing all of you the best as we carry forward with our remote learning journeys!

Kindergarten in the Time of Covid-19

Here we are at the start of another school year, but this one feels like no other. When I blog, it’s usually because I have an idea I want to share, or an experience I want to reflect on. But at the moment, I don’t really feel like I know what I’m doing. Due to many parents selecting online learning for their children, my school is redeploying several teachers. I happen to be one of those teachers – but only part time. Half-time redeployed. Yikes! Lucky for me, I will be doing the other half of my day at school in my most favourite role: Kindergarten.

Like many of you, our team has been working hard getting our room set up for our new students this week. We didn’t get a lot of guidance on exactly how Kindergarten should look during a pandemic. I’ll be honest – I have struggled with advice like “keep the children socially distanced but also make sure they play together.” What does that even mean? What does that look like in a practical sense?

Instead of getting myself overwhelmed with everything that will be new and different, I am centering myself on what things I think will be the same. As soon as I started thinking about our program in this way – what we do that is of high value that does not need a lot of tweaking to meet covid-19 safety regulations – I immediately calmed down. Here is a list of things I envision continuing mostly as they did before. You can click on the links for each one to visit past posts where I explain how these work in our class. Remember, those posts were written pre-covid and our processes will change slightly to address additional safety protocols this year.

Reflection Time: Our daily time to meet and reflect on what we’ve learned and discovered throughout the discovery block will continue. We won’t be sitting cozily together on the carpet as we did before (all carpets have been removed from the classroom), but we still have space to meet together and share our thinking. You can read more about how reflection time works here and why it’s such an important part of our day: https://thecuriouskindergarten.blog/2016/04/09/noticing-and-naming-our-learning-the-reflective-process-in-fdk/

Writer’s Workshop: The main difference this year is that each student will sit at their table spot for the mini lesson and will have their own kit of writing and drawing materials to use instead of sharing. We already have our writing notebooks prepped for our new students and I can’t wait to see them filled with the children’s stories. If you want to read more about how we run Writer’s Workshop in our class, you can click here: https://thecuriouskindergarten.blog/2016/12/30/writers-workshop/ (A pdf for the notebook cover is also available in that post).

Math and Science Investigations (M.S.I./S.T.E.M.): The great thing about M.S.I is that the children already work from an individual bin, at their own spot. This is a perfectly covid-appropriate activity that can continue essentially as it normally would. Right now, our M.S.I. shelf (a large rolling cart with bins of building materials) is covered in a tablecloth. When it is time for M.S.I, we will open the shelf for children to choose a personal bin to build with for the lesson. Afterwards, bins will be returned to the shelf and covered until our lesson the following week. Because the materials will be sitting covered and unused for 7 days (“quarantined”), we do not have to disinfect each bin after the M.S.I. block is over. For more information on what we do during our building block, click here: https://thecuriouskindergarten.blog/2014/03/29/math-and-science-investigations-m-s-i/

Art and Fine Motor Instruction: Like Writer’s Workshop and M.S.I, this is another program that already operates with students using personal materials. For each lesson, students receive a whiteboard, white board marker, and piece of cloth for erasing. Each of these items has already been assigned to our students as part of their individual school supply kits. Rather than sit together on the carpet for the drawing lesson, children will sit at their personal spots at our classroom tables. Otherwise, the lessons will carry on as they did before. To read more about what we do during Art and Fine Motor Instruction, click here: https://thecuriouskindergarten.blog/2014/01/16/art-and-fine-motor-instruction-snowflakes/

Outdoor Learning: Outdoor learning will continue to be a big part of what we do at school this year. Our morning and afternoon meetings will be continuing out of doors in our special meeting spot (this year, arranged to accommodate some social distancing). This is where we will sing, read, and have discussions. We will also continue to use the outdoors to drive our inquiry process. There are so many things to discover in the garden, on a walk, or in the sand box. For a list of books you can use to spark inquiry outside, click here: https://thecuriouskindergarten.blog/2016/10/20/read-alouds-for-outdoor-learning/

To read more about how we’ve used the outdoor classroom in the past, click here: https://thecuriouskindergarten.blog/2013/09/22/learning-in-the-outdoor-classroom/

This is what I have to get myself started. As the week goes on, our team will be reflecting on what is working and what isn’t and making changes accordingly. As things become more clear, I hope I can share some of what we find to be successful. This is a time when as educators, we need to work together to share our best practices and our successes. We are all in this together!

Playdough Provocations: Treasure Maps!

IMG_8683

Treasure Maps!  The book in the background is My Map Book by Sara Fanelli.

This provocation combines three of my favourite things: play dough, loose parts, and maps! Children often have a natural interest in map making – and why not? Maps are often associated with fantasy and appear frequently in children’s books. They also appear in many electronic games, are used in many vehicles (I had a student lecture me on the benefits and uses of GPS recently), and can help children make sense of their environment. Map making is also an accessible way to engage beginning writers as they can include any combination of pictures, symbols, and words.

For this provocation we were aiming for “treasure maps” as these were the kind of maps appearing in the children’s play at the small building centre and sand table, but the materials were open ended enough that the children could really create whatever they wanted with them. It is important to me that although we have an idea of what we think the children might do with the materials we set out, there is always room for the children to use the materials creatively.

First, the children rolled out their sandy play dough. Then, they used the loose parts to create a map on the dough – blue gems for rivers, stone walkways, flower gardens, forests, stick bridges, etc. The children were encouraged to draw their maps and landmarks on a treasure map recording sheet (you can download a copy here: My Treasure Map). We had gold coins that the children hid under their playdough maps. We talked about marking the location of the treasure on their maps with an “X” and had great fun trying to figure out where the coins were hidden by reading the maps the children had created.


We continue to be impressed with the children’s ability to record their creations on paper. The children put a lot of detail into their maps – looking carefully at the shape and location of their landmarks and choosing coloured markers to match their loose parts exactly. Here are some pictures of the children’s work:

IMG_8699

S.E.: My island has a fire, a tent, a garden, a forest, a river with a bridge going over it, and a house. Can you tell where the treasure is hidden? I marked it with an ‘X’!

IMG_8711

B.B.: I made a treasure island. The guy is guarding the treasure. I put an ‘X’ to show where the treasure is.

IMG_8697

C.G.: I hid two coins! I made a river with a bridge, a house, a forest, and a garden. There’s a jungle too!

IMG_8678

F. M.: I’m making people on the sticks so they can look for the treasure.

IMG_8695

IMG_8702

IMG_8720

IMG_8685

Have your students shown an interest in map making? What are some of the ways you’ve responded to this interest in your class?

The Super Hero Inquiry Project

IMG_7950

Last year my class was absolutely OBSESSED with Super Heroes. They were everywhere in the children’s play, indoors and out, but most especially at the small building centre. It really all started with two boys who began creating super heroes out of linking cubes. After sharing their creations with the class, more and more children began turning up at the small building centre to make and play super hero games.

IMG_7970

Can you guess who these Super Heroes are??

At the same time all this was going on, one of my favourite bloggers was also experiencing some Super Hero mayhem in her class. Mrs Meyers began posting some amazing STEM ideas based off the characteristics of Super Hero stories (along with many other super hero related questions, which she wrote about in her blog here: http://mrsmyerskindergarten.blogspot.ca/2017/03/what-we-learned-by-investigating.html)

All of the ideas we tried were hugely popular and led to a lot of experimentation and conversation in our class. We added some of our own provocations based on the children’s overall interest in certain materials (e.g., Plasticine, Lego). Here is a gallery of some of our work:

32a235eb56fb

IMG_7739

283586756858

This STEM flying challenge was VERY popular and led to a lot of collaboration and teamwork. In fact, many children challenged themselves to come up with multiple ways of making these Duplo characters fly. One group of boys was ecstatic when they figured out how to make a catapult. For days, Duplo Super Heroes were flying across the classroom!

e91c2a177239

Another gem from Mrs Meyers! Our students loved making their own spider webs and looking in the non fiction books to learn more about them.

FGZJ4032 - Copy

By far the most popular provocation was this one which gave the children an opportunity to create a Super Hero out of Plasticine (modelling clay). Most students came here often to make a number of different Super Heroes. We loved sharing these at reflection time and talking about the aspects of the costumes that helped us identify each Super Hero’s identity. I was amazed at how detailed these creations were! We had a collection of Super Hero readers which I gathered from the library that the children were intent on consulting as they worked to make sure they got everything just right.

IMG_2594.JPG

A few of the super hero readers we had out in the classroom. These were SO popular – even the most reluctant readers were eager to look at these.

One of the thinking routines we relied on heavily for this project was “Can…Have…Are…” This unique take on a concept web really helps focus the children’s thinking on a specific topic. We used it to organize our thinking about villains, specific superheroes like Spiderman, and about Superheroes in general. Each time we used it, the children got more skilled at communicating their ideas.

5477c5962e05

What Superhero inquiry would be complete without some creative costume making? The more we talked about superheroes, the more interested the children were in developing their own superhero personas. We used small cardstock cards to make masks and plastic table cloths to make capes.

We wrapped up our learning with a “superhero day” where everyone came to school dressed as their favourite superhero.

IMG_2597

In addition to celebrating our learning with a Super Hero day, we also celebrated by creating a display of our work. The children were so incredibly proud to see their work on display and could often be found admiring their work with classmates and friends.

89855ba4e949

A BIG thank you again to Mrs Meyers for sharing her class’s learning online and continuing to inspire me and my students!


The Snowman Poetry Project

d825a1fb3739

Previously, I blogged about our Snowman Poetry Project using playdough snowman creations as the basis for our creative writing. You can read about it here: https://thecuriouskindergarten.wordpress.com/2014/11/21/playdough-snowmen-inspiring-young-poets/

Well, last year we took this project to a whole new level by using the Chatterpix App to present our written works. The children absolutely LOVED recording their poems using the app and making their playdough snowmen come to life!

As before, we started by having each student make their own snowman out of playdough and loose parts. Each creation was photographed for the project. I saved them digitally and also printed a hard copy of each picture for the children to use when writing their snowman poems.

8f2952c9e8e1

Prior to writing our own poems, we spent some time examining poetry together. Since the children were going to be writing about snowmen, I chose a poem about making a snowman called “Snowballs.” This is a rebus rhyme, which I like because it shows the children how a picture can be used in place of a word (something many children did when they wrote their own poems – e.g., drawing a scarf instead of writing “scarf”). It also uses a counting pattern which many children were inspired by. The poem ends with the word “Snowballs!” which we emphasized is a nice way to finish a poem in an exciting way.

DSC06918

Poem by Vera Trembach from Rebus Chants Volume 1: For All Seasons 

After writing their poems, the children uploaded the pictures of their snowman creations into Chatterpix and then read their poems aloud. You can see from the videos below that the results were pretty fantastic! The children were extremely proud!


One of the things I like about the Chatterpix app is that it motivates even the shyest students to share their work. It is a “low risk” way of sharing, because the children can record their work until they get it the way they want (we usually go to a quiet place to record) and we share the video on the whiteboard so the children don’t have to stand in front of the class if they don’t want to.

Have you been using Chatterpix with your class? What other apps do you find useful and engaging?


Inspiring young authors: Secret Surprise Eggs!

Riddle writing is always a popular activity in my class from year to year. I first introduce riddles to my students through a “secret in a bag” show and tell project (I try and provide different ideas for “sharing/show and tell” throughout the year, and “secret in a bag” is one of them). Each day, one student takes home our “secret in a bag” bag, selects a special object from their home to put inside, and writes three clues about it to share with the class. The next day, the student brings the bag to school, reads their clues, and our class tries to guess what the secret item is. My students LOVE this learning opportunity.


Since “secret in a bag” is so popular, I thought the children would be interested in another opportunity to write riddles. Last week at the playdough table, one of my students, B.B., kept making eggs with his playdough and burying objects inside. He would bring his “egg” to me and gleefully laugh as I broke it open to reveal his “surprise.” On one occasion, I asked him to give me a clue about what I might find inside and that’s when I had my “aha” moment about what our next riddle-writing provocation would be!

On the weekend, I picked up some large plastic eggs from the craft store. I wanted the jumbo sized eggs so that the children would be able to choose different sized items from the class (my eggs could easily hold an object as large as a marker or pair of scissors). I could only find jumbo eggs that were clear on one side, so I painted them with acrylic paint to make them opaque and keep the secret items hidden from view. I purchased 5 eggs, each with a different colour so that we would be able to know which egg belonged to which student.


When I introduced the centre to the children, I called it “secret in an egg” so that they would immediately know exactly what they were supposed to do (“I know! It’s just like secret in a bag!”). I also credited B.B.’s playdough egg surprises as the “inspiration” for this new idea. We often talk of being inspired by each other’s learning or creations in our class, and it always makes the children so proud to know their “good thinking” is helping their classmates.


I created a recording sheet for the children to write their clues on with the title “What’s in my egg?” and an egg outline for them to draw their answer in. I stapled the clue sheet on top of the egg drawing so that after we emptied the plastic egg, we could still put up the riddles with the answer sheet underneath. You can download a copy of the recording sheet here: Secret Surprise Egg

E.L.: “It is pink. It comes from a bird. You can find it in a nest.” Answer: an egg!

We share our secret surprise eggs every day during reflection time (in the morning and again in the afternoon). I hope you’ll give it a try! It’s been a wonderful motivator for even my most reluctant writers/speakers.

Playdough Provocations: Inventor’s Workshop!

img_5627

If you are looking for a way to jazz up the materials at your playdough table, I have a tried and tested provocation that I’m sure your students will love: The Inventor’s Workshop. I stumbled upon this amazing idea while perusing one of my favourite blogs: The Imagination Tree. On her blog, Anna has a list of over 50 ideas for using playdough which I go to whenever I’m in need of some inspiration. You can find her list as well as her recipes for playdough here: http://theimaginationtree.com/2013/01/the-z-of-play-dough-recipes-and.html

Before the children visited this centre, I set them up with some schema about what an inventor is by reading The Most Magnificent Thing by Ashley Spires and Rosie Revere, Engineer by Andrea Beaty (both titles pictured above). I have my own collection of technology cast-offs, but I also wanted to involve the children in the creation of this centre so I sent home a note asking parents for any old electronic materials that we could use. The very next day we got an awesome assortment of old wires (which we trimmed for ease of play), speakers, remotes, cell phones, etc. which we sorted into our loose parts tray. I also added some plastic caps and metal loose parts I had in my loose parts bin.

In addition to the playdough and a collection of loose parts, I also wanted the children to record their creations on paper. I created a recording sheet with “My Invention” at the top. I also provided the children with a new kind of paper to sketch on: graph paper. I told them it was a special kind of paper that planners and inventors might use. I even modeled how to draw a creation I made by sketching and labeling the parts of my machine (like the on/off button, etc.). The children couldn’t WAIT to give this one a go!

img_5565

img_5570

“This is the ‘off’ button!”

img_5596

These students were working independently until they realized they could connect their inventions together with a long wire. They were so excited about this discovery!

img_5712

“This is a ‘potato maker’ – it can make all kinds of potatoes: chips, french fries, mashed potatoes…”

img_5595

This student took time to colour and label her drawing to match her creation. “I put a check mark to show that it’s done!”

img_5591

“A Tic Tac Toe machine.”

One of the interests that developed from this provocation was an interest in robots. This was in part due to our experimentation with the apps ChatterPix and ChatterKid. Both versions of the app are nearly identical but ChatterKid has a three second countdown before it starts recording so that students know when to start talking.

chatterpix.png

Basically, ChatterPix allows you to bring photos, drawings, and creations to life. You simply “draw on” a mouth and record your message and your image will talk! Here is a sample that one of my students made. This particular student is generally quite shy, so him having the confidence to not only record something but then share it confidently with the class at reflection time was a breakthrough (you can click on the link below to see the video on Twitter)!

Here are a few of the robots the children created:

What I liked most about this provocation  (besides the fact that it is engaging, creative, and fun!) is that it provided so many opportunities for our students to engage in literacy behaviours. The children were actively telling each other about their inventions as they worked, negotiating the use of special materials, and of course recording and writing about their inventions. During reflection time, the class was rapt with attention listening to each other describe what their inventions could do and how they were made. Many students were inspired to visit (or re-visit) this centre after hearing about what their classmates had created there.

Have you ever tried an Inventor’s Workshop in your class? Are you using ChatterPix with your students? I’d love to hear about what you’re doing!

Snowflake Loose Parts

img_6187

Before the winter break we set up this loose parts provocation at the science table. The children thoroughly enjoyed touching and combining the materials to make stunning snowflake designs. I watched with interest to see how some children randomly placed their materials on the snowflakes (by clumping, stacking, and piling materials together) while others were meticulous about creating symmetrical designs. All you need for this provocation is a selection of colourful loose parts (I went with blue, silver, clear and white pieces. The children particularly loved the gems!) and some snowflake designs. I found these wooden and cork snowflakes at my local dollar store, but printed out templates would also work. This activity would also be beautiful on the light table!

Take a look at some of the children’s stunning designs:

img_6242

Happy winter!