Teddy Bear Picnic

Today I thought I’d share some of the learning we’ve been doing in our online Kindergarten this week. My hope is that someone out there will be able to make use of these slides, games, and lessons in the last few weeks of school. Our district is still learning online, which is a challenge for any grade, but particularly in Kindergarten. My teaching partner and I have been thinking about how to make these last days of online Kindergarten feel meaningful and special for our students. We decided to ask our students what kinds of things they would like to do this month and one of their ideas was a Teddy Bear Picnic! I’m sure other educators have noticed the frequency with which the children’s stuffies and teddy bears have appeared during online learning. These well-loved toys have no doubt been providing some much needed comfort to children as they’ve had to navigate many changes to their lives throughout this past year. We’ve tried to give space to our students to talk about their toys and share what makes them special. A whole week devoted to our students’ favourite cuddly comfort toys seemed like the best thing we could do!

I put together a choice board of Teddy Bear activities for the children to select from during their offline play block. If you click on the link you can make a copy for yourself: https://docs.google.com/presentation/d/19niGzeSwxbxzqO8m6aPczML8-8_2XJWToS-C5i5FL9Q/copy#slide=id.g817afc7eb5_0_35

In addition to the choice board, I developed some lessons and games to support the Teddy Bear interest.

In math, we played a version of “Race to 20” where we raced to see which team could get their 20 bears to the picnic first. My students *love* playing Race to 20. In the online version, their favourite part is taking turns “controlling the dice.” I press play to get the dice rolling and I choose one child on each turn to be the “dice master” who gets to stay “STOP!” to tell me when to hit pause on the roll. I let the children decide which team they want to be on (red or yellow in this case) or we play Ms McDonell vs the Class (which they also love!).

Click on the link to download a copy for yourself: https://docs.google.com/presentation/d/1i4N9xJMGbfHOjKhm_EFH_bcSbhgf7rq70Jf5igX0-VQ/copy#slide=id.p

In another math lesson we learned the poem Teddy Bear, Teddy Bear, then read “Teddy Bear School Day Math” on Epic (https://www.getepic.com/app/read/17496). Each page of the story has a math question on it – counting bears, comparing groups, finishing a pattern, and so on. My students enjoyed the rhyming text and having an opportunity to answer a question on each page. https://docs.google.com/presentation/d/1d3D4ZRWCk5K_2QdXaCeA12umox-M4E2uY5nllITHMqc/copy#slide=id.gdfb0072501_0_115

Another fun math game is “Roll an Ice Cream.” I modelled this after the popular “Roll a Snowman” game we used in the winter. Like Race to 20, we use the same technique to take turns rolling the dice. We play to see who will be the first (teacher or class) to draw a complete ice cream picture. In addition to working on number sense, this game is wonderful for developing spatial awareness skills. Where does the cherry go? At the top. Where does the cone go? At the bottom. The children have to leave space to accommodate all three scoops, etc. They love this one! https://docs.google.com/presentation/d/1swyNLh240AkiXzXaCiHCZ7msLo9Yj3s2FkdIS00oVJk/copy#slide=id.gdd960d9021_0_0

For our STEM challenge this week, we worked on constructing chairs for baby bear. First, we reviewed the story Goldilocks and the Three Bears. All my students remembered what happened to poor Baby Bear – his chair was broken by Goldilocks! We wondered if it ever got fixed. Enter the lovely story: A Chair for Baby Bear by Kaye Umansky and Chris Fisher.

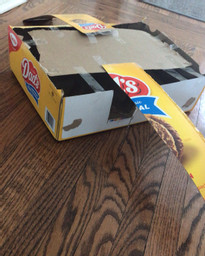
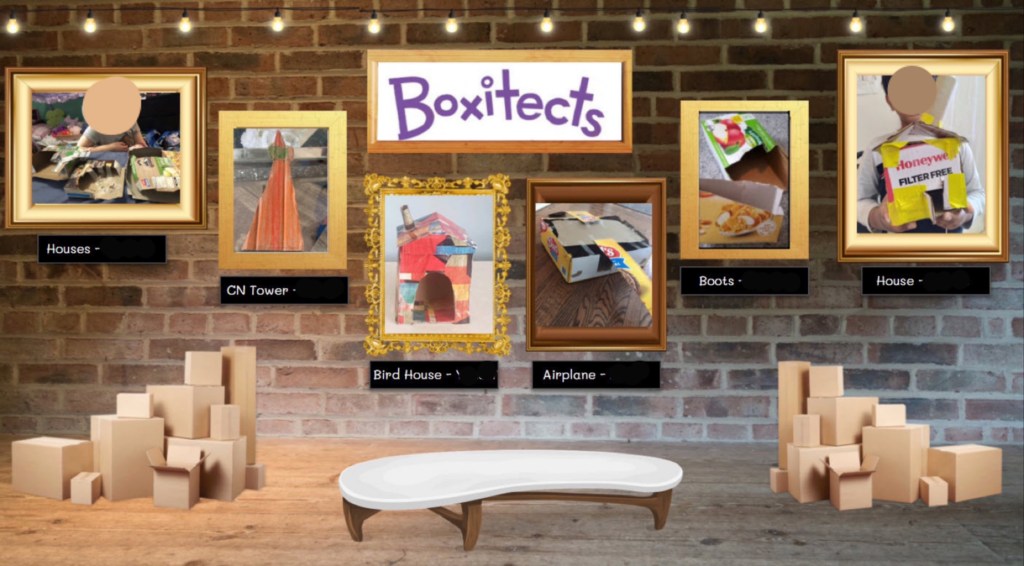
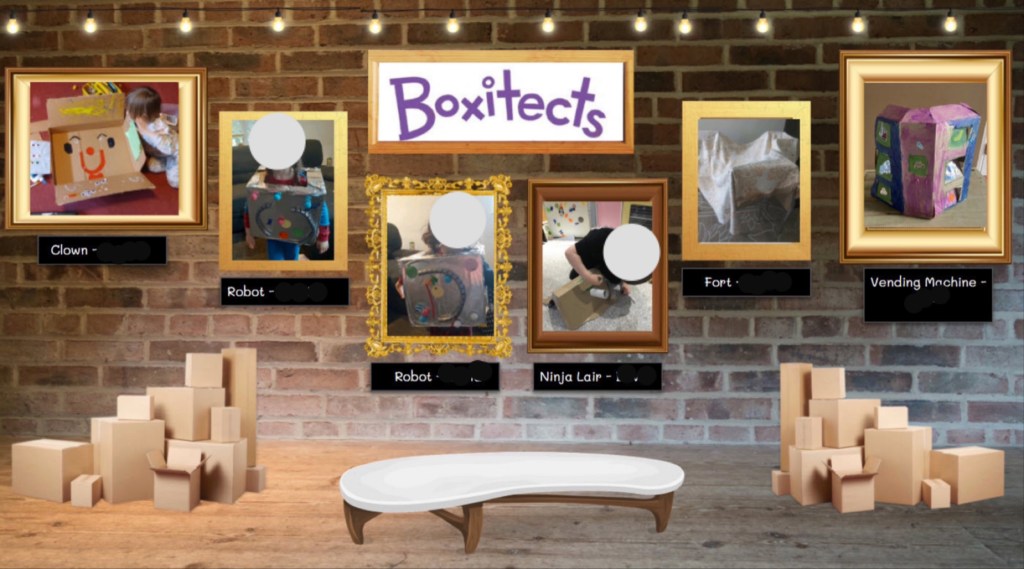
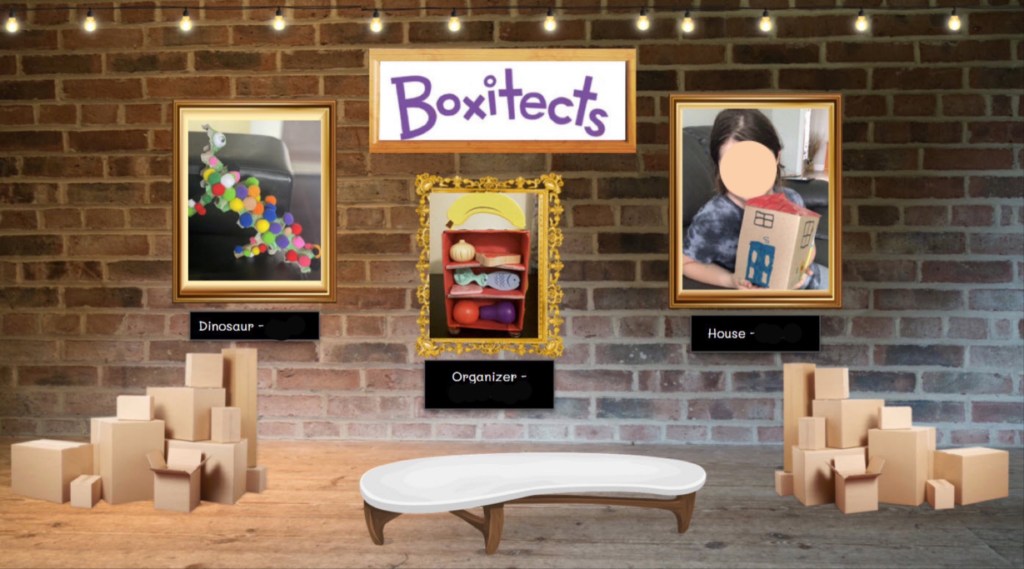
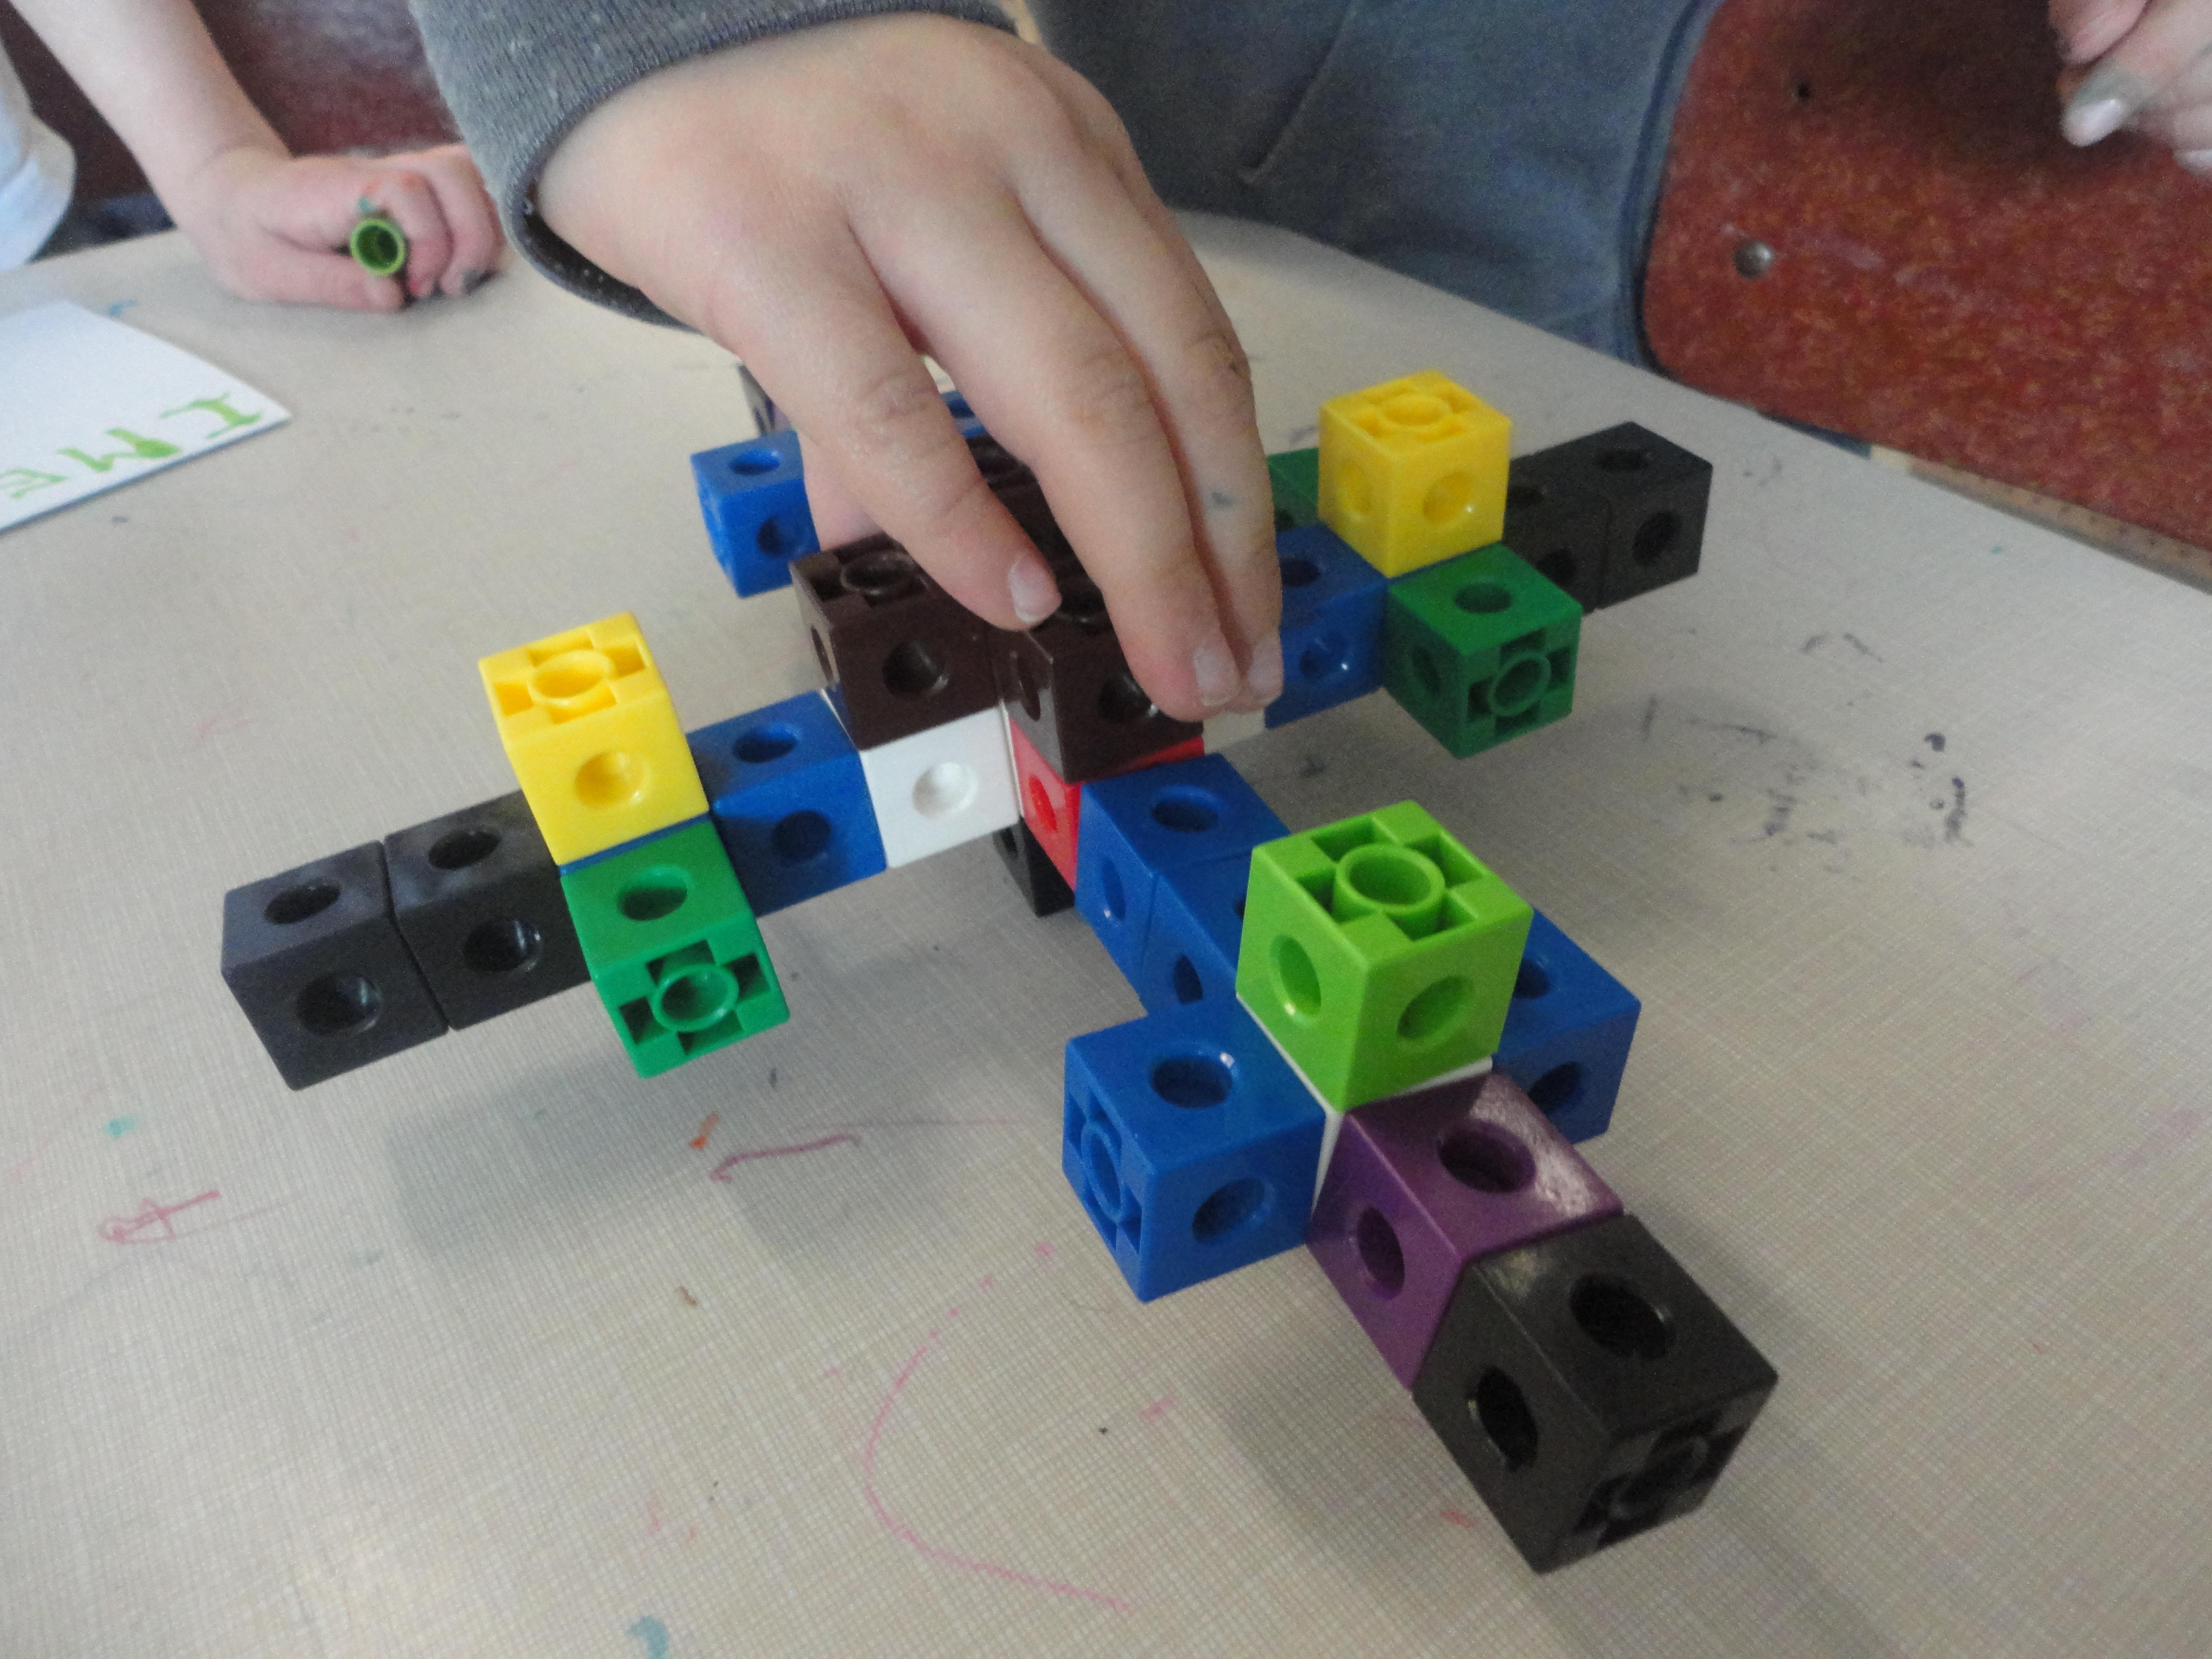
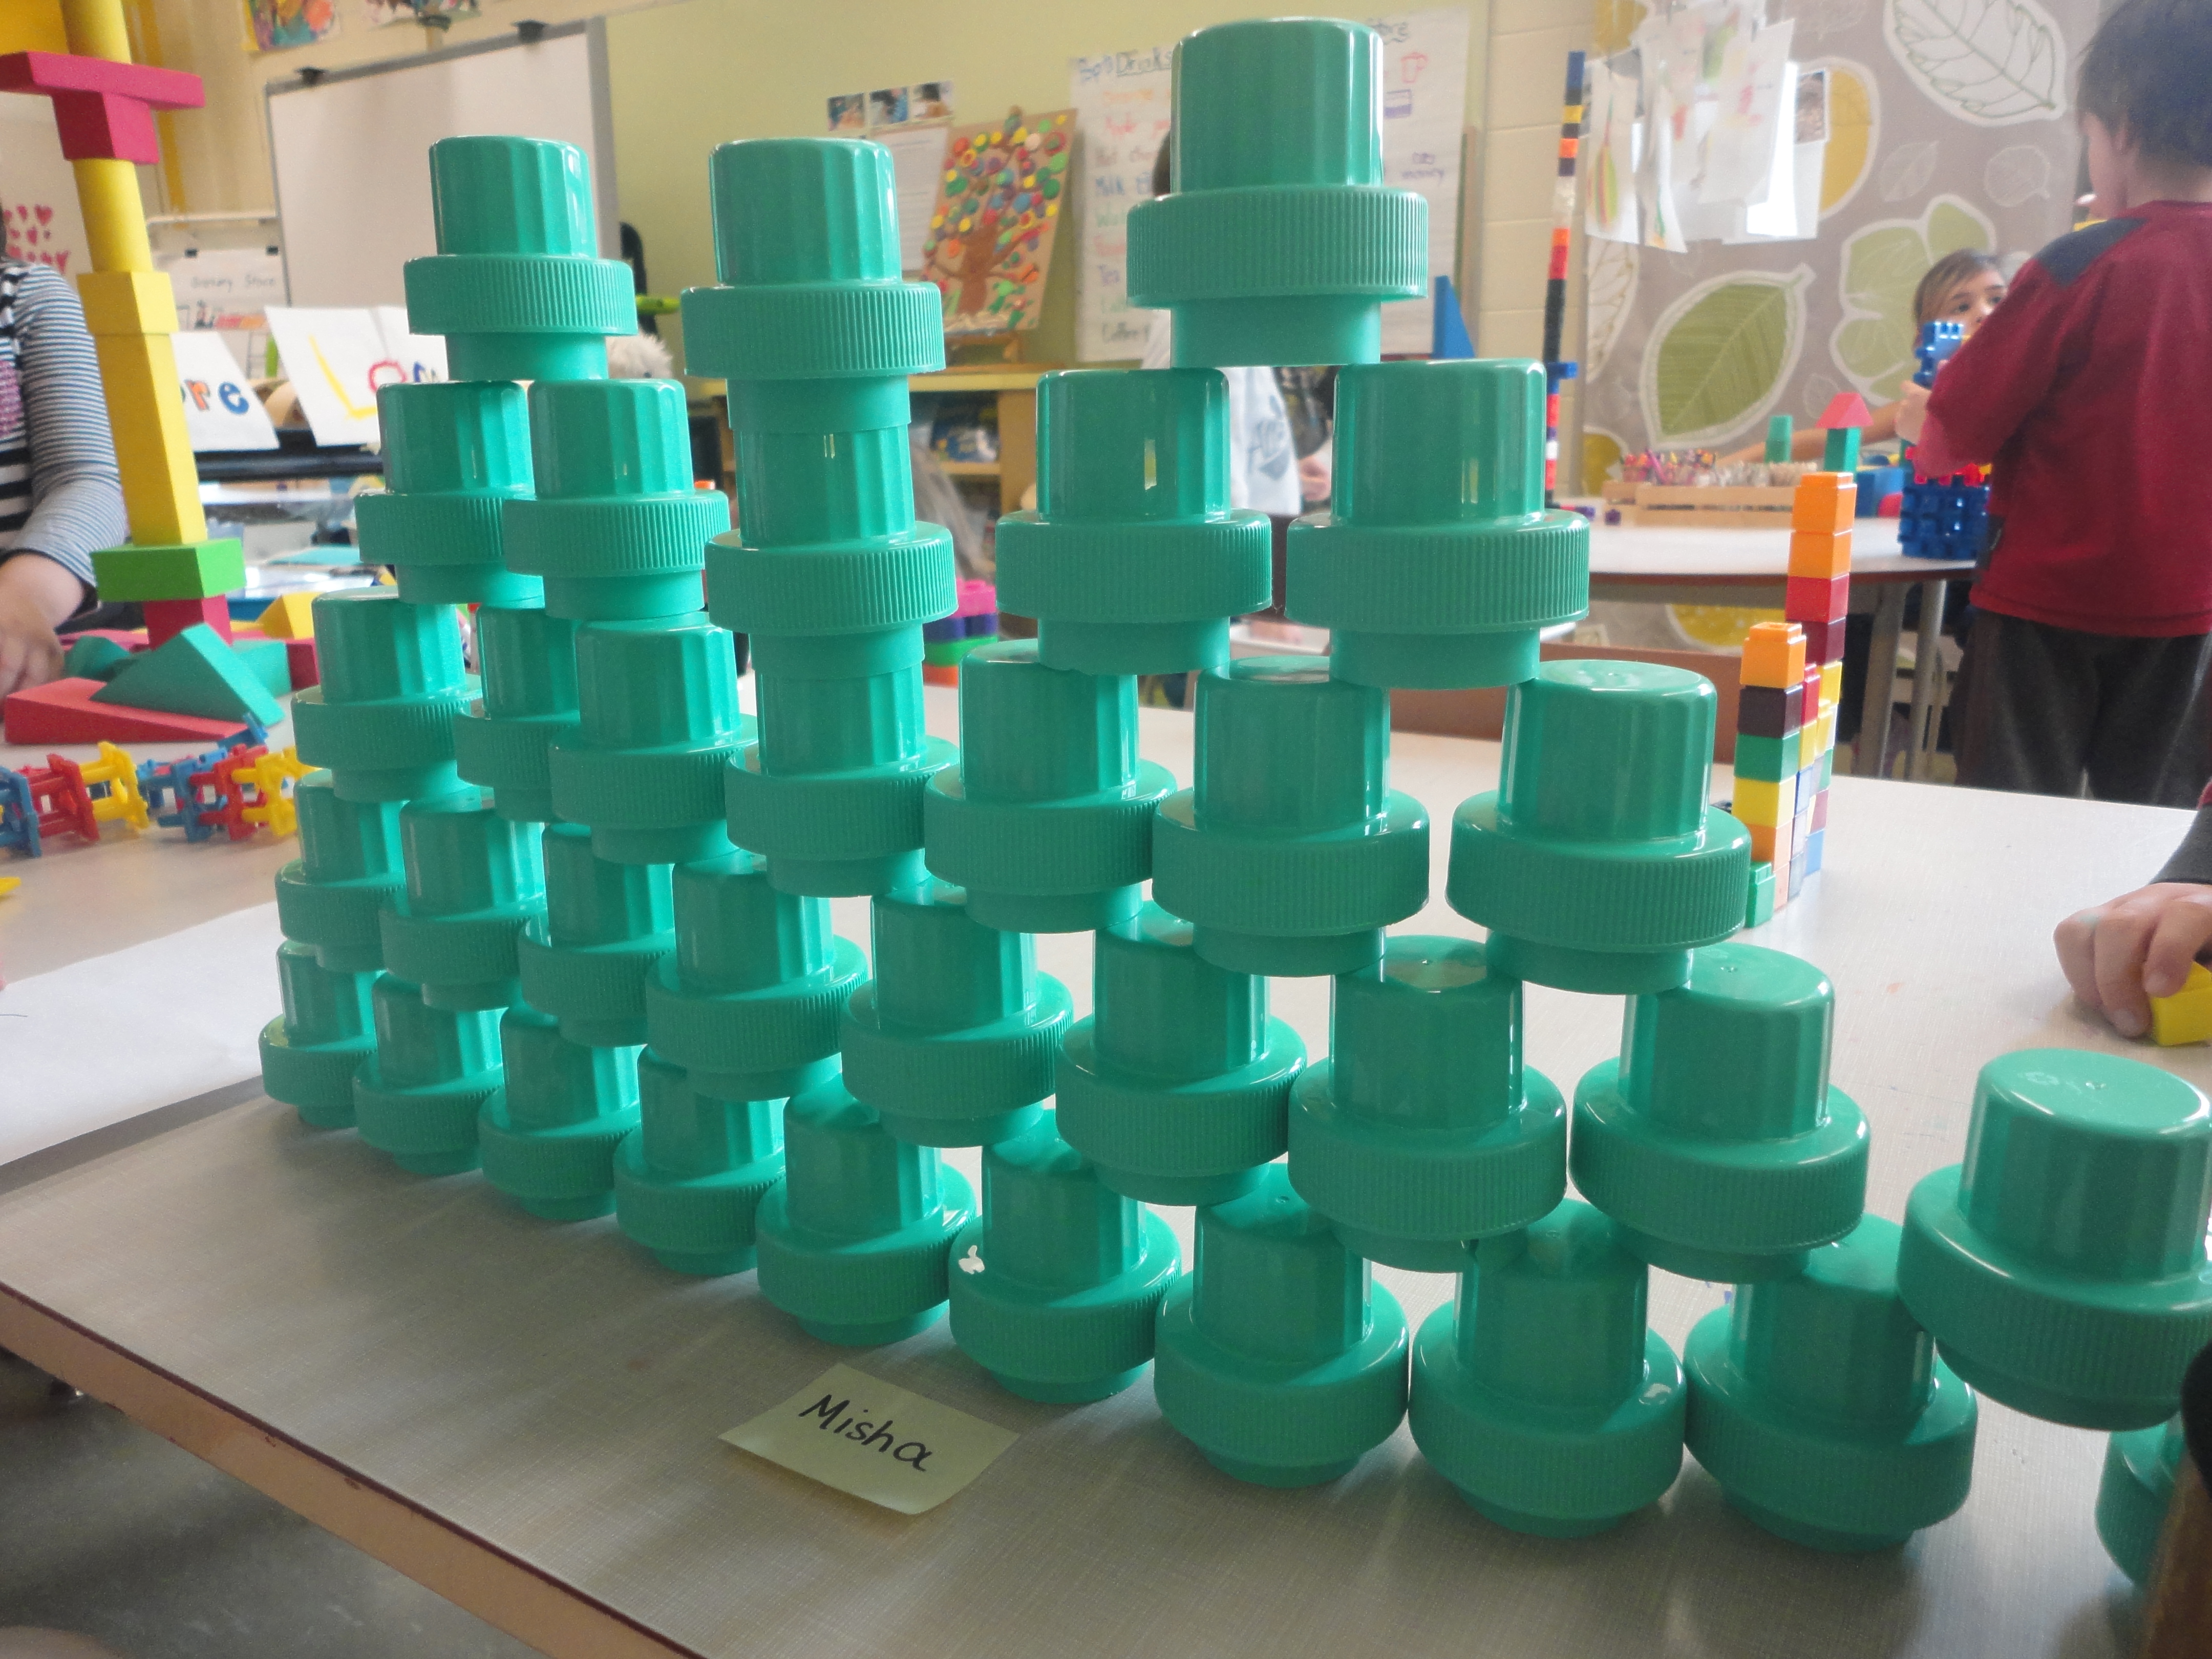
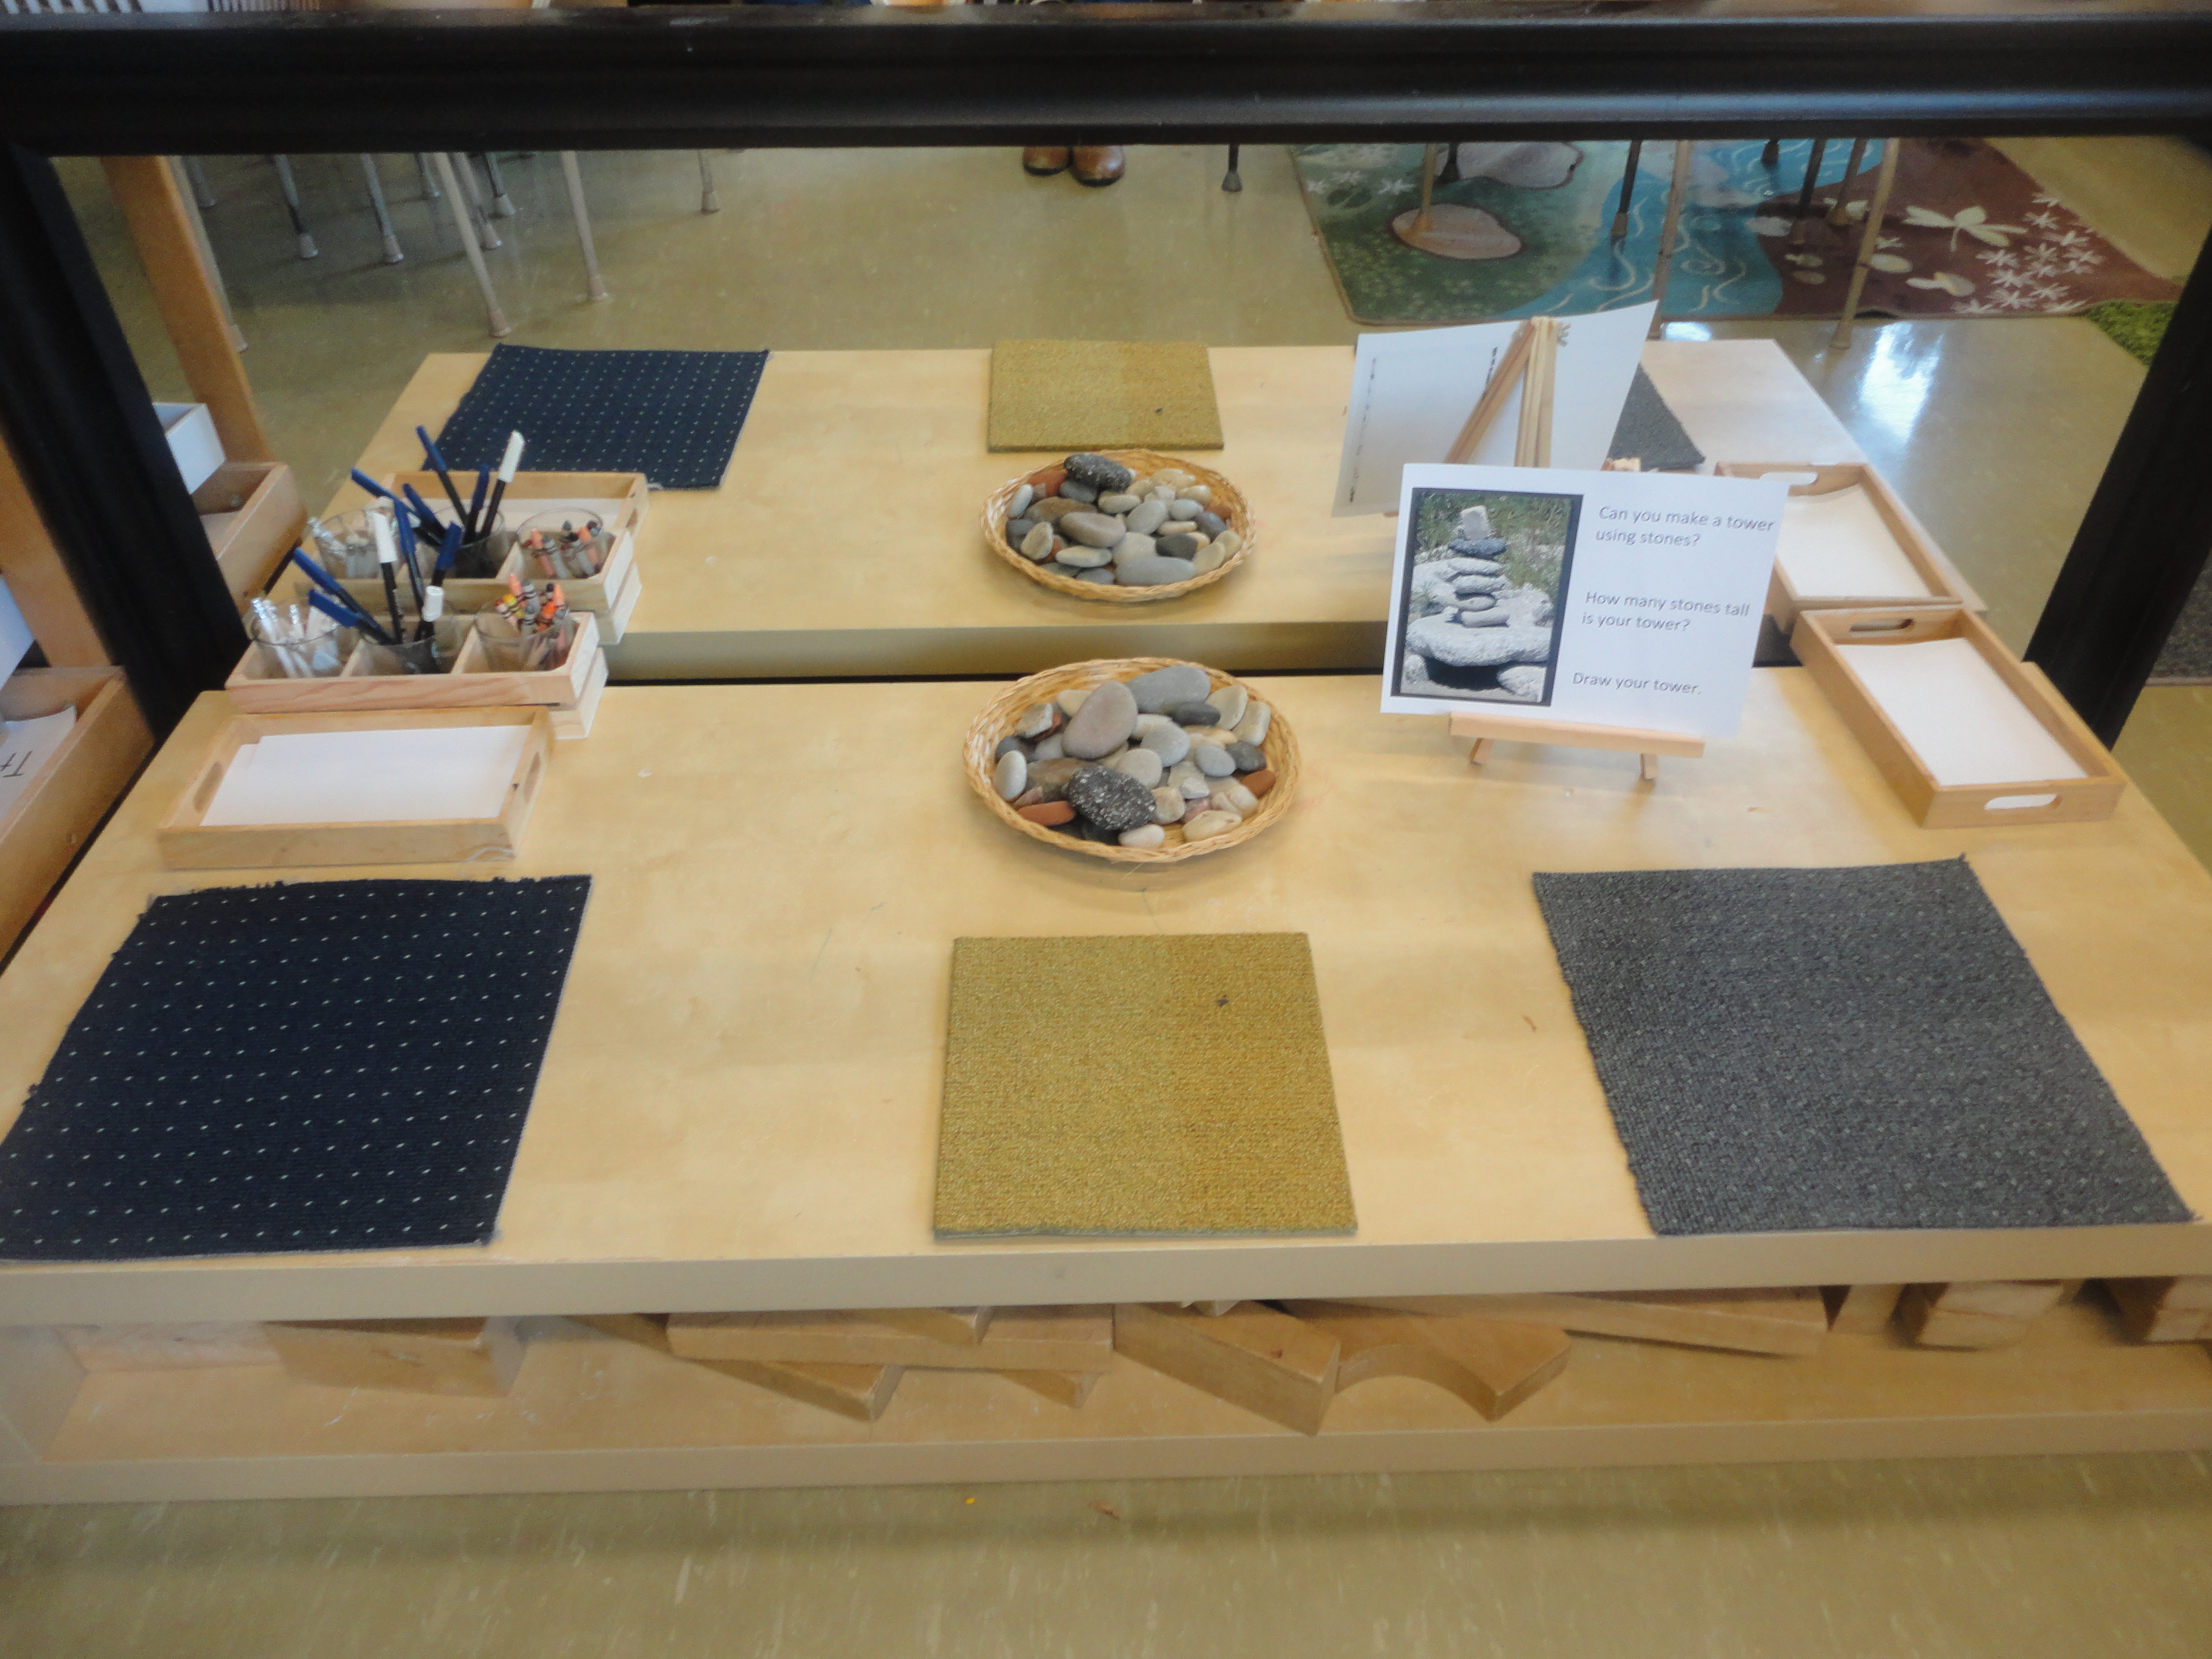
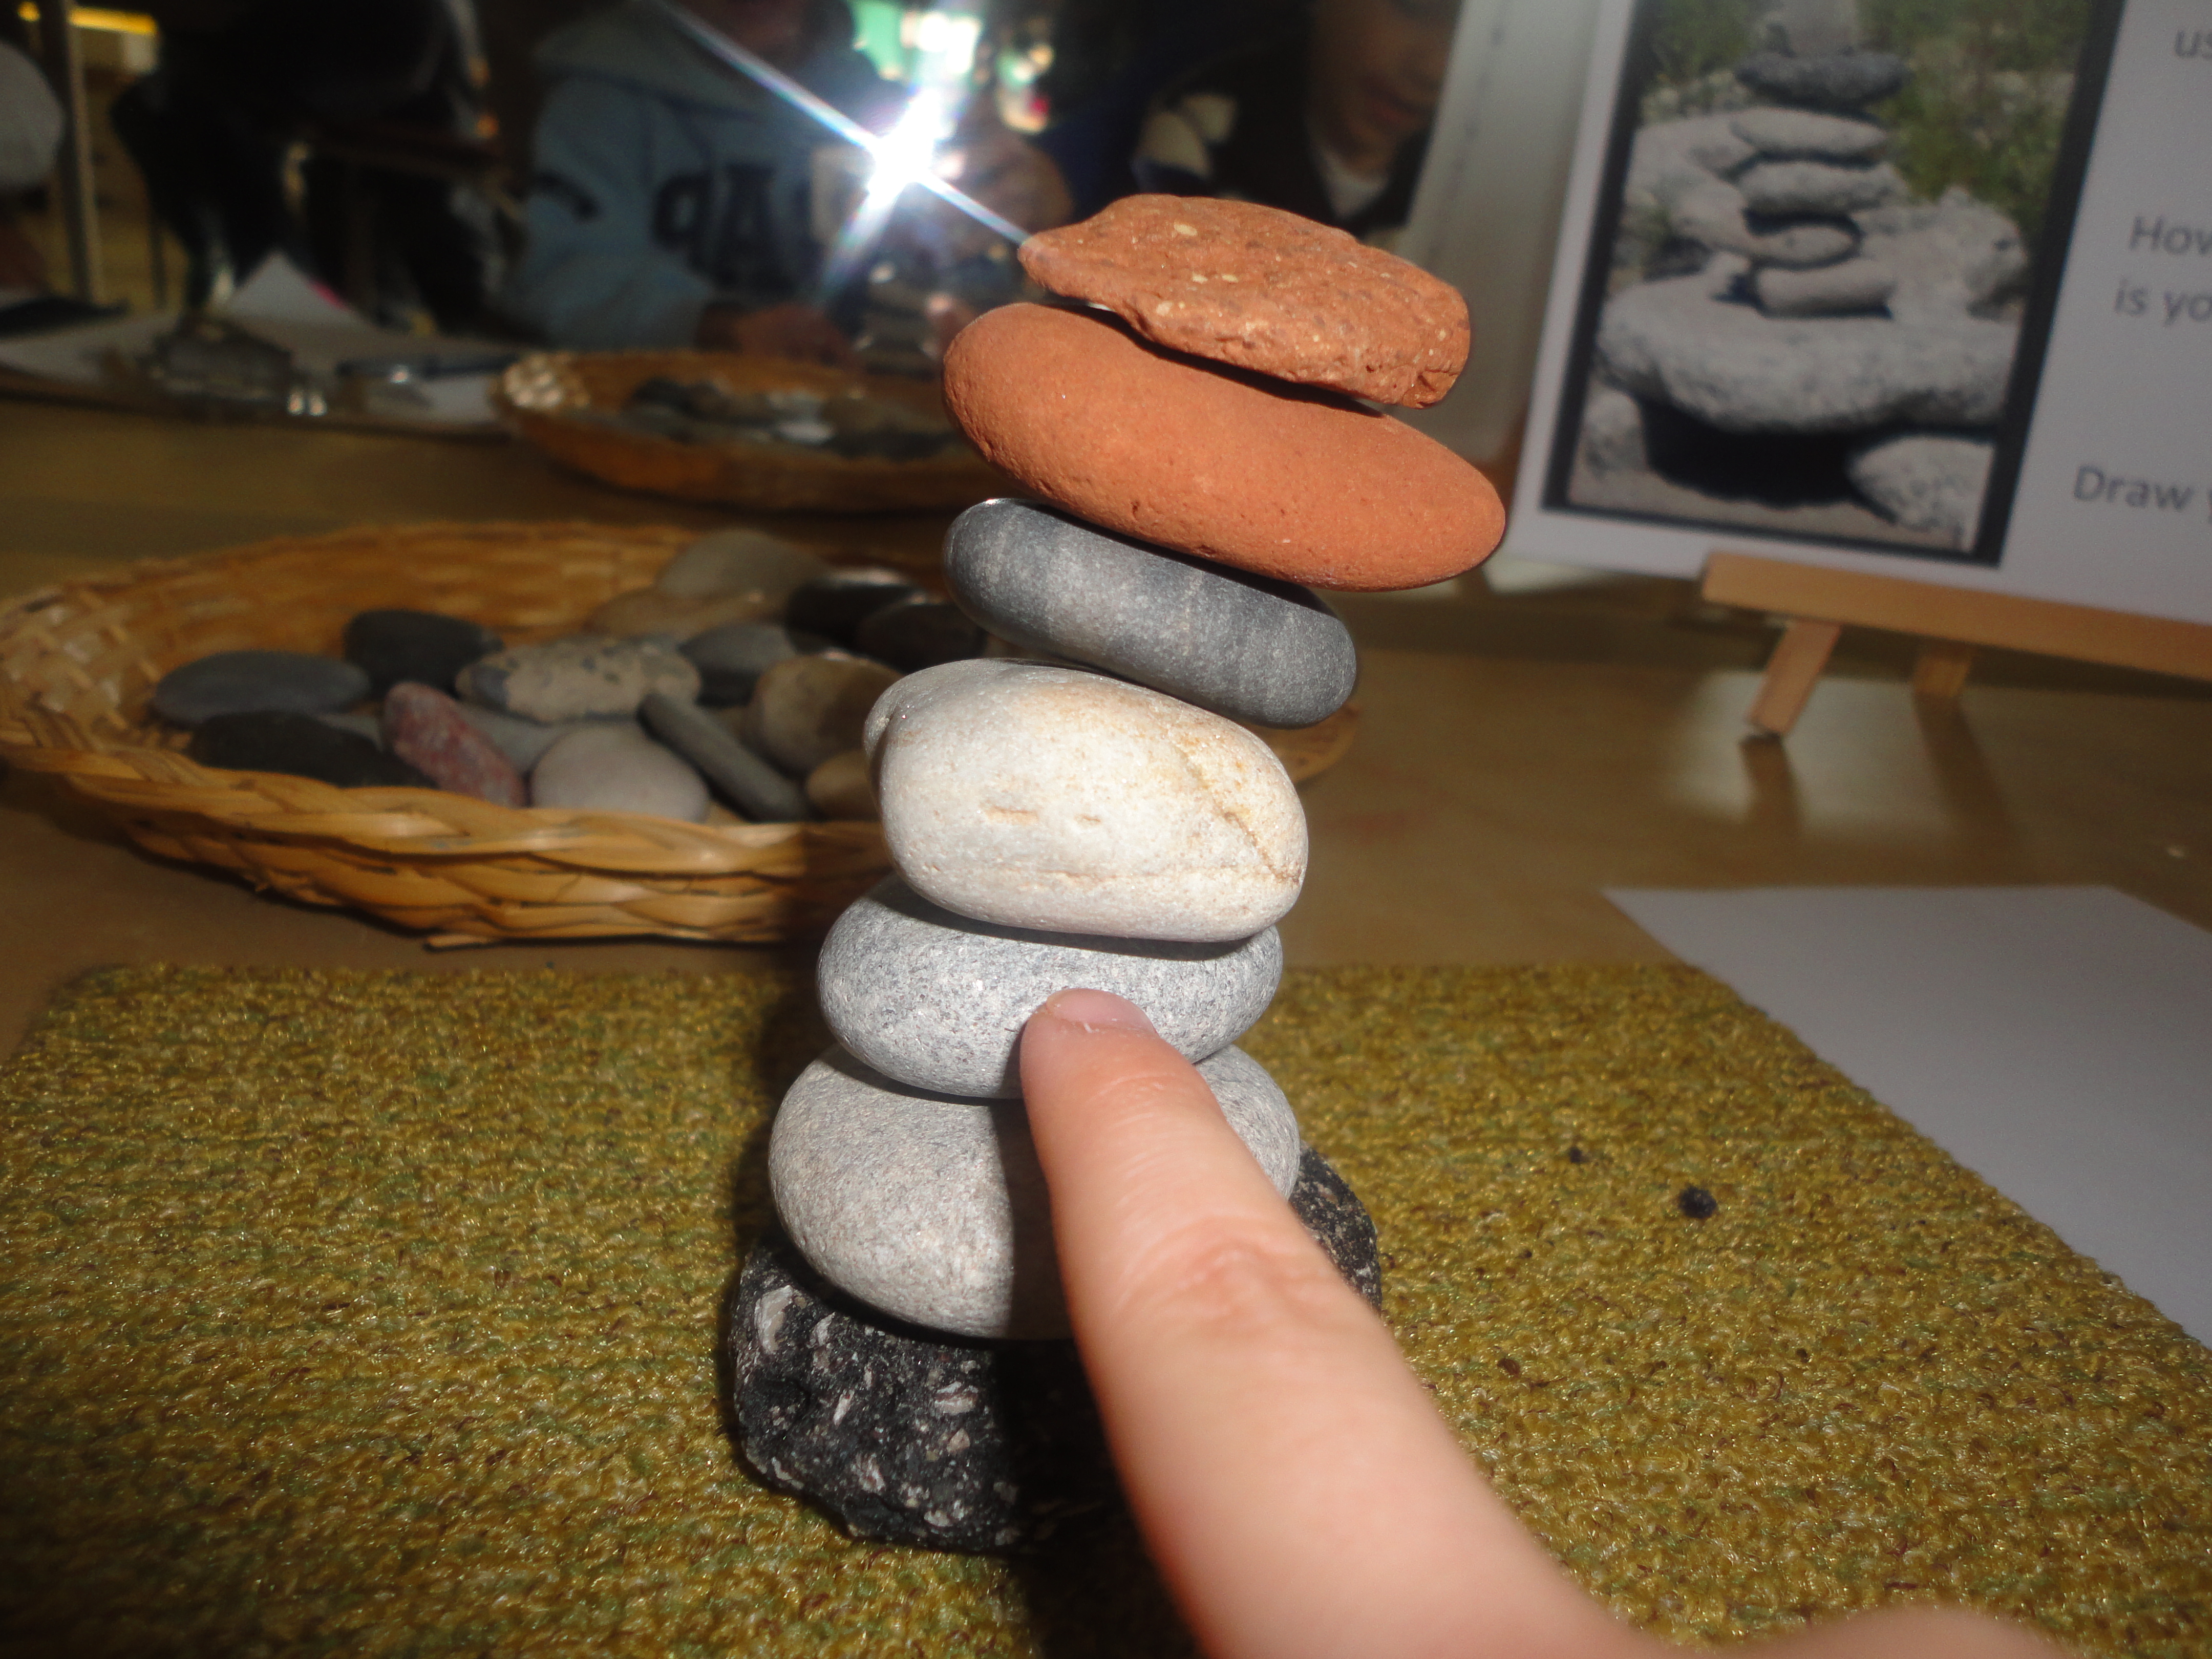
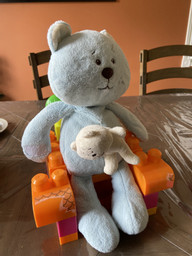
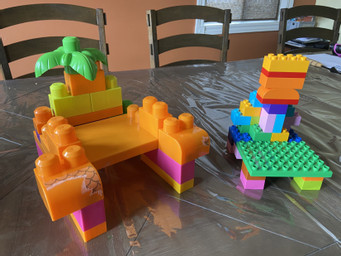
After reading the story, the children were asked to design and build a chair for Baby Bear. They could use their own teddy bears as models/testers (of course!). I showed them some samples to provide options for different kinds of materials they could use at home. The children were so proud to show off their completed chairs to their classmates during Reflection Time! Click on the link to view the slides I used in this lesson: https://docs.google.com/presentation/d/10ry5Lmb6OATB3HSj0vxoa6u_hvH7KZVFiT1OqelmvXk/copy#slide=id.gb6cd2bf49f_0_173

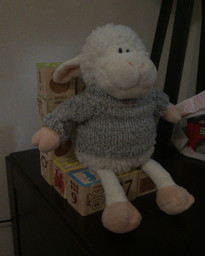
Some of our completed chairs:

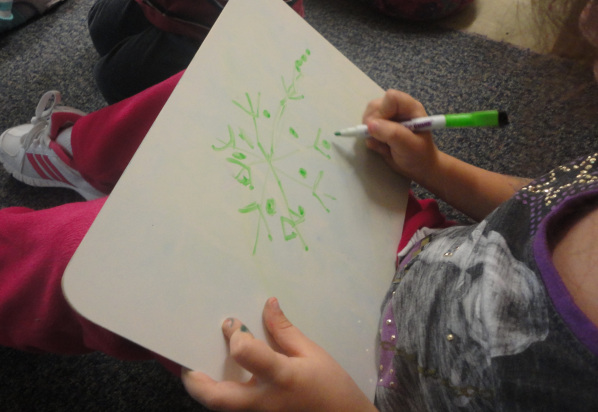
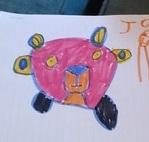
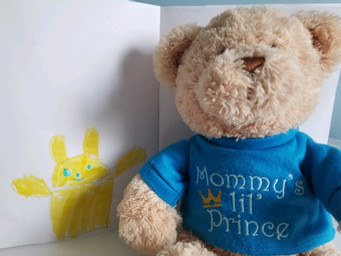
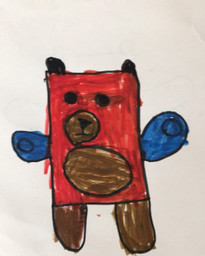
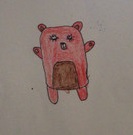
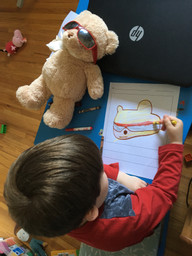
We also took some time this week to learn how to draw a Teddy Bear. We viewed a lesson on the Art for Kids Hub Youtube channel: https://www.youtube.com/watch?v=ZDrfxrnjNts=popup

Here are the results of that lesson:

Every Thursday, we have a “social snack” at 2 o’clock. Social snack is open to anyone who wants to come. We bring snacks and have “open air” time to chat, play, tell jokes, and sometimes do magic tricks! It’s a very social time and has been invaluable for me in terms of helping me understand what the children are most interested in at the moment. This week, we decided to make our “social snack” our “Teddy Bear Picnic” time. Children brought their stuffies (or dolls, or superheroes – all were invited!) and we listened to songs (Teddy Bear Picnic, Going on a Bear Hunt, Rock-a-Bye Bear, Teddy Bear, Teddy Bear), played games, and had a dance party (our favourite song is Gummy Bear!) It was a ton of fun! https://docs.google.com/presentation/d/1AfIA3Q25RjW4ASKv-NIRhGESoU1qNcgE_QzfGb0e-iA/copy#slide=id.gdfb26f1a96_0_265

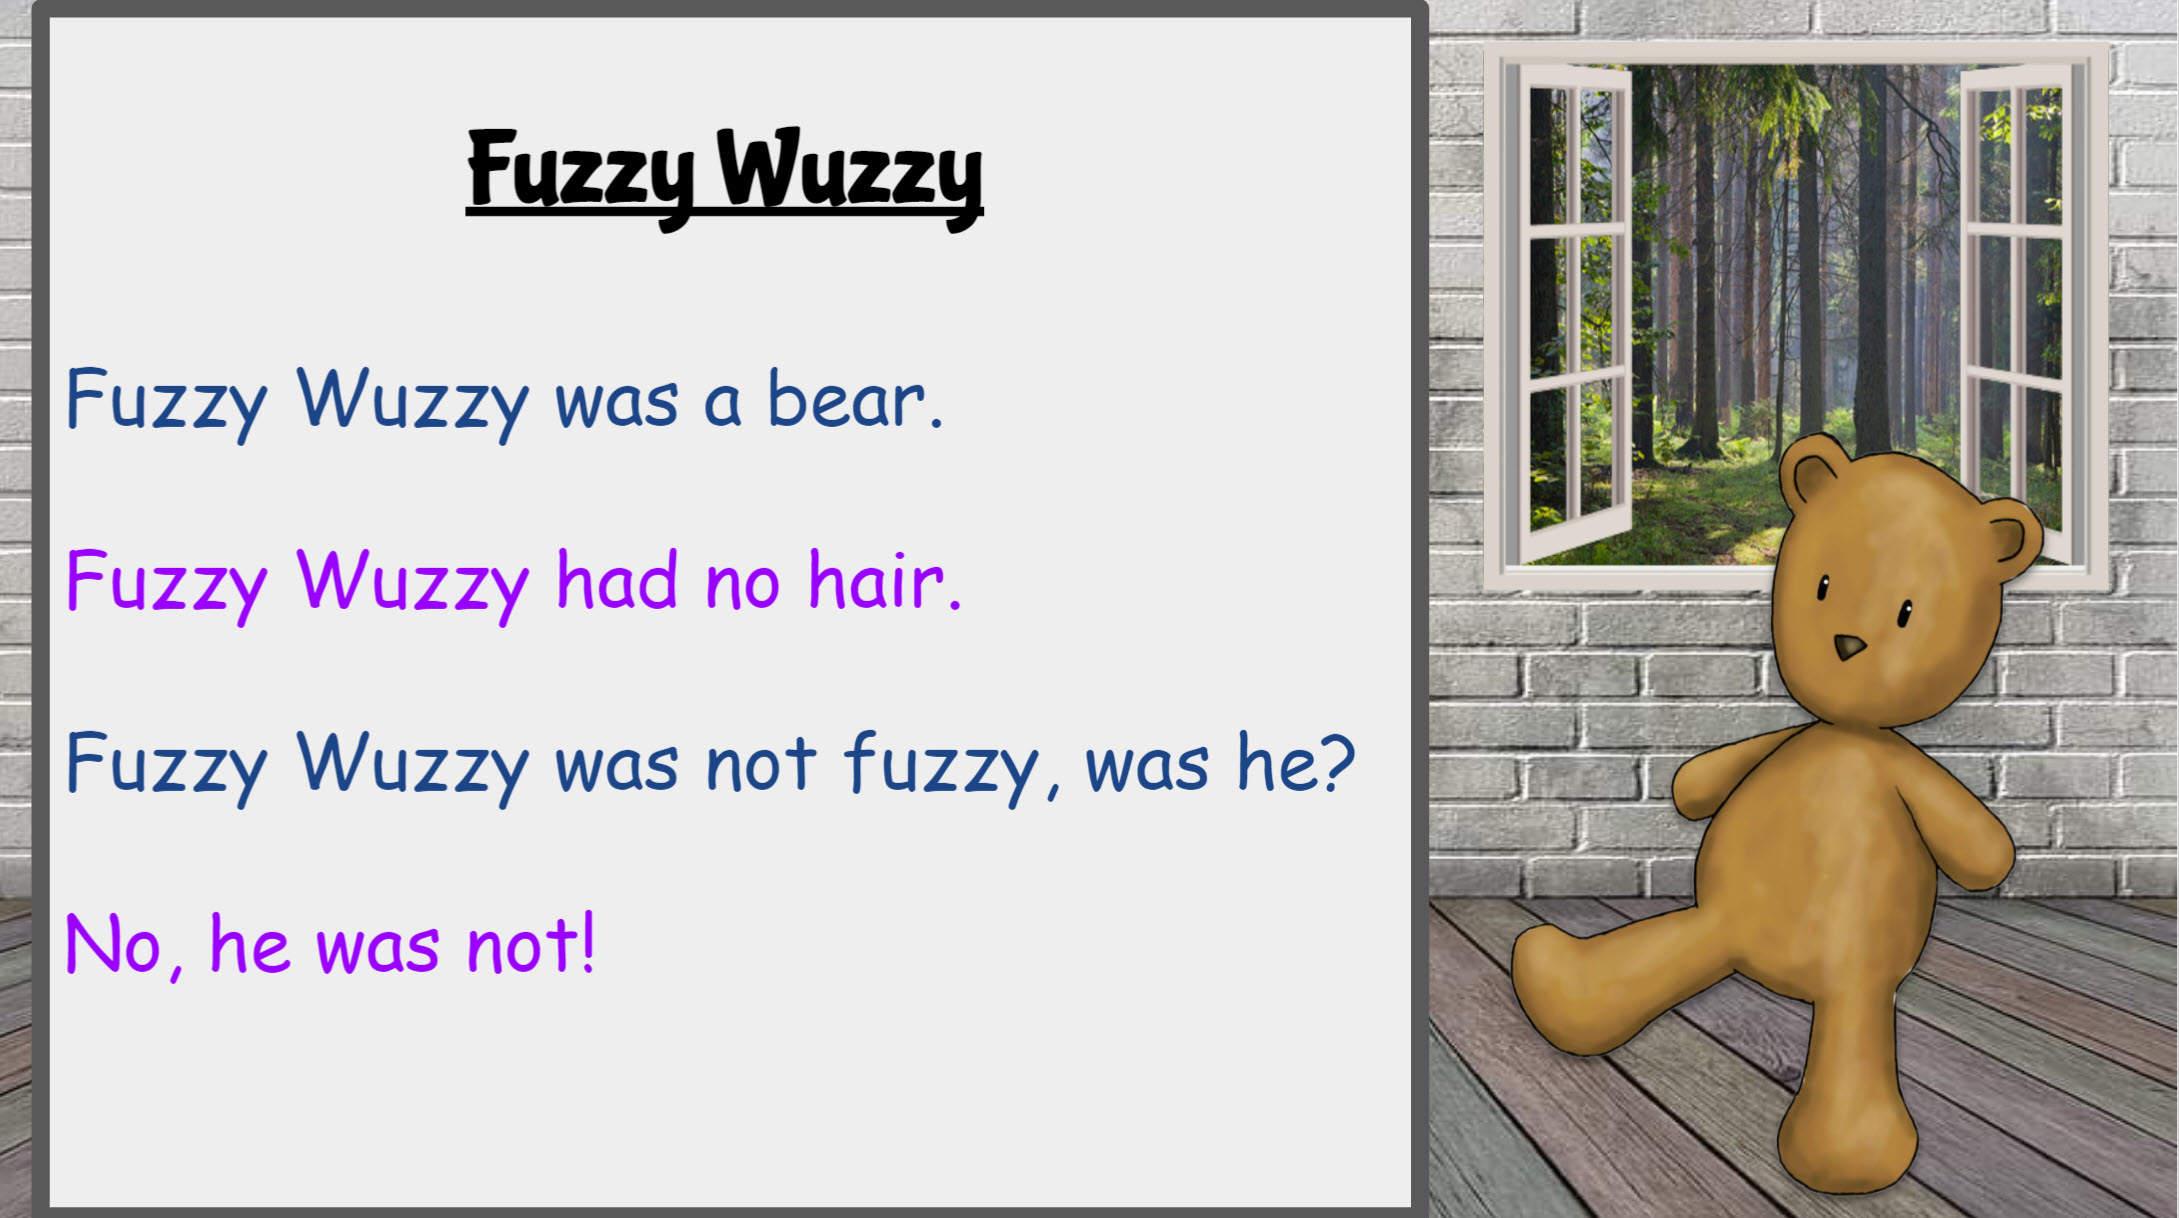
Finally, our shared reading text for the week was “Fuzzy Wuzzy” – and boy, did we have a LOT of fun with this one! The children loved the way this turned into a tongue twister the faster we read it. They challenged themselves to get better and better at reading it so they could go faster and faster when reading aloud! We had a lot of giggles over this one! https://docs.google.com/presentation/d/1lnd9aASGeL9Vq9Y7kKQhZzLAexLj366H439CDKx0bDg/copy#slide=id.p

I hope some of these resources are useful to you as you look forward to planning the last couple weeks of school. Have a wonderful, restful summer!

Boxitects STEM Challenge!

Boxitects, by Kim Smith, is a book about Meg, a brilliant and creative child who can make masterpieces out of cardboard! Meg is so talented her mom decides to send her to Maker School. There, Meg meets Simone, another Boxitect, and the two creators don’t exactly get along. The story highlights the importance of collaboration and teamwork, as well as thinking “outside the box” (*ahem*) when considering what materials can be used to create works of art. This is a perfect book for teaching and learning online as it reminds children that they can use simple materials they already have at home to build and create with!

Click here to visit Kim Smith’s website to learn more about the book: https://kimillustration.com/index.php/portfolio/boxitects/

I discovered Boxitects because it was selected this year in The Forest of Reading shortlist for The Blue Spruce Award (for Canadian picture books for children in Kindergarten to Grade 2). The Forest of Reading program is run by the Ontario Library Association and aims to spread the word about new and wonderful Canadian books and foster a love of reading. Readers of the books are encouraged to vote on their favourites, and winners are chosen based on votes cast. I always find The Blue Spruce award-nominated books to be wonderful resources for teaching. If you are interested, you can visit the Forest of Reading website to learn more about this year’s shortlisted works as well as lists from years past: https://kids.tpl.ca/ready-for-reading/books/booklist/blue-spruce

After reading the book, we watched the video above to find out why cardboard is such an excellent material to build and create with! In the video, the author of Boxitects, Kim Smith, demonstrates why corrugation makes cardboard so STRONG! She also talks about how much she looks forward to seeing what the children will make with their cardboard and asks for us to send her photos of our creations – something my students were particularly excited about!

After reading the story and learning about carboard corrugation, we gave the children a challenge to create something (anything!) with the cardboard they had at home. Since we are learning remotely, it was important to me to provide my students with plenty of material options for this project. We talked about using carboard boxes used to ship parcels, shoe boxes, cereal boxes, egg cartons, and even paper tubes! Prior to the lesson, I asked our families to gather their materials so the children would have them ready for exploring. I also asked the children to bring their science notebooks (sent home in their remote learning kits) so they could work on drawing a plan or brainstorming ideas about what they could make prior to building.

And then they were off! Our Boxitect challenge was listed on this week’s choice board, which meant the children had all week to work on it. Each day, as children finished their creations, we spent time during Reflection sharing and talking about them. There was such a variety of ideas presented: from houses, to boots, to robot costumes, to airplanes! I began compiling photos of the children’s creations in our special “Boxitect Gallery” slides. My Twitter timeline has been filled with amazing ideas for teaching remotely this year, and the “Art Gallery” idea (originally posted by Kenrick DeoDat – @KenrickDeodat) has to be one of my favourites! My students are incredibly motivated to send me photos of their art works and creations when they see that they’re going to be displayed in a beautiful “art gallery” or “museum.” The art gallery is a way of highlighting the work the children are doing and communicating that what they learn and create is special and has value. At the end of the week, I posted our Boxitect Gallery on our online classroom for everyone to see.

Online learning in Kindergarten can be a challenge. I’m always looking for ways to give the children opportunities to play and create as they would if they were in person at school. This Boxitect challenge reminded me of the kind of excitement we would experience in our regular classroom – the children excitedly talking about what they could make, drawing plans in their notebooks, and getting creative with materials.

If you would like a copy of the Google Slides I prepared for presenting this to my class (including a copy of the gallery ready for editing), click on this link and “Make a Copy” for yourself: https://docs.google.com/presentation/d/19sAoUsLa6HPZ8wAAhuJfWd7Frvk_HU6mGG2Y3jhqN5E/copy?usp=sharing

Kindergarten in the Time of Covid-19

Here we are at the start of another school year, but this one feels like no other. When I blog, it’s usually because I have an idea I want to share, or an experience I want to reflect on. But at the moment, I don’t really feel like I know what I’m doing. Due to many parents selecting online learning for their children, my school is redeploying several teachers. I happen to be one of those teachers – but only part time. Half-time redeployed. Yikes! Lucky for me, I will be doing the other half of my day at school in my most favourite role: Kindergarten.

Like many of you, our team has been working hard getting our room set up for our new students this week. We didn’t get a lot of guidance on exactly how Kindergarten should look during a pandemic. I’ll be honest – I have struggled with advice like “keep the children socially distanced but also make sure they play together.” What does that even mean? What does that look like in a practical sense?

Instead of getting myself overwhelmed with everything that will be new and different, I am centering myself on what things I think will be the same. As soon as I started thinking about our program in this way – what we do that is of high value that does not need a lot of tweaking to meet covid-19 safety regulations – I immediately calmed down. Here is a list of things I envision continuing mostly as they did before. You can click on the links for each one to visit past posts where I explain how these work in our class. Remember, those posts were written pre-covid and our processes will change slightly to address additional safety protocols this year.

Reflection Time: Our daily time to meet and reflect on what we’ve learned and discovered throughout the discovery block will continue. We won’t be sitting cozily together on the carpet as we did before (all carpets have been removed from the classroom), but we still have space to meet together and share our thinking. You can read more about how reflection time works here and why it’s such an important part of our day: https://thecuriouskindergarten.blog/2016/04/09/noticing-and-naming-our-learning-the-reflective-process-in-fdk/

Writer’s Workshop: The main difference this year is that each student will sit at their table spot for the mini lesson and will have their own kit of writing and drawing materials to use instead of sharing. We already have our writing notebooks prepped for our new students and I can’t wait to see them filled with the children’s stories. If you want to read more about how we run Writer’s Workshop in our class, you can click here: https://thecuriouskindergarten.blog/2016/12/30/writers-workshop/ (A pdf for the notebook cover is also available in that post).

Math and Science Investigations (M.S.I./S.T.E.M.): The great thing about M.S.I is that the children already work from an individual bin, at their own spot. This is a perfectly covid-appropriate activity that can continue essentially as it normally would. Right now, our M.S.I. shelf (a large rolling cart with bins of building materials) is covered in a tablecloth. When it is time for M.S.I, we will open the shelf for children to choose a personal bin to build with for the lesson. Afterwards, bins will be returned to the shelf and covered until our lesson the following week. Because the materials will be sitting covered and unused for 7 days (“quarantined”), we do not have to disinfect each bin after the M.S.I. block is over. For more information on what we do during our building block, click here: https://thecuriouskindergarten.blog/2014/03/29/math-and-science-investigations-m-s-i/

Art and Fine Motor Instruction: Like Writer’s Workshop and M.S.I, this is another program that already operates with students using personal materials. For each lesson, students receive a whiteboard, white board marker, and piece of cloth for erasing. Each of these items has already been assigned to our students as part of their individual school supply kits. Rather than sit together on the carpet for the drawing lesson, children will sit at their personal spots at our classroom tables. Otherwise, the lessons will carry on as they did before. To read more about what we do during Art and Fine Motor Instruction, click here: https://thecuriouskindergarten.blog/2014/01/16/art-and-fine-motor-instruction-snowflakes/

Outdoor Learning: Outdoor learning will continue to be a big part of what we do at school this year. Our morning and afternoon meetings will be continuing out of doors in our special meeting spot (this year, arranged to accommodate some social distancing). This is where we will sing, read, and have discussions. We will also continue to use the outdoors to drive our inquiry process. There are so many things to discover in the garden, on a walk, or in the sand box. For a list of books you can use to spark inquiry outside, click here: https://thecuriouskindergarten.blog/2016/10/20/read-alouds-for-outdoor-learning/

To read more about how we’ve used the outdoor classroom in the past, click here: https://thecuriouskindergarten.blog/2013/09/22/learning-in-the-outdoor-classroom/

This is what I have to get myself started. As the week goes on, our team will be reflecting on what is working and what isn’t and making changes accordingly. As things become more clear, I hope I can share some of what we find to be successful. This is a time when as educators, we need to work together to share our best practices and our successes. We are all in this together!

Snap Cube Workshop: The Spinner Project

014718905408525d7dab6df0439790e44a0c1d0f33

If you are a regular follower of the blog, you will know that the students in my class LOVE snap cubes. They love them so much, we dedicated an entire centre in my classroom to them (you can read about our journey to embrace the the snap cube craze here: https://thecuriouskindergarten.wordpress.com/2014/03/10/snap-cube-workshop/ and here: https://thecuriouskindergarten.wordpress.com/2014/03/10/snap-cube-workshop-inspiring-young-authors/).

The Spinner Project evolved out of a popular way the students used the snap cubes at the snap cube workshop: they spun them. Constantly. At least once a day someone took a cube and tried to spin it. With some investigation, we learned that the children were trying to recreate “Beyblades,” a popular toy many of them had at home. (This isn’t the first time I had heard about Beyblades. In fact, for the last 5 years or so, I have been wondering what to do with the children’s interest in these toys.) The trick to coming up with an engaging and meaningful inquiry I find is coming up with just the right problem/question. It was during one of our reflection discussions that the question jumped out at us. Two boys were talking about spinning the cubes and each had made a spinner that was slightly different. We were trying to figure out if one spinner worked better than the other, and why. And viola!

The next day, we posed the following question: Can you build the best spinner? The children were so excited about this question! Before discovery time, we spent some time talking about what the word “best” would mean. The children came up with three criteria which we posted at the snap cube centre:

DSC03180

In addition to creating our criteria, we talked about the tools the children could use to assess the success of their spinners. For “spinning super duper fast,” the children decided capturing the spinner on video would be a good way to measure this. For design, we would take pictures of our spinners and/or save them to show at reflection time. And for “spins a long time” we showed the children how to time their spinning spinners using the timer on the iPad.

DSC03003

There were so many interesting discoveries made during this project! Here are some images and ideas we captured of the children’s experimentation:

DSC03036

DSC09057

DSC03233

The spinners got more and more elaborate as design became the focus of the children’s attention. We learned that, generally, the more elaborate the design, the slower the spinner spun.

DSC03159

The students were fascinated to explore the paths and patterns of a spinner’s movement.

018a0ea4a4c94814f43bbdad99c1c66d4e8cb59cb8

Many children worked collaboratively: K: “We attached our spinners together and made it so BIG! It spins so much faster when they are together.”

01e35c32fa5c2511e43e920edbe3917f7d89b2f264

things_that_spin_SMART

In a large group discussion, we brainstormed a list of things that spin.

01c5dd63ea007b151cac02747b62ab28982b82704f

J.K.: “Mine is a square, but when it spins it looks like a blade, sharp. I was just experimenting to see if I can make the best one.”


017a8d0b4f9389954d799687ab9ea93570769ab389_00001

01e192e5abdb727fa16ca08e28fba8a50f4fd72f22_00001

01b180bbc7296f0a2b9ac47407f051e62af152e402

01b165b16ca23357a636ef445254fb0c4231b8c933

Problem solving and experimentation were evident: S: “Mine is flat and I can still spin it. What if I add another cube on top and then I can use that to spin it – like a handle? [He tries it.] Hmm…that slows it down. So that is a bad idea.”

J: “My spinner is the best because it spins the fastest and for 29 seconds. Also, if you put a red block beside a while block it turns pink when it spins because white and red make pink.”

M: “I discovered you can make a spinner with just one cube. It’s small and it’s good to just use one cube because it won’t break and you can fit it in your pocket!”

Have you explored a spinning inquiry with your students? What questions/ideas did you explore?


Tower Inquiry

Image

As part of our Math and Science Investigations (M.S.I) time in Kindergarten, our students explored a tower inquiry (In a previous post I wrote about Math and Science Investigations (M.S.I.) and how it drives a lot of inquiry in our classroom. You can read about it here: https://thecuriouskindergarten.wordpress.com/2014/03/29/math-and-science-investigations-m-s-i/ ). When students first learn about M.S.I., they learn about how to build up with the blocks they have chosen. As a result, many children began to label their initial structures as “towers.” This got us thinking: What is a tower? What kinds of towers are there? How do we build a strong tower? Each week, the students thought about these questions and experimented with different materials, shapes, and designs for their tower structures. We looked at models of towers from around the world, talked about towers in our community and city, and talked about how towers can be useful in structure and design.

As the children shared their learning at school with their families at home, they began to bring in examples of towers they had visited. Part of our M.S.I. time was dedicated to hearing about our students’ personal experiences at towers nearby. This introduced us to a variety of towers that we had never heard of or learned about before. For example, one student brought in pictures from her visit to Dorset Tower and taught us about towers that are built as lookouts. Her story about having to climb up several flights of stairs to reach the top of Dorset Tower also got us thinking about how people can get to the tops of towers. Soon, ‘stairs,’ ‘elevators,’ and ‘helicopter landing pads’ began appearing in the children’s structures. When we began talking about condo towers, many of the children were excited to discover that they actually lived in a tower! You see, most of my students live in a condo complex across the street from our school. Talk about making connections!

Here are some of the anchor charts we co-created with the children:

Image

Image

Image

Image

The learning that was happening during this inquiry was not limited to our once-a-week M.S.I. time. We created a variety of opportunities for the children to express their learning through the centres in the classroom:

At the Art Studio:

Image

Image

Image

At the small building centre:

Image

Image

Image

During Art and Fine Motor Instruction:

Image

As the inquiry began to wrap up, the children were challenged to build their best tower design. As an additional challenge, the children were asked to sketch their towers when they were complete:

Image

Image

Here are some pictures of our Tower Inquiry Documentation:

Image

Image

Image


Math and Science Investigations (M.S.I.)

Image

Math and Science Investigations (M.S.I.) is a building program I have been doing in Kindergarten since I started my career. I first learned about it during one of my practicums in a Kindergarten class when I was in teacher’s college. Essentially, M.S.I. is an inquiry-based program that uses building materials to encourage the development of math and science concepts, creativity, problem-solving, perseverance, planning, and much, much, more. My original resource for M.S.I (a worn photocopy from a book that used to exist somewhere in the board) is long since lost; however, I found a great replacement in the book Building Structures With Young Children by Ingrid Chalufour and Karen Worth:

Image

Basically, M.S.I. goes something like this:

1) I teach a mini lesson on the day’s focus.

2) Each student gets their own bin of building materials (blocks, connectors, cups, etc.) and takes it to a table. The bin goes on the chair and the children stand at the table and build. I circulate and facilitate discussion, pose questions, take notes, take photographs.

3) Reflection. I post pictures of interesting structures for discussion and feedback.

Image

We engage in M.S.I. as an entire class, one period per week. That being said, the building bins are always available during discovery time and it is common to find children selecting them to continue working on an inquiry we are engaged in. We also often find ourselves setting up provocations that support the learning that is happening in M.S.I., due to significant student interest.

Here are a few questions I often get about M.S.I:

Q: What kind of materials do you use? How do you organize enough bins for each child to have one?

A: We use a variety of store-bought traditional building blocks and some found materials to make up our bins. Wooden blocks, tree blocks, better blocks (kind of like Duplo), foam blocks, cups (laundry caps) from the recycling depot, anything that will stack! I purchased some materials from school catalogues, found others at garage sales and recycling stores, and got some for free from the recycling depot in our school board. Anything that can stack reasonably well is a good material for M.S.I. If you don’t have enough for everyone in your class you could always run the program with children working in partners or groups, and we sometimes do this as well depending on the focus of the lesson.

Q: What about space? Where do you store your materials? What if you don’t have enough table space for each student?

If you don’t have enough table space for each student to have their own spot, children can build on the floor. The idea behind standing and building at a table is that children are initially encouraged to build up with their materials. Standing helps the children stack their blocks more easily, and see their structure from all sides. Placing the building bin on a chair frees up table space for working. We store our building materials in two large rolling shelves. The shelves hold about 36 bins. I have a small space, but it’s not overwhelming in the classroom. I saw another school where the three kindergarten classes shared their M.S.I materials on a rolling cart that was parked in the hallway and could be easily moved to each class.

Q: What kinds of inquiries have you done? How long does one inquiry last?

A: The resource Building Structures With Young Children focuses on two inquiries: Towers and Enclosures. This year we have completed a Tower Inquiry (which I will write more about soon) and are now working on enclosures. We have also done inquiries on bridges and castles. In one school year, we usually have time to complete at least 2 large structure inquiries through M.S.I.

Image

Q: How is M.S.I introduced? What does it look like at the beginning of the year?

A: At the beginning of the year, M.S.I. time is mainly spent establishing routines and working on basic concepts of space, balance, making a plan, etc. There is a lot to be said just for helping the children locate a bin, find their own work space, build, and then tidy up. A lot of time also goes into establishing routines and expectations for sharing and reflecting on our structures at the end of the lesson. The most important part of the initial phase of M.S.I. is exploration and helping the children stay focused on solving problems rather than getting frustrated if/when their structure falls down. The children are often encouraged to choose different bins regularly to get a feel for the variety of materials we have available.

Image

I have to say, the children are always excited to see M.S.I. on the schedule. I continue to be amazed at how reflective and thoughtful they are about their structures and how mature they appear when giving feedback and suggestions to their classmates during reflection time. Although when I started teaching I successfully ran an M.S.I. program without a lot of fancy technology (none, actually), the access we now have to iPads, a classroom camera, and an interactive SMARTBoard have helped me take our building program to a whole new level. Being able to take a photo of a child’s structure and immediately post it on the SMARTboard for us to discuss is an invaluable part of the program. We regularly use the SMARTBoard pens to label the structure in the photo, highlight shapes in the design of the structure or draw on possible ideas to add next time.

If you have any other questions about how M.S.I. works, please don’t hesitate to drop me a line!

Stone Towers

Image

This term we have been working on a tower inquiry. As with any inquiry we are engaged in, I am constantly looking for ways to provoke or enhance student thinking and learning throughout various centres in the classroom. In the summer time I visited the beach quite regularly and was always fascinated by the small stone towers that were left behind on the beach by talented beach-combing architects. Of course, eventually I was inspired to build my own…and I snapped a picture of my creation. This week I placed a picture of my stone tower, along with a challenge to my students, in our small building area. Since tower building with rocks is a bit of a challenge, I was looking for the children to use what they have learned about balance and problem solving to build the tallest tower they could. I also wanted to introduce them to the concept of recording their work on paper, so I provided them with paper, fine tipped markers, and crayons. This is how the centre looked:

Image

Image

The children were quite excited to give this challenge a go. As they worked, I took notes on how they approached the challenge, what strategies they used, and how they problem solved. The children most enjoyed recording their towers on paper – even taking care to draw them as accurately as they could by counting and checking how many stones they used, demonstrating each stone’s size, and colouring them in the appropriate colour.

Here are some of the students’ thinking I captured:

M.B.: “1, 2, 3, 4. I used 4. I put the big big big rock first and then I got medium sized, small and then so small at the top.”

S.M.: It looks like a snowman. I used 5 rocks. First I got a big one, and then another one the same size, and then some small ones.

A.F.: I saw they were all kinds of grey colours. I used 3 stones. I didn’t use more because I was worried it would make it fall down.

A: I need the flatter ones. I got five! 1, 2, 3, 4, 5!

DSC01617

DSC01546

DSC01552

Stay tuned for more updates on our tower inquiry!