As you may know from reading my About section, last year I was at home on maternity leave after the birth of my second child. This year I’m returning to the classroom at a new school (closer to home, yay!) with a ton of ideas I’ve collected from the books I’ve recently read and the conversations I’ve been able to participate in online via Twitter. If you aren’t on Twitter, I highly recommend joining if you are interested in connecting with other like-minded educators. There is a strong PLN network online which you can access by searching #kinderchat and #ReggioPLC.
In preparation for set up, I spent some time making a list of the centres I wanted to have in my classroom. I then set about drawing some floor plans to give myself an idea of how the room might flow and to figure out what made sense based on where preexisting elements (sink, windows, doors, outlets, etc.) were located. Then I started moving furniture around. I went through a few placements before settling on what I have now. I anticipate making some changes as the furniture that has been ordered for my class begins to arrive (sometime in September) and I am able to observe how the children view/use the space.
Here is how things look at the moment:
House Centre/dramatic play
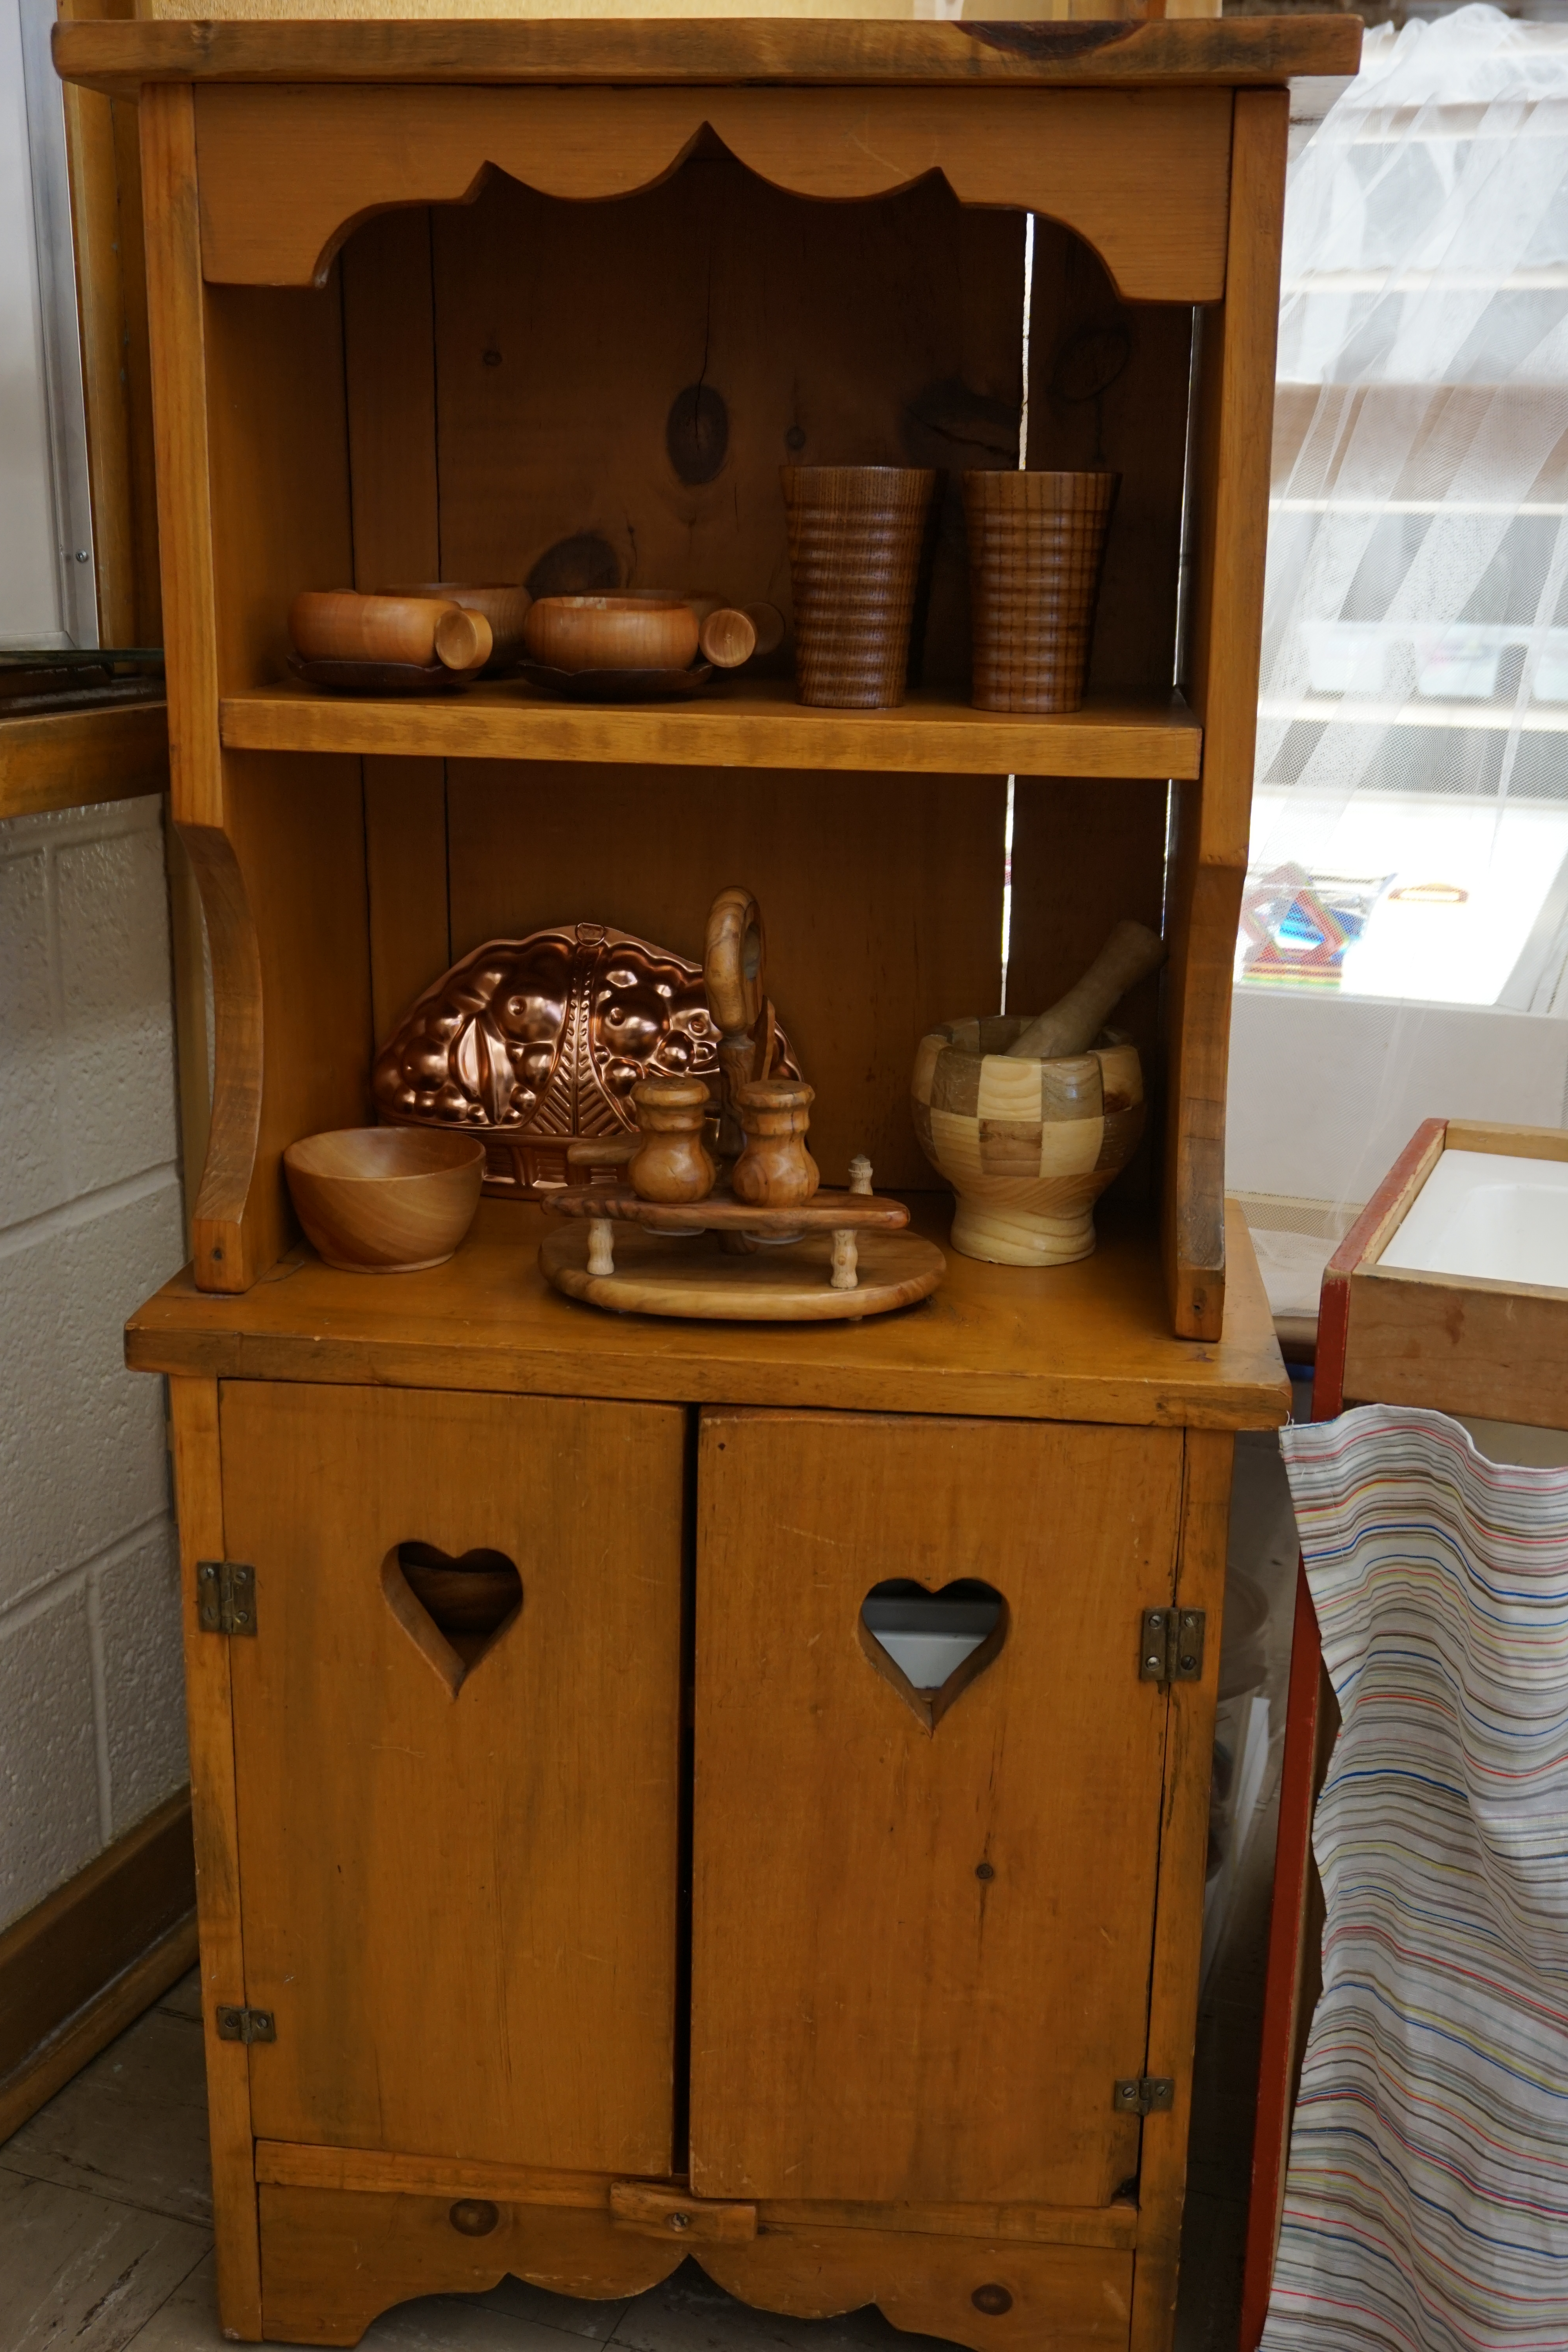
A closer look at the kitchen hutch filled with lovely wooden items from the thrift store.

Light Table (currently stocked with Magformers – one of our new favourite materials). The overhead canopy creates a really quiet and cozy space for exploring.
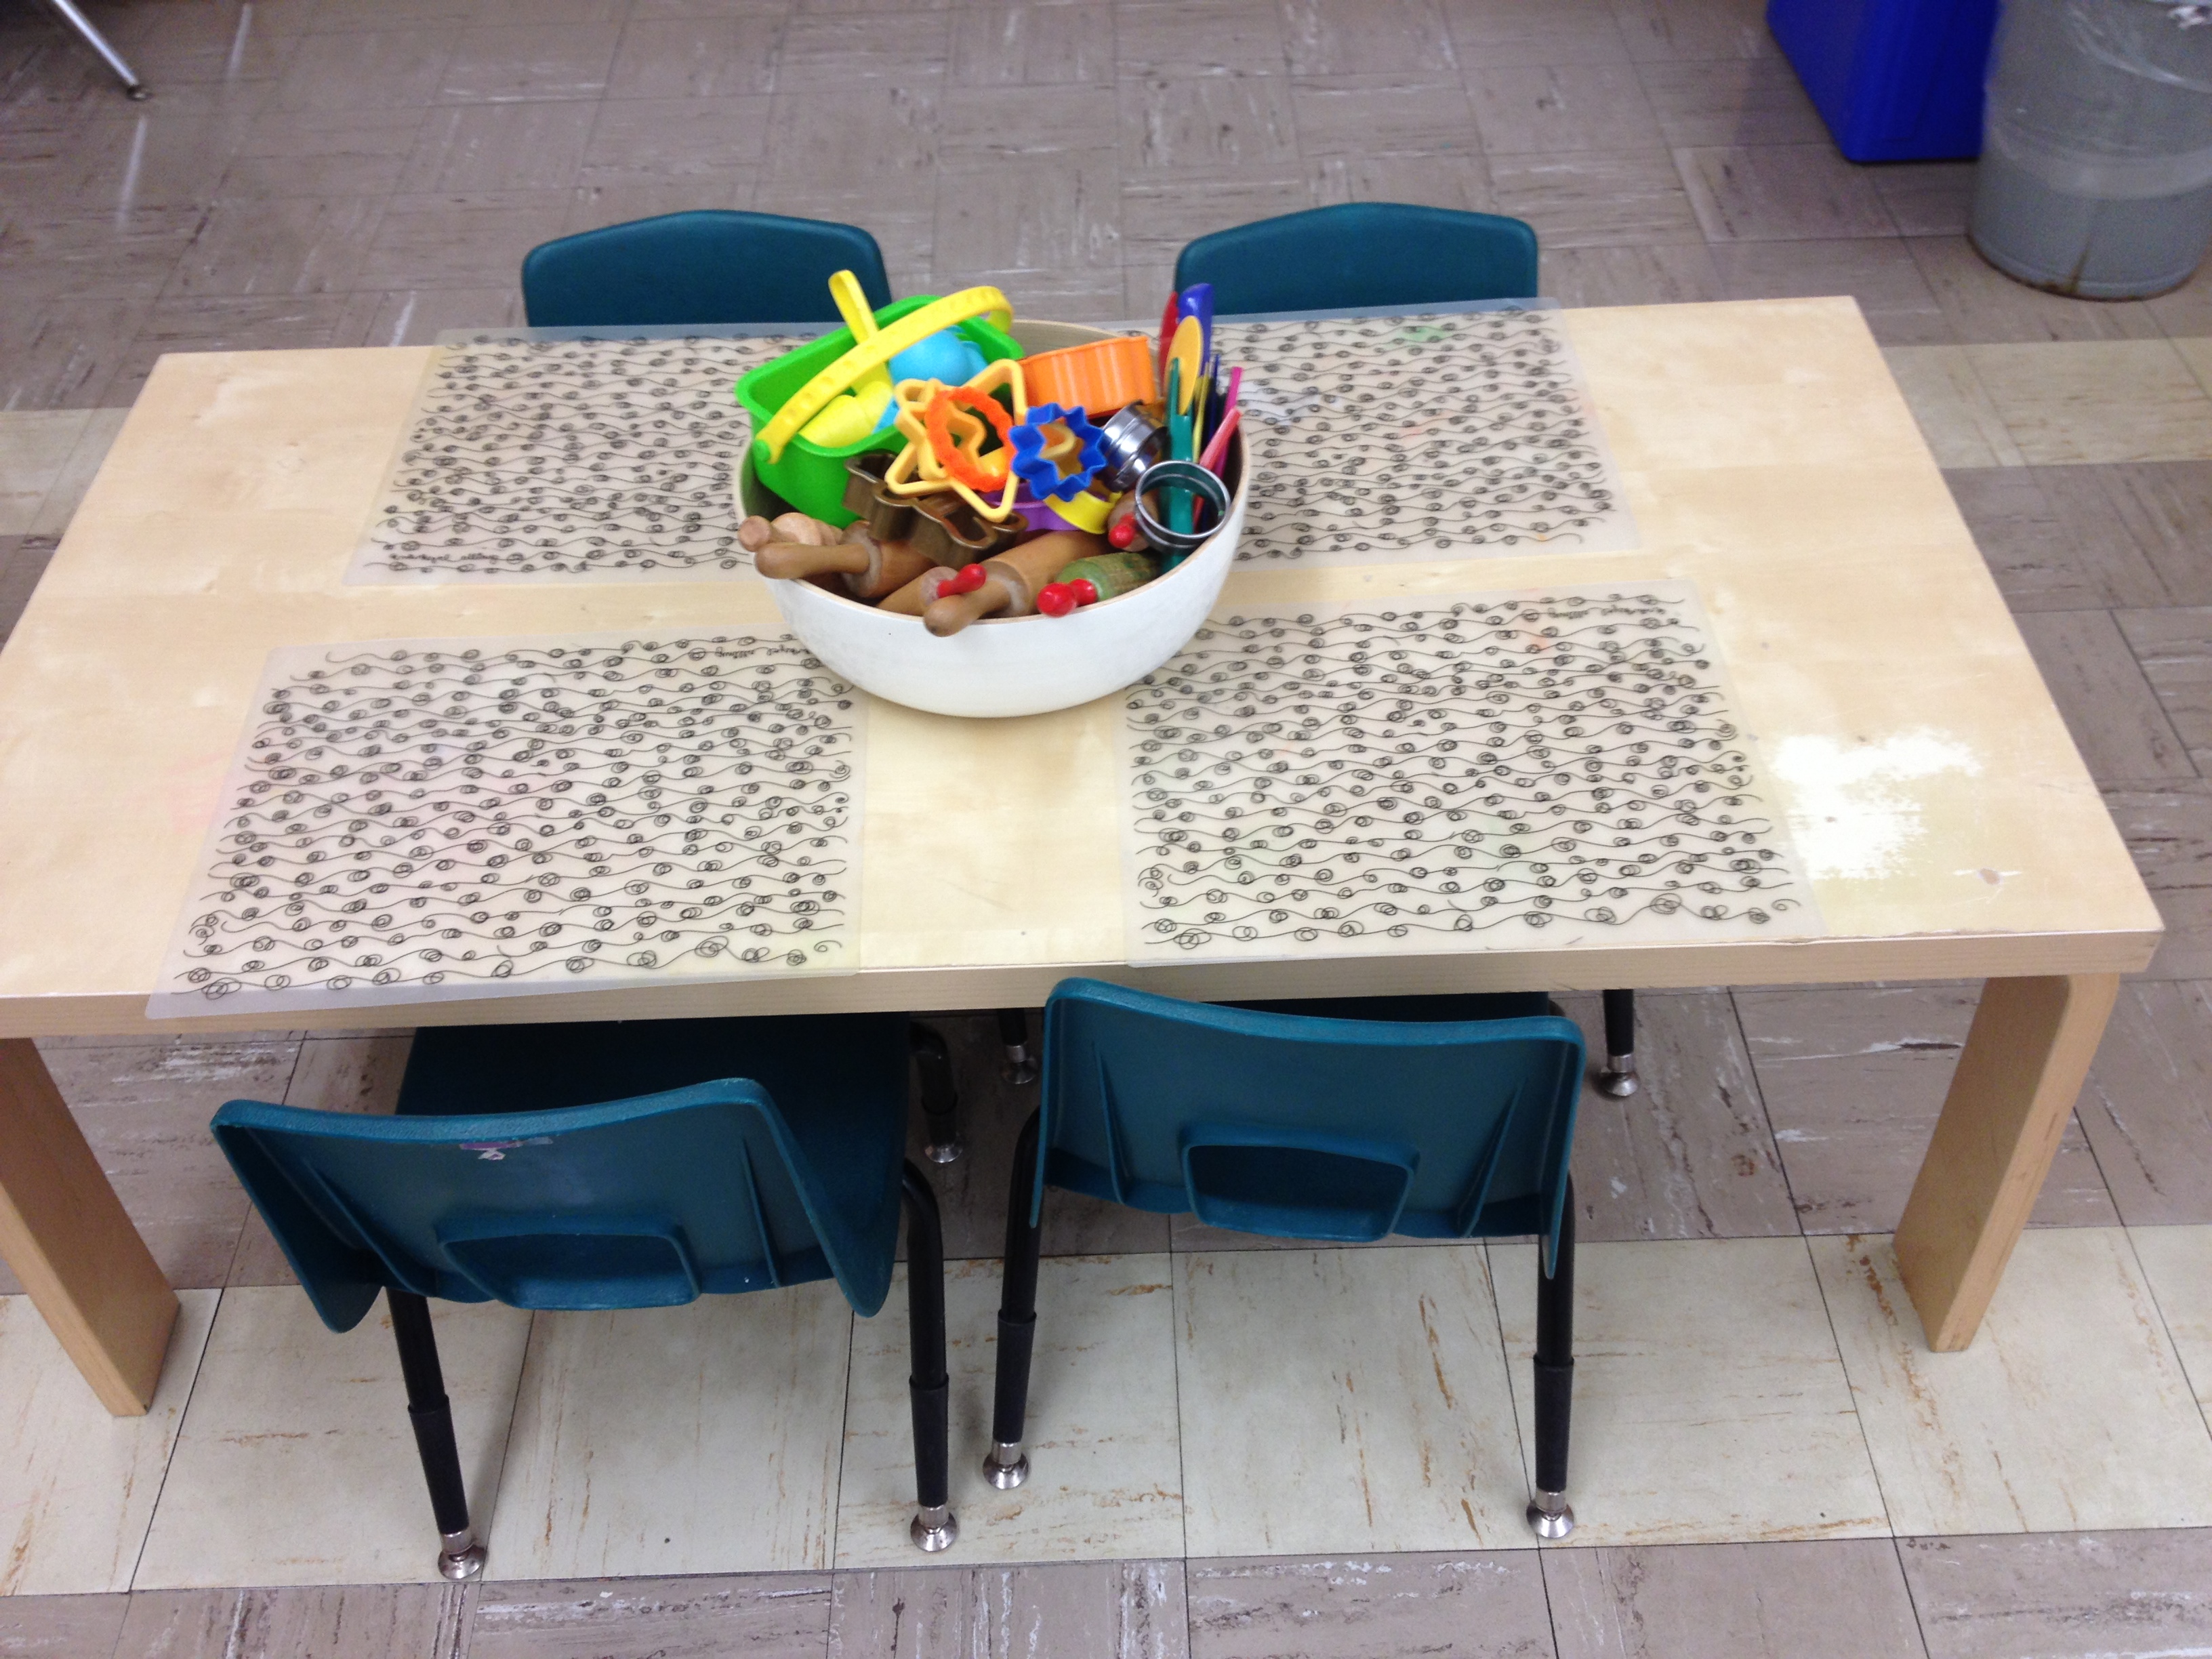
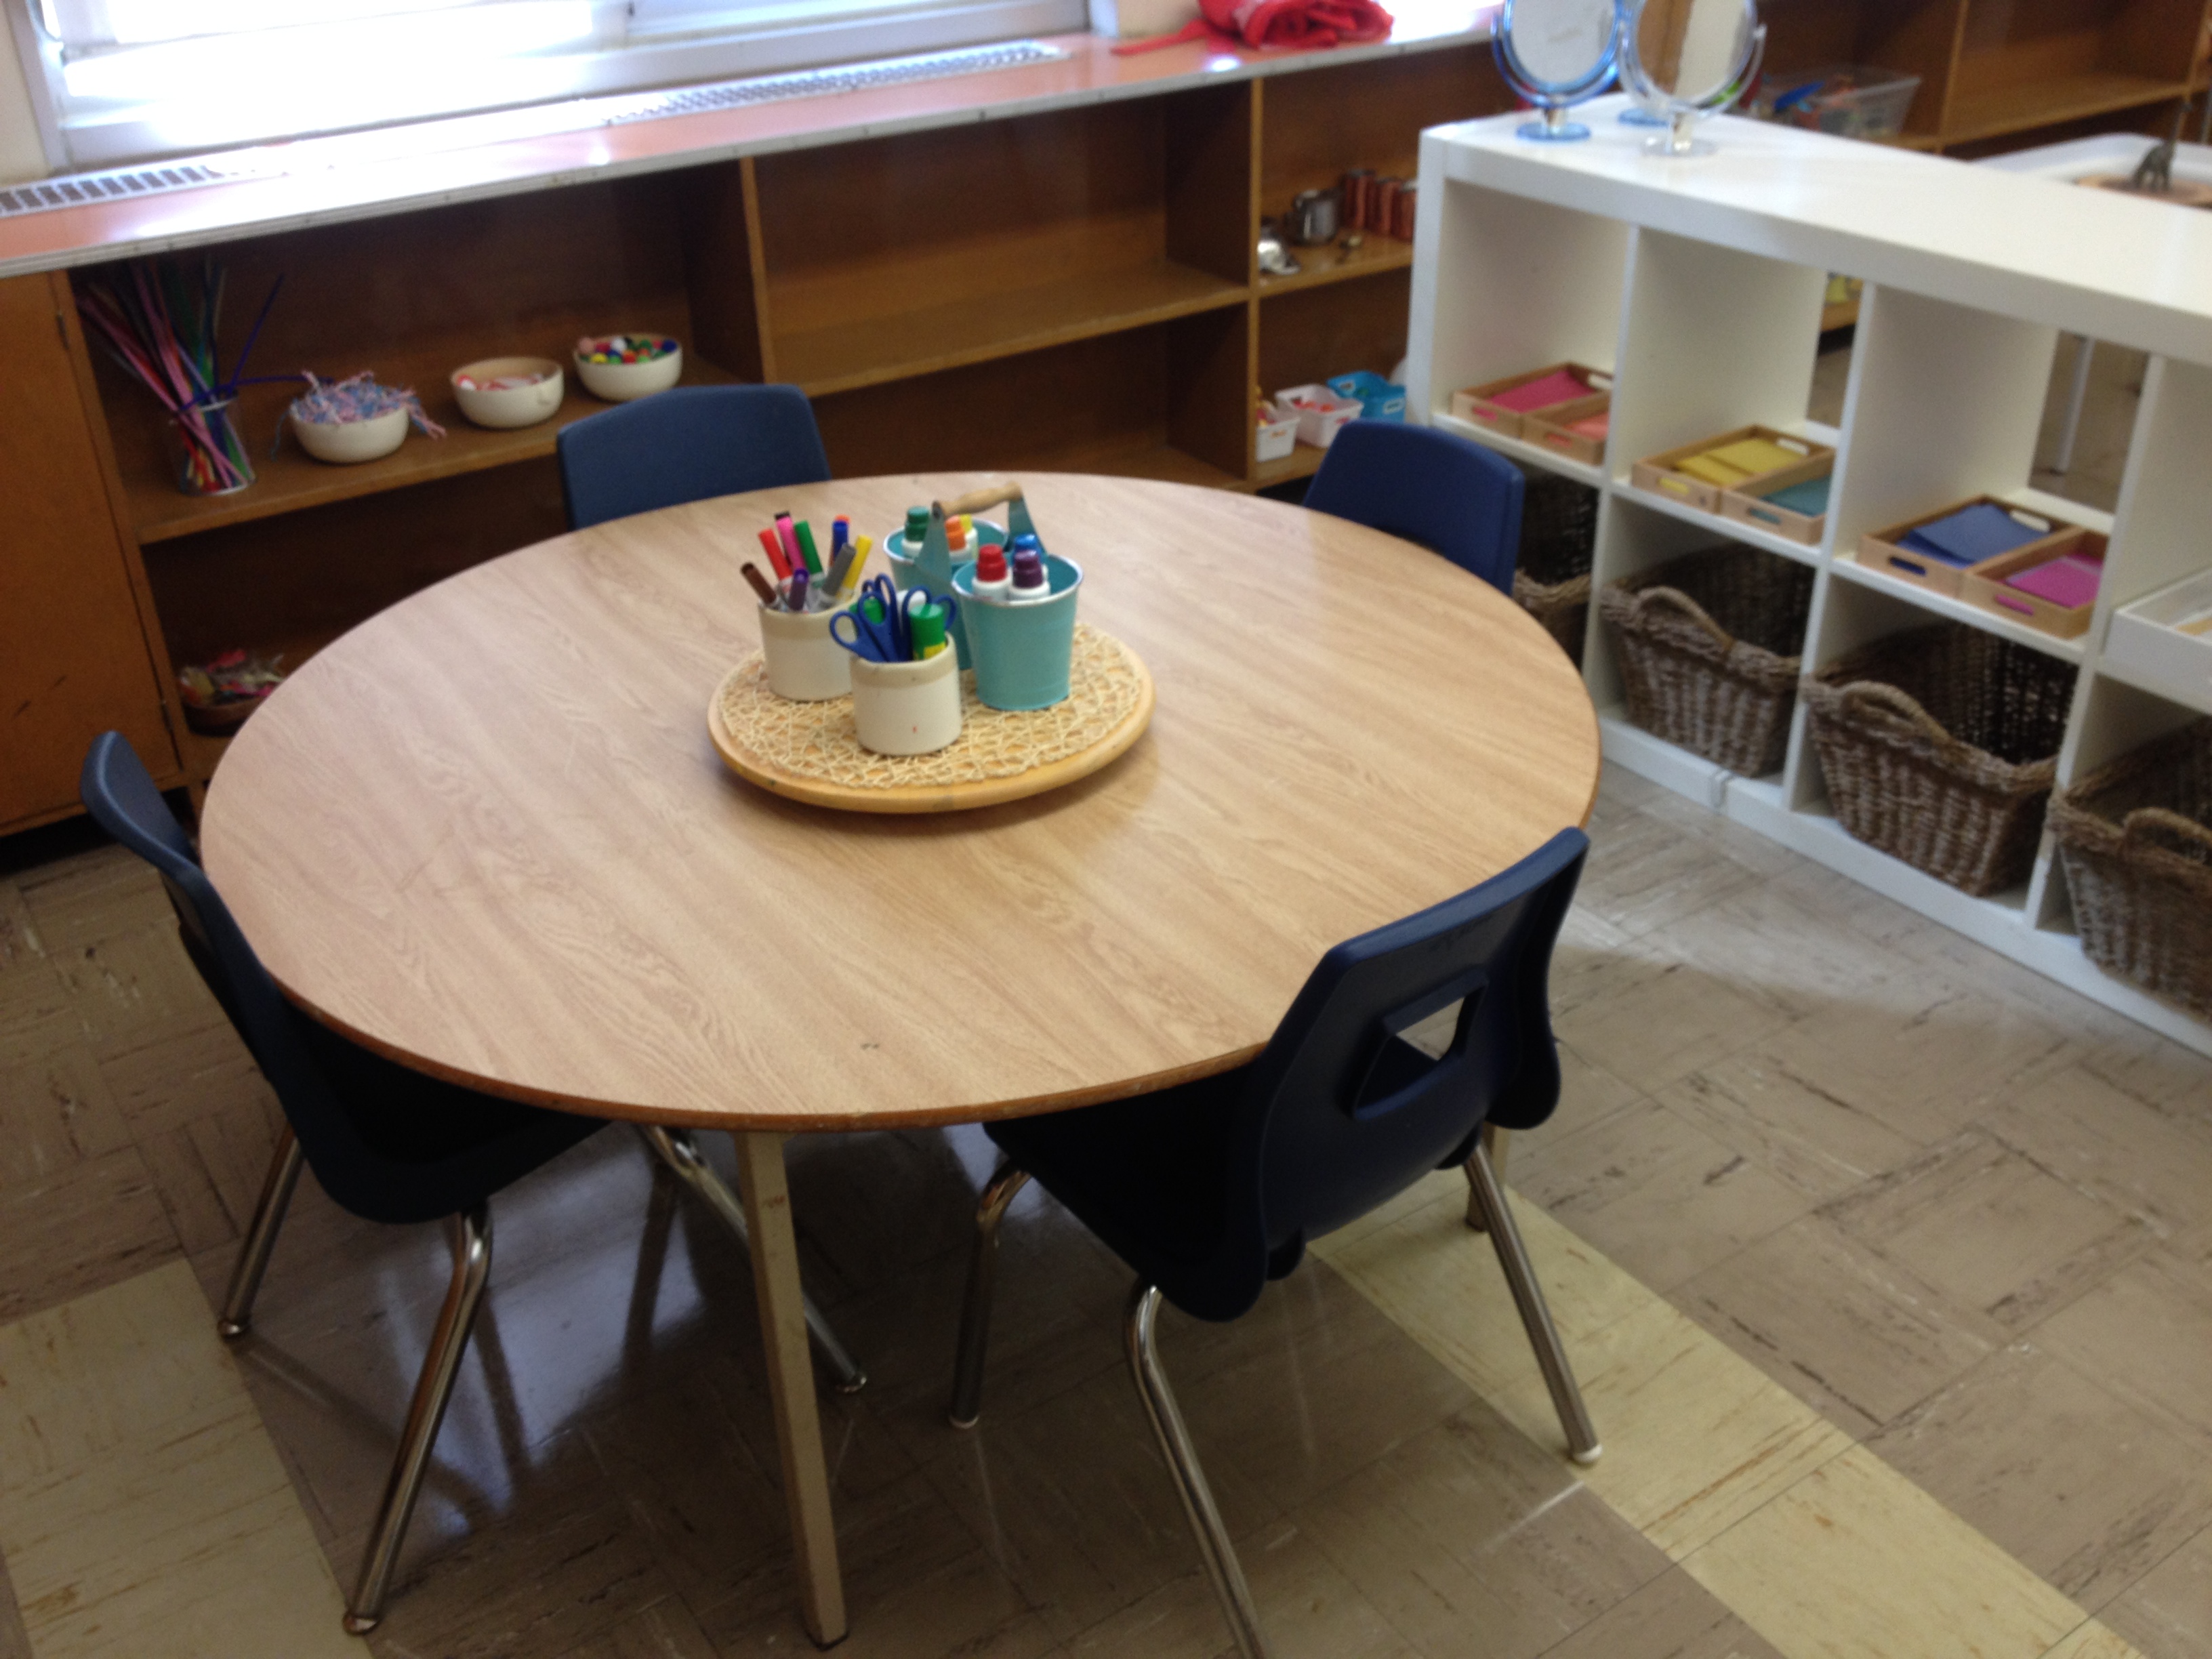
Playdough centre/multi-use table
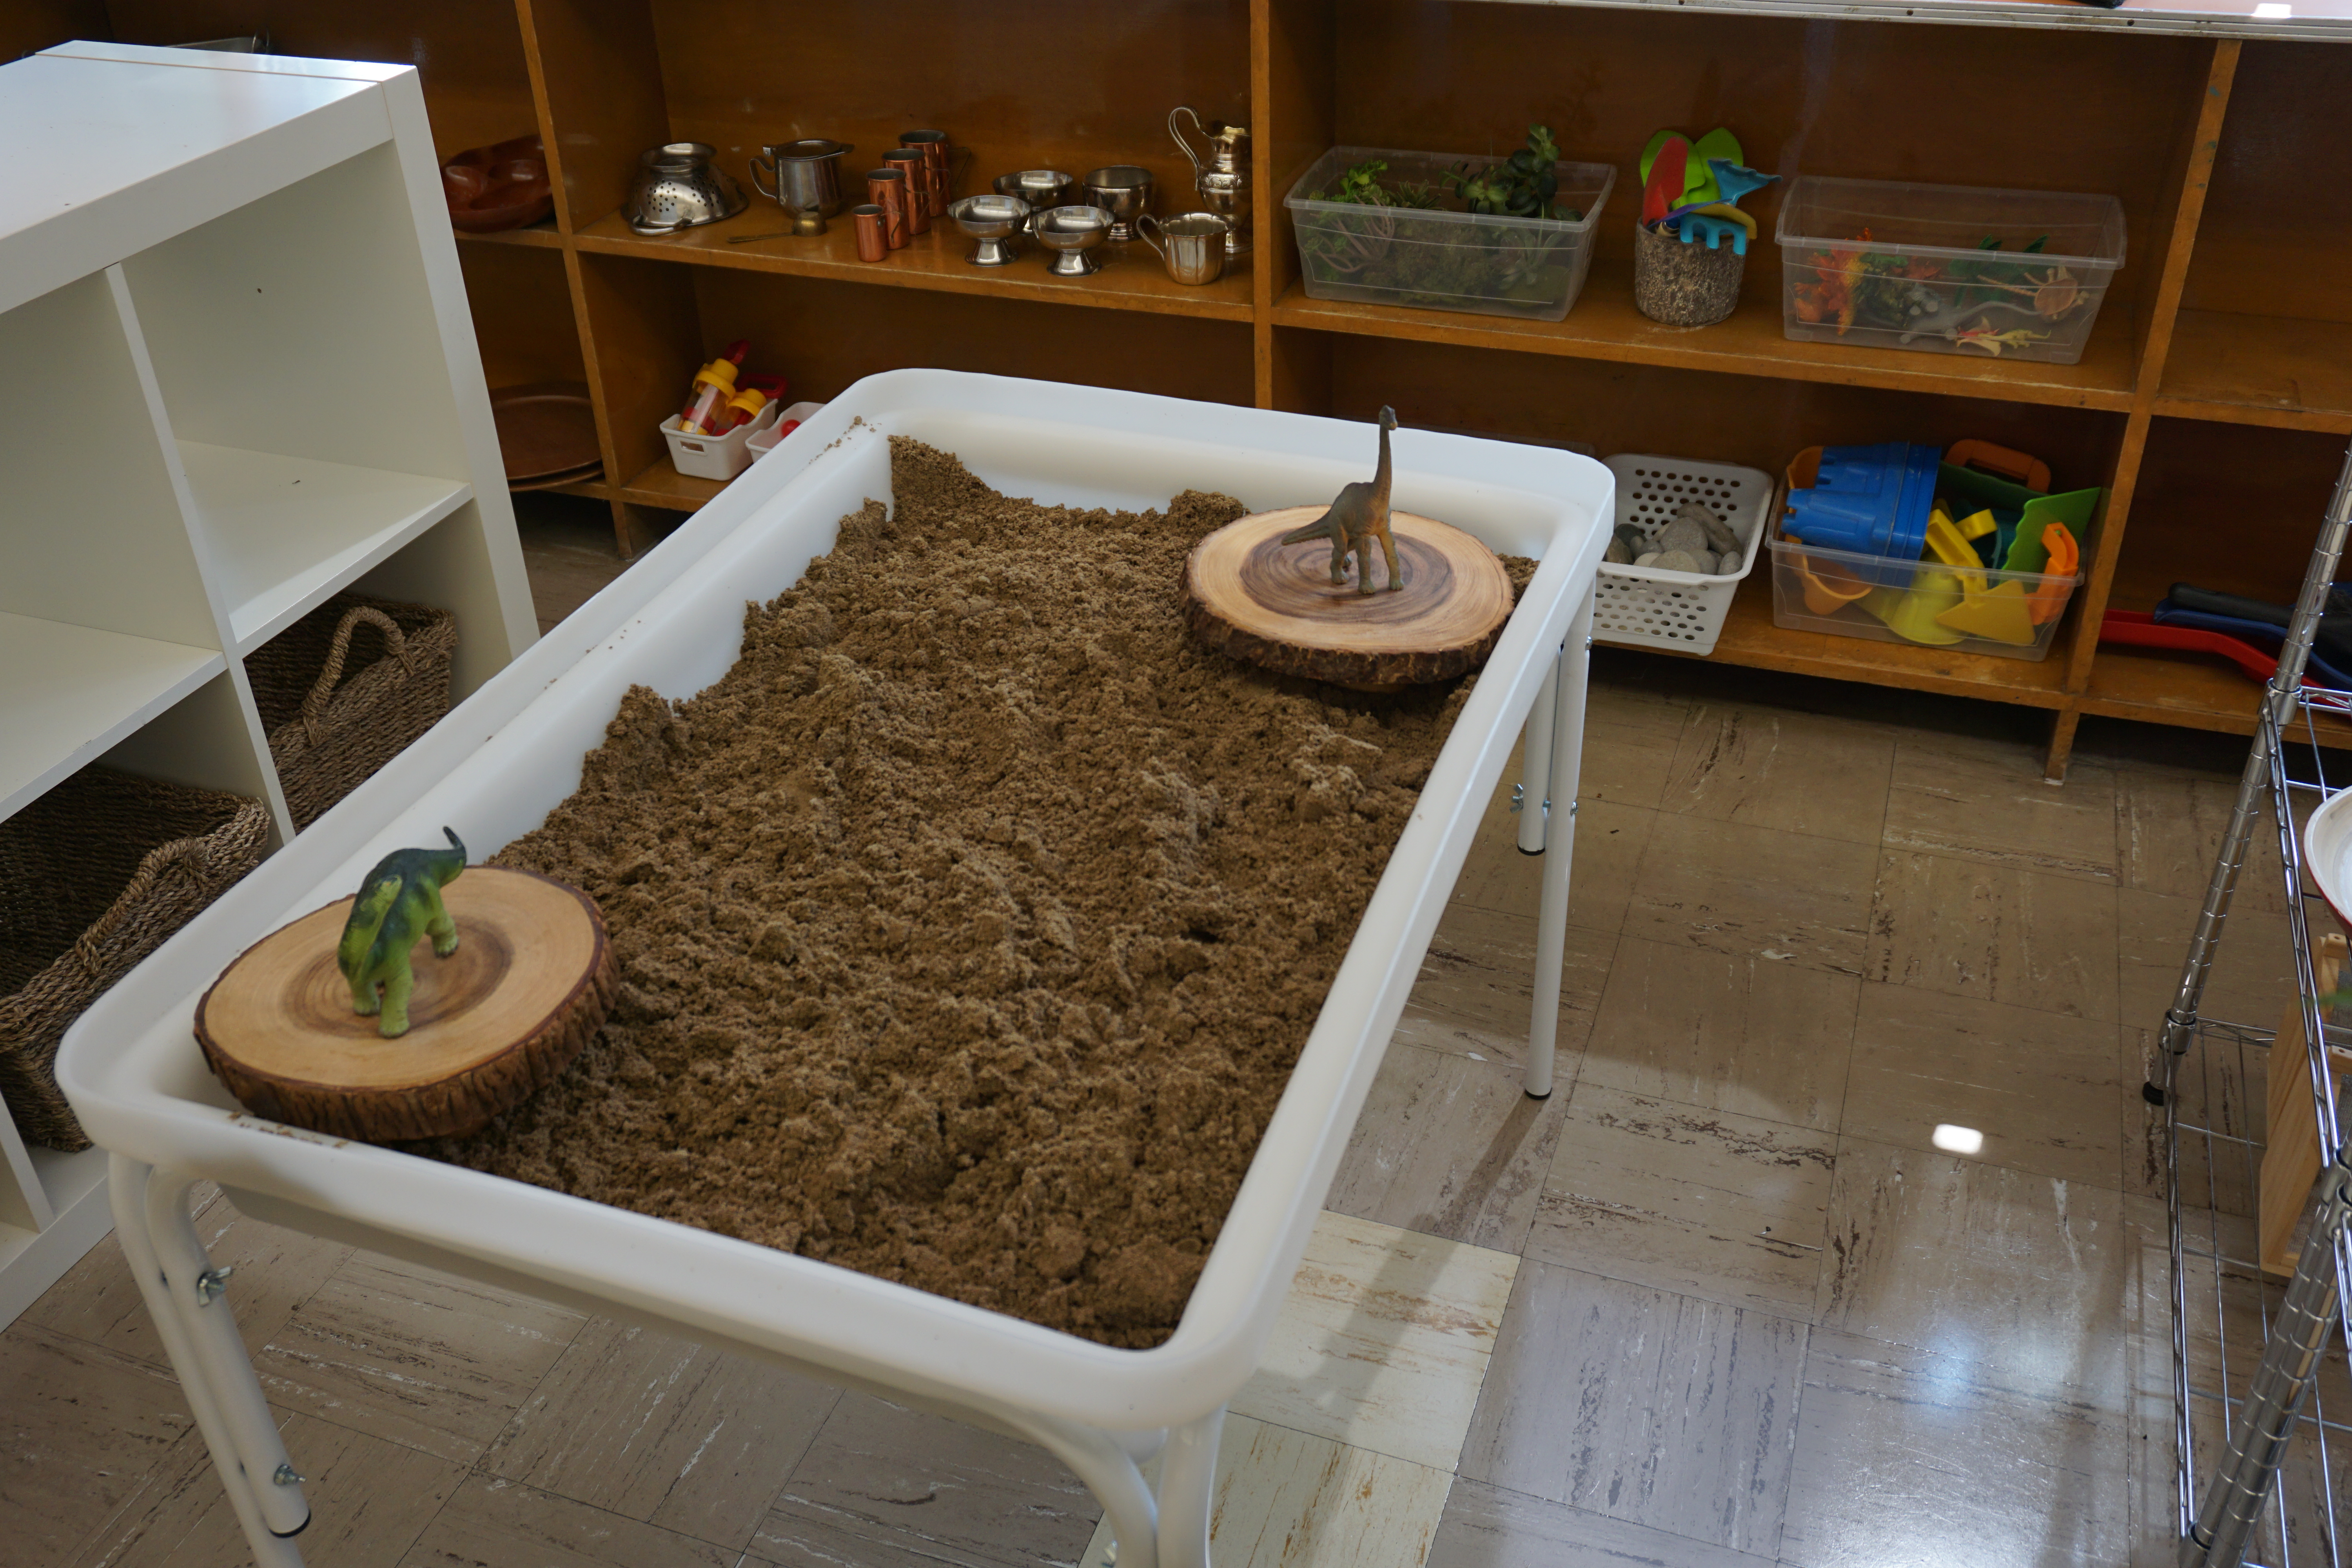
Sand Table. Only one sensory table has arrived, but I plan to make do with one by placing the lid on top of the sand and using a large Rubbermaid container on top for a water table.
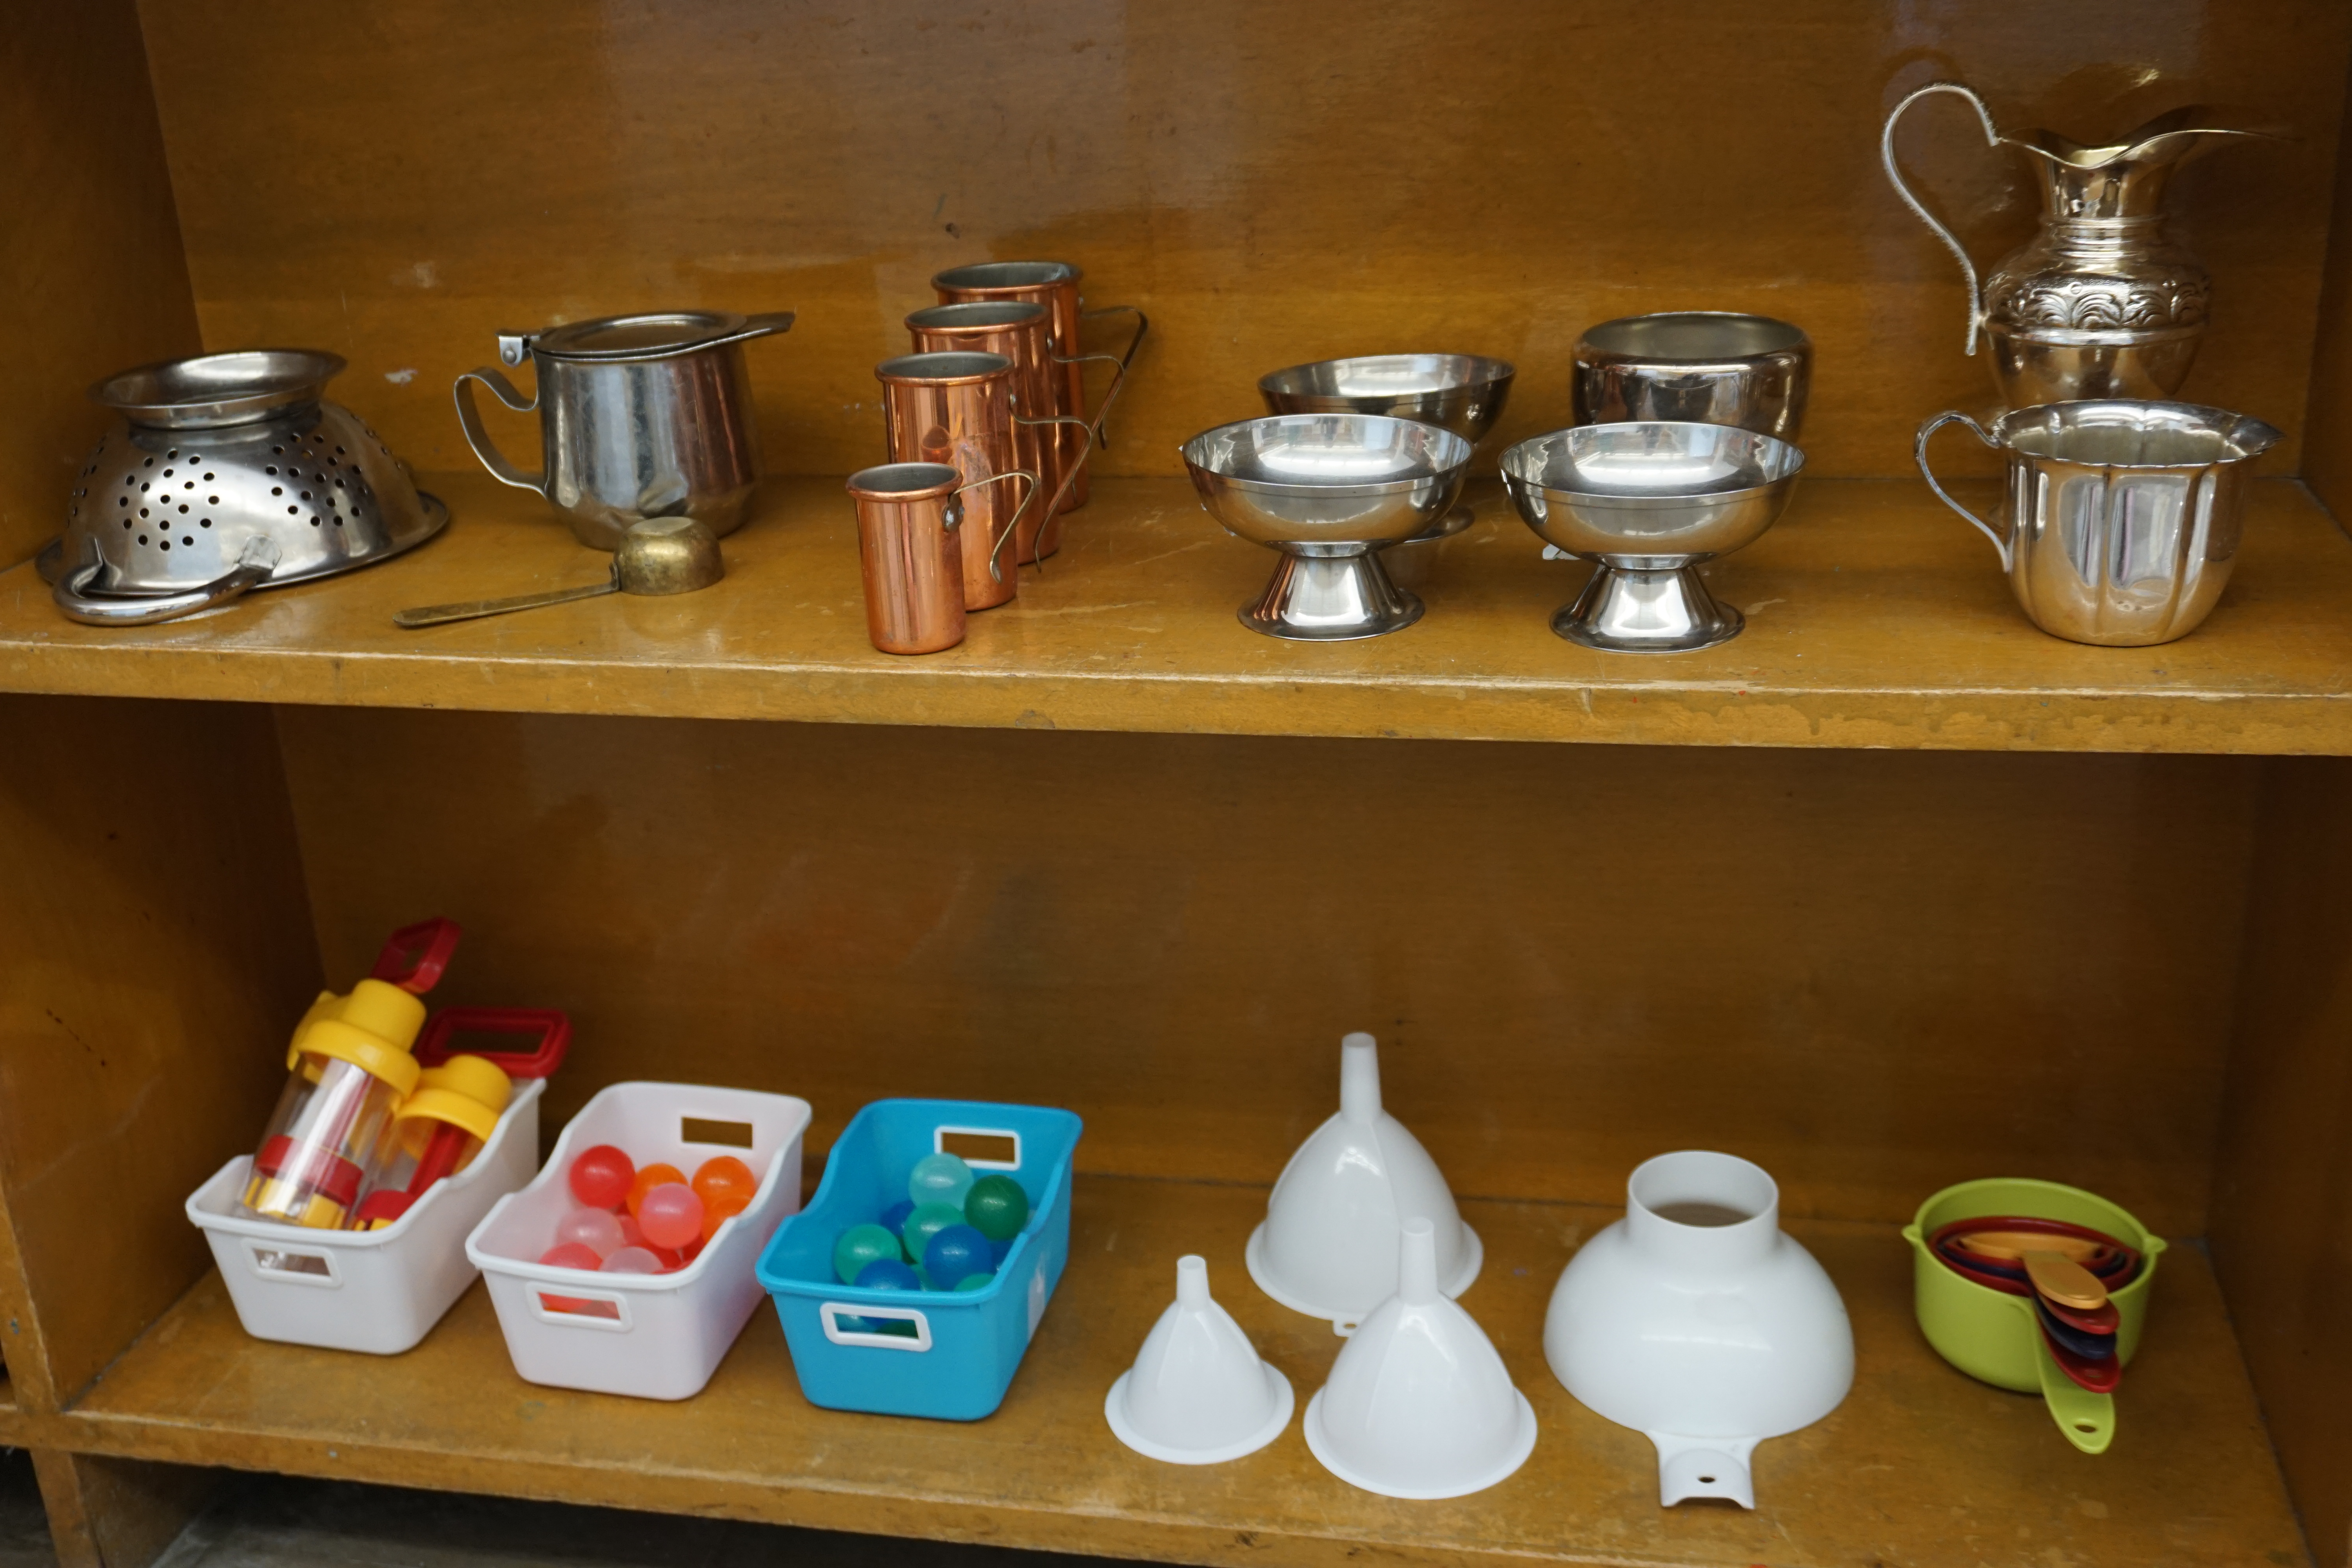
A closer look at some of my new materials for the water table (also from the thrift store). My son played with these all summer, using herbs and plants from our garden for “tea parties” and “soup” – I am excited to see what the children do with them!
Art Studio

Science and Nature centre. Currently set up with rocks and shells from the beach (“What do you notice?”). I will also be providing the children with jars of water and small brushes for them to experiment with how the water affects the look of the rocks and shells.
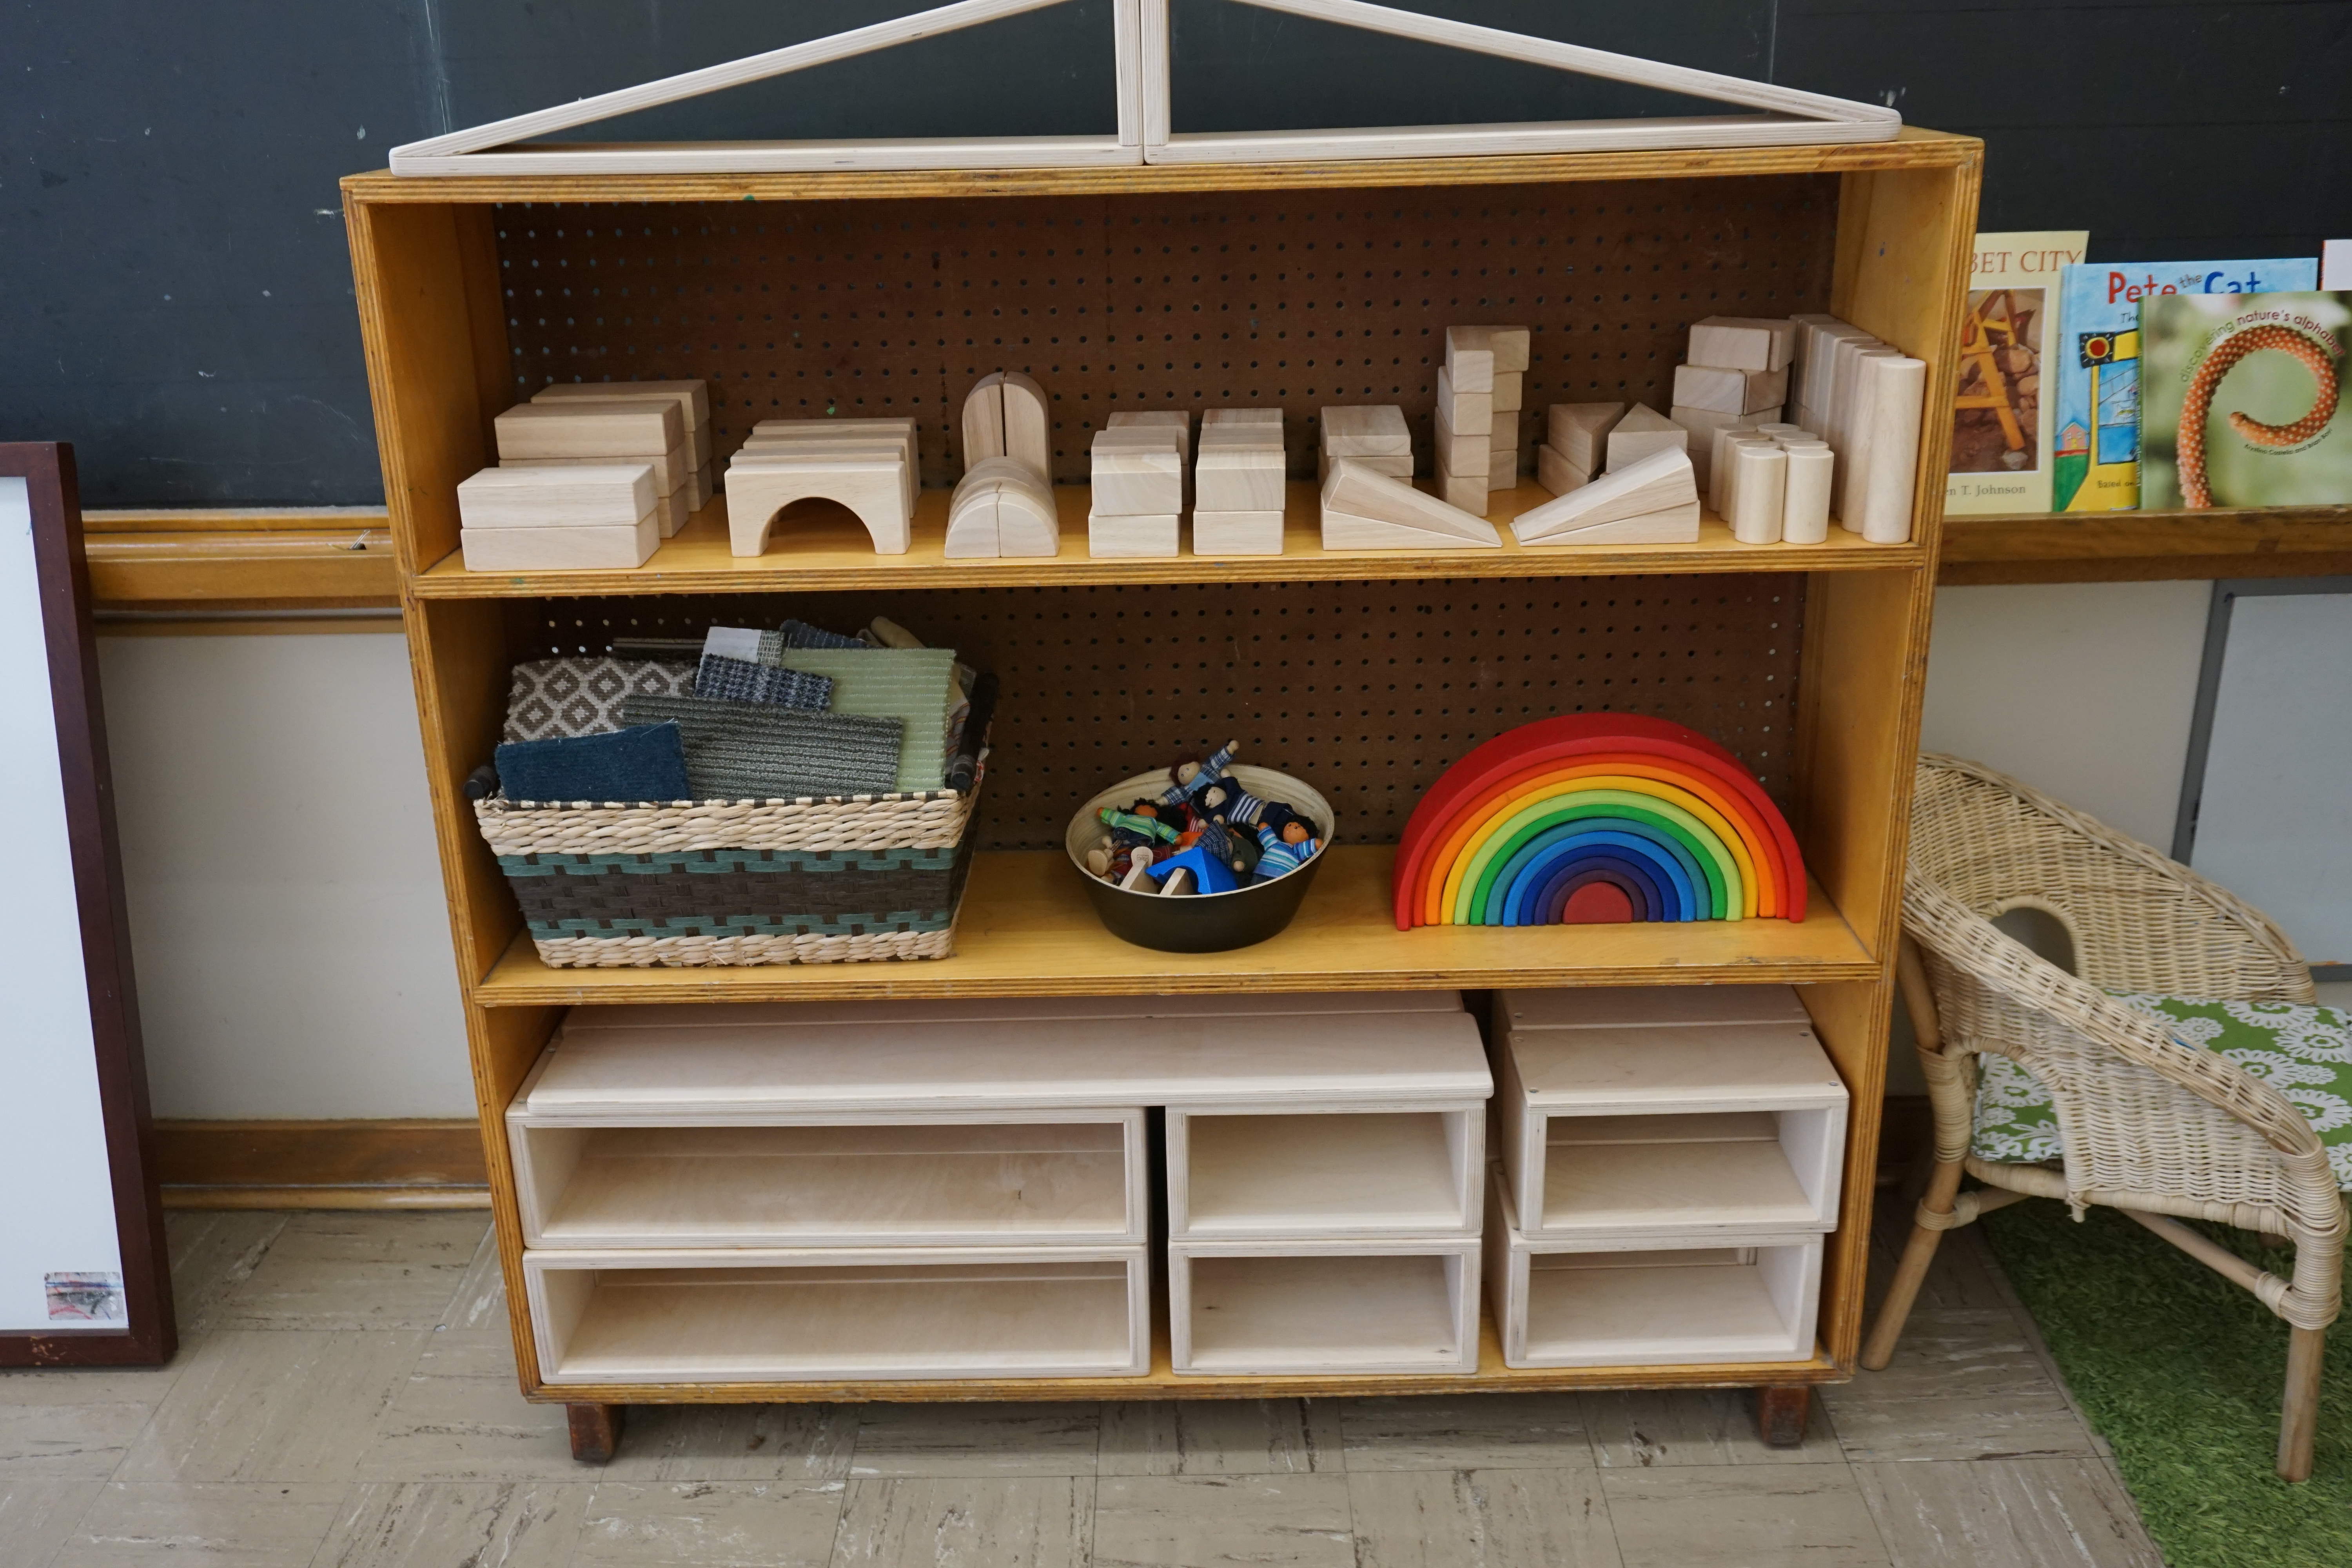
Blocks and building materials. The rainbow is from Grimm (“Rainbow Stacker”) and provides endless opportunities for open ended play. The basket is full of carpet squares (different sizes) from Arts Junktion, and there is also a basket of play silks (not visible).
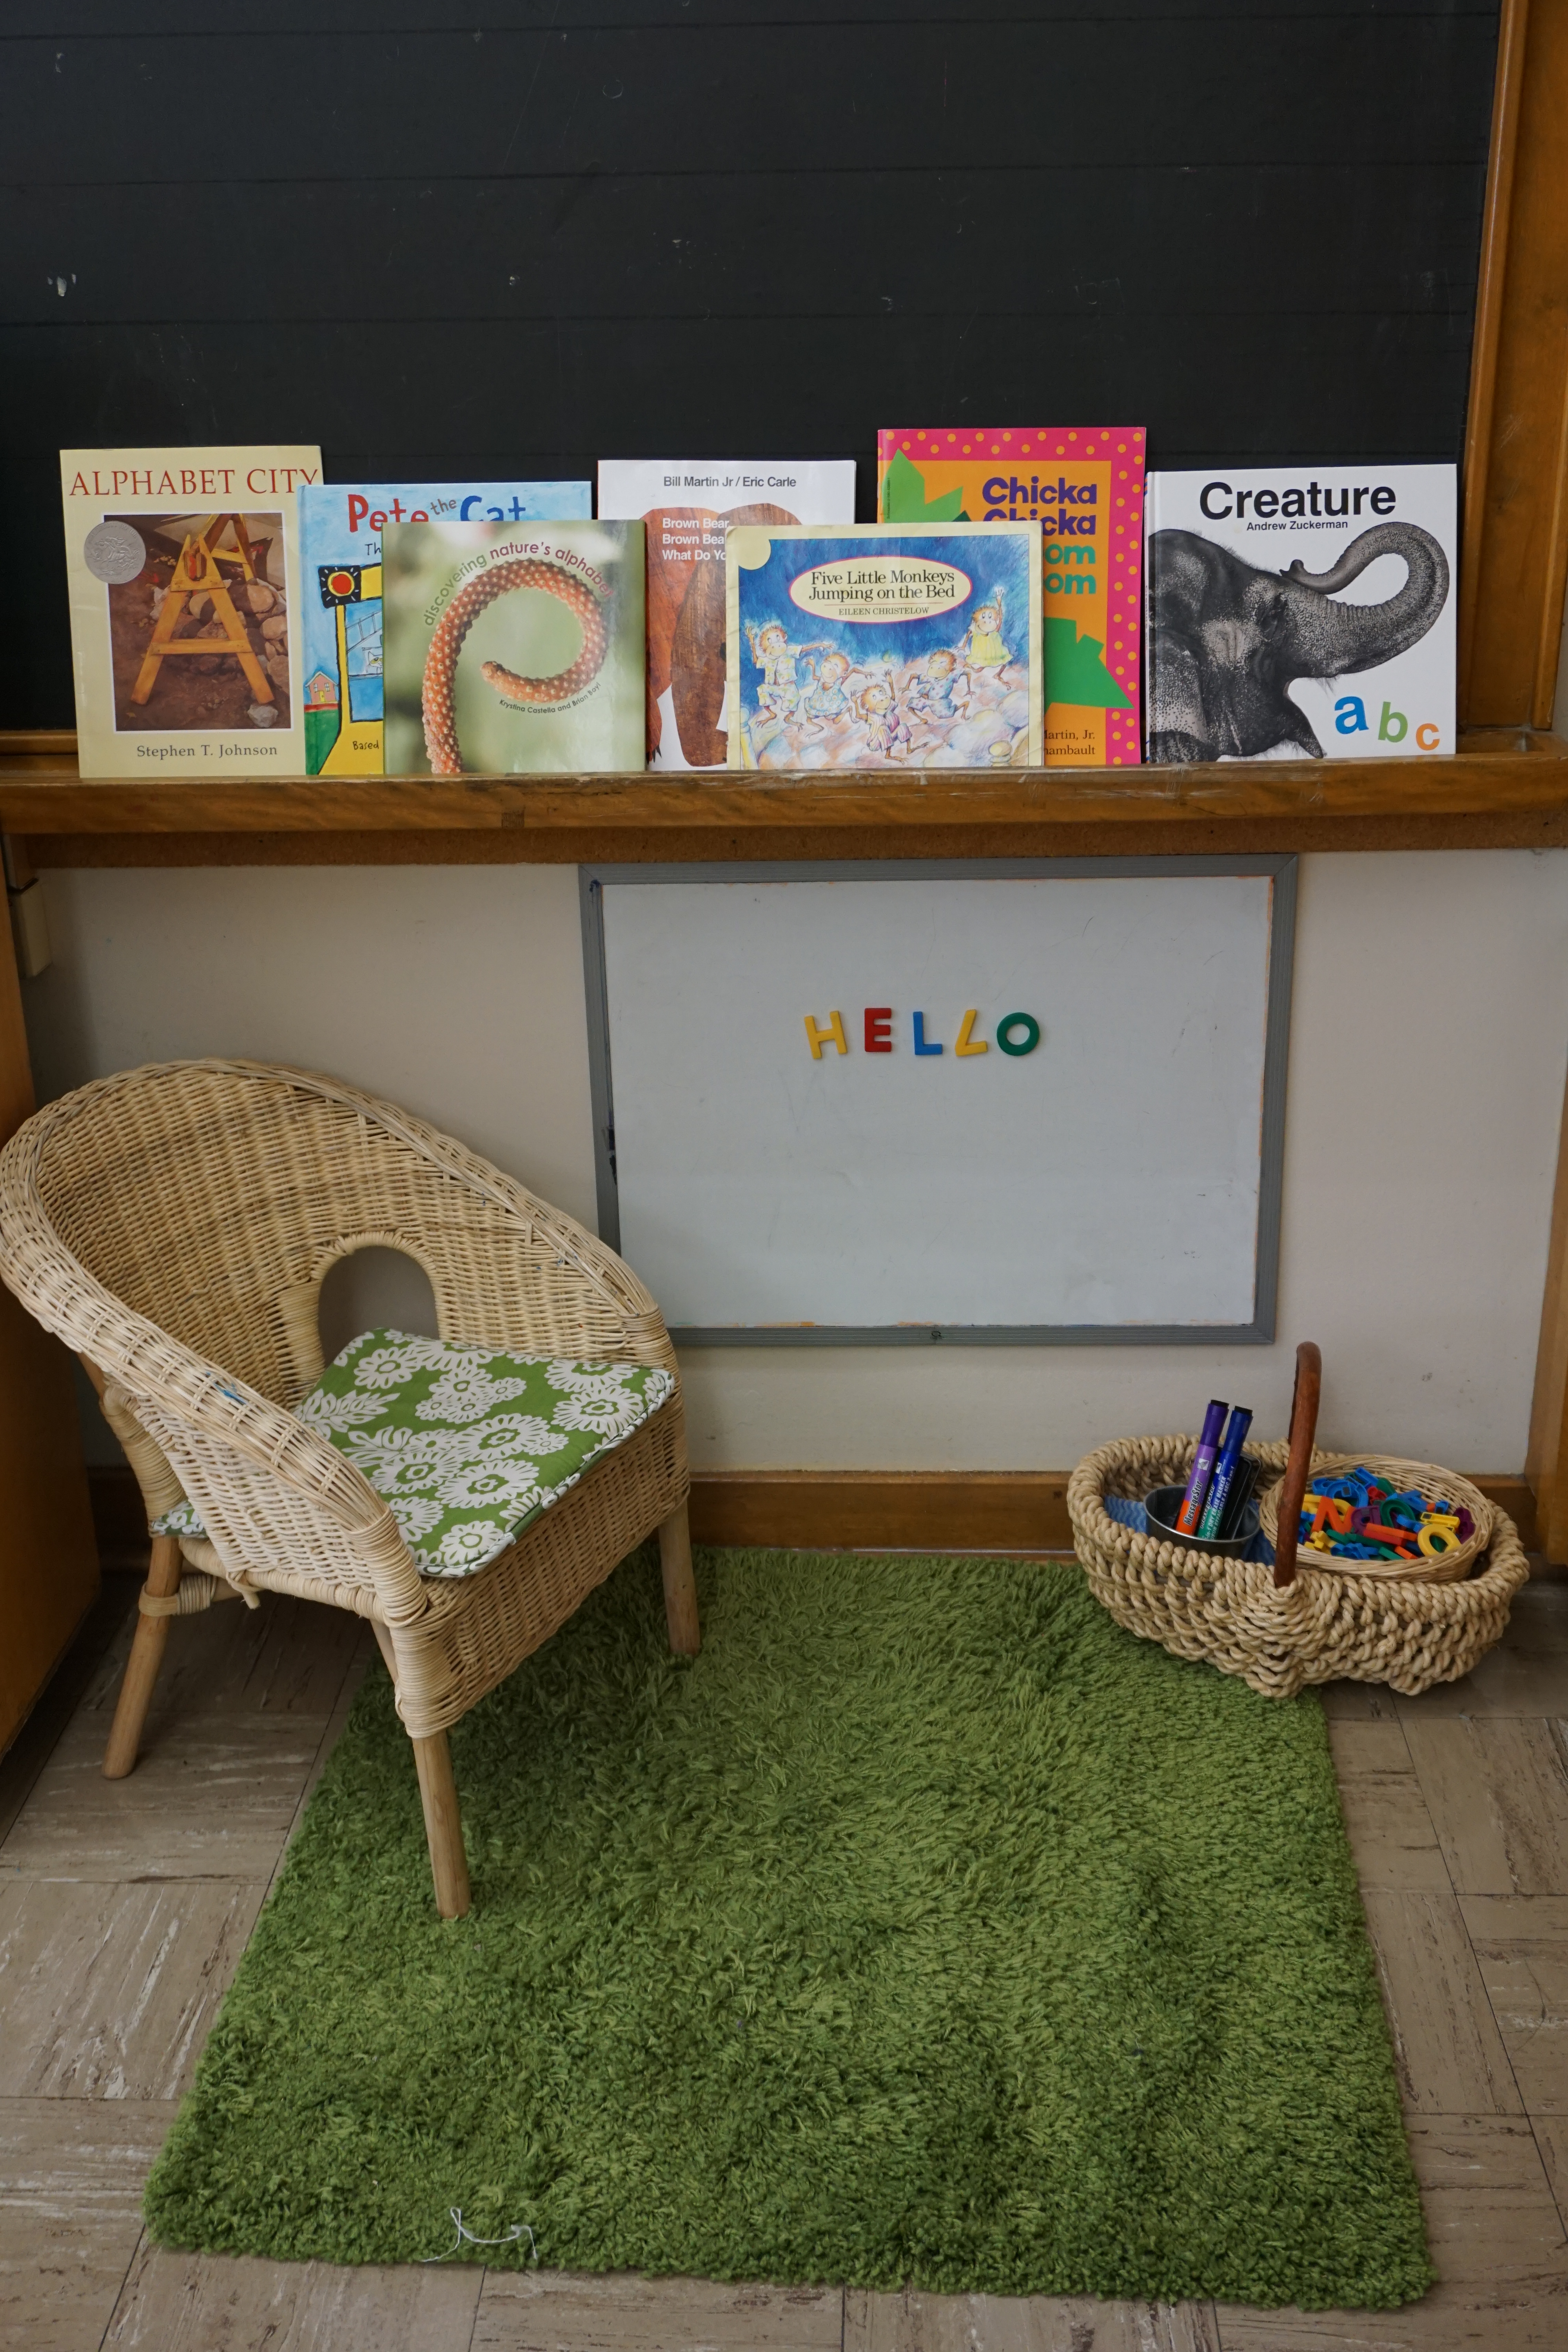
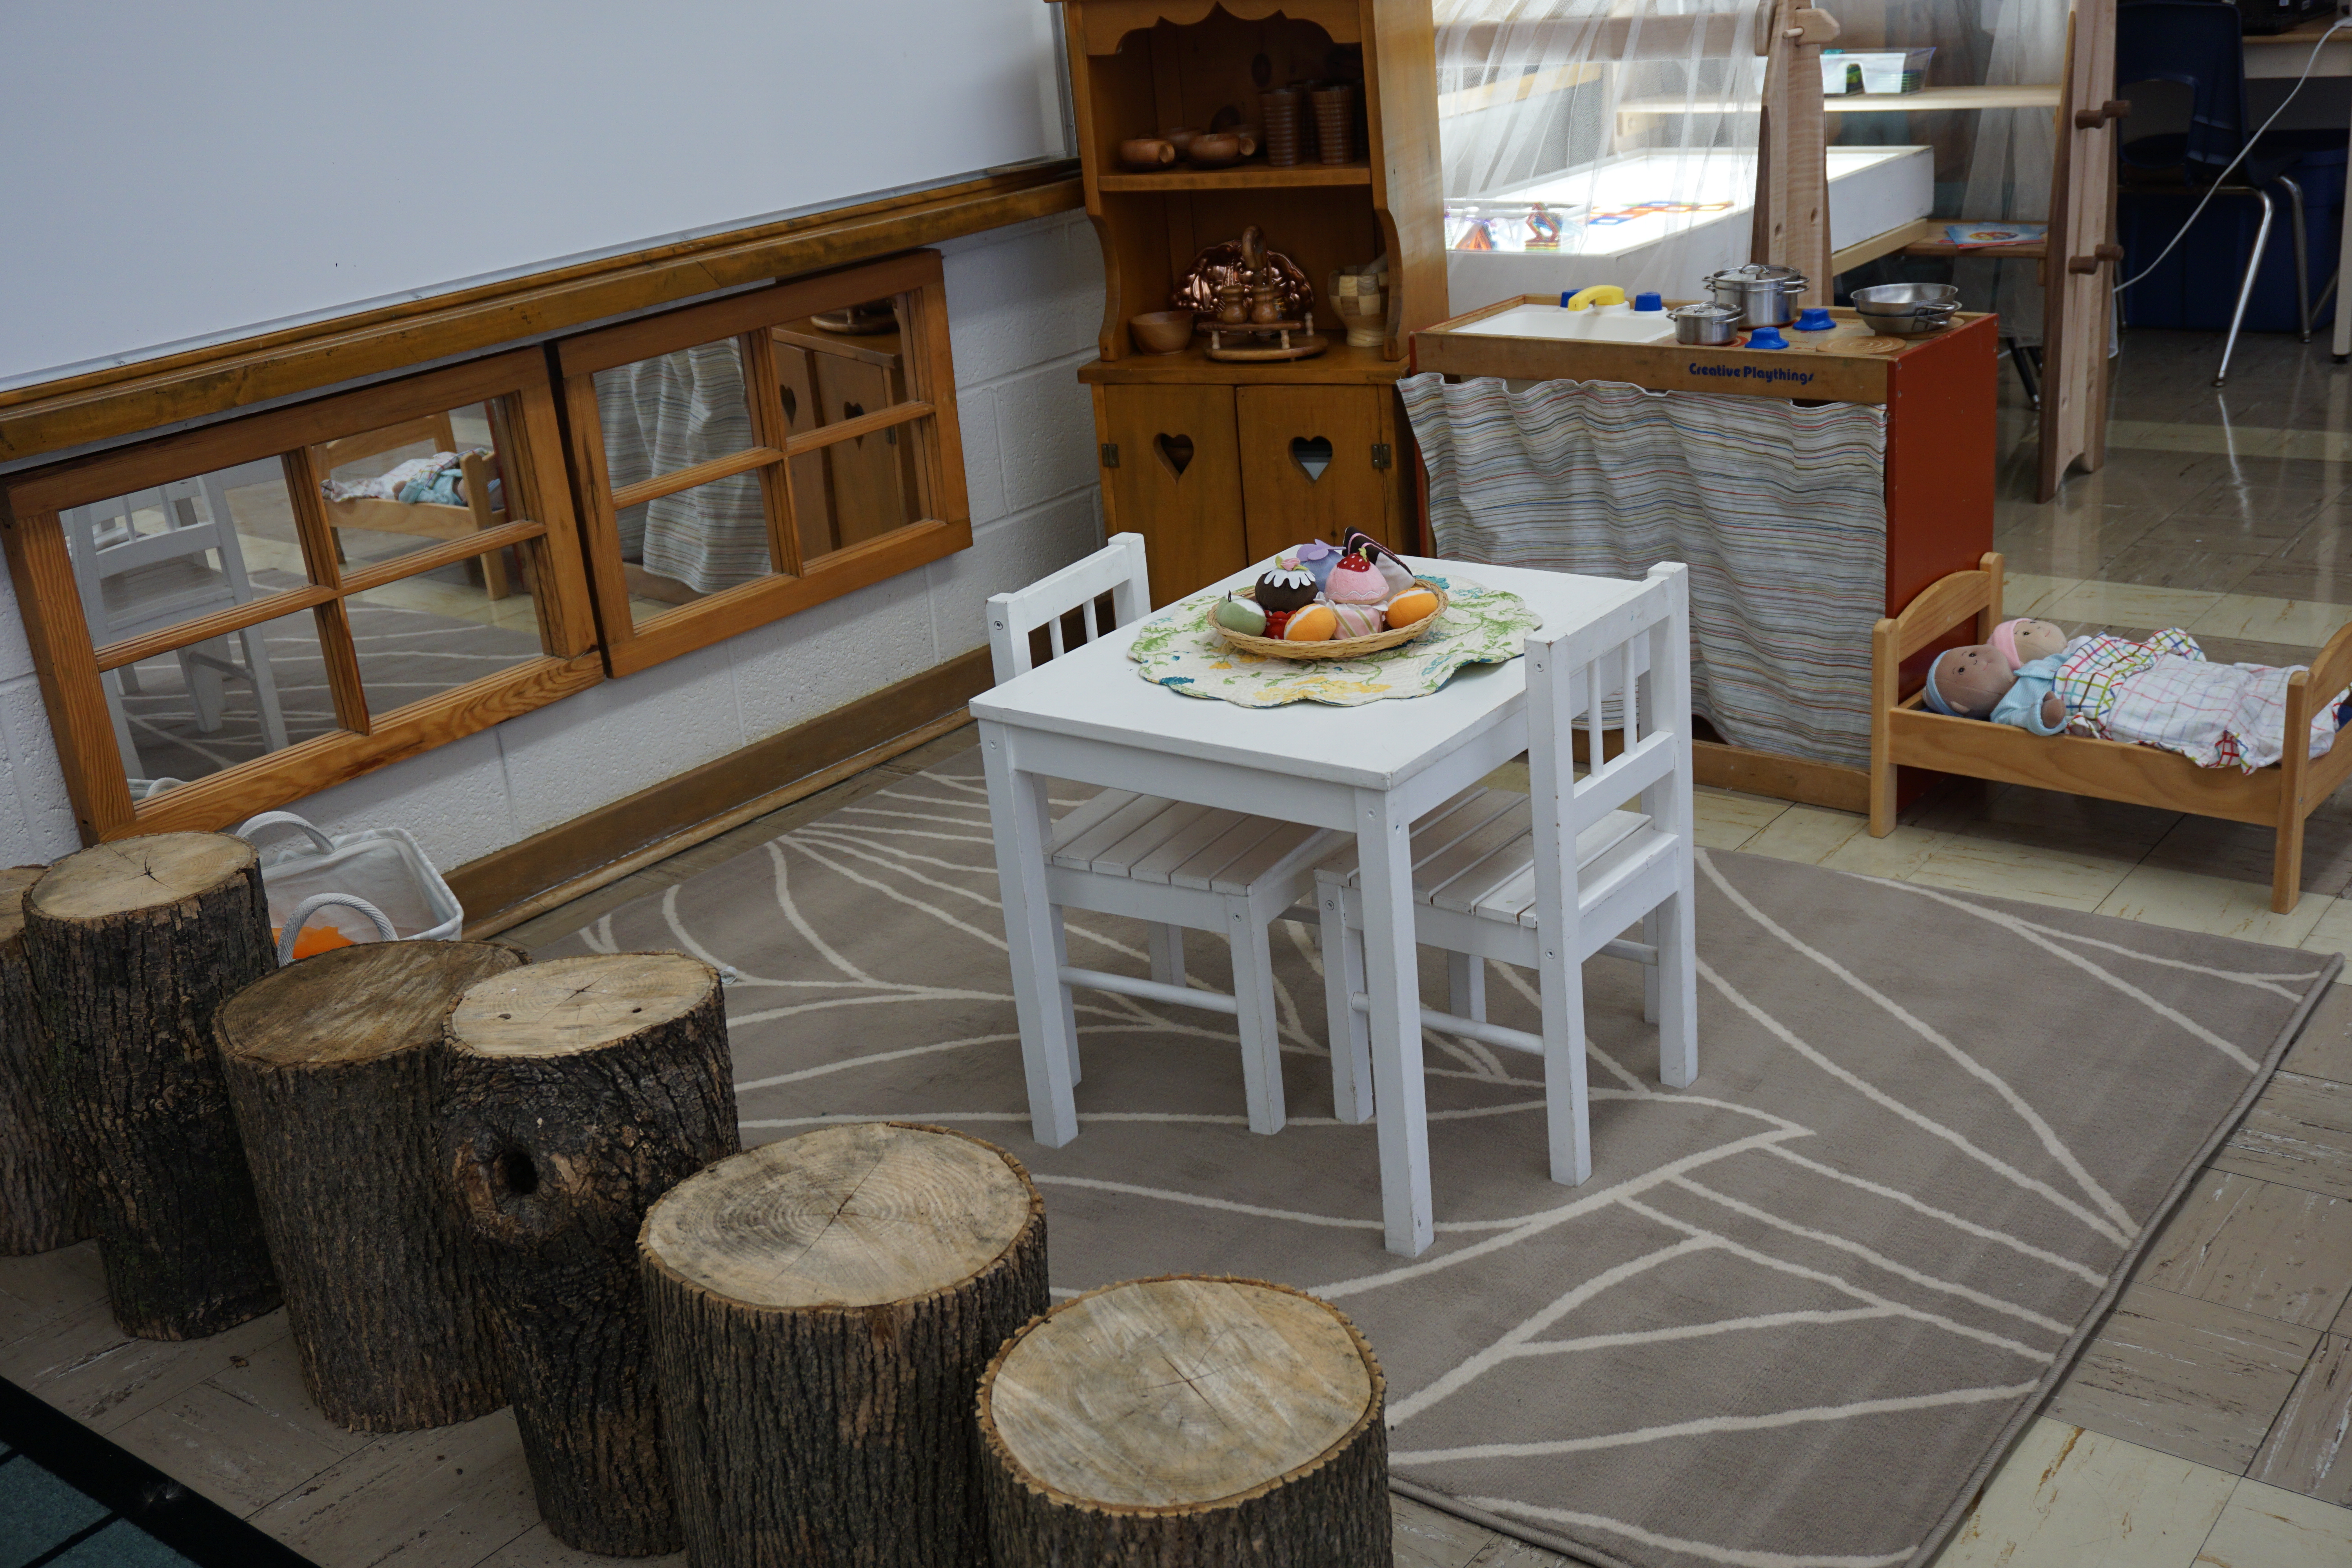
“Teacher” Centre.
A quiet place to re-enact classroom routines, read books, and play with literacy materials.
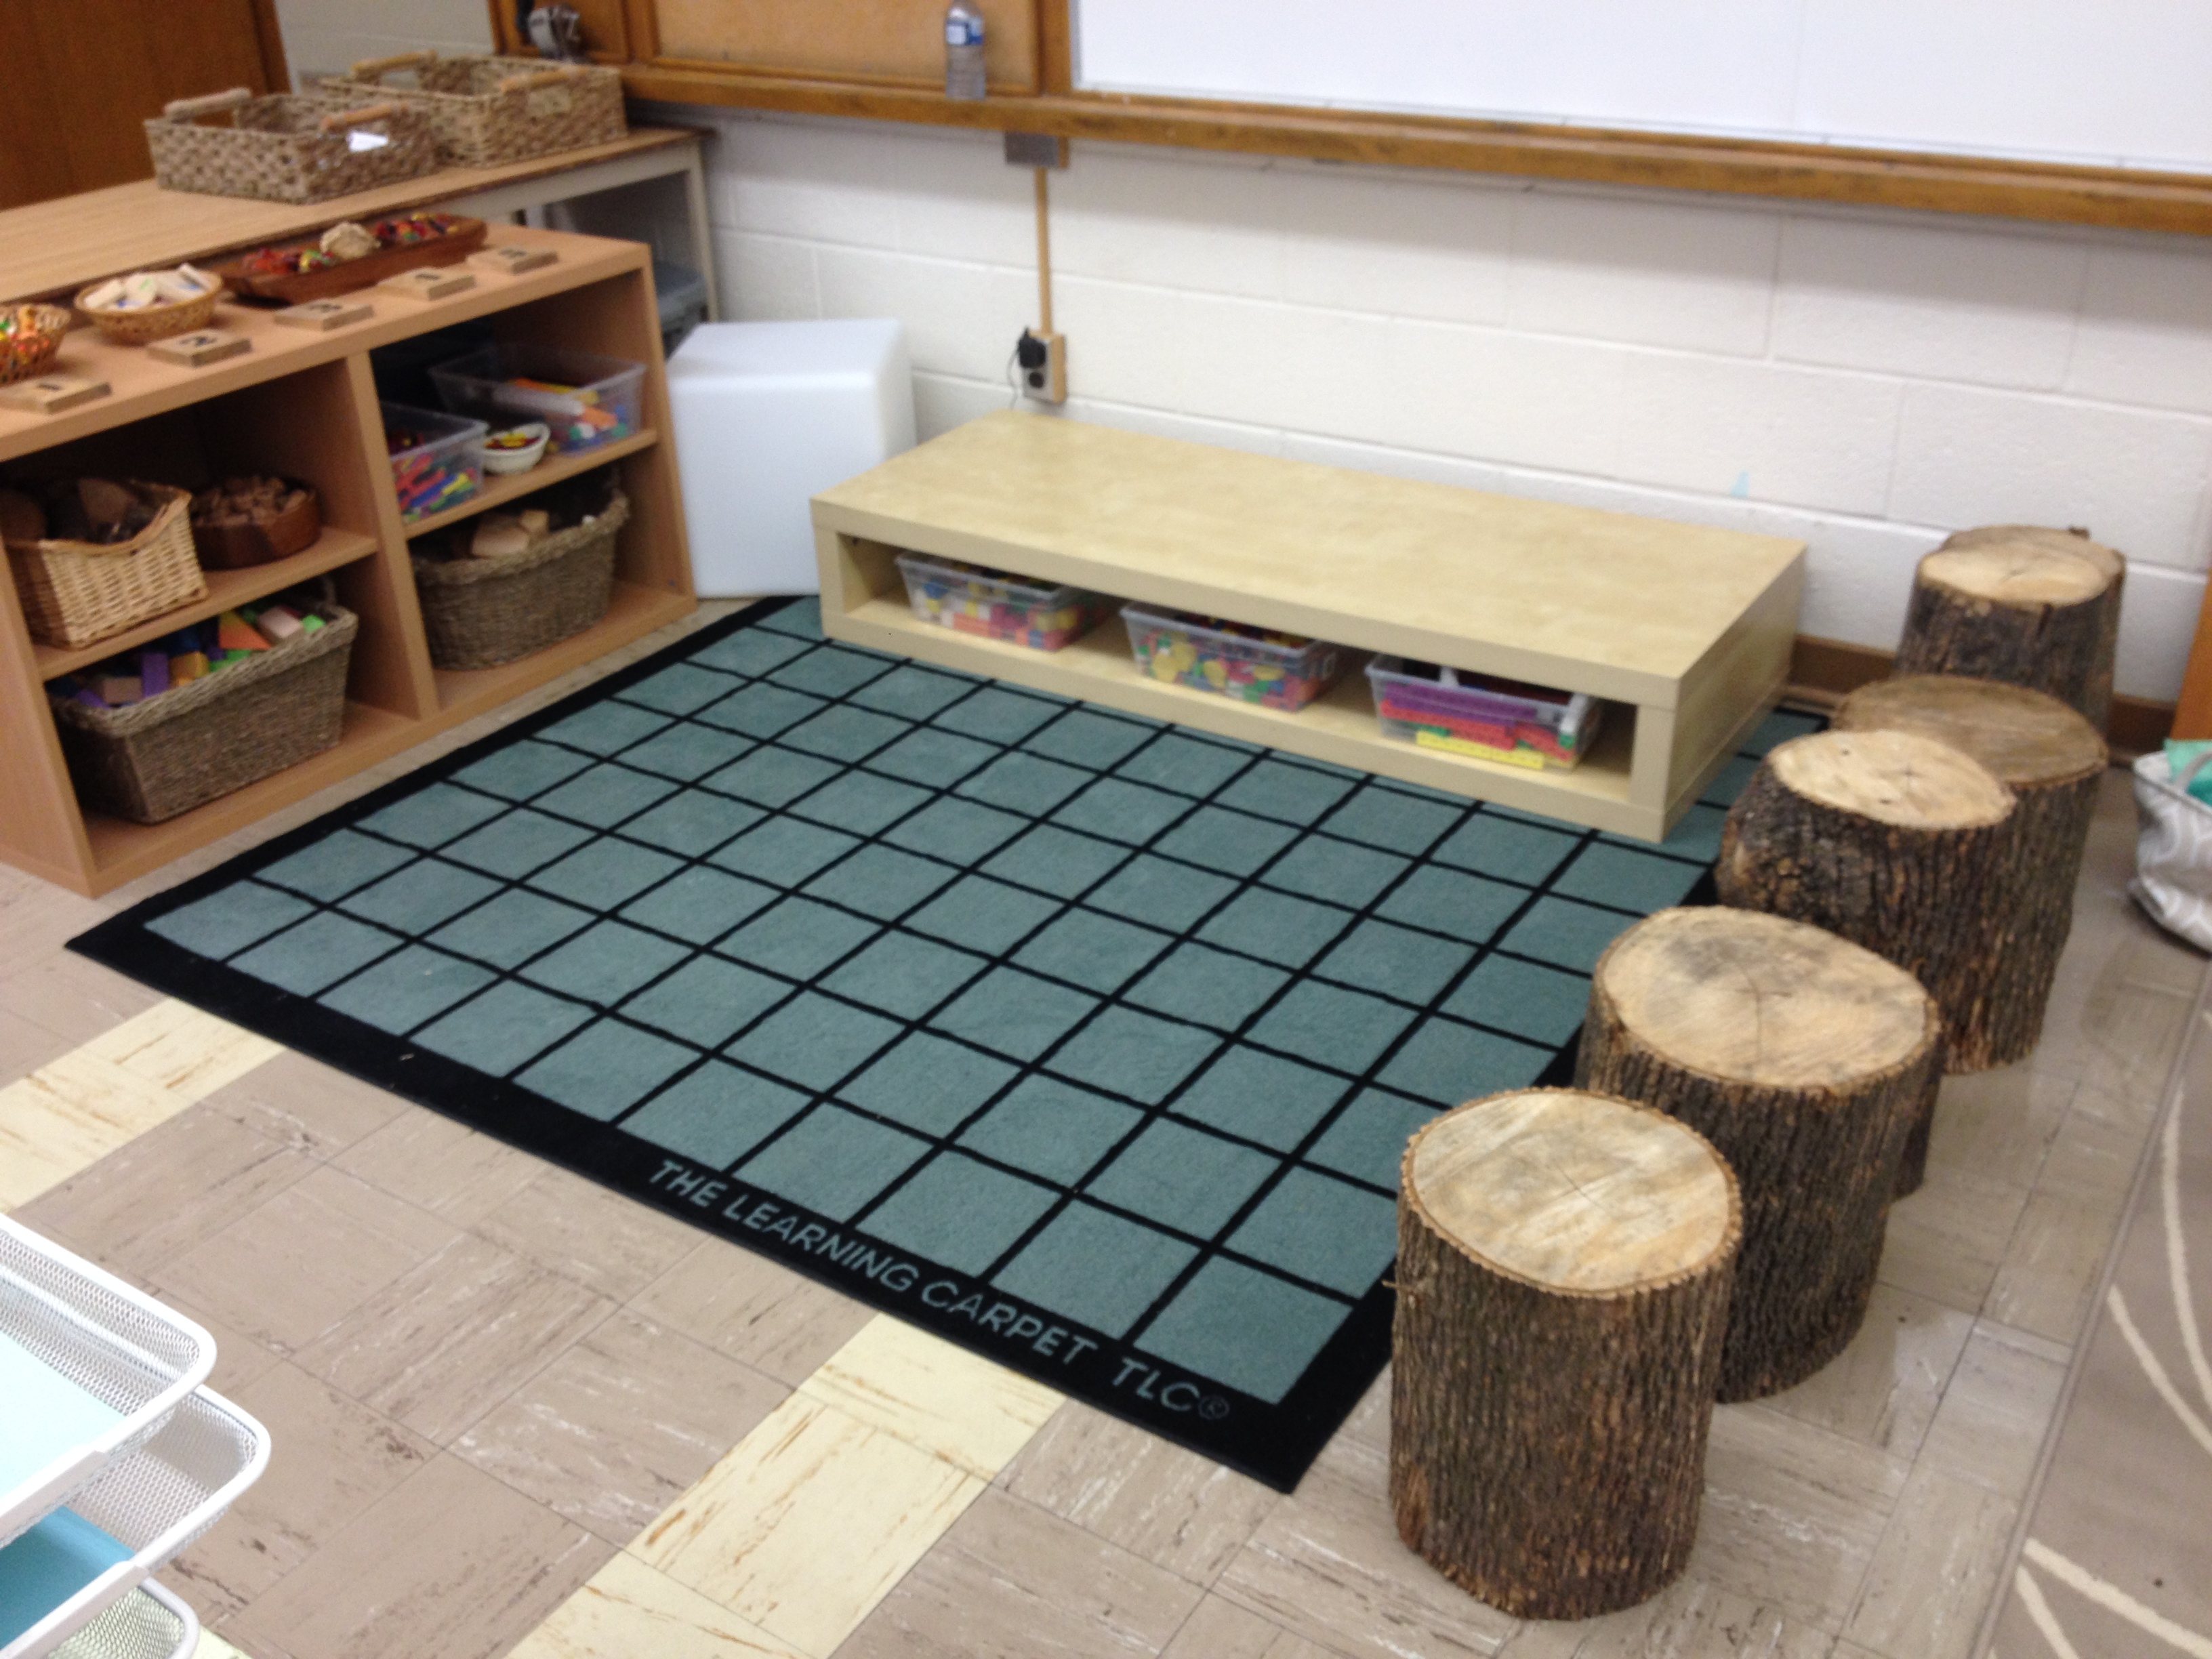
Math Centre: This is an area I see getting rearranged in the near future (the platform will likely be moved to a new location for small building). However, in the meantime I’m sure some children will enjoy having a raised surface on which to explore some of the materials I have laid out. The white cube in the corner is a light cube. It creates a soothing and cozy glow when illuminated.
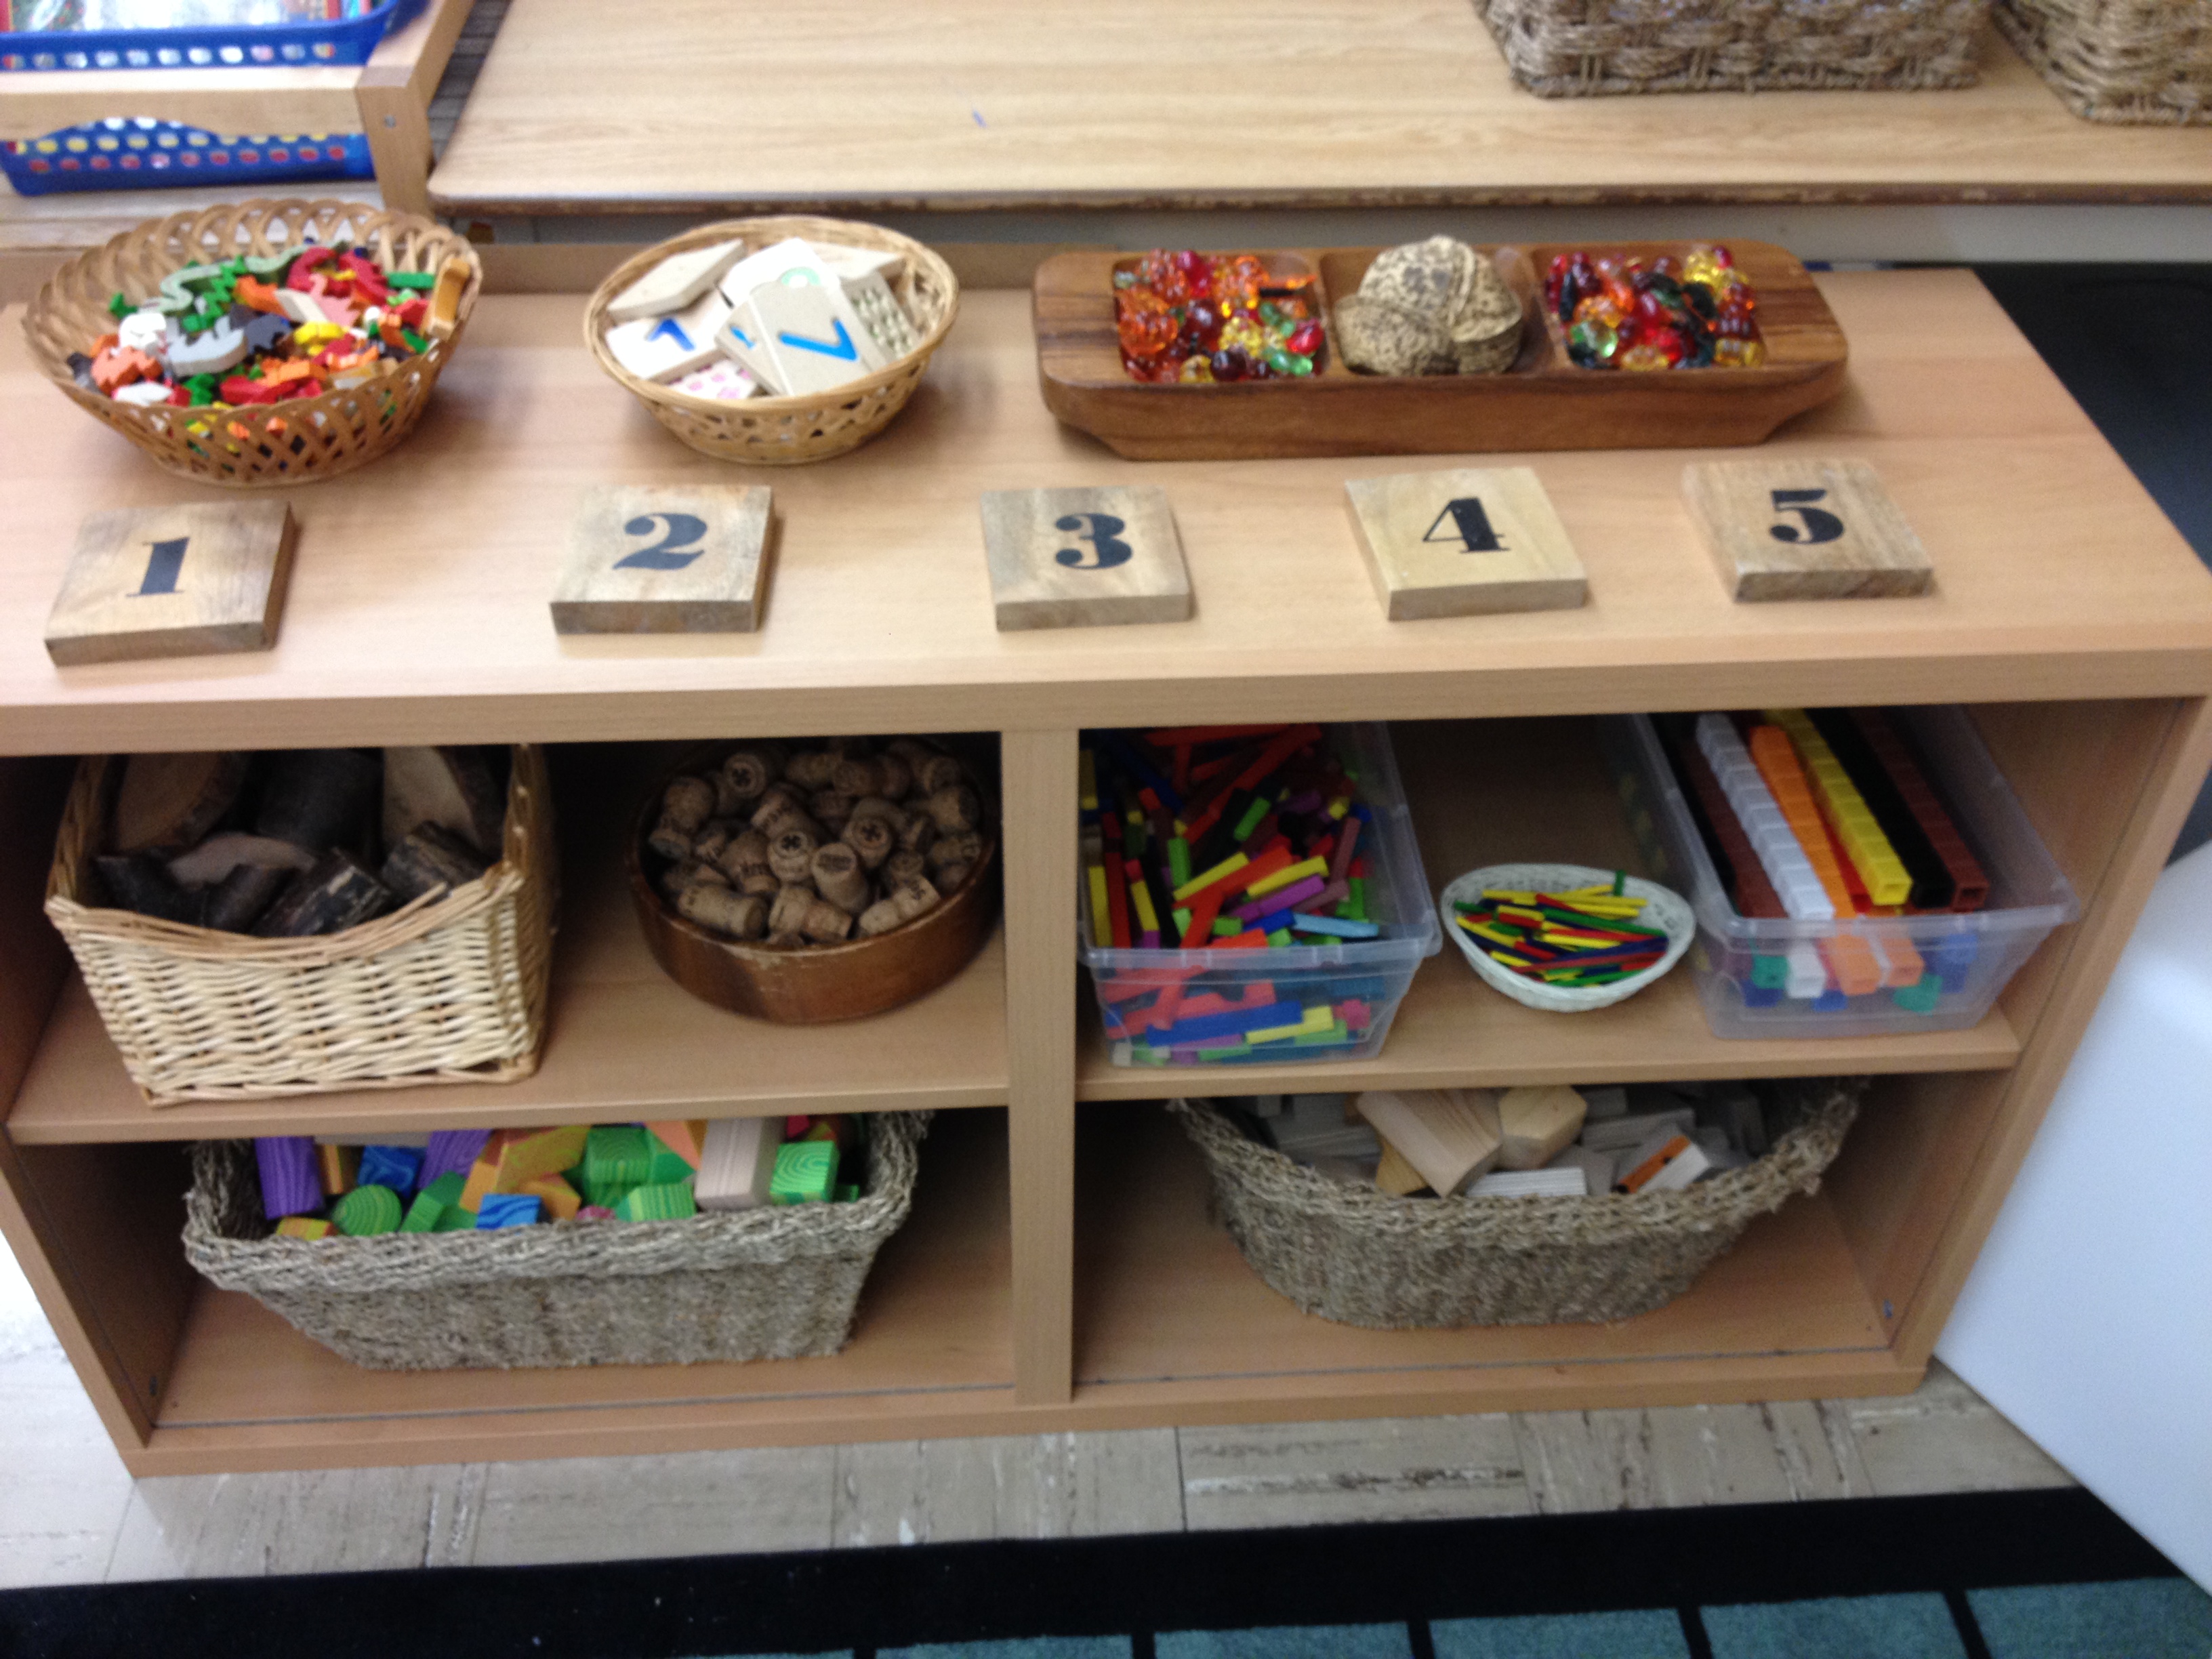
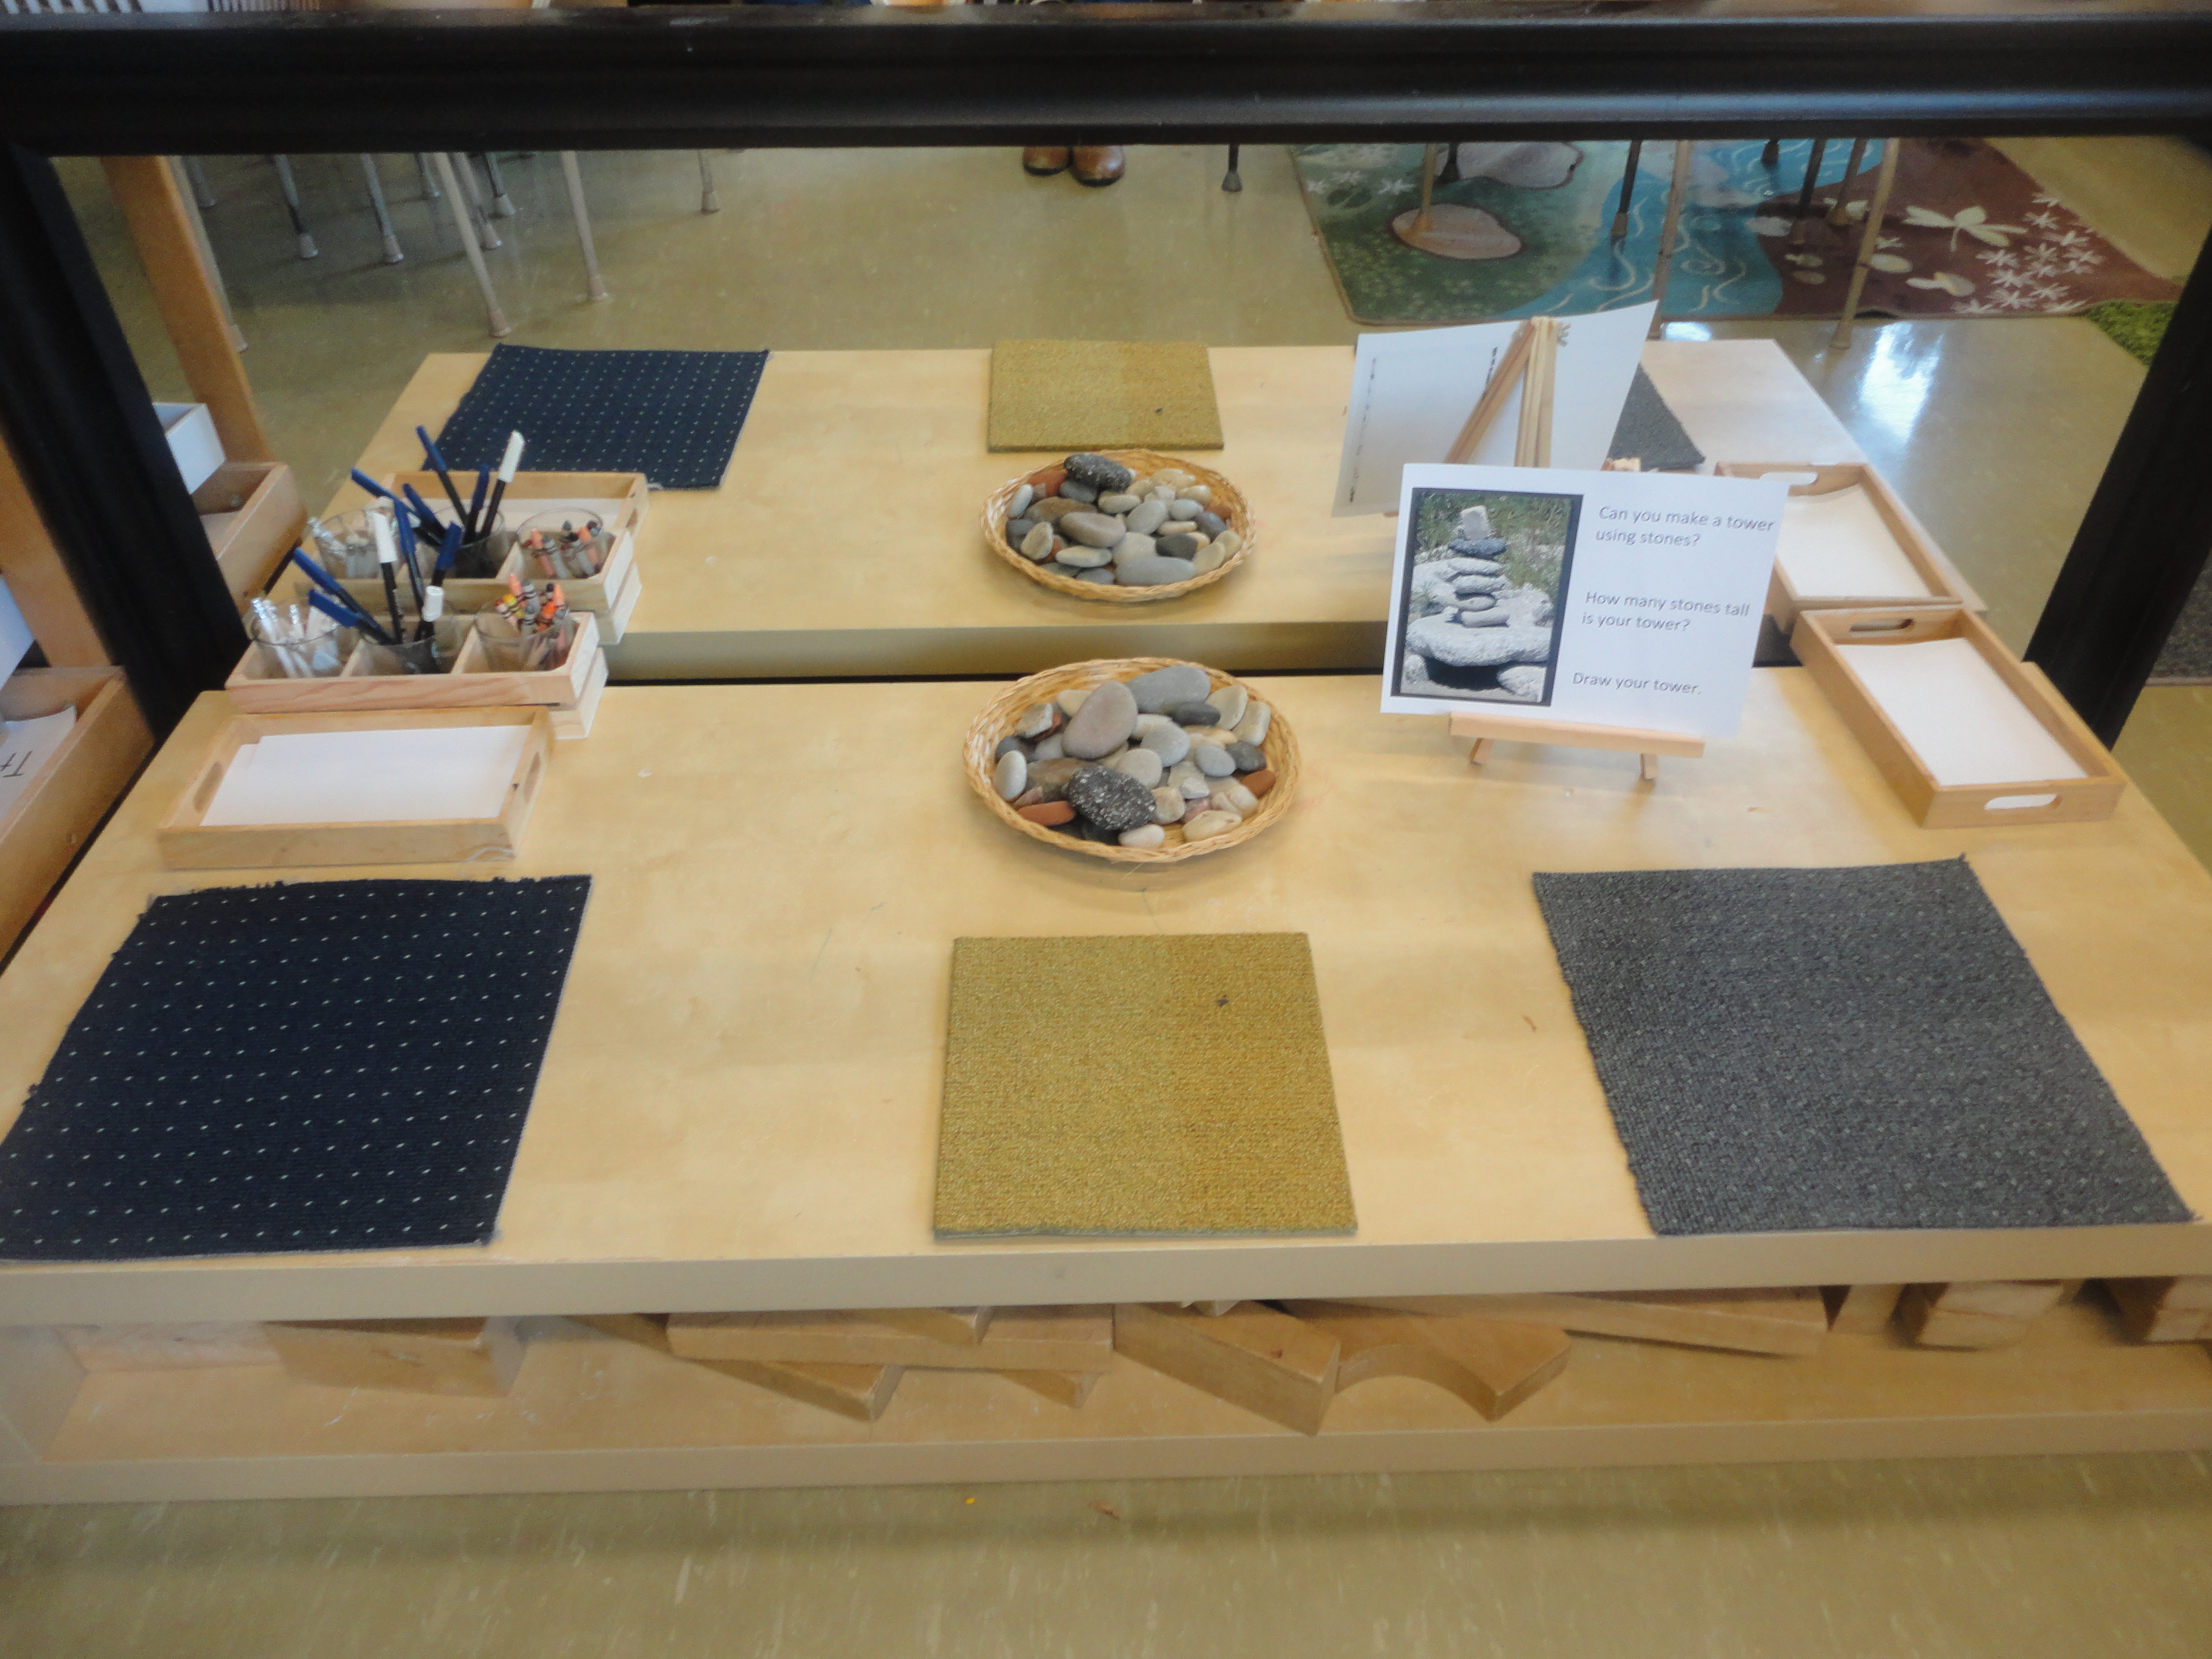
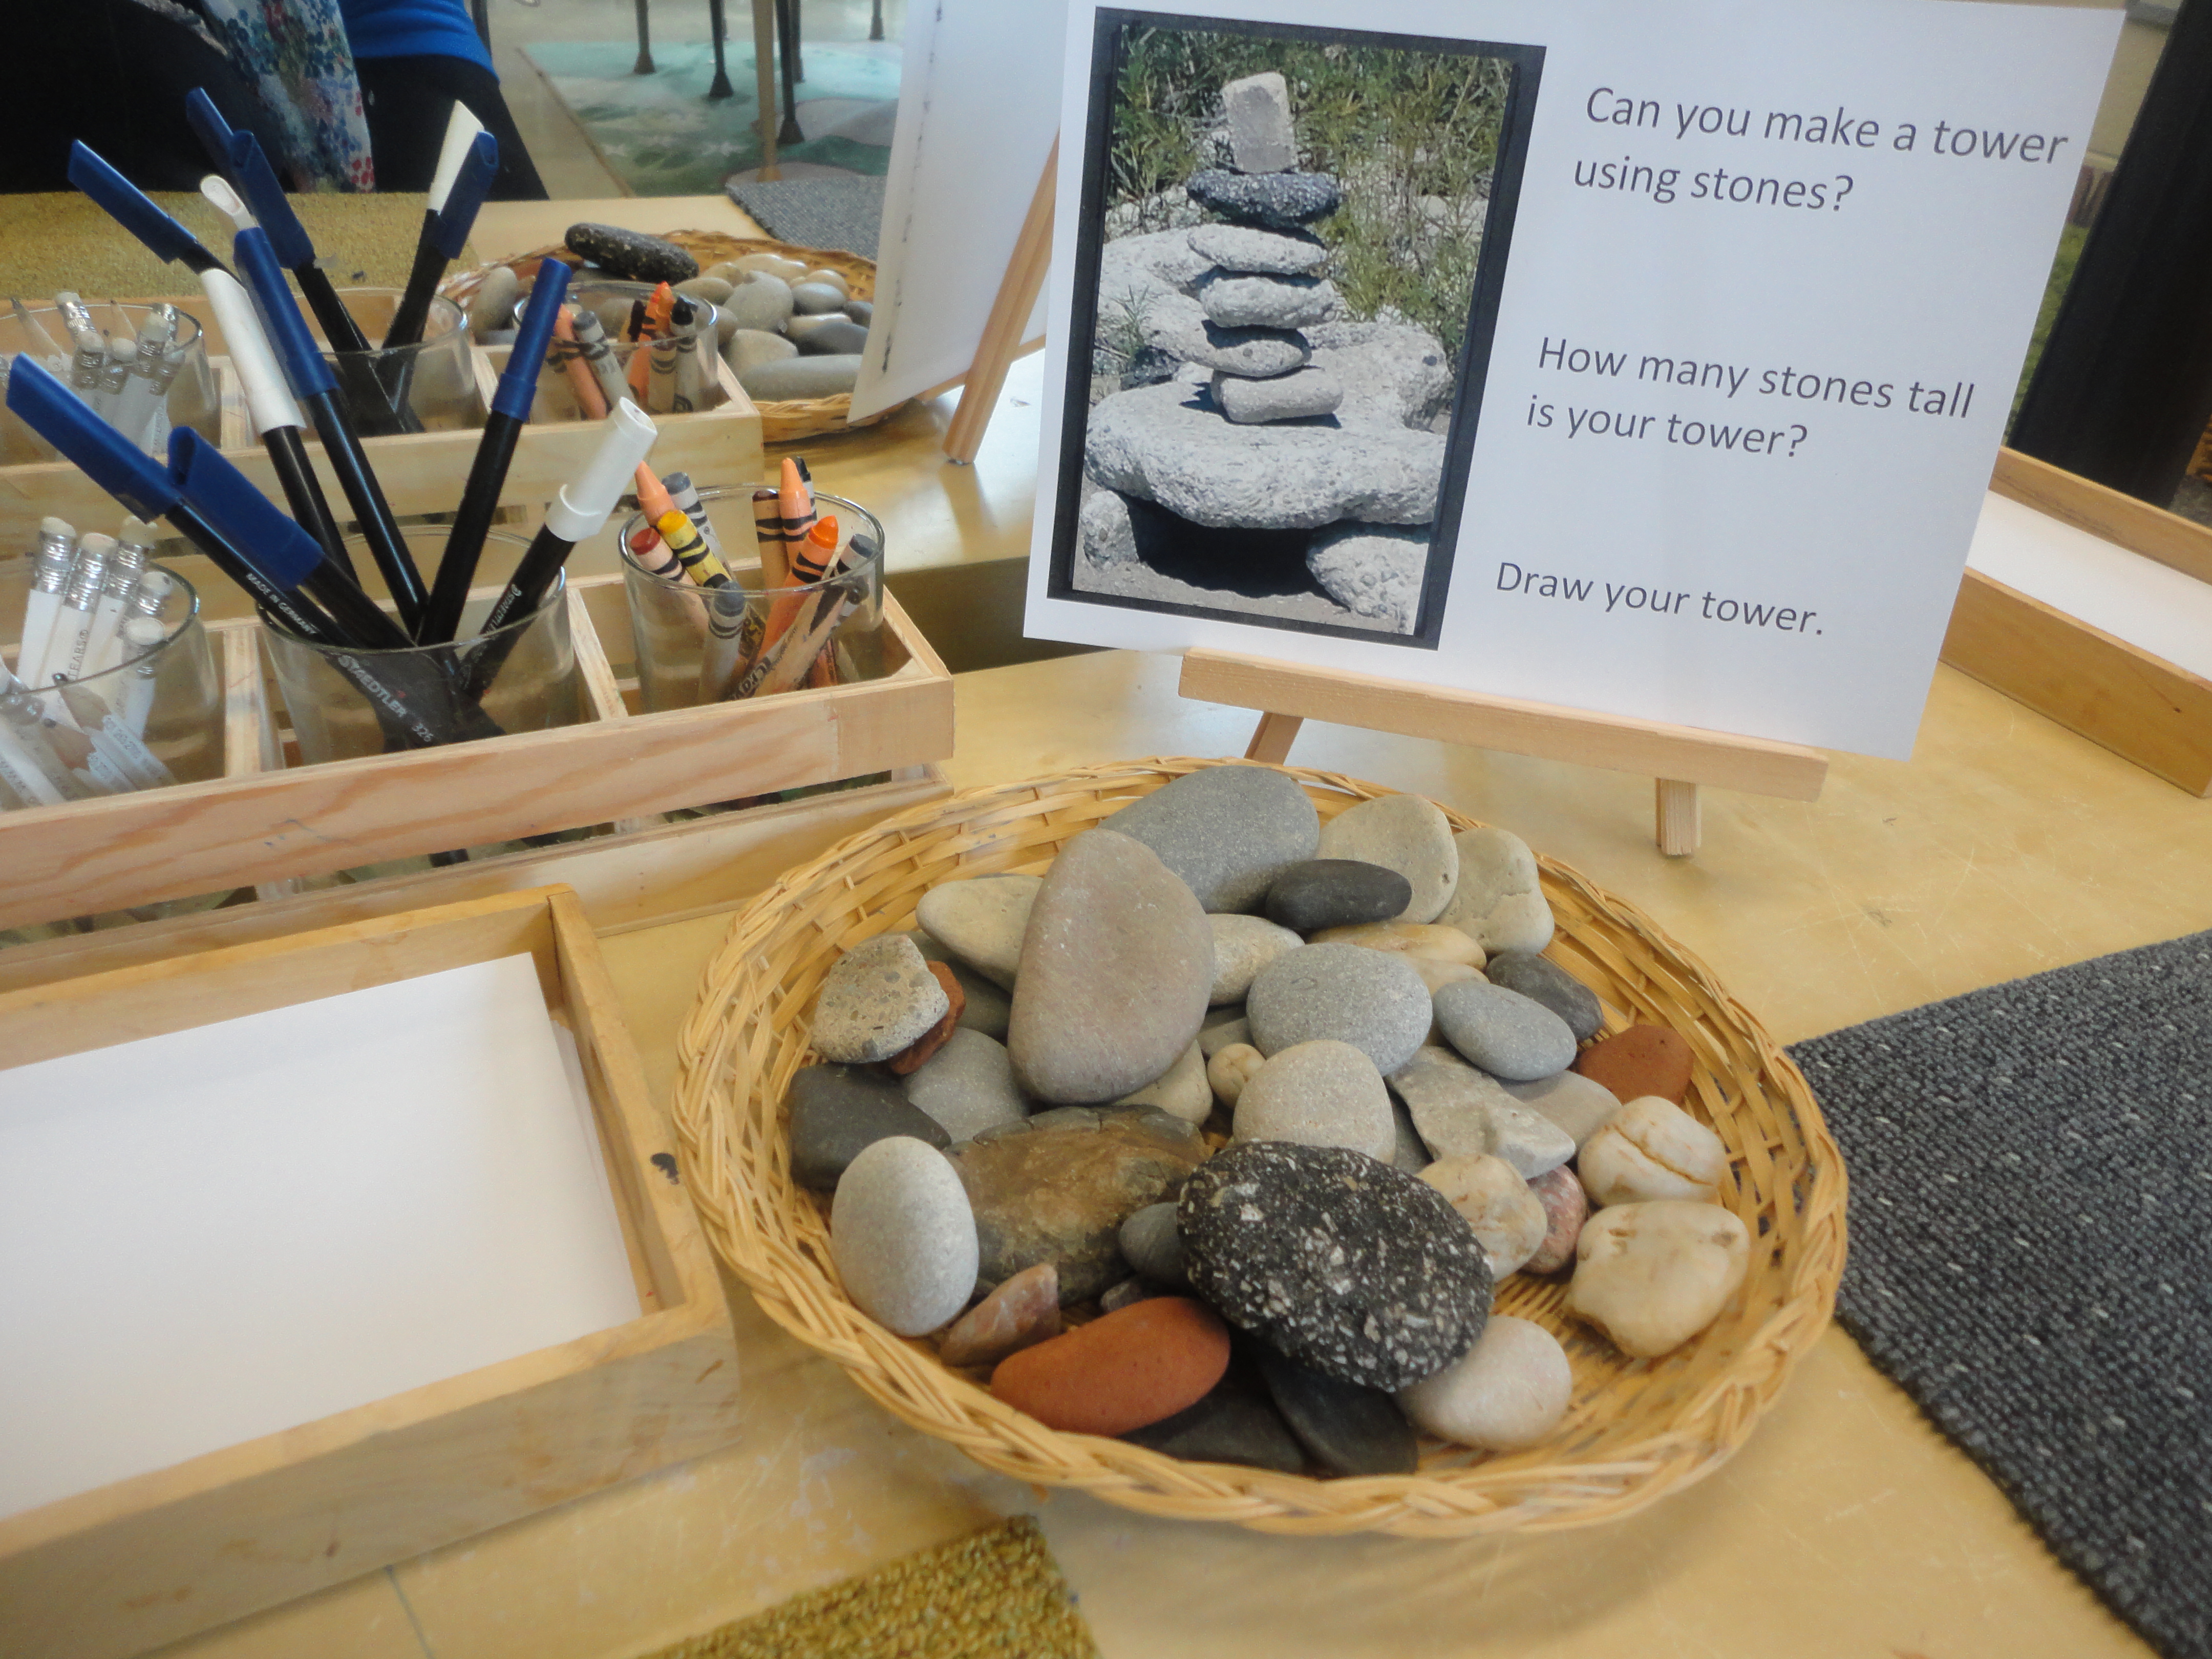
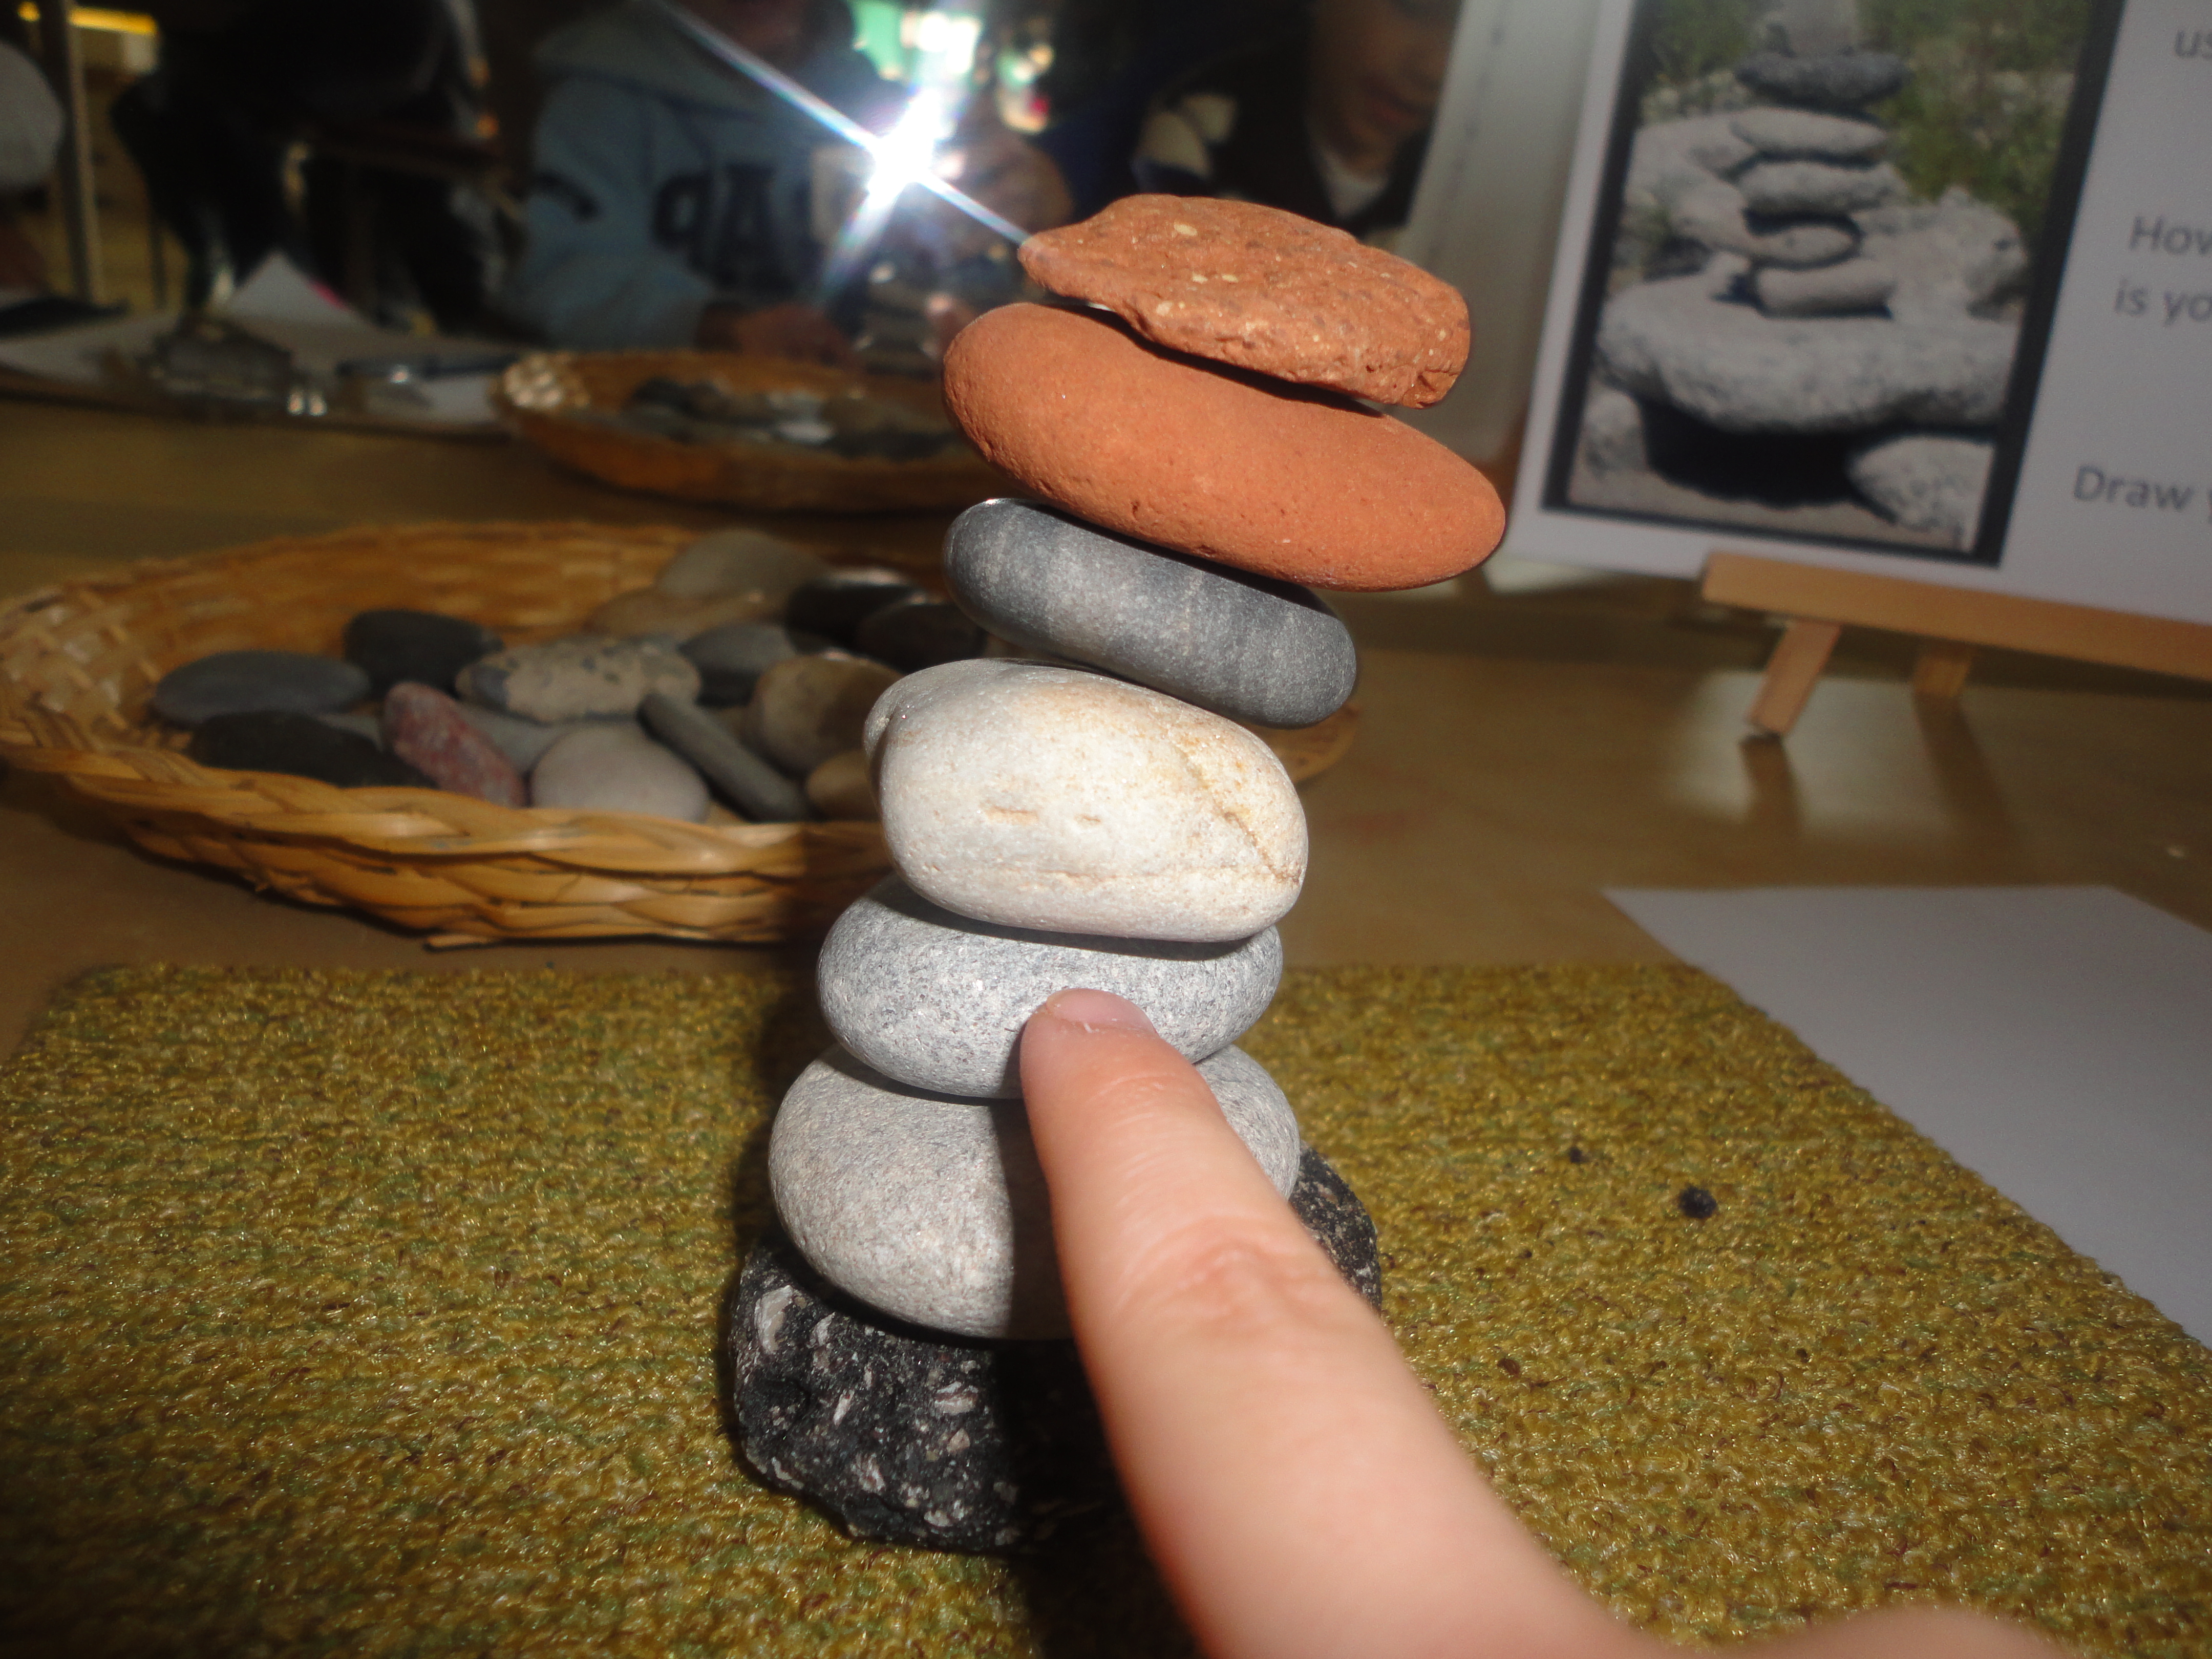
Math Centre materials
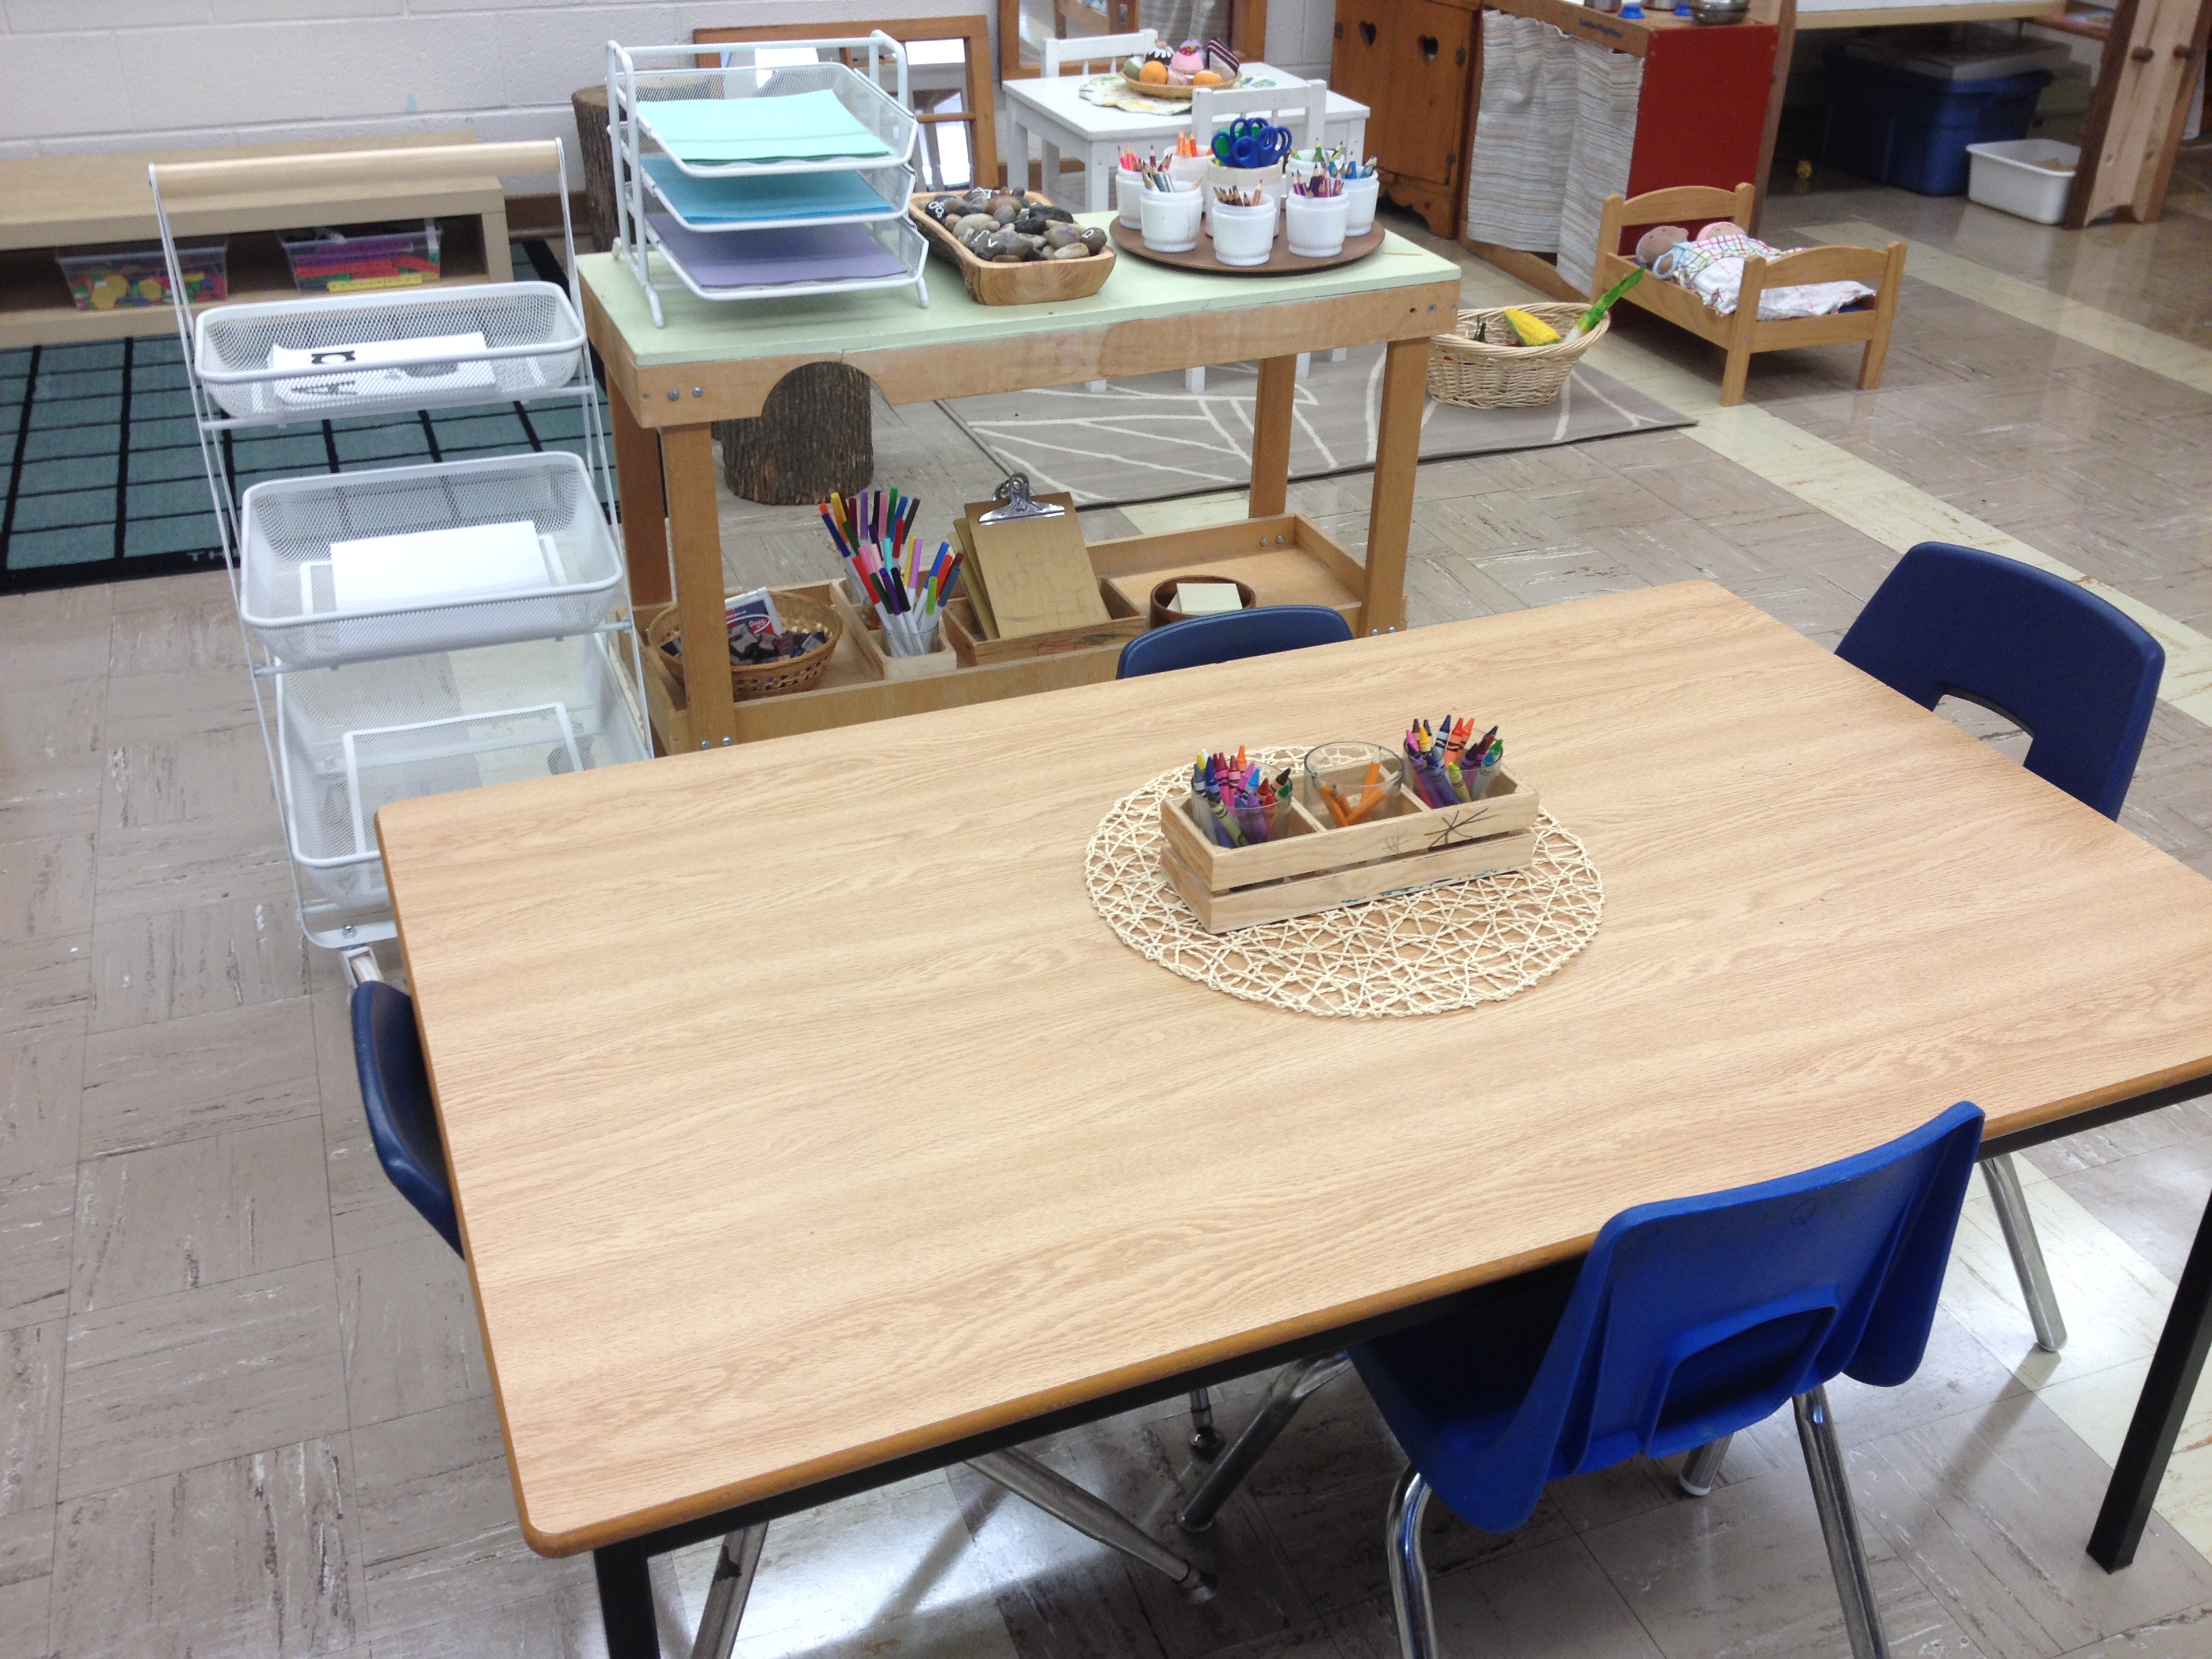
Writing Centre
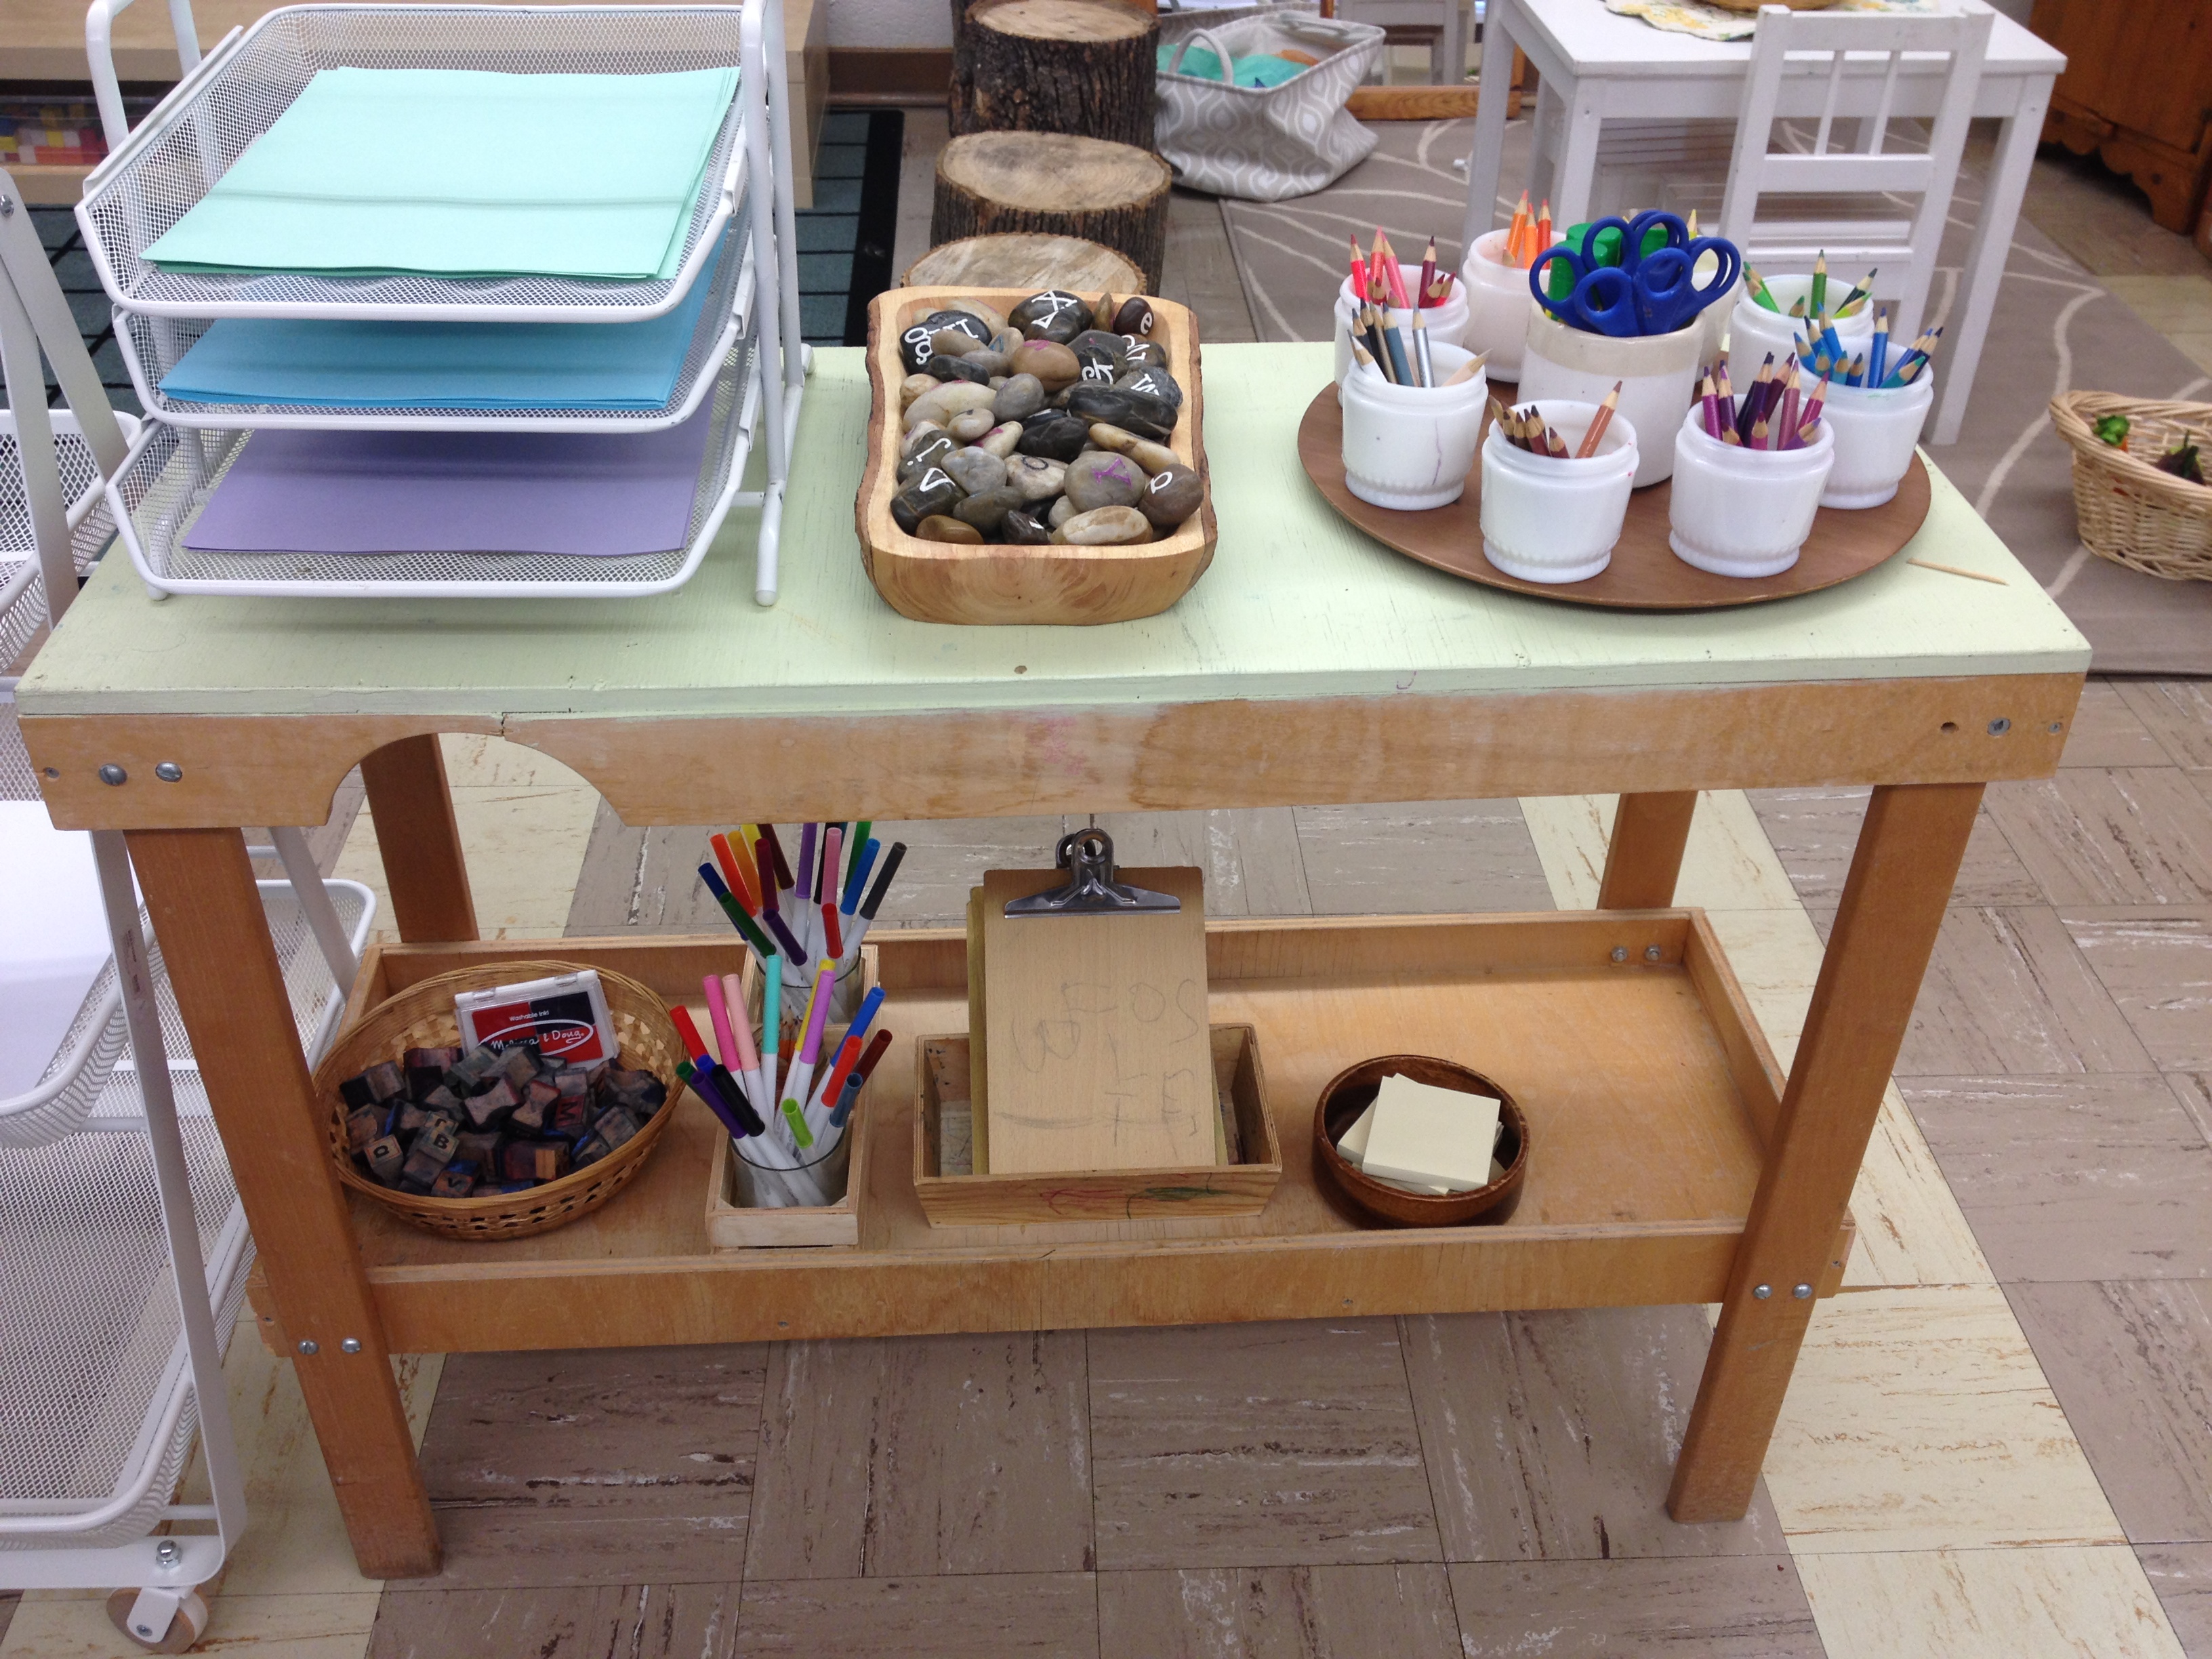
Writing Centre materials
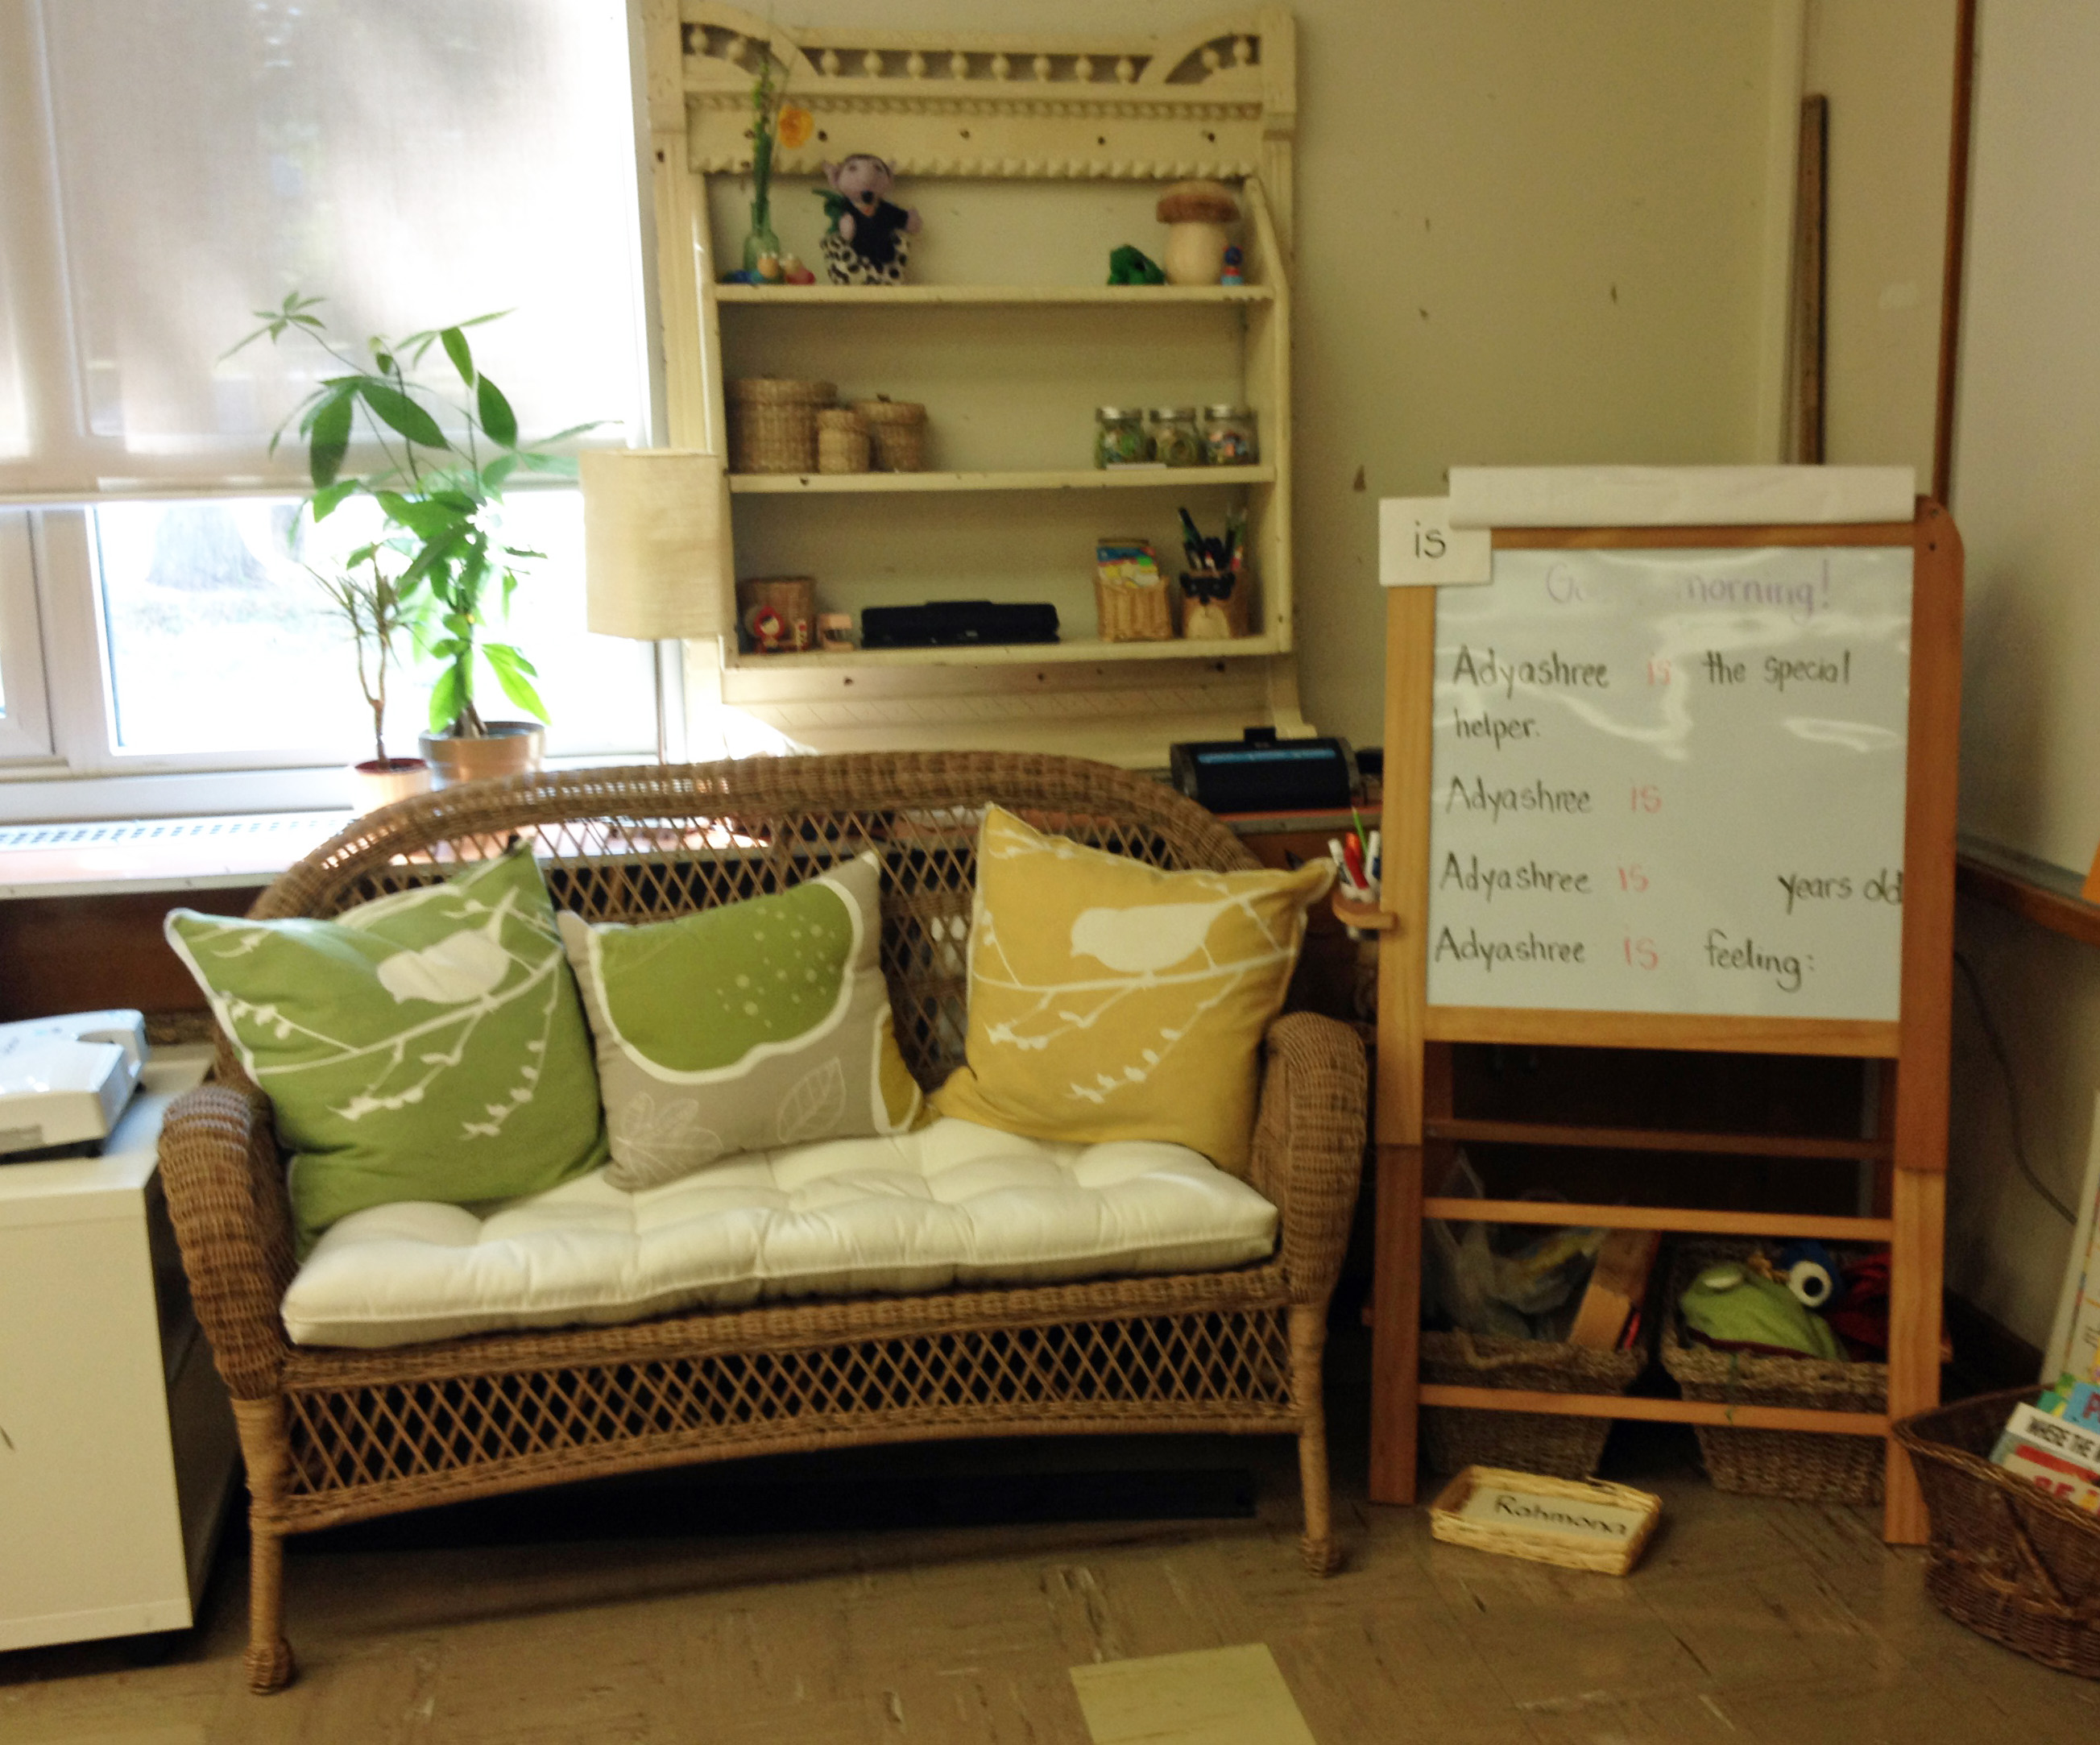
Carpet Area (with soon to be arriving carpet…). I have really enjoyed having a couch to share with the children in the class. It is a perfect spot for students to sit and share their thinking/learning with the class during reflection time. Many students also enjoy curling up here with a book. Since I don’t have a “teacher desk” I find myself sitting here when the day is done to reflect on what I saw and heard during the day.
So this is what I have set up for now. I’ll keep you posted on any changes/developments as they unfold. I am SO excited to meet my new students and begin our learning journey next week!