In the Studio: Self-Portraits

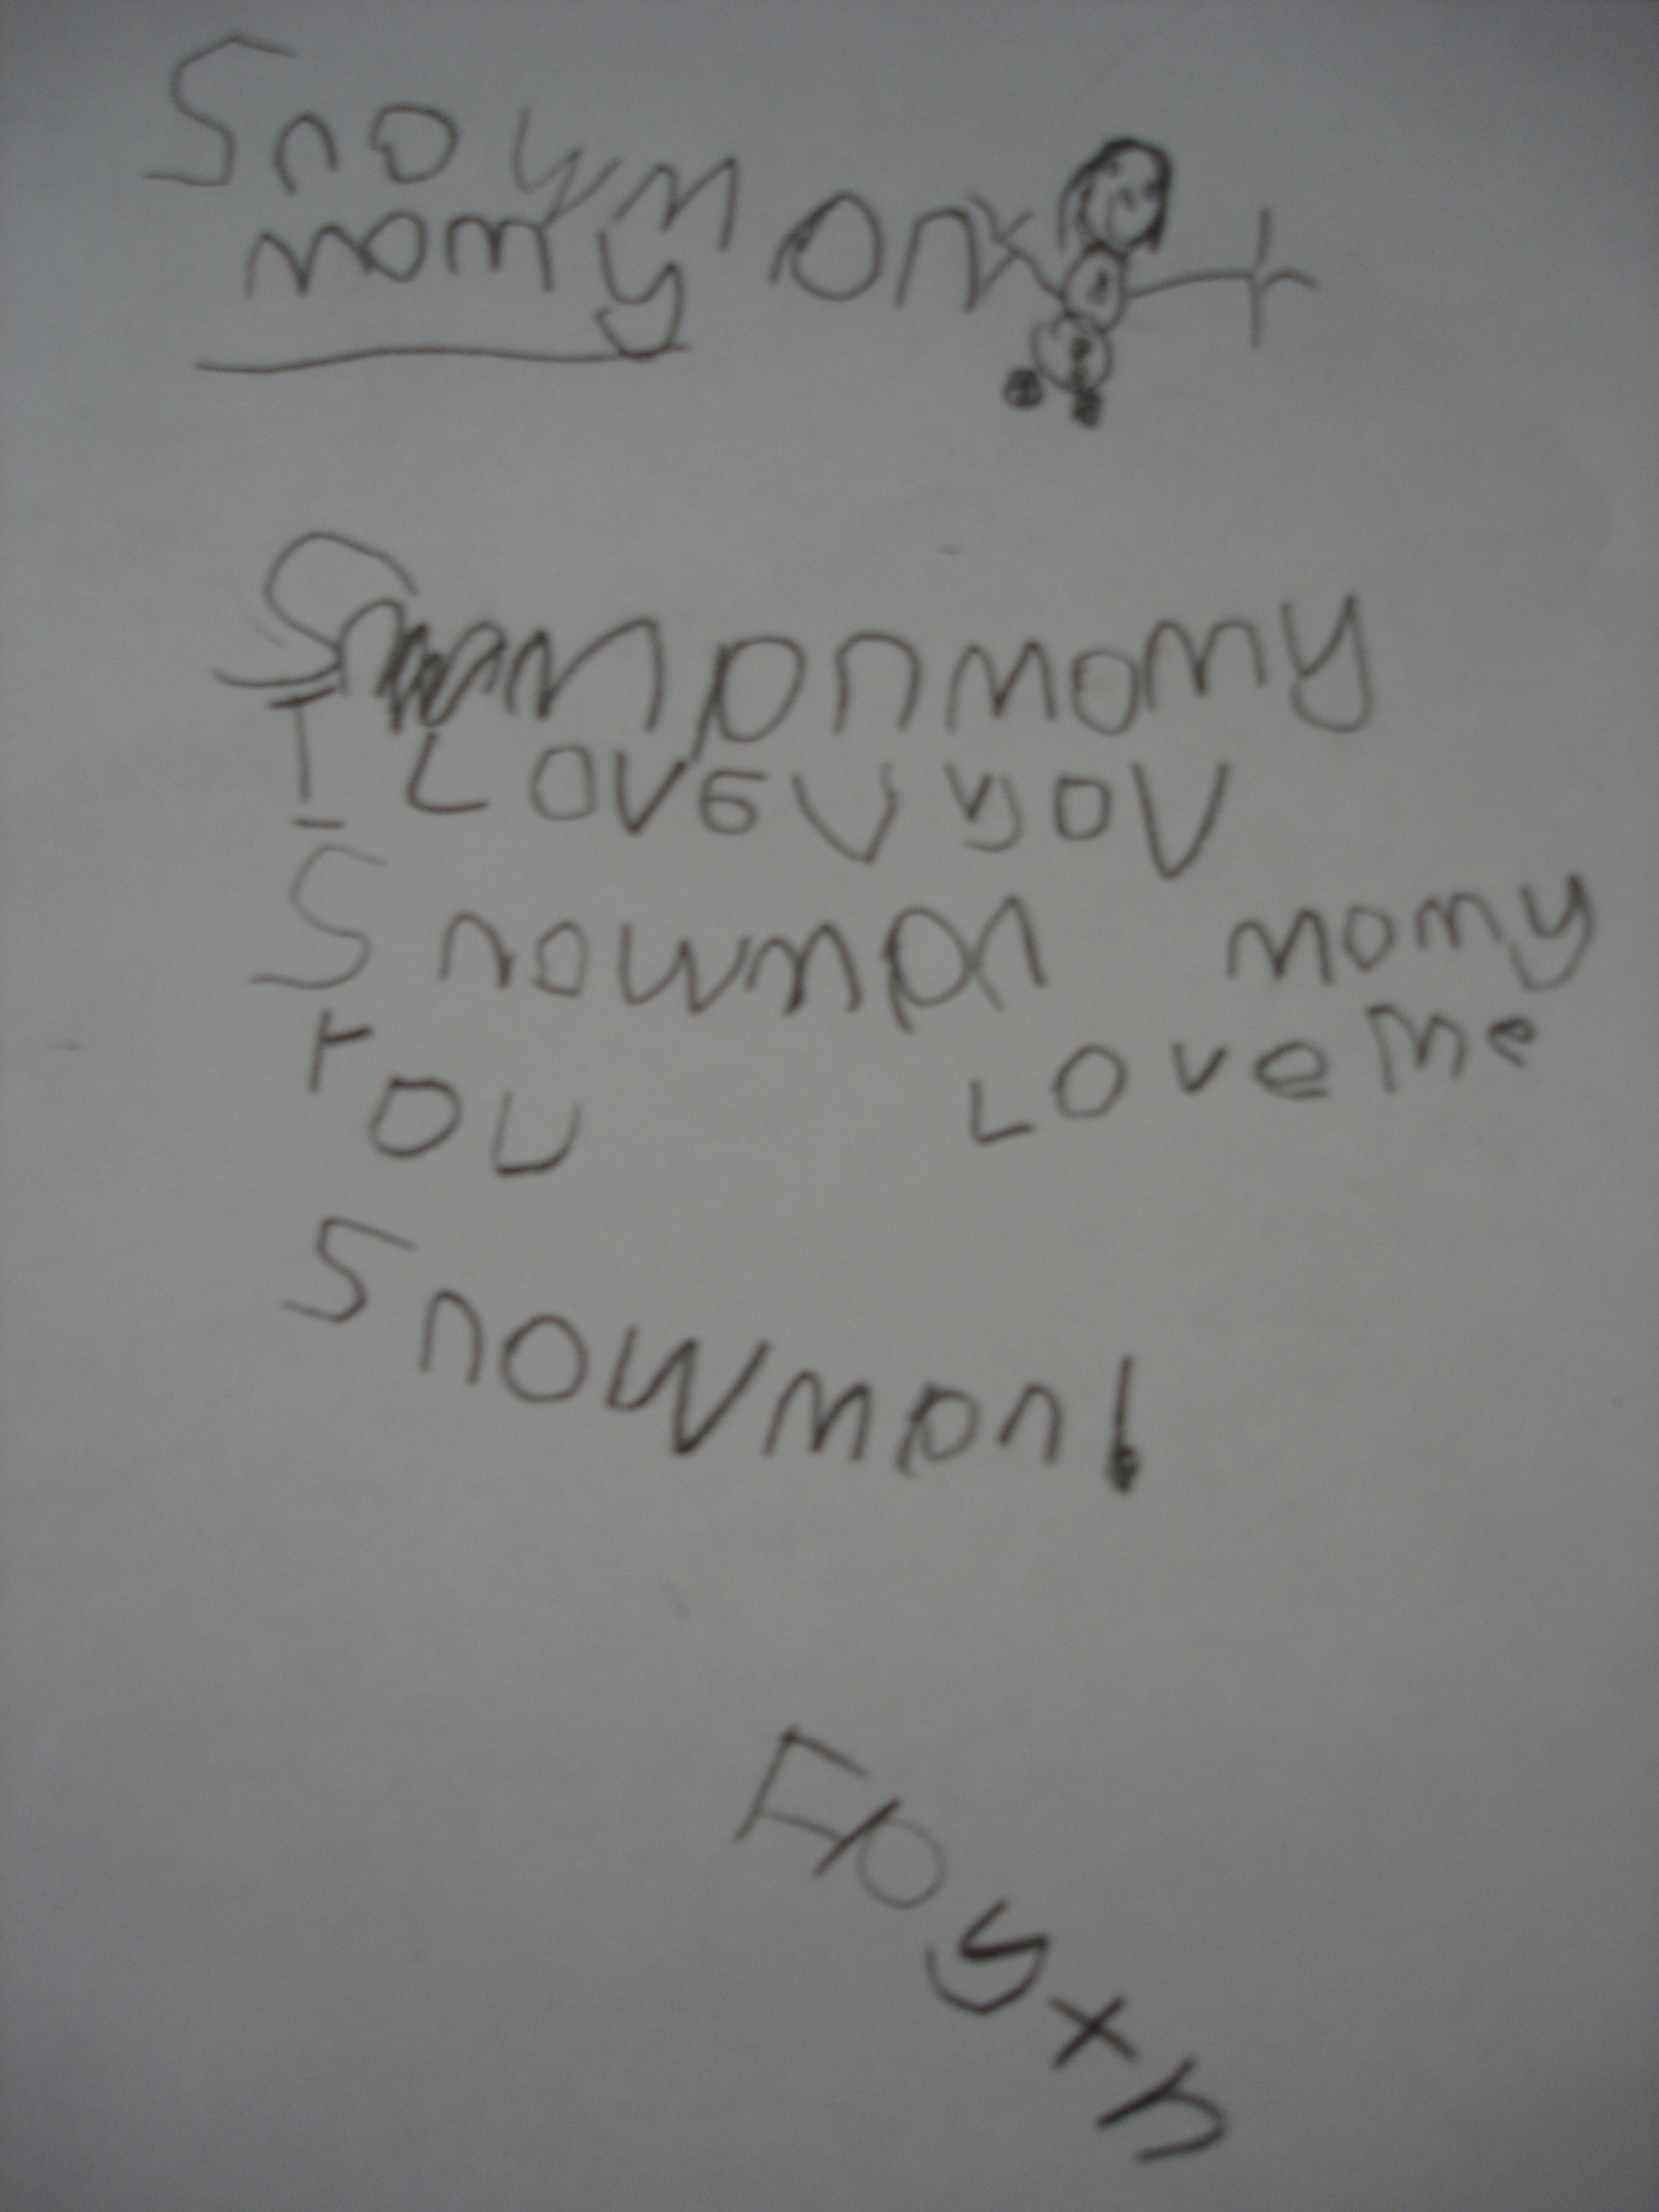
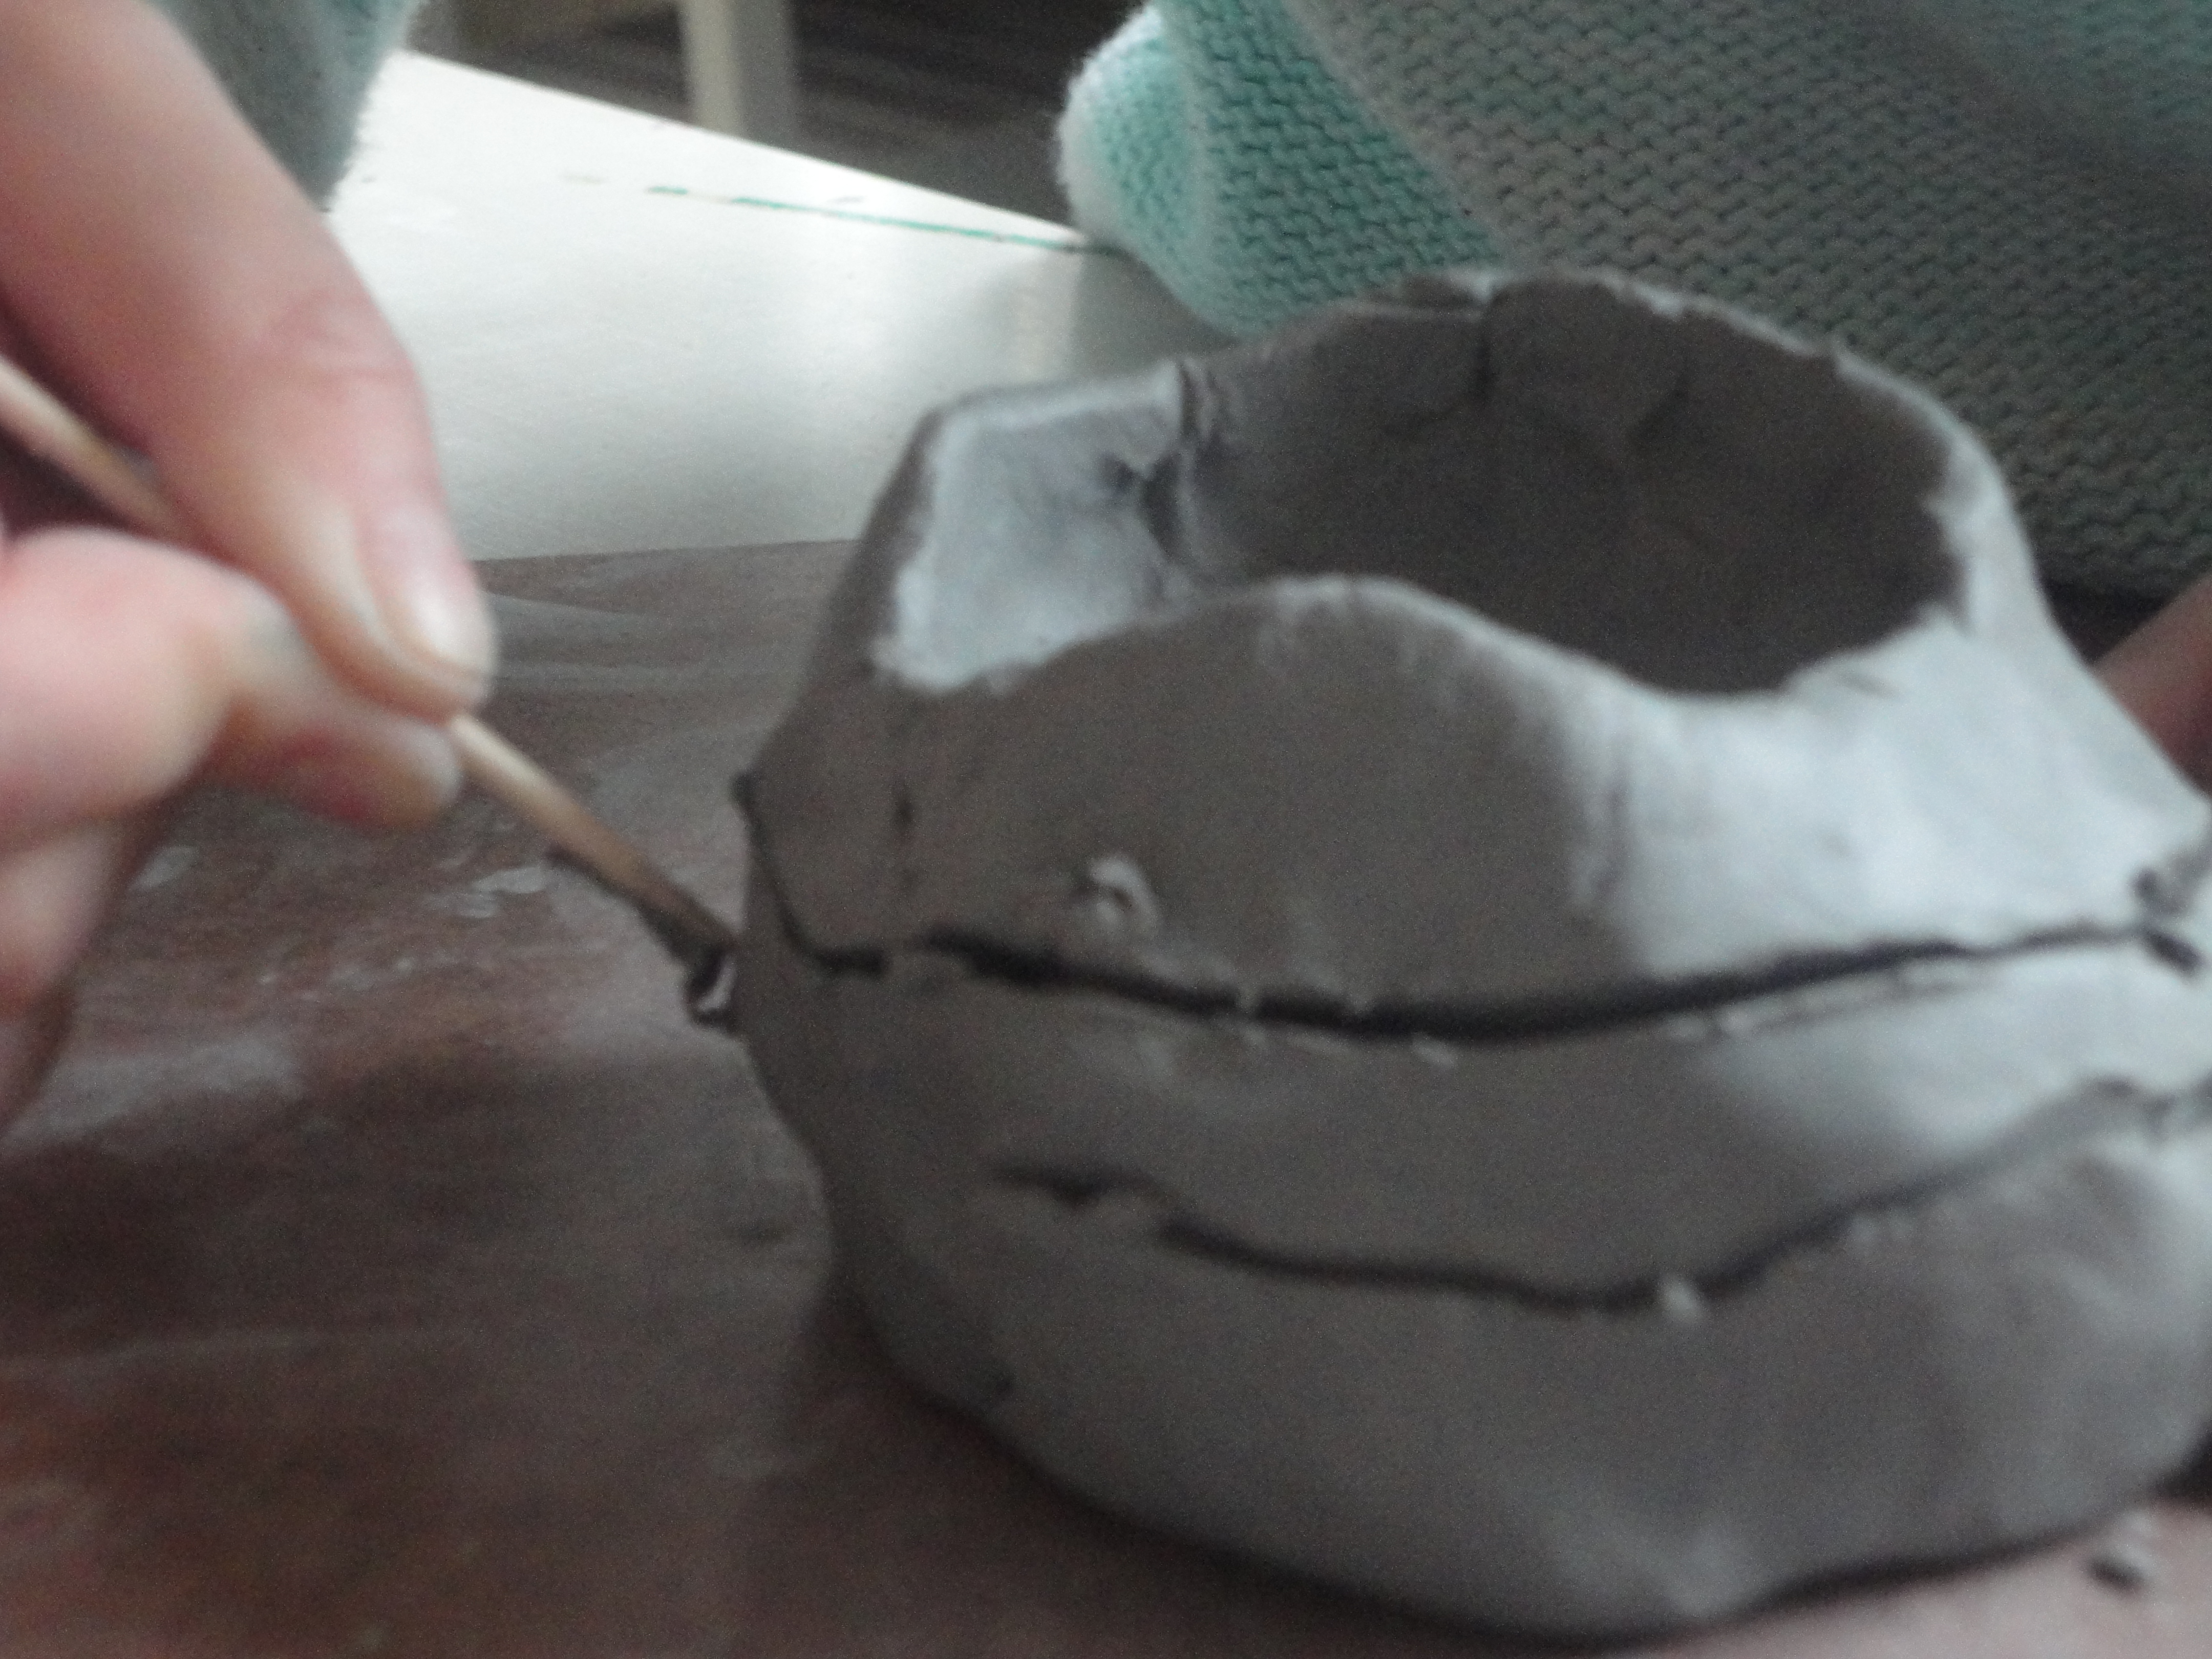
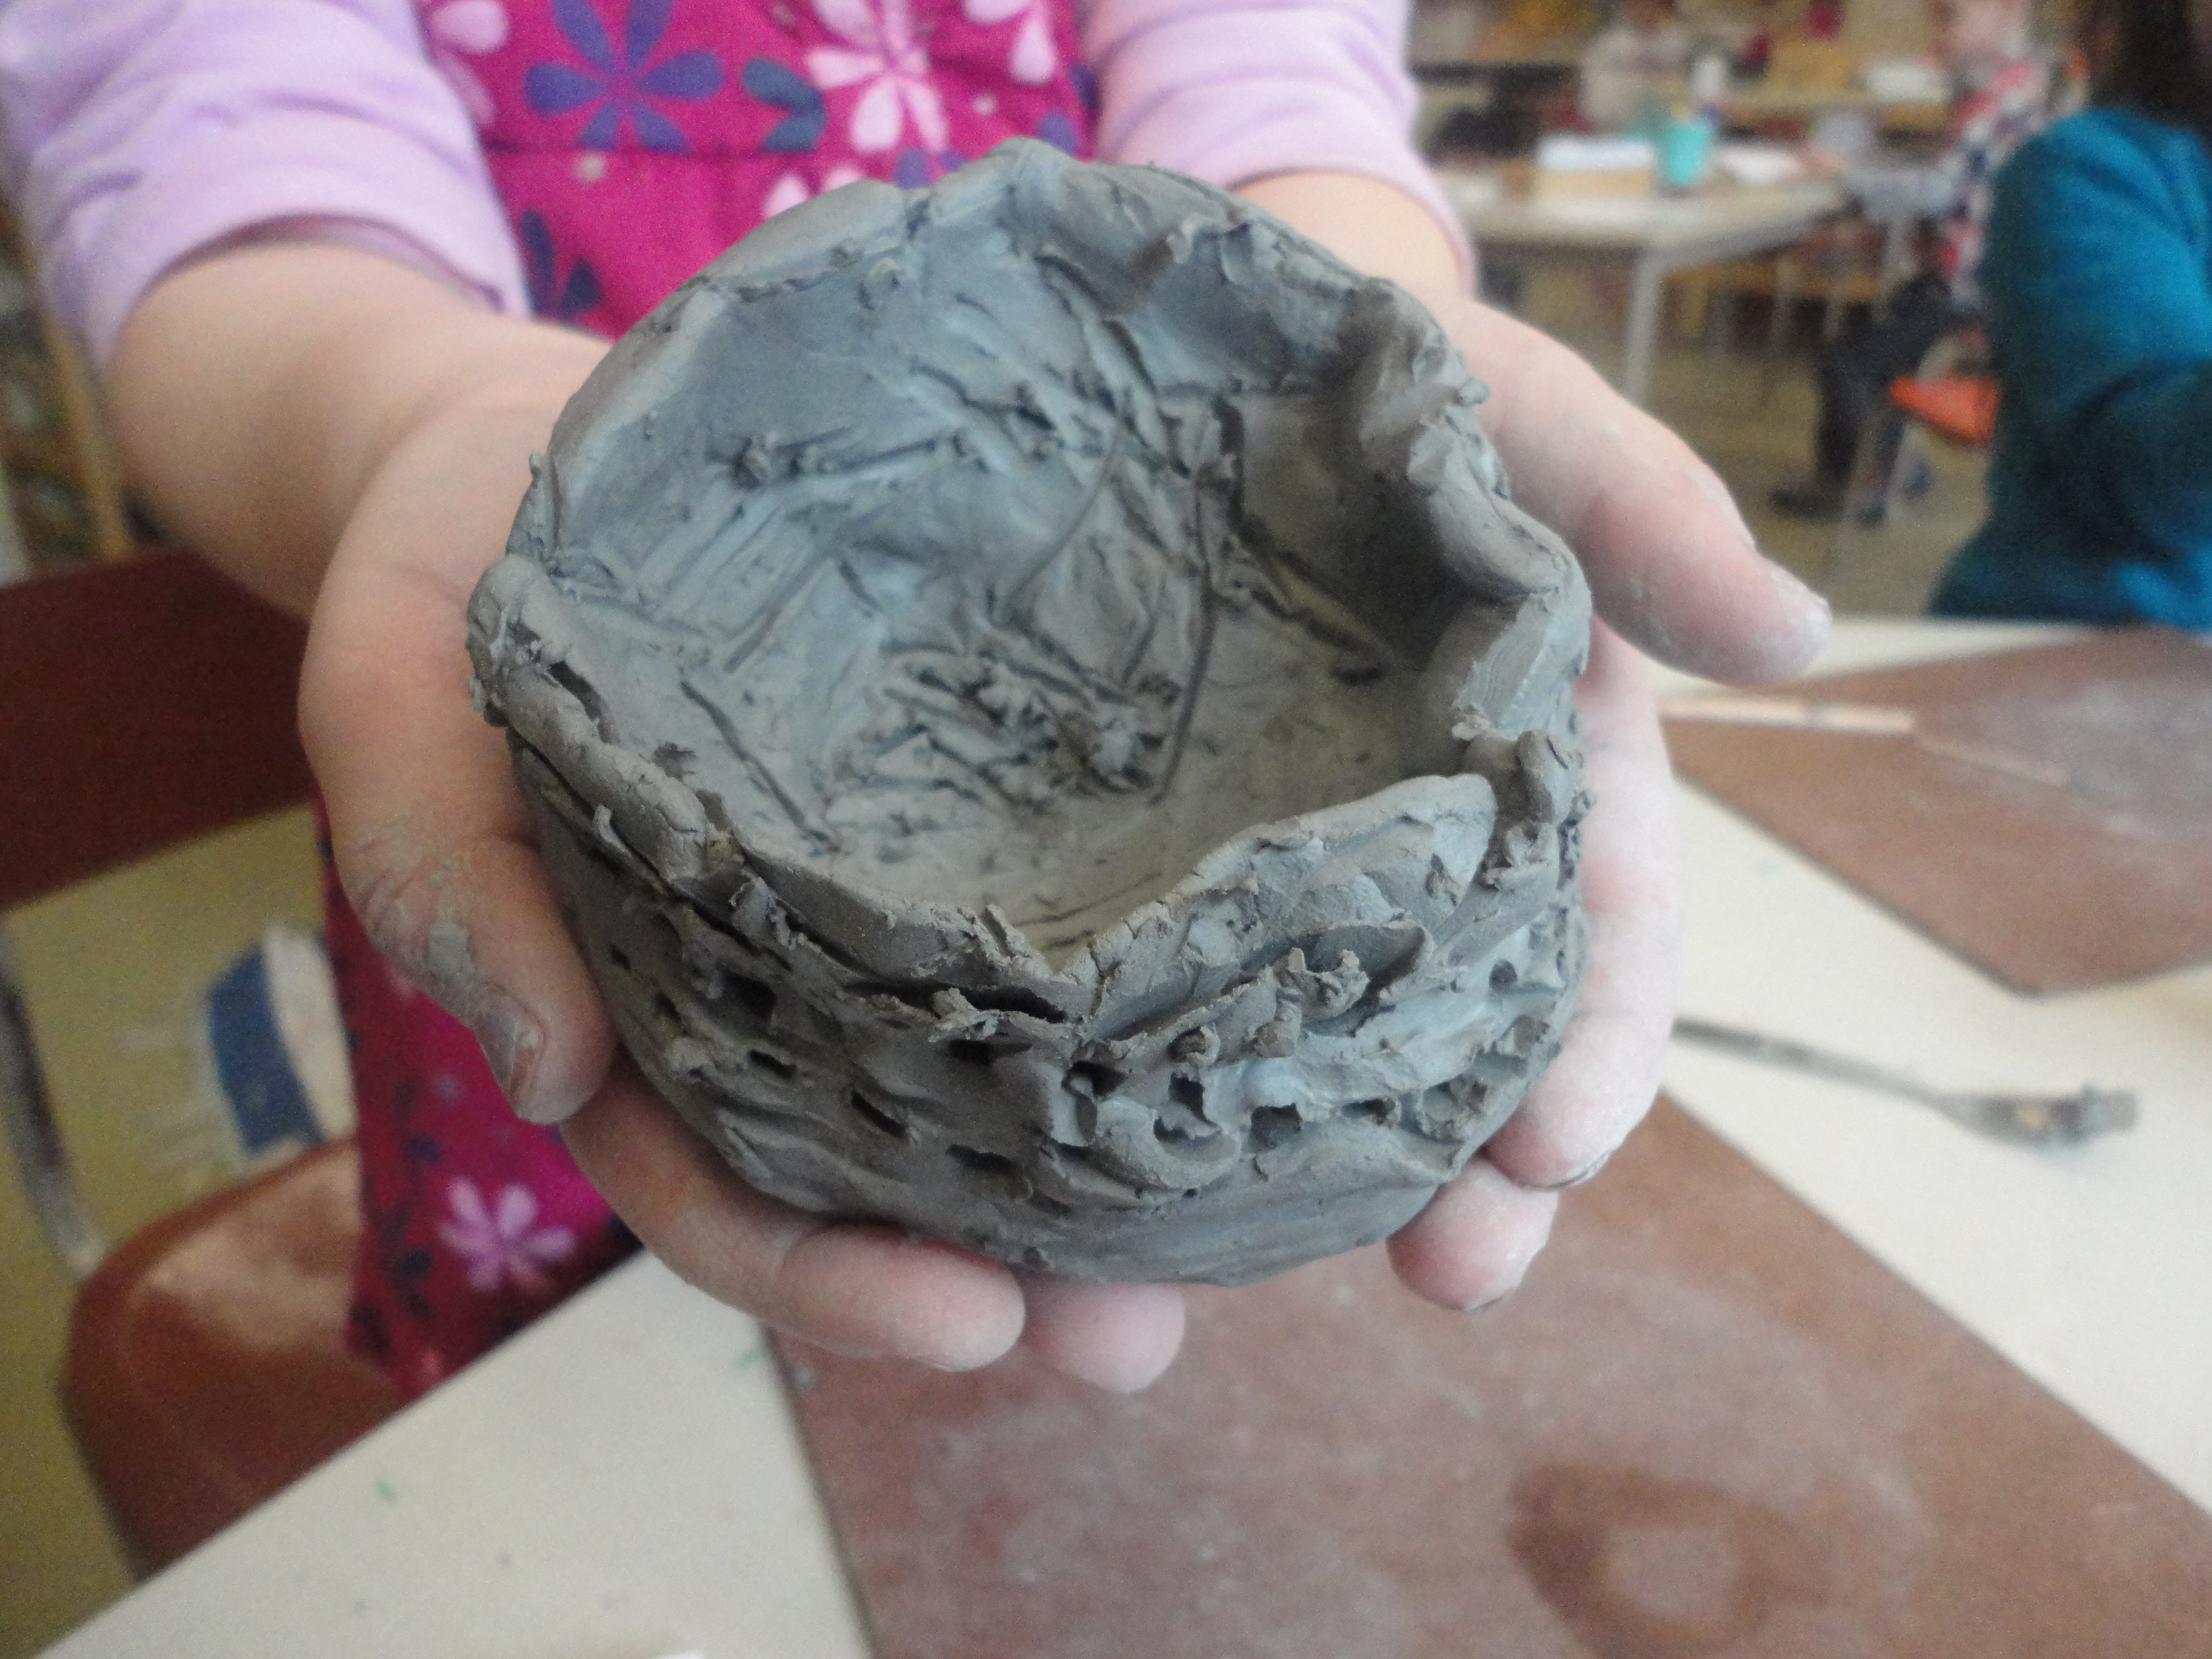
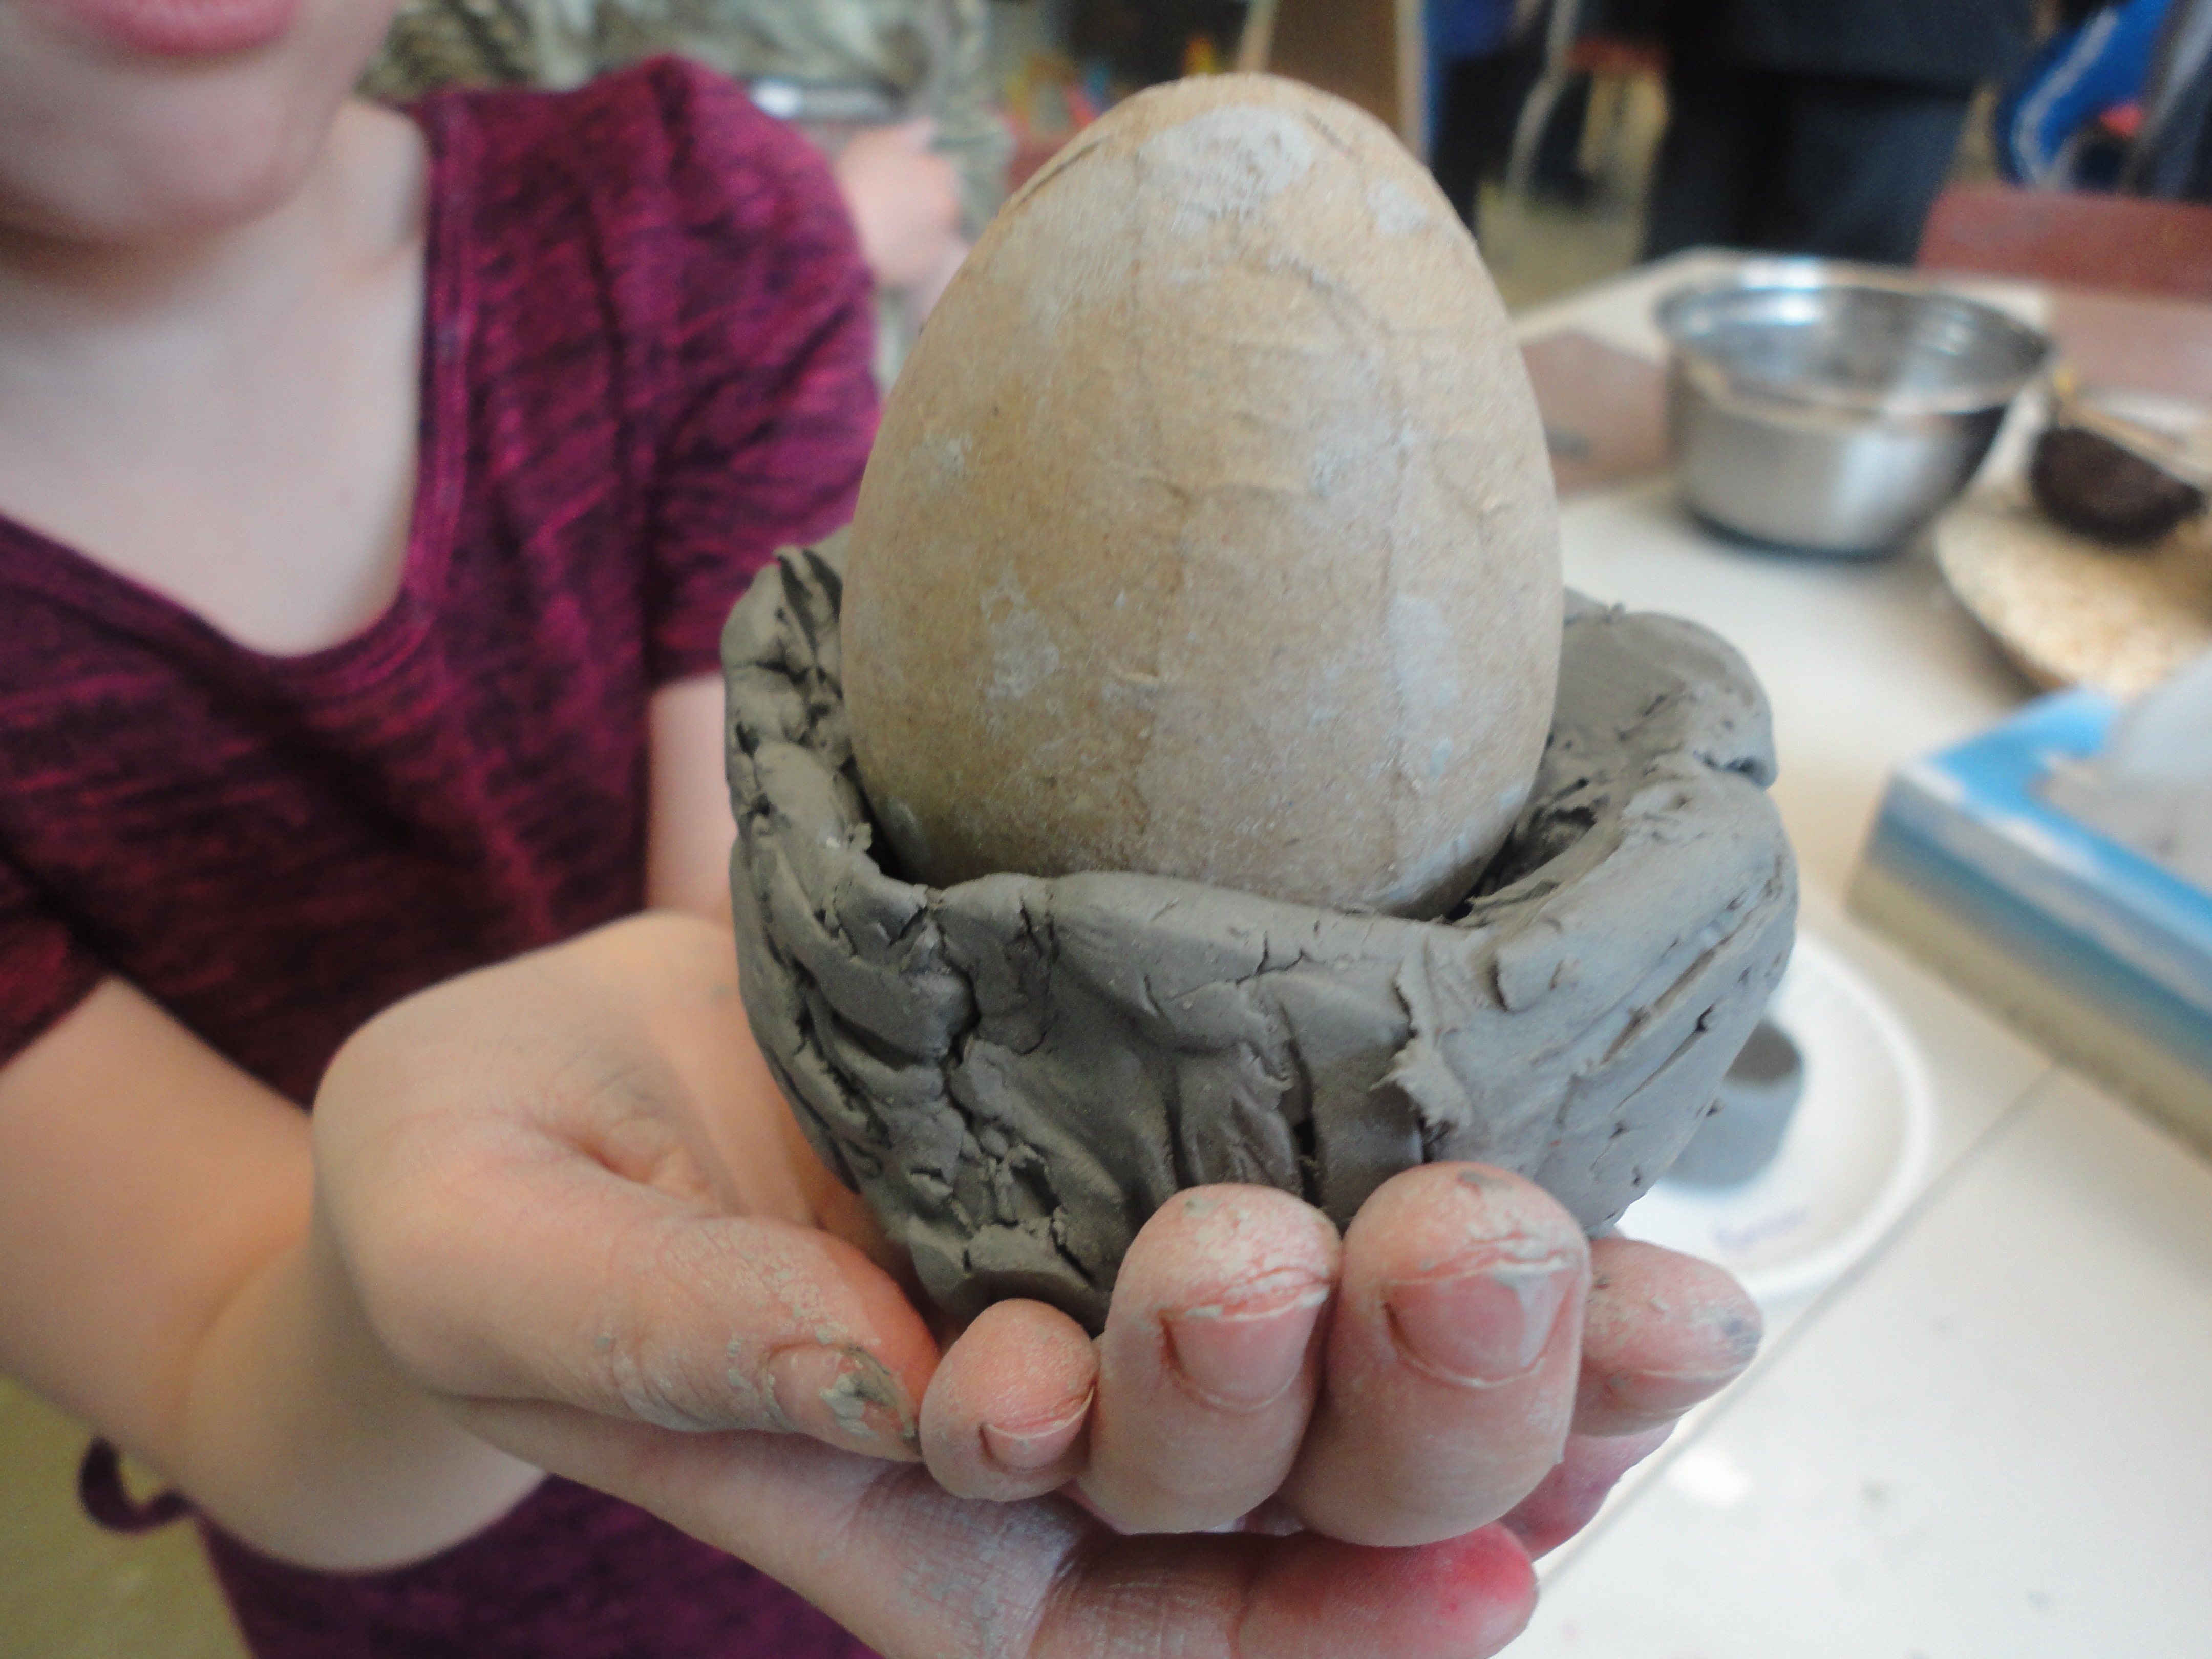
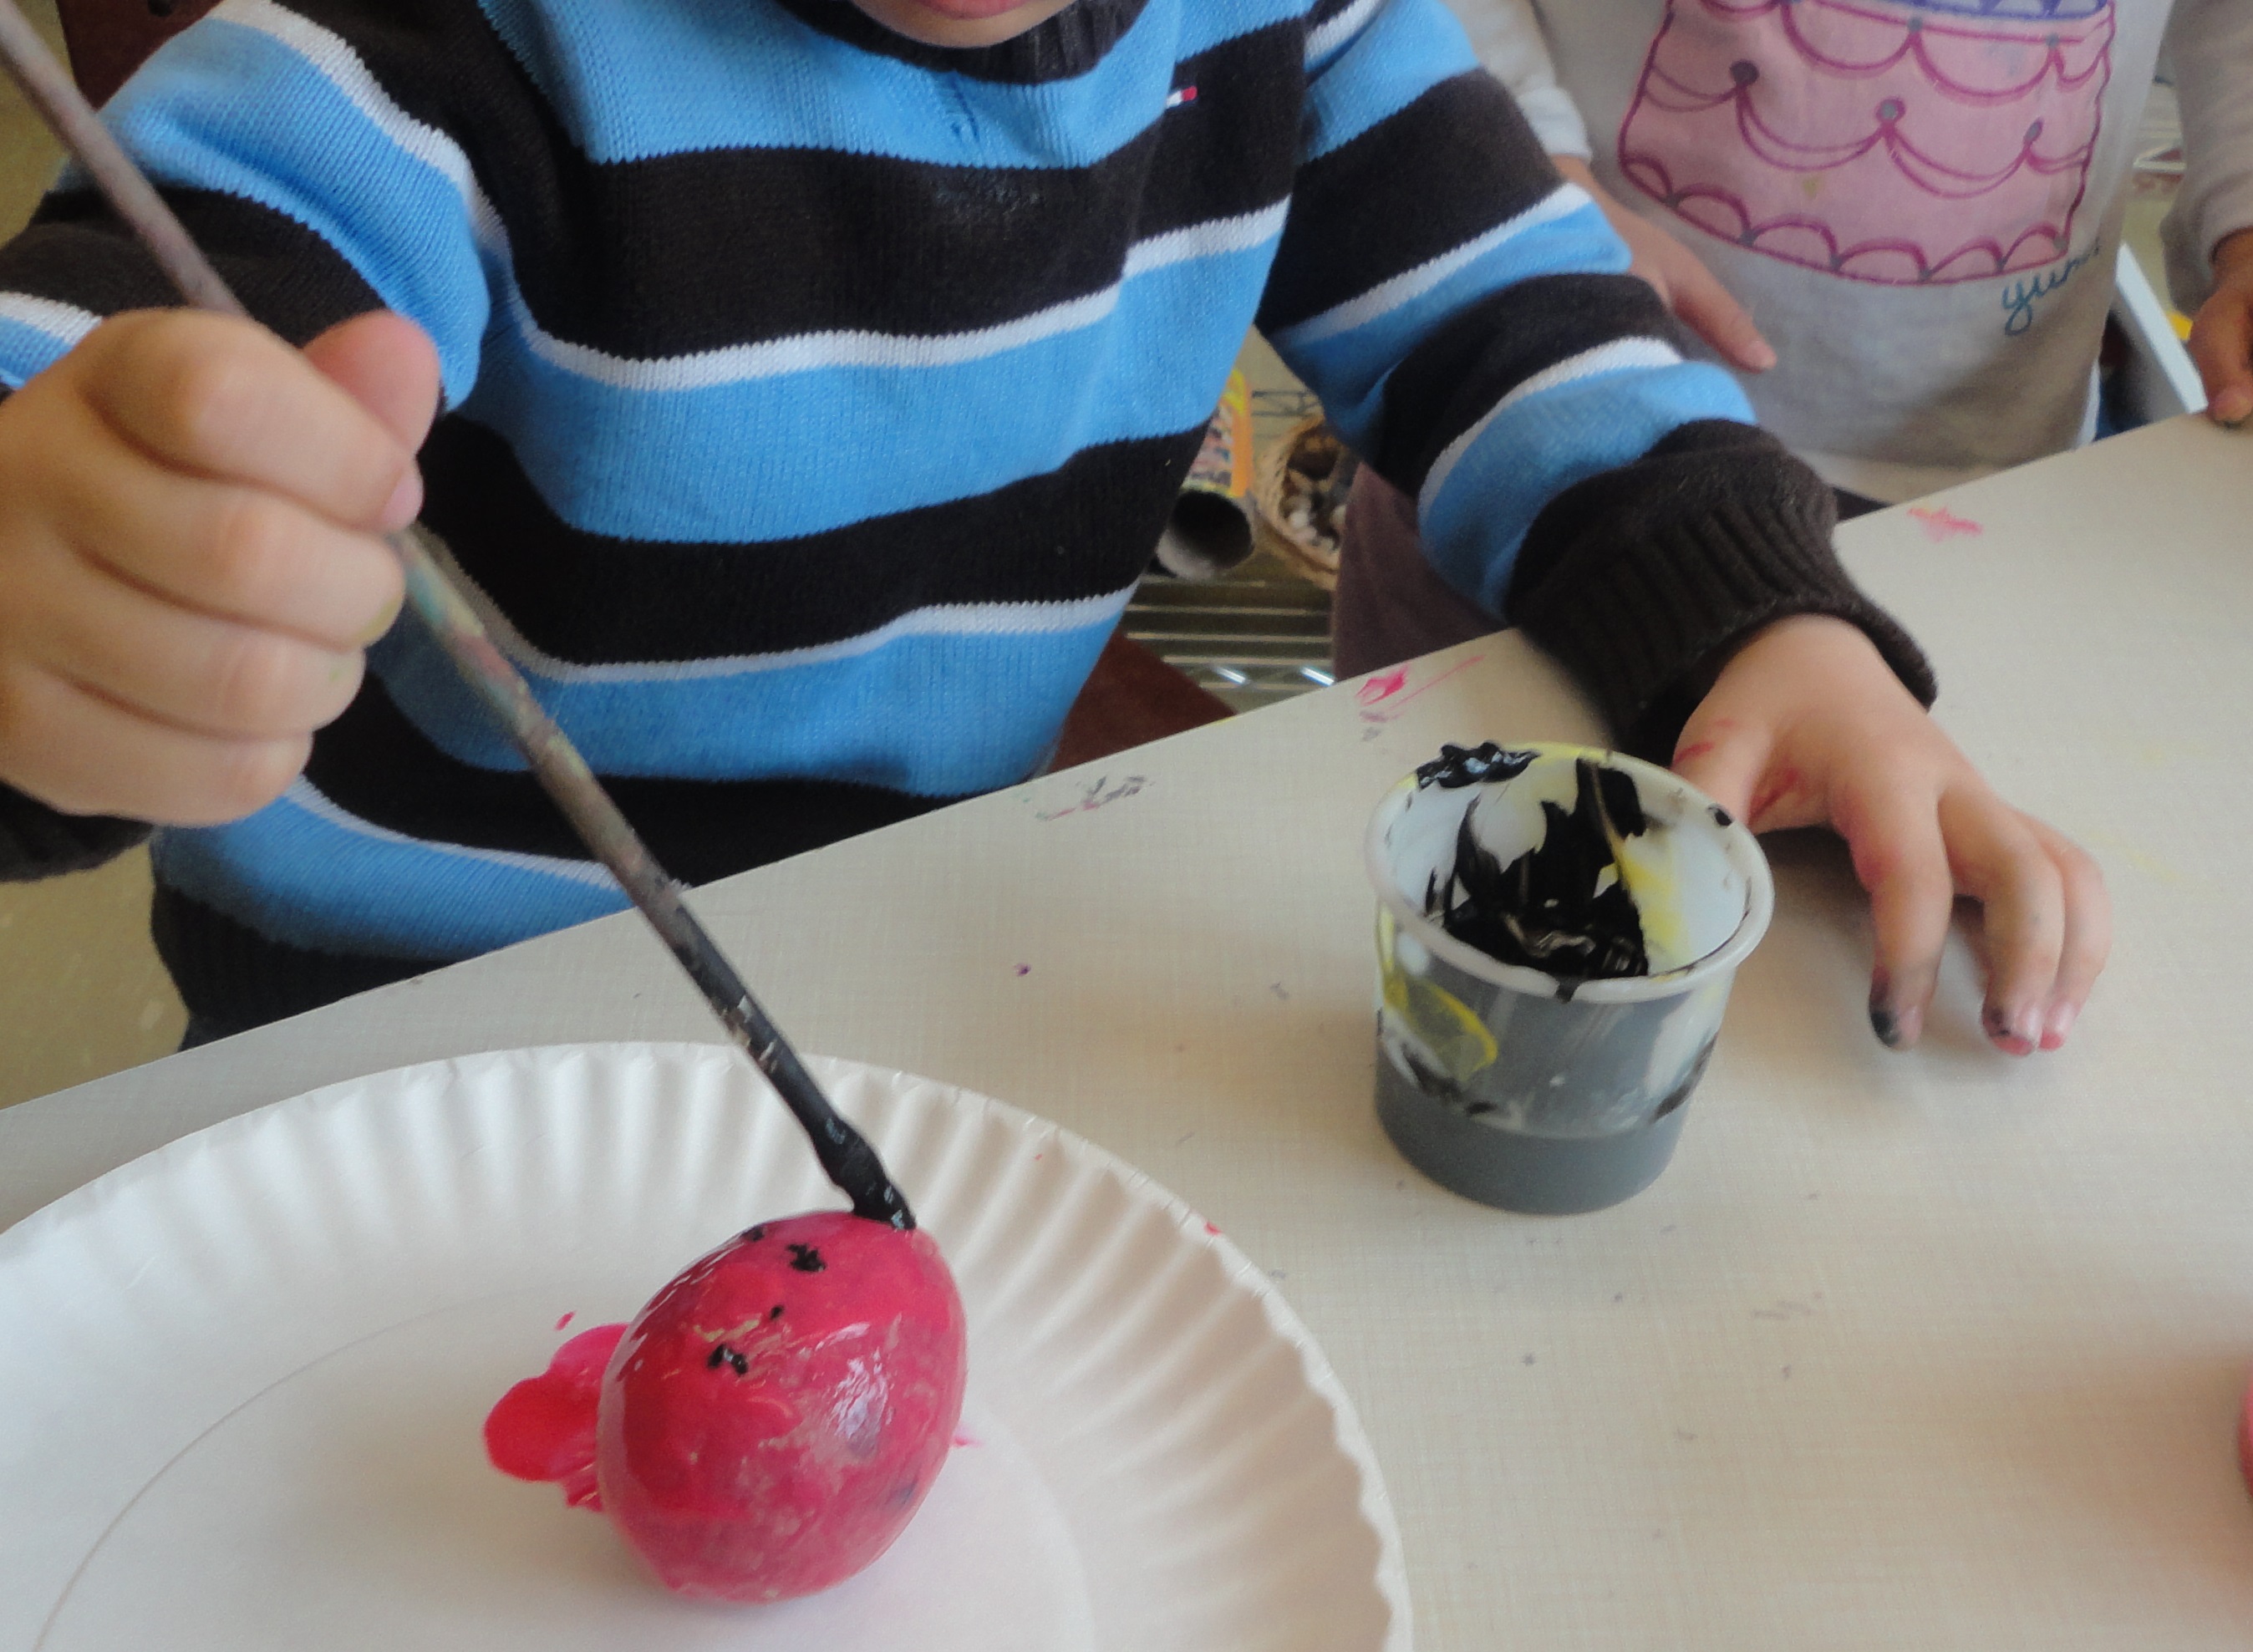
And just like that, another school year begins! I can’t believe we are already in week three of the new year. I tend not to work on too many “projects” so early in the year, preferring to give the children time to get comfortable in our space, explore, and make connections with classmates and staff. However, the one project I will dedicate time to is self portraits. I always find the children exhibit a high level of interest in drawing and painting at this time of the year and portrait work excites them. Additionally, portrait work requires slowing down, looking closely, and noticing details: all skills I want to emphasize and encourage in the first term. At the start of the year, we are also looking to develop a rapport and make connections with our students, so small group work like this often leads to relationship building.

“When we invite children to create self-portraits, we offer them mirrors and encourage long, sustained study of their faces from [an] unfamiliar perspective. Then we ask them to re-create themselves on paper, weaving together the image that they see in the mirror with the person they experience themselves to be. Their portraits are eloquent statements of self.”  (Ann Pelo, The Language of Art (2007))

If you are new to self-portraits, I highly recommend reading Ann Pelo’s book, The Language of Art, to get an idea of the process. Ann so clearly lays out this project from beginning to end, including how to set up the studio, what prompts to use, cleanup, and ways to build on the experience.

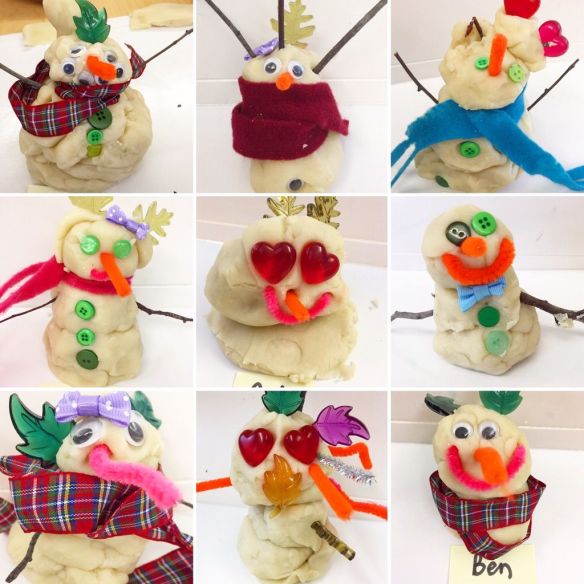
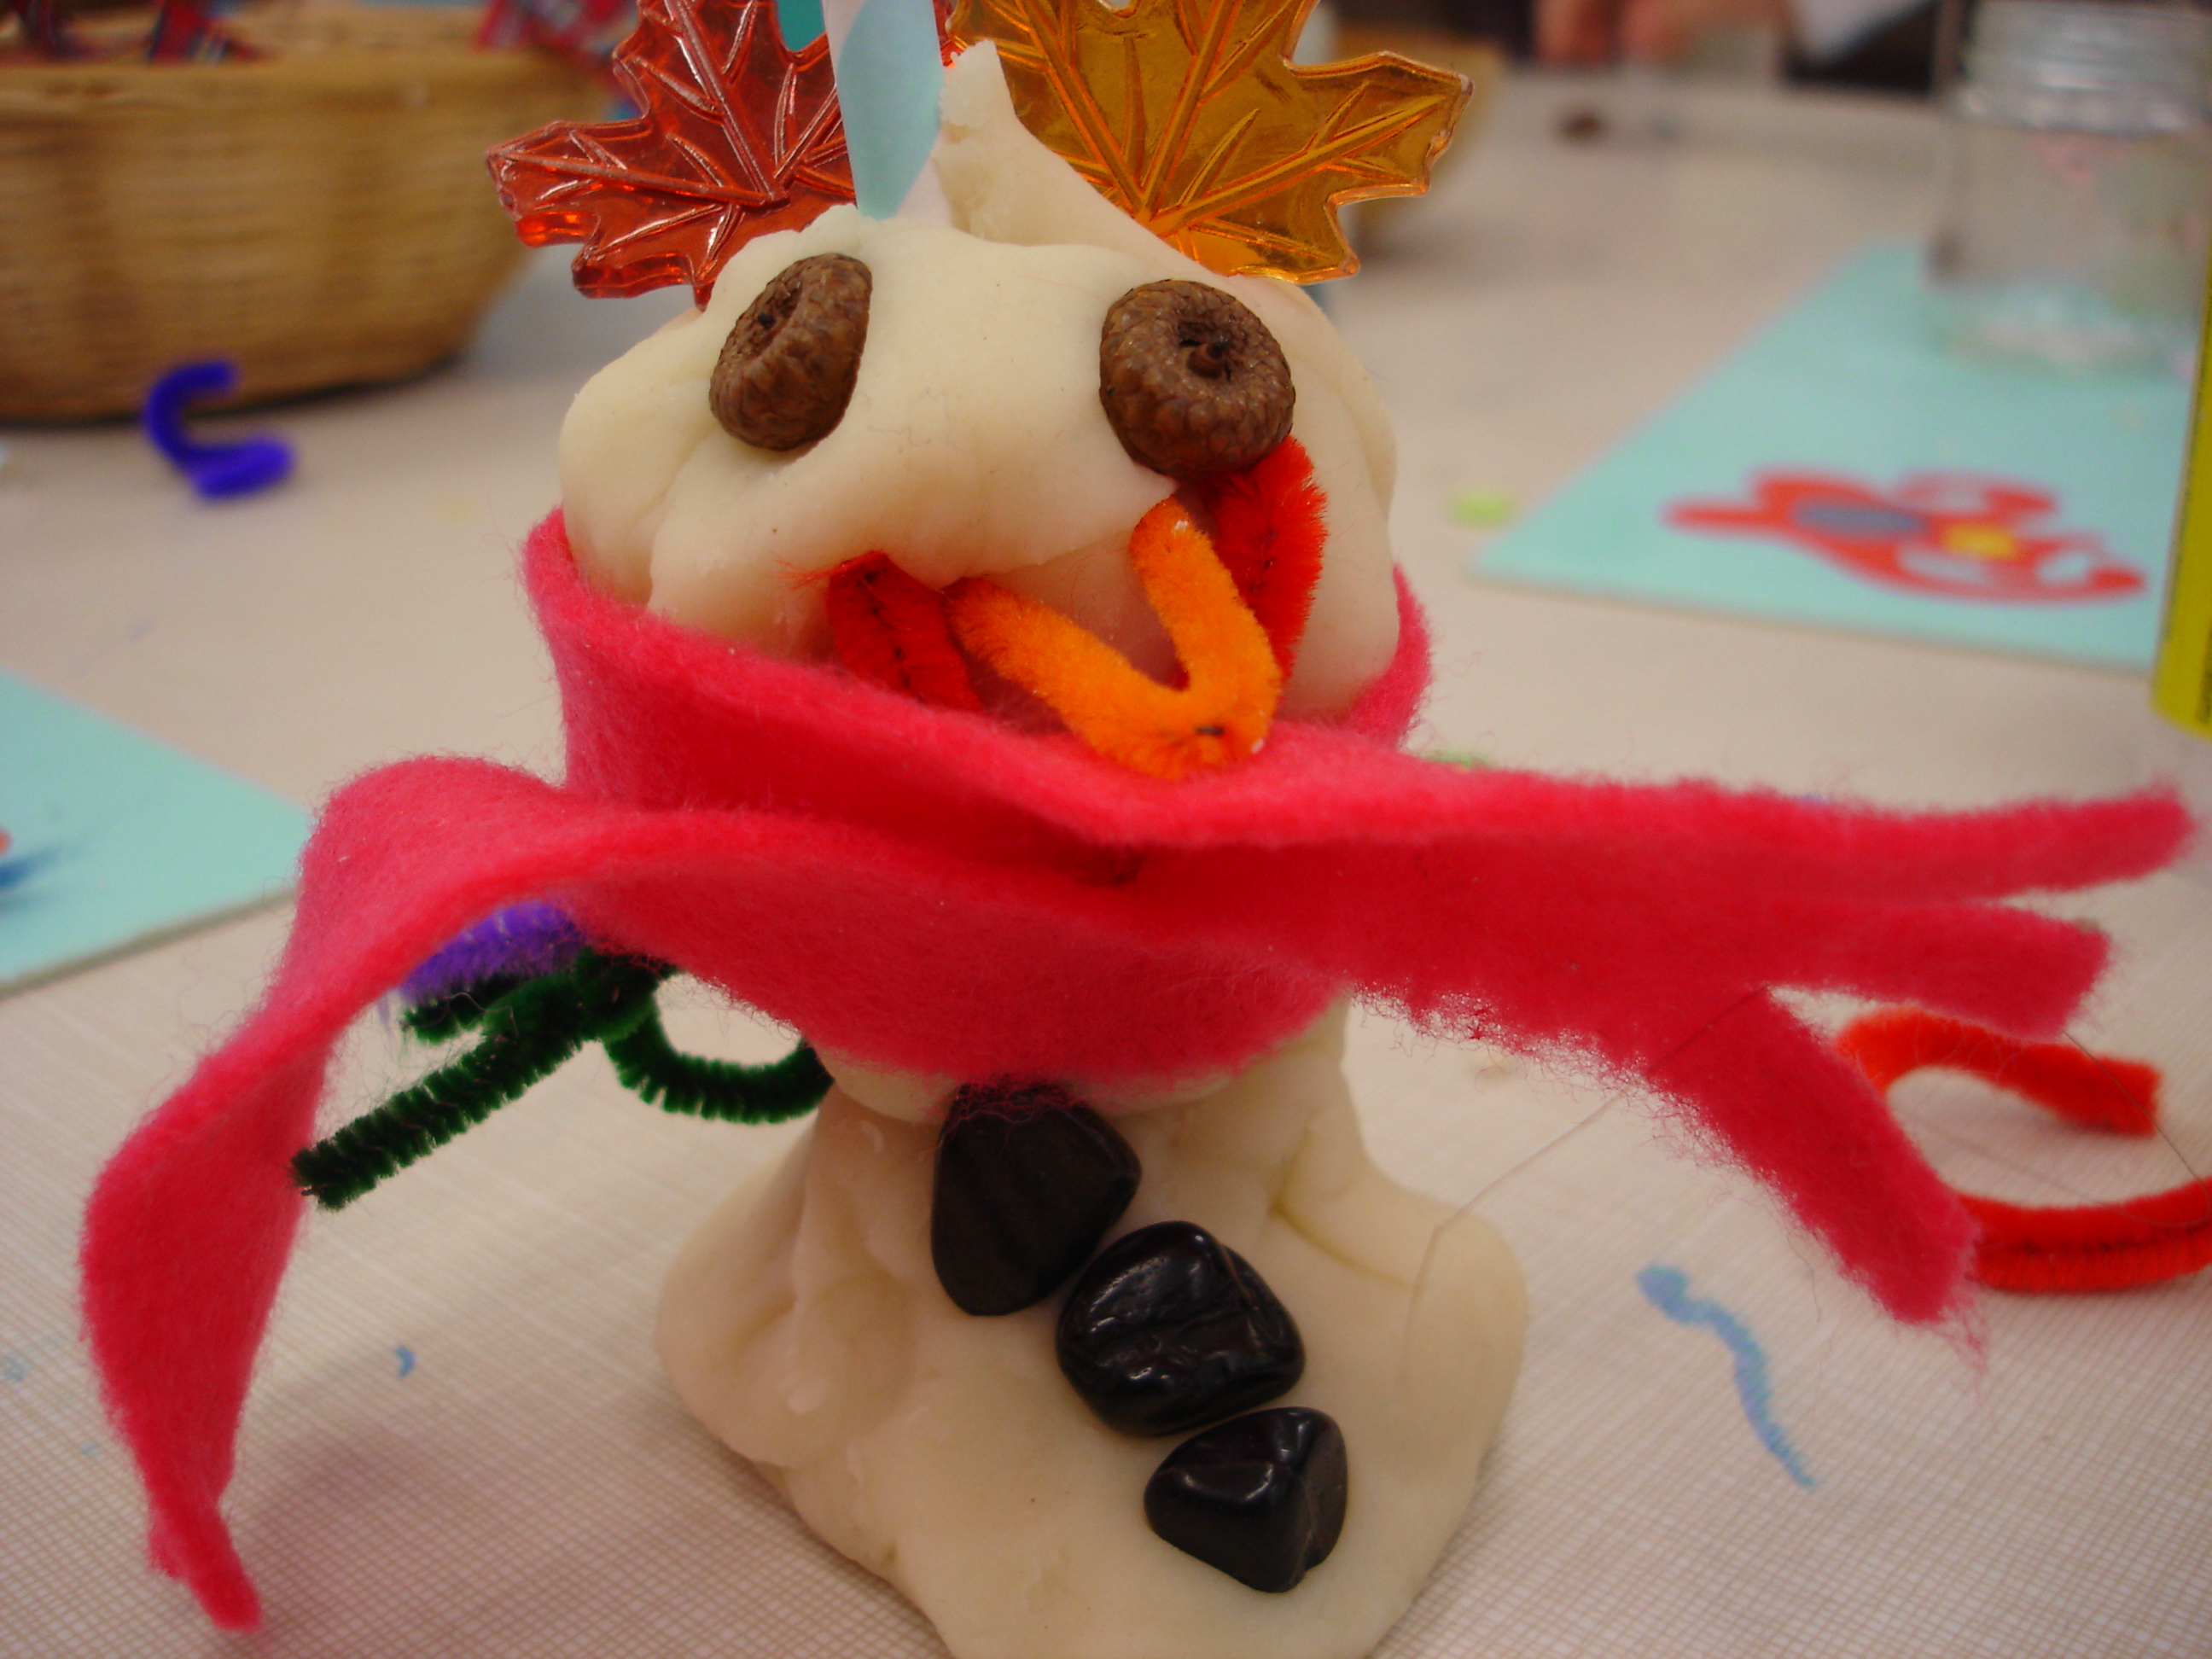
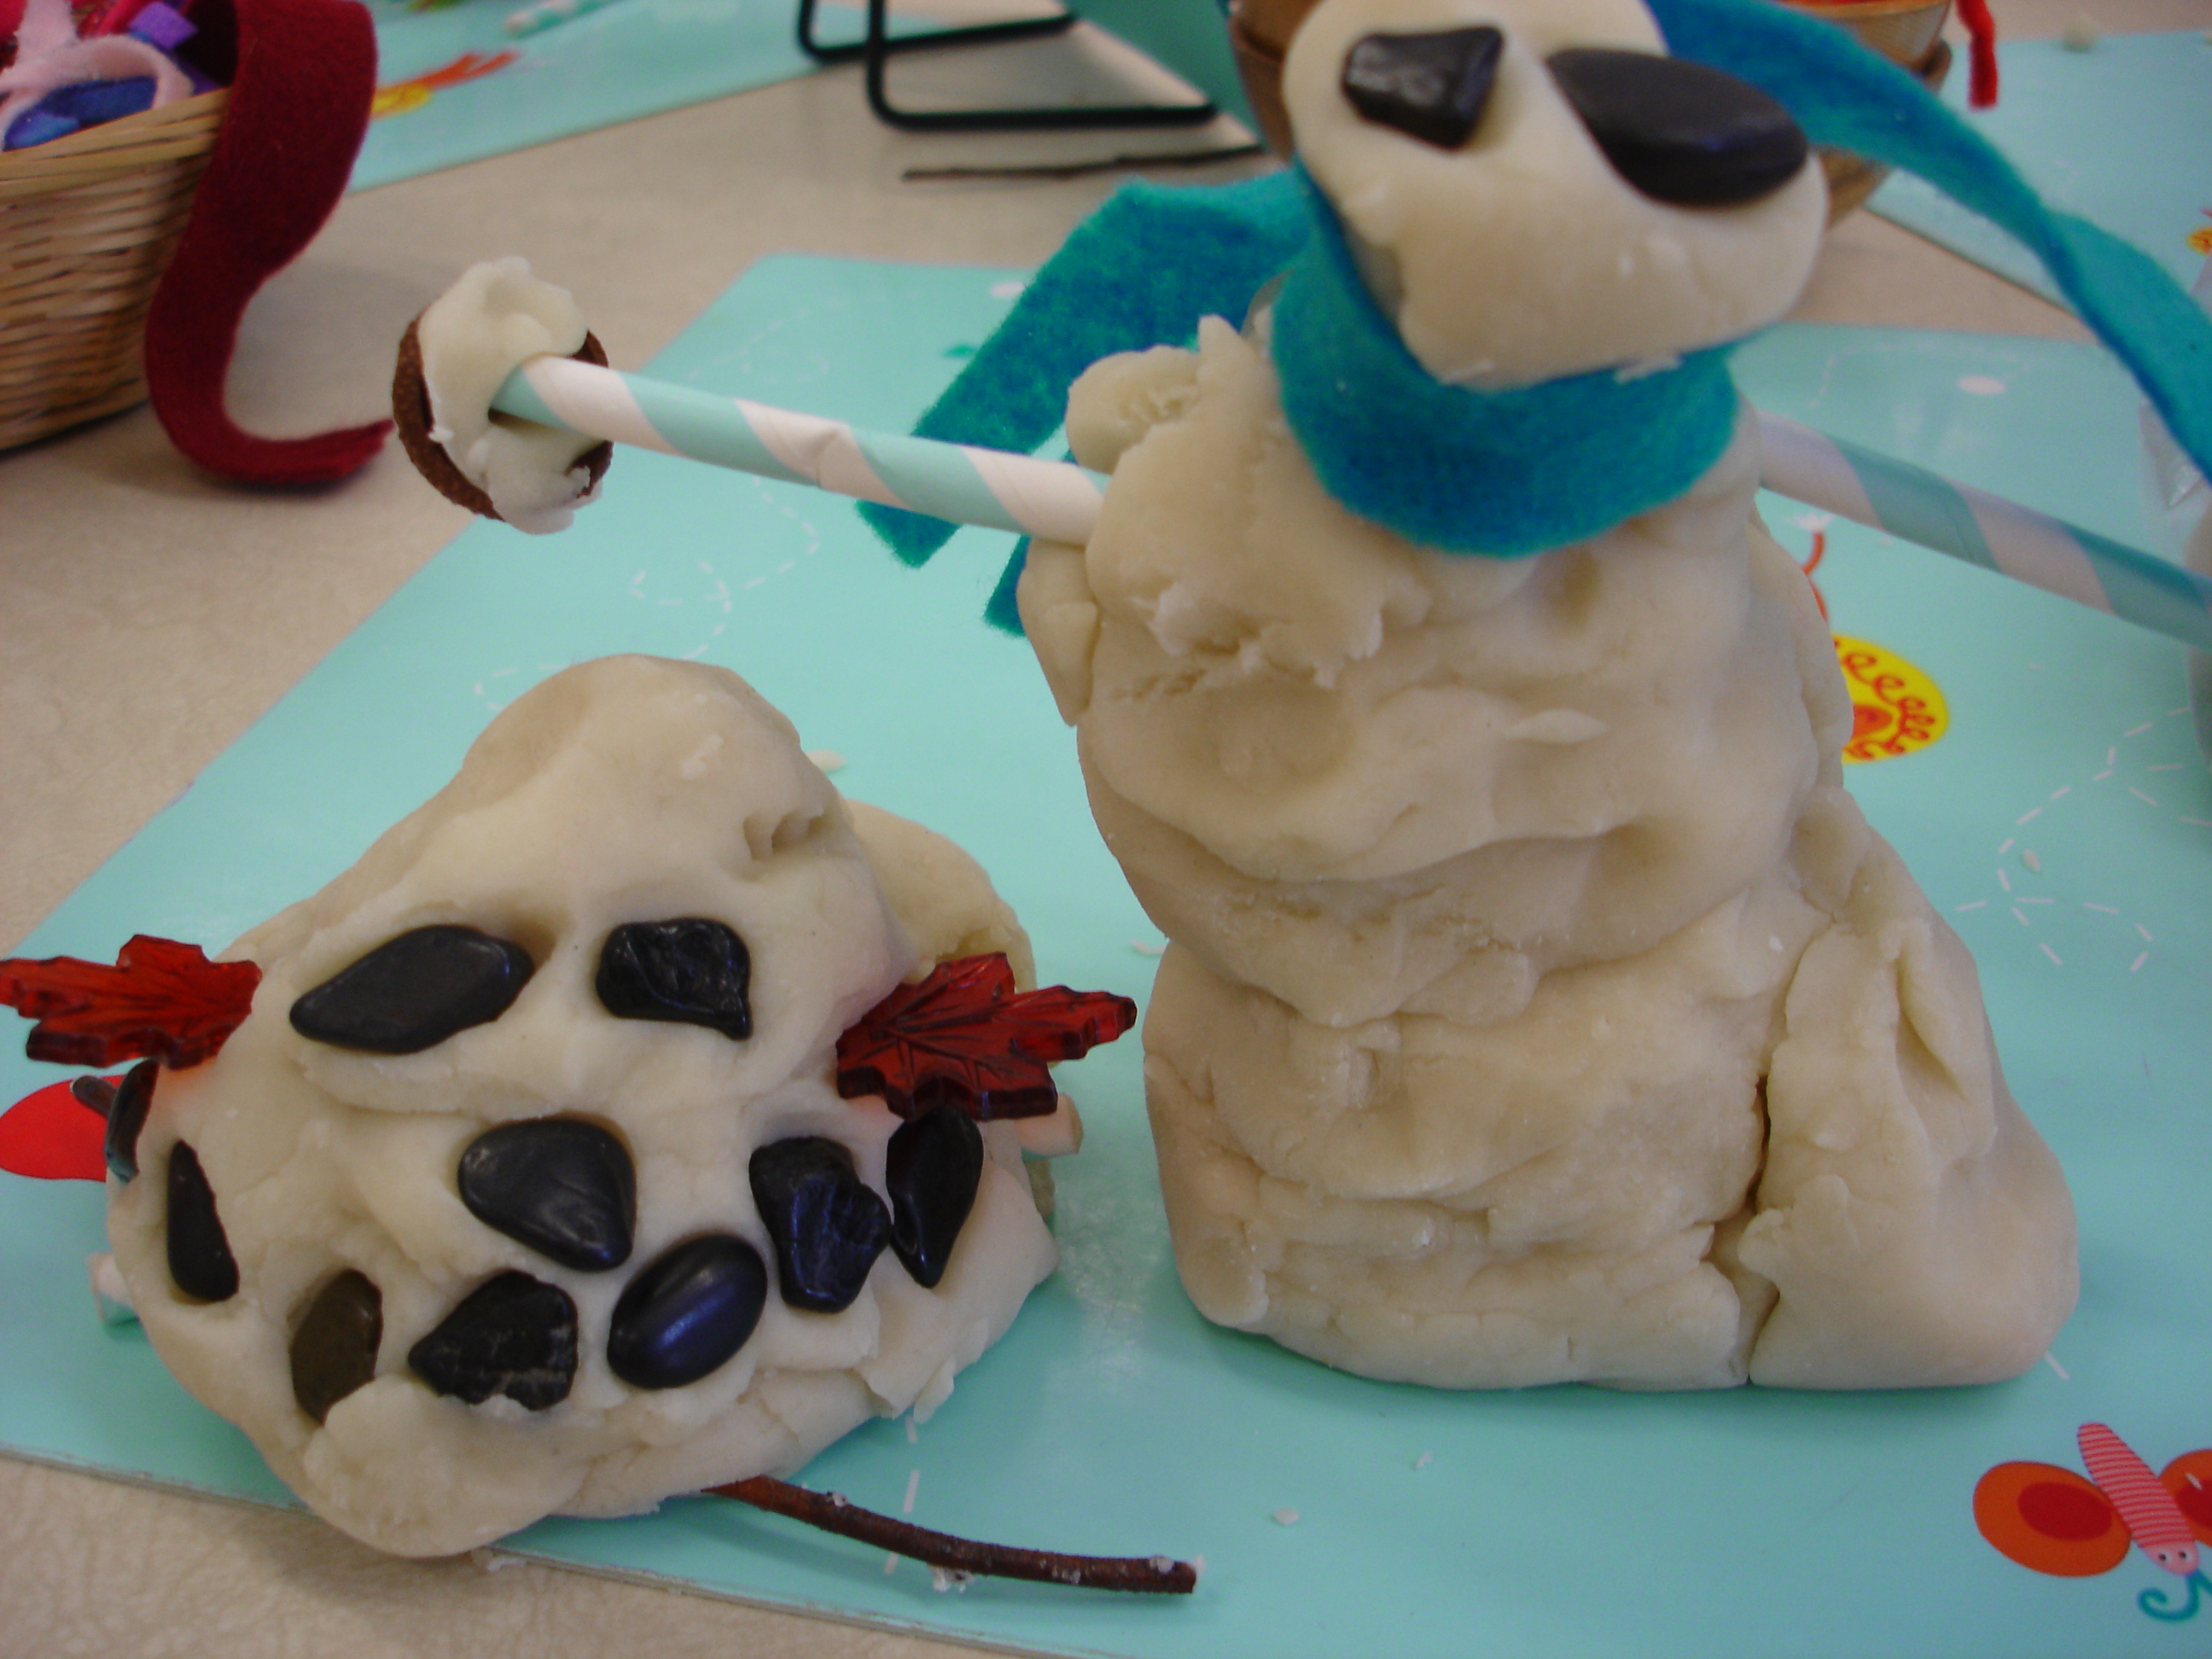
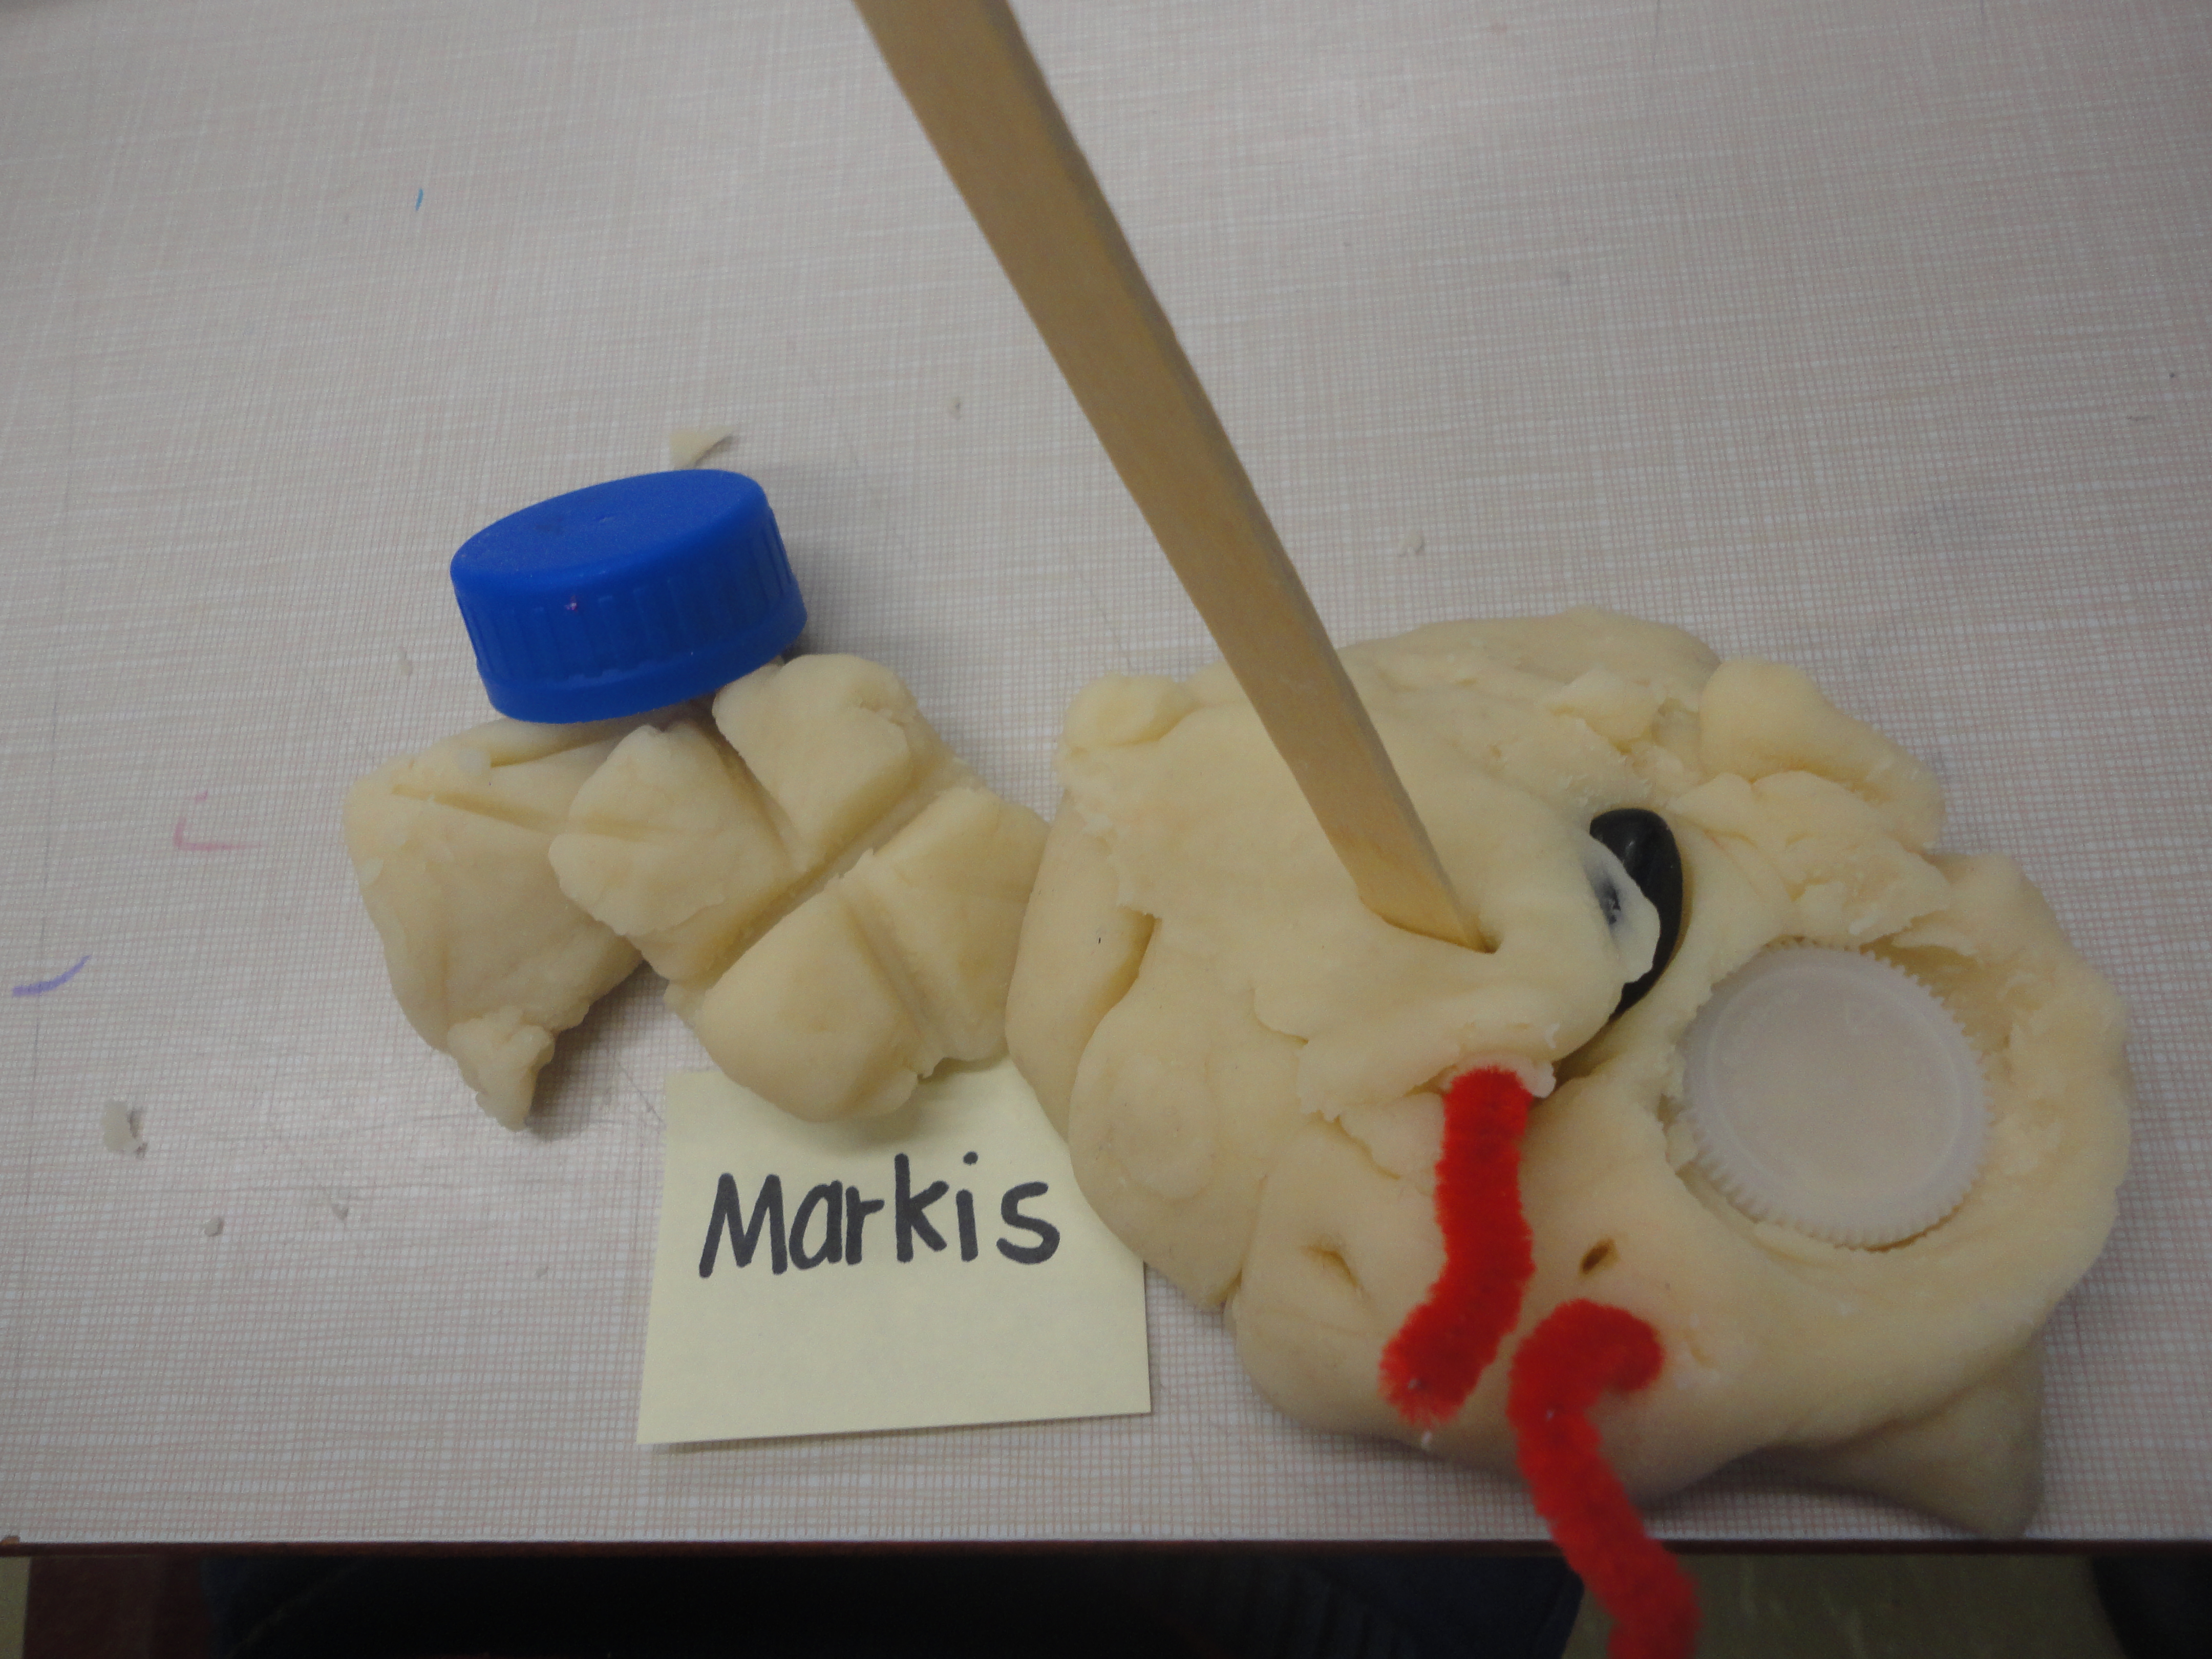
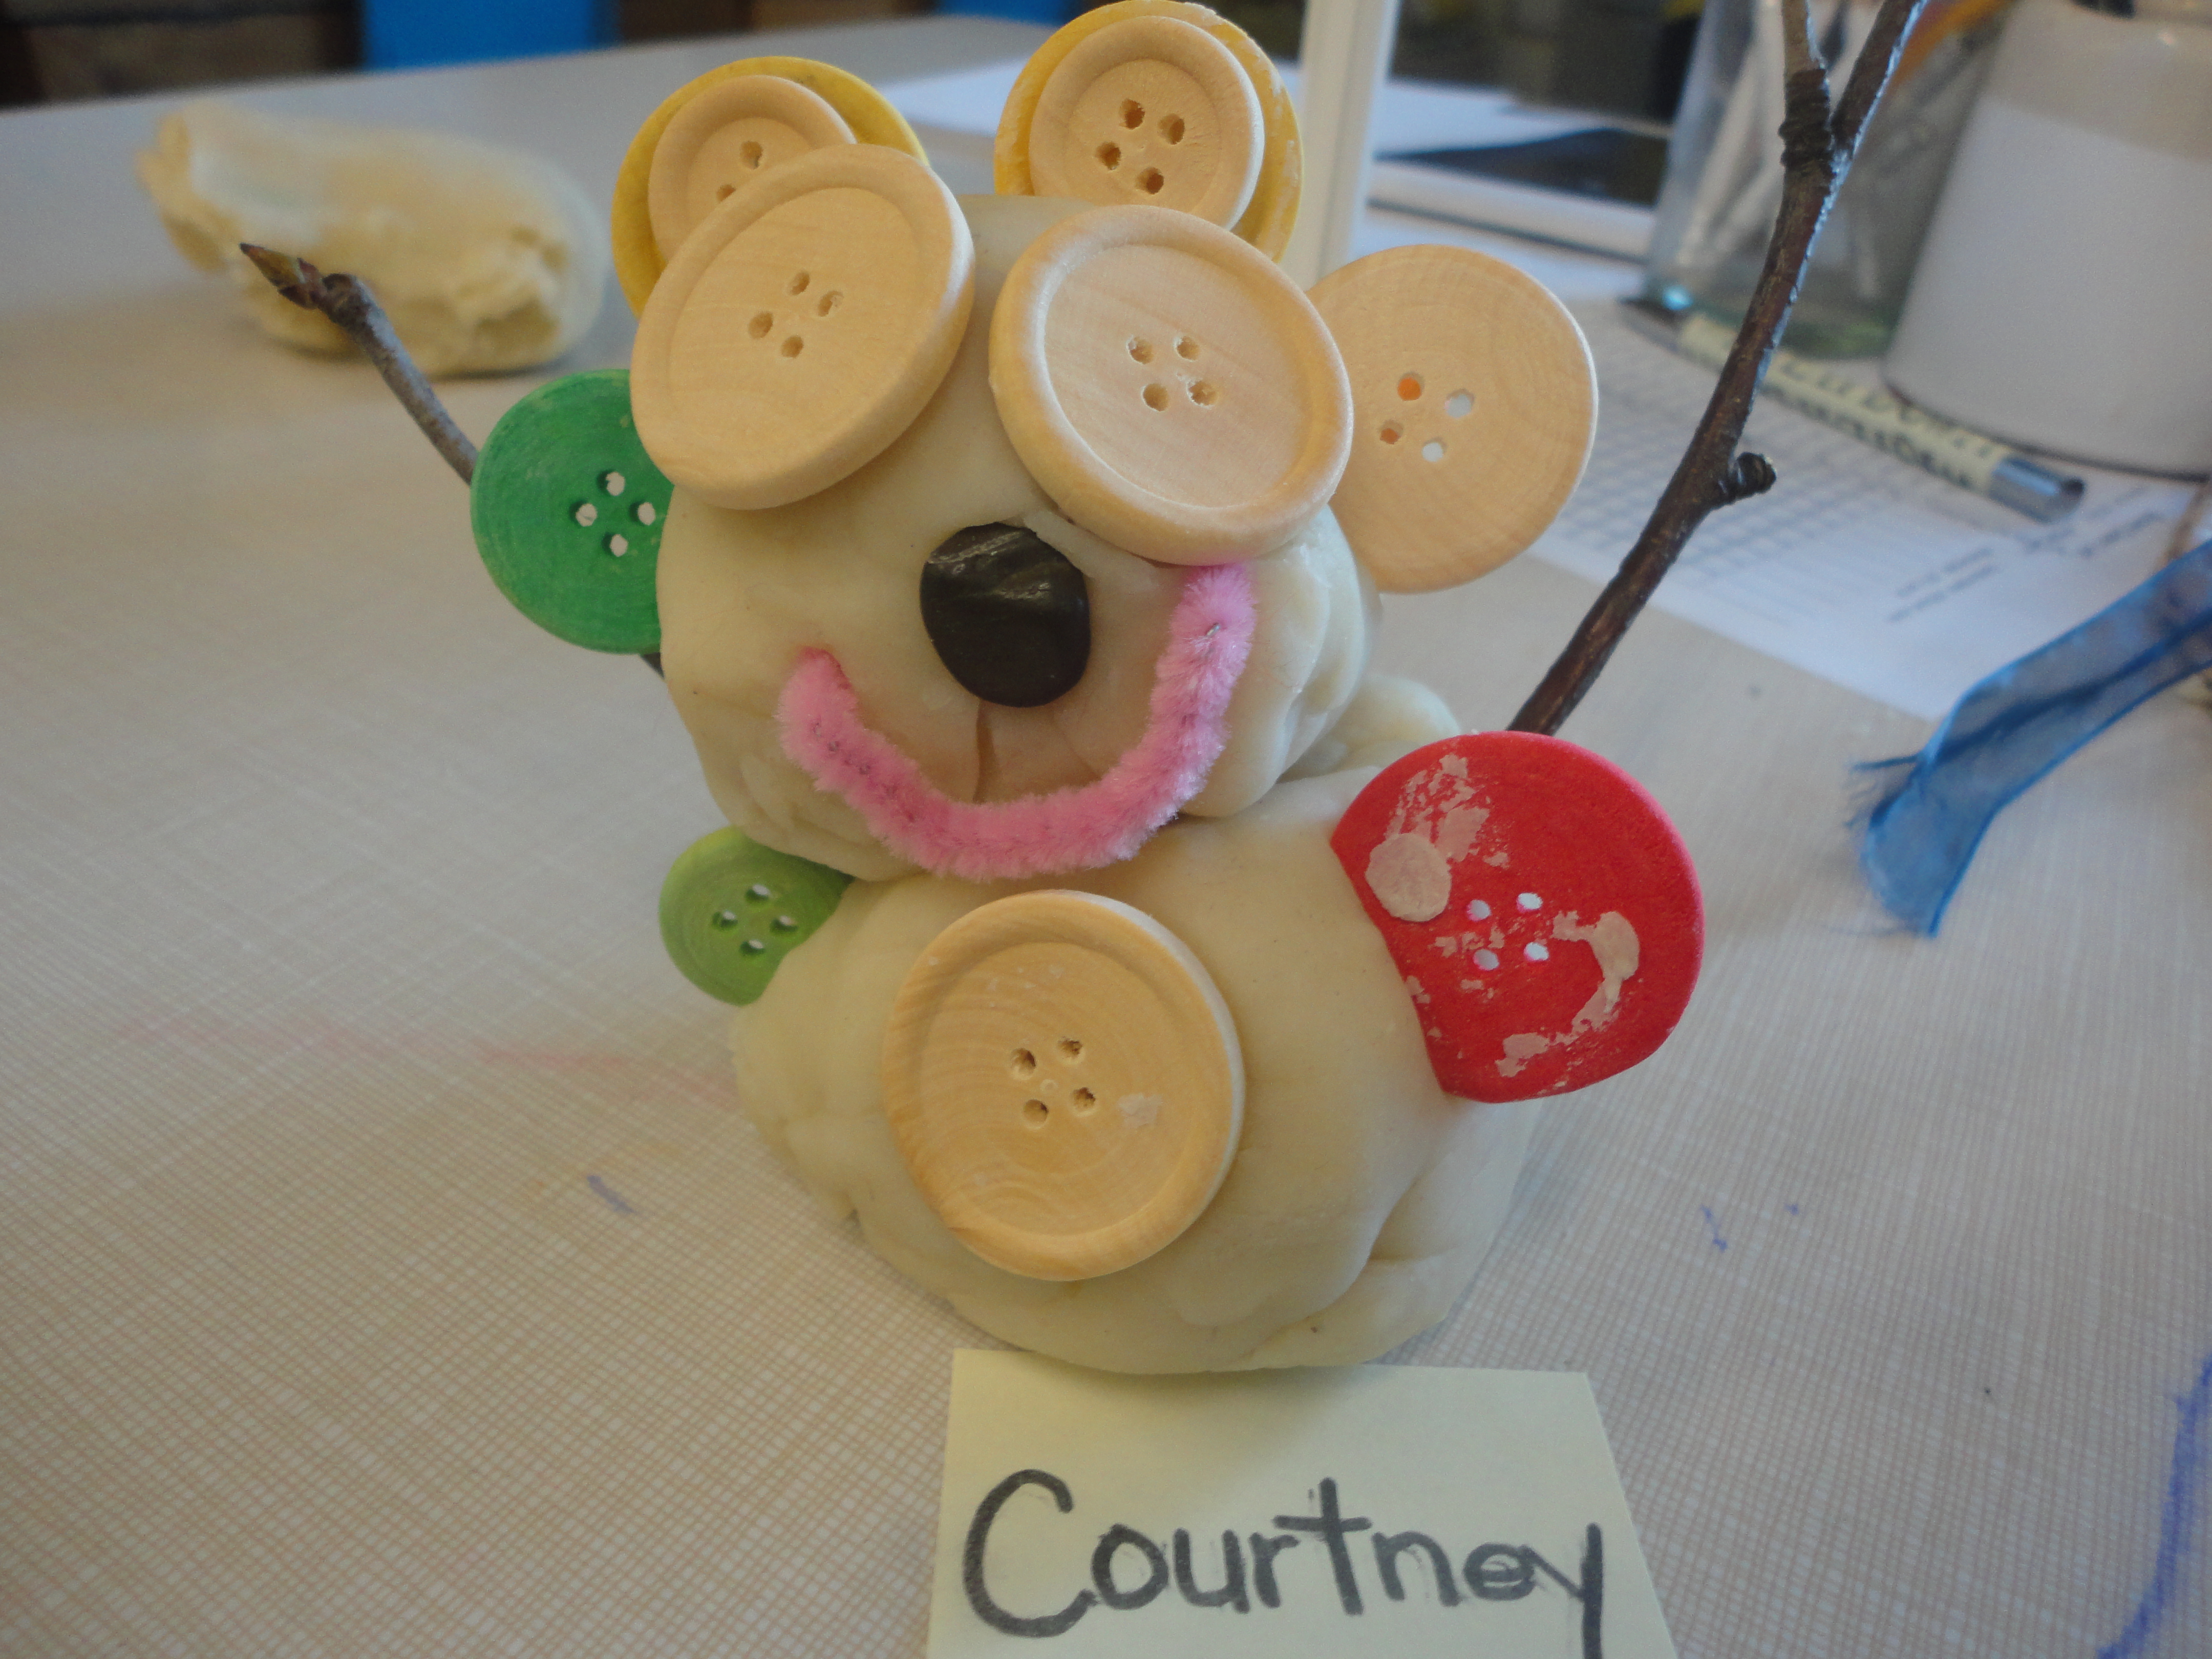
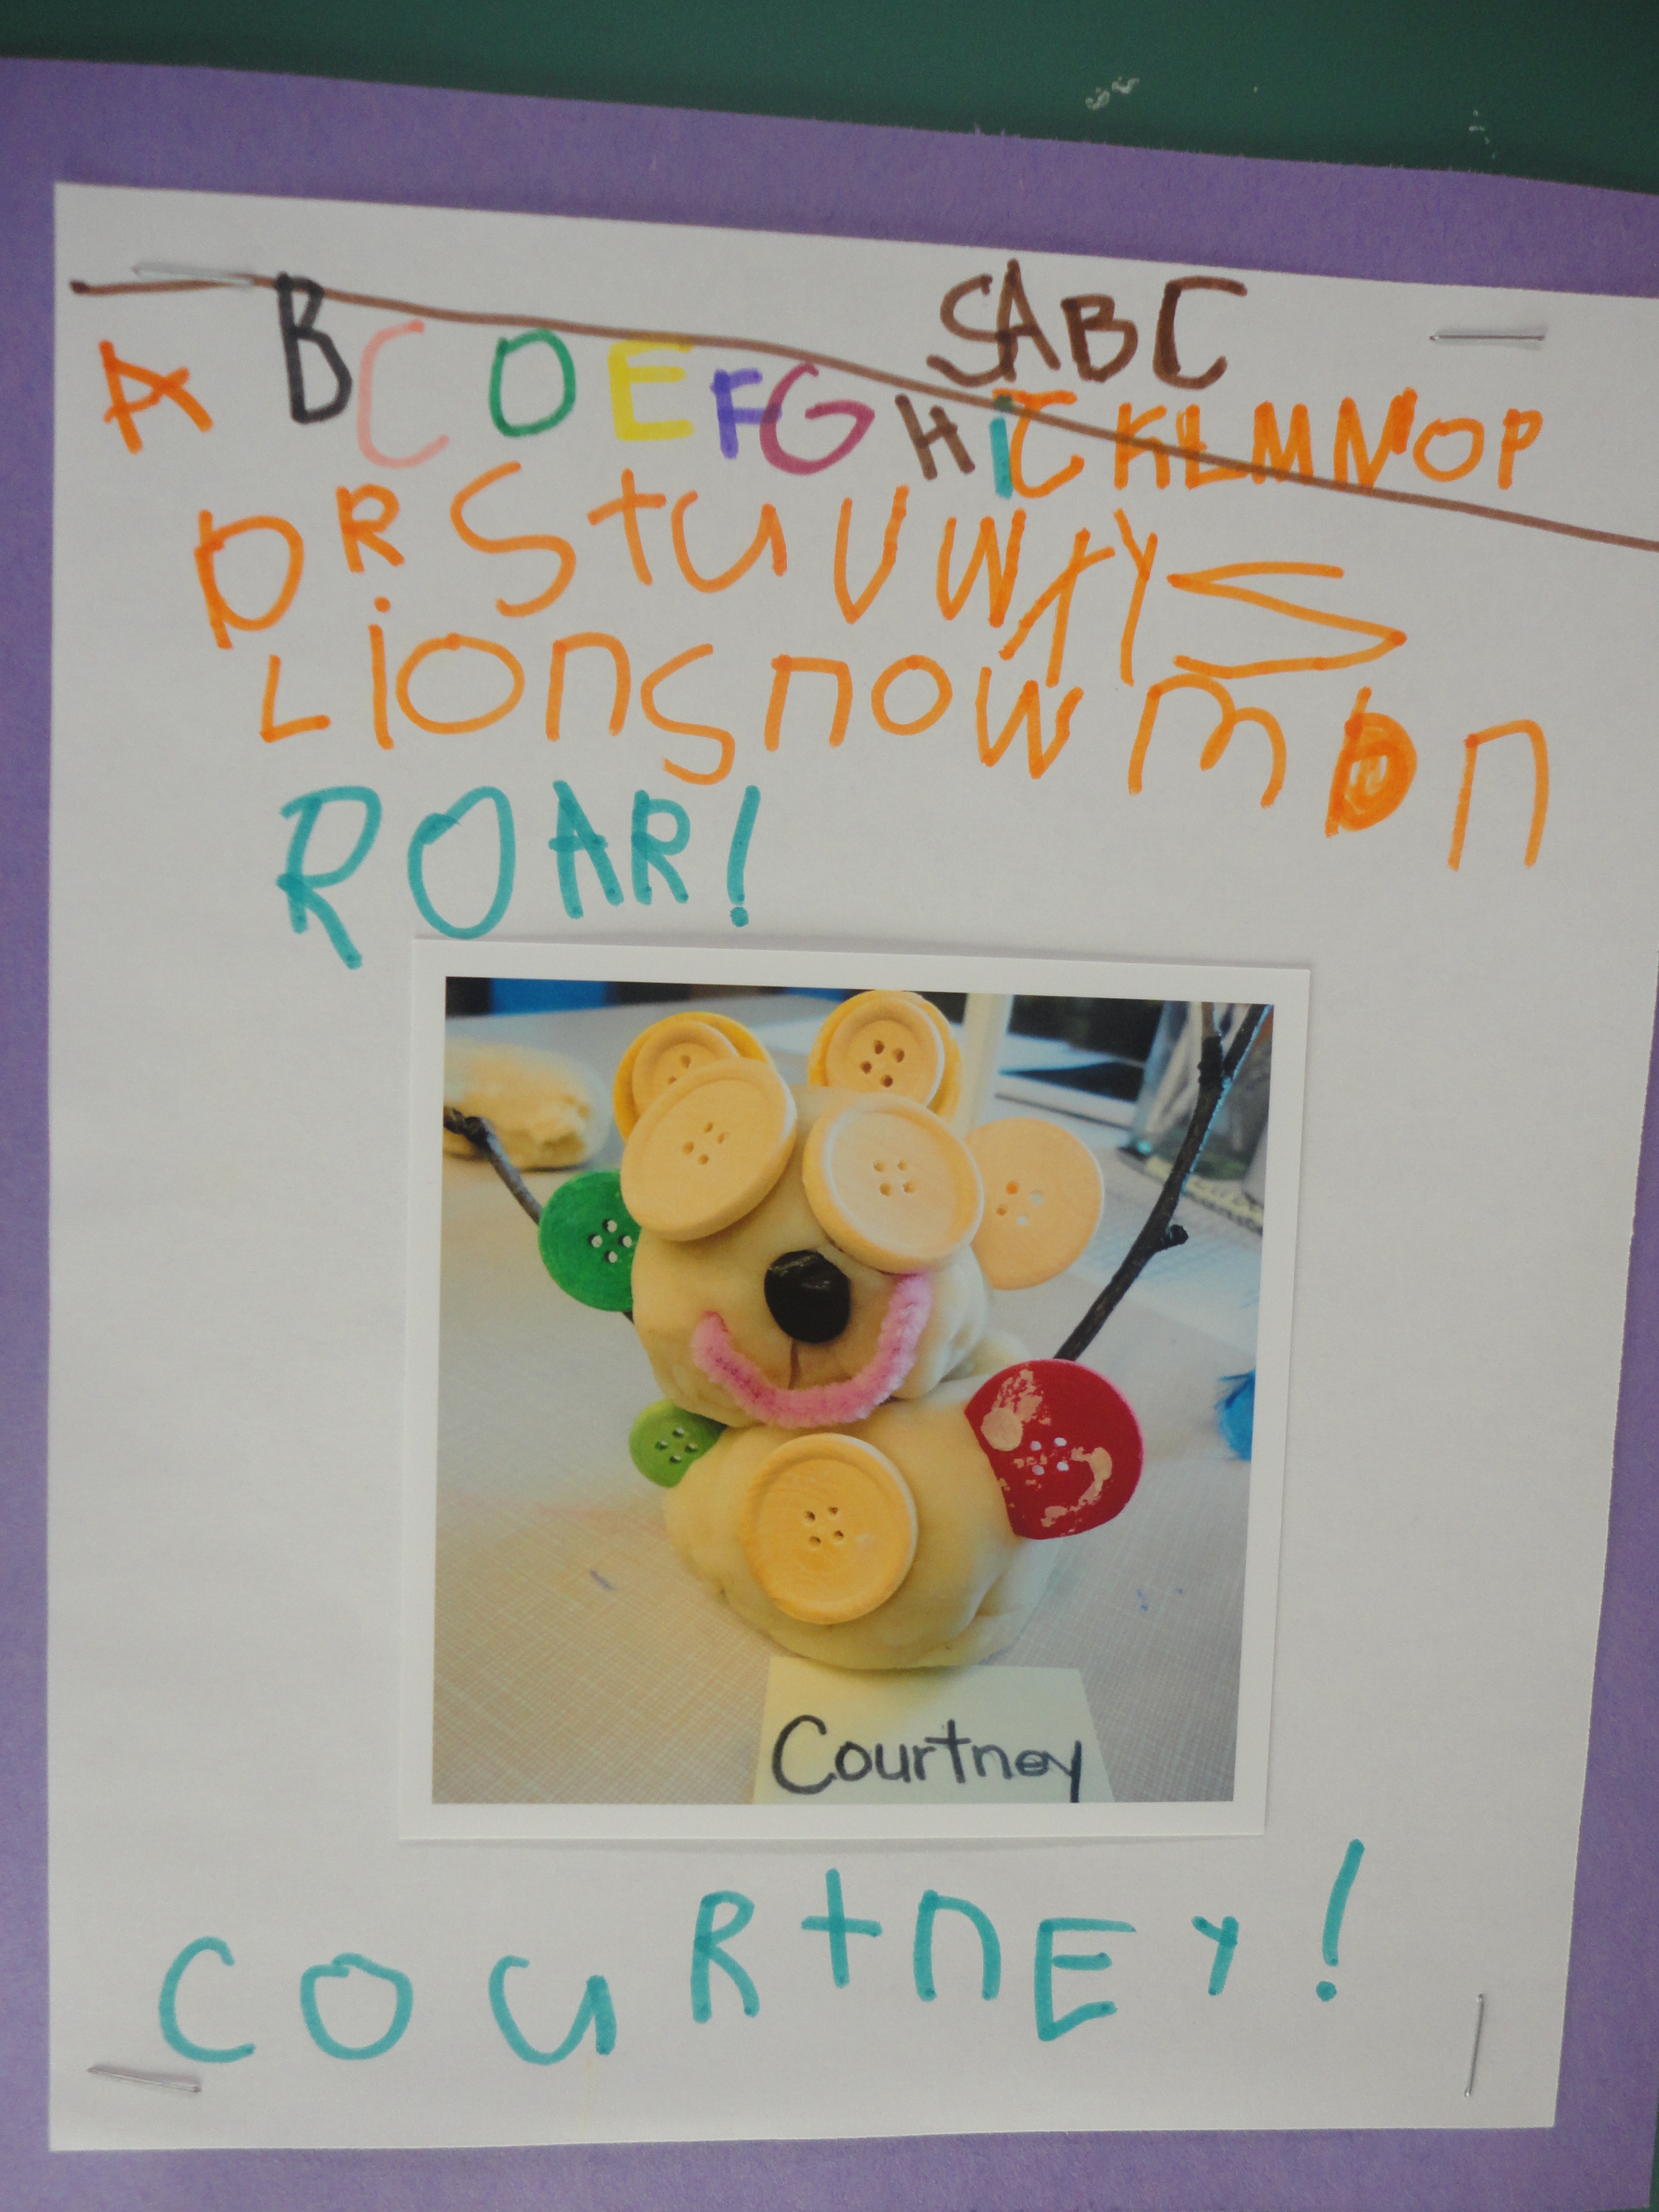
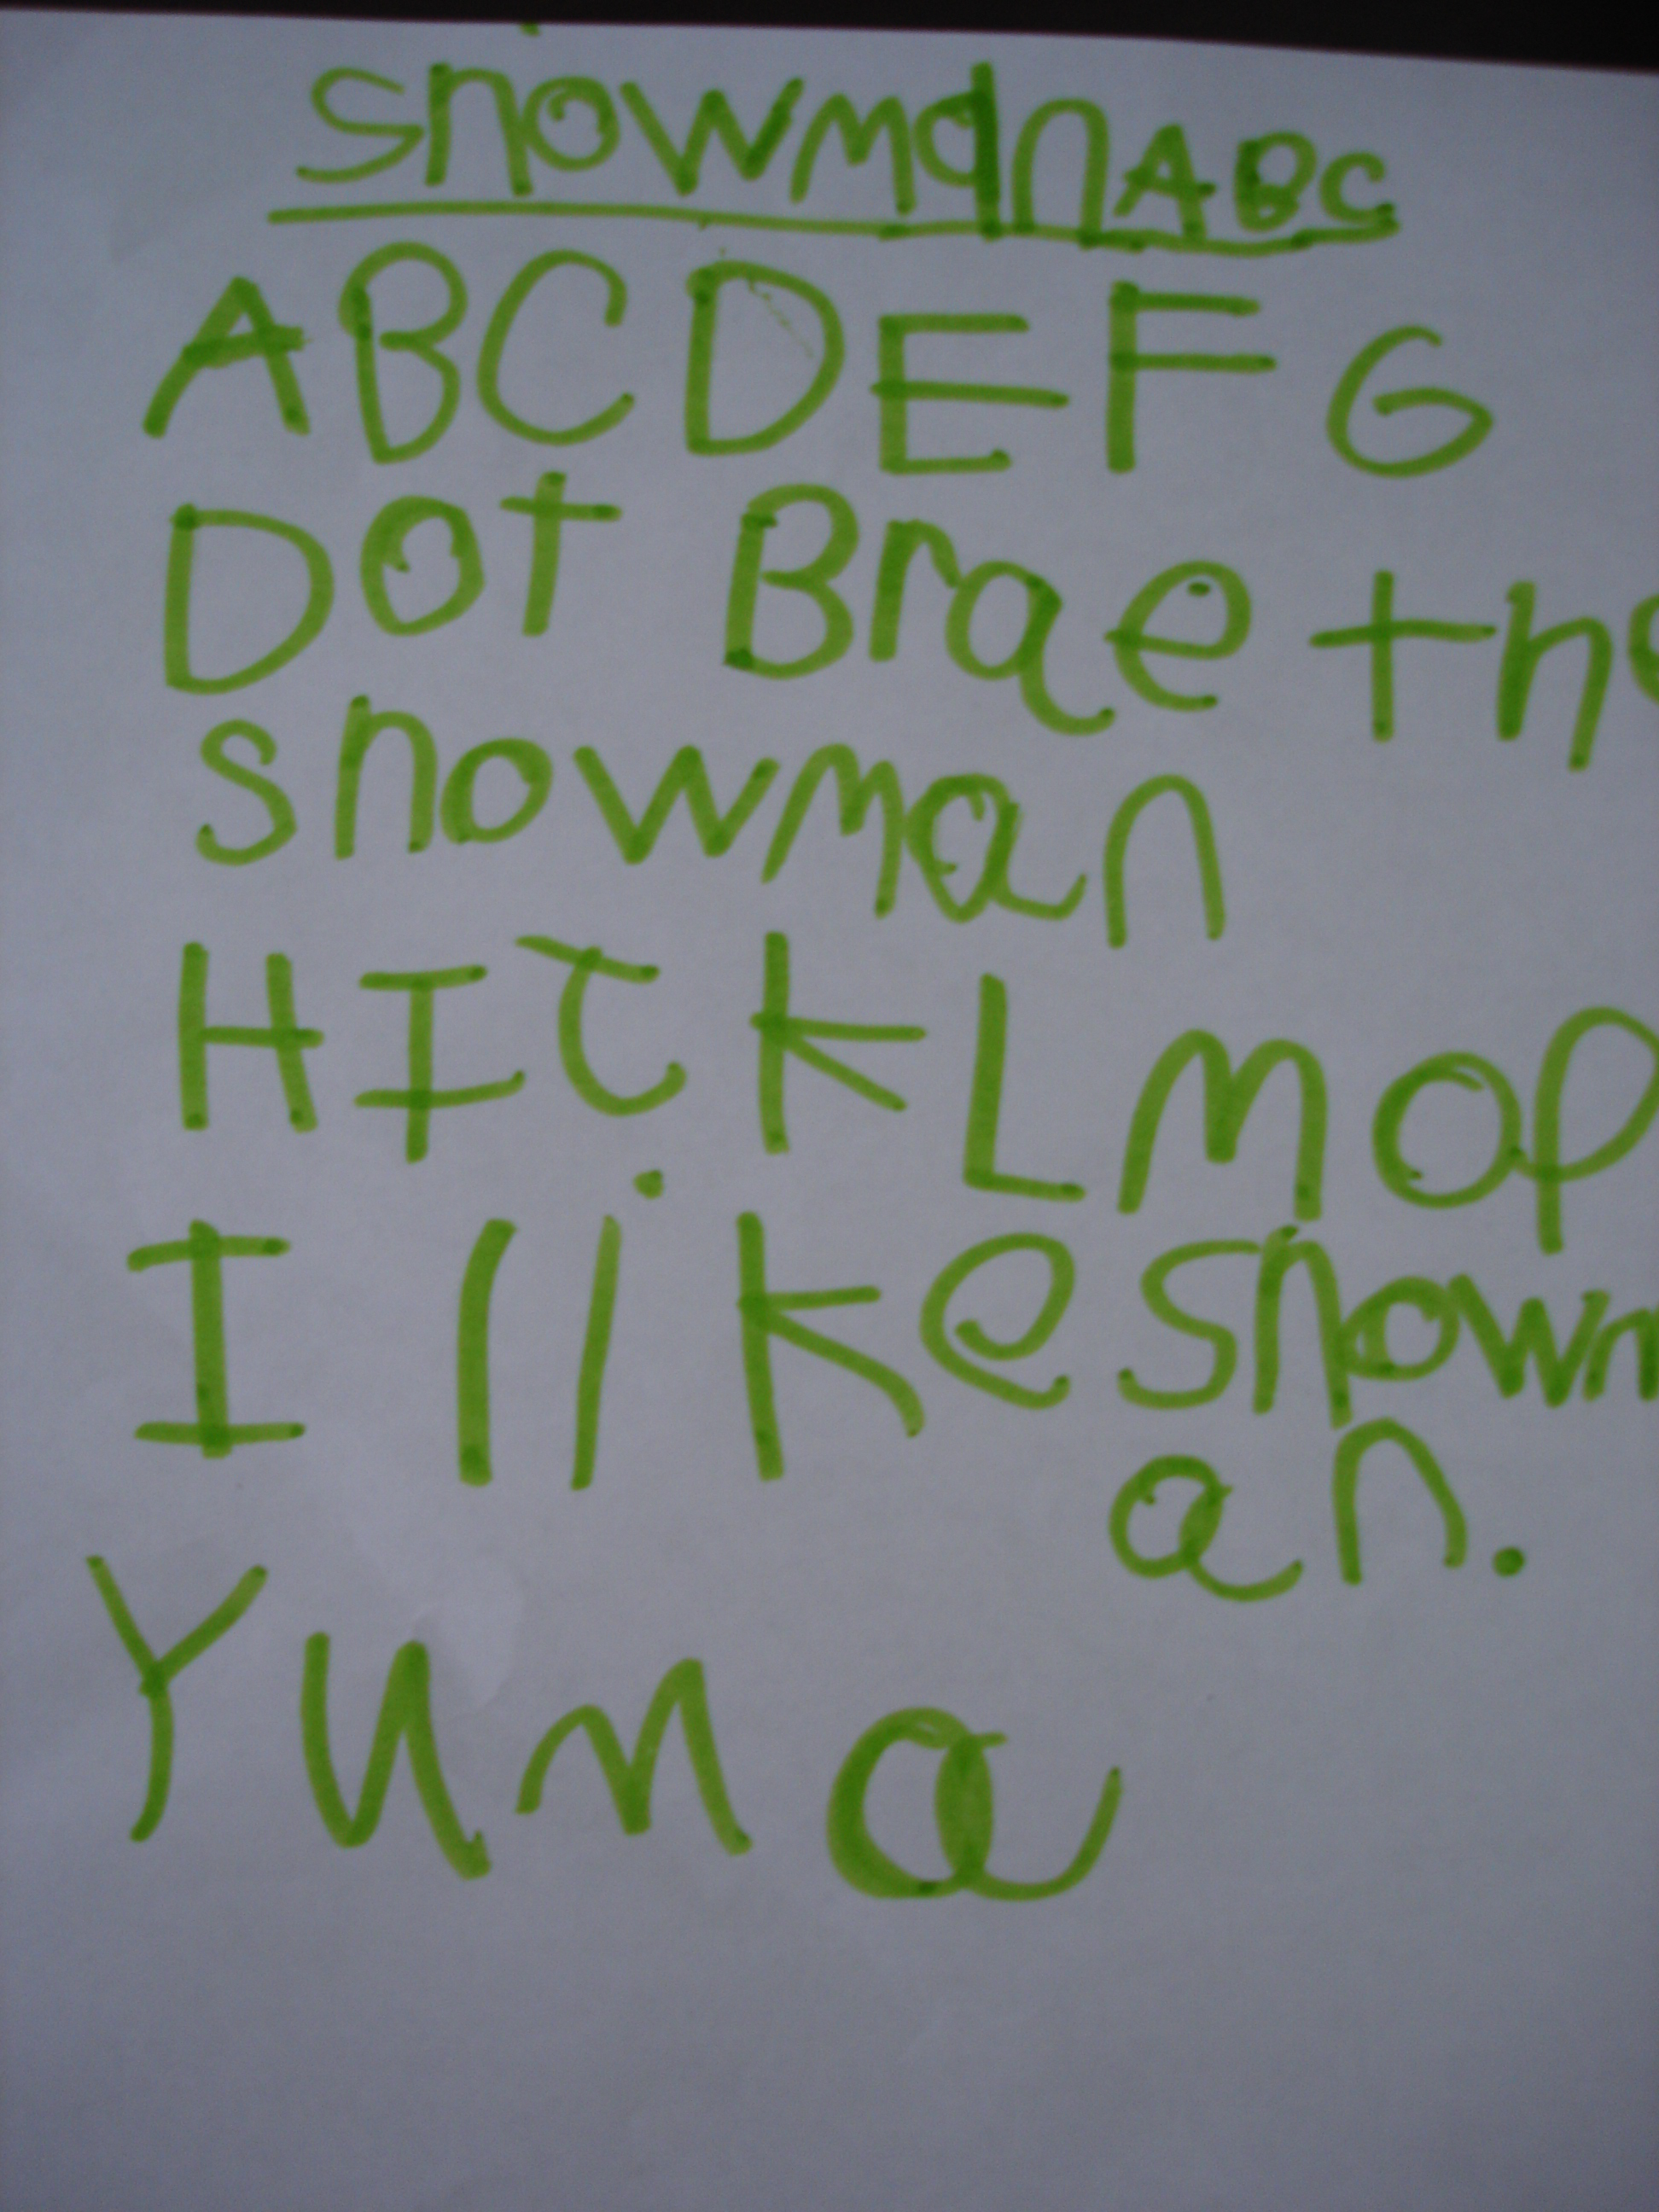
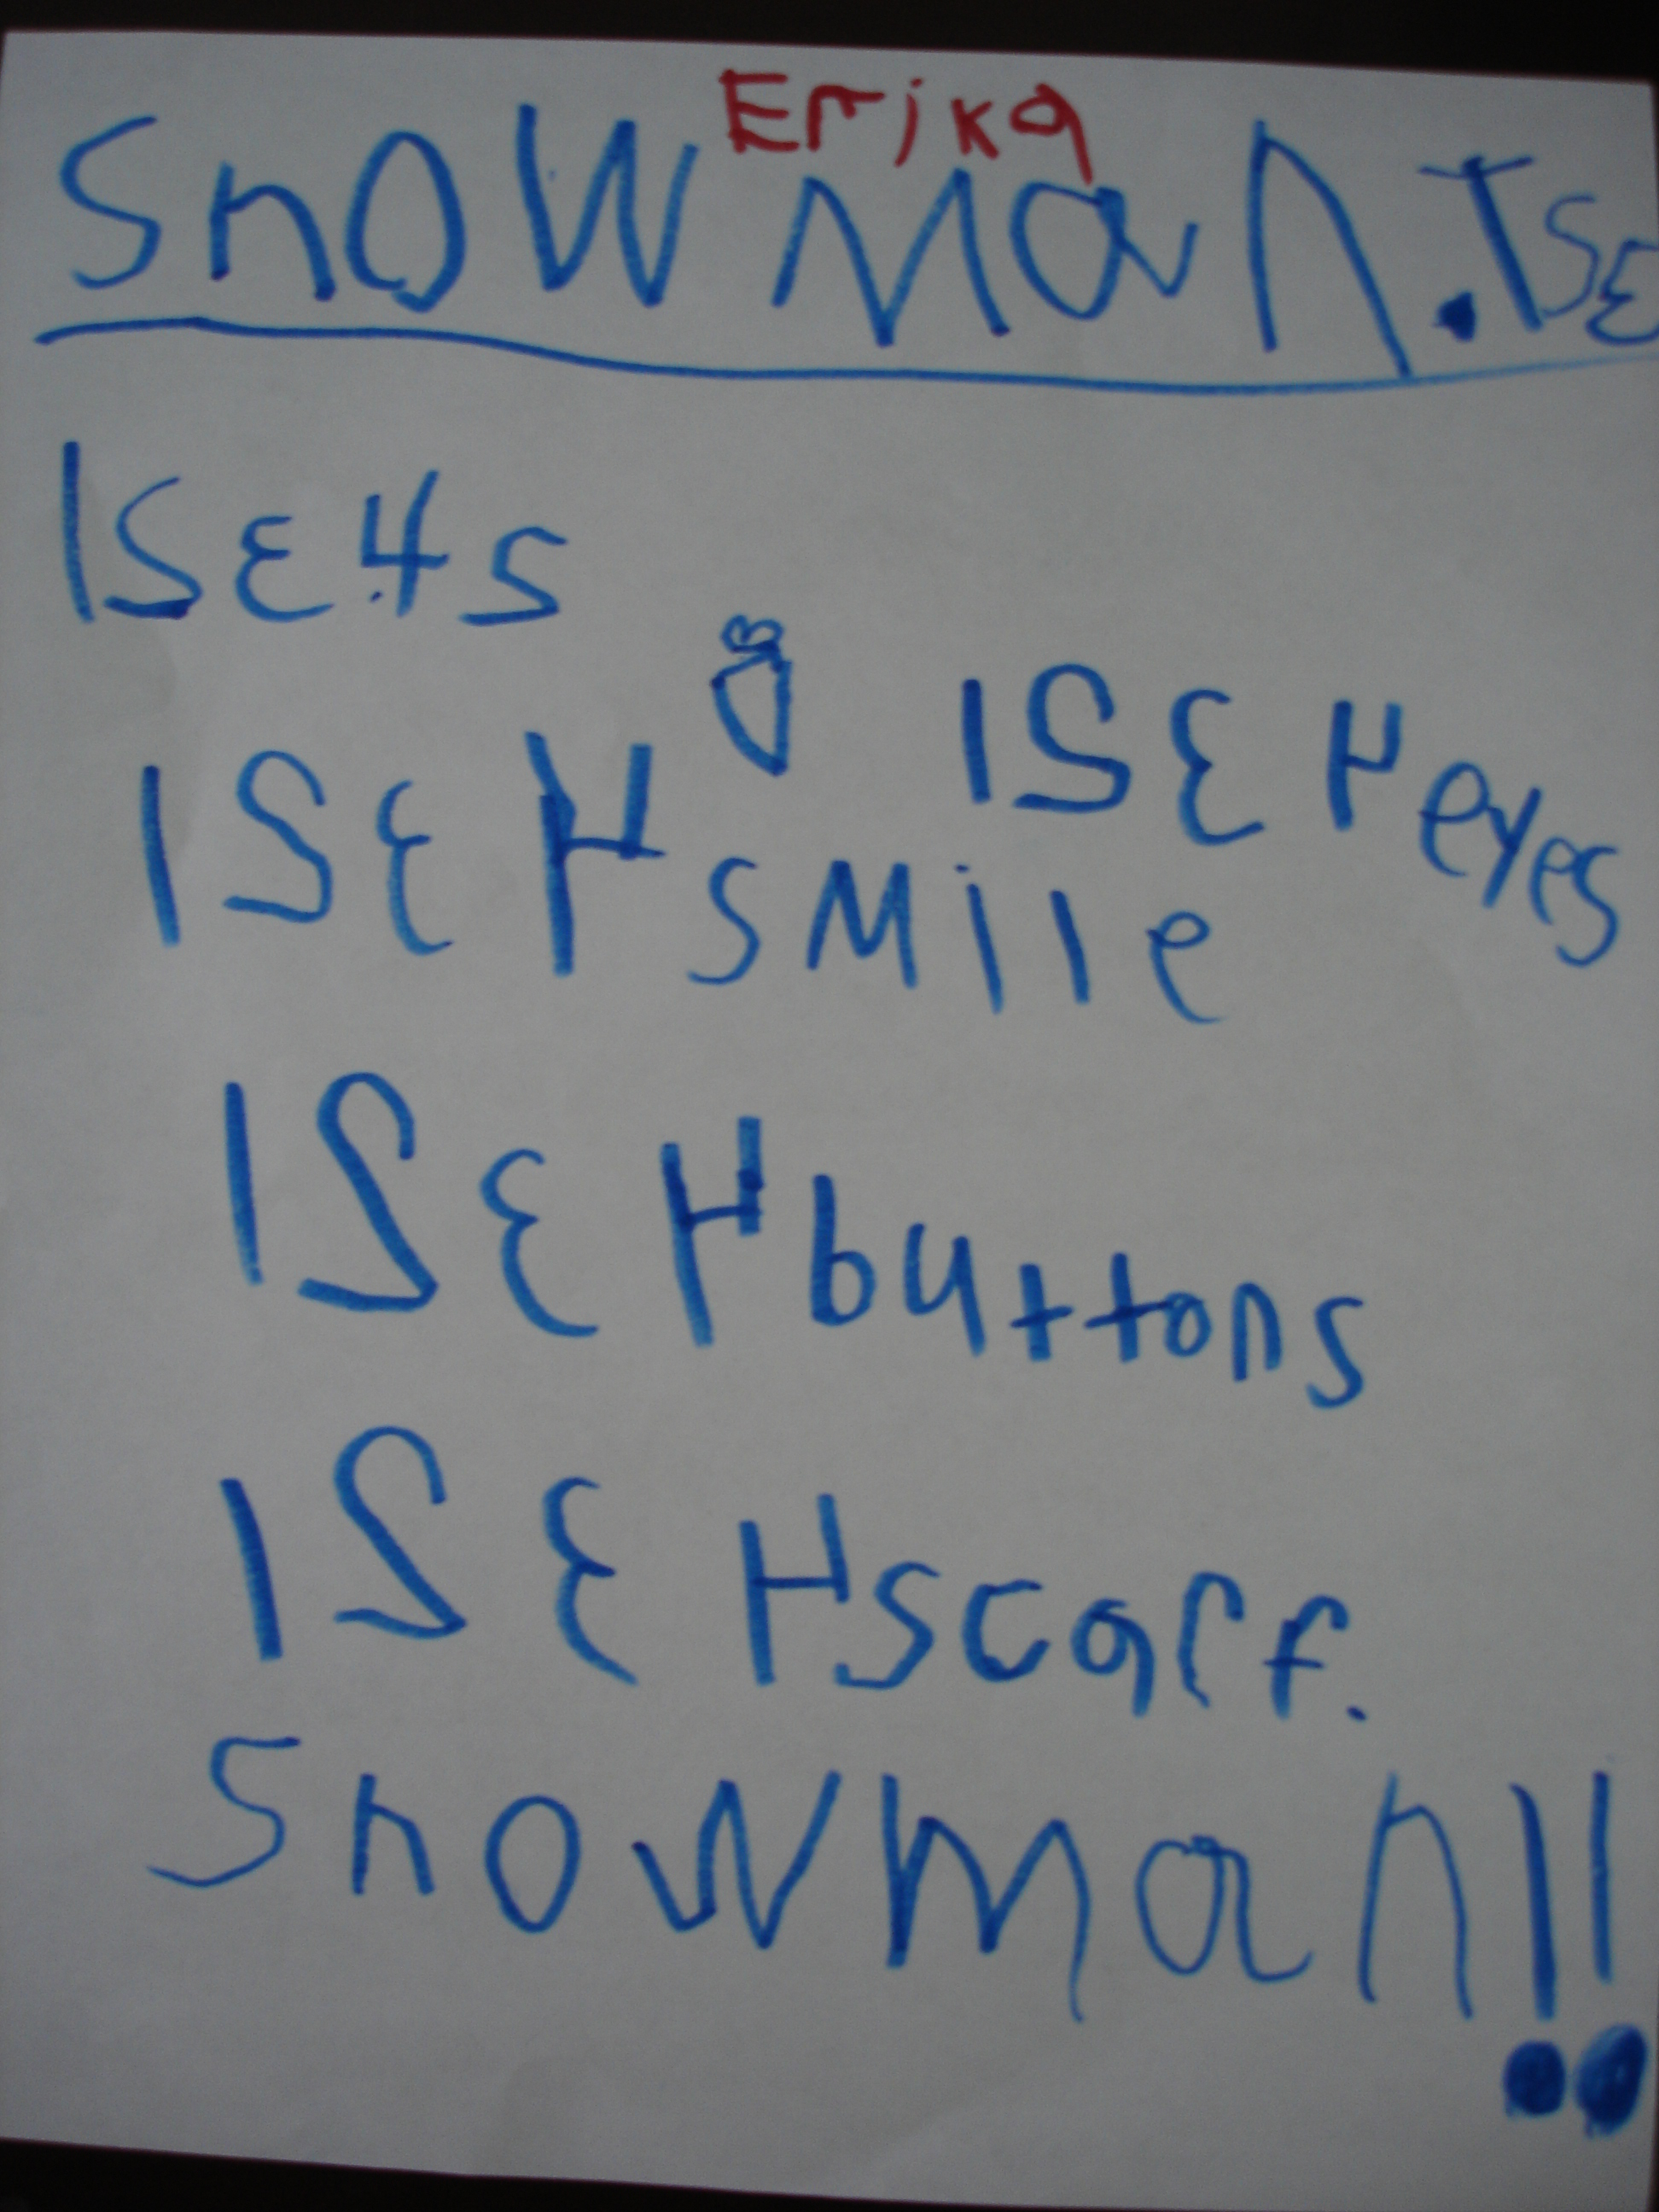
This year I decided to take a new approach to our self-portrait work. Rather than limit the children’s experiences to the Art Studio, we would take some time before drawing our portraits to look more closely at faces and facial features. We began by reading Faces by David Goodman. In this story, the author shows us how we can spot “faces” everywhere in our environment and how we can construct faces out of loose parts. After reading the story, we set up a simple provocation with loose parts and mats/cork boards:

These mats can be downloaded for free from Picklebums at https://picklebums.com/people-play-dough-mats/

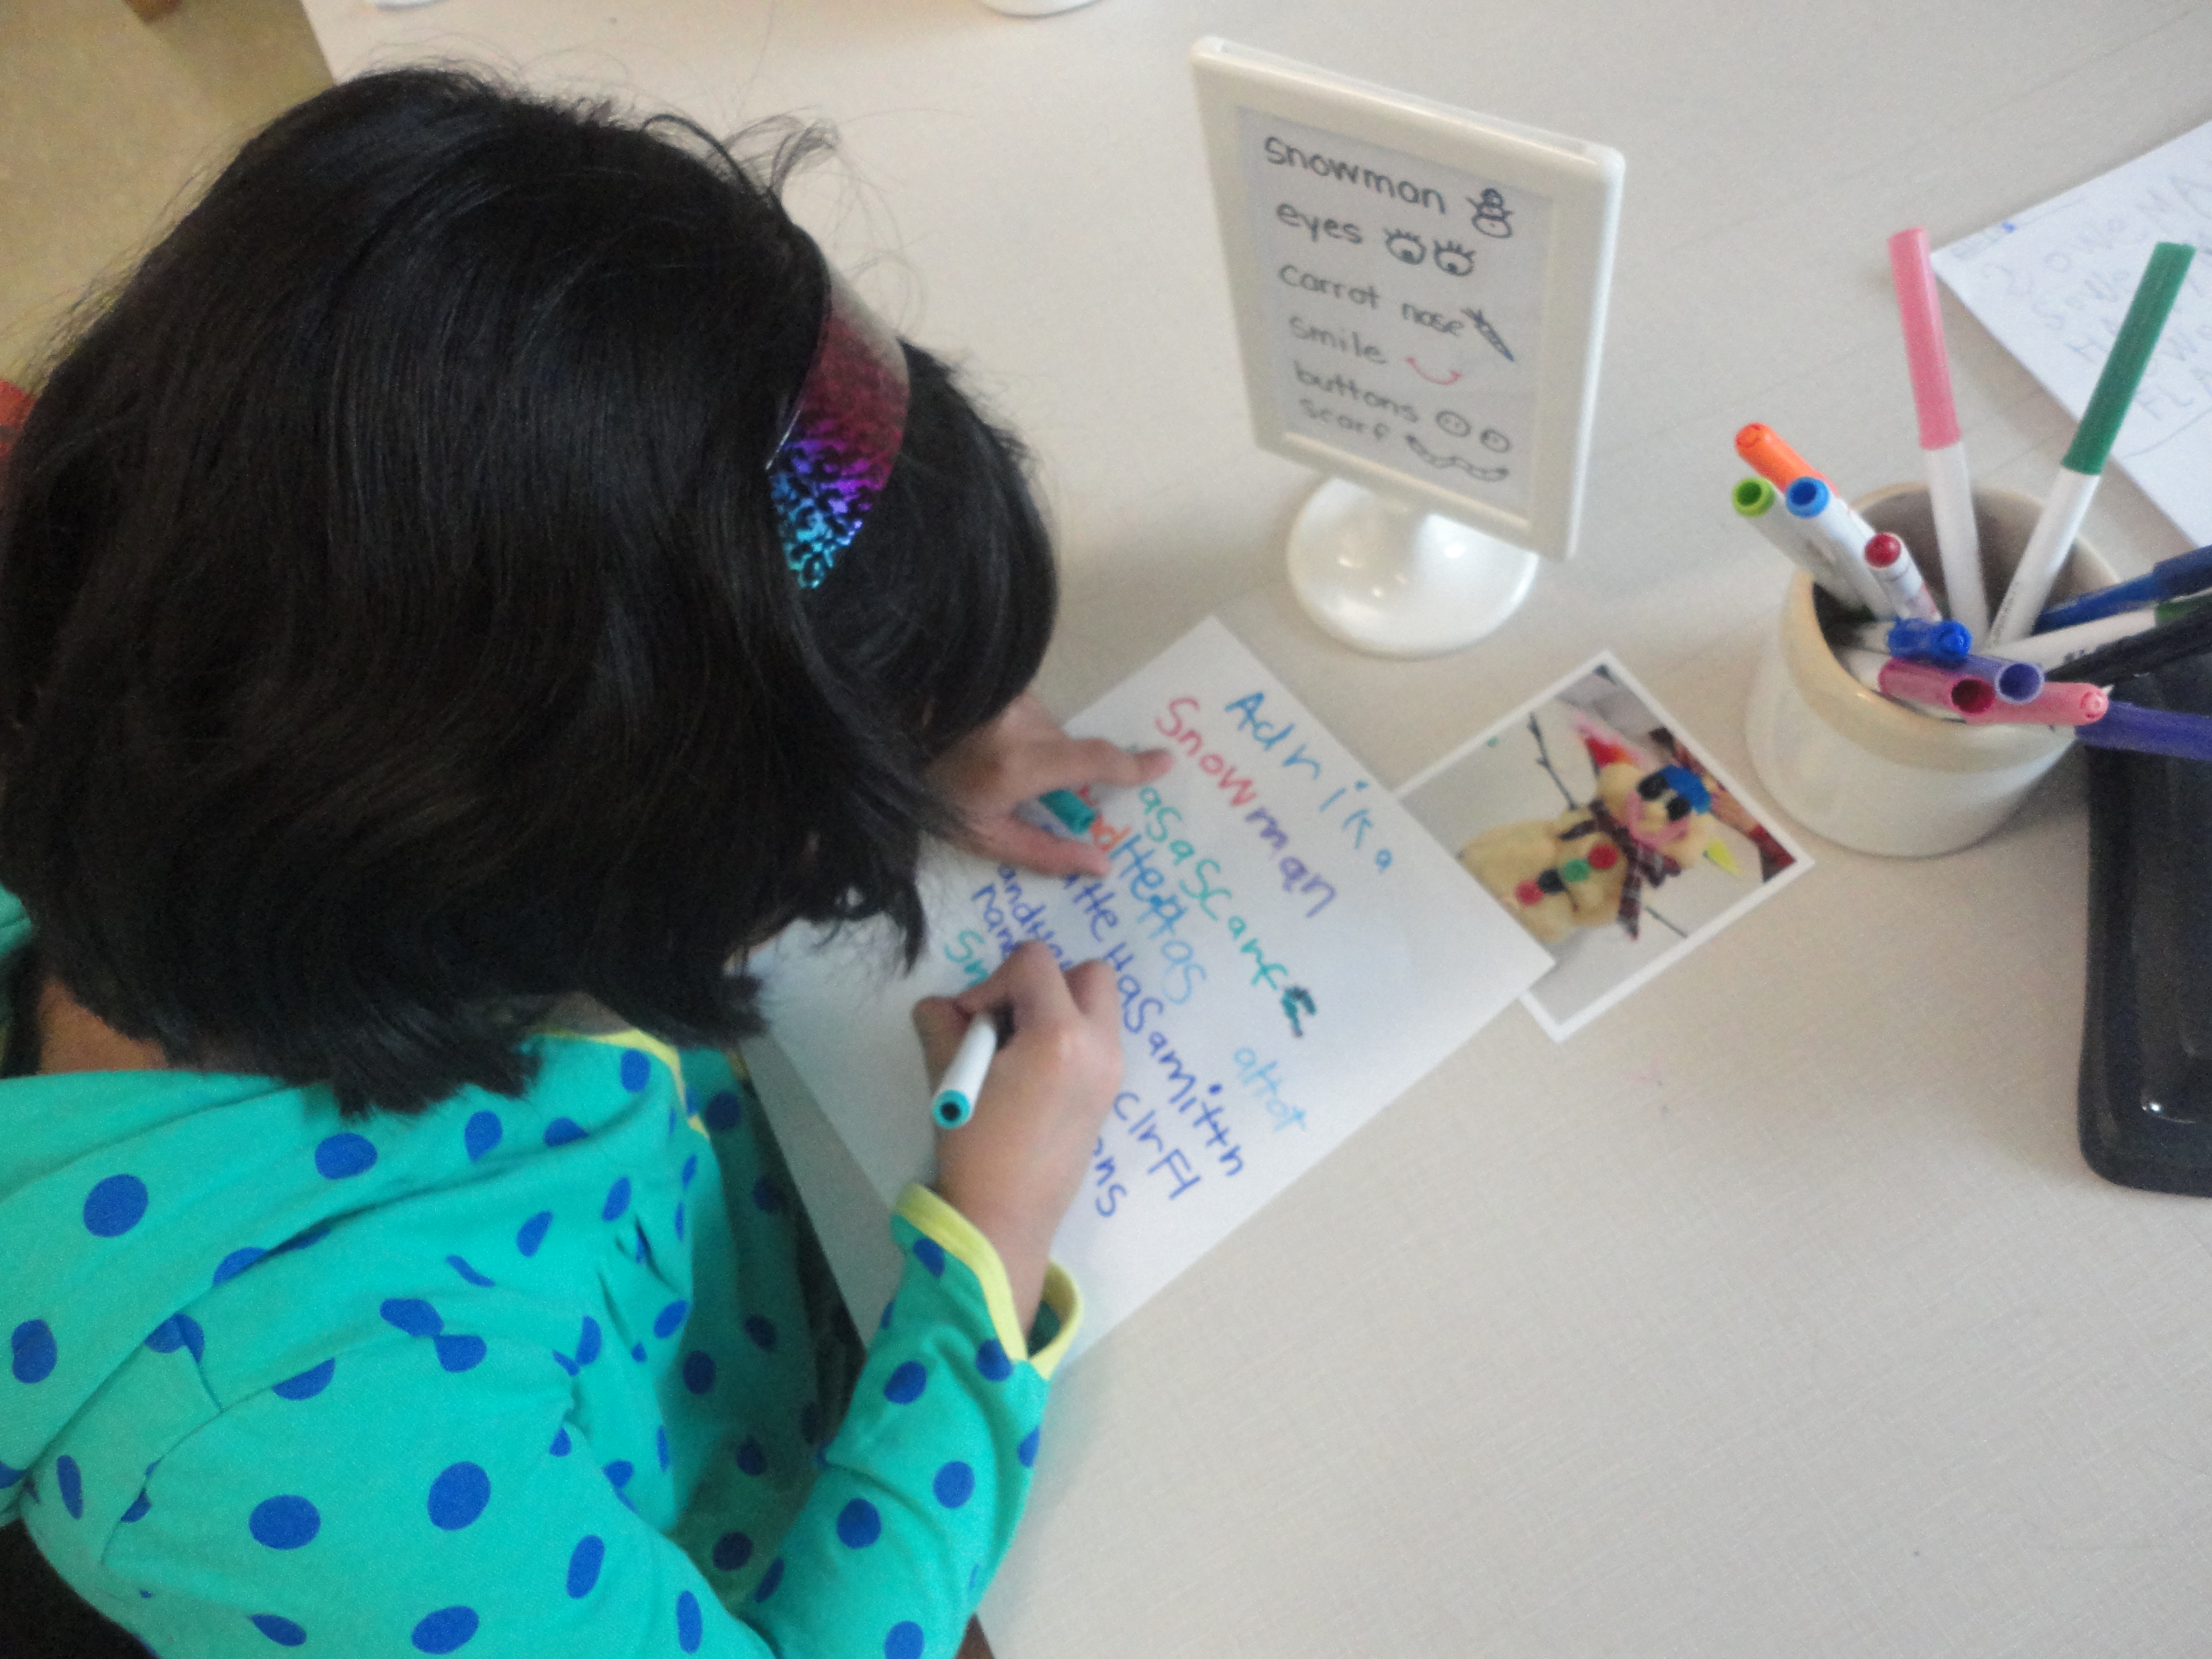
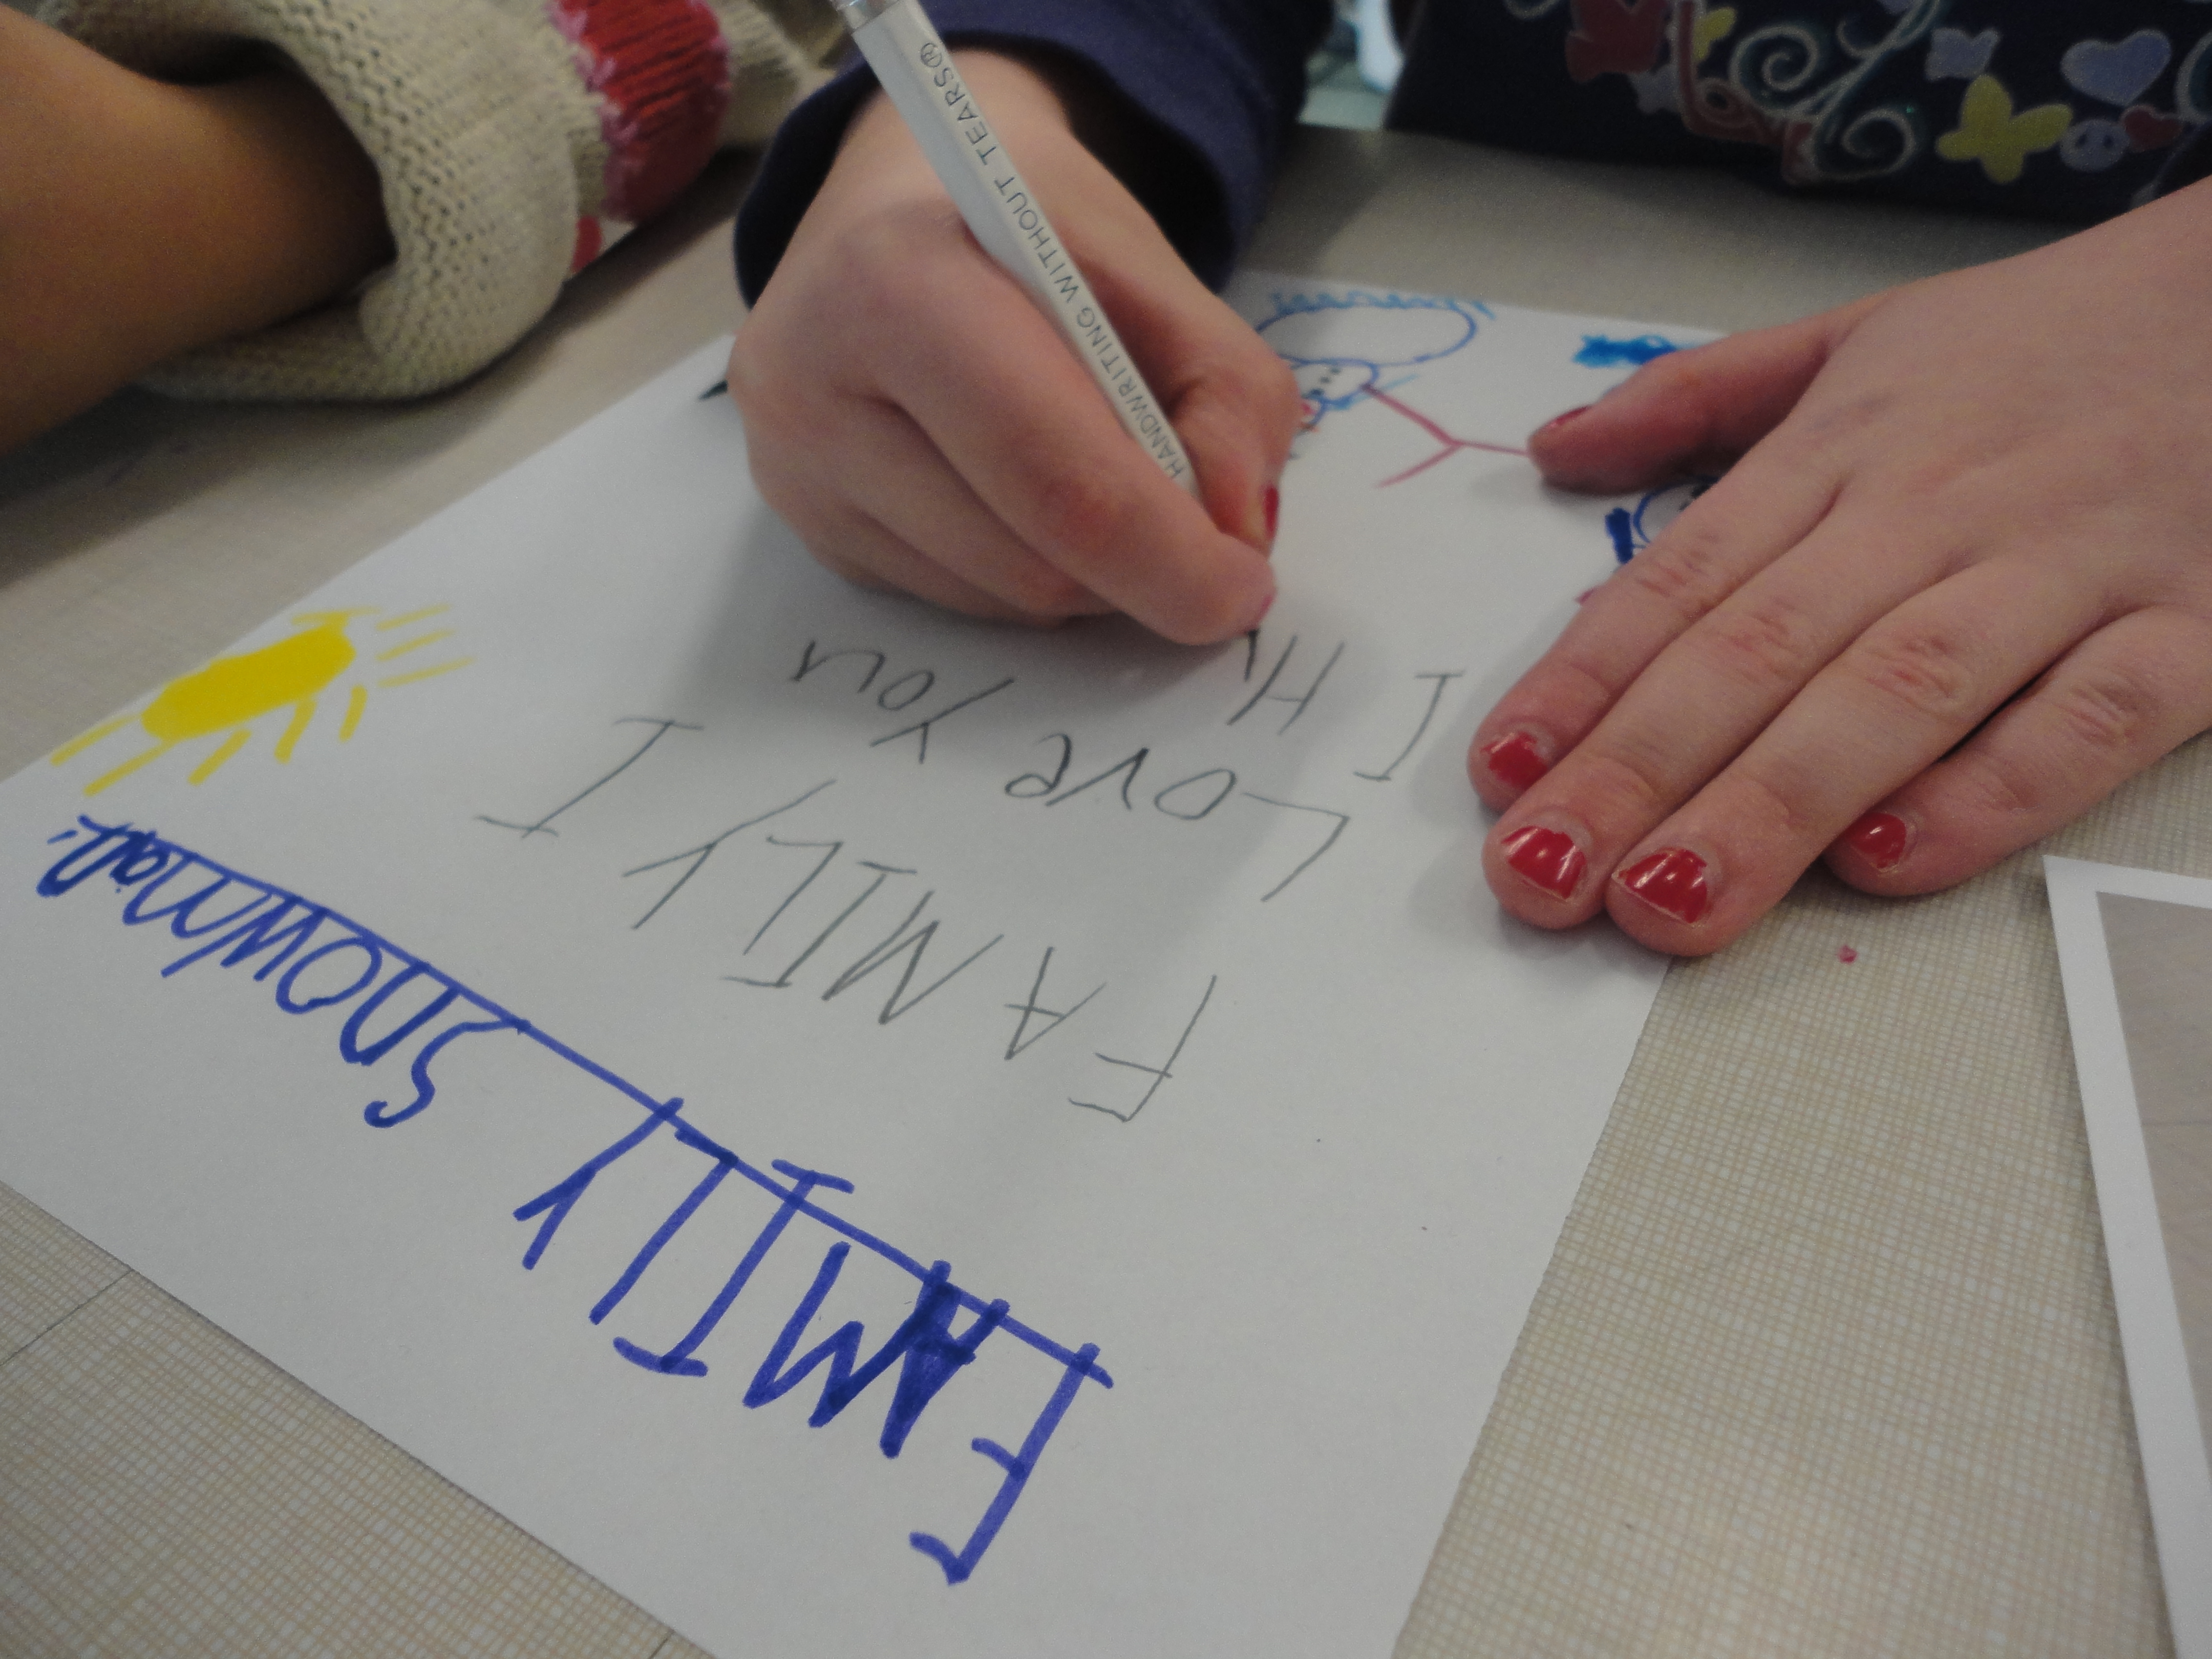
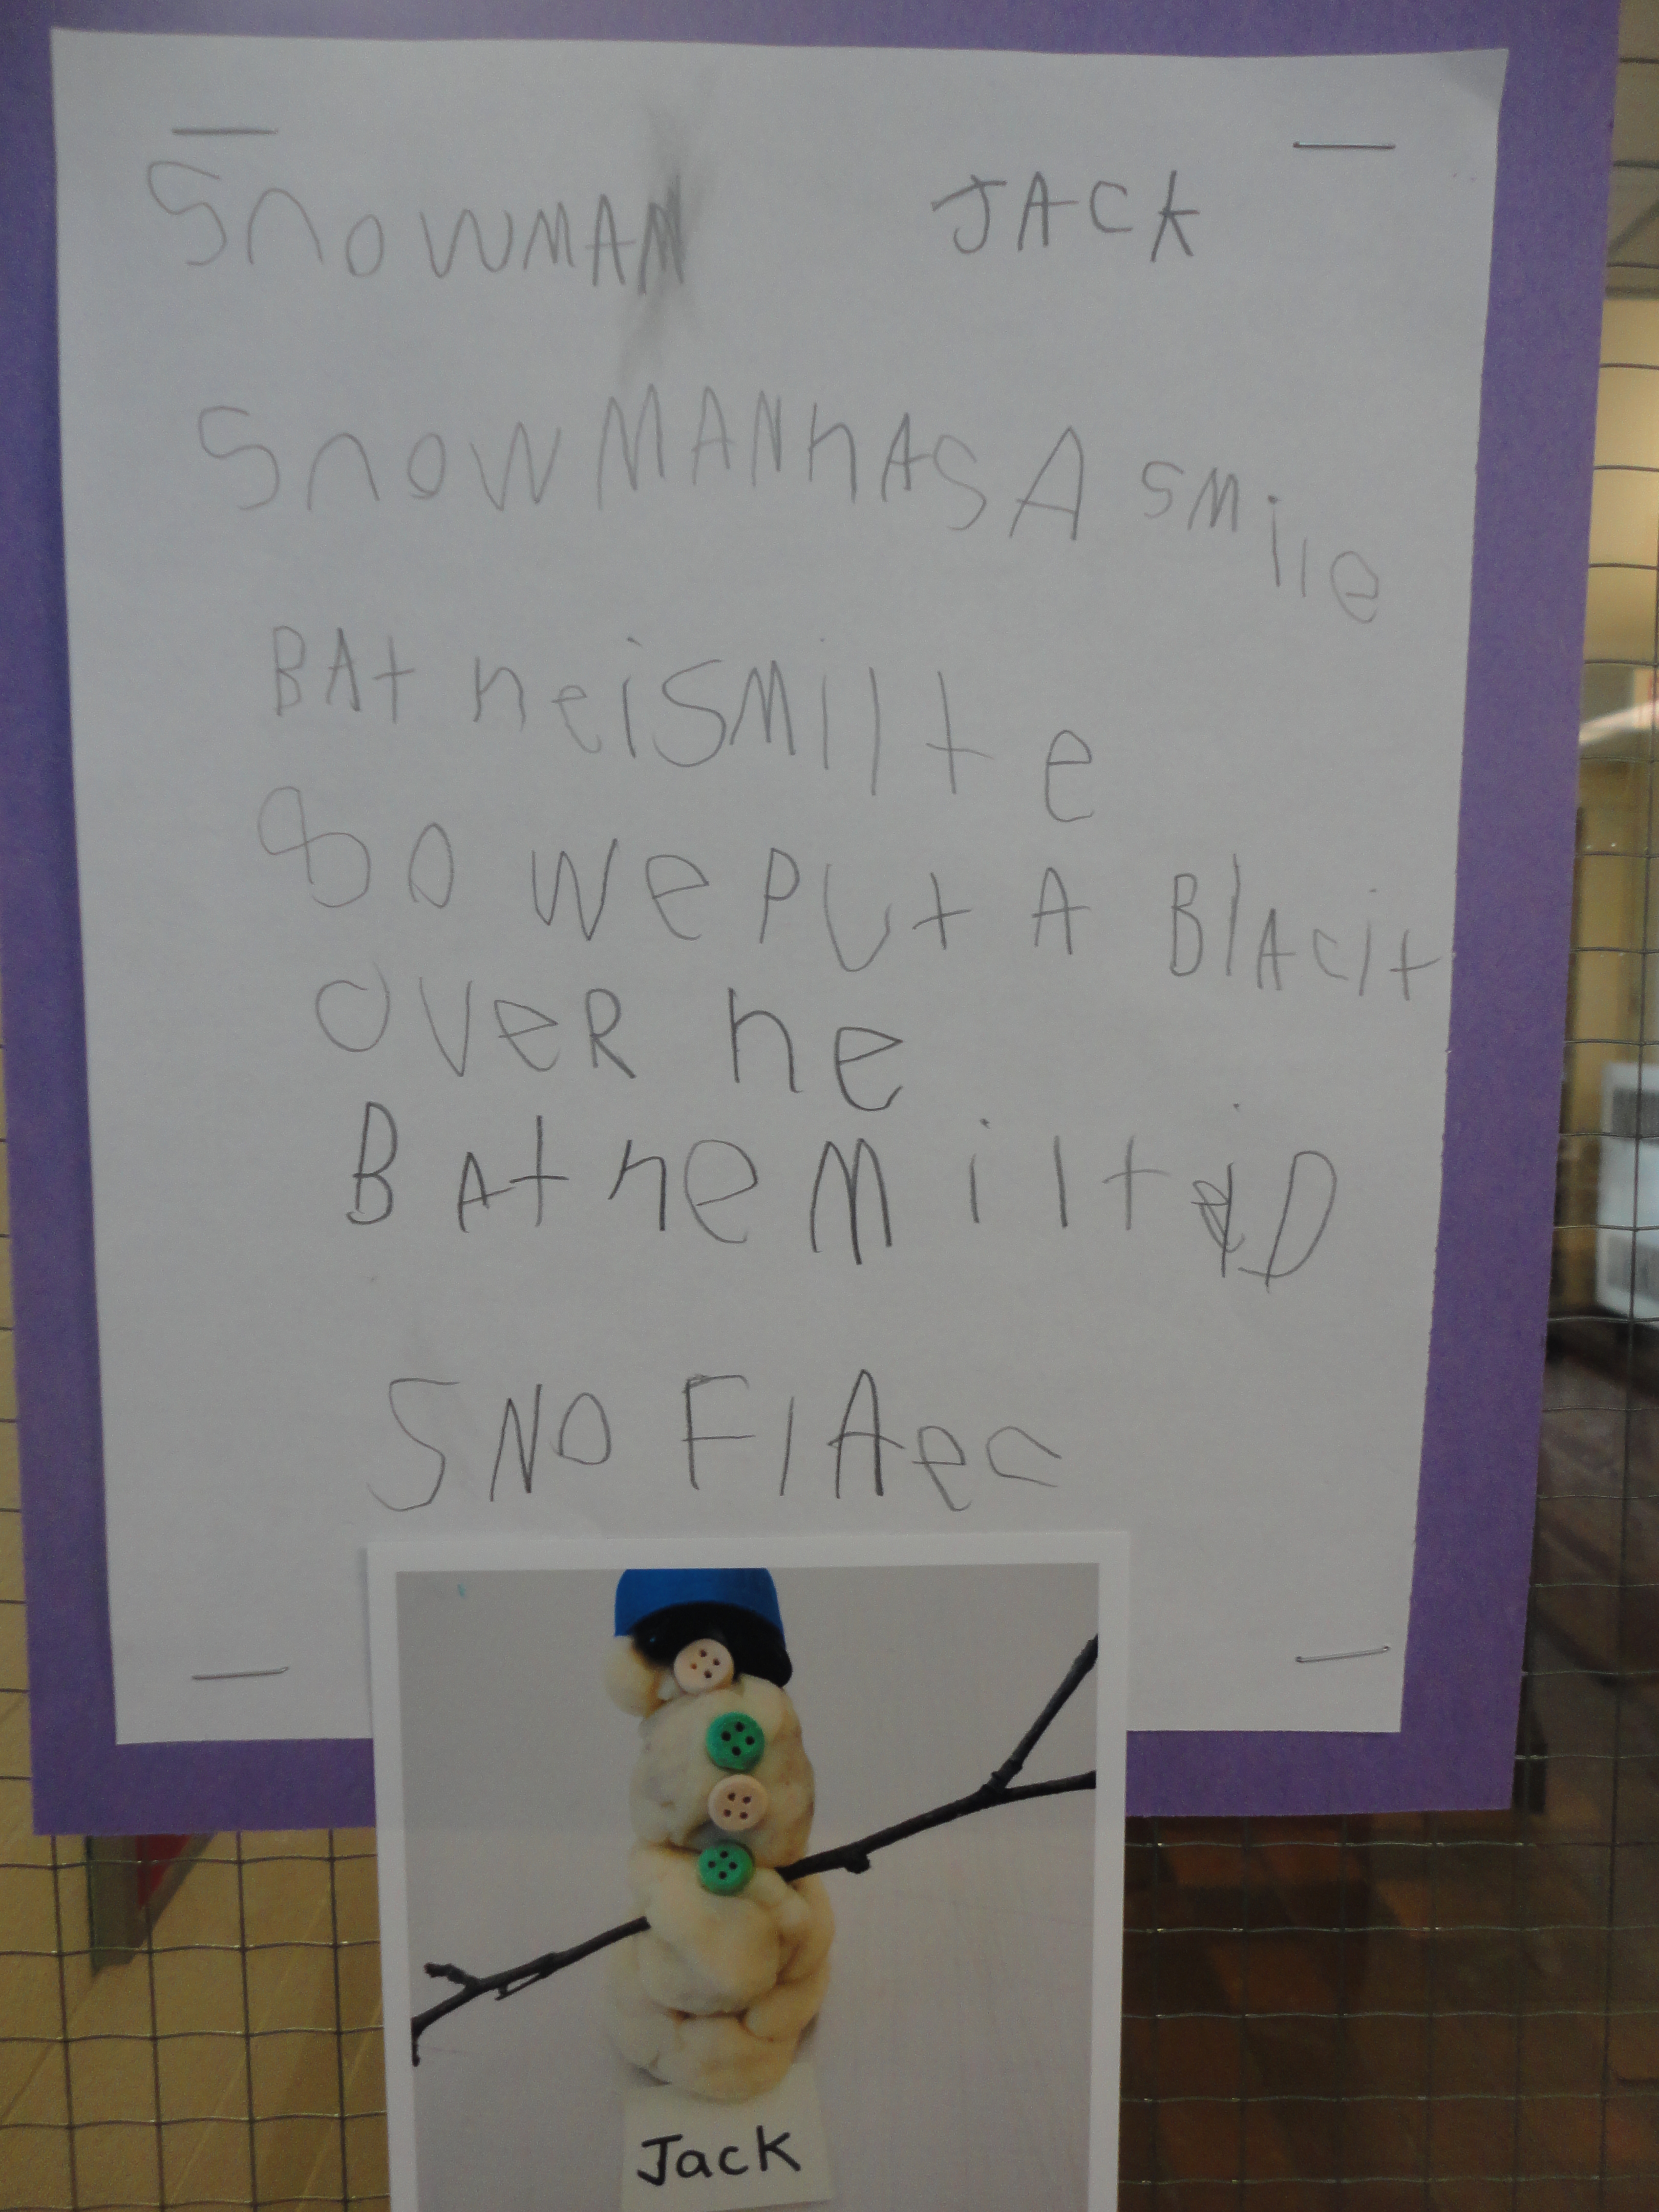
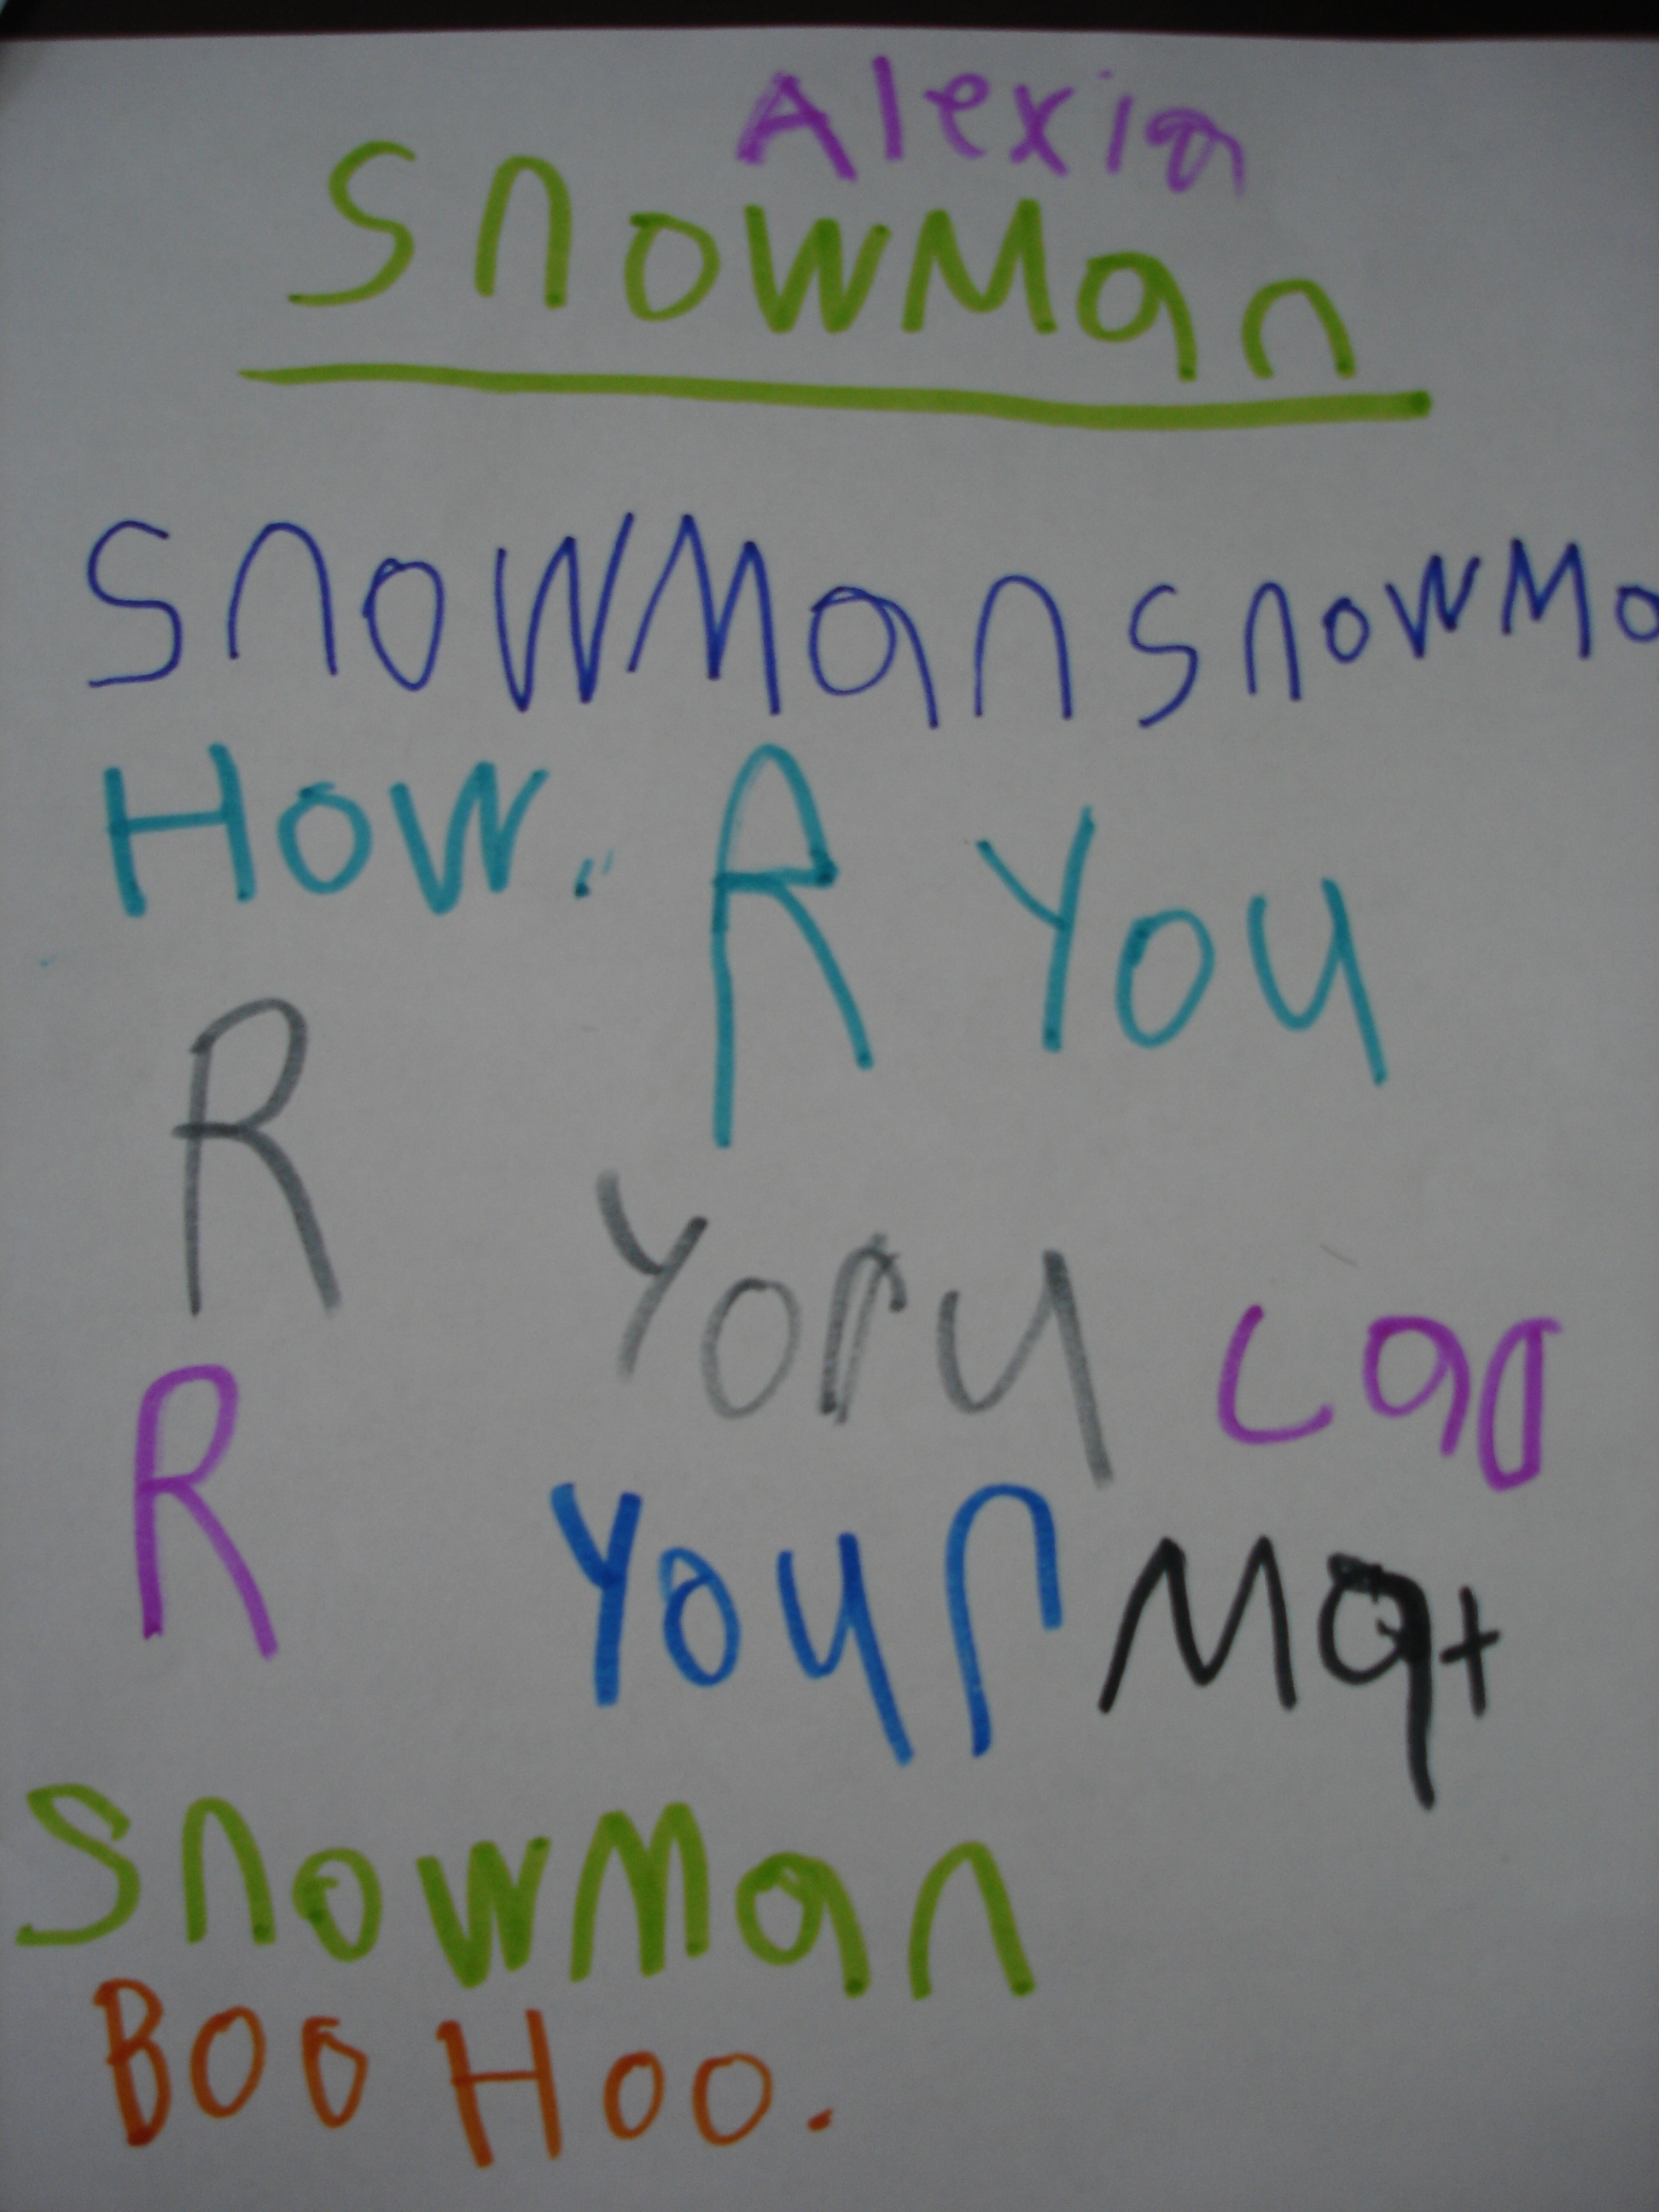
Our next step was to move beyond loose parts into a drawing/sketching phase. From what I had seen of the children’s drawings so far, I knew that most children were using simple mark making (dots, lines, etc.) in their pictures. We decided to take some time to look more closely at our facial features and break down how to draw them with increased attention to detail. Each week, we take time in our schedule for a focused art and drawing lesson (if you want to read more about Art and Fine Motor Instruction, click here: https://thecuriouskindergarten.blog/2014/01/16/art-and-fine-motor-instruction-snowflakes/). In our first lesson of the year, we decided to focus on faces. Now, I know that giving a large class of somewhat-new-to-school 3-5 year-olds whiteboards, erasers, and dry erase markers seems daunting in the first few weeks of school. In fact, I almost bailed on the lesson myself out of fear. In the end, I decided to have confidence that I could capably walk the children through the process of listening and following instructions, managing their materials, and successfully drawing themselves. And wow! Were we impressed! At the start of the lesson, each child gets a 9×12 whiteboard, a tissue or sponge (for erasing), and a whiteboard marker. I absolutely love using whiteboards for this kind of lesson because they are totally “risk-free” for the children. If they make a mistake or are unhappy with what they’ve drawn, they simply and easily erase it and try again. Even the most reluctant of artists are willing to give drawing a go on a whiteboard, in my experience.

During the lesson, I modeled looking in a mirror, talking the children through what I noticed, one facial feature at a time. I had extra mirrors on hand for the children to look in too. The children felt extremely successful with their finished works and we photographed them to share with our parents at home. I really believe that walking them through this process together helped to increase their interest and confidence in drawing their portraits at the Art Studio.

A few days later, we opened the studio for portrait work. This year, we decided to use sharpies on acetate (overhead paper) so that we could paint them afterwards and not lose any details of the children’s sketches. Once again, we had mirrors on hand for the children to look in.

This student was clearly very proud of his amazing dimples!

This student was so excited about his work, exclaiming, “My first nose! Ms McDonell, I did it! I drew a perfect nose!”

Honestly, the black and white portraits were beautiful enough, but we decided to carry on with the painting portion of the project. When everyone had completed their sketches, we read Shades of People by Shelley Rotner and Sheila M. Kelly. I absolutely love this book as it talks about all the wonderful colours of skin we see in the world. As a follow up, we set up a selection of “skin tone” coloured tempera paints (we used a collection created by Crayola) at the art studio. The trick with this technique is to flip the transparency over and paint on the back. When the paint is dry, you flip the transparency back over and all marker sketching that was covered by the paint is visible from the other side. It makes for a bit of a “surprise” when the children see all their work revealed to them in complete, detailed form. It is very important when painting on acetate to mix the tempera paint with a bit of white glue. Otherwise, when the paint dries, it will flake off the plastic sheeting.

And voila! Our first art project of the year is complete! I love how each portrait is unique and special and I can see the children’s personalities and characteristics so clearly represented in their work. This is the first time I have scaffolded the children’s portrait work in this way, and it just reminded me of how truly capable children are when given the tools and support they need. If you haven’t given portraits a try, I hope this post will inspire you to do so!


The Snowman Poetry Project

d825a1fb3739

Previously, I blogged about our Snowman Poetry Project using playdough snowman creations as the basis for our creative writing. You can read about it here: https://thecuriouskindergarten.wordpress.com/2014/11/21/playdough-snowmen-inspiring-young-poets/

Well, last year we took this project to a whole new level by using the Chatterpix App to present our written works. The children absolutely LOVED recording their poems using the app and making their playdough snowmen come to life!

As before, we started by having each student make their own snowman out of playdough and loose parts. Each creation was photographed for the project. I saved them digitally and also printed a hard copy of each picture for the children to use when writing their snowman poems.

8f2952c9e8e1

Prior to writing our own poems, we spent some time examining poetry together. Since the children were going to be writing about snowmen, I chose a poem about making a snowman called “Snowballs.” This is a rebus rhyme, which I like because it shows the children how a picture can be used in place of a word (something many children did when they wrote their own poems – e.g., drawing a scarf instead of writing “scarf”). It also uses a counting pattern which many children were inspired by. The poem ends with the word “Snowballs!” which we emphasized is a nice way to finish a poem in an exciting way.

DSC06918

Poem by Vera Trembach from Rebus Chants Volume 1: For All Seasons 

After writing their poems, the children uploaded the pictures of their snowman creations into Chatterpix and then read their poems aloud. You can see from the videos below that the results were pretty fantastic! The children were extremely proud!


One of the things I like about the Chatterpix app is that it motivates even the shyest students to share their work. It is a “low risk” way of sharing, because the children can record their work until they get it the way they want (we usually go to a quiet place to record) and we share the video on the whiteboard so the children don’t have to stand in front of the class if they don’t want to.

Have you been using Chatterpix with your class? What other apps do you find useful and engaging?


In the Art Studio: Plasticine Art Inspired by Barbara Reid

IMG_1838

This month we have been inspired by renowned Canadian author and illustrator Barbara Reid. Barbara Reid has worked on some of my class’s favourite read-alouds: Picture a Tree, Perfect Snow, and Subway Mouse. When reading, we often discuss how an artist may have created their illustrations. My students were very interested in how Barbara was able to achieve such realistic and detailed pictures using Plasticine.

Lucky for us, Barbara Reid has created a series of tutorial videos which you can find on YouTube (links below). In her videos, Barbara talks about how she goes about creating her artworks: from the planning stage (researching, sketching a picture), to creating a background, to adding fine details and textures to her work.

Video: Making Plasticine Pictures with Barbara Reid Part 1

Video: Making Plasticine Pictures with Barbara Reid Part 2

Video: Making Plasticine Pictures with Barbara Reid Part 3

For this project, I cut our Plasticine into very small pieces so it would be easy for the children to manipulate (and because a little goes a long way!). I arranged the pieces in small containers by colour. I also included some of Barbara Reid’s books and a non-fiction book about Barbara Reid herself. We also had dry cloths for wiping our hands (as Barbara suggested) and some tools for adding texture. For the planning process, the children had pieces of cardstock and pencils for sketching. We made our Plasticine pictures on small canvas boards I found at the dollar store. The children were extremely excited to do their work with “real artist materials.” For me, it is very important to give the children beautiful and authentic art materials to use and work with. Their art is more than deserving of quality materials and in my experience, they seem to take their art more seriously when they perceive materials to be “special.”  For this project, the strength of the canvas boards was an added advantage, as it made it easier for the children to spread the Plasticine.

IMG_1813

During the planning process, I really didn’t meddle too much in what the children were sketching or wanting to create, thinking the children would figure out on their own what was going to work and what wasn’t. For example, the first group of children who visited the studio realized that creating people with Plasticine was a big challenge, and advised their classmates accordingly during reflection time. Spreading the Plasticine was also a challenge for some (and a great fine motor muscle workout!). Some children took a few sessions to complete their backgrounds, pausing and coming back later to give their fingers a rest. Other children wanted to persevere and complete their backgrounds so they could get to adding their flowers or bugs or animals. If you’re wondering how long it took the children to complete their pictures, it varied between one session (about half an hour) to a few days, depending on each child.

IMG_1809

Y.A.: “I want to make a picture of a cat.” 

IMG_1871

A.J. spreads the Plasticine to make a sky. “I’m mixing the colours. A little bit of dark blue and a little bit of light blue.”

IMG_1835

Y.A.: “I’m making my grass like Barbara Reid. I’m rolling snakes and making them flat like grass. I’m doing a pattern: light green, dark green, light green, dark green…”

IMG_1842

R.A.: “I’m making a little mousey like Barbara Reid. It’s just like The Subway Mouse.”

Here are some of the children’s completed art works. I have them displayed on a low chalkboard ledge in our classroom and the children can often be found admiring them!

IMG_1894

S.C. “I made a rainbow and a little girl is camping in the tent.”

IMG_1932

IMG_1846

IMG_1897

IMG_1853

Honestly, the children were SO proud of their completed art works. They loved showing them off during reflection time and talking about the process they used to make them. During one reflection session, we started talking about how Barbara Reid gets her Plasticine pictures in the pages of her books. One student remembered that Barbara’s husband photographs her art for her so the pictures can be used as illustrations. One student suggested that we take photographs of our work and use the pictures to make a book by writing our own stories. I loved that the children were inspired to create their own stories, so we set up a story-writing invitation.

At the writing table, I gave the children some mini easels to place their art on. I put out plain paper and some black pens. The children could choose to write about their own work or a classmate’s work that inspired them. This proved to be a popular invitation! Some children returned each day to write a new story! We loved listening to each other’s stories during reflection time – some children’s stories were so popular, the class asked them to read it aloud more than once.

IMG_2043

IMG_2045 - Copy


IMG_2095 - Copy

E.H. “Once there was a little ladybug. She wanted to rest on a flower. The red flower was wet but the purple flower was just right. The End.”

IMG_2077 - Copy

“I went out on a stormy day.”

We are still in the midst of our story writing. I was interested to see the emergence of a narrative voice in the children’s work and am curious about exploring this further with the class. Stay tuned!

The Mystery Object Inquiry Project

Featured

IMG_1302

Don’t you love a good mystery? I know whenever I’m reading a book or watching a film with an element of the unknown, I am always SO curious to see how things will turn out in the end. This year, I decided to spark some interest in a new inquiry by adding in an element of surprise: a “mystery object.” I started with an amaryllis bulb. You can really use anything for this project, but a plant was a great option because of the fact that a plant is always growing and changing. I knew the focus of this inquiry was going to be on building the children’s capacity for making good observations and predictions, and I wanted them to be able to revisit their predictions as the plant grew and changed. An amaryllis blooms in about 6-8 weeks from the time of planting so the children had plenty of time to practice their inquiry skills!

I introduced this project with a game that our music itinerant taught us: “What’s in the box?” I placed the bulb, pot, and bag of soil in a box marked with question marks. We passed the box around the circle asking each child in a sing-song voice, “What’s in the box?” and the children sang back their guesses in turn. After everyone had had a guess, we opened the box to reveal what was inside. I passed around the bulb and each child tried to guess what it was. I recorded their predictions in my notebook. After we had all had a turn at guessing, I asked the class what they thought we should do next. Since there were no instructions with our mystery object, we would have to figure out for ourselves what to do. Right away, many of the children suggested putting the object in the pot with the soil. One child suggested that we need to put water in it too…because that’s what you do when you put something in a pot of dirt.

IMG_1303

Our Mystery Object in its bed of dirt. One student suggested we leave it on the windowsill at the science table so it could catch some sunshine!

We placed our mystery object at the science table. It was the first place most children visited when they entered the classroom each day! Every time there was a change in the mystery object, we took time to discuss our observations as a group. The children had access to our See Think Wonder and “My Prediction” recording sheets throughout the project. It was interesting for me to see which children changed their predictions based on new information and observations as the mystery object grew (and which children held fast to their original ideas).

IMG_1473

A.R. records her thinking about the Mystery Object on a “See, Think, Wonder” recording sheet.

IMG_1959

Some of the children’s predictions about what the Mystery Object might be/grow into: beans, a blueberry, a beanstalk, onions, an apple, salad.

IMG_1444

Our object changes! The students were excited to see these “sprouts” emerge – first one, then two, then three, then four!

One of the interesting questions that arose from one of our reflection discussions was “Is our mystery object a living thing?” This was a question that divided the class! We decided to do some further research to find out. Our librarian gave us a book called “What is a living thing?” which we read in hopes of answering the question once and for all. Again, some children could see right away evidence that our object was indeed living (it was growing, changing, requiring our care and attention) while other children had difficulty connecting the information from the book to their observations of the mystery object.

IMG_1616

The discussion this day revolved around the growth coming from our object. Many children noticed that the new “sprout” looked different than the previous growth. I was encouraging the children to be specific with their observations and descriptions. The leaves were described as “smooth,” “flat,” “pointy” and the new growth as “fat,” “curvy,” and “round.” Many children felt there might be a surprise inside the new growth which caused them to rethink their original predictions.

measure

The children measure the mystery object to keep track of its growth. J.T. visited the science table every day to measure the mystery object and update the class on how much it had grown!

The day our mystery object bloomed was incredibly exciting! We decided to google “bulb plant that blooms after 8 weeks” and found a matching image for our flower in our search! Giving our plant a name (Amaryllis) was quite satisfying to the children. Every visitor to our classroom was immediately shown to the science table and told about our mystery object – “Do you wanna see our mystery object? It’s an AMARYLLIS!”

IMG_1793

Our beautiful amaryllis bloom. We were shocked to discover that each pod (we ended up with two) held not one, but 4 blooms inside! Amazing!

IMG_1822

Taking a closer look with the magnifiers…

IMG_1953

Counting the blooms…and wondering what might be inside this little pod??

Overall, I feel like the mysterious element to this inquiry was an asset to piquing the children’s initial interest and keeping it sustained throughout the project. My goal from the beginning was to provide an opportunity for the children to practice their inquiry skills – and in that, the mystery object inquiry was very successful!

IMG_1955

Documenting our work

IMG_1957

We thought we’d add a little element of mystery to our hallway display…

Have you ever tried teaching with a mystery object? I’d love to hear what you used as the spark for your learning!


Art Studio Inspiration: Drawing Projects for Children

cover drawing

It’s summer, so if you’re anything like me, you are spending quite a lot of time reading resource books to get ideas for the new school year. I am moving to a new school this year and am therefore starting with a blank slate for my classroom set up. How exciting! One area I have been thinking a lot about is the Art Studio space. So many of our most engaging and creative inquiries have at some point involved work at the studio. Over the years, I have recommended Ann Pelo’s The Language of Art (you can read about that here and here) as a wonderful resource for artistic inquiry. And indeed, I am re-reading that in preparation for the new year…there is always something new to discover!

Today I have another wonderful book to recommend. A couple of weeks ago, I happened upon a new resource for Studio work that is so inspiring I was practically giddy while reading it. The book is called Drawing Projects for Children by Paula Briggs. I came across a recommendation for this book via the following pin on Pinterest titled, “The Perfect Activity to Start Your School Year” (I mean, who could resist clicking on that? And aren’t I so glad I did! What a find!):

The Perfect Activity to Start Your School Year

In her book, Paula speaks about “playing it safe and taking risks.” She says, “For children to get the most out of drawing, they need to be encouraged to push beyond what they consider ‘safe’ (‘safe’ drawings are those in which we know what the outcome is going to be before we have even started making them) and to take risks. By doing so they will widen their concept of what drawing is and what they are capable of achieving.”

Many of the projects in Drawing Projects for Children involve experimentation with different kinds of materials and ways of mark making as well as some dramatic extensions (my favourite is the “Making Spells from Still Lifes” project). Be sure to take a look at the link above on The Art of Education which features an amazing idea from Paula’s book that is perfect for exploring lots of different drawing materials (and which The Art of Education suggests is “the perfect activity to start your school year”).

I can’t wait to give the projects in this book a go! If you’d like more information about Paula Briggs, you can check out her website AccessArt (with loads more art ideas) here: https://www.accessart.org.uk/paula-briggs/

Happy Reading!

Enclosures Inquiry: A House for Snuffles

DSC00631

Our second major inquiry of the year in M.S.I. was an inquiry about enclosures (you can read about our first inquiry on towers by clicking here.)

To introduce the idea of enclosures, I read my class the story Snuffles House by Daphne Faunce-Brown, about a hedgehog who sets out to build himself a new house after his house burns down. In the story, Snuffles experiments with different shapes and designs for his house, each with their own flaws (e.g., the round house rolls down a hill, the triangle house has too small of an upstairs) until he decides on a rectangle shaped house. As you can tell from the description, this story provides a lot of opportunities to talk about shapes. Snuffles House is out of print (so if you find a copy, grab it!), but you can find a video of it being read on YouTube. You can also tell the story orally by making your own props (I made a set of different shaped houses using brown construction paper). Alternatively, a story like The Three Little Pigs also lends itself well to this topic.

After reading the story, we talked about the problems Snuffles encountered and what features were important in the construction of his house. I then gave the children the task of building a house for Snuffles with blocks. To help the children, I provided them with a basket of small stuffed hedgehog toys to use for checking the adequacy of their structures. The children loved having a tangible “Snuffles” to work with!

DSC00634

The instructions for our initial building time were sparse. I basically read the story and sent the children to “build a house for Snuffles.” The purpose of this initial building time was for me to gauge what ideas/skills/experiences the children had around houses and enclosures. As the children worked, many of them demonstrated some ideas about walls and doors. Still others worked on some kind of roof-like covering, though this proved to be a challenge for most children because of the size of their blocks. During reflection time, we pointed out these successes and challenges. Naturally, a brainstorming session began on how to solve our roofing problems. It was decided that a roof was an essential part of our enclosures in that it would protect Snuffles from weather and predators. But how could we make a roof when our blocks were so small? I challenged the children to look around and see if they could spot anything that might make a good roof material. Immediately, the children started shouting out ideas: “books!” “carpets!” “paper!” Suddenly, we had so many ideas for roof materials! We decided to make a basket of roof materials for the next M.S.I. lesson.

During our initial building, one student modifies her structure to add a roof. We talked about her decision during reflection time.

During our initial building, one student modifies her structure to add a roof. We talked about her decision during reflection time.

A photo showing a student who struggled with adding a roof to her structure.

A photo showing a student who struggled with adding a roof to her structure.

Throughout this inquiry, we explored so many important ideas around enclosures, almost always by examining more closely the children’s own structures. For example, many students built enclosures that the little stuffed hedgehog just barely fit inside. This got us thinking about space. We looked around our classroom and realized how high the ceiling was and how far apart the walls were. Why was space so important? What did having space in our enclosure allow us to do? How did space add to our comfort? These are some of the ideas we explored.

Snuffles seems like he needs a little more space!

Snuffles seems like he needs a little more space!

The idea of space really came to life when we added a Snuffles House provocation to the light table. With the window blocks and the light shining from underneath, the children were really able to get a sense of how much space Snuffles had inside his house – it was quite the breakthrough! The light table also gave the children an opportunity to collaborate and the enclosures that were created were amazingly elaborate!

A collaborative structure at the light table.

A collaborative structure at the light table.

Another idea that popped up during this inquiry was the idea of drawing up blueprints or making plans for building. In the computer lab, the children were given a chance to work with a partner to design a house for Snuffles using KidPix. After printing out their plans, many children continued to work on adding details to their drawings at our classroom writing centre.

Students continue adding to the plans they designed in the computer lab.

Students continue adding to the plans they designed in the computer lab.

DSC02856

Enclosures also began popping up at the classroom big blocks centre:

DSC09078 DSC03381

After several weeks of experimenting with different designs for our enclosures and talking about the important features for enclosures, the children were given one last opportunity to design a dream house for Snuffles (by this time, we had co-created success criteria for enclosures on the SMART Board which were reviewed and added to each week).

Our collaborative success criteria for Snuffles' house.

Our collaborative success criteria for Snuffles’ house.

Whereas in our Tower Inquiry the students sketched their towers after they were built, this time the children were encouraged to draw their plans first, label them, and then build. While building, the children were able to refer to their plans and make sure they had all their important elements covered.

This student focuses on using a variety of shapes in his design.

This student focuses on using a variety of shapes in his design.

This student adds labels to his design plan.

This student adds labels to his design plan.

"Inside Snuffles house are so many toys. I used the square blocks with the colours because you can see through them. They are windows."

“Inside Snuffles house are so many toys. I used the square blocks with the colours because you can see through them. They are windows.”

"First I made a square and I thought I could use blocks for the roof but it was too small for Snuffles so I made it so he can fit. It has 2 chimneys and a 2nd floor where he sleeps."

“First I made a square and I thought I could use blocks for the roof but it was too small for Snuffles so I made it so he can fit. It has 2 chimneys and a 2nd floor where he sleeps.”

"I put the bed upstairs and a kitchen downstairs. There’s rain outside but it won’t get in the house. I made 5 floors on mine!"

“I put the bed upstairs and a kitchen downstairs. There’s rain outside but it won’t get in the house. I made 5 floors on mine!”

DSC09104


Playdough snowmen…inspiring young poets!

DSC02372

Well, here in Toronto this week we got an early blast of winter with 5 cm of snow. It was perfect snow for packing and sculpting too – which meant lots of opportunities for making snow creatures! So, in honor of our first snow of the season, I thought I’d share a wonderful playdough activity that provides many opportunities for language and literacy skills.

This activity begins with a poem (which we explored as a class during Shared Reading time) and a provocation at the playdough table. Here is the set-up:

DSC06918

The children were encouraged to construct and decorate their own snowman/snow creature. While they worked, the children talked about their experiences in the snow and were encouraged to describe their creations. Each snowman was photographed (in fact, most children were keen to snap the picture themselves!).

Here are some of our snowmen:

DSC02216 snowman activity snowman activity2

DSC02230 DSC02272

The photos of the children’s snowmen were printed and added to the writing table where the children were encouraged to write poems about them.

DSC02386  DSC02380

Here are some samples of what the children created:

DSC02398

Snowman

Snowman has a smile

But he is meltie

So we put a blanket over him

But he melted

Snowflakes

DSC08776

Snowman

Snowman, snowman

How are you?

Are you cold?

Are you meltie?

Snowman

Boo Hoo.

DSC08778

Snowman Mommy

Snowman mommy

I love you.

Snowman mommy,

You love me.

Snowman!

DSC02390

ABC Snowman

A B C D E F G H I J K L M N O P

Q R S T U V W X Y Z

Lion snowman

Roar!

DSC08780

Snowman ABC

A B C D E F G

Don’t break the snowman.

H I J K L M N O P

I like snowman.

DSC08782

Snowman 1 2 3 4

1 2 3 4 carrot

1 2 3 4 eyes

1 2 3 4 smile

1 2 3 4 buttons

1 2 3 4 scarf

Snowman!!

DSC02394

This student had some very creative words of his own to add to his poem! He was hesitant to write the words on his own so I scribed them for him, but encouraged him to write the title and special ending words “Splash! Coocoo!” on his own.

We were so impressed with the children’s creativity and enthusiasm throughout this project! Each day, we dedicated some of our class reflection time to listening to each other’s poems. Here are some things we did to help the students achieve success with this activity:

*The topic developed out of the children’s own interests in making snow creatures outside.

*The poem we read helped the children understand/think about the process of making a snowman and served as a model for the type of writing we wanted the children to attempt (poetry).

*We talked about the features that made the snowman poem interesting and fun for us to read. There was a particular emphasis on the ending of the poem and how it was an exciting finish.

*The children had an opportunity for hands-on exploration with materials. The conversations we had while making the playdough snowmen lay the foundation for our poetry writing.

*We wrote several poems together as a class (modelling) prior to students attempting to write their own poems.

*All students were encouraged to write a poem regardless of their level of skill in writing.

*All children were celebrated for their creativity and success.


Halloween Inspirations

edit

An emergent curriculum is one that is guided by the children’s interests. I get a lot of questions about what this looks like in Kindergarten. In particular, many educators often express a fear that an emergent curriculum will be random, unorganized, and not tied to the curriculum, which is everything it is not! So today, I thought I’d share an example of  how you can incorporate the children’s interests into your weekly planning.

When my partner and I sit down to plan, we have the curriculum goals in mind that we want to address – the challenge is coming up with creative and interesting provocations or activities that will be inviting to our students. The easiest way to do that is to fuse our curriculum goals with the children’s interests. When you spend time listening to your students – really listening – you will find the things they talk about to be a source of great inspiration!

At this time of year, Halloween is a big source of conversation and excitement amongst my students, and really, it’s not hard to see why. Dressing up? Free candy? No wonder the kids are so excited!

An exciting event like Halloween is a great opportunity to inspire children to try activities they might not normally try simply by putting a Halloween twist on them. An example I can share is a provocation we created at the Art Studio last year that asked the children to design a face for our Jack-o-Lantern. Even my most reluctant artists were eager to try their hand at creating a spooky masterpiece! What a great opportunity for the children to talk about their preferences, past experiences with celebrations, and future plans. Here is a picture of the provocation:

DSC08485 DSC08497

Often, we set up such experiences for the children and they take on a life of their own or go in a direction we didn’t initially expect. In this case, our fine motor and language activity developed into a mathematical discussion after one student who visited this centre created two options for our Jack-O-Lantern: one happy, and one spooky. You can see he also added the words “YES” and “NO” to his design.

DSC08501

I’m making a survey…so we can vote to see if we make a scary face or a happy face.”

After sharing Sam’s idea during reflection time, of course the class was excited about the opportunity to put it to a vote! After looking at some pictures online of scary and happy Jack-O-Lanterns, we did our survey on the Smart Board. What an authentic way to talk about the purpose of surveys. Afterwards, many children were inspired to replicate this idea on their own during discovery time.

DSC08519

Around Halloween we were also working on measurement and pumpkin measuring became another popular and interesting provocation. Here, the children were given snap cubes and pumpkins of different sizes (which we happened to bring back from a recent trip to the farm). The children were asked to find out how many cubes tall the pumpkins were. I was also interested in finding out if the children could identify which pumpkins were the tallest or smallest and how they could prove their thinking. Because pumpkins are round and we were measuring with cube sticks, it became clear that accuracy in the measurements was hard to prove simply by using our eyes. I asked one student how she was sure her measuring stick was the same height as her pumpkin, and this is what she did:

DSC08369

During reflection time, we posted this picture on the SmartBoard so this student could share her thinking with the class. It gave us an opportunity to talk about the importance of accuracy when measuring. Later that same day, a group of excited boys called me to the math centre. They had been inspired by our discussion before lunch but had come up with a “better way” to show their measurements were accurate:

DSC08403 DSC08405

The boys then used these structures to directly compare heights to see which pumpkins were taller. Amazing!

Are your students excited about Halloween? How are you incorporating your students’ interests in this spooky holiday in your classroom?

See, Think, Wonder: Developing Thinking Routines in the Classroom

DSC07894

Today I thought I’d share a strategy I use to help my students communicate their thinking during the inquiry process. See, Think, Wonder is a thinking routine I use with my students to help them think critically about an object or idea and express their ideas with others. See, Think, Wonder is a strategy that developed out of Harvard’s Project Zero. It was originally developed with a view to help children think critically about art and artwork, though I use it across my program and have found it particularly effective during inquiry projects. If you haven’t checked out the Project Zero website, I highly recommend it! There are a number of amazing strategies and projects there which anyone working with early learners might find useful.

See, Think, Wonder falls under one of Project Zero’s “Thinking Routines.” Basically, the idea of a thinking routine is that you approach it the way you do any other routine you want to establish in your class, with lots of modelling, practice, and a gradual release of responsibility. As a kindergarten teacher, the idea of establishing routines is a familiar one. We have routines for entry, snack time, carpet time, etc. Why not have routines for thinking as well?

When I was thinking about how I would introduce this routine to the class, I knew I wanted to create a visual element to accompany the language prompts as I thought it might help my students connect to what I was talking about. I created the following template using both words and images. For “I See…,” I included an image of a magnifying glass (not just a picture of eyes, as I had originally thought, because I wanted to impart the idea of looking deeply at something); for “I think…,” I included a picture of a brain; for “I wonder…,” I put a picture of a thought cloud (this is specific to my class because I have a bunch of thought clouds on sticks that we use to communicate our “wonderings,” so I knew my students would connect to that and know what I wanted them to express). Here is the finished template I created – you can click on it for a pdf version:

see_think_wonder_image

To begin, I use an electronic version of the template on the SmartBoard to model my own thinking. This year, I started by using a photograph from a recent nature walk we went on as a class so that the children would have their own schema for the event that I was talking about. However, you can just as easily use a new image or object. Over the coming days and weeks, I repeat the routine but gradually involve the children’s ideas. I always record our thinking on the same template.

When I feel that the children are comfortable with the template and the language, I place copies of the template at our discovery centre. Here, the children are given an opportunity to communicate their own ideas. Some children draw pictures to show their thinking, and others attempt to write their own ideas down with a combination of letters and familiar words.

Here are a couple examples from our butterfly inquiry last year:

IMG_0264

I see the caterpillars eating. I think the caterpillars are ready to turn into a butterfly. I wonder why they turn into a butterfly.

IMG_0263

I see it fell. I think it is frozen. I wonder why it is not moving.

What do you think about using See, Think, Wonder as a thinking routine for your class? Are you using any other strategies for encouraging deep thinking with your students?

Nests, revisited…

Image

One of the things I’ve noticed about inquiry projects is how everlasting the learning is. Our projects never really end; though we may “shelve” our thinking and ideas for a time, we often revisit our projects throughout the year – or even in the following year. Earlier in the fall I wrote about a nest inquiry we embarked on after one of my students brought in a nest she found on her way to school (you can read about it here: “Whose Nest is This?”). This Spring, students started thinking about an inquiry from last year where we studied the birds in our yard. As the weather warmed up, the children started noticing our sparrows territorially guarding the bird houses in the courtyard and began speculating that the birds might be preparing nests for their babies, as they had done last year. This created some interesting discussion and wondering about nests. Some of the questions that came up were:

Why do birds (and other animals) build nests?

How do they build nests? What materials do they use? How long does it take?

We really wished we could see inside our bird houses so we could see what the birds were up to! To that end, I found a clip on YouTube that showed a time lapse of a bird building a nest inside a birdhouse (some clever person had set up a video camera in the roof of the house to capture the whole process – boy, did my students think THAT was a genius idea!).

To capitalize on the students’ interest in nests, I created a provocation at the Art Studio. We had been working with clay over the last few weeks and I wanted to give the students a new experience with this popular material. Here is the provocation:

Image

Students were asked to sculpt a nest out of clay and make sure that it could safely hold at least one egg. Students were also asked to add “texture” to their nests using a variety of materials. Fitting an egg proved to be a wonderful challenge that encouraged the children to problem solve as they worked  – making their nests deeper, wider, or taller as necessary to safely hold the egg. When it came to adding texture, we spent some time holding real bird nests and describing how they felt – “rough,” “prickly,” “scratchy.” “soft,” “smooth,” etc. Children were given simple tools (popsicle sticks, toothpicks, forks, etc.) to add the texture they felt was appropriate. This was a new experience for my students, as our previous work with clay had required them to make their pieces as smooth as possible. Some children had a hard time scratching up their work – in their minds, the nests needed to be smooth because “that’s what clay should feel like.” I was fascinated by this line of thinking. It just goes to show that we often misinterpret the messages that children receive from us from our teaching.

Image

S.M: The inside of my nest is very big so all the eggs can fit and won’t fly out because of the wind!

Y.T: I made my nest with clay. First, I made a circle and then I put my thumb in and pushed. First the egg didn’t fit and then I pinched it more and tested it but it still didn’t fit, then I tested it again and it fit!

G.M: Nests are for baby birds. The nest keeps the eggs from falling out on the ground where someone might eat them.

Image

J.M.: Nests are very scratchy. I’m going to pinch it to make it rough. I really enjoyed making this!

J.K.: Nests have a bumpy texture.

S.M.: My nest has a rough texture on the outside and a smooth texture on the inside. It’s smooth in the inside because we don’t want to hurt the birds.

Image

Image

After completing our nests, the children were given the opportunity to paint an egg to put inside. We read An Egg is Quiet by Dianna Hutts Aston and Silvia Long (one book of many in a wonderful series – definitely worth checking out!) where we learned about the different sizes, shapes, designs, and textures eggs can have. We also discovered that eggs can be laid by a wide variety of animals! While working on their eggs, the children were asked to imagine what creature might hatch from their egg – a wonderful, creative exercise that greatly influenced how the children designed and painted their eggs.

Image


M: That’s a crab egg. It’s red with black spots!

M.B. I knew he was making a crab egg. I knew it because he made it so red!

Image

M.C: I’m painting my egg black because there’s a black snake inside!

R.K.: Mine is a blue jay egg. It’s just blue because a blue jay is blue. Oh, I love my egg!

J.M.: I made my egg green with white, yellow, and blue. I put on black speckles and blue lines. There’s a little robin inside.

Our display of nests and eggs is in the centre of our classroom, at the children’s level. Our students can be found admiring their work daily (and they can’t wait to take them home!).

Are you working on a bird or nest inquiry at the moment? What kind of thinking is happening in your class? I’d love to hear what you are up to!