The Bird Feeder Project

DSC02317

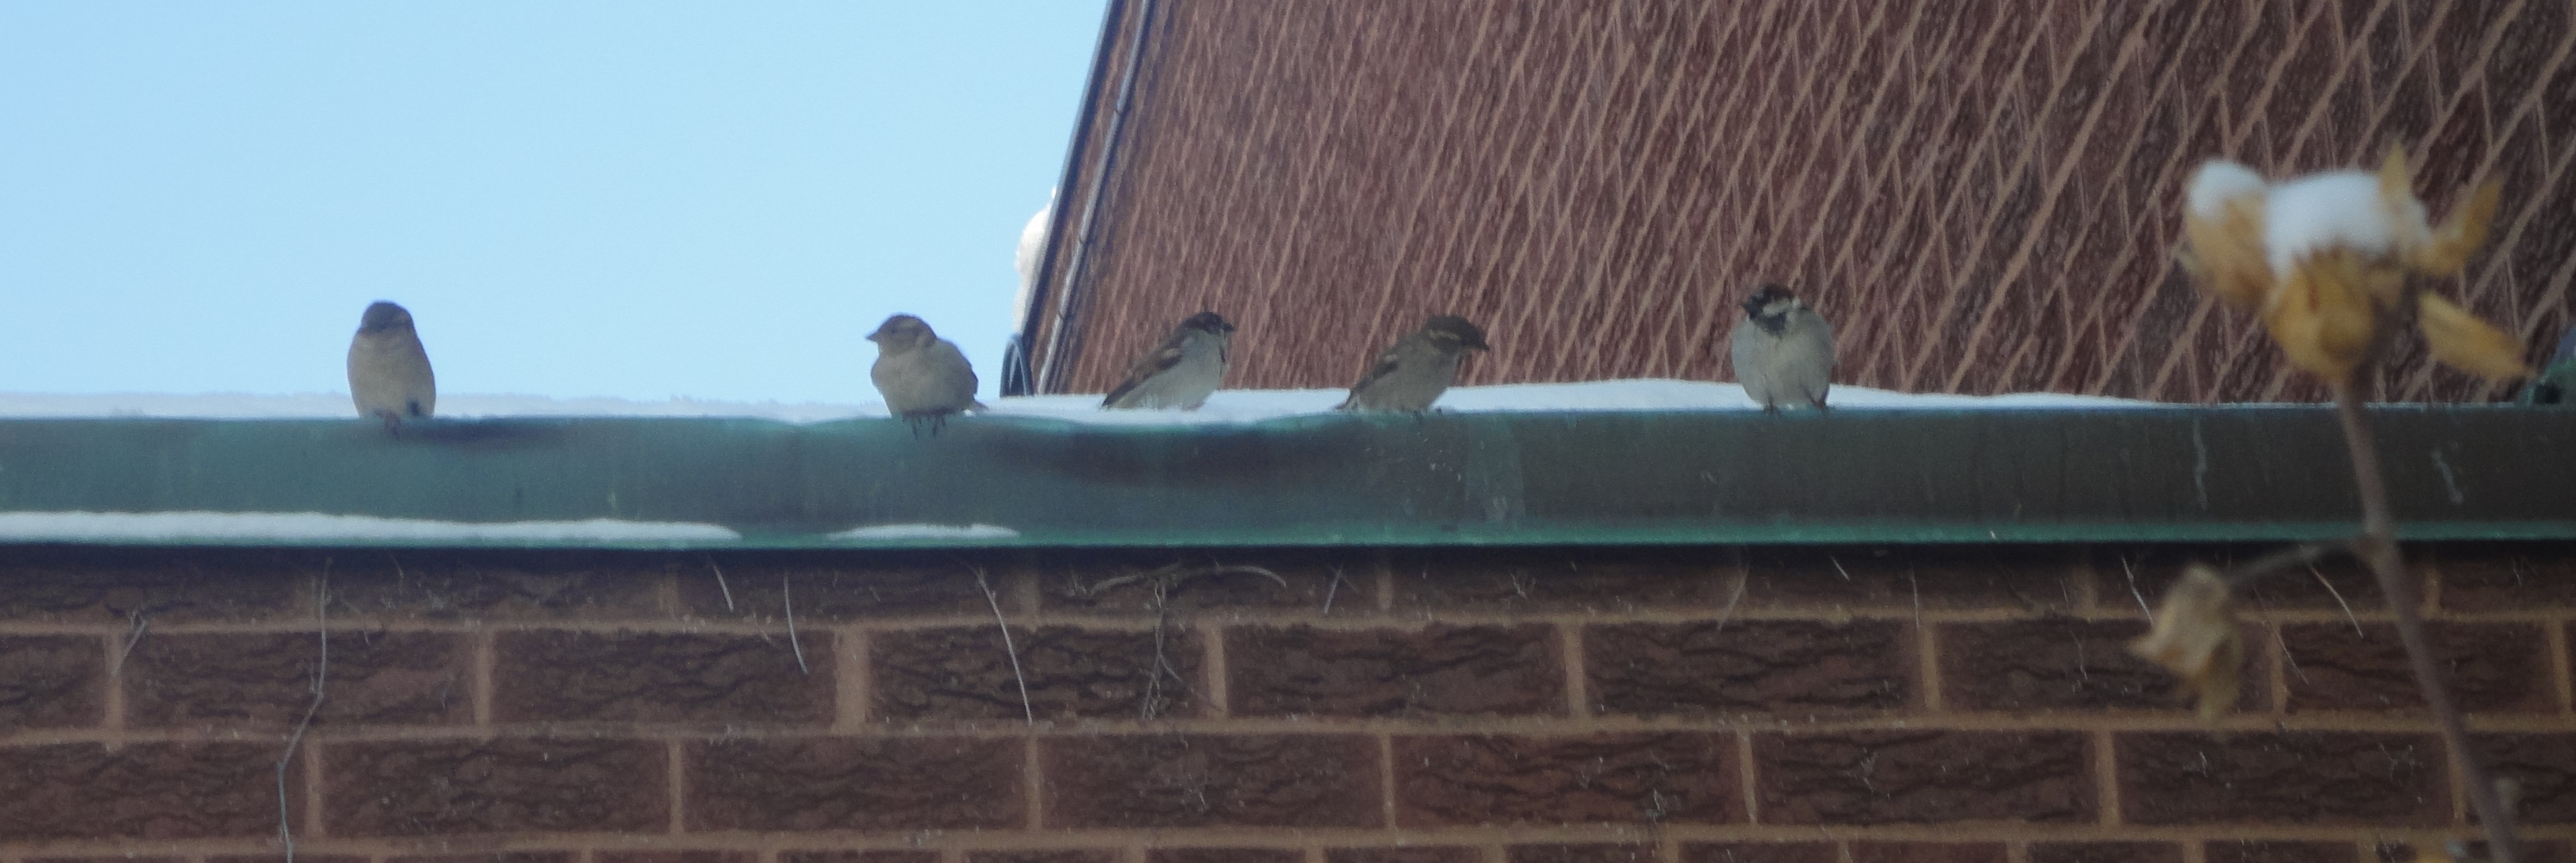
Here in Toronto this year we have been having an exceptionally cold and snowy winter! Despite the weather, some of our feathered friends have remained in our outdoor classroom. One day when we were outside, some children began to wonder about the birds – weren’t they cold? How were they finding food under all this snow?

DSC02413

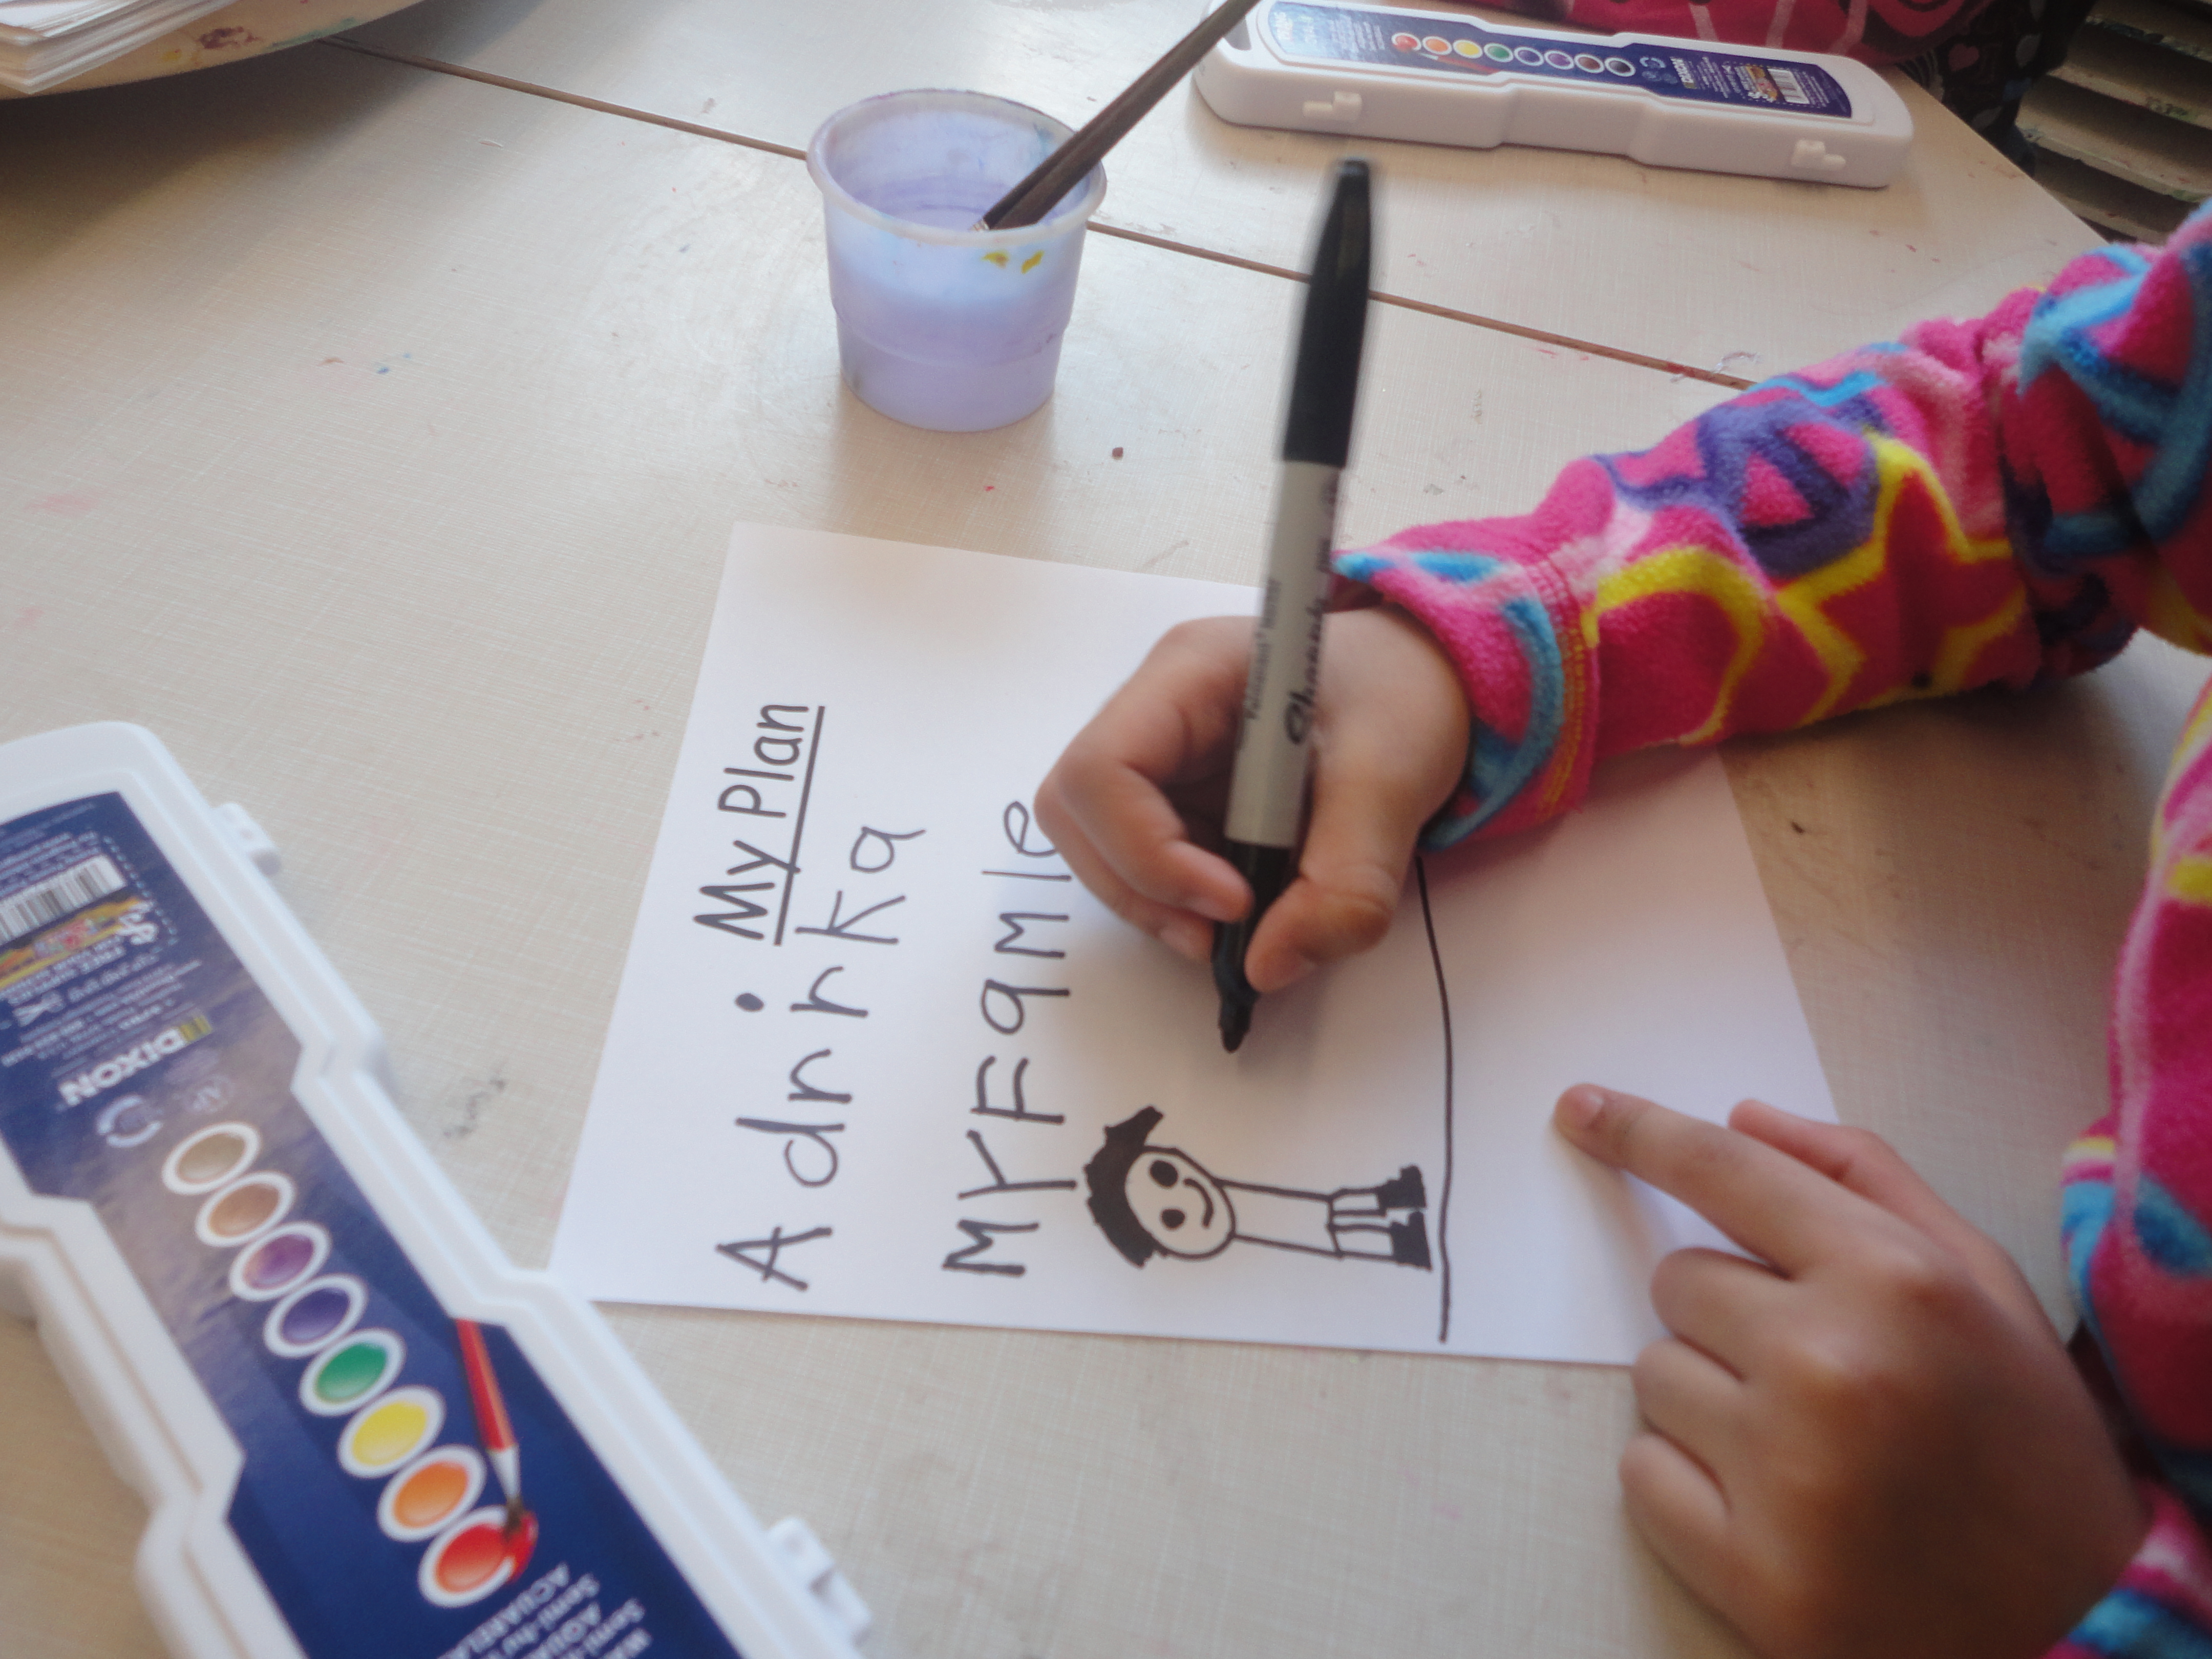
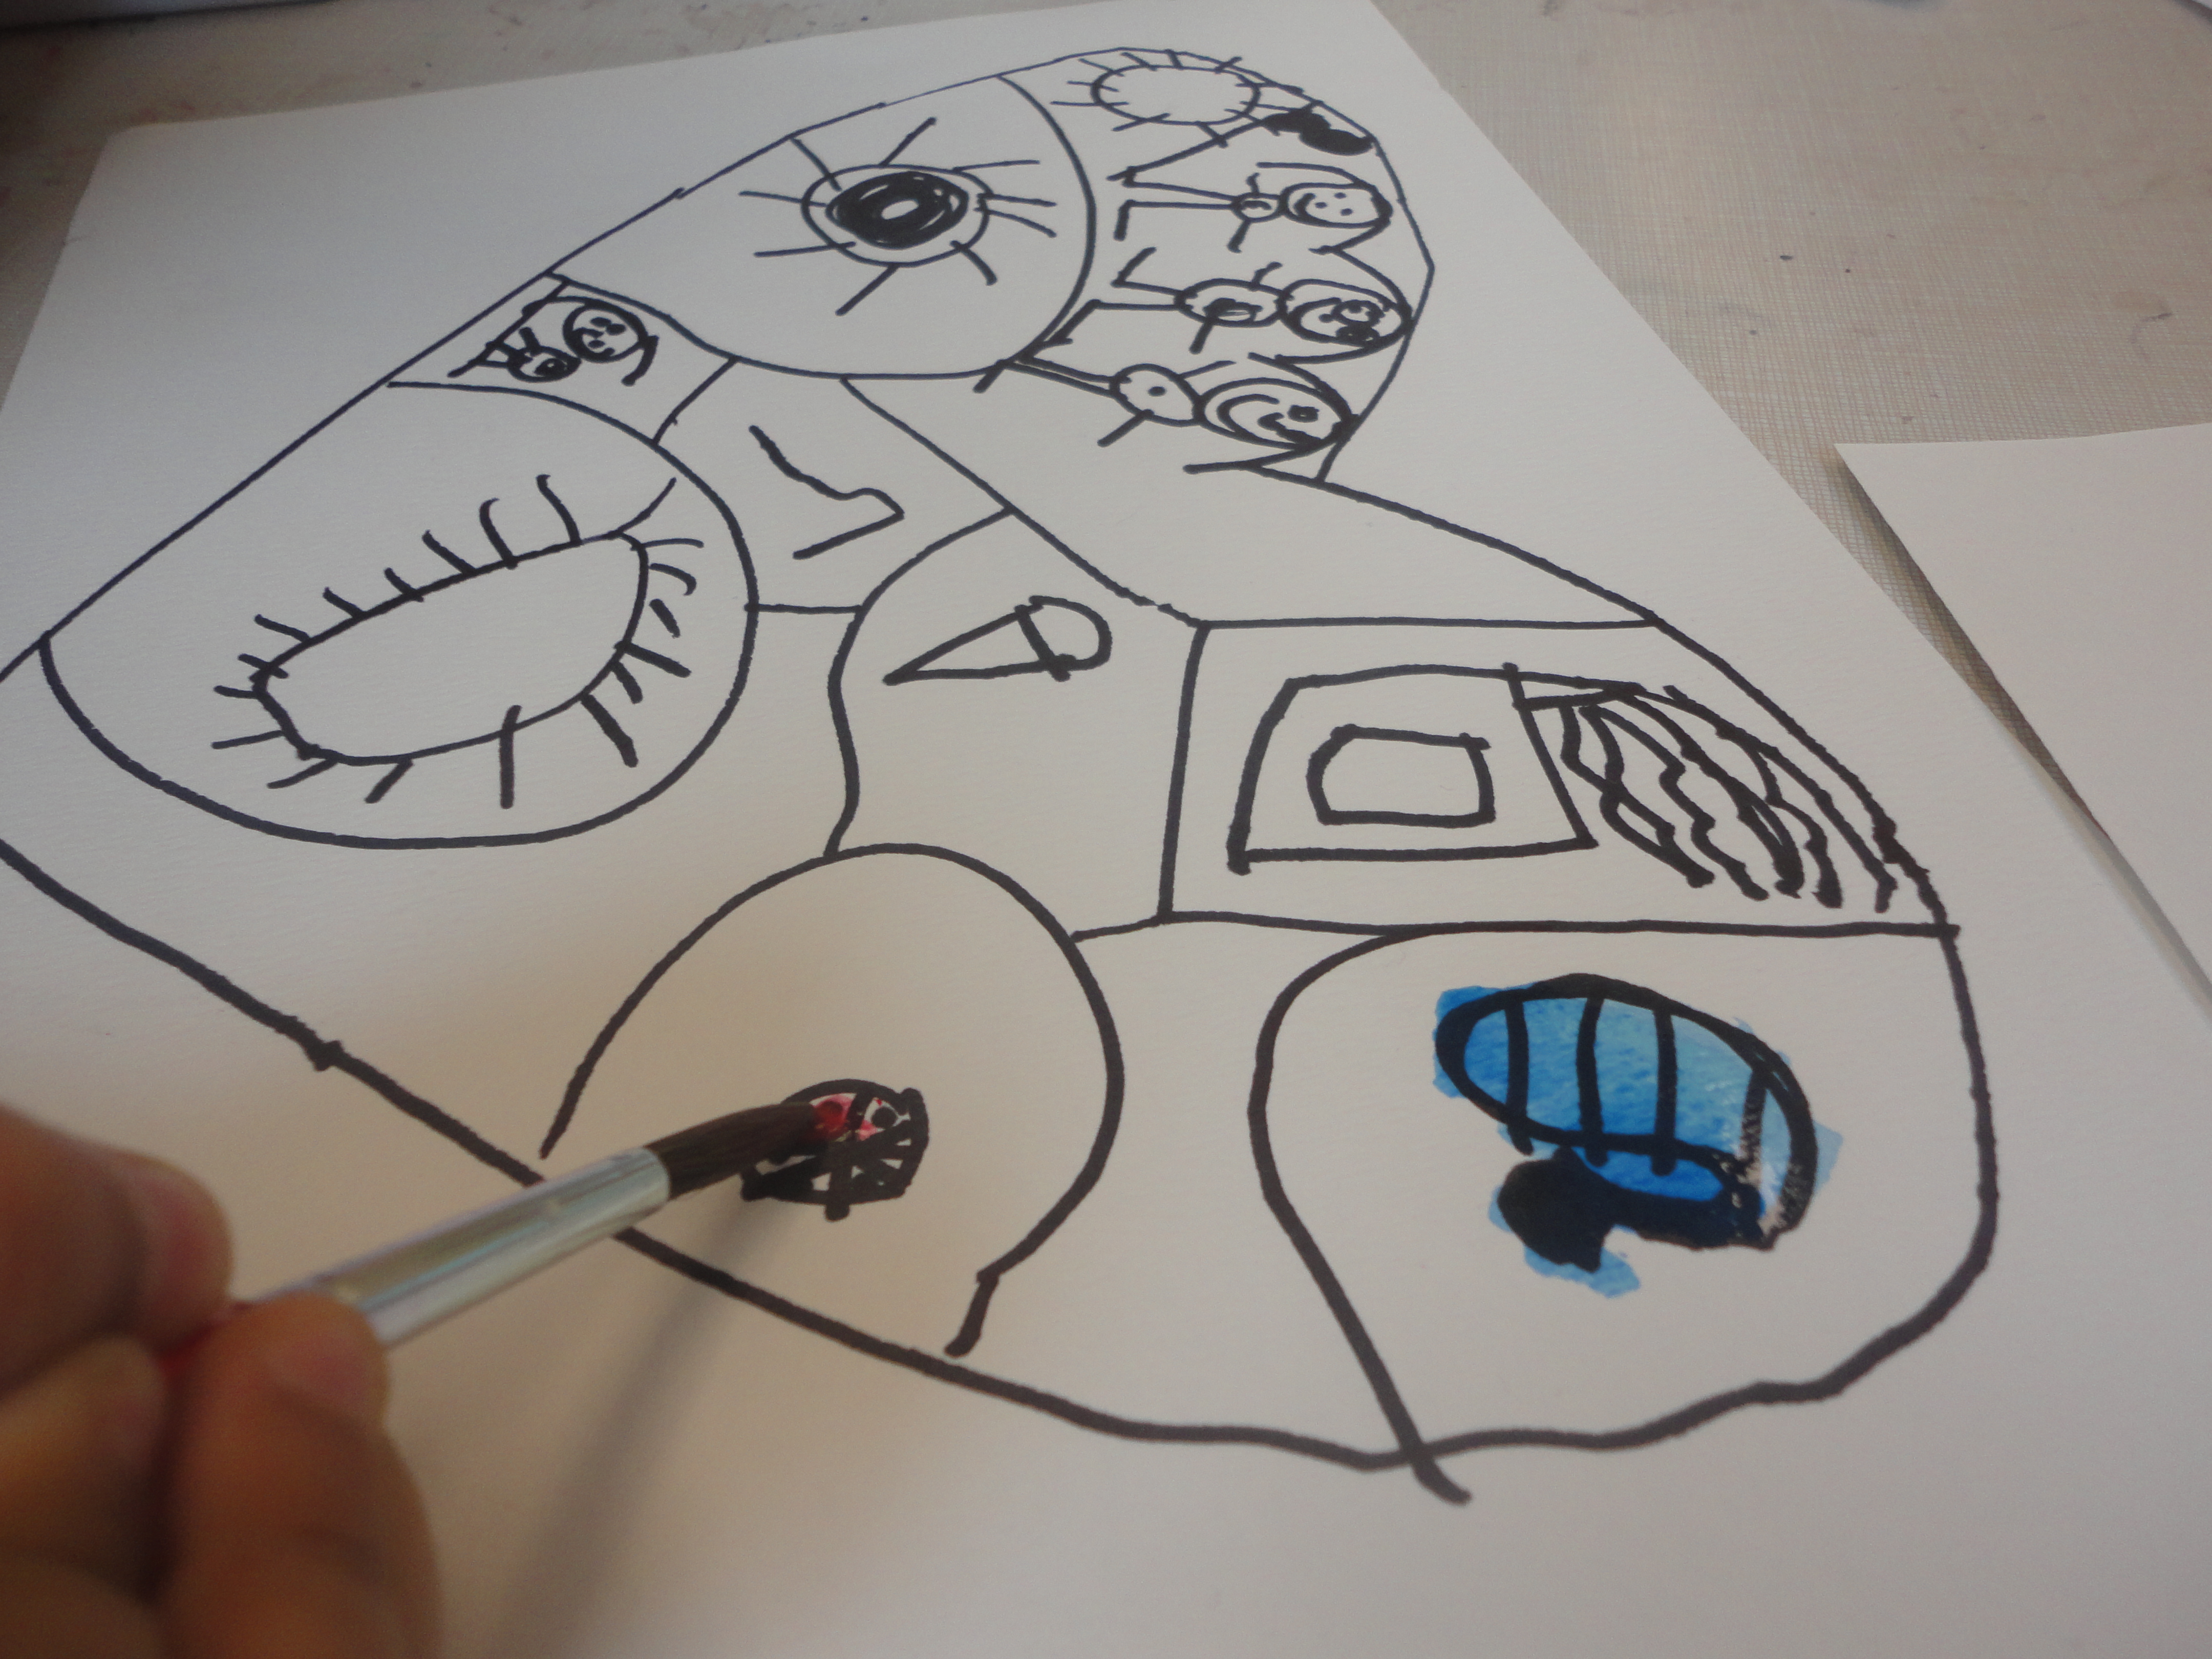
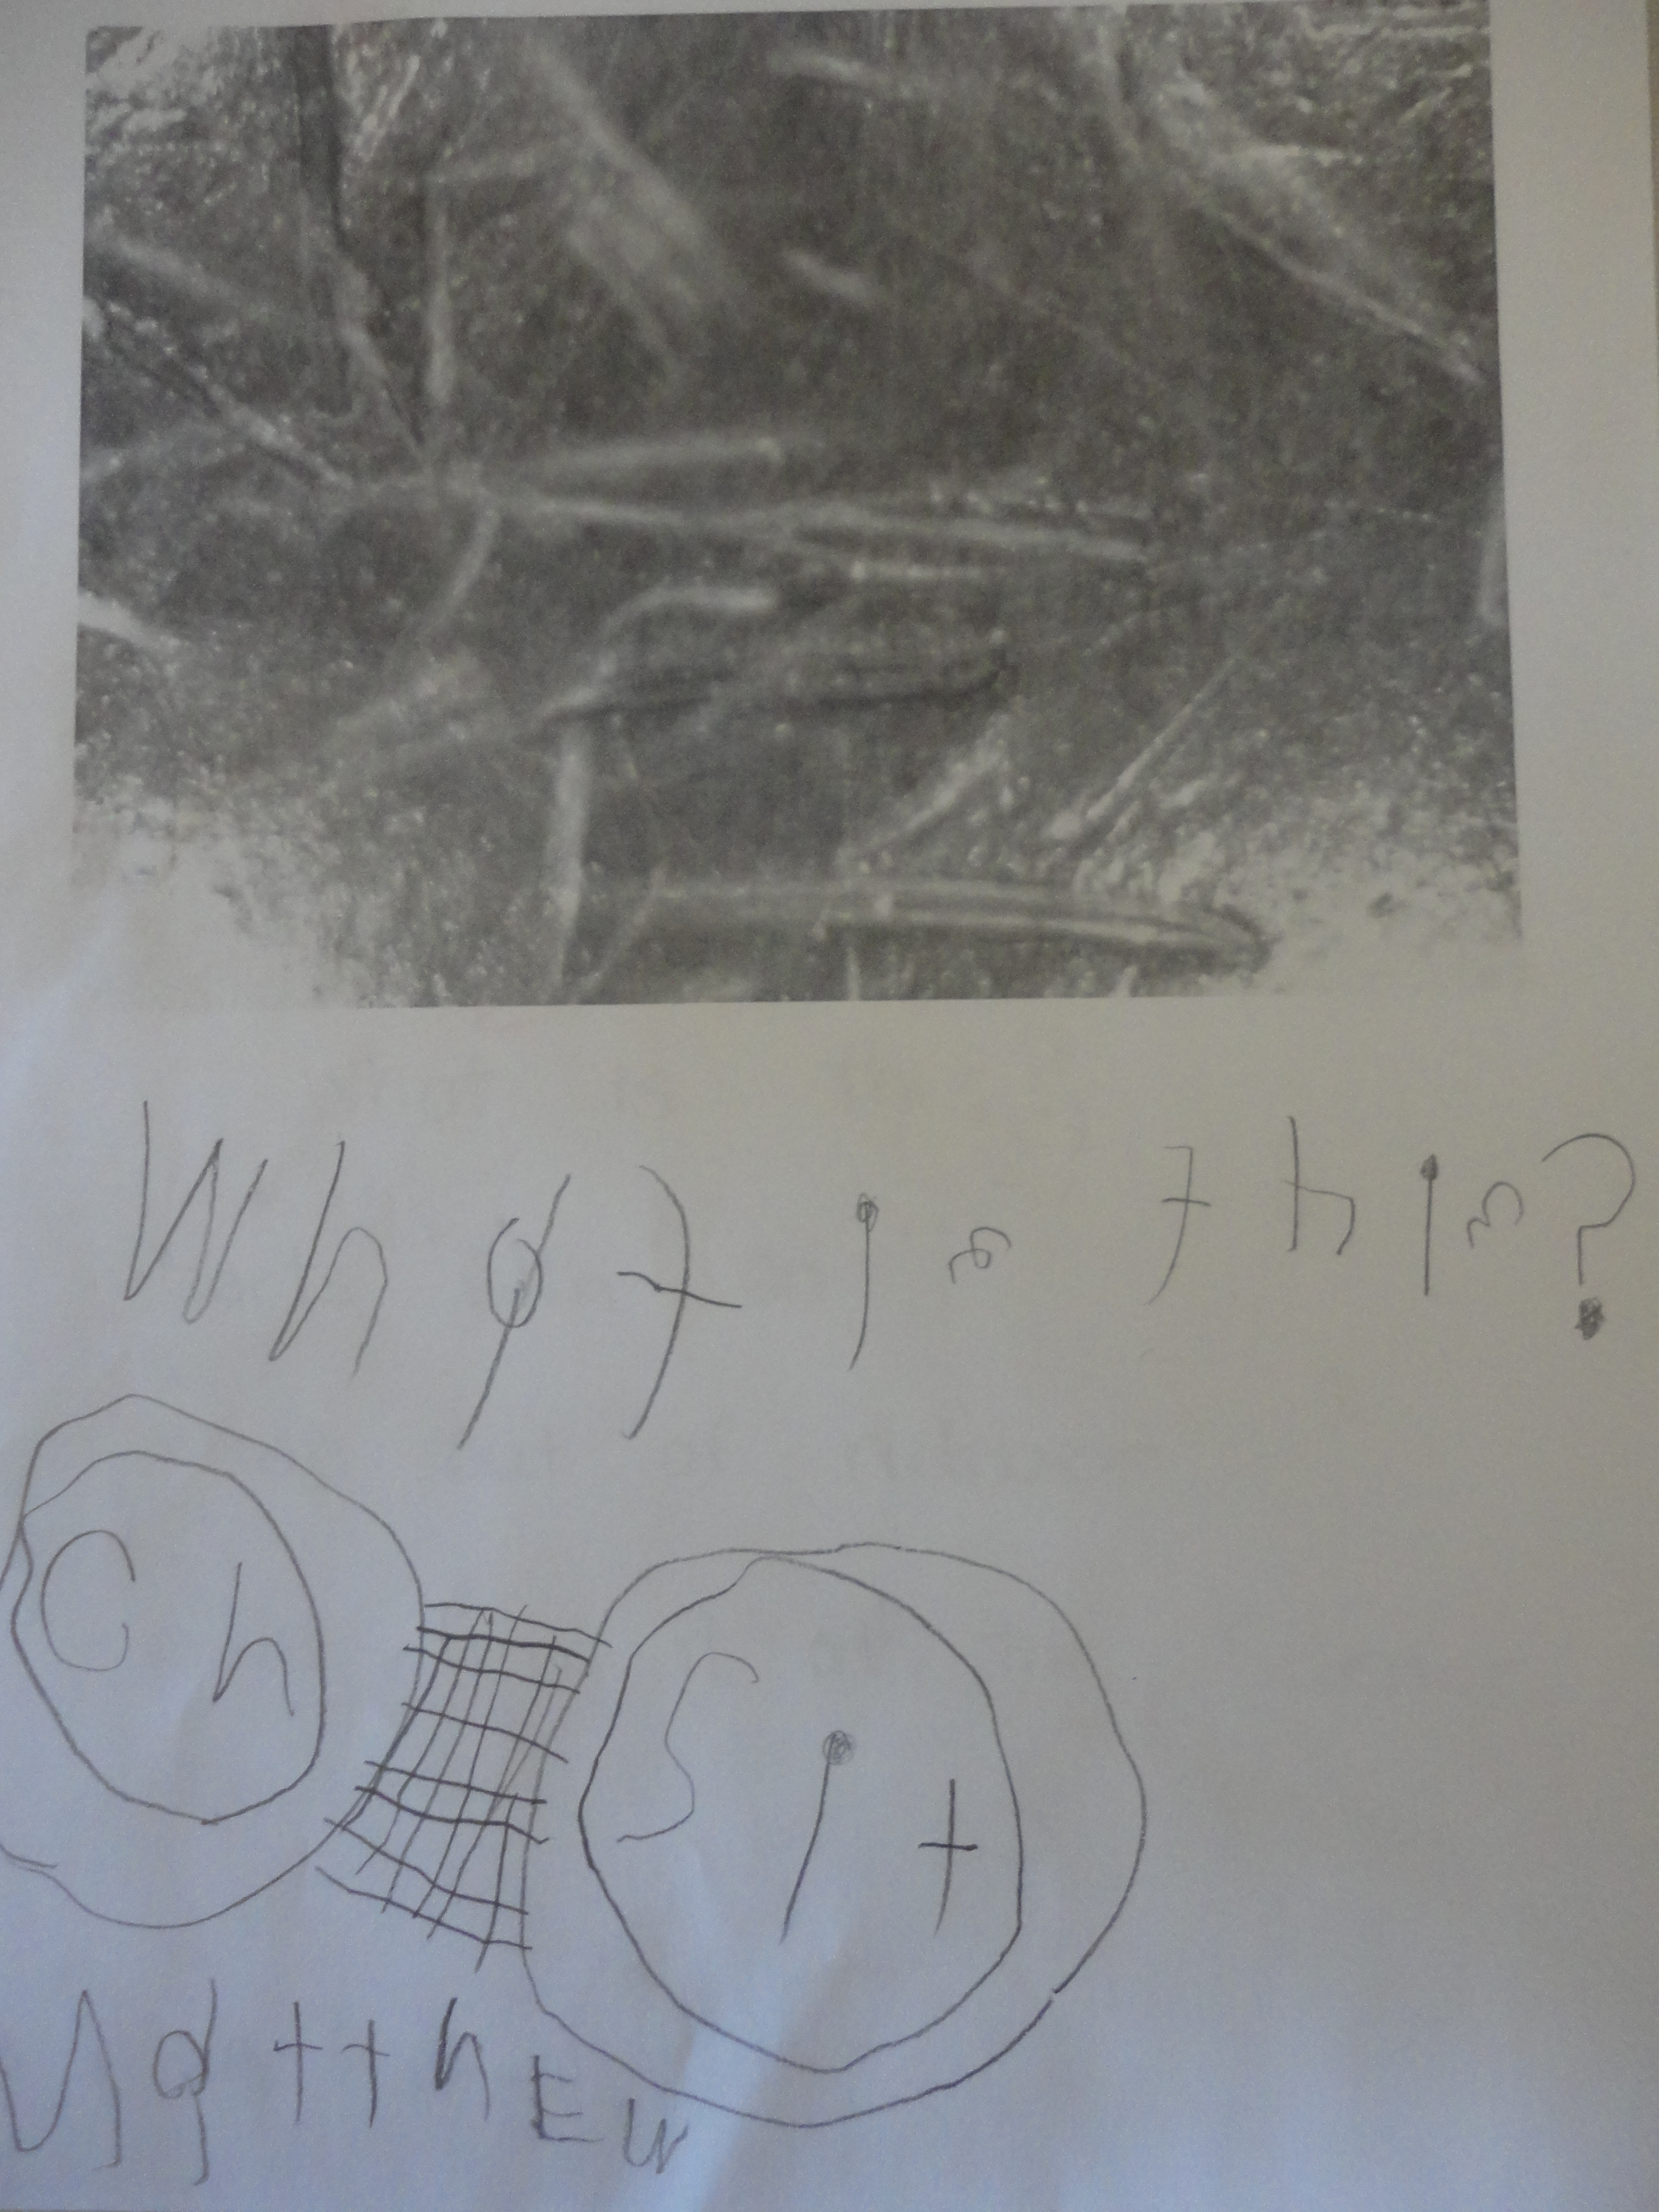
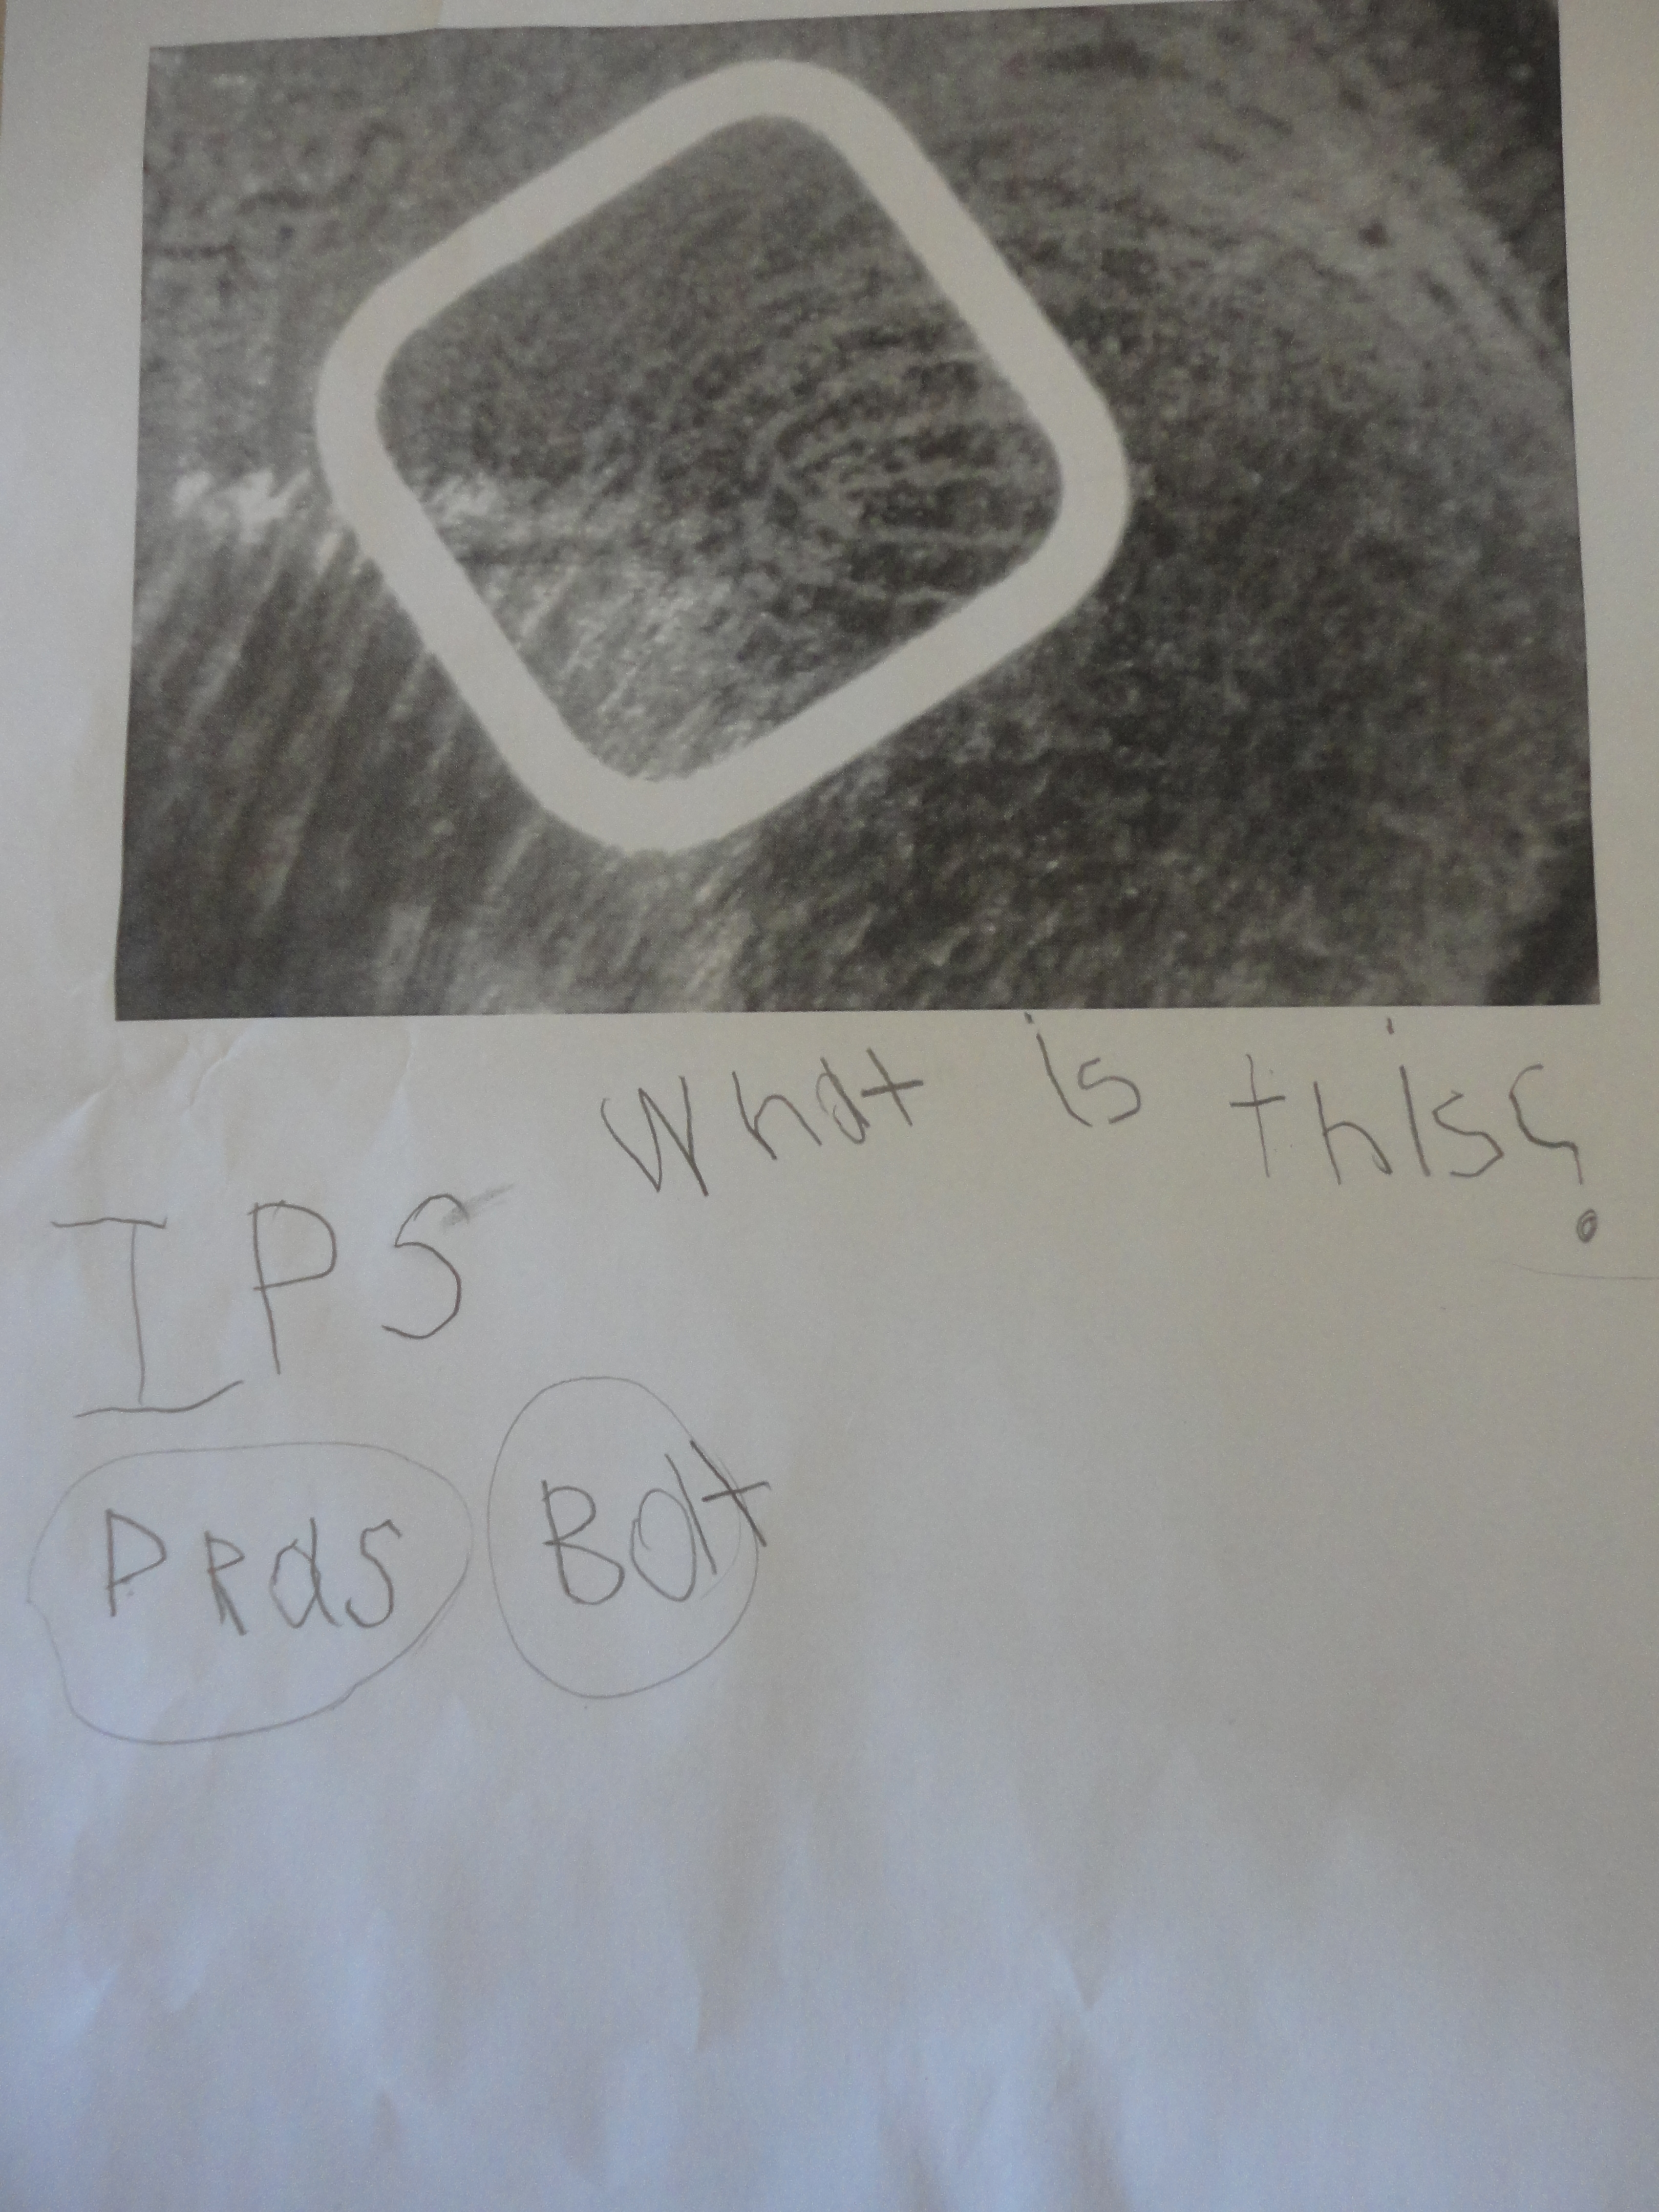
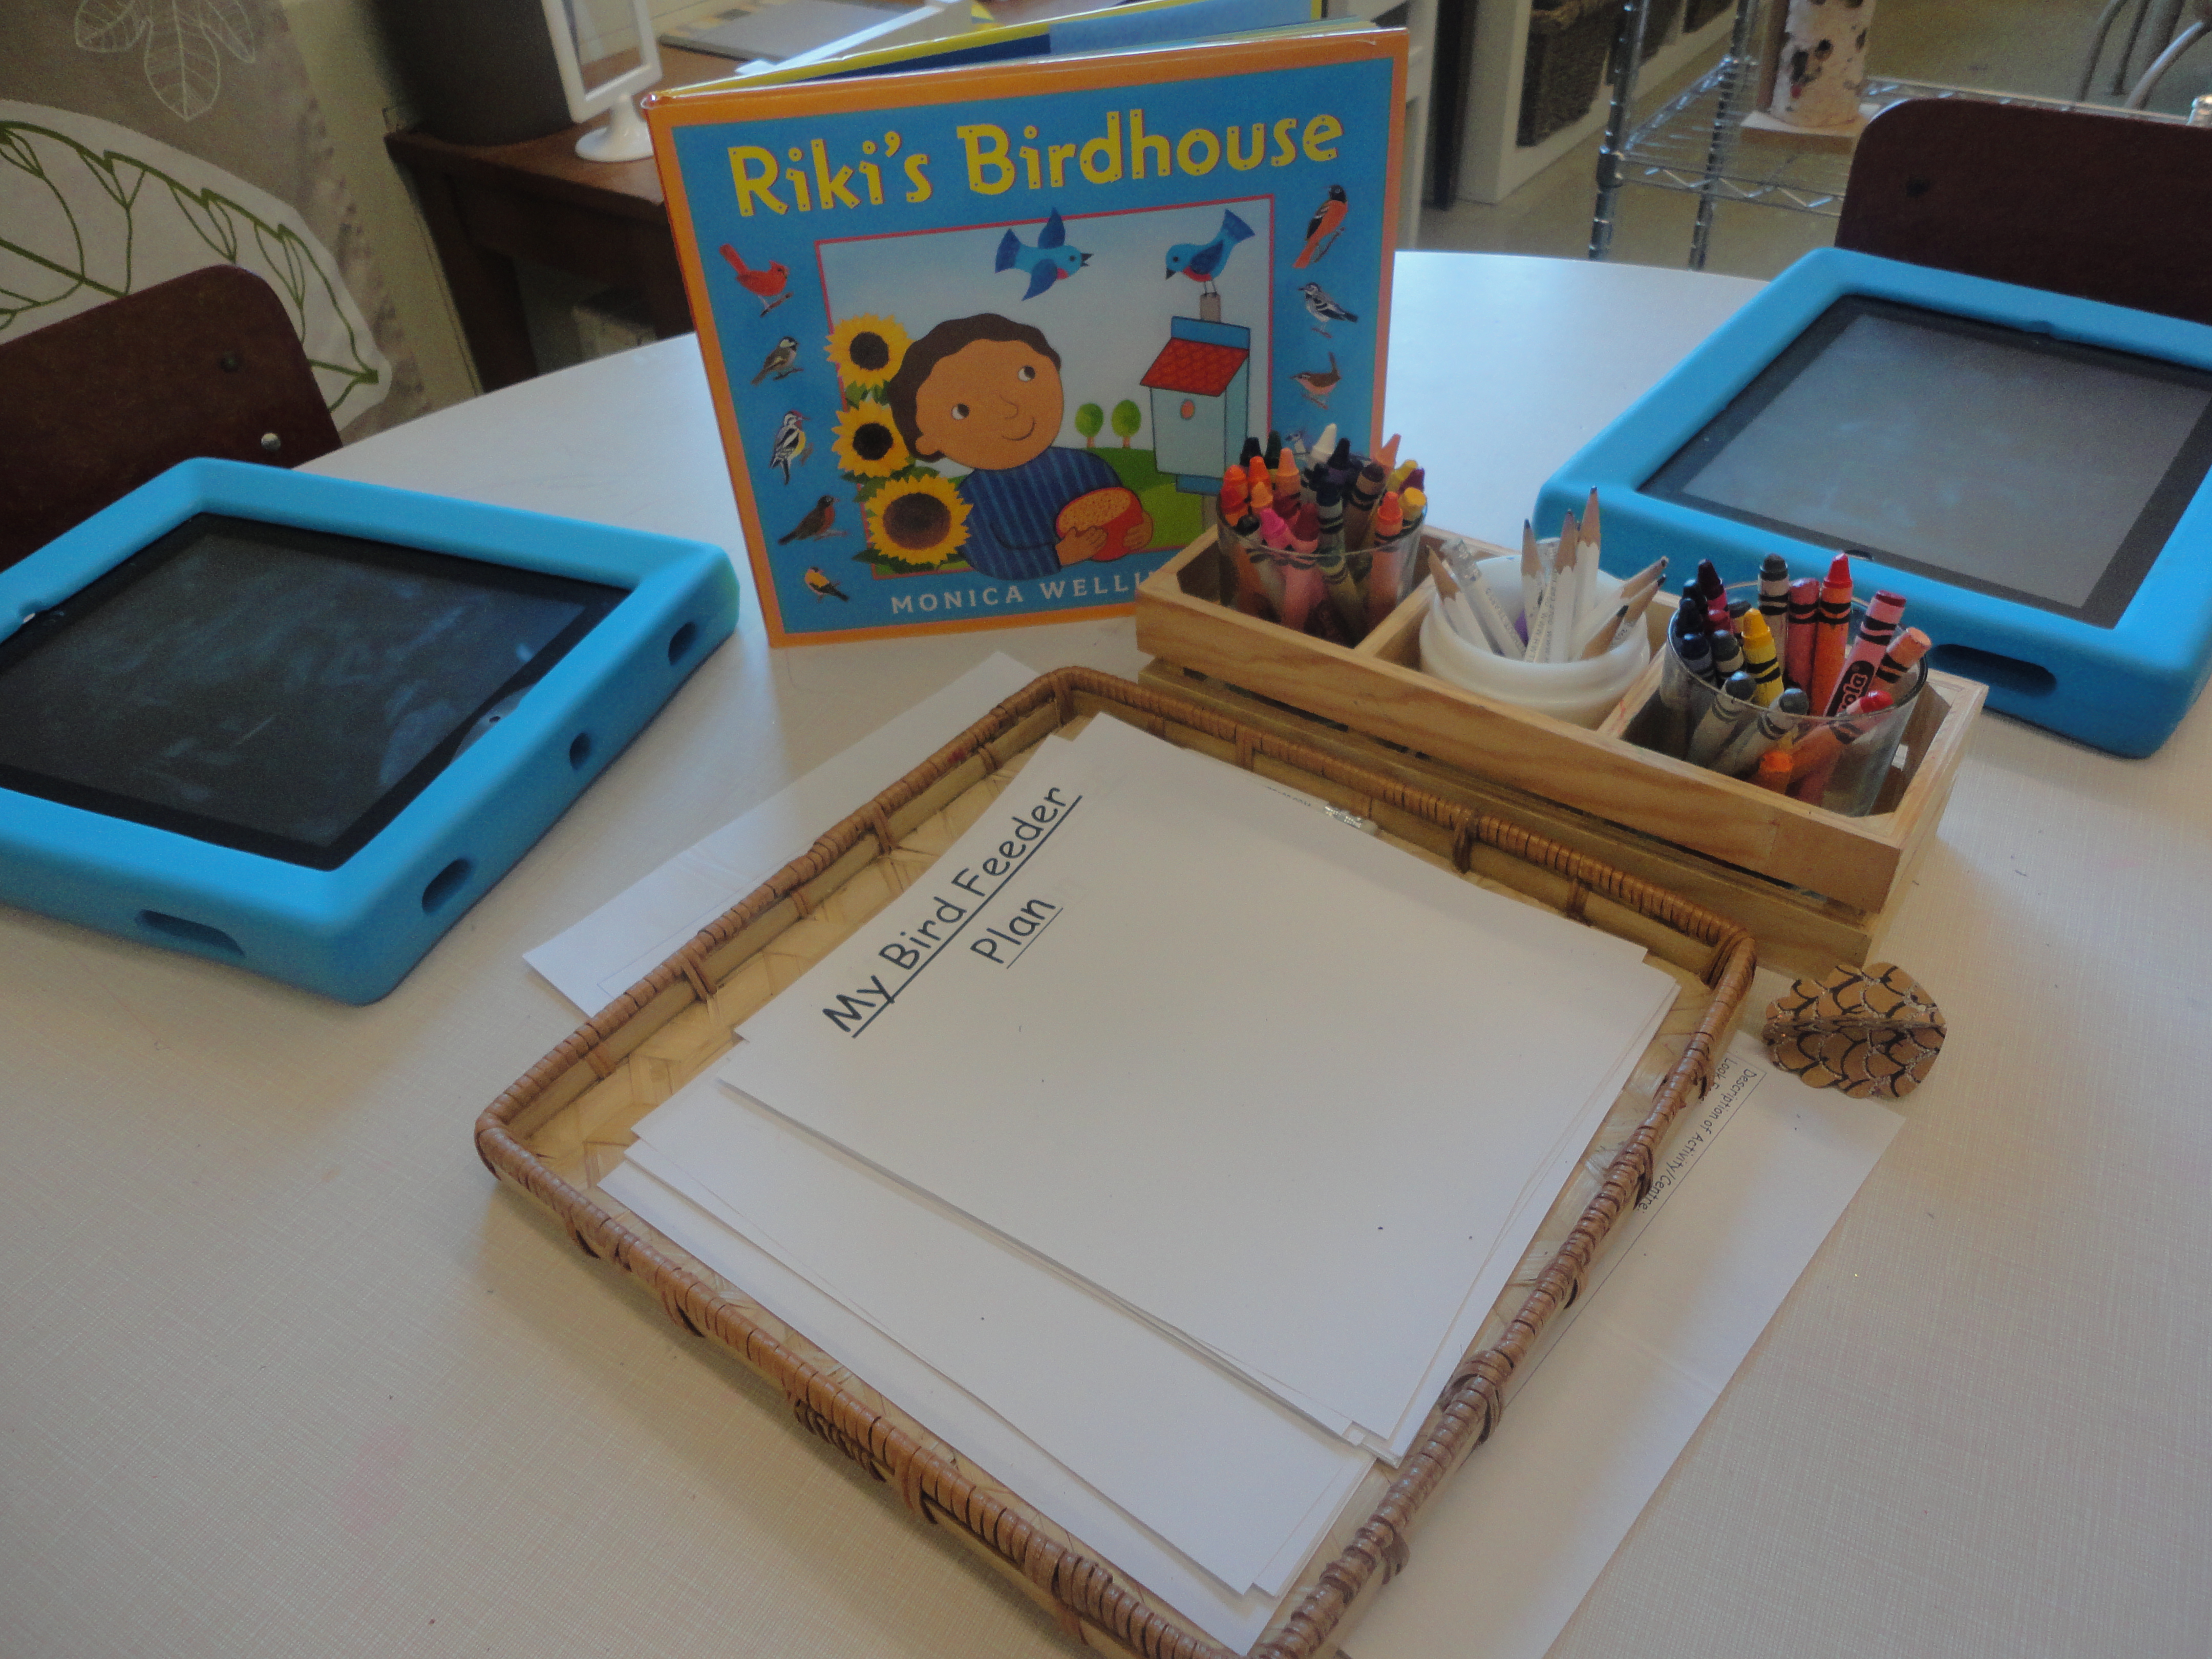
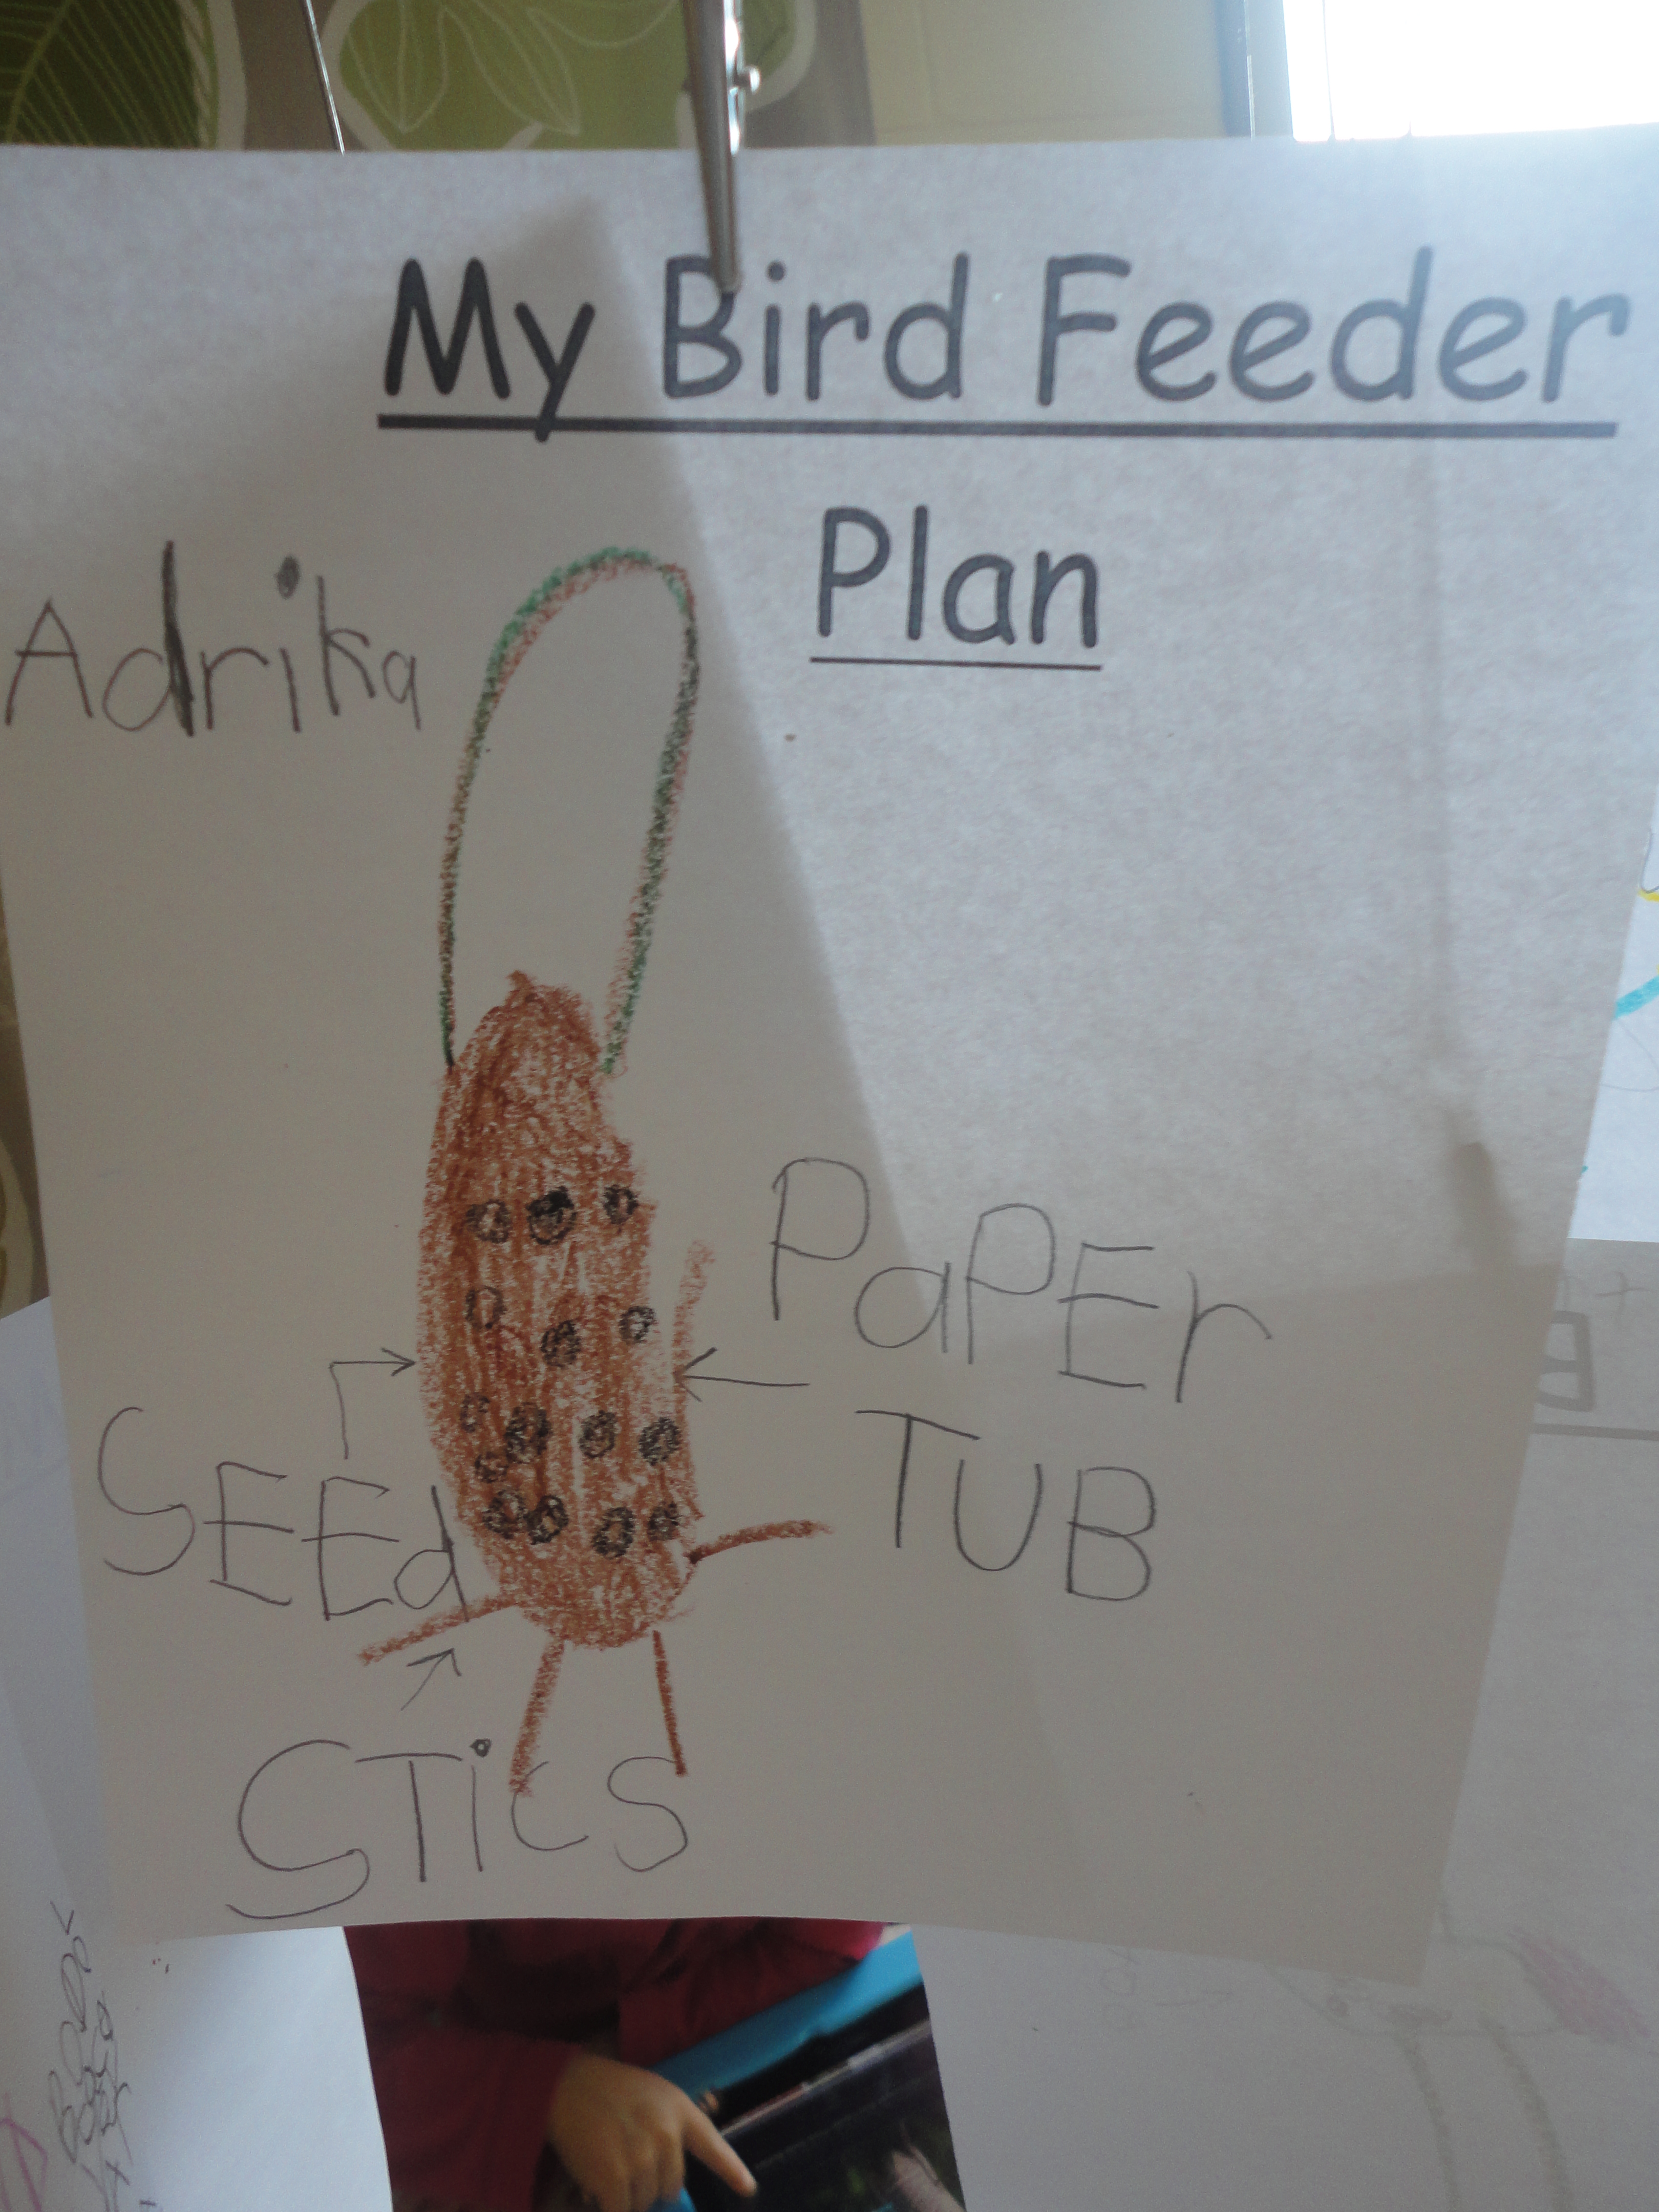
After reading Ricki’s Birdhouse by Monica Wellington, a book about a boy who constructs a birdhouse for the birds in his yard and proceeds to feed the birds throughout the year, the children were interested in making their own bird feeders for the birds in our outdoor classroom. We set up a provocation at the science table including planning sheets, our Ricki’s Birdhouse story, and iPads. Using the iPads, we googled “homemade bird feeder” images and the children looked for designs that appealed to them. Then they set about creating their plans. We encouraged the children to label their plans with the materials we would need to build them.

DSC02228

DSC02193

DSC02202

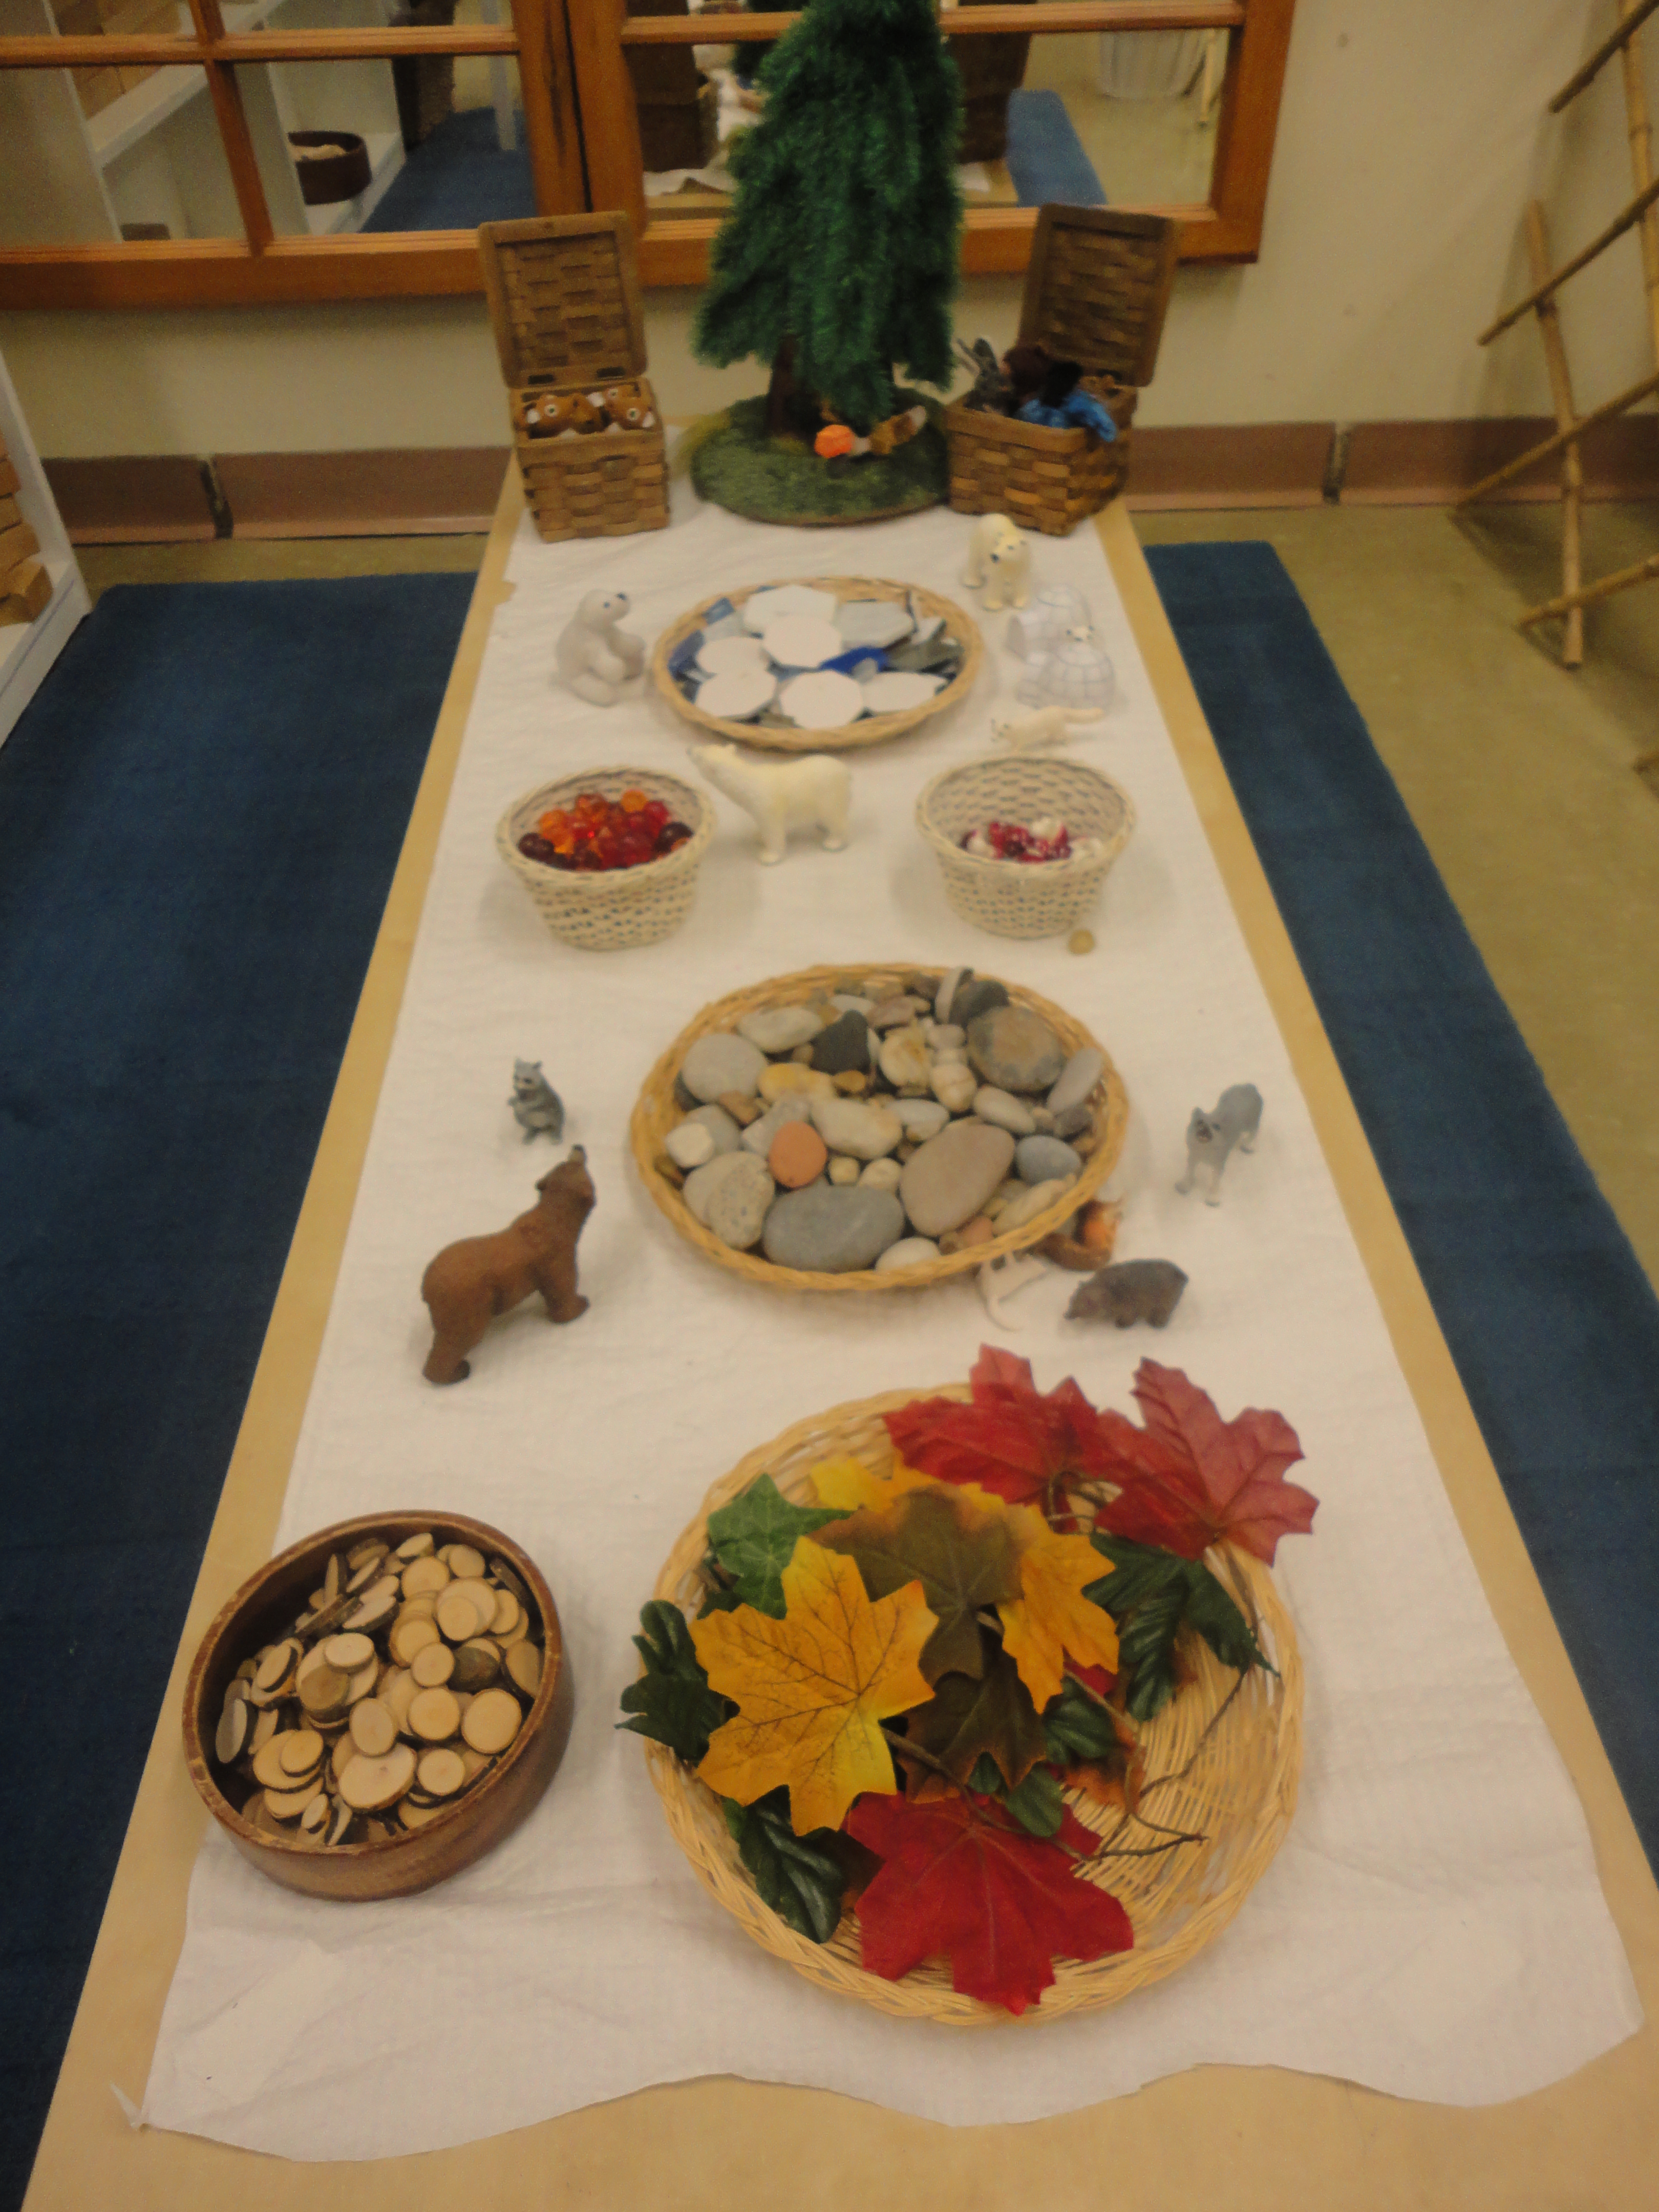
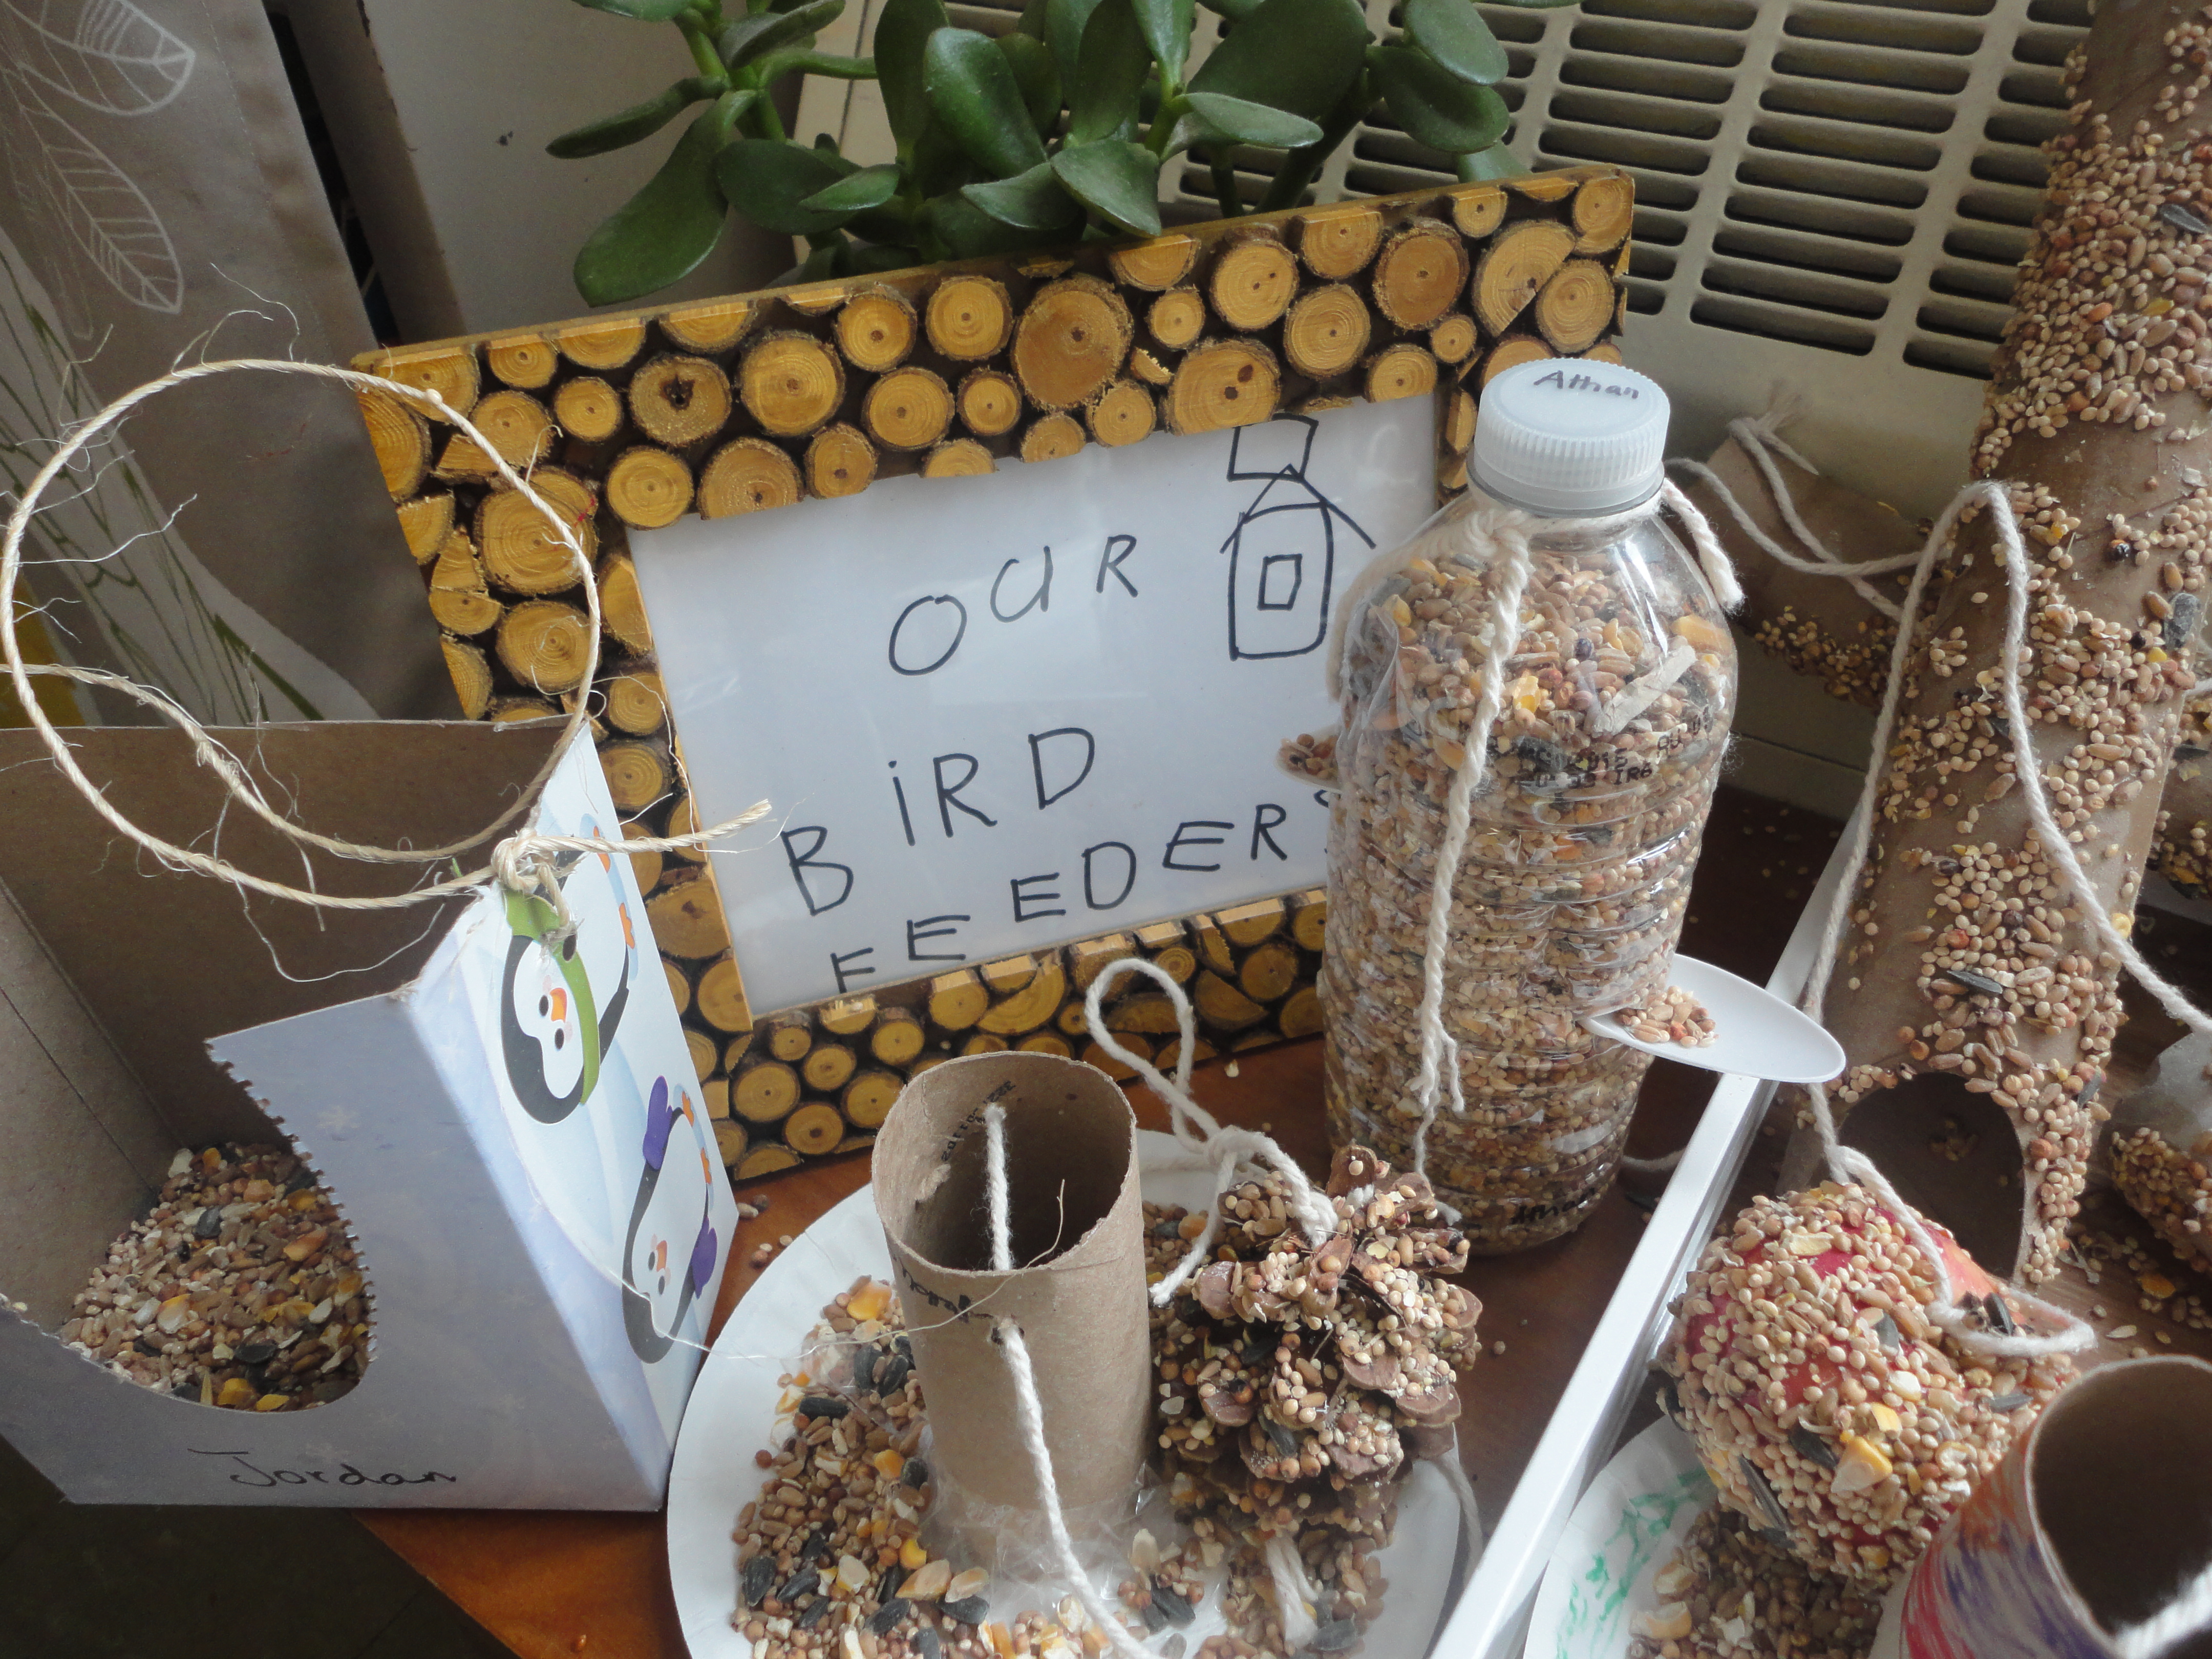
After giving the children ample time for the planning process, we gathered up the materials the children requested for their bird feeders. I sent a letter home asking the parents to send in any materials they may have at home to help us with our project. Then we set up our bird feeder making centre! For the most part, the children really stuck to their original designs when making their bird feeders. Other children who weren’t initially interested in making their own plans stopped by and got inspired by their classmates’ projects. The children were really in charge of this activity from start to finish, and were so proud of the feeders they made!

DSC02260

DSC02314

At the end of the week, we took our feeders outside to hang up in the courtyard. The children were beyond excited to share their creations with the birds. It felt like a bird feeder hanging party!

hanging

Update: After the weekend, we took the children outside to see if there were any clues that the birds had enjoyed the birdseed. We had had another dose of snow, so the children noticed that some of the materials we used did not hold up in the extreme winter conditions.

E.A.: The bird feeders made of Kleenex boxes and toilet rolls with honey stayed up.
F.S.: The snow covered the paper plates and they fell down.
A.C.: The tissue boxes and the buckets are good to make feeders because they stayed up.
J.M.: The apples stayed up too and some of the food was missing.

When talking about whether or not the birds enjoyed the feeders:

M.F.: The bird seed is gone!
B.L.: That’s because the snow is covering the seeds. I can see it if I dig down.
H.K.: I think the birds look fatter!

A Map of My Heart

Featured

DSC02401

What is love? What are the things that you love the most? If we could see inside your heart, what would we find there? These are the questions we examined in our class through the Map of My Heart project. All of this really began when we noticed the children showing an interest in making maps at the writing table. To support and challenge their thinking, we added special “map paper” and an amazing book called My Map Book by Sara Finelli to our writing centre. In My Map Book, Finelli inspires us to think about maps in a whole new way with wonderful images of maps including: “A Map of My Dog,” “A Map of My Day,” “A Map of My Stomach,” and yes, “A Map of My Heart.”

my map book finelli

With Valentine’s Day approaching, I wanted to discuss the theme of love and friendship with my students. To get them thinking about love, we focused on Finelli’s heart map and talked about what we might find in our own hearts. At the Art Studio, we offered the children an opportunity to continue thinking about these questions by making their own heart maps (see the original idea from Playful Learning here: http://playfullearning.net/2009/01/map-of-my-heart/). I felt it was important to give the children as much thinking time as possible for this activity, so rather than having them dive right in to the drawing and painting process, we provided them with planning paper so they could jot down their ideas first. This also had the added bonus of creating some lovely opportunities for dialogue between children as they shared their plans with each other. I found that throughout the art process, children routinely referred back to their plans to help them include all their original ideas in their art piece.

DSC02253

After planning, the children set to work filling in their heart maps. We used permanent black markers for the drawing process and watercolour paints to add colour when the drawings were complete. As part of our evaluation and discussion of Finelli’s heart map, some children felt that some things would naturally take up more space in our hearts (e.g. more love for my family = a large space in my heart vs a little bit of love for flowers, which would = a smaller corner of my heart) and tried to represent this in their work. Overall, I felt the finished pieces so charmingly represented all of the things my students hold dear – and I learned even more about what kinds of things/experiences are really important to the children in my class.

DSC02258 DSC02403

DSC02402

DSC02404

Exploring Loose Parts

DSC02130

This week at the small building centre, we created an “animals in winter” provocation using a variety of materials and loose parts: wood chips, acorns, mushrooms, small blocks, glass tiles, animals, stones, etc. We also provided the children with some non-fiction books about animals and the class iPad. Having a variety of loose parts available to the children is advantageous in many ways. Loose parts can be used in any way the children wish, thus encouraging creativity and imagination. The children are also not limited with how loose parts can be used, combined, or organized. Because loose parts can be used in many ways, the children are able to demonstrate and explore a variety of themes and ideas. A popular theme that arose from this provocation was that of animal homes. The children were very interested in using the loose parts to create shelters for the animals. When they weren’t sure what a particular animal’s home looked like in real life, we googled it on the iPad and used the images we found to recreate a home that suited the animal. There was a lot of investigation, research, and problem solving going on!

DSC02132

DSC02131

DSC02097

hedg

DSC02135

DSC02102

DSC02098


Zooming in on Technology!

Image

I am always on the lookout for new and interesting ways to enhance student learning using technology. Recently, our class received a digital microscope to pilot in the classroom. As technology goes, this tool is relatively inexpensive (around $60) and has proven to be a neat way of looking at things in a brand new way!

We began by using the microscope to explore our plants growing in the classroom and to zoom in on the bird nests that our students brought in to share. These activities were teacher-led during our large group instruction time and helped the students understand how the microscope works and how it can be useful for seeing things our eyes can’t normally see.

This week, the children took their own initiative with the microscope. A group of students approached me during Discovery Time – they wanted to use the microscope to explore some objects in the classroom. After hooking it up to the laptop for them, the children proceeded to snap images of a classroom chair, table-top, finger, iPad, and iPad button. There is only one button to press for picture taking, so the children were able to do this themselves. I had to help them focus the microscope (by rotating the lens at the top) first. The children were so amazed at how different our classroom materials looked close-up that they wanted to print out their pictures and share them with the class. We decided to make a game of it. The students wrote clues on their pictures and we presented them to the class to see if anyone could guess what the picture was of (I also posted the pictures on our classroom SMARTBoard so they were easy for the class to see).

DSC02220

M.B. – “What is this? It starts with CH and you sit on it.”DSC02221

R.K: “What is this? You press it and it starts with a B.”

Overall, we have really been enjoying the digital microscope in our classroom. It took a little getting used to while we were learning how to focus the lens, but the set up and installation (we downloaded software directly from the website where the microscope can be purchased) was easy. The children are comfortable manipulating the microscope on their own (with some assistance in focusing) and its small size means it’s good for small hands and doesn’t take up space in the classroom. I’m interested to see what new discoveries we will make with our new tool!