Snap Cube Workshop: The Spinner Project

014718905408525d7dab6df0439790e44a0c1d0f33

If you are a regular follower of the blog, you will know that the students in my class LOVE snap cubes. They love them so much, we dedicated an entire centre in my classroom to them (you can read about our journey to embrace the the snap cube craze here: https://thecuriouskindergarten.wordpress.com/2014/03/10/snap-cube-workshop/ and here: https://thecuriouskindergarten.wordpress.com/2014/03/10/snap-cube-workshop-inspiring-young-authors/).

The Spinner Project evolved out of a popular way the students used the snap cubes at the snap cube workshop: they spun them. Constantly. At least once a day someone took a cube and tried to spin it. With some investigation, we learned that the children were trying to recreate “Beyblades,” a popular toy many of them had at home. (This isn’t the first time I had heard about Beyblades. In fact, for the last 5 years or so, I have been wondering what to do with the children’s interest in these toys.) The trick to coming up with an engaging and meaningful inquiry I find is coming up with just the right problem/question. It was during one of our reflection discussions that the question jumped out at us. Two boys were talking about spinning the cubes and each had made a spinner that was slightly different. We were trying to figure out if one spinner worked better than the other, and why. And viola!

The next day, we posed the following question: Can you build the best spinner? The children were so excited about this question! Before discovery time, we spent some time talking about what the word “best” would mean. The children came up with three criteria which we posted at the snap cube centre:

DSC03180

In addition to creating our criteria, we talked about the tools the children could use to assess the success of their spinners. For “spinning super duper fast,” the children decided capturing the spinner on video would be a good way to measure this. For design, we would take pictures of our spinners and/or save them to show at reflection time. And for “spins a long time” we showed the children how to time their spinning spinners using the timer on the iPad.

DSC03003

There were so many interesting discoveries made during this project! Here are some images and ideas we captured of the children’s experimentation:

DSC03036

DSC09057

DSC03233

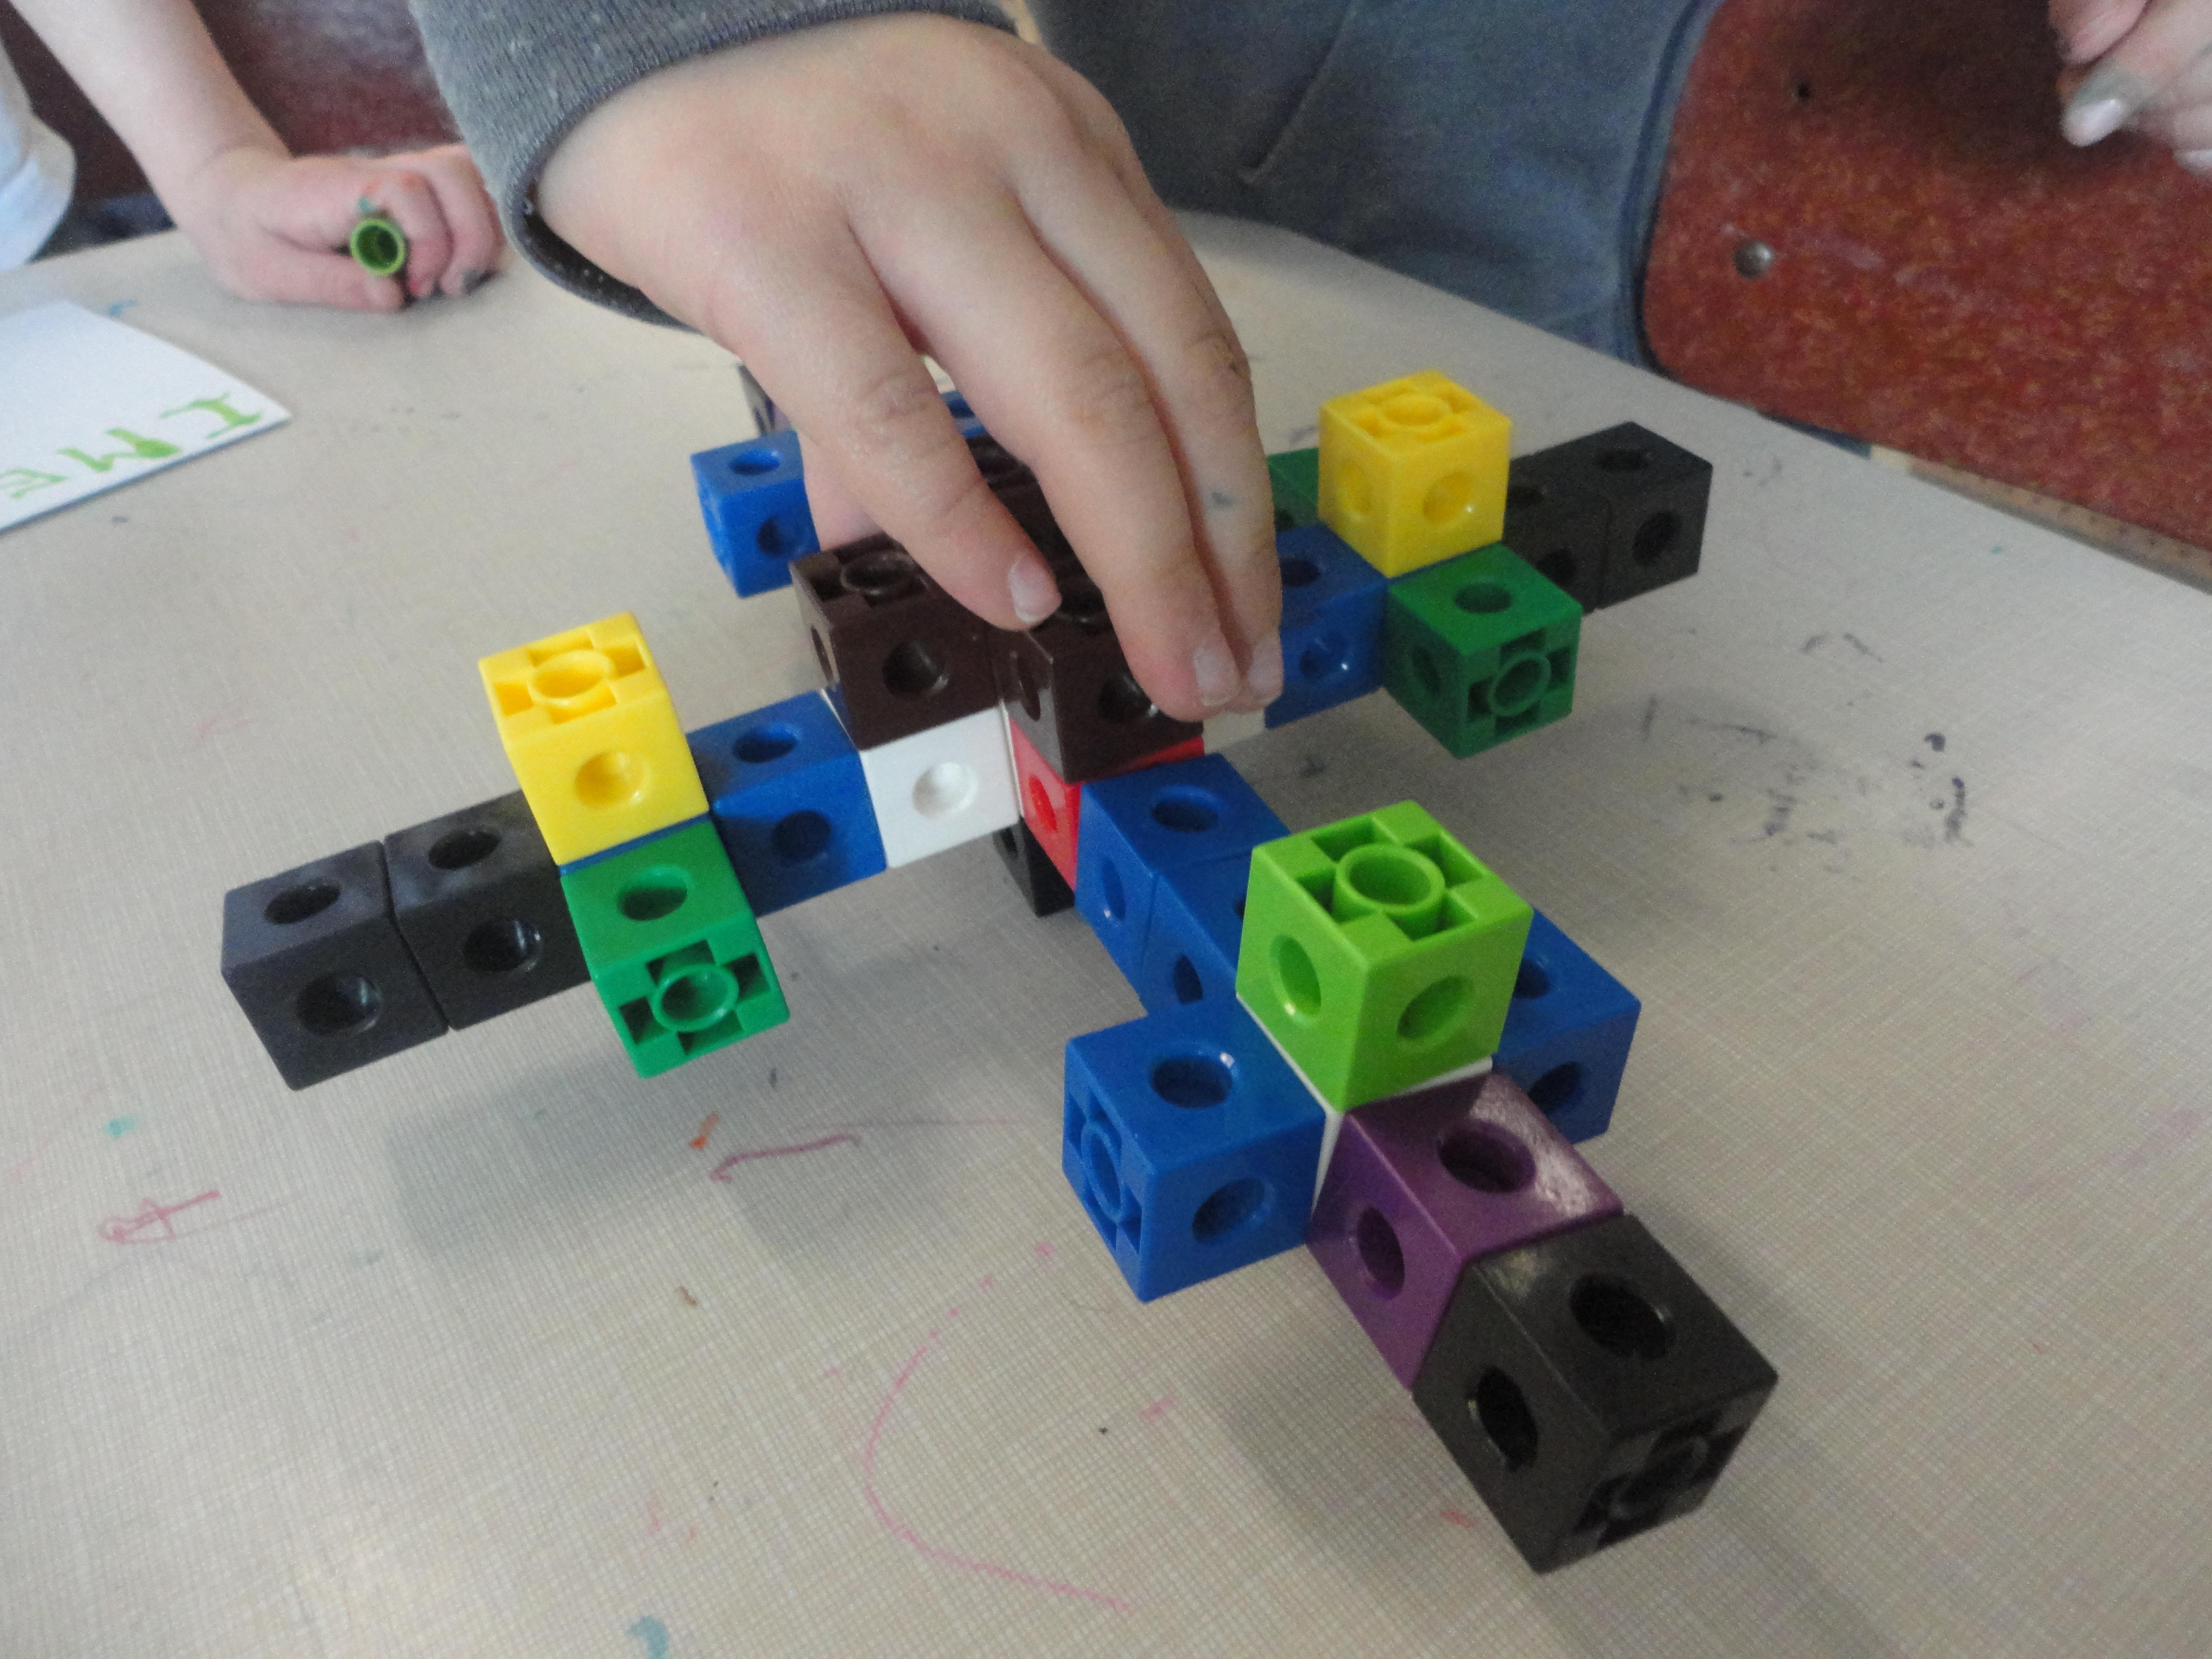
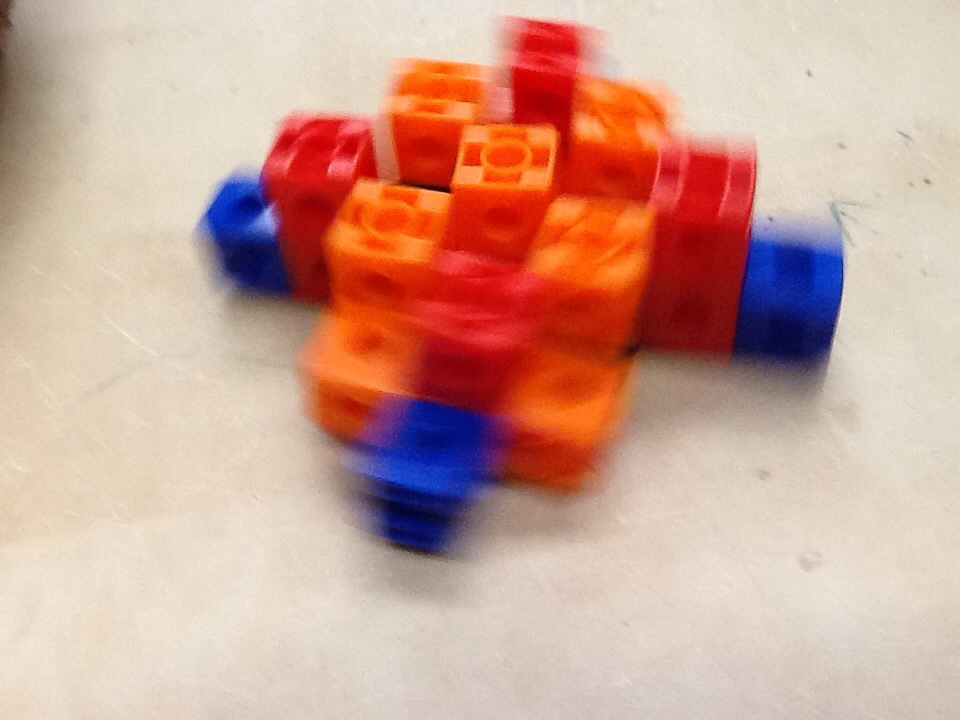
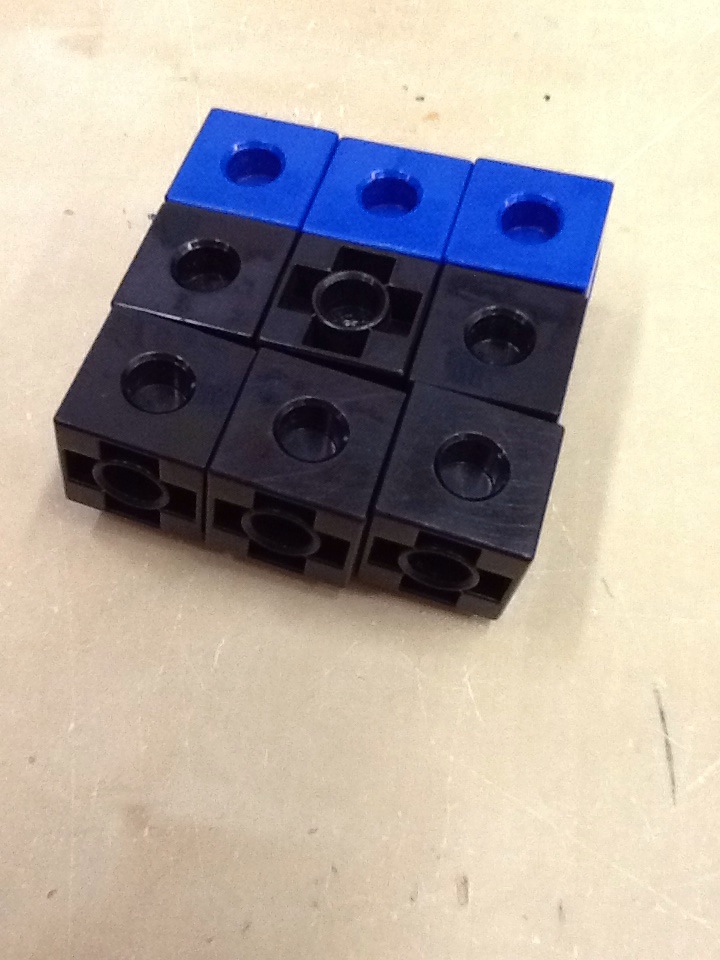
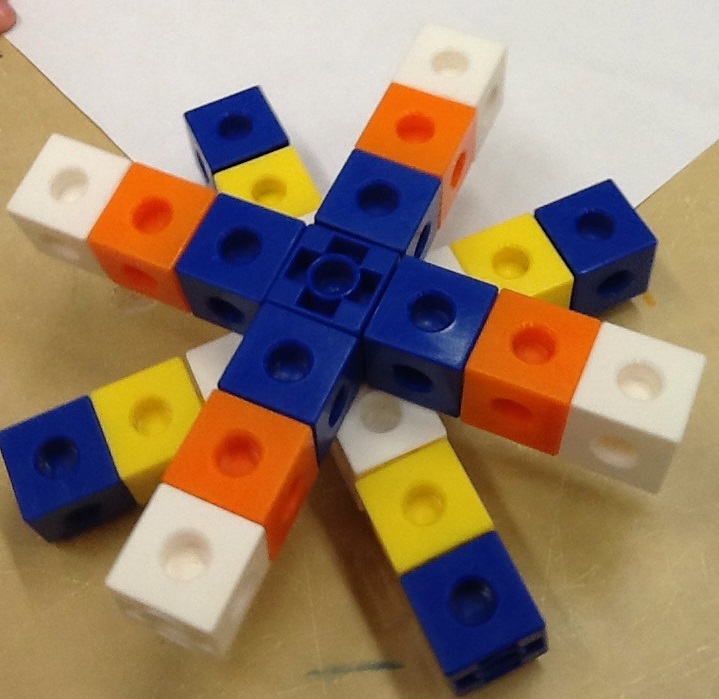
The spinners got more and more elaborate as design became the focus of the children’s attention. We learned that, generally, the more elaborate the design, the slower the spinner spun.

DSC03159

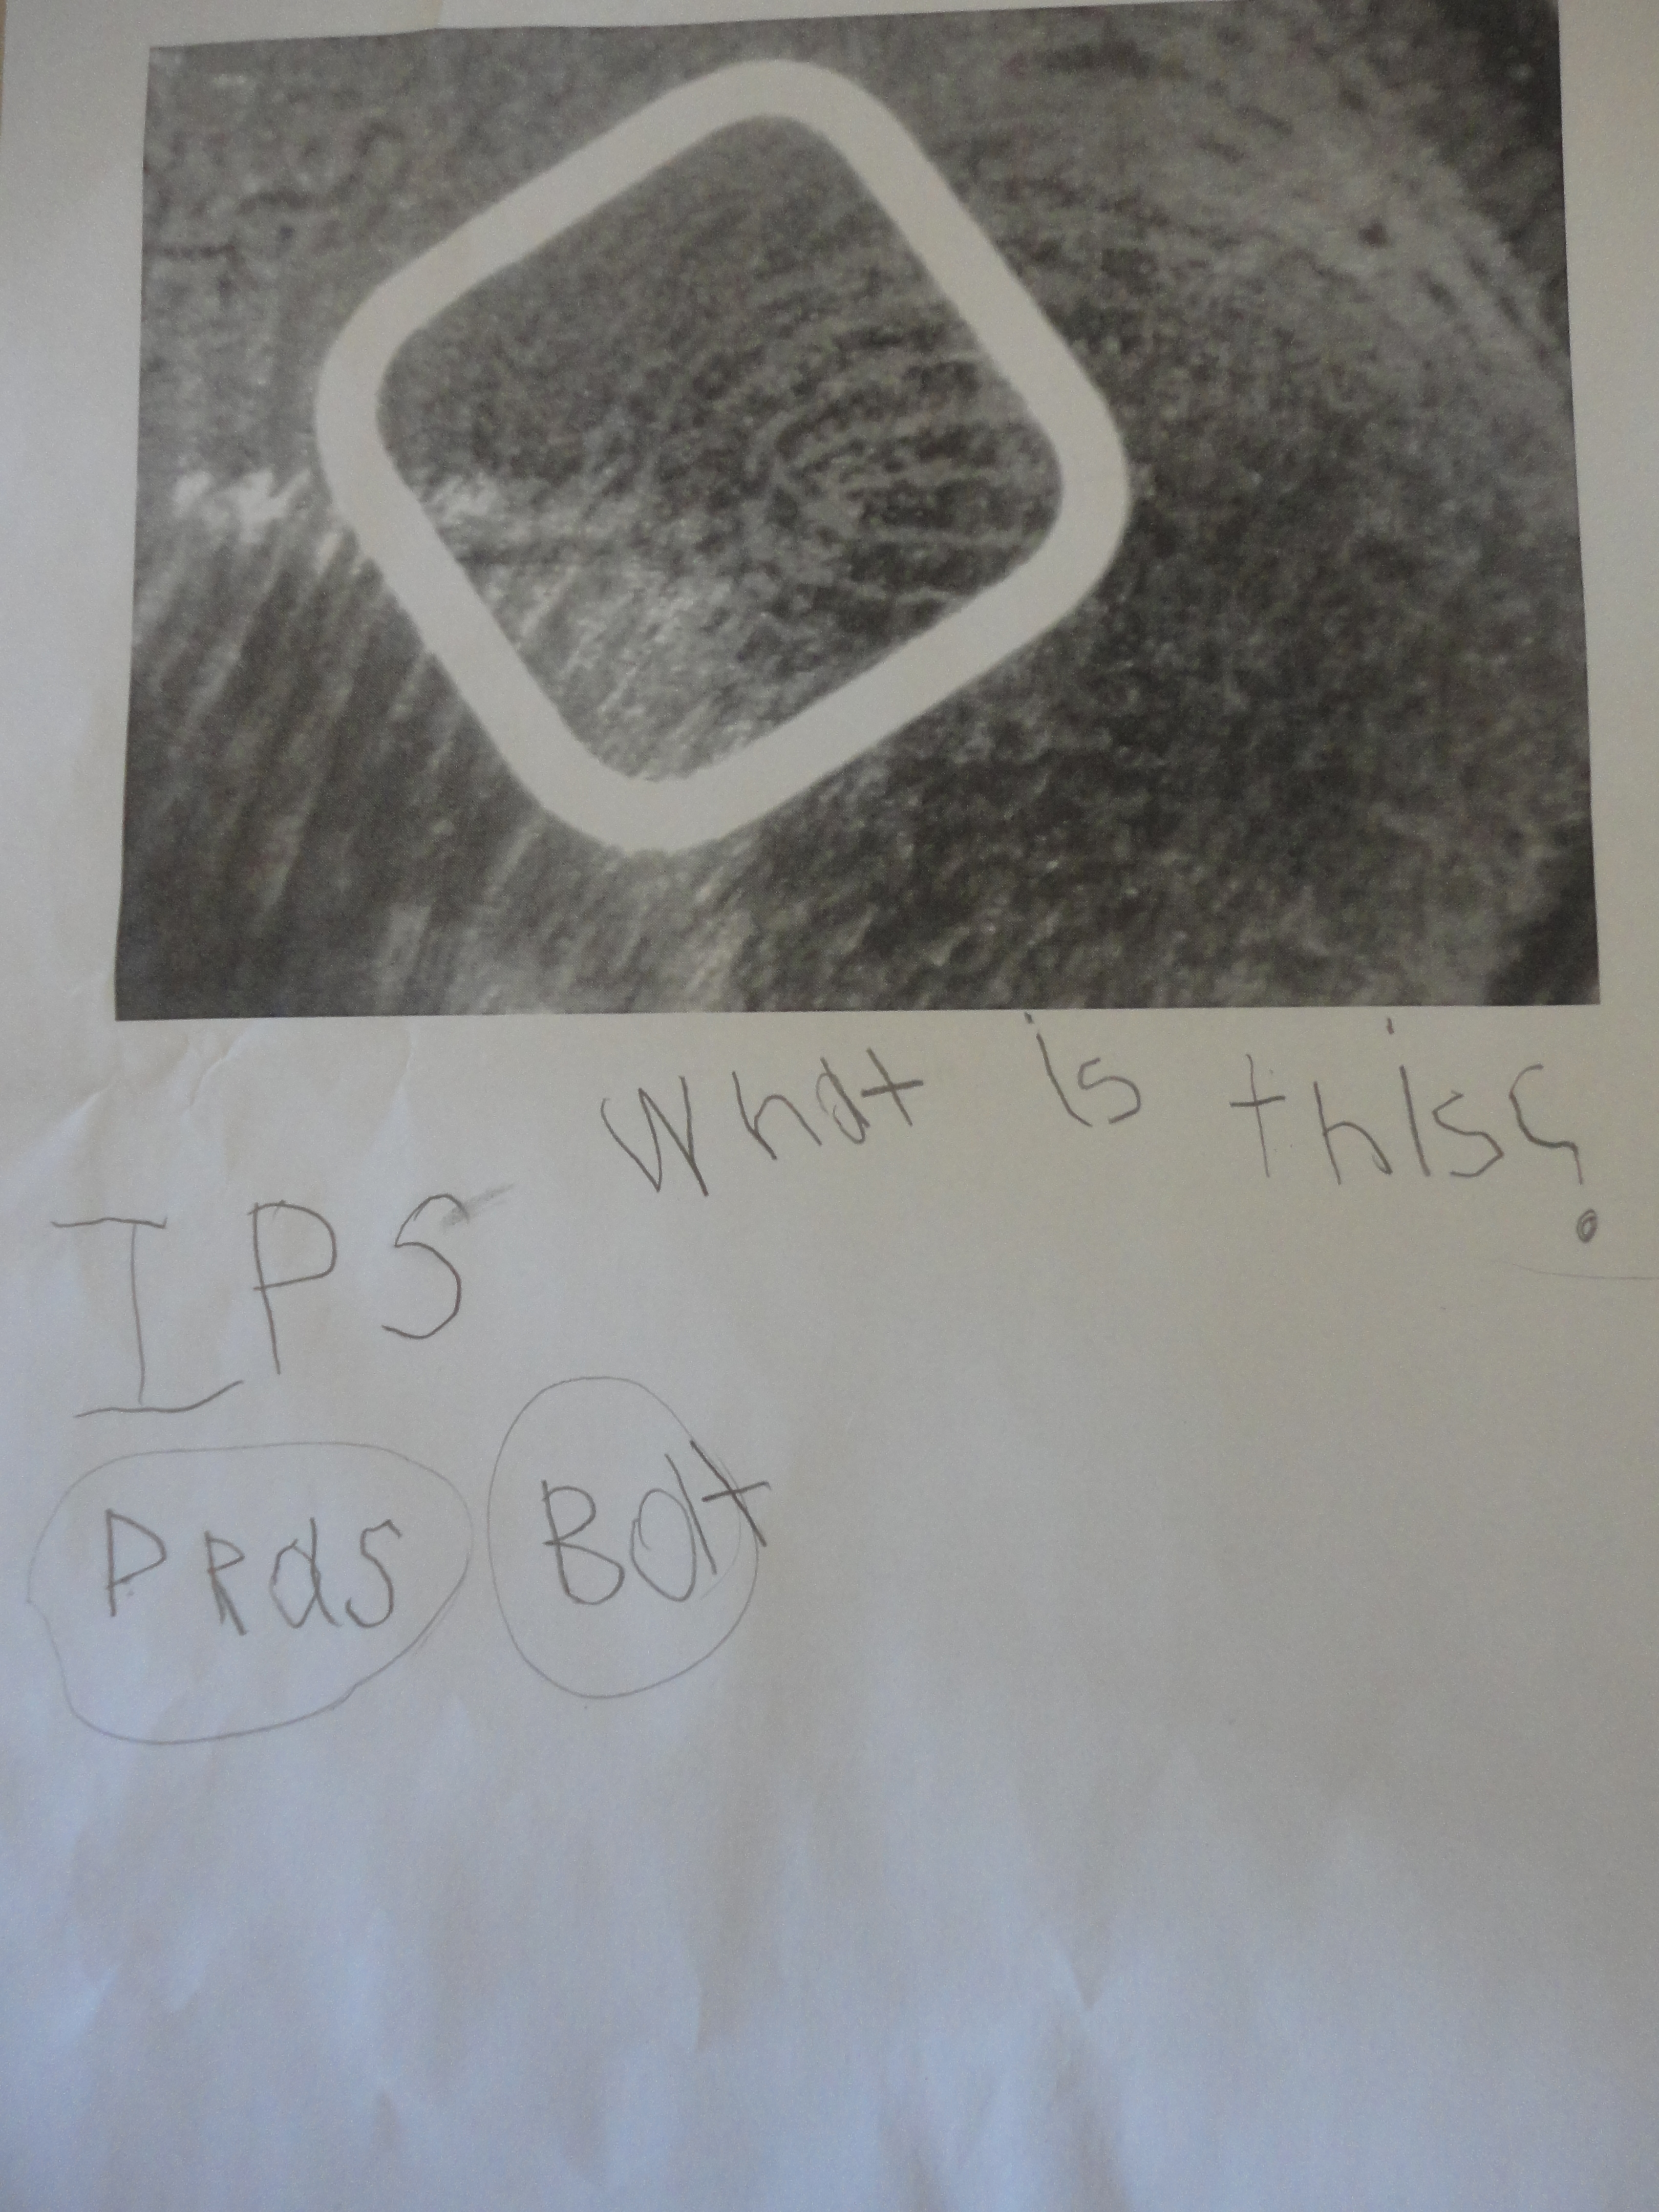
The students were fascinated to explore the paths and patterns of a spinner’s movement.

018a0ea4a4c94814f43bbdad99c1c66d4e8cb59cb8

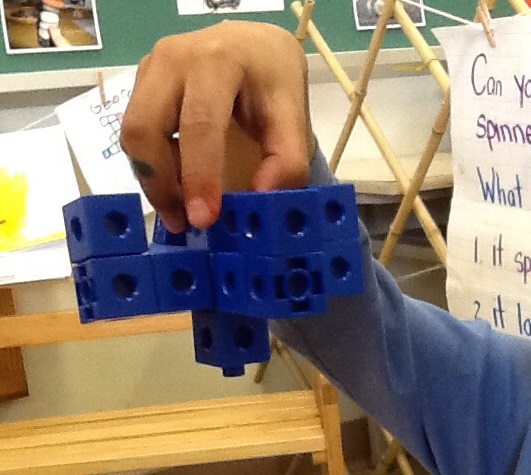
Many children worked collaboratively: K: “We attached our spinners together and made it so BIG! It spins so much faster when they are together.”

01e35c32fa5c2511e43e920edbe3917f7d89b2f264

things_that_spin_SMART

In a large group discussion, we brainstormed a list of things that spin.

01c5dd63ea007b151cac02747b62ab28982b82704f

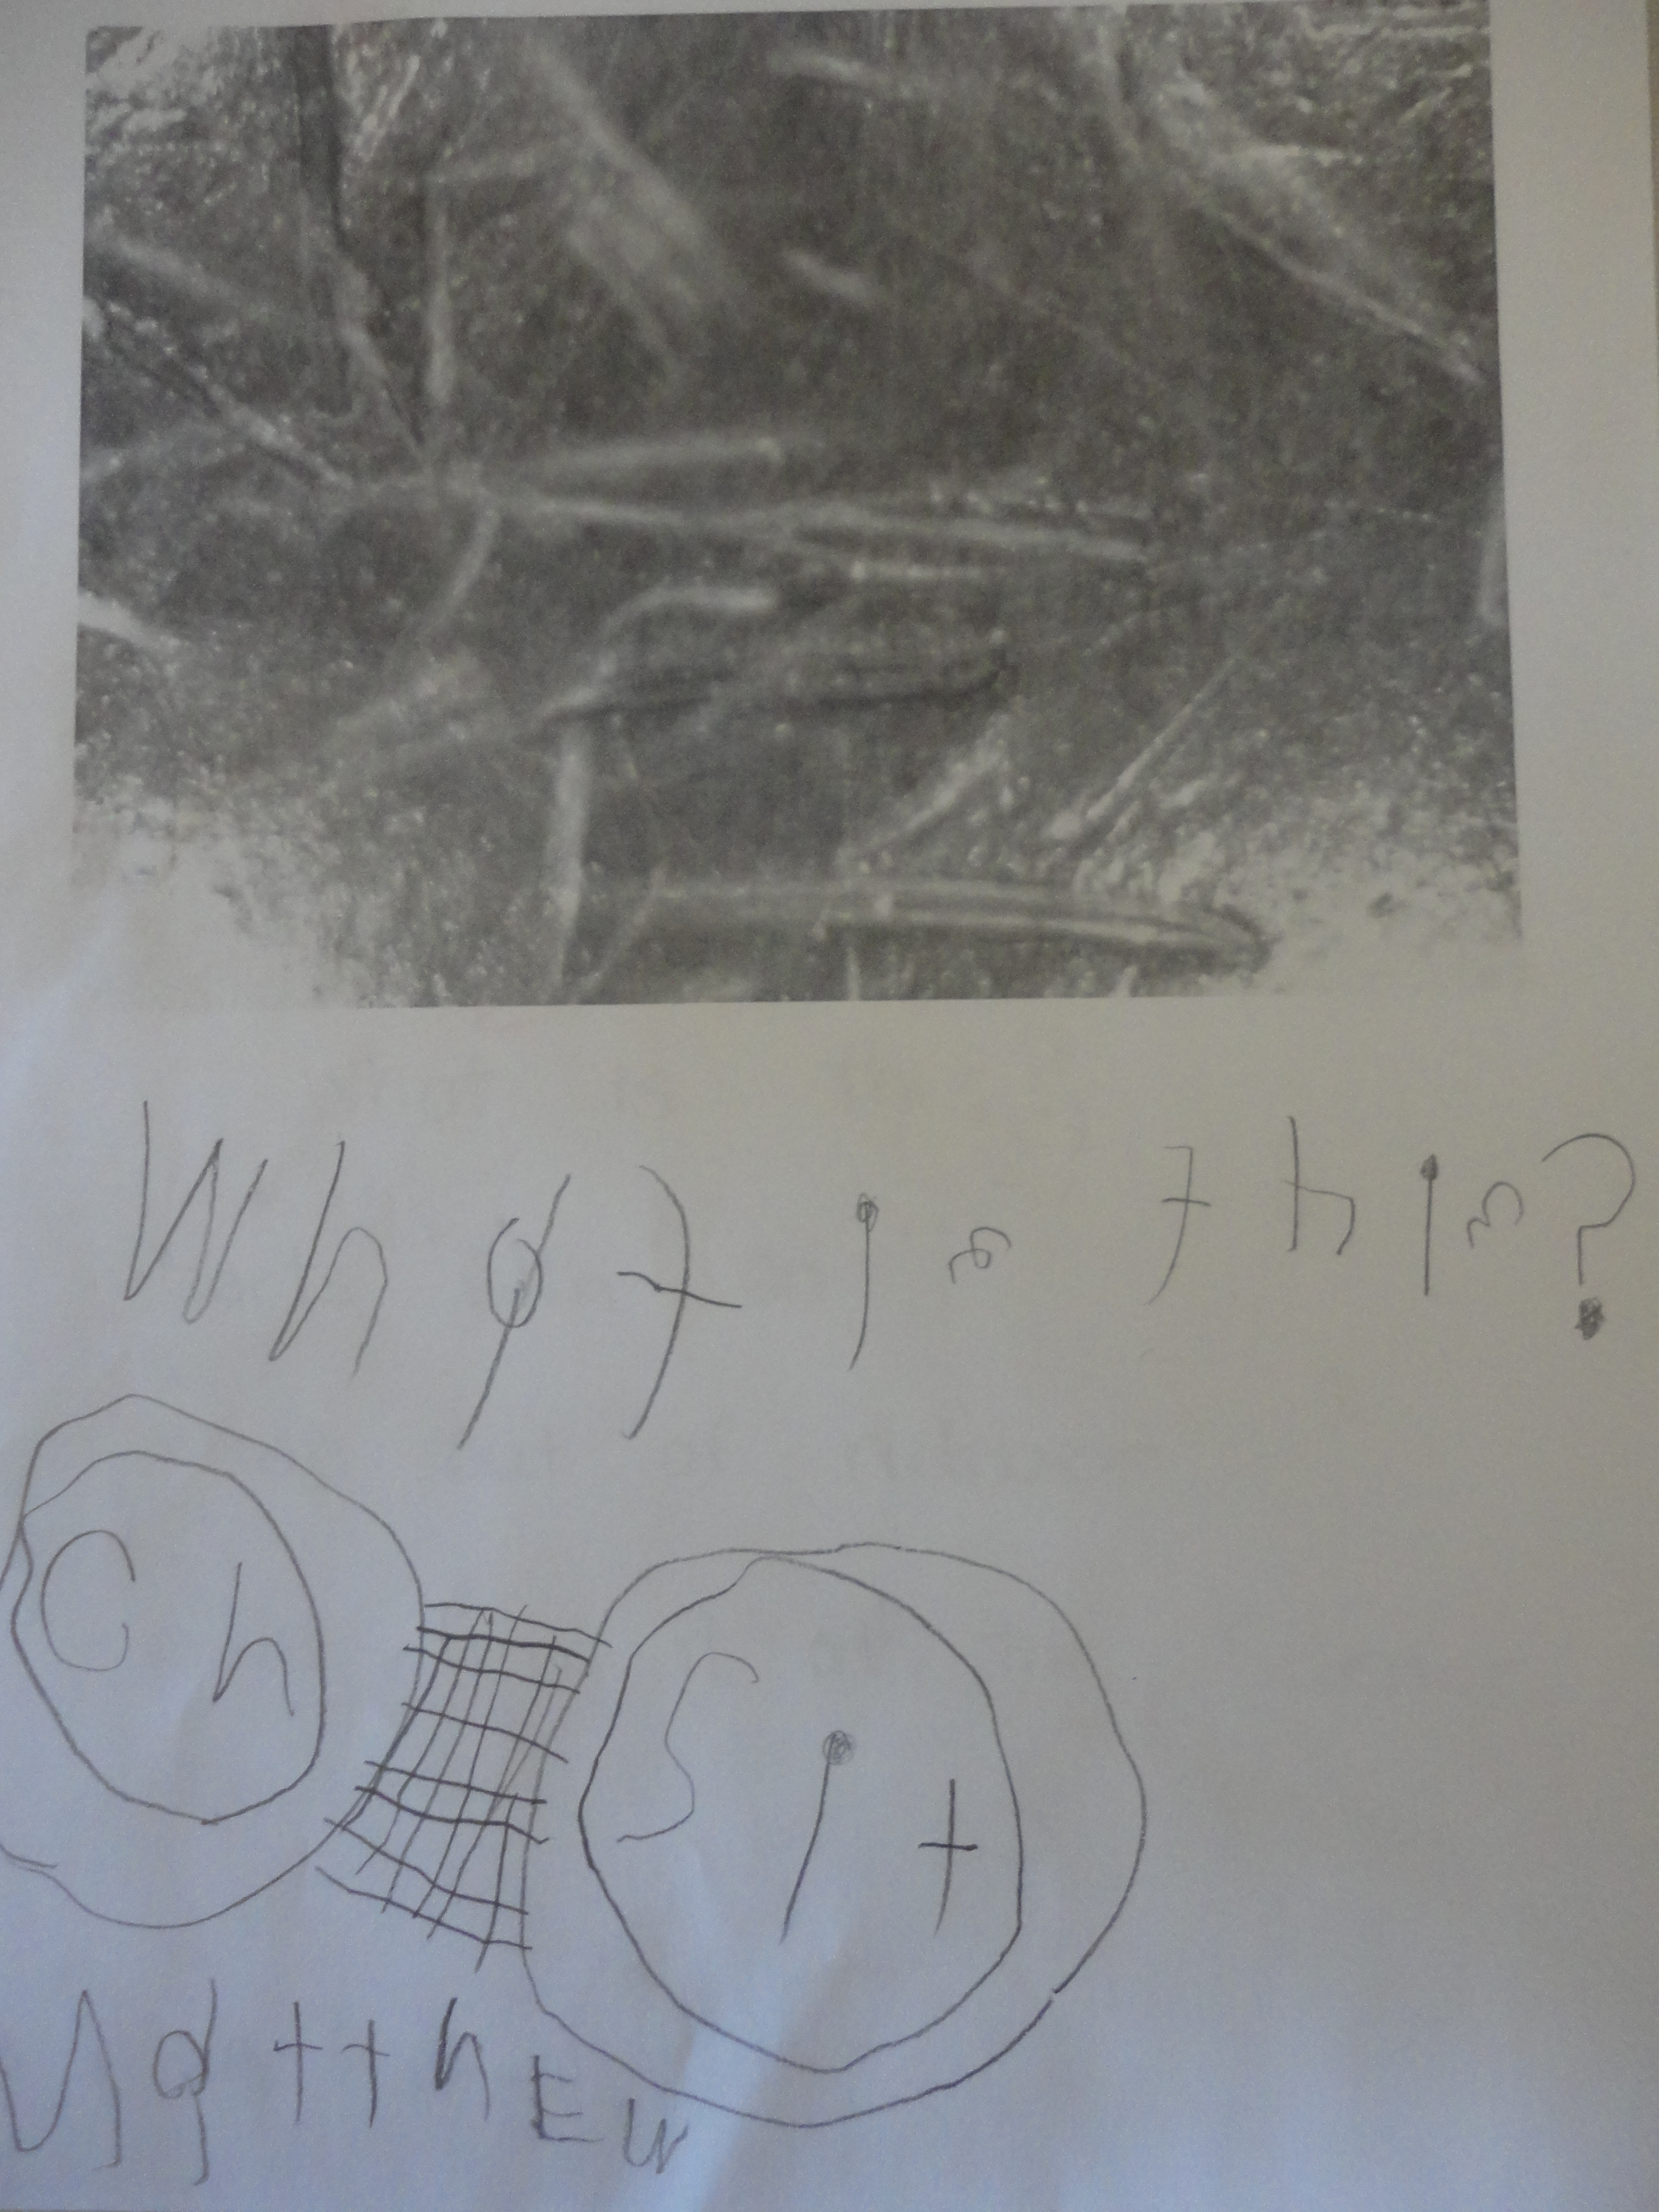
J.K.: “Mine is a square, but when it spins it looks like a blade, sharp. I was just experimenting to see if I can make the best one.”


017a8d0b4f9389954d799687ab9ea93570769ab389_00001

01e192e5abdb727fa16ca08e28fba8a50f4fd72f22_00001

01b180bbc7296f0a2b9ac47407f051e62af152e402

01b165b16ca23357a636ef445254fb0c4231b8c933

Problem solving and experimentation were evident: S: “Mine is flat and I can still spin it. What if I add another cube on top and then I can use that to spin it – like a handle? [He tries it.] Hmm…that slows it down. So that is a bad idea.”

J: “My spinner is the best because it spins the fastest and for 29 seconds. Also, if you put a red block beside a while block it turns pink when it spins because white and red make pink.”

M: “I discovered you can make a spinner with just one cube. It’s small and it’s good to just use one cube because it won’t break and you can fit it in your pocket!”

Have you explored a spinning inquiry with your students? What questions/ideas did you explore?


The Bird Feeder Project

DSC02317

Here in Toronto this year we have been having an exceptionally cold and snowy winter! Despite the weather, some of our feathered friends have remained in our outdoor classroom. One day when we were outside, some children began to wonder about the birds – weren’t they cold? How were they finding food under all this snow?

DSC02413

After reading Ricki’s Birdhouse by Monica Wellington, a book about a boy who constructs a birdhouse for the birds in his yard and proceeds to feed the birds throughout the year, the children were interested in making their own bird feeders for the birds in our outdoor classroom. We set up a provocation at the science table including planning sheets, our Ricki’s Birdhouse story, and iPads. Using the iPads, we googled “homemade bird feeder” images and the children looked for designs that appealed to them. Then they set about creating their plans. We encouraged the children to label their plans with the materials we would need to build them.

DSC02228

DSC02193

DSC02202

After giving the children ample time for the planning process, we gathered up the materials the children requested for their bird feeders. I sent a letter home asking the parents to send in any materials they may have at home to help us with our project. Then we set up our bird feeder making centre! For the most part, the children really stuck to their original designs when making their bird feeders. Other children who weren’t initially interested in making their own plans stopped by and got inspired by their classmates’ projects. The children were really in charge of this activity from start to finish, and were so proud of the feeders they made!

DSC02260

DSC02314

At the end of the week, we took our feeders outside to hang up in the courtyard. The children were beyond excited to share their creations with the birds. It felt like a bird feeder hanging party!

hanging

Update: After the weekend, we took the children outside to see if there were any clues that the birds had enjoyed the birdseed. We had had another dose of snow, so the children noticed that some of the materials we used did not hold up in the extreme winter conditions.

E.A.: The bird feeders made of Kleenex boxes and toilet rolls with honey stayed up.
F.S.: The snow covered the paper plates and they fell down.
A.C.: The tissue boxes and the buckets are good to make feeders because they stayed up.
J.M.: The apples stayed up too and some of the food was missing.

When talking about whether or not the birds enjoyed the feeders:

M.F.: The bird seed is gone!
B.L.: That’s because the snow is covering the seeds. I can see it if I dig down.
H.K.: I think the birds look fatter!

Zooming in on Technology!

Image

I am always on the lookout for new and interesting ways to enhance student learning using technology. Recently, our class received a digital microscope to pilot in the classroom. As technology goes, this tool is relatively inexpensive (around $60) and has proven to be a neat way of looking at things in a brand new way!

We began by using the microscope to explore our plants growing in the classroom and to zoom in on the bird nests that our students brought in to share. These activities were teacher-led during our large group instruction time and helped the students understand how the microscope works and how it can be useful for seeing things our eyes can’t normally see.

This week, the children took their own initiative with the microscope. A group of students approached me during Discovery Time – they wanted to use the microscope to explore some objects in the classroom. After hooking it up to the laptop for them, the children proceeded to snap images of a classroom chair, table-top, finger, iPad, and iPad button. There is only one button to press for picture taking, so the children were able to do this themselves. I had to help them focus the microscope (by rotating the lens at the top) first. The children were so amazed at how different our classroom materials looked close-up that they wanted to print out their pictures and share them with the class. We decided to make a game of it. The students wrote clues on their pictures and we presented them to the class to see if anyone could guess what the picture was of (I also posted the pictures on our classroom SMARTBoard so they were easy for the class to see).

DSC02220

M.B. – “What is this? It starts with CH and you sit on it.”DSC02221

R.K: “What is this? You press it and it starts with a B.”

Overall, we have really been enjoying the digital microscope in our classroom. It took a little getting used to while we were learning how to focus the lens, but the set up and installation (we downloaded software directly from the website where the microscope can be purchased) was easy. The children are comfortable manipulating the microscope on their own (with some assistance in focusing) and its small size means it’s good for small hands and doesn’t take up space in the classroom. I’m interested to see what new discoveries we will make with our new tool!