Converting an iPad into a Document Camera

We’ve almost made it through our first week of learning remotely in Kindergarten! My hat is off to any of you who have been doing this since September! It’s been a big learning curve but thankfully, I have a wonderful community of colleagues online who have inspired me and given me confidence that I could make this work.

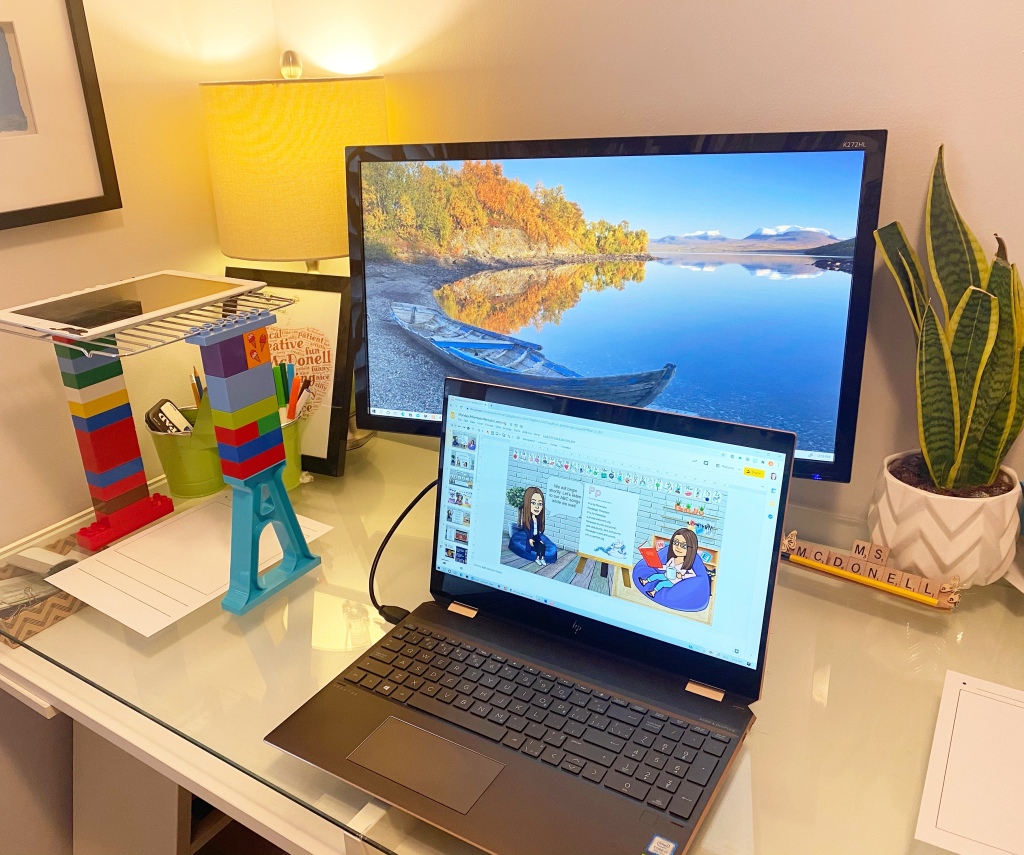
Today I thought I’d share a hack I figured out this week that has been a *lifesaver* for teaching live: turning my iPad into a document camera. I’ll do my best to lay out how I got this to work.

First off, these instructions are for you if you are using Google Meet for your live meeting, a PC computer, and an iPad. I could not find instructions online for this tech set up which is why I’m sharing mine here. I did find some instructions for doing this on Zoom, so I think my method will work for that meeting platform as well (maybe).

Start your meeting. I first log into my Google Meet on my PC. Then I log into the same Google Meet (with the same Google ID) on my iPad (so I am logged on twice in the meeting). It is very important to mute your microphone and turn off your video when you log in. You also have to make sure (this step is CRITICAL) that your volume controls on the side of the iPad are as low as they can go (off/muted) or else you might get feedback.

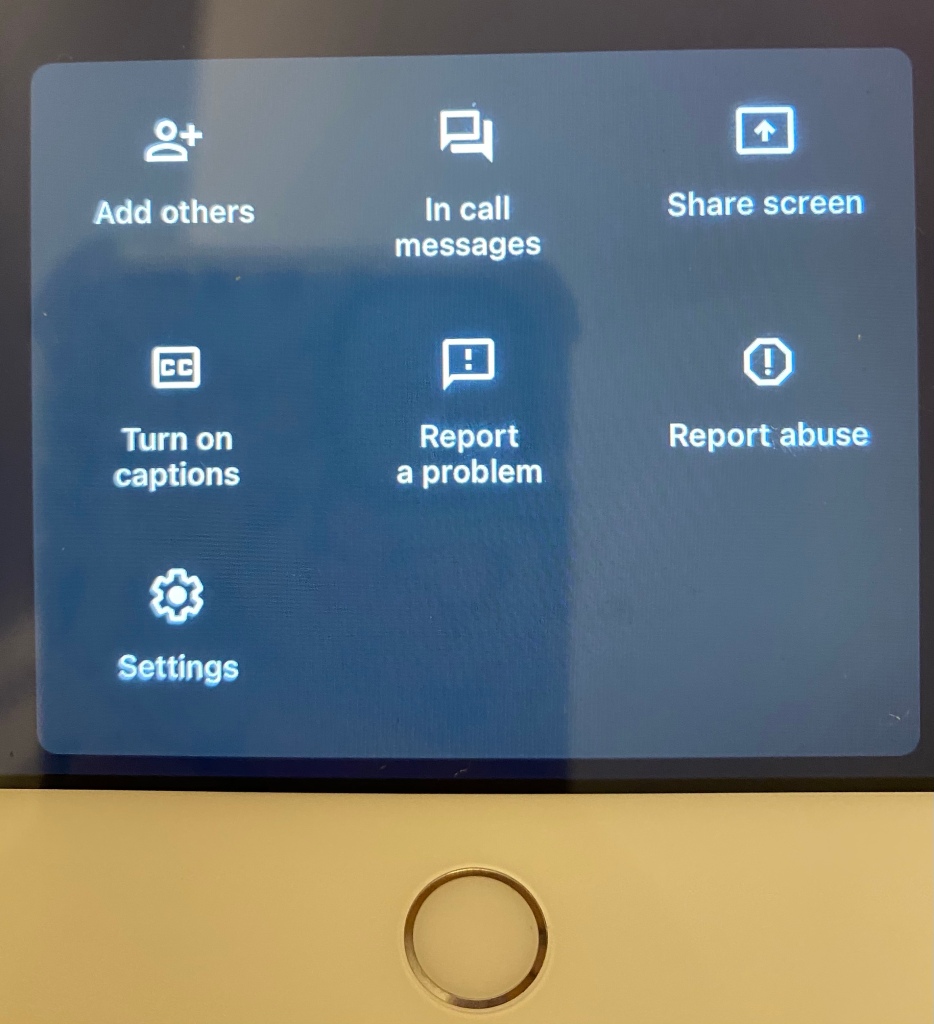
When I want to use my iPad as a document camera, I click on on the meeting controls on my iPad and choose “share screen” and “start broadcast” and then open my camera on the iPad. It will share what my camera sees with my students in the Meet.
You will need a stand of some kind to put your iPad on. I built one out of Duplo and a cookie rack (yup, really. Desperate times!). The cookie rack is helpful because the camera lens fits between the bars and the bars also fit nicely on the round pegs of the Duplo, which keeps it from slipping. I taped my Duplo base to my desk for added stability. There are probably a million different ways to make a stand that will work just as well depending on what you have at home. This is the best I could come up with given the time (and I didn’t want to spend any money on it either!).

An engineering masterpiece!

This is how it looks when I’m about to model a lesson for Writer’s Workshop:

Ready for a mini lesson!
Ready to read!

*I should add that I had been encouraged to try using my Osmo and iPad as a doc cam, but that didn’t work for me. If you didn’t know this is possible, give it a go and see if it works for you. The Osmo was super easy to set up, but I had a long time delay when I presented it in my live meeting and it didn’t end up being what I needed. But maybe it will work better for you, and then you won’t need any Duplo or a cookie rack!

I hope my instructions were clear enough and that if you decide to try setting this up that it works for you! Wishing all of you the best as we carry forward with our remote learning journeys!

Math and Science Investigations (M.S.I.)

Image

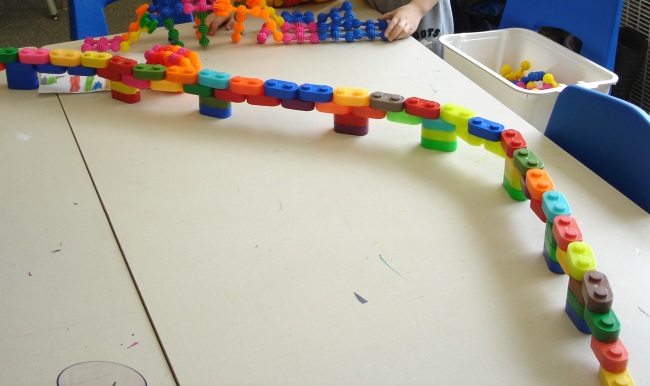
Math and Science Investigations (M.S.I.) is a building program I have been doing in Kindergarten since I started my career. I first learned about it during one of my practicums in a Kindergarten class when I was in teacher’s college. Essentially, M.S.I. is an inquiry-based program that uses building materials to encourage the development of math and science concepts, creativity, problem-solving, perseverance, planning, and much, much, more. My original resource for M.S.I (a worn photocopy from a book that used to exist somewhere in the board) is long since lost; however, I found a great replacement in the book Building Structures With Young Children by Ingrid Chalufour and Karen Worth:

Image

Basically, M.S.I. goes something like this:

1) I teach a mini lesson on the day’s focus.

2) Each student gets their own bin of building materials (blocks, connectors, cups, etc.) and takes it to a table. The bin goes on the chair and the children stand at the table and build. I circulate and facilitate discussion, pose questions, take notes, take photographs.

3) Reflection. I post pictures of interesting structures for discussion and feedback.

Image

We engage in M.S.I. as an entire class, one period per week. That being said, the building bins are always available during discovery time and it is common to find children selecting them to continue working on an inquiry we are engaged in. We also often find ourselves setting up provocations that support the learning that is happening in M.S.I., due to significant student interest.

Here are a few questions I often get about M.S.I:

Q: What kind of materials do you use? How do you organize enough bins for each child to have one?

A: We use a variety of store-bought traditional building blocks and some found materials to make up our bins. Wooden blocks, tree blocks, better blocks (kind of like Duplo), foam blocks, cups (laundry caps) from the recycling depot, anything that will stack! I purchased some materials from school catalogues, found others at garage sales and recycling stores, and got some for free from the recycling depot in our school board. Anything that can stack reasonably well is a good material for M.S.I. If you don’t have enough for everyone in your class you could always run the program with children working in partners or groups, and we sometimes do this as well depending on the focus of the lesson.

Q: What about space? Where do you store your materials? What if you don’t have enough table space for each student?

If you don’t have enough table space for each student to have their own spot, children can build on the floor. The idea behind standing and building at a table is that children are initially encouraged to build up with their materials. Standing helps the children stack their blocks more easily, and see their structure from all sides. Placing the building bin on a chair frees up table space for working. We store our building materials in two large rolling shelves. The shelves hold about 36 bins. I have a small space, but it’s not overwhelming in the classroom. I saw another school where the three kindergarten classes shared their M.S.I materials on a rolling cart that was parked in the hallway and could be easily moved to each class.

Q: What kinds of inquiries have you done? How long does one inquiry last?

A: The resource Building Structures With Young Children focuses on two inquiries: Towers and Enclosures. This year we have completed a Tower Inquiry (which I will write more about soon) and are now working on enclosures. We have also done inquiries on bridges and castles. In one school year, we usually have time to complete at least 2 large structure inquiries through M.S.I.

Image

Q: How is M.S.I introduced? What does it look like at the beginning of the year?

A: At the beginning of the year, M.S.I. time is mainly spent establishing routines and working on basic concepts of space, balance, making a plan, etc. There is a lot to be said just for helping the children locate a bin, find their own work space, build, and then tidy up. A lot of time also goes into establishing routines and expectations for sharing and reflecting on our structures at the end of the lesson. The most important part of the initial phase of M.S.I. is exploration and helping the children stay focused on solving problems rather than getting frustrated if/when their structure falls down. The children are often encouraged to choose different bins regularly to get a feel for the variety of materials we have available.

Image

I have to say, the children are always excited to see M.S.I. on the schedule. I continue to be amazed at how reflective and thoughtful they are about their structures and how mature they appear when giving feedback and suggestions to their classmates during reflection time. Although when I started teaching I successfully ran an M.S.I. program without a lot of fancy technology (none, actually), the access we now have to iPads, a classroom camera, and an interactive SMARTBoard have helped me take our building program to a whole new level. Being able to take a photo of a child’s structure and immediately post it on the SMARTboard for us to discuss is an invaluable part of the program. We regularly use the SMARTBoard pens to label the structure in the photo, highlight shapes in the design of the structure or draw on possible ideas to add next time.

If you have any other questions about how M.S.I. works, please don’t hesitate to drop me a line!

The Bird Feeder Project

DSC02317

Here in Toronto this year we have been having an exceptionally cold and snowy winter! Despite the weather, some of our feathered friends have remained in our outdoor classroom. One day when we were outside, some children began to wonder about the birds – weren’t they cold? How were they finding food under all this snow?

DSC02413

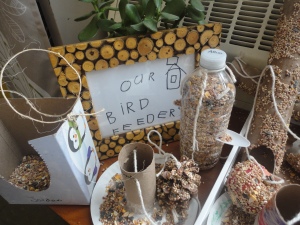
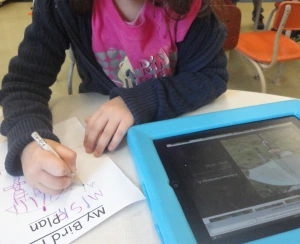
After reading Ricki’s Birdhouse by Monica Wellington, a book about a boy who constructs a birdhouse for the birds in his yard and proceeds to feed the birds throughout the year, the children were interested in making their own bird feeders for the birds in our outdoor classroom. We set up a provocation at the science table including planning sheets, our Ricki’s Birdhouse story, and iPads. Using the iPads, we googled “homemade bird feeder” images and the children looked for designs that appealed to them. Then they set about creating their plans. We encouraged the children to label their plans with the materials we would need to build them.

DSC02228

DSC02193

DSC02202

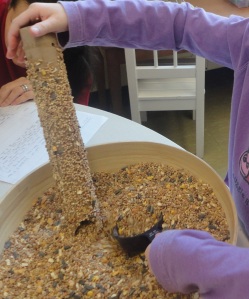
After giving the children ample time for the planning process, we gathered up the materials the children requested for their bird feeders. I sent a letter home asking the parents to send in any materials they may have at home to help us with our project. Then we set up our bird feeder making centre! For the most part, the children really stuck to their original designs when making their bird feeders. Other children who weren’t initially interested in making their own plans stopped by and got inspired by their classmates’ projects. The children were really in charge of this activity from start to finish, and were so proud of the feeders they made!

DSC02260

DSC02314

At the end of the week, we took our feeders outside to hang up in the courtyard. The children were beyond excited to share their creations with the birds. It felt like a bird feeder hanging party!

hanging

Update: After the weekend, we took the children outside to see if there were any clues that the birds had enjoyed the birdseed. We had had another dose of snow, so the children noticed that some of the materials we used did not hold up in the extreme winter conditions.

E.A.: The bird feeders made of Kleenex boxes and toilet rolls with honey stayed up.
F.S.: The snow covered the paper plates and they fell down.
A.C.: The tissue boxes and the buckets are good to make feeders because they stayed up.
J.M.: The apples stayed up too and some of the food was missing.

When talking about whether or not the birds enjoyed the feeders:

M.F.: The bird seed is gone!
B.L.: That’s because the snow is covering the seeds. I can see it if I dig down.
H.K.: I think the birds look fatter!

Zooming in on Technology!

Image

I am always on the lookout for new and interesting ways to enhance student learning using technology. Recently, our class received a digital microscope to pilot in the classroom. As technology goes, this tool is relatively inexpensive (around $60) and has proven to be a neat way of looking at things in a brand new way!

We began by using the microscope to explore our plants growing in the classroom and to zoom in on the bird nests that our students brought in to share. These activities were teacher-led during our large group instruction time and helped the students understand how the microscope works and how it can be useful for seeing things our eyes can’t normally see.

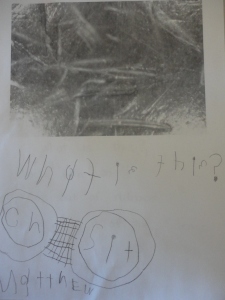
This week, the children took their own initiative with the microscope. A group of students approached me during Discovery Time – they wanted to use the microscope to explore some objects in the classroom. After hooking it up to the laptop for them, the children proceeded to snap images of a classroom chair, table-top, finger, iPad, and iPad button. There is only one button to press for picture taking, so the children were able to do this themselves. I had to help them focus the microscope (by rotating the lens at the top) first. The children were so amazed at how different our classroom materials looked close-up that they wanted to print out their pictures and share them with the class. We decided to make a game of it. The students wrote clues on their pictures and we presented them to the class to see if anyone could guess what the picture was of (I also posted the pictures on our classroom SMARTBoard so they were easy for the class to see).

DSC02220

M.B. – “What is this? It starts with CH and you sit on it.”DSC02221

R.K: “What is this? You press it and it starts with a B.”

Overall, we have really been enjoying the digital microscope in our classroom. It took a little getting used to while we were learning how to focus the lens, but the set up and installation (we downloaded software directly from the website where the microscope can be purchased) was easy. The children are comfortable manipulating the microscope on their own (with some assistance in focusing) and its small size means it’s good for small hands and doesn’t take up space in the classroom. I’m interested to see what new discoveries we will make with our new tool!