The Super Hero Inquiry Project

IMG_7950

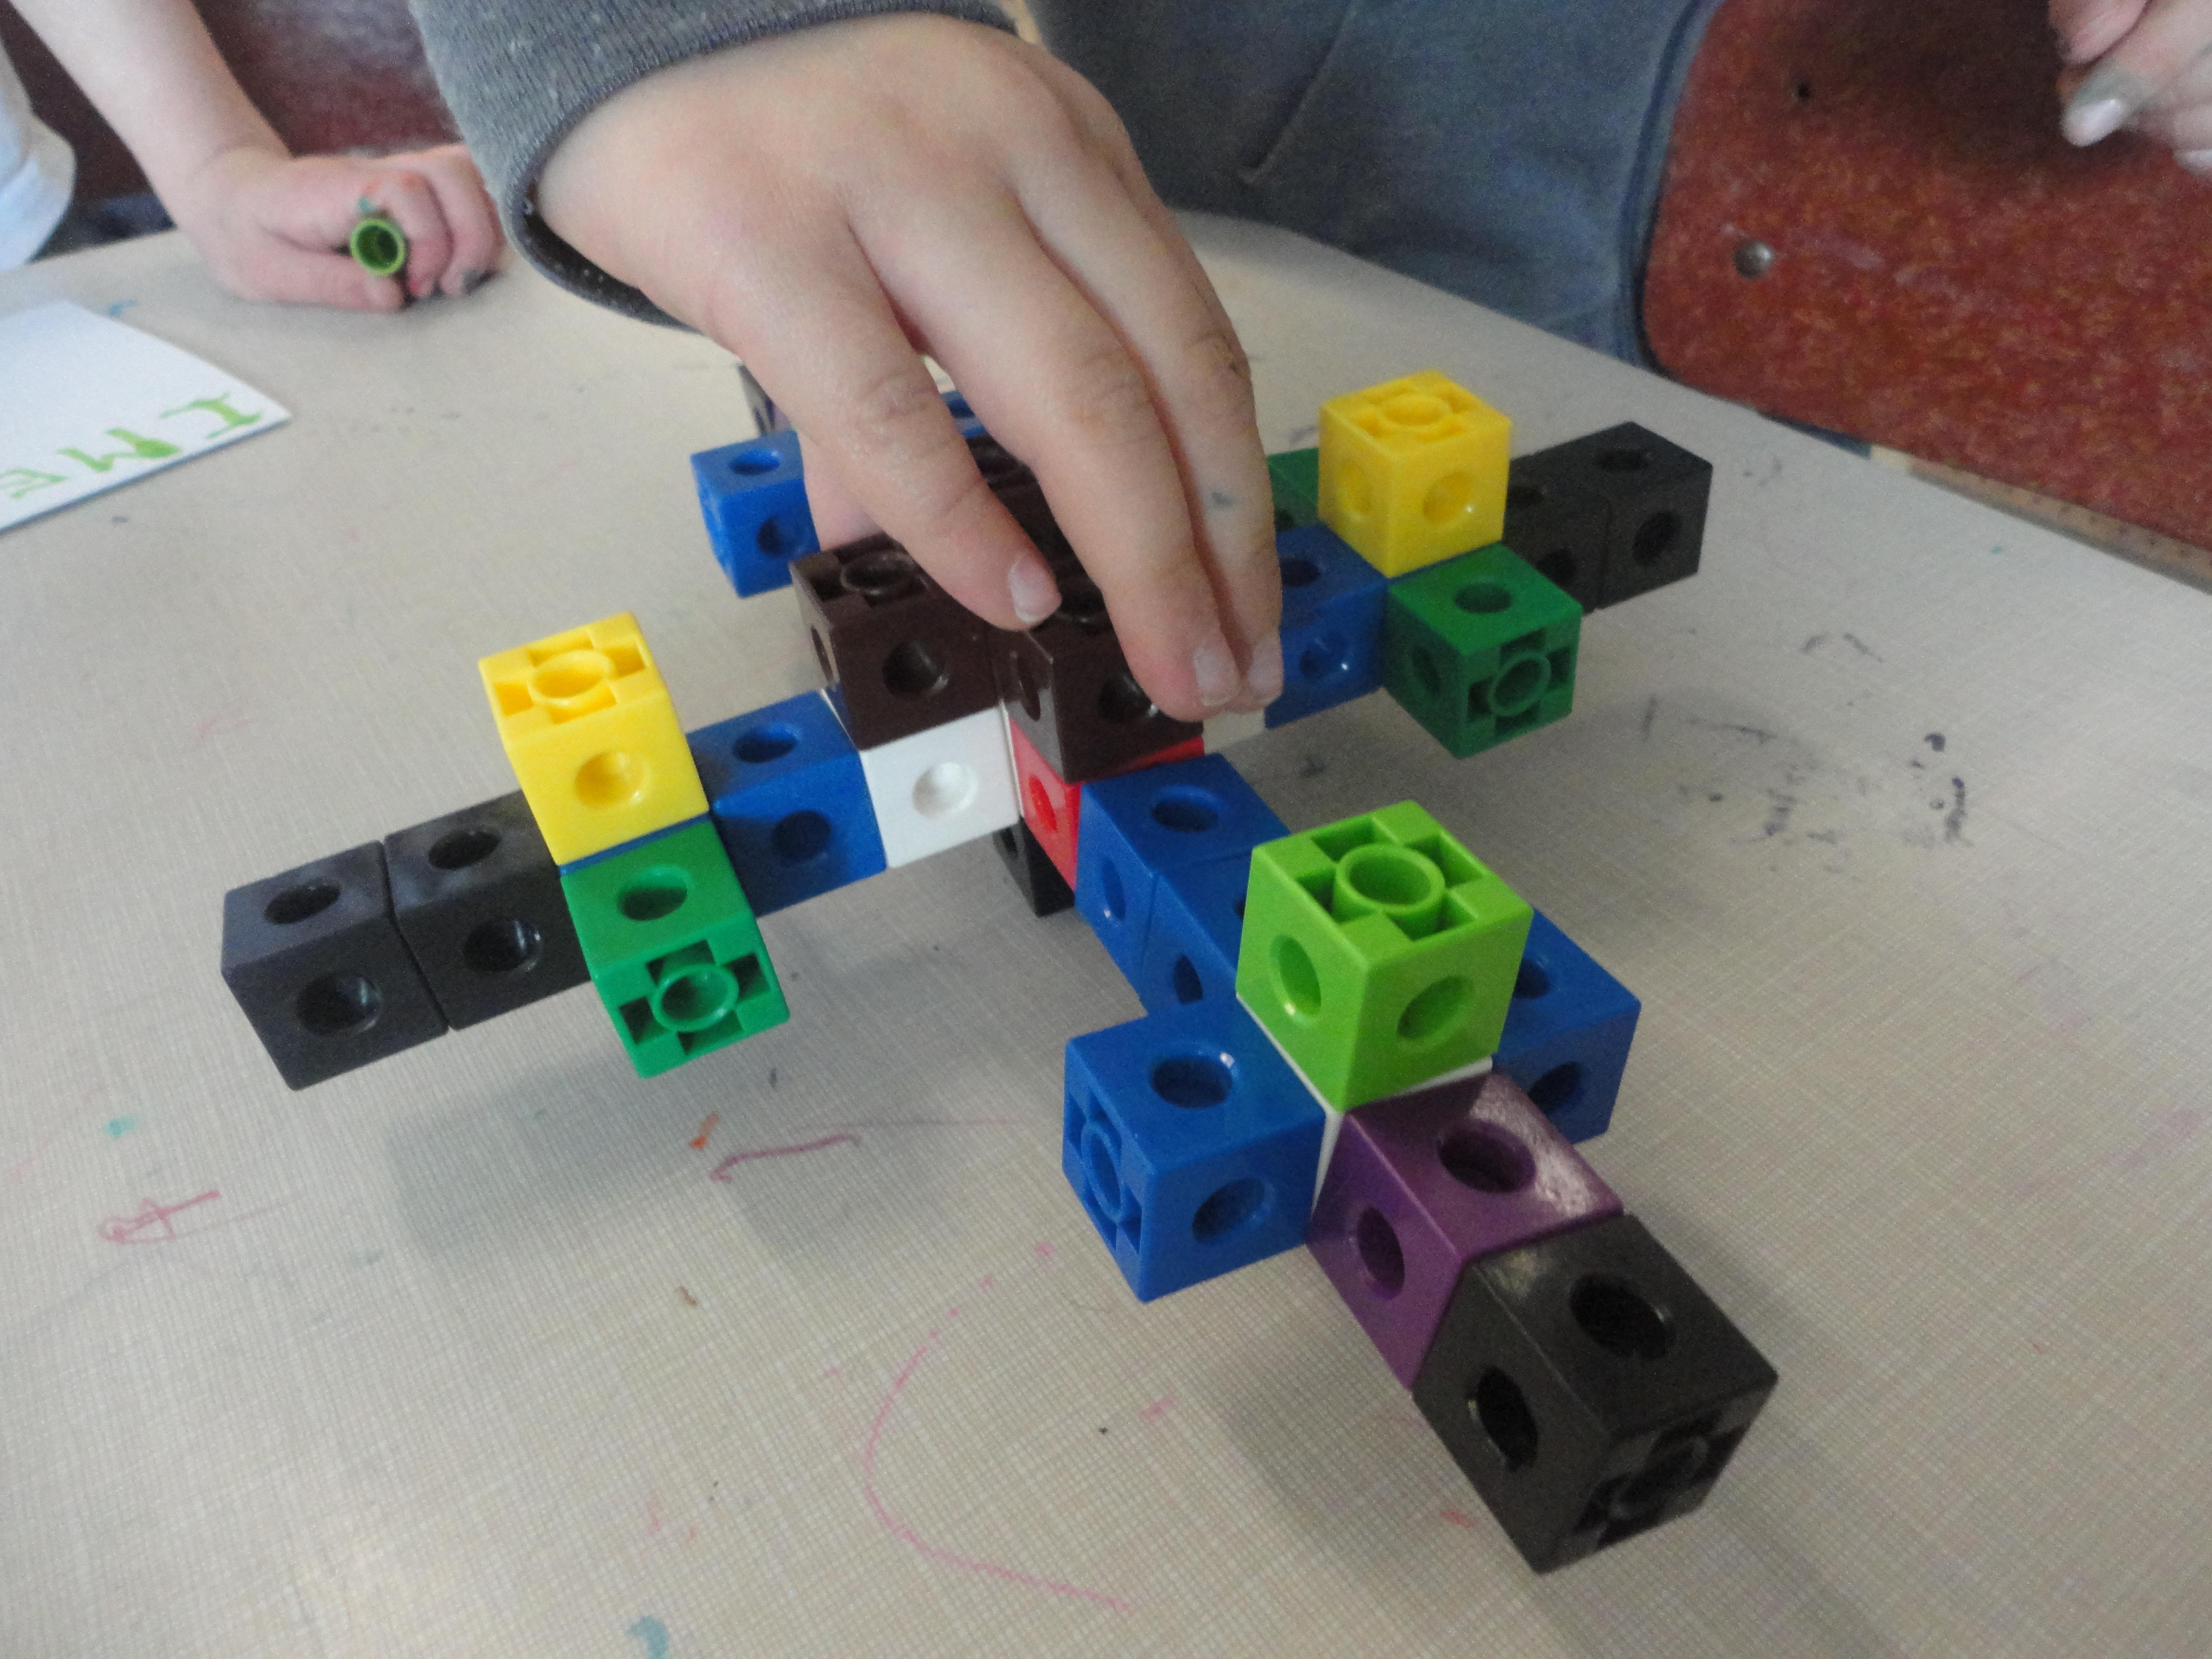
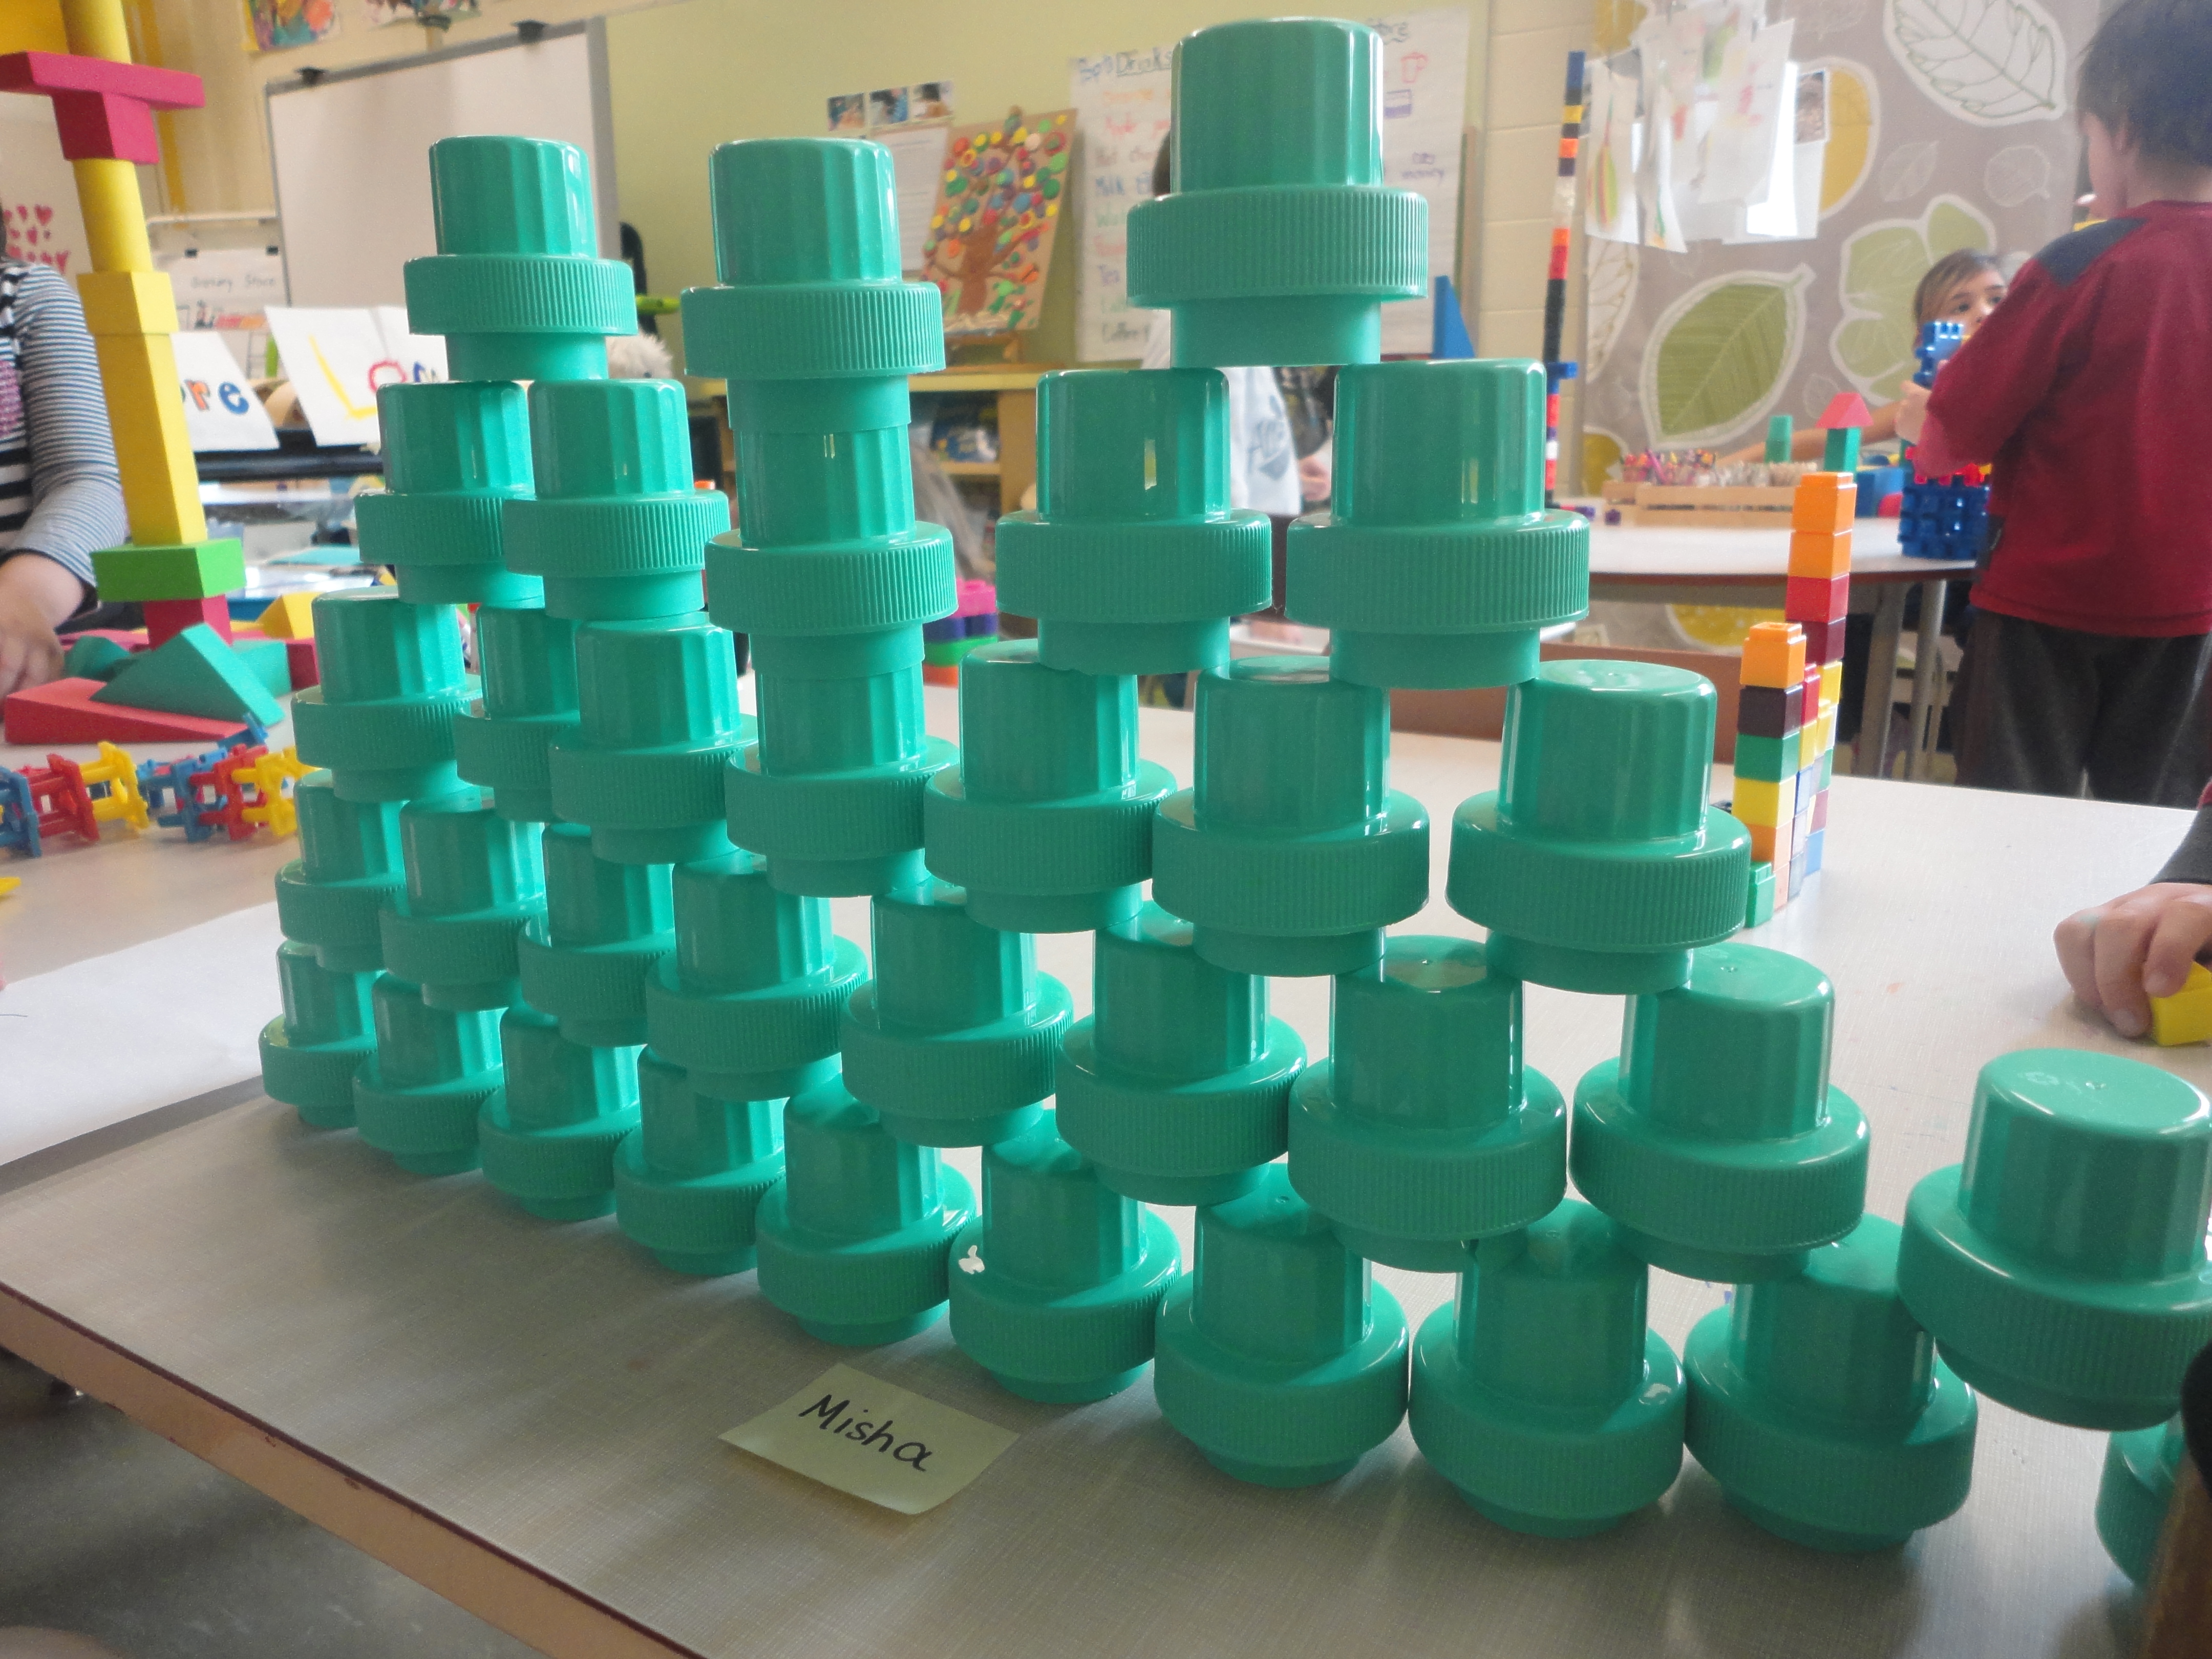
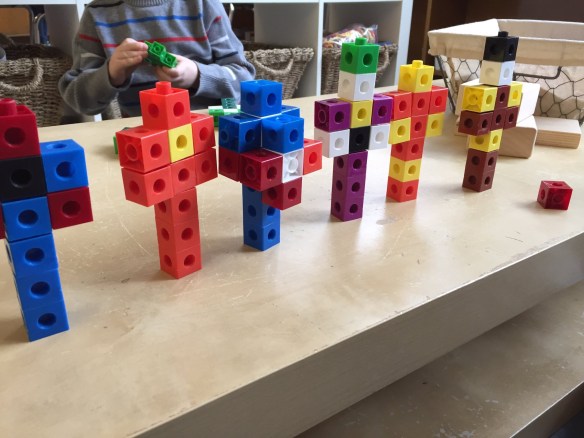
Last year my class was absolutely OBSESSED with Super Heroes. They were everywhere in the children’s play, indoors and out, but most especially at the small building centre. It really all started with two boys who began creating super heroes out of linking cubes. After sharing their creations with the class, more and more children began turning up at the small building centre to make and play super hero games.

IMG_7970

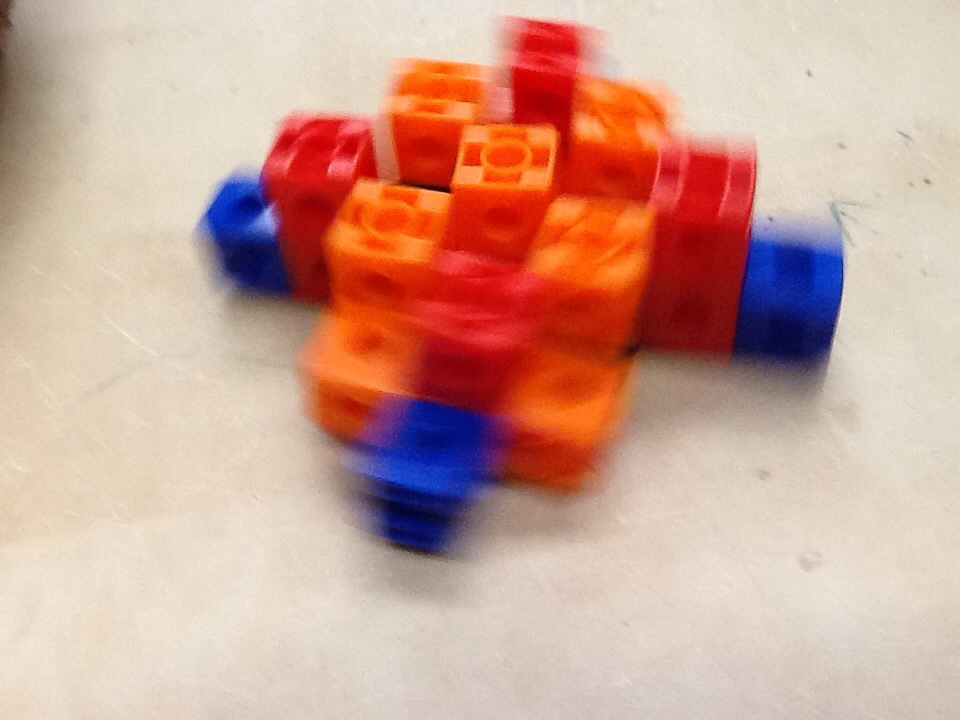
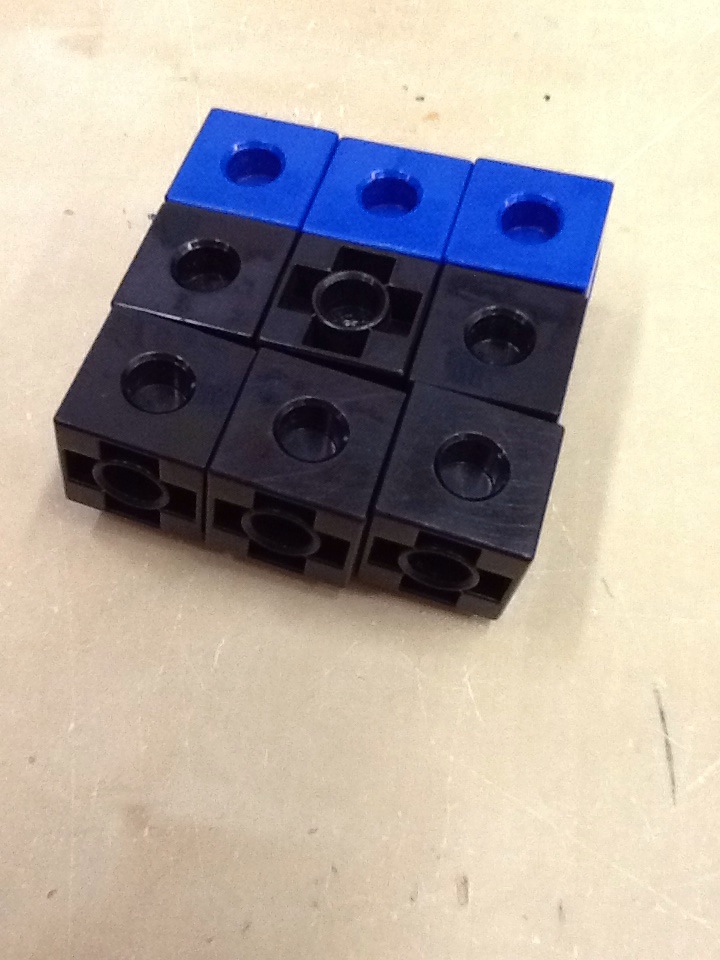
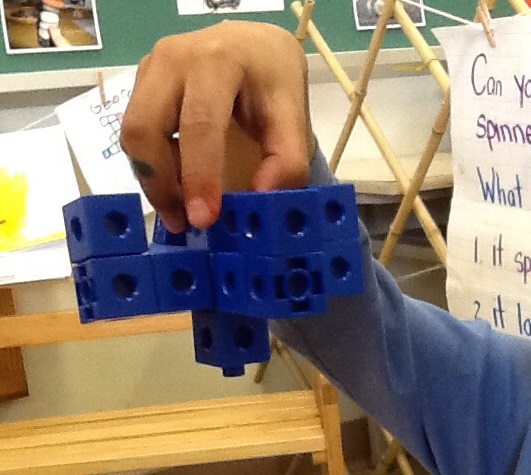
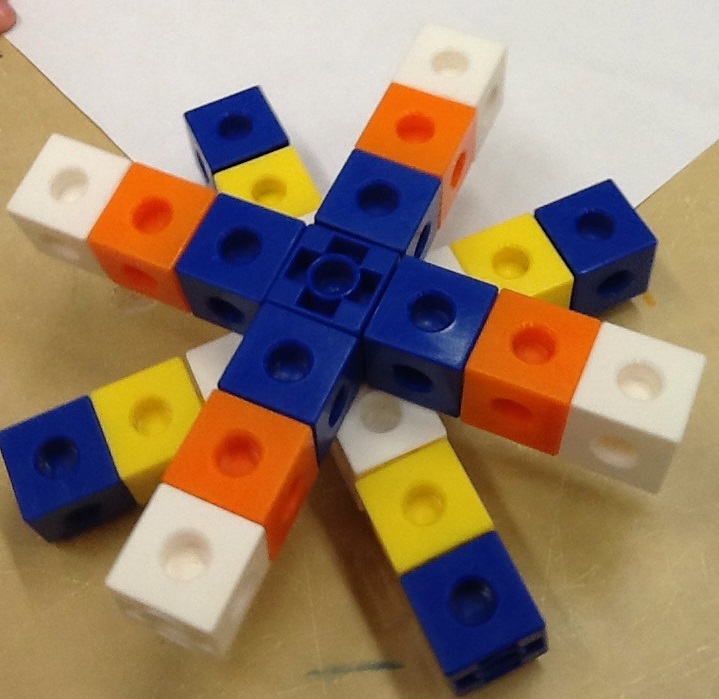
Can you guess who these Super Heroes are??

At the same time all this was going on, one of my favourite bloggers was also experiencing some Super Hero mayhem in her class. Mrs Meyers began posting some amazing STEM ideas based off the characteristics of Super Hero stories (along with many other super hero related questions, which she wrote about in her blog here: http://mrsmyerskindergarten.blogspot.ca/2017/03/what-we-learned-by-investigating.html)

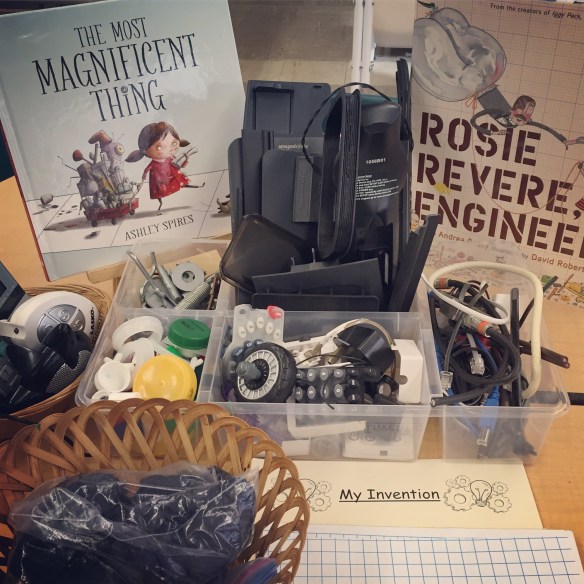
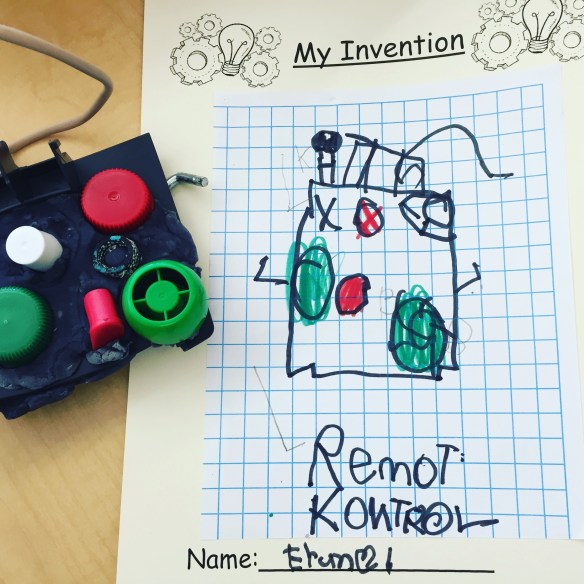
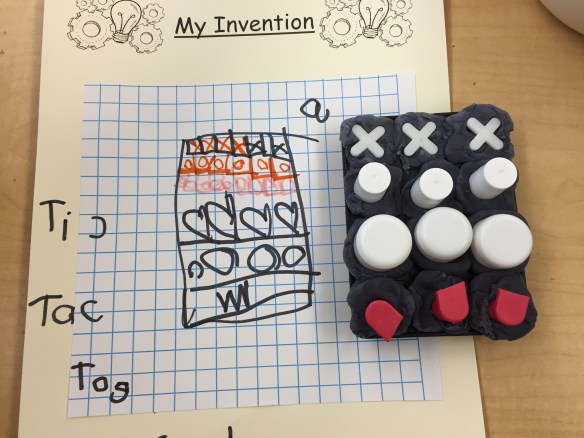
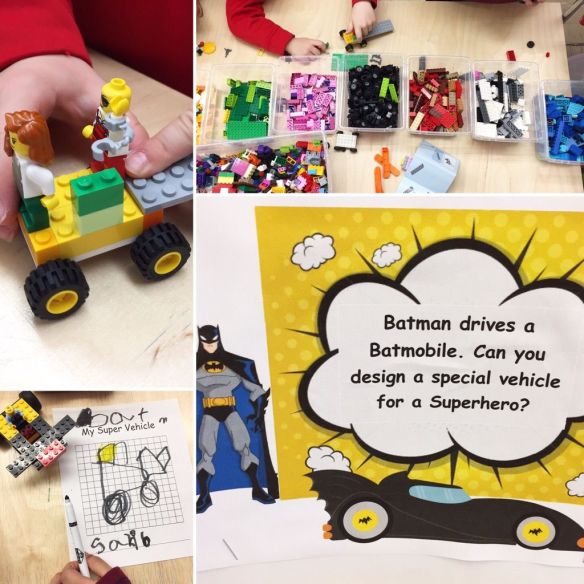
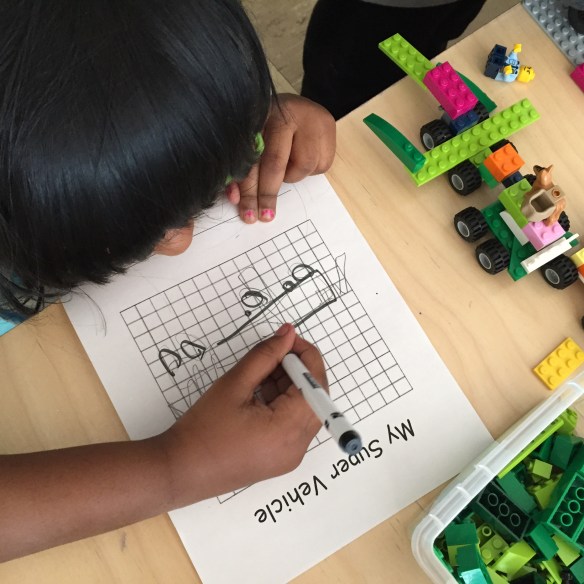
All of the ideas we tried were hugely popular and led to a lot of experimentation and conversation in our class. We added some of our own provocations based on the children’s overall interest in certain materials (e.g., Plasticine, Lego). Here is a gallery of some of our work:

32a235eb56fb

IMG_7739

283586756858

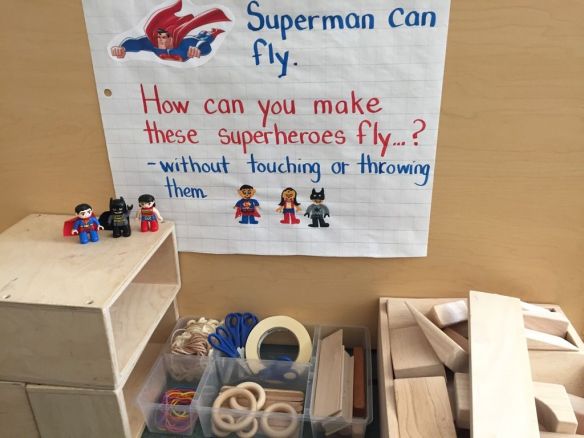
This STEM flying challenge was VERY popular and led to a lot of collaboration and teamwork. In fact, many children challenged themselves to come up with multiple ways of making these Duplo characters fly. One group of boys was ecstatic when they figured out how to make a catapult. For days, Duplo Super Heroes were flying across the classroom!

e91c2a177239

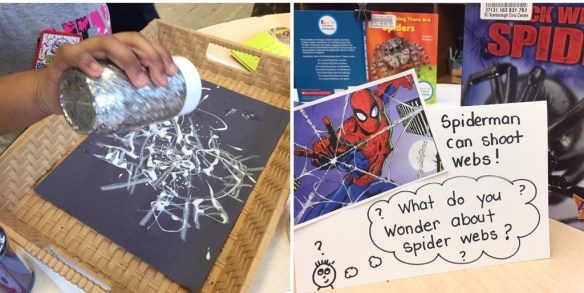
Another gem from Mrs Meyers! Our students loved making their own spider webs and looking in the non fiction books to learn more about them.

FGZJ4032 - Copy

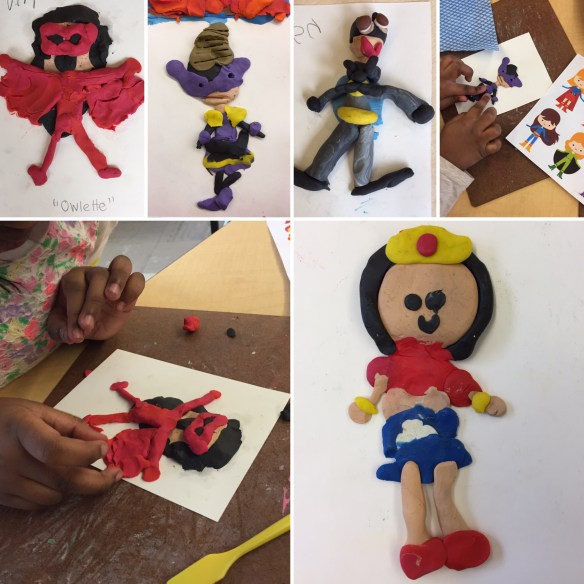
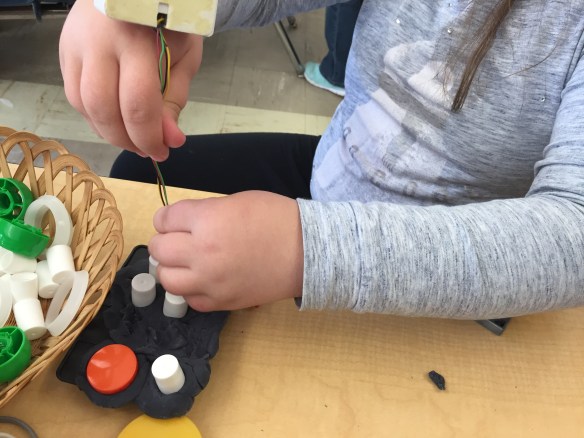
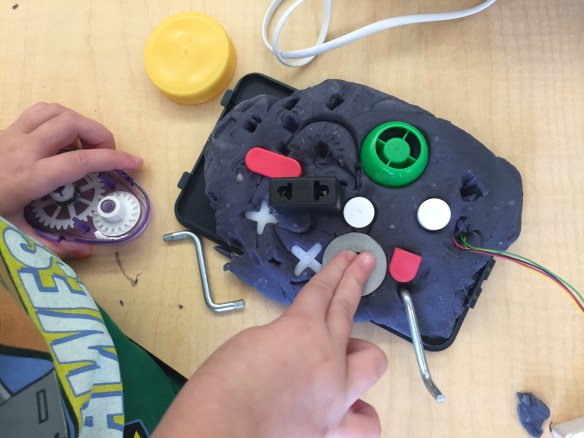
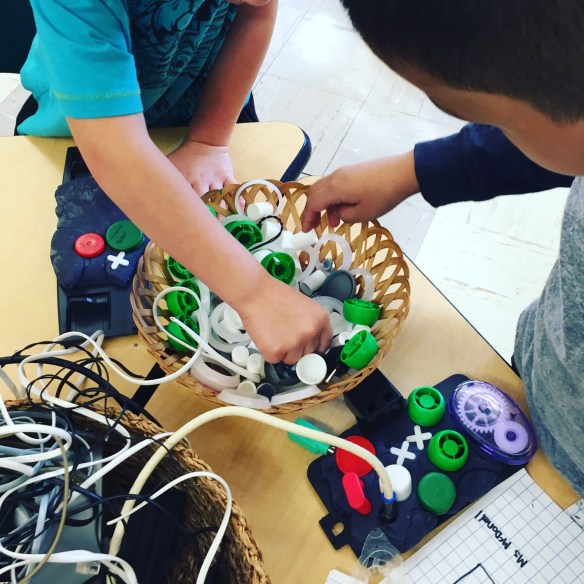
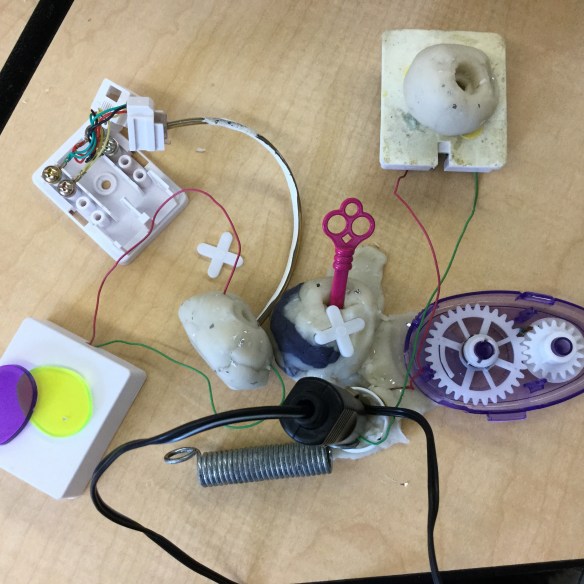
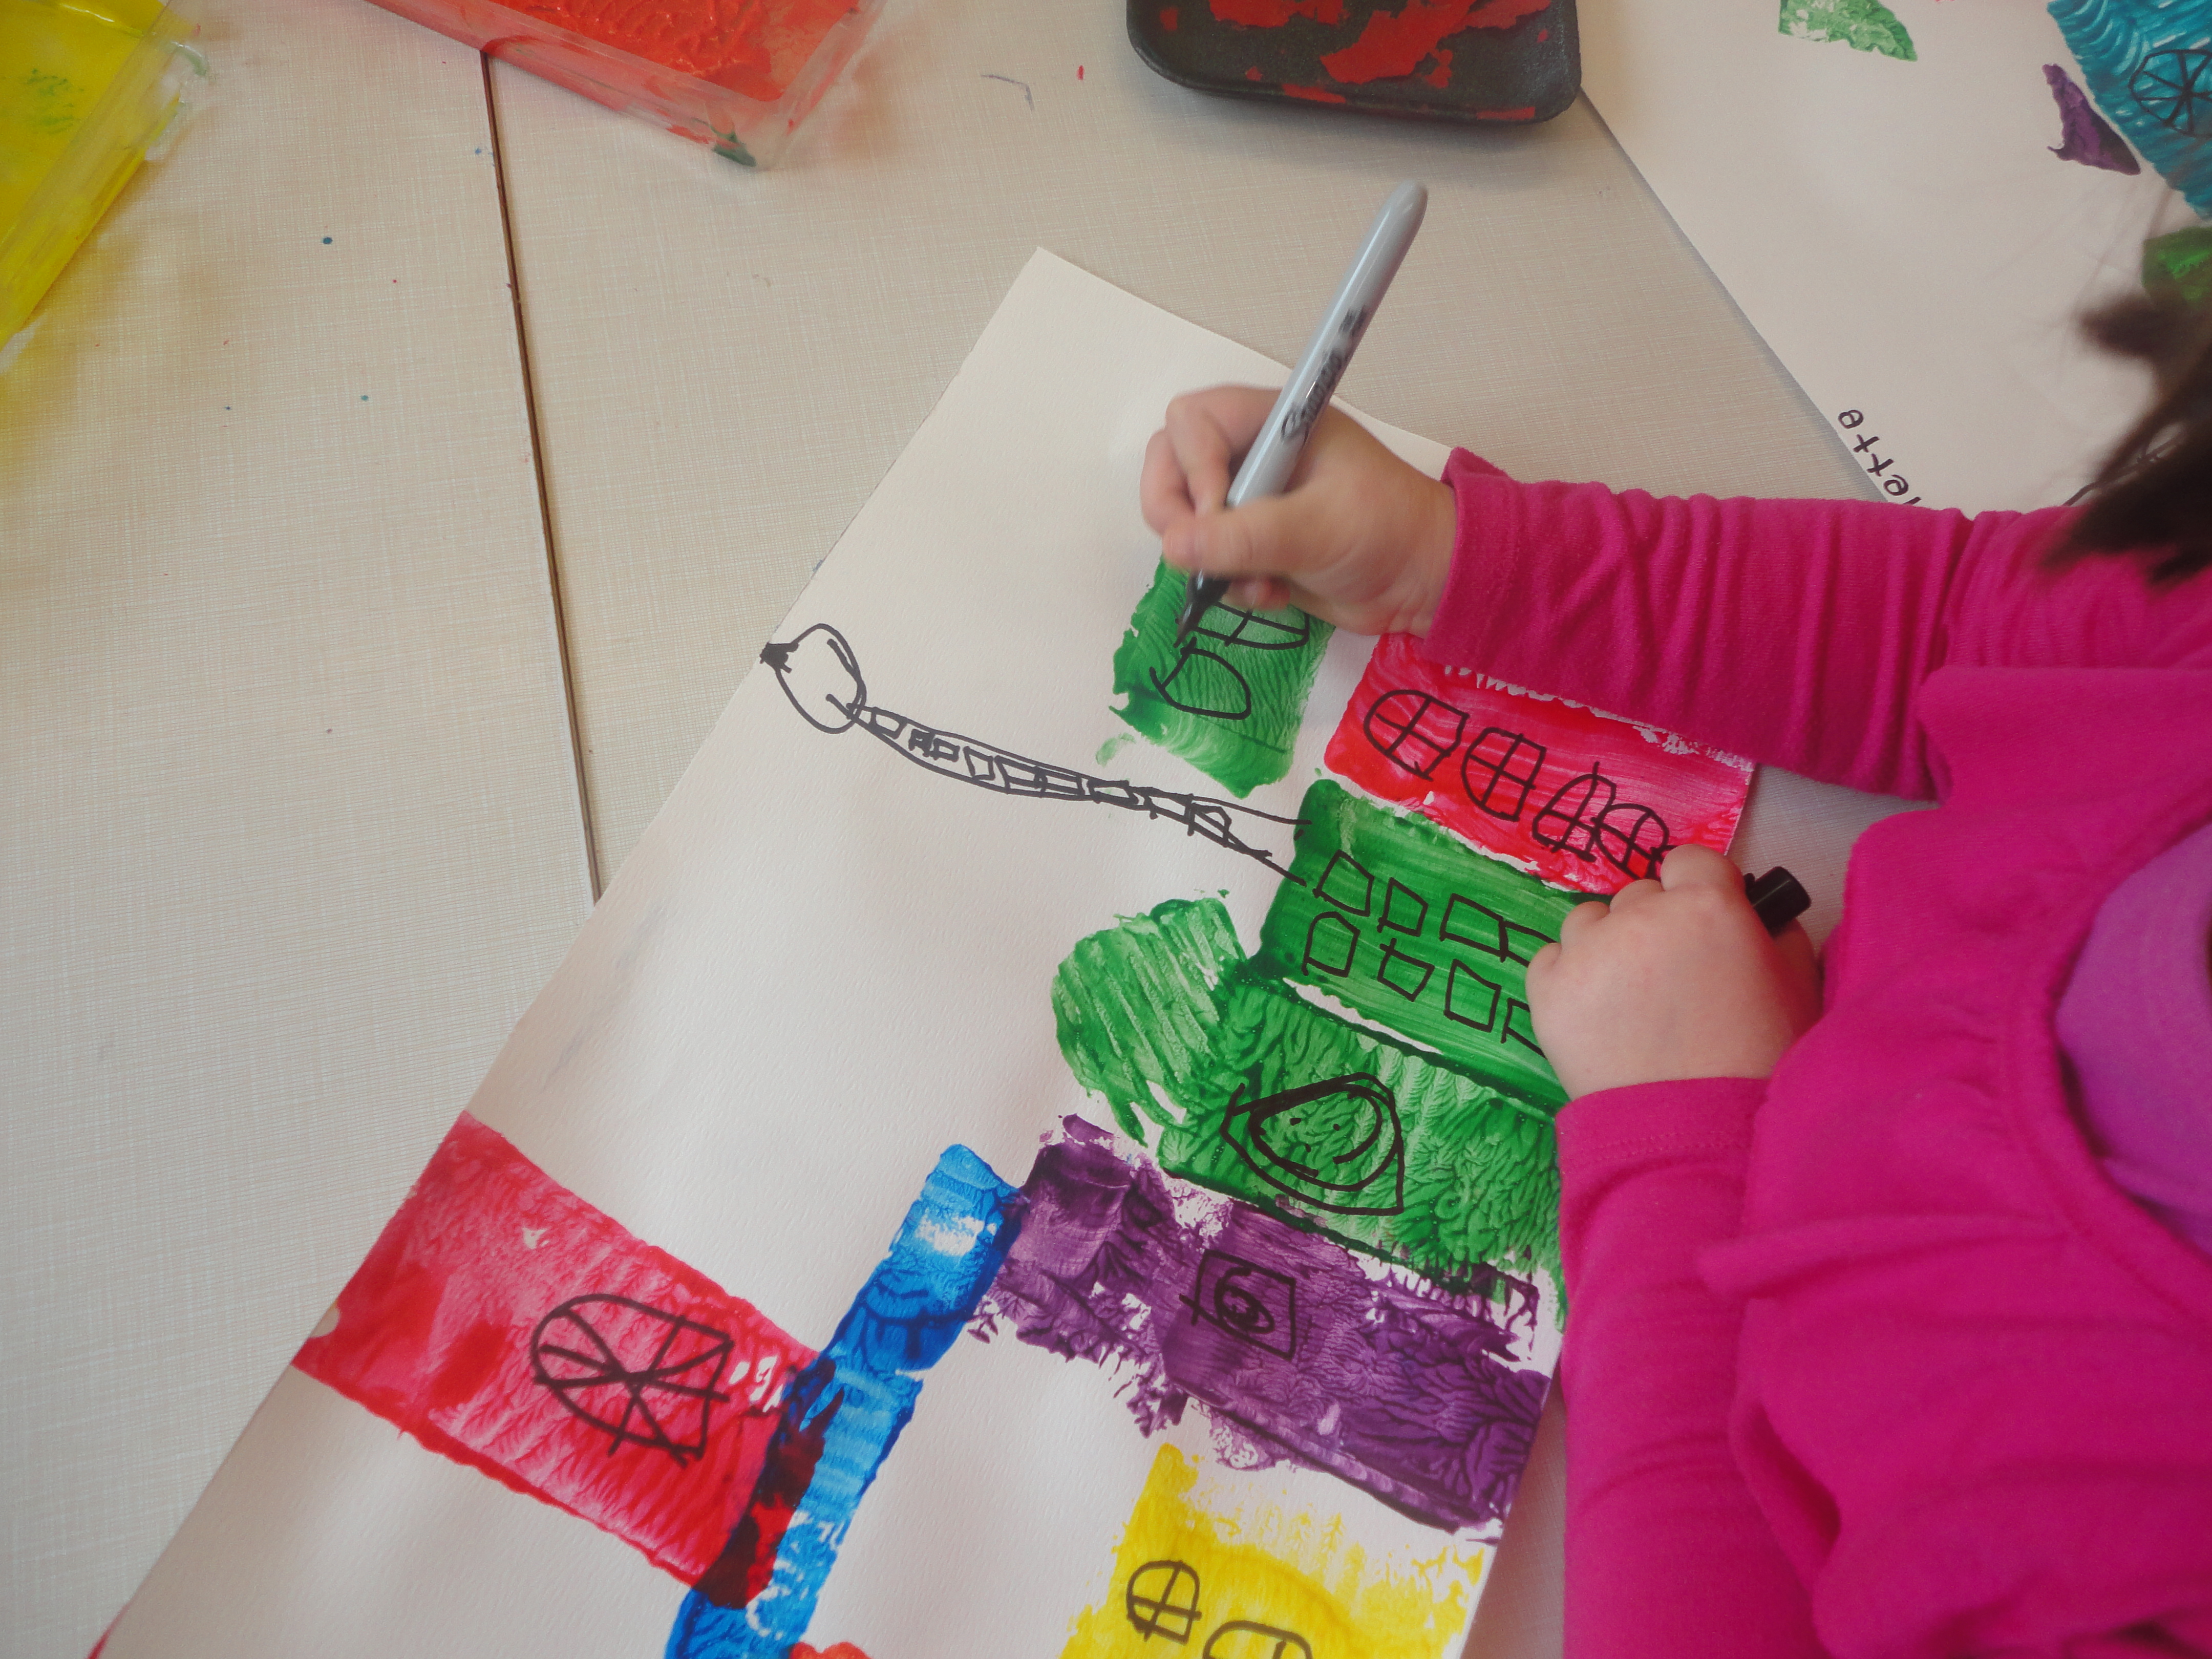
By far the most popular provocation was this one which gave the children an opportunity to create a Super Hero out of Plasticine (modelling clay). Most students came here often to make a number of different Super Heroes. We loved sharing these at reflection time and talking about the aspects of the costumes that helped us identify each Super Hero’s identity. I was amazed at how detailed these creations were! We had a collection of Super Hero readers which I gathered from the library that the children were intent on consulting as they worked to make sure they got everything just right.

IMG_2594.JPG

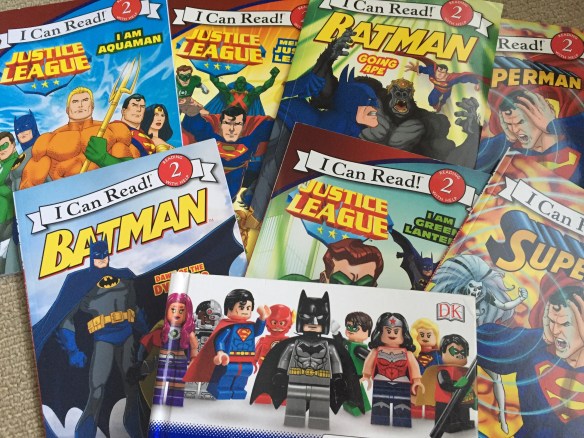
A few of the super hero readers we had out in the classroom. These were SO popular – even the most reluctant readers were eager to look at these.

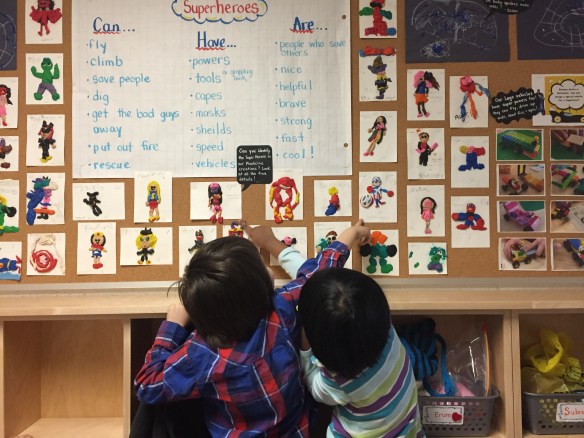
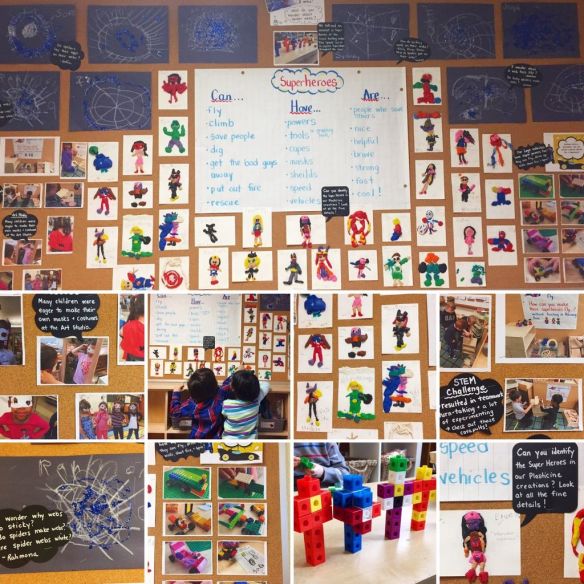
One of the thinking routines we relied on heavily for this project was “Can…Have…Are…” This unique take on a concept web really helps focus the children’s thinking on a specific topic. We used it to organize our thinking about villains, specific superheroes like Spiderman, and about Superheroes in general. Each time we used it, the children got more skilled at communicating their ideas.

5477c5962e05

What Superhero inquiry would be complete without some creative costume making? The more we talked about superheroes, the more interested the children were in developing their own superhero personas. We used small cardstock cards to make masks and plastic table cloths to make capes.

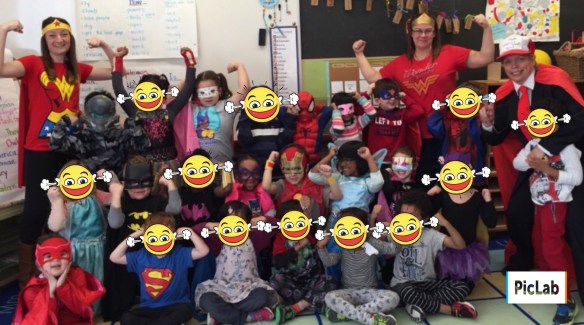
We wrapped up our learning with a “superhero day” where everyone came to school dressed as their favourite superhero.

IMG_2597

In addition to celebrating our learning with a Super Hero day, we also celebrated by creating a display of our work. The children were so incredibly proud to see their work on display and could often be found admiring their work with classmates and friends.

89855ba4e949

A BIG thank you again to Mrs Meyers for sharing her class’s learning online and continuing to inspire me and my students!


Playdough Provocations: Inventor’s Workshop!

img_5627

If you are looking for a way to jazz up the materials at your playdough table, I have a tried and tested provocation that I’m sure your students will love: The Inventor’s Workshop. I stumbled upon this amazing idea while perusing one of my favourite blogs: The Imagination Tree. On her blog, Anna has a list of over 50 ideas for using playdough which I go to whenever I’m in need of some inspiration. You can find her list as well as her recipes for playdough here: http://theimaginationtree.com/2013/01/the-z-of-play-dough-recipes-and.html

Before the children visited this centre, I set them up with some schema about what an inventor is by reading The Most Magnificent Thing by Ashley Spires and Rosie Revere, Engineer by Andrea Beaty (both titles pictured above). I have my own collection of technology cast-offs, but I also wanted to involve the children in the creation of this centre so I sent home a note asking parents for any old electronic materials that we could use. The very next day we got an awesome assortment of old wires (which we trimmed for ease of play), speakers, remotes, cell phones, etc. which we sorted into our loose parts tray. I also added some plastic caps and metal loose parts I had in my loose parts bin.

In addition to the playdough and a collection of loose parts, I also wanted the children to record their creations on paper. I created a recording sheet with “My Invention” at the top. I also provided the children with a new kind of paper to sketch on: graph paper. I told them it was a special kind of paper that planners and inventors might use. I even modeled how to draw a creation I made by sketching and labeling the parts of my machine (like the on/off button, etc.). The children couldn’t WAIT to give this one a go!

img_5565

img_5570

“This is the ‘off’ button!”

img_5596

These students were working independently until they realized they could connect their inventions together with a long wire. They were so excited about this discovery!

img_5712

“This is a ‘potato maker’ – it can make all kinds of potatoes: chips, french fries, mashed potatoes…”

img_5595

This student took time to colour and label her drawing to match her creation. “I put a check mark to show that it’s done!”

img_5591

“A Tic Tac Toe machine.”

One of the interests that developed from this provocation was an interest in robots. This was in part due to our experimentation with the apps ChatterPix and ChatterKid. Both versions of the app are nearly identical but ChatterKid has a three second countdown before it starts recording so that students know when to start talking.

chatterpix.png

Basically, ChatterPix allows you to bring photos, drawings, and creations to life. You simply “draw on” a mouth and record your message and your image will talk! Here is a sample that one of my students made. This particular student is generally quite shy, so him having the confidence to not only record something but then share it confidently with the class at reflection time was a breakthrough (you can click on the link below to see the video on Twitter)!

Here are a few of the robots the children created:

What I liked most about this provocation  (besides the fact that it is engaging, creative, and fun!) is that it provided so many opportunities for our students to engage in literacy behaviours. The children were actively telling each other about their inventions as they worked, negotiating the use of special materials, and of course recording and writing about their inventions. During reflection time, the class was rapt with attention listening to each other describe what their inventions could do and how they were made. Many students were inspired to visit (or re-visit) this centre after hearing about what their classmates had created there.

Have you ever tried an Inventor’s Workshop in your class? Are you using ChatterPix with your students? I’d love to hear about what you’re doing!

Snap Cube Workshop: The Spinner Project

014718905408525d7dab6df0439790e44a0c1d0f33

If you are a regular follower of the blog, you will know that the students in my class LOVE snap cubes. They love them so much, we dedicated an entire centre in my classroom to them (you can read about our journey to embrace the the snap cube craze here: https://thecuriouskindergarten.wordpress.com/2014/03/10/snap-cube-workshop/ and here: https://thecuriouskindergarten.wordpress.com/2014/03/10/snap-cube-workshop-inspiring-young-authors/).

The Spinner Project evolved out of a popular way the students used the snap cubes at the snap cube workshop: they spun them. Constantly. At least once a day someone took a cube and tried to spin it. With some investigation, we learned that the children were trying to recreate “Beyblades,” a popular toy many of them had at home. (This isn’t the first time I had heard about Beyblades. In fact, for the last 5 years or so, I have been wondering what to do with the children’s interest in these toys.) The trick to coming up with an engaging and meaningful inquiry I find is coming up with just the right problem/question. It was during one of our reflection discussions that the question jumped out at us. Two boys were talking about spinning the cubes and each had made a spinner that was slightly different. We were trying to figure out if one spinner worked better than the other, and why. And viola!

The next day, we posed the following question: Can you build the best spinner? The children were so excited about this question! Before discovery time, we spent some time talking about what the word “best” would mean. The children came up with three criteria which we posted at the snap cube centre:

DSC03180

In addition to creating our criteria, we talked about the tools the children could use to assess the success of their spinners. For “spinning super duper fast,” the children decided capturing the spinner on video would be a good way to measure this. For design, we would take pictures of our spinners and/or save them to show at reflection time. And for “spins a long time” we showed the children how to time their spinning spinners using the timer on the iPad.

DSC03003

There were so many interesting discoveries made during this project! Here are some images and ideas we captured of the children’s experimentation:

DSC03036

DSC09057

DSC03233

The spinners got more and more elaborate as design became the focus of the children’s attention. We learned that, generally, the more elaborate the design, the slower the spinner spun.

DSC03159

The students were fascinated to explore the paths and patterns of a spinner’s movement.

018a0ea4a4c94814f43bbdad99c1c66d4e8cb59cb8

Many children worked collaboratively: K: “We attached our spinners together and made it so BIG! It spins so much faster when they are together.”

01e35c32fa5c2511e43e920edbe3917f7d89b2f264

things_that_spin_SMART

In a large group discussion, we brainstormed a list of things that spin.

01c5dd63ea007b151cac02747b62ab28982b82704f

J.K.: “Mine is a square, but when it spins it looks like a blade, sharp. I was just experimenting to see if I can make the best one.”


017a8d0b4f9389954d799687ab9ea93570769ab389_00001

01e192e5abdb727fa16ca08e28fba8a50f4fd72f22_00001

01b180bbc7296f0a2b9ac47407f051e62af152e402

01b165b16ca23357a636ef445254fb0c4231b8c933

Problem solving and experimentation were evident: S: “Mine is flat and I can still spin it. What if I add another cube on top and then I can use that to spin it – like a handle? [He tries it.] Hmm…that slows it down. So that is a bad idea.”

J: “My spinner is the best because it spins the fastest and for 29 seconds. Also, if you put a red block beside a while block it turns pink when it spins because white and red make pink.”

M: “I discovered you can make a spinner with just one cube. It’s small and it’s good to just use one cube because it won’t break and you can fit it in your pocket!”

Have you explored a spinning inquiry with your students? What questions/ideas did you explore?


Tower Inquiry

Image

As part of our Math and Science Investigations (M.S.I) time in Kindergarten, our students explored a tower inquiry (In a previous post I wrote about Math and Science Investigations (M.S.I.) and how it drives a lot of inquiry in our classroom. You can read about it here: https://thecuriouskindergarten.wordpress.com/2014/03/29/math-and-science-investigations-m-s-i/ ). When students first learn about M.S.I., they learn about how to build up with the blocks they have chosen. As a result, many children began to label their initial structures as “towers.” This got us thinking: What is a tower? What kinds of towers are there? How do we build a strong tower? Each week, the students thought about these questions and experimented with different materials, shapes, and designs for their tower structures. We looked at models of towers from around the world, talked about towers in our community and city, and talked about how towers can be useful in structure and design.

As the children shared their learning at school with their families at home, they began to bring in examples of towers they had visited. Part of our M.S.I. time was dedicated to hearing about our students’ personal experiences at towers nearby. This introduced us to a variety of towers that we had never heard of or learned about before. For example, one student brought in pictures from her visit to Dorset Tower and taught us about towers that are built as lookouts. Her story about having to climb up several flights of stairs to reach the top of Dorset Tower also got us thinking about how people can get to the tops of towers. Soon, ‘stairs,’ ‘elevators,’ and ‘helicopter landing pads’ began appearing in the children’s structures. When we began talking about condo towers, many of the children were excited to discover that they actually lived in a tower! You see, most of my students live in a condo complex across the street from our school. Talk about making connections!

Here are some of the anchor charts we co-created with the children:

Image

Image

Image

Image

The learning that was happening during this inquiry was not limited to our once-a-week M.S.I. time. We created a variety of opportunities for the children to express their learning through the centres in the classroom:

At the Art Studio:

Image

Image

Image

At the small building centre:

Image

Image

Image

During Art and Fine Motor Instruction:

Image

As the inquiry began to wrap up, the children were challenged to build their best tower design. As an additional challenge, the children were asked to sketch their towers when they were complete:

Image

Image

Here are some pictures of our Tower Inquiry Documentation:

Image

Image

Image


Math and Science Investigations (M.S.I.)

Image

Math and Science Investigations (M.S.I.) is a building program I have been doing in Kindergarten since I started my career. I first learned about it during one of my practicums in a Kindergarten class when I was in teacher’s college. Essentially, M.S.I. is an inquiry-based program that uses building materials to encourage the development of math and science concepts, creativity, problem-solving, perseverance, planning, and much, much, more. My original resource for M.S.I (a worn photocopy from a book that used to exist somewhere in the board) is long since lost; however, I found a great replacement in the book Building Structures With Young Children by Ingrid Chalufour and Karen Worth:

Image

Basically, M.S.I. goes something like this:

1) I teach a mini lesson on the day’s focus.

2) Each student gets their own bin of building materials (blocks, connectors, cups, etc.) and takes it to a table. The bin goes on the chair and the children stand at the table and build. I circulate and facilitate discussion, pose questions, take notes, take photographs.

3) Reflection. I post pictures of interesting structures for discussion and feedback.

Image

We engage in M.S.I. as an entire class, one period per week. That being said, the building bins are always available during discovery time and it is common to find children selecting them to continue working on an inquiry we are engaged in. We also often find ourselves setting up provocations that support the learning that is happening in M.S.I., due to significant student interest.

Here are a few questions I often get about M.S.I:

Q: What kind of materials do you use? How do you organize enough bins for each child to have one?

A: We use a variety of store-bought traditional building blocks and some found materials to make up our bins. Wooden blocks, tree blocks, better blocks (kind of like Duplo), foam blocks, cups (laundry caps) from the recycling depot, anything that will stack! I purchased some materials from school catalogues, found others at garage sales and recycling stores, and got some for free from the recycling depot in our school board. Anything that can stack reasonably well is a good material for M.S.I. If you don’t have enough for everyone in your class you could always run the program with children working in partners or groups, and we sometimes do this as well depending on the focus of the lesson.

Q: What about space? Where do you store your materials? What if you don’t have enough table space for each student?

If you don’t have enough table space for each student to have their own spot, children can build on the floor. The idea behind standing and building at a table is that children are initially encouraged to build up with their materials. Standing helps the children stack their blocks more easily, and see their structure from all sides. Placing the building bin on a chair frees up table space for working. We store our building materials in two large rolling shelves. The shelves hold about 36 bins. I have a small space, but it’s not overwhelming in the classroom. I saw another school where the three kindergarten classes shared their M.S.I materials on a rolling cart that was parked in the hallway and could be easily moved to each class.

Q: What kinds of inquiries have you done? How long does one inquiry last?

A: The resource Building Structures With Young Children focuses on two inquiries: Towers and Enclosures. This year we have completed a Tower Inquiry (which I will write more about soon) and are now working on enclosures. We have also done inquiries on bridges and castles. In one school year, we usually have time to complete at least 2 large structure inquiries through M.S.I.

Image

Q: How is M.S.I introduced? What does it look like at the beginning of the year?

A: At the beginning of the year, M.S.I. time is mainly spent establishing routines and working on basic concepts of space, balance, making a plan, etc. There is a lot to be said just for helping the children locate a bin, find their own work space, build, and then tidy up. A lot of time also goes into establishing routines and expectations for sharing and reflecting on our structures at the end of the lesson. The most important part of the initial phase of M.S.I. is exploration and helping the children stay focused on solving problems rather than getting frustrated if/when their structure falls down. The children are often encouraged to choose different bins regularly to get a feel for the variety of materials we have available.

Image

I have to say, the children are always excited to see M.S.I. on the schedule. I continue to be amazed at how reflective and thoughtful they are about their structures and how mature they appear when giving feedback and suggestions to their classmates during reflection time. Although when I started teaching I successfully ran an M.S.I. program without a lot of fancy technology (none, actually), the access we now have to iPads, a classroom camera, and an interactive SMARTBoard have helped me take our building program to a whole new level. Being able to take a photo of a child’s structure and immediately post it on the SMARTboard for us to discuss is an invaluable part of the program. We regularly use the SMARTBoard pens to label the structure in the photo, highlight shapes in the design of the structure or draw on possible ideas to add next time.

If you have any other questions about how M.S.I. works, please don’t hesitate to drop me a line!