If you are looking for a way to jazz up the materials at your playdough table, I have a tried and tested provocation that I’m sure your students will love: The Inventor’s Workshop. I stumbled upon this amazing idea while perusing one of my favourite blogs: The Imagination Tree. On her blog, Anna has a list of over 50 ideas for using playdough which I go to whenever I’m in need of some inspiration. You can find her list as well as her recipes for playdough here: http://theimaginationtree.com/2013/01/the-z-of-play-dough-recipes-and.html
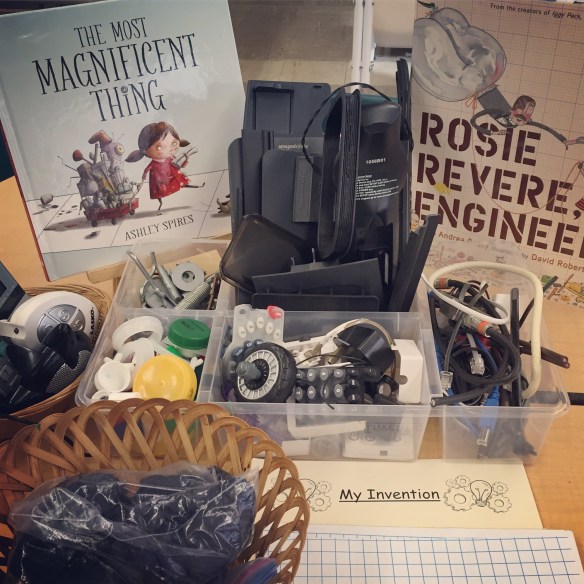
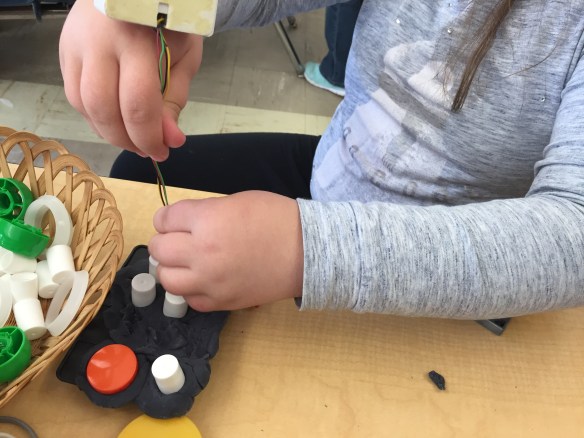
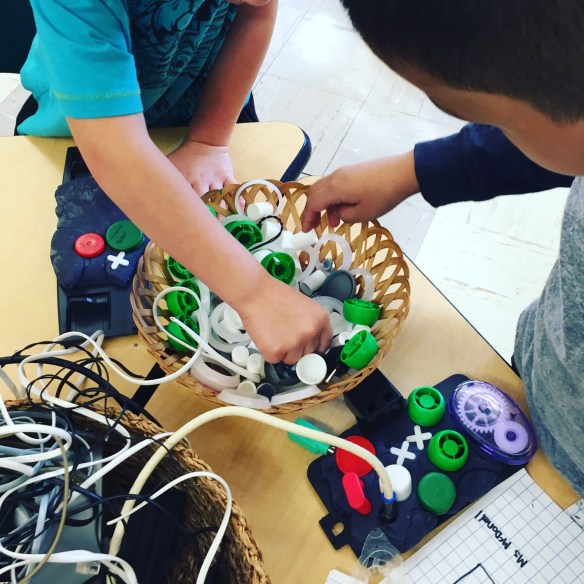
Before the children visited this centre, I set them up with some schema about what an inventor is by reading The Most Magnificent Thing by Ashley Spires and Rosie Revere, Engineer by Andrea Beaty (both titles pictured above). I have my own collection of technology cast-offs, but I also wanted to involve the children in the creation of this centre so I sent home a note asking parents for any old electronic materials that we could use. The very next day we got an awesome assortment of old wires (which we trimmed for ease of play), speakers, remotes, cell phones, etc. which we sorted into our loose parts tray. I also added some plastic caps and metal loose parts I had in my loose parts bin.
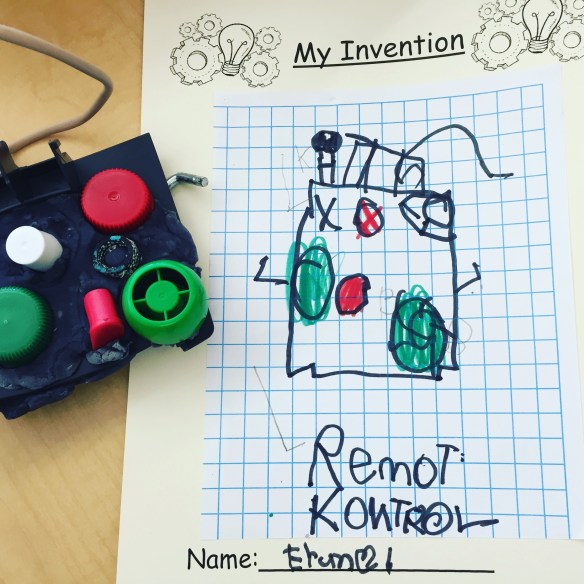
In addition to the playdough and a collection of loose parts, I also wanted the children to record their creations on paper. I created a recording sheet with “My Invention” at the top. I also provided the children with a new kind of paper to sketch on: graph paper. I told them it was a special kind of paper that planners and inventors might use. I even modeled how to draw a creation I made by sketching and labeling the parts of my machine (like the on/off button, etc.). The children couldn’t WAIT to give this one a go!
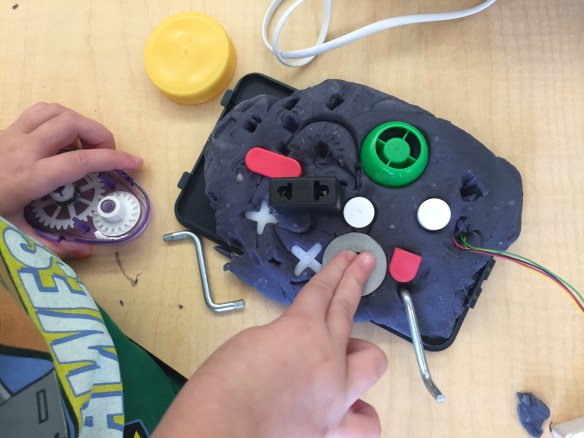
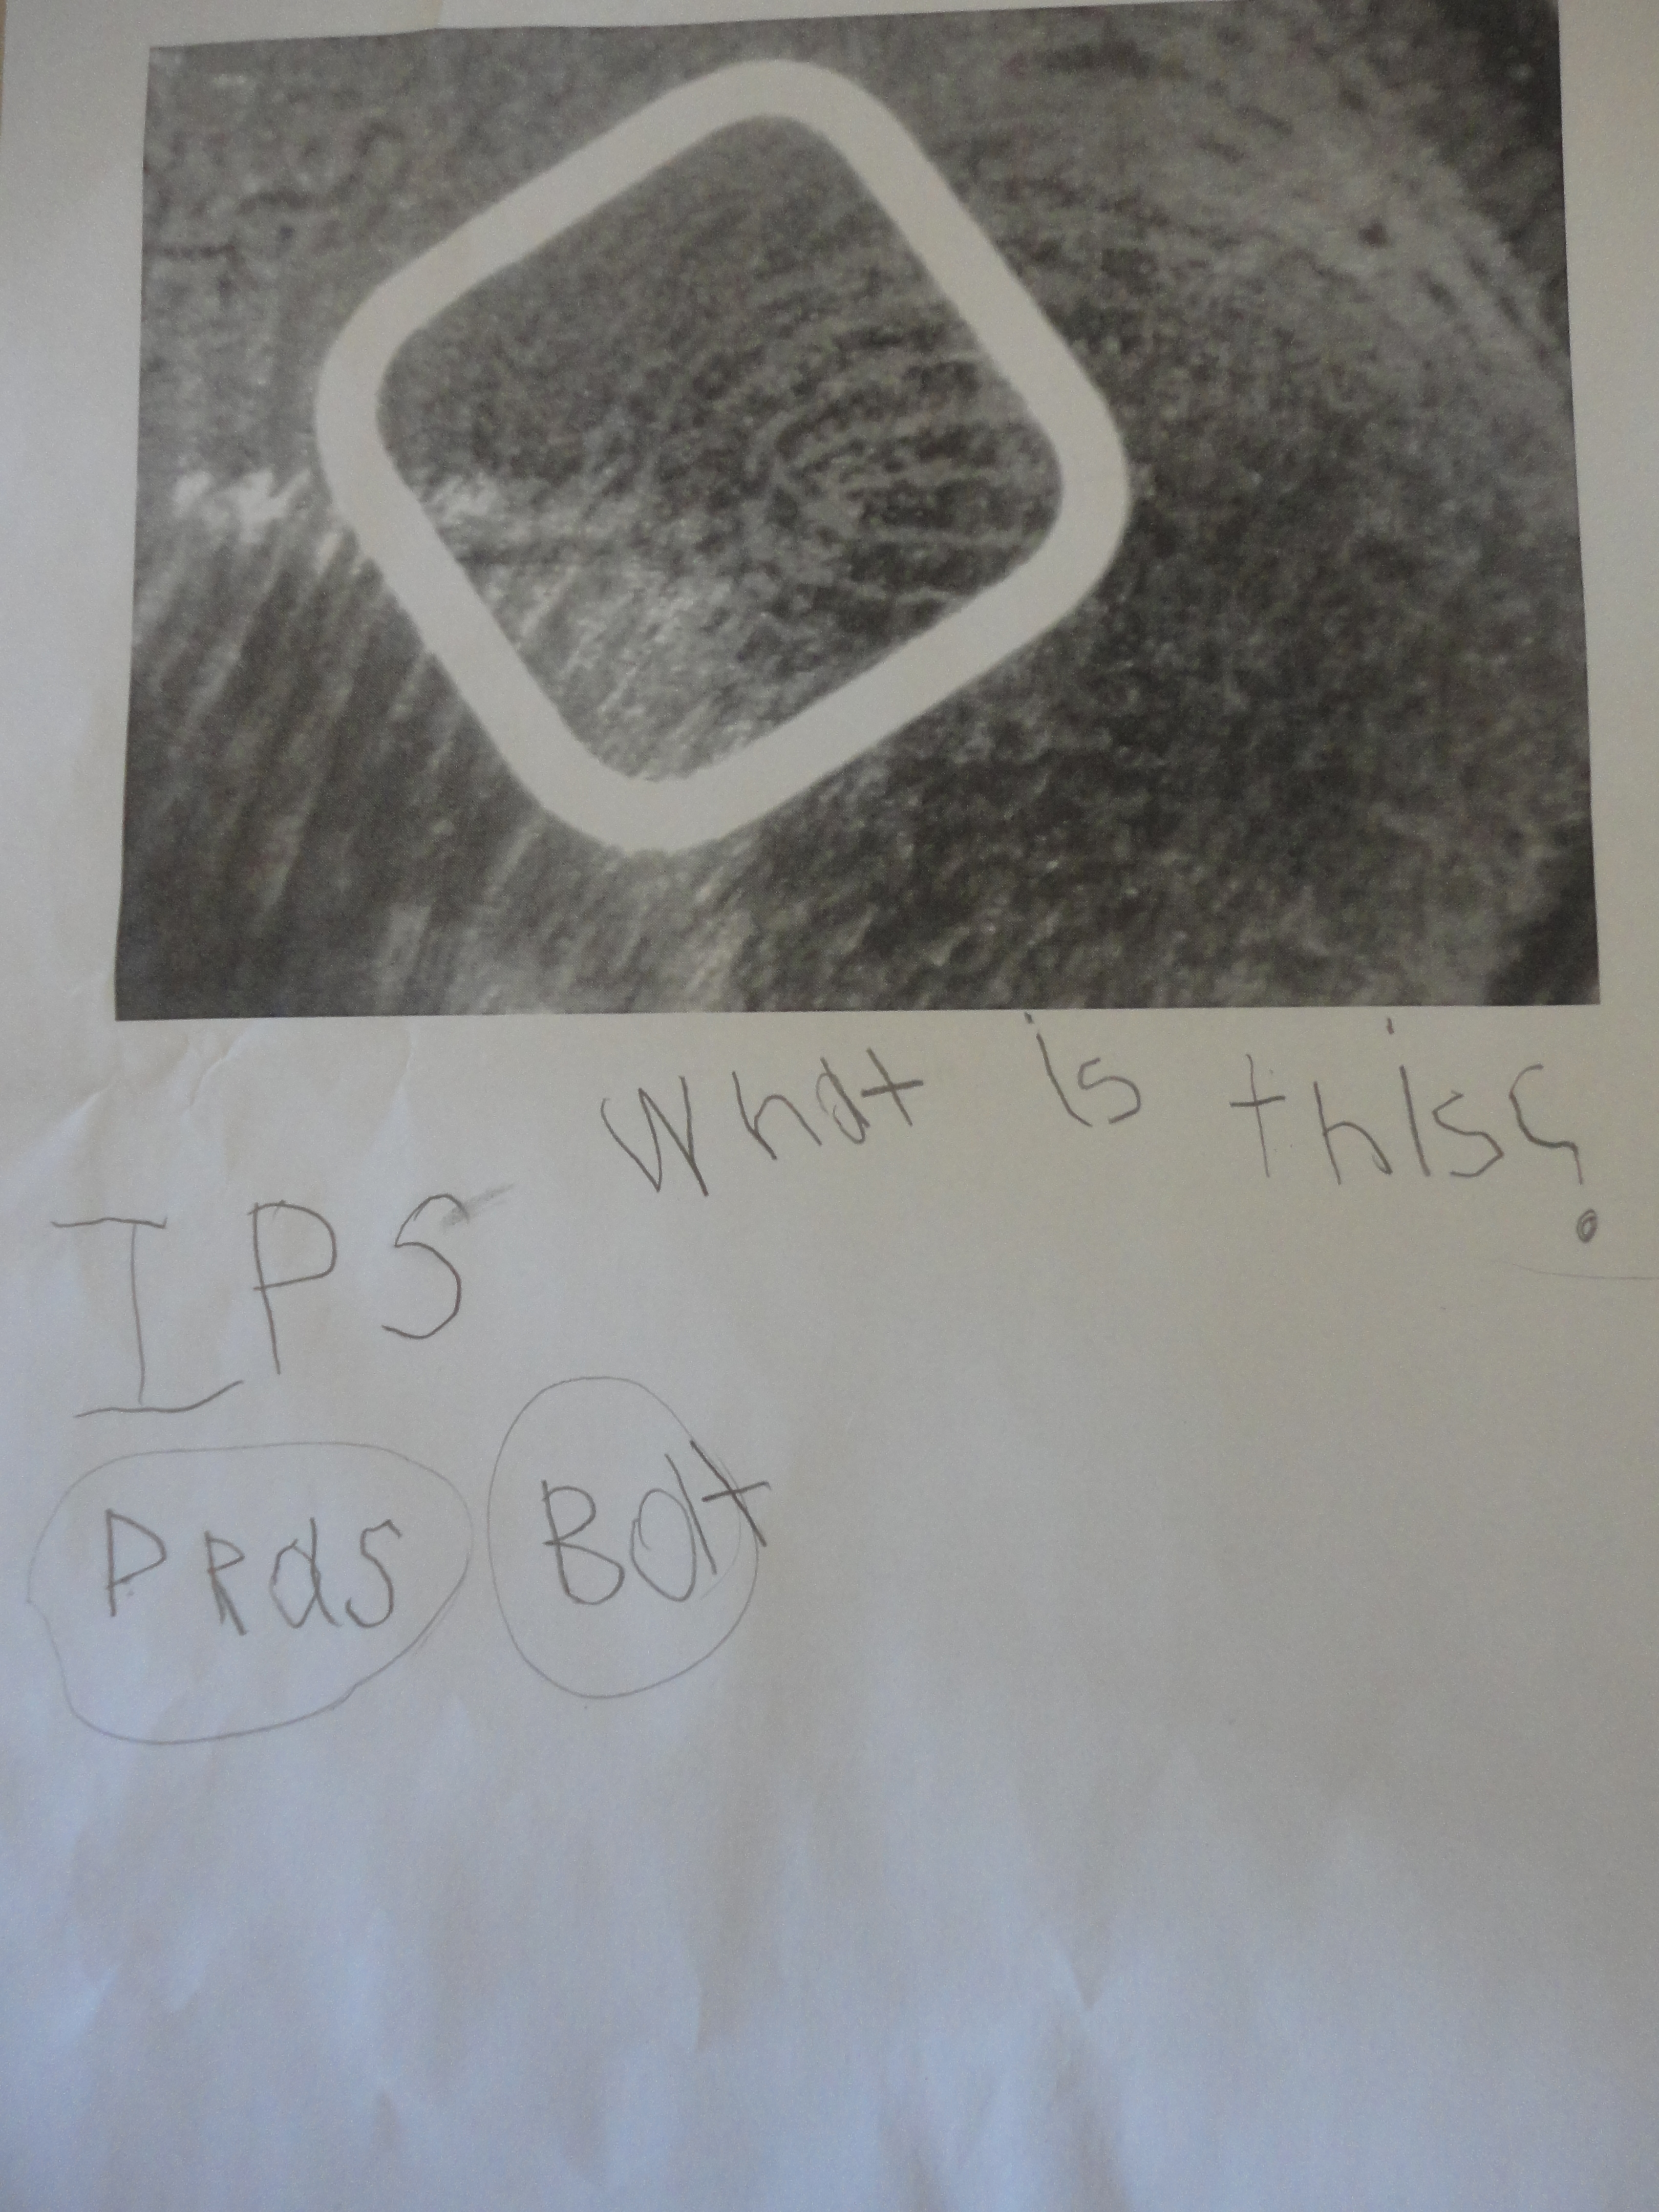
“This is the ‘off’ button!”
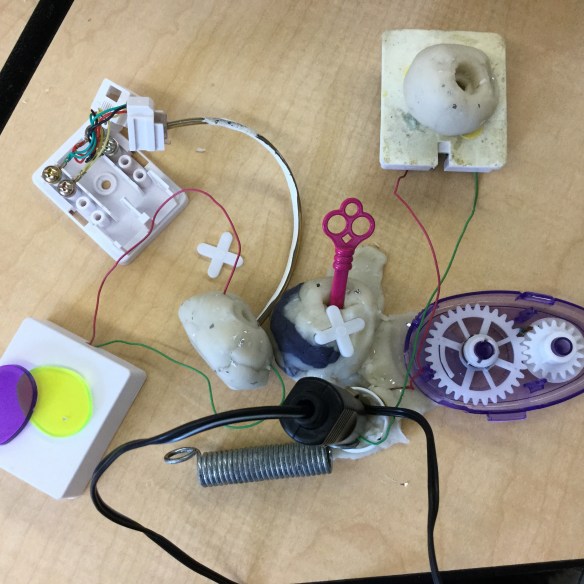
These students were working independently until they realized they could connect their inventions together with a long wire. They were so excited about this discovery!
“This is a ‘potato maker’ – it can make all kinds of potatoes: chips, french fries, mashed potatoes…”
This student took time to colour and label her drawing to match her creation. “I put a check mark to show that it’s done!”
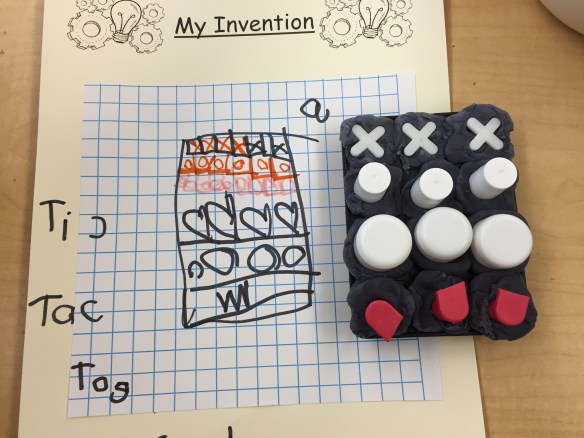
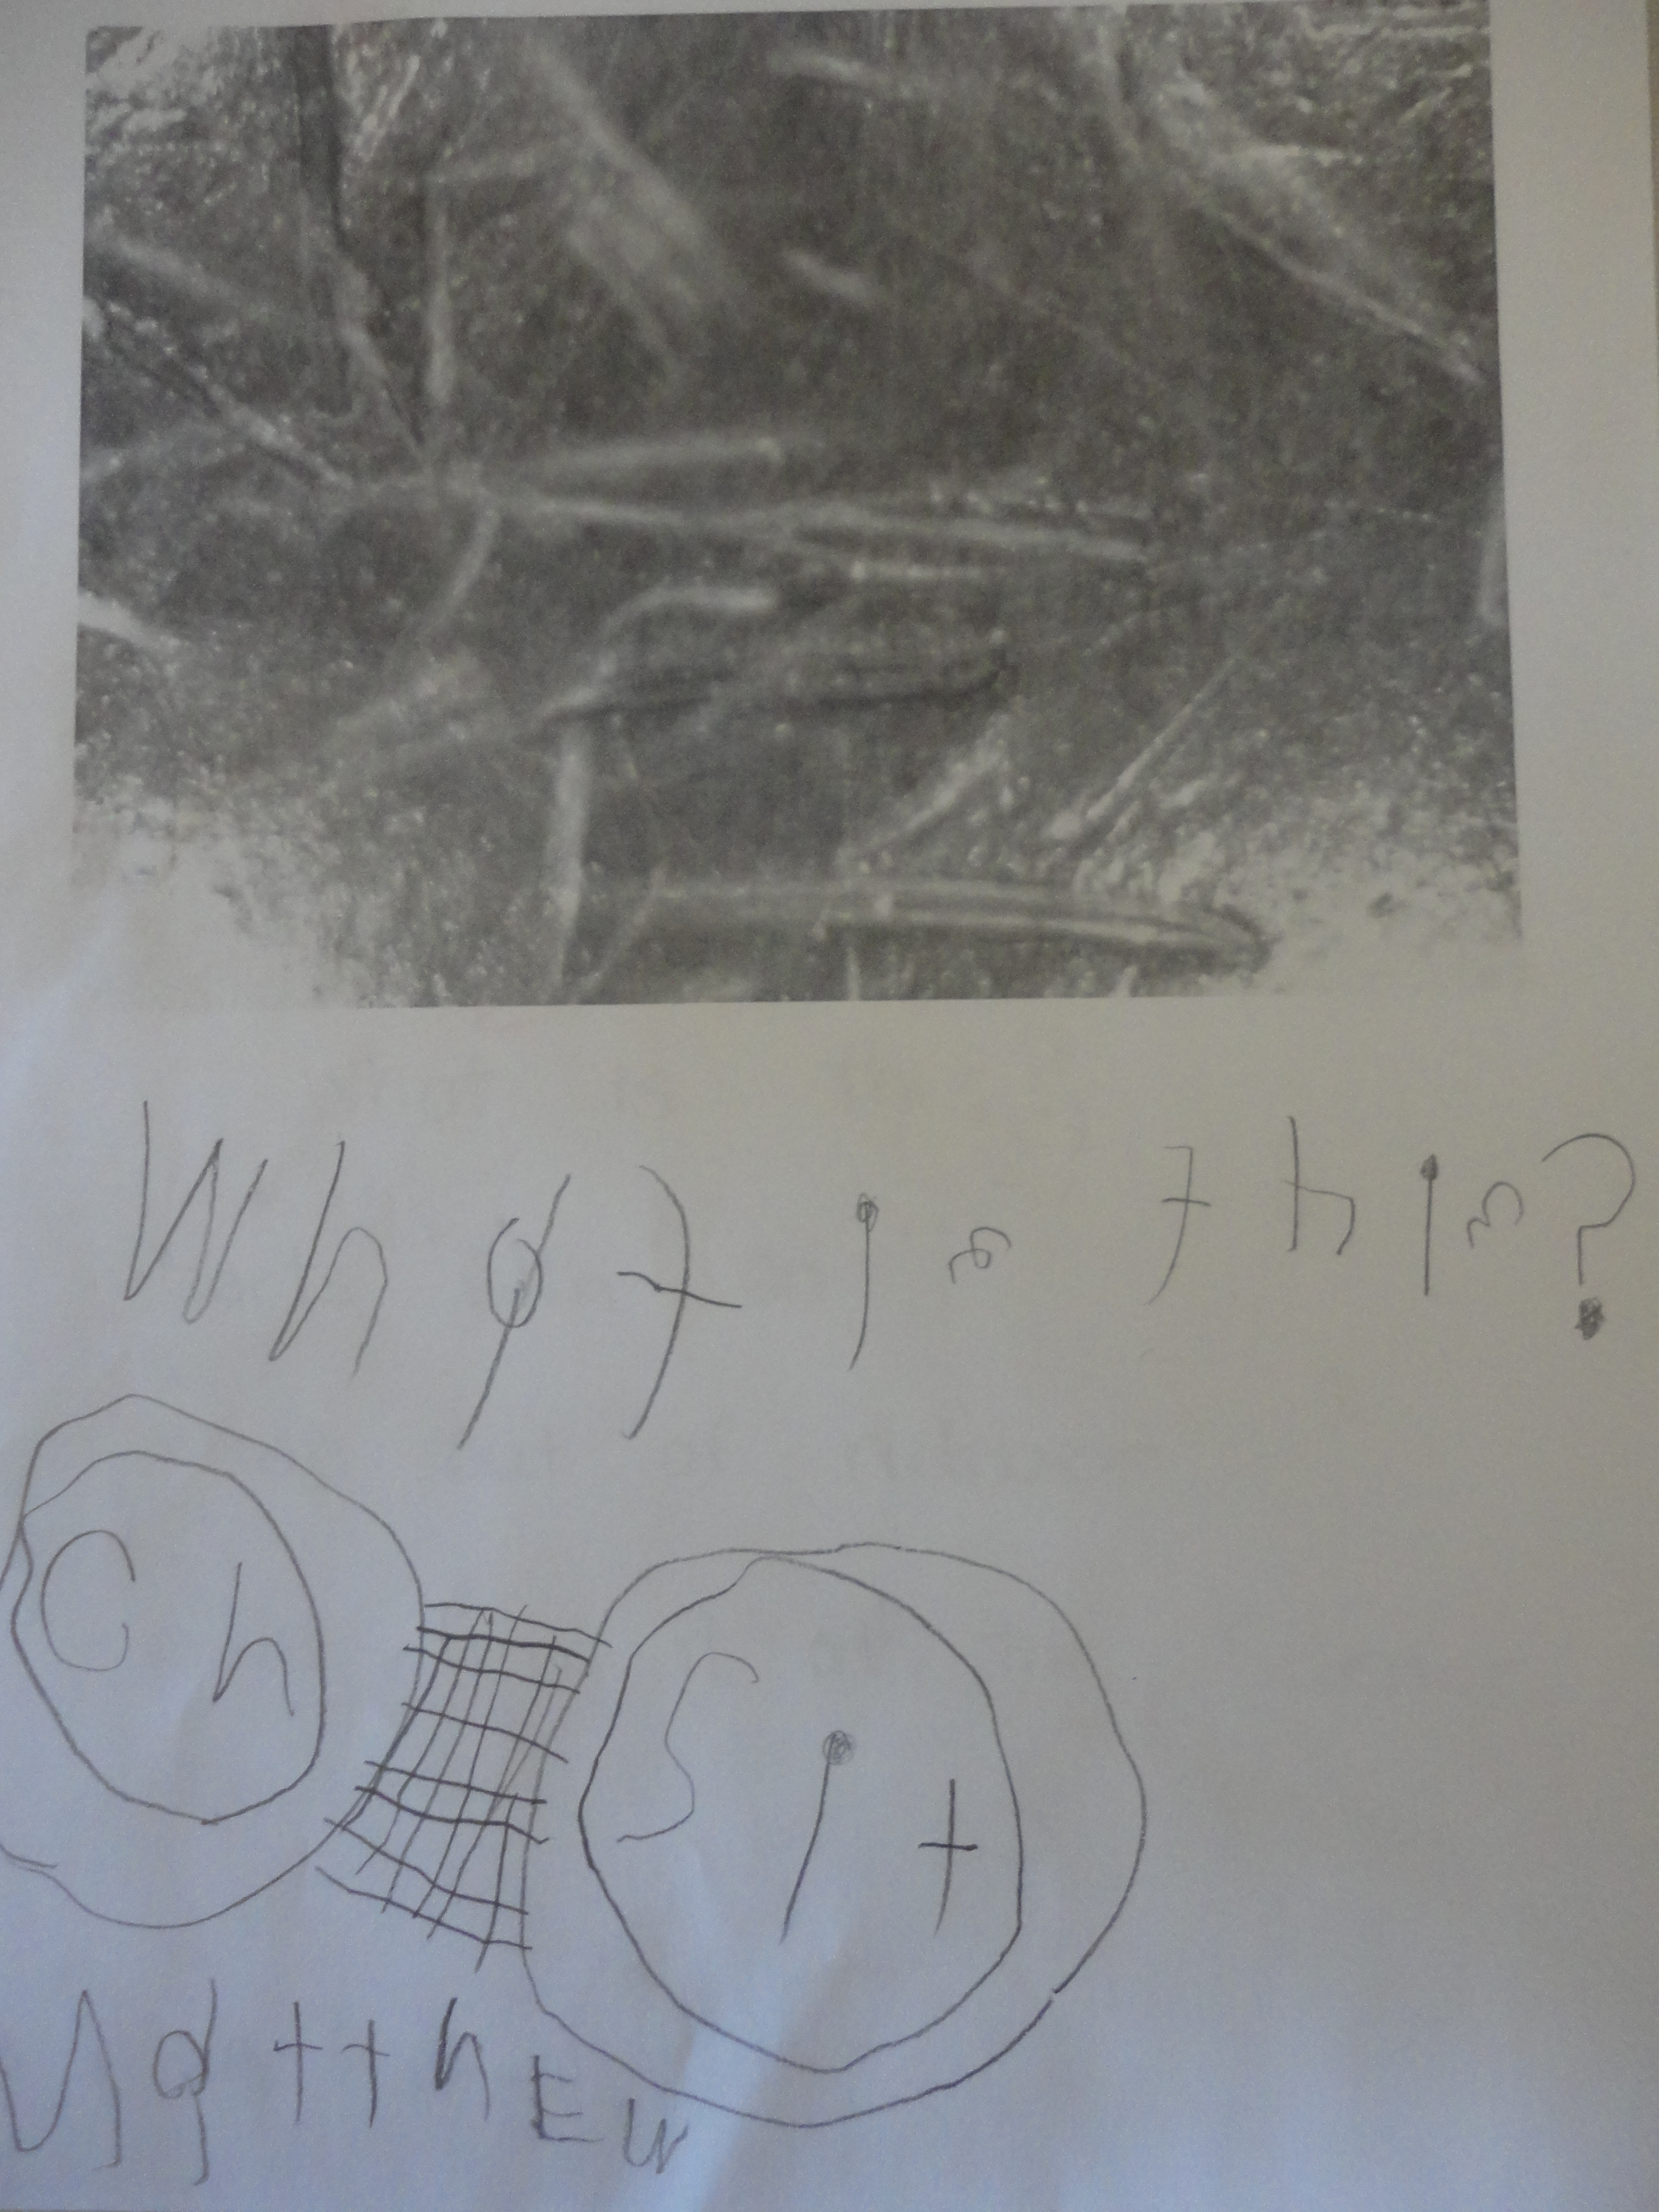
“A Tic Tac Toe machine.”
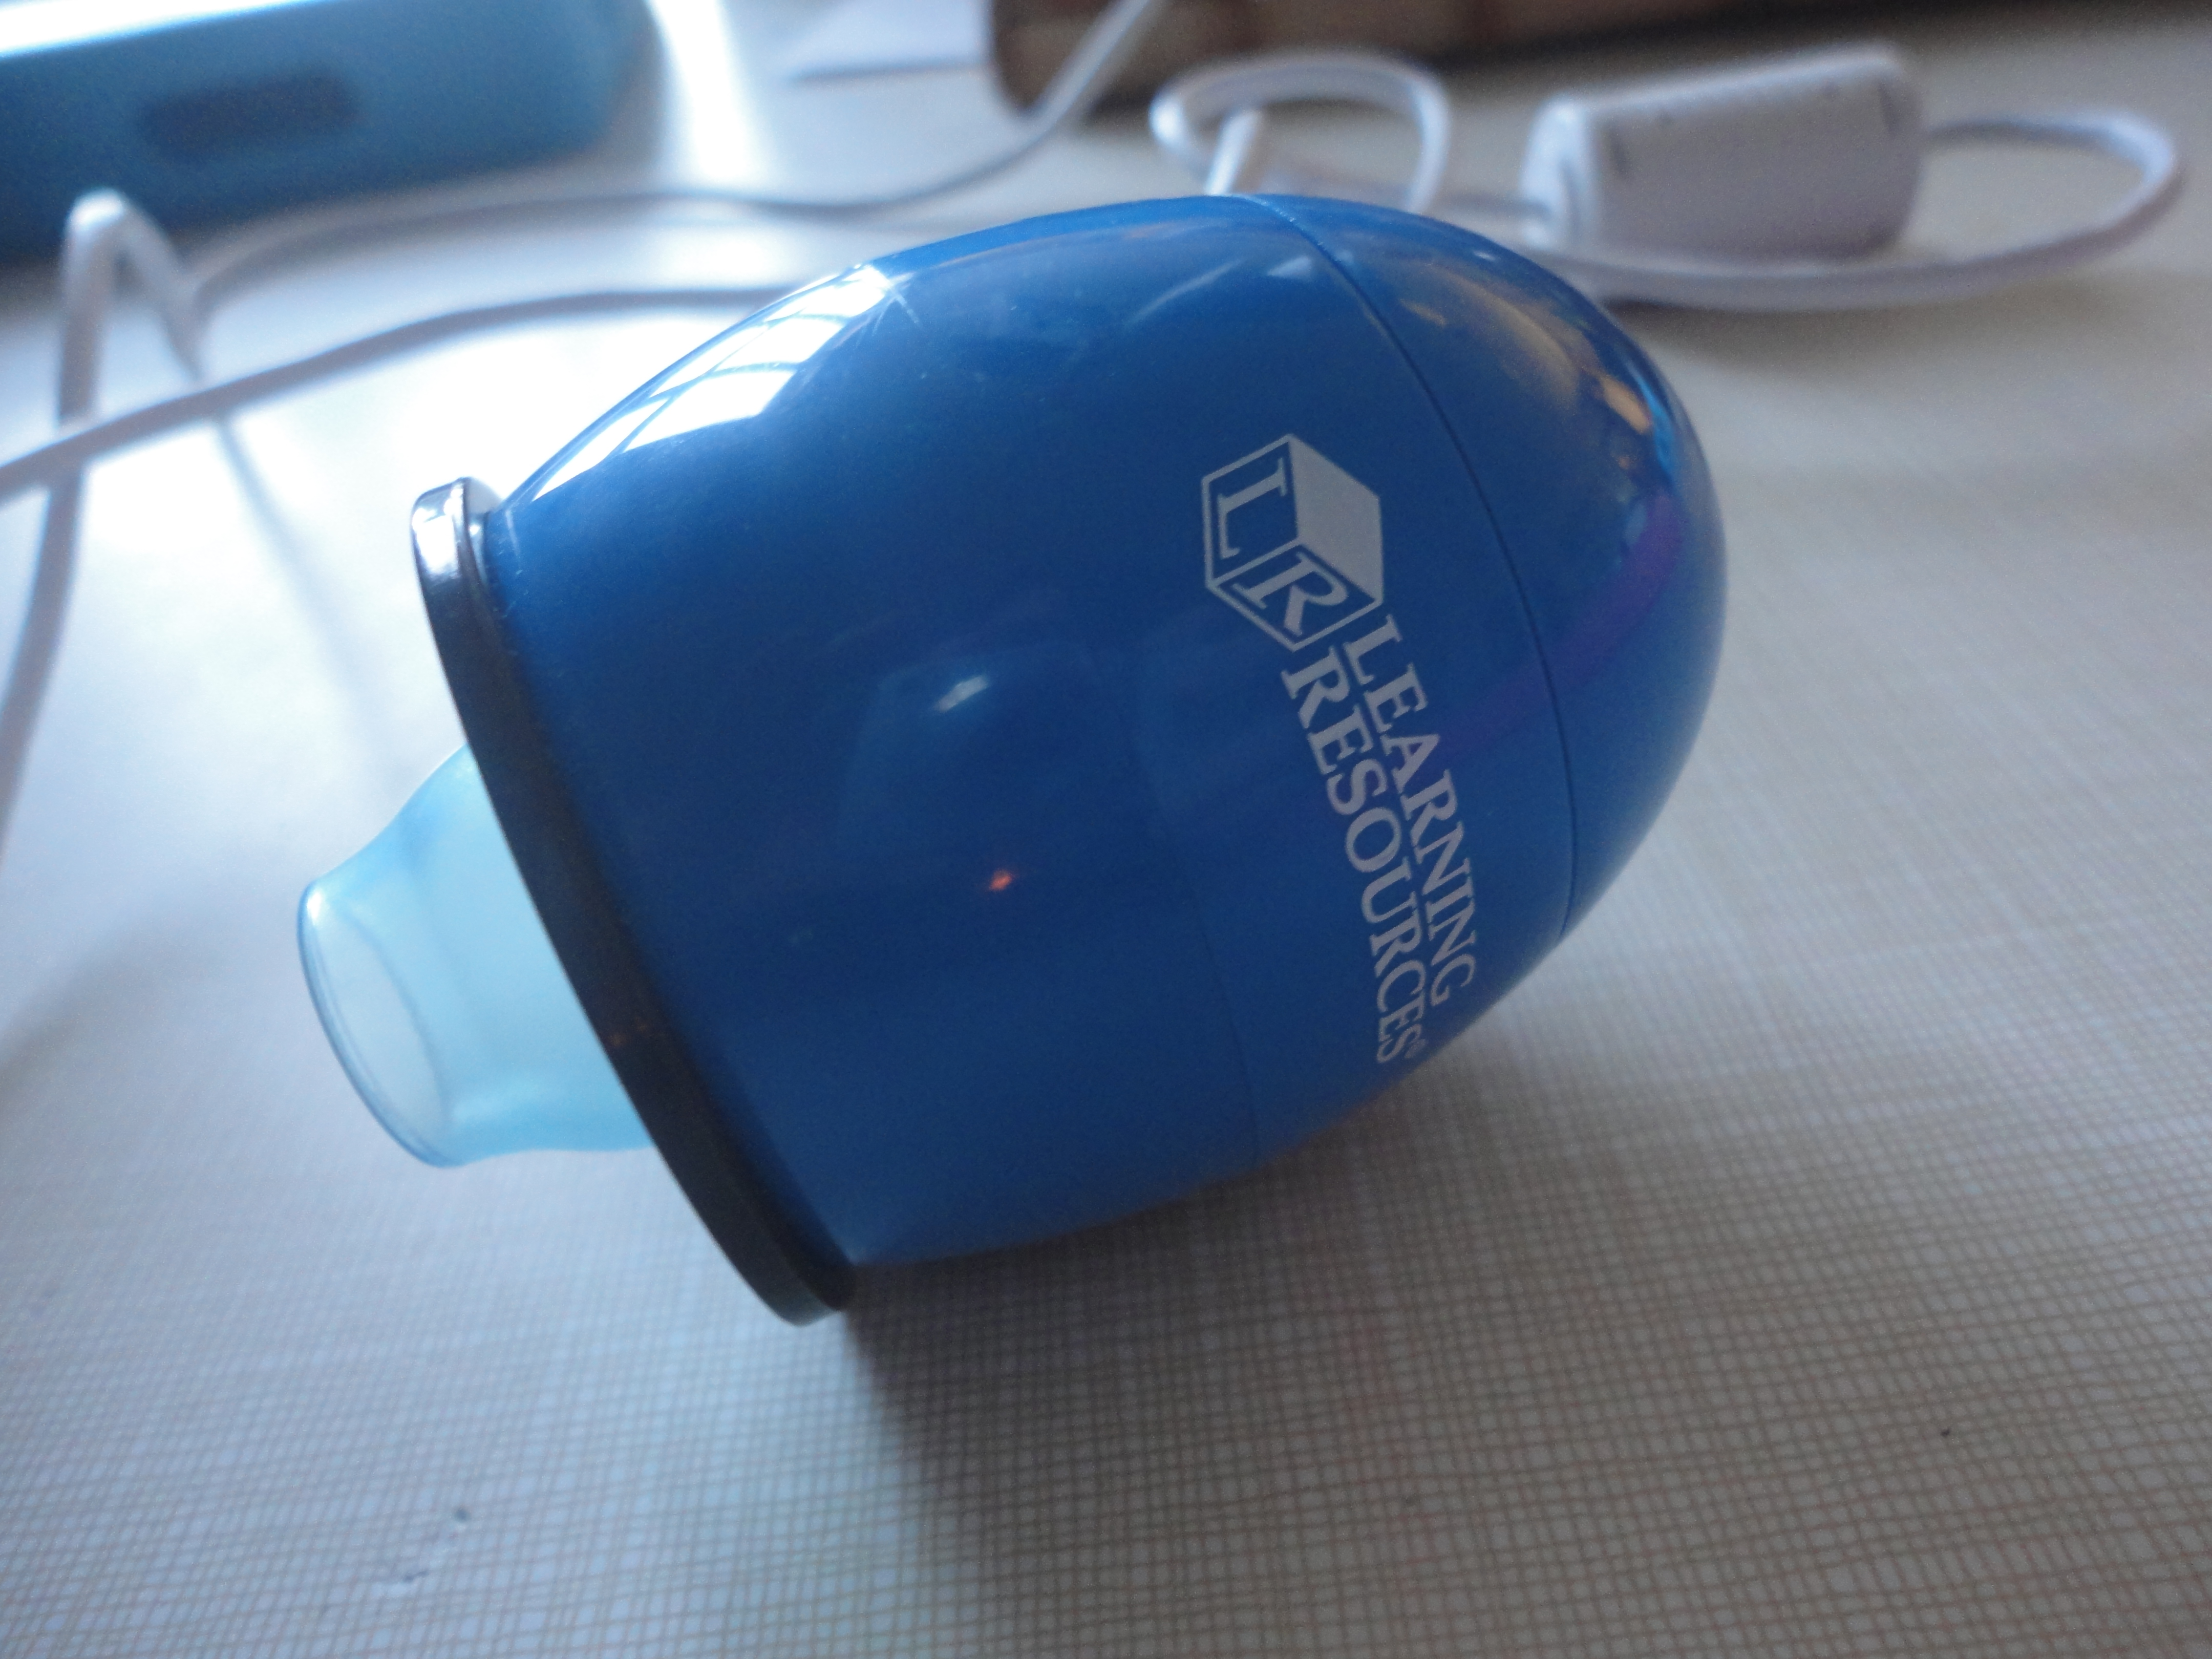
One of the interests that developed from this provocation was an interest in robots. This was in part due to our experimentation with the apps ChatterPix and ChatterKid. Both versions of the app are nearly identical but ChatterKid has a three second countdown before it starts recording so that students know when to start talking.
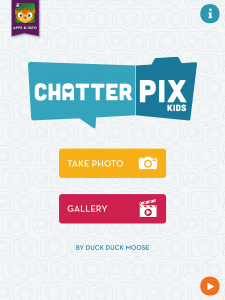
Basically, ChatterPix allows you to bring photos, drawings, and creations to life. You simply “draw on” a mouth and record your message and your image will talk! Here is a sample that one of my students made. This particular student is generally quite shy, so him having the confidence to not only record something but then share it confidently with the class at reflection time was a breakthrough (you can click on the link below to see the video on Twitter)!
Are you using ChatterPix? My Ss are going crazy for it! This one was made by a typically shy student. He was SO proud. pic.twitter.com/uxH9kh85gc
— AlexisMcDonell (@curiouskindie) November 22, 2016
Here are a few of the robots the children created:


What I liked most about this provocation (besides the fact that it is engaging, creative, and fun!) is that it provided so many opportunities for our students to engage in literacy behaviours. The children were actively telling each other about their inventions as they worked, negotiating the use of special materials, and of course recording and writing about their inventions. During reflection time, the class was rapt with attention listening to each other describe what their inventions could do and how they were made. Many students were inspired to visit (or re-visit) this centre after hearing about what their classmates had created there.
Have you ever tried an Inventor’s Workshop in your class? Are you using ChatterPix with your students? I’d love to hear about what you’re doing!