Planning for a Full Day of Inquiry-Based Learning

Lately I’ve had the opportunity to work with educators who are either teaching Kindergarten for the first time or are moving from a half-day Kindergarten to a full-day Kindergarten program. I get a lot of questions about how to structure a full day for our early learners. In this post, I’ll try and give you an idea of how we’ve arranged our weekly schedule to work best for our program and student needs. Please keep in mind, this is just one way of organizing things and that our schedule does change as the year progresses and as we find things are either working well/not working at all. Also keep in mind that “prep” times are periods on our schedule that are assigned by the school.

Here is our current weekly schedule. Click on the image to open a PDF file.

Sample_FDK_Schedule

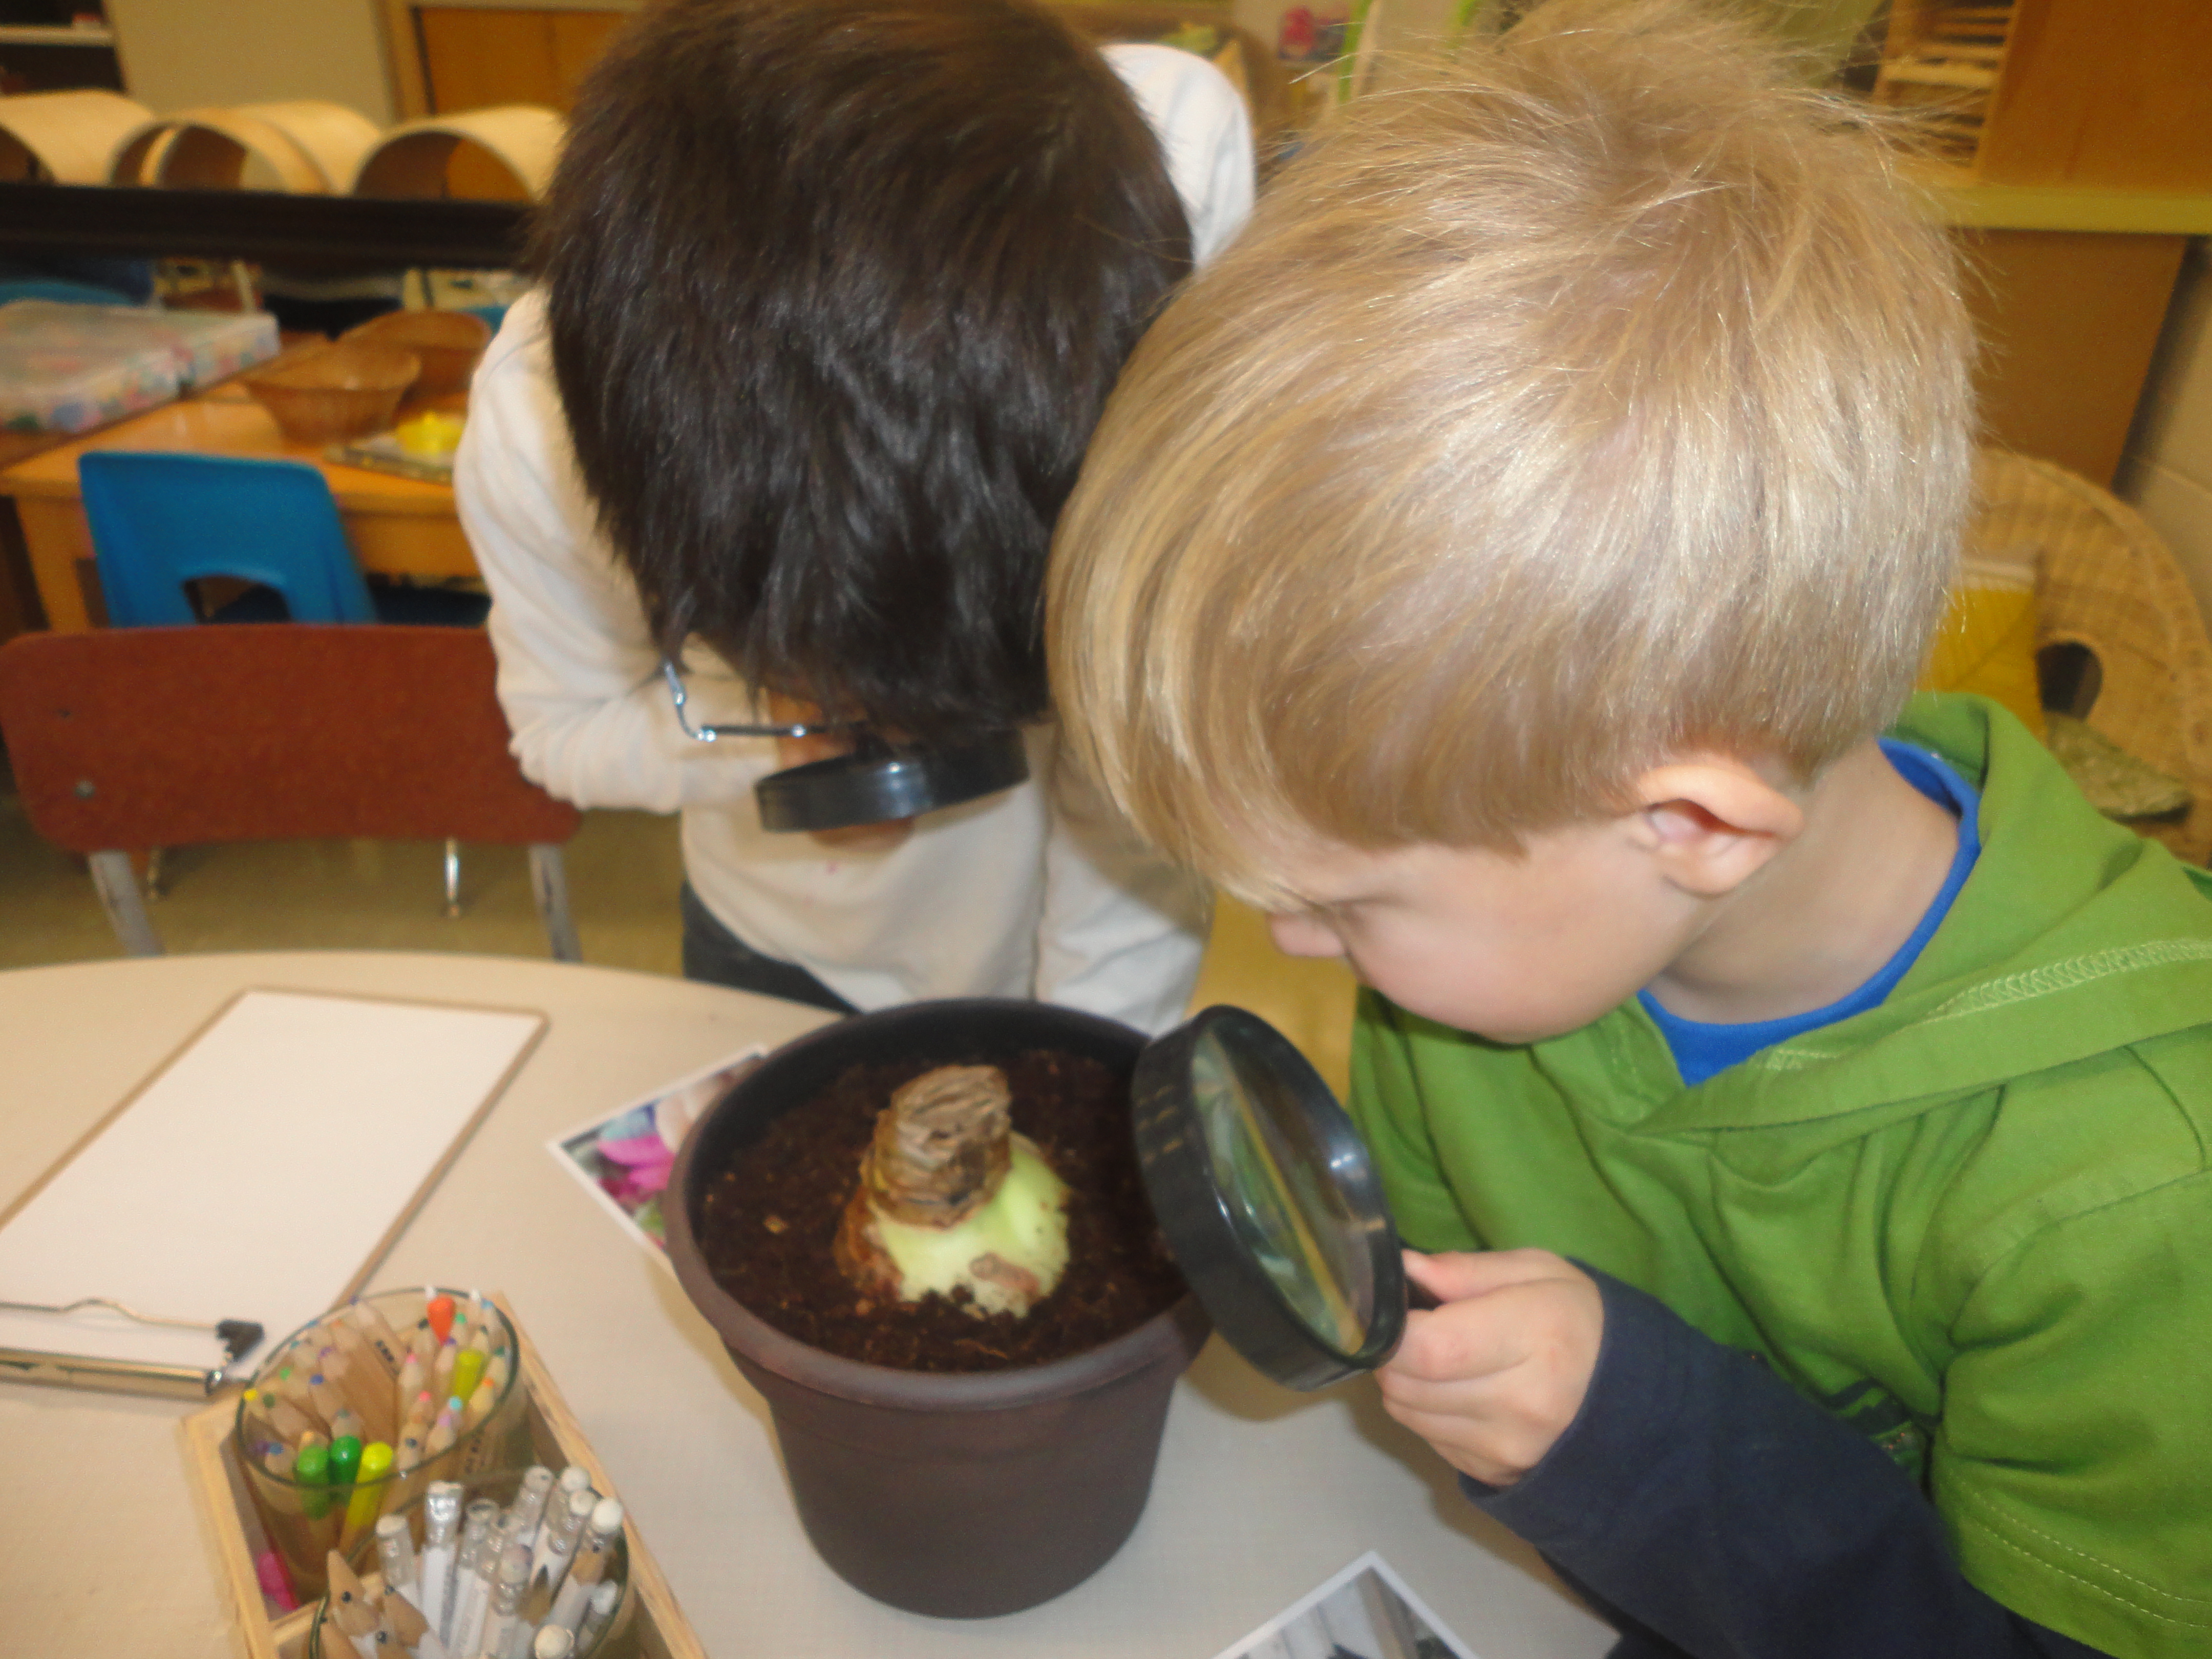
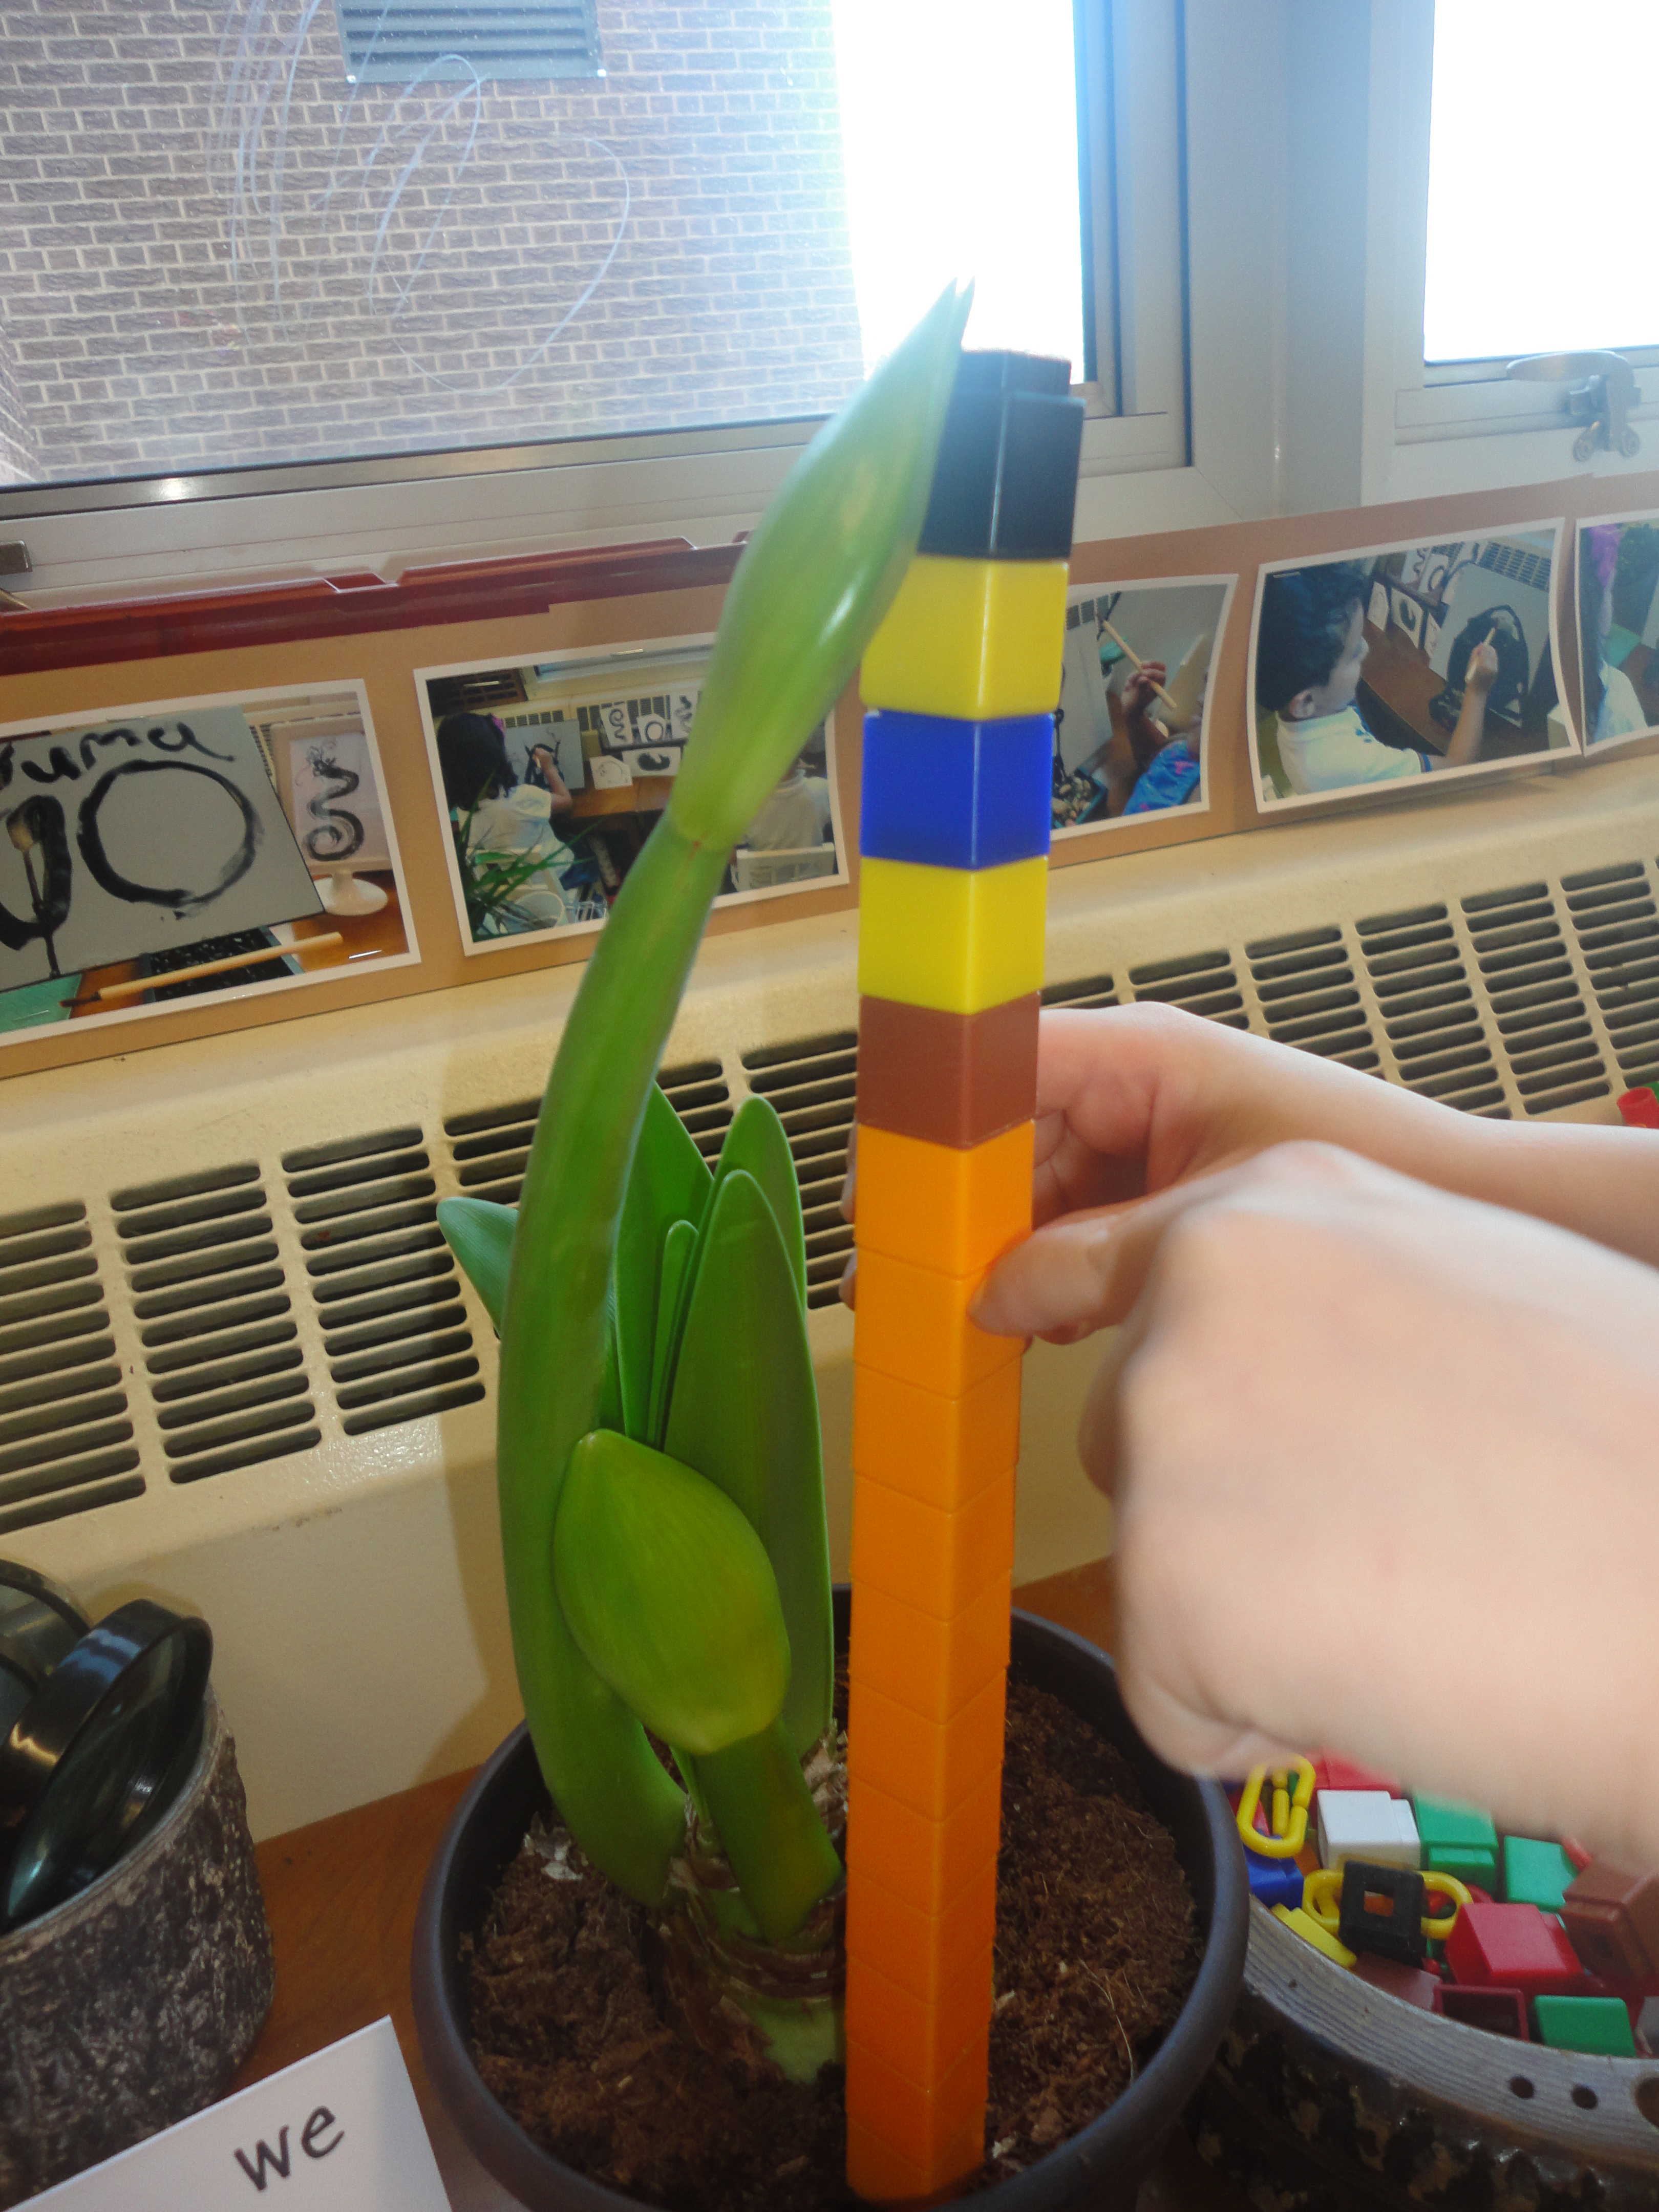
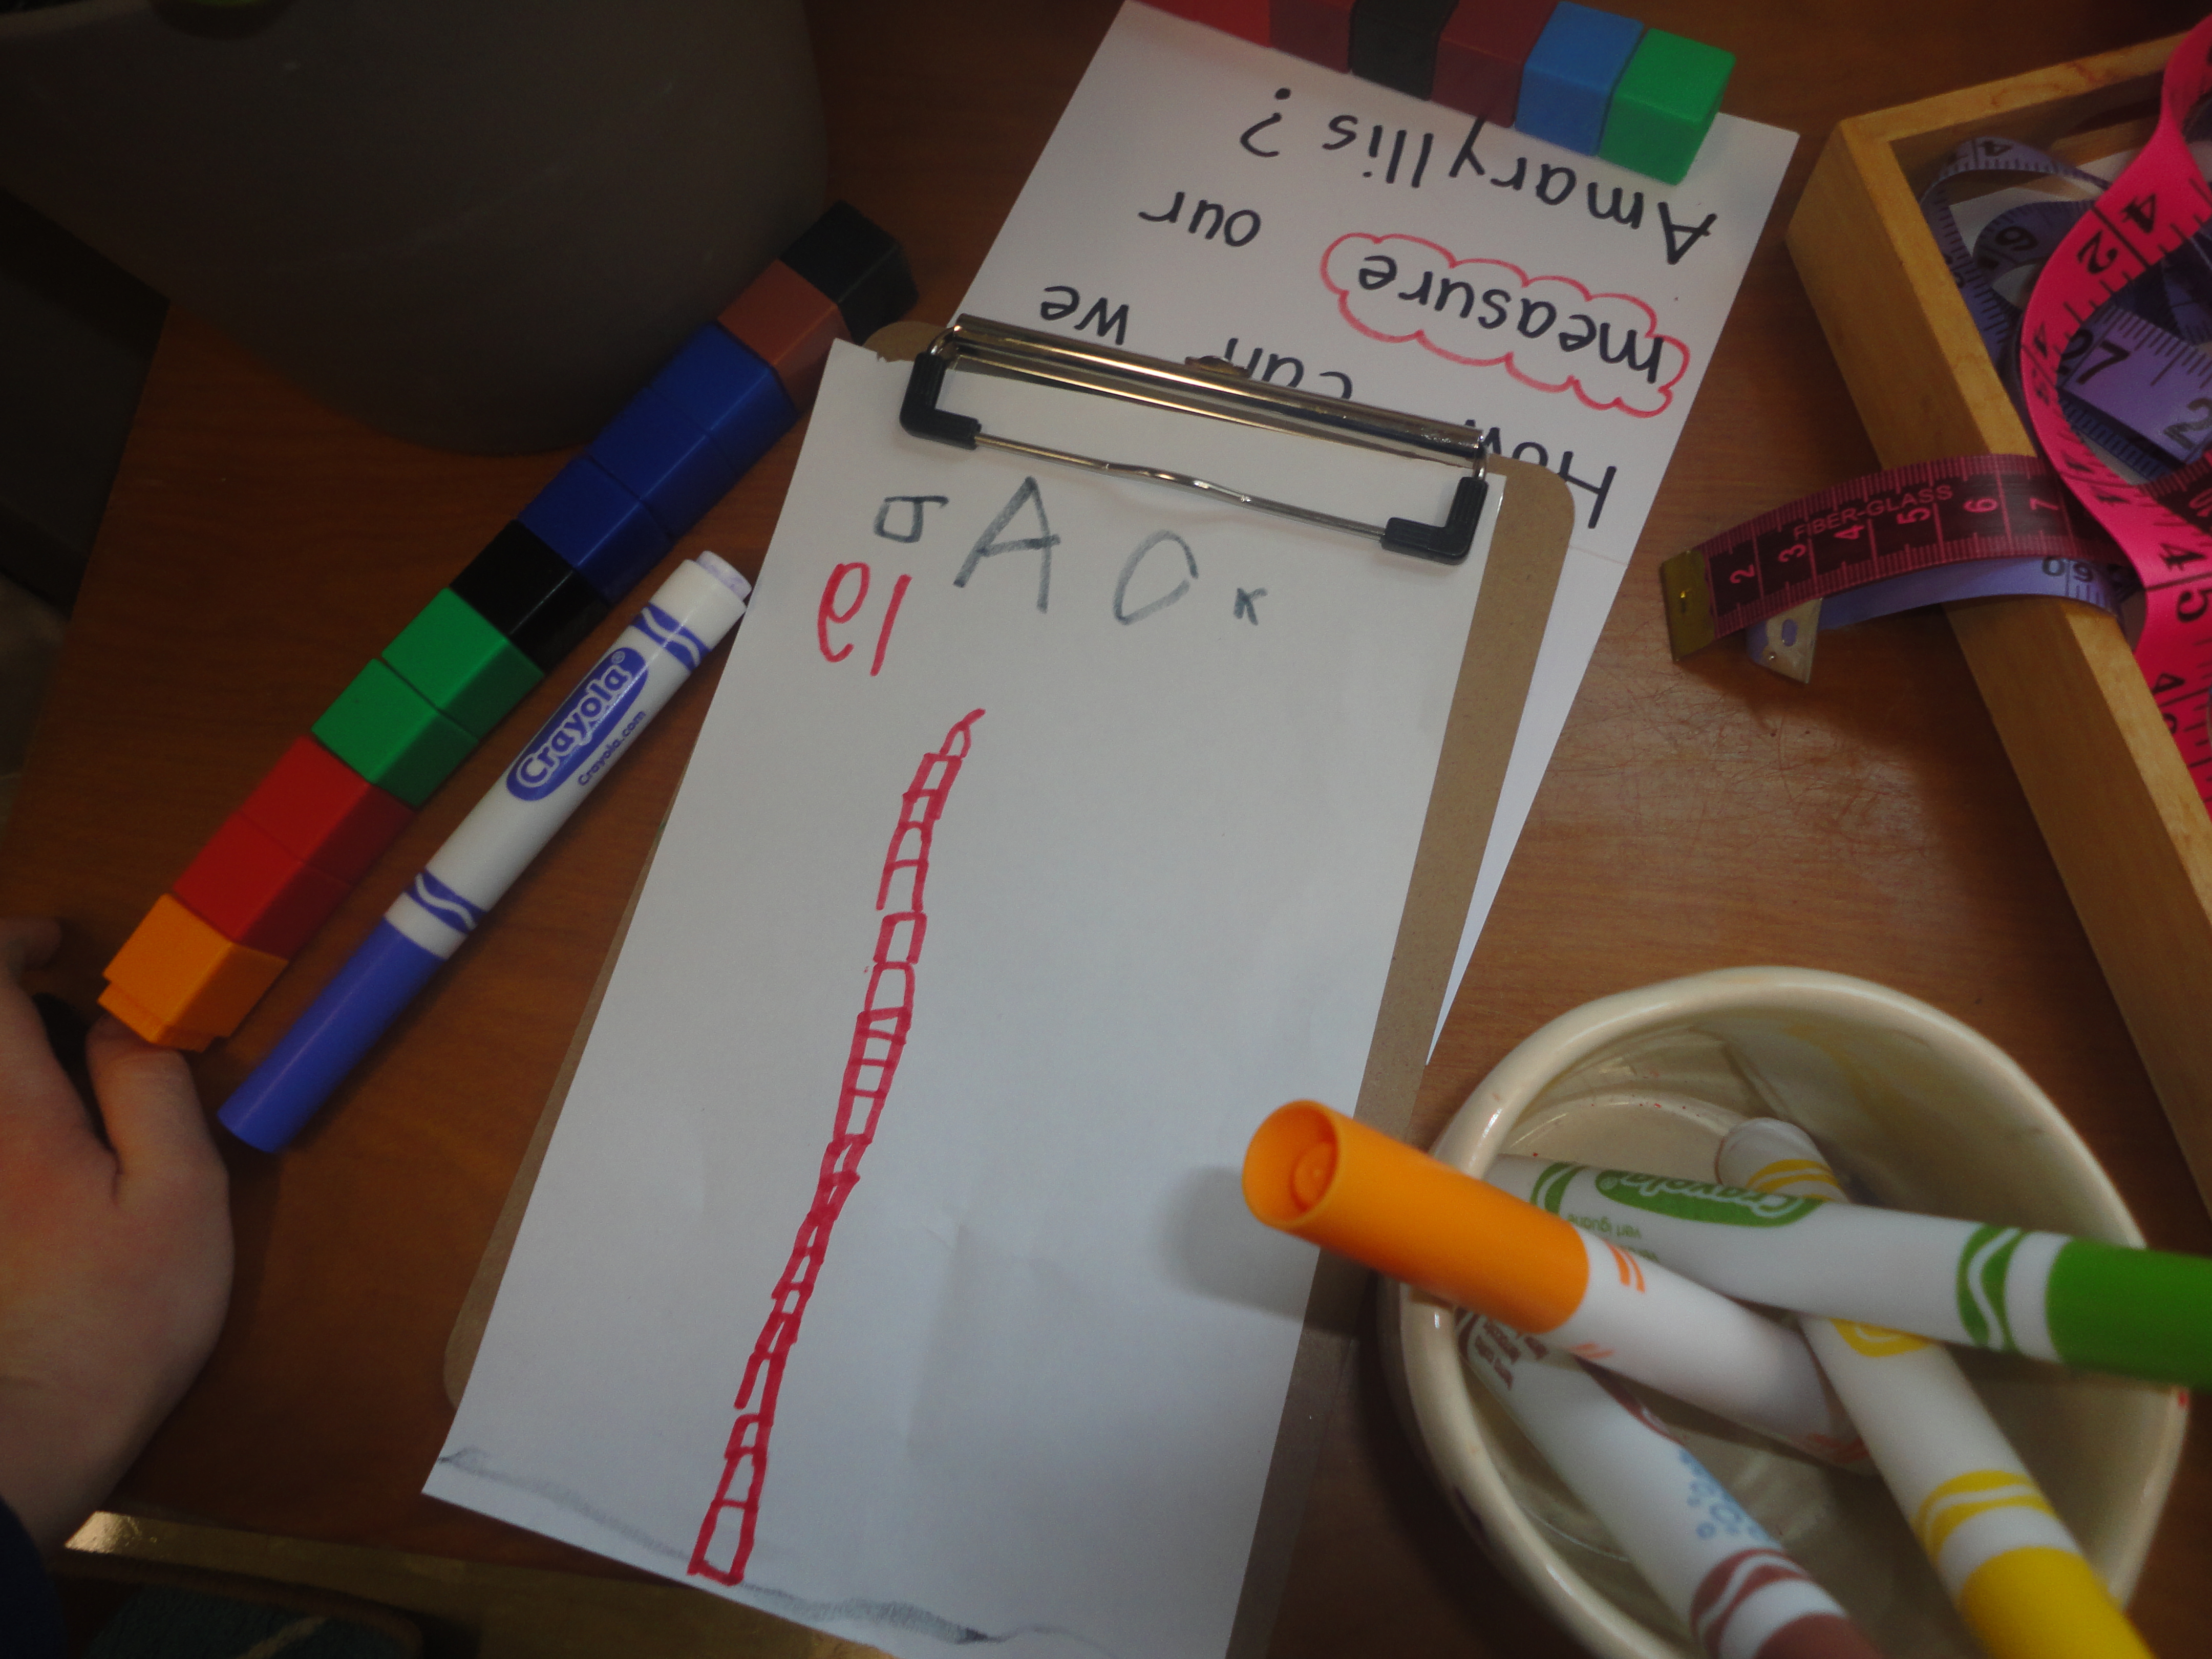
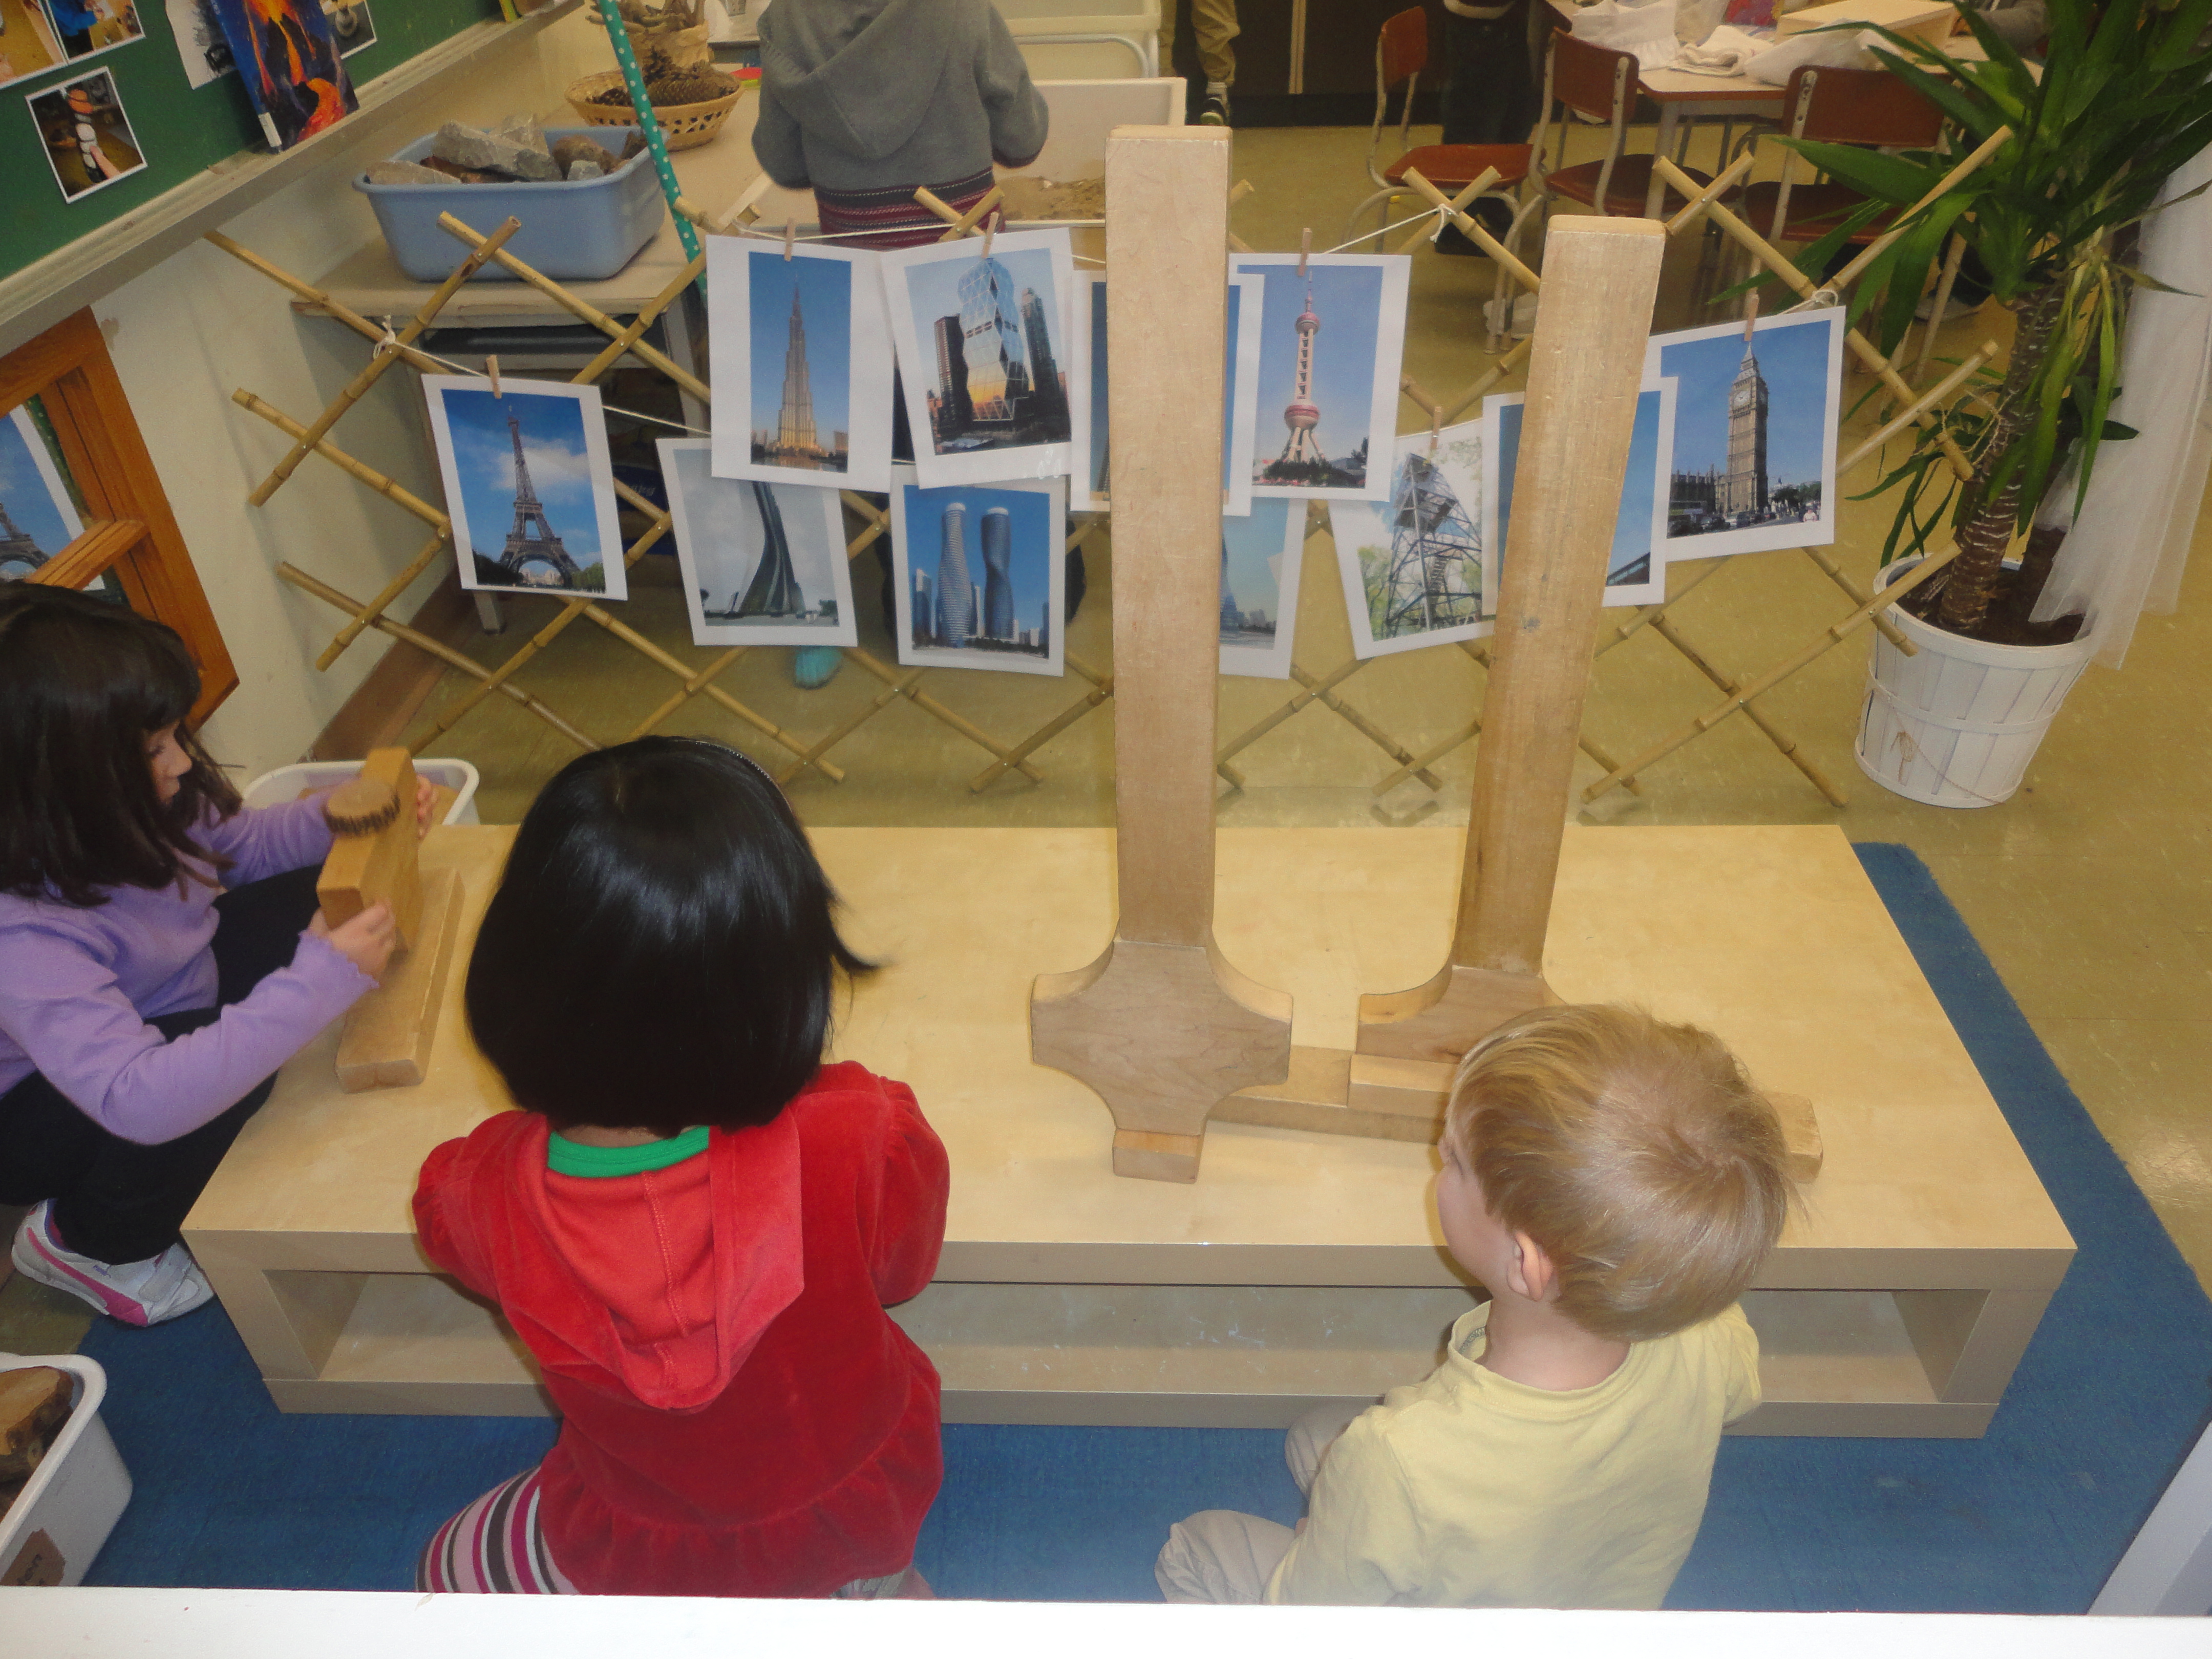
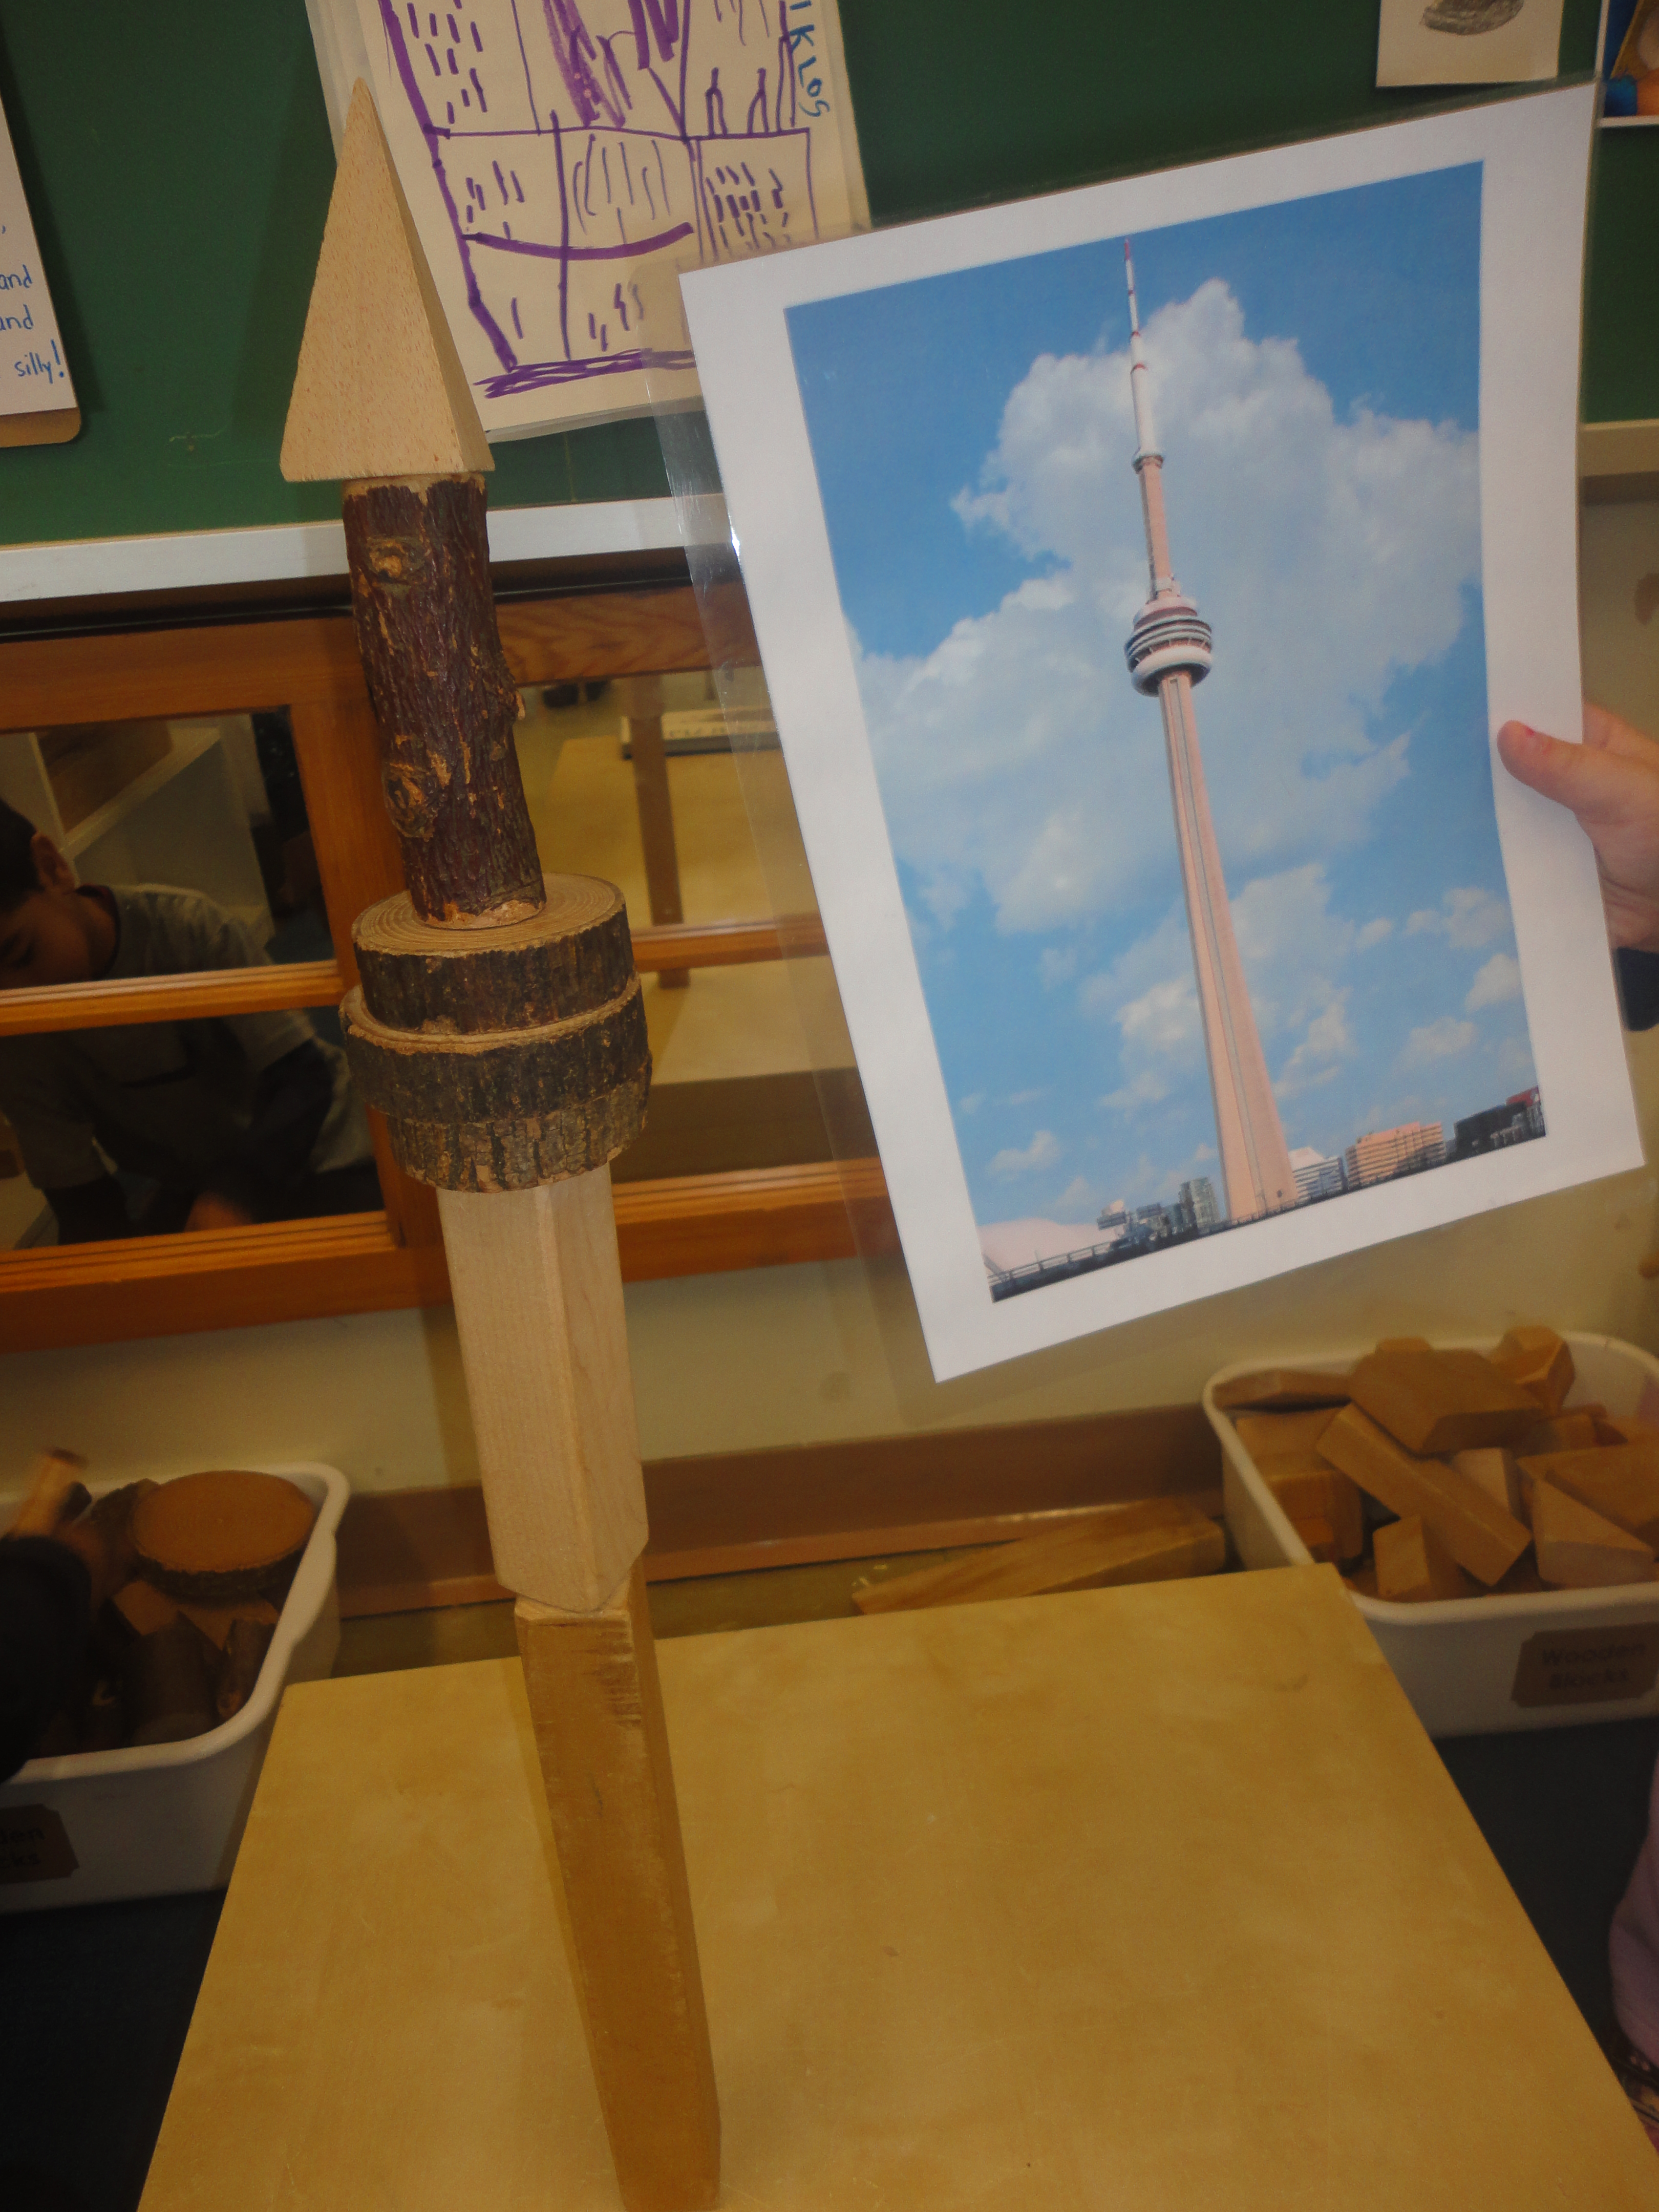
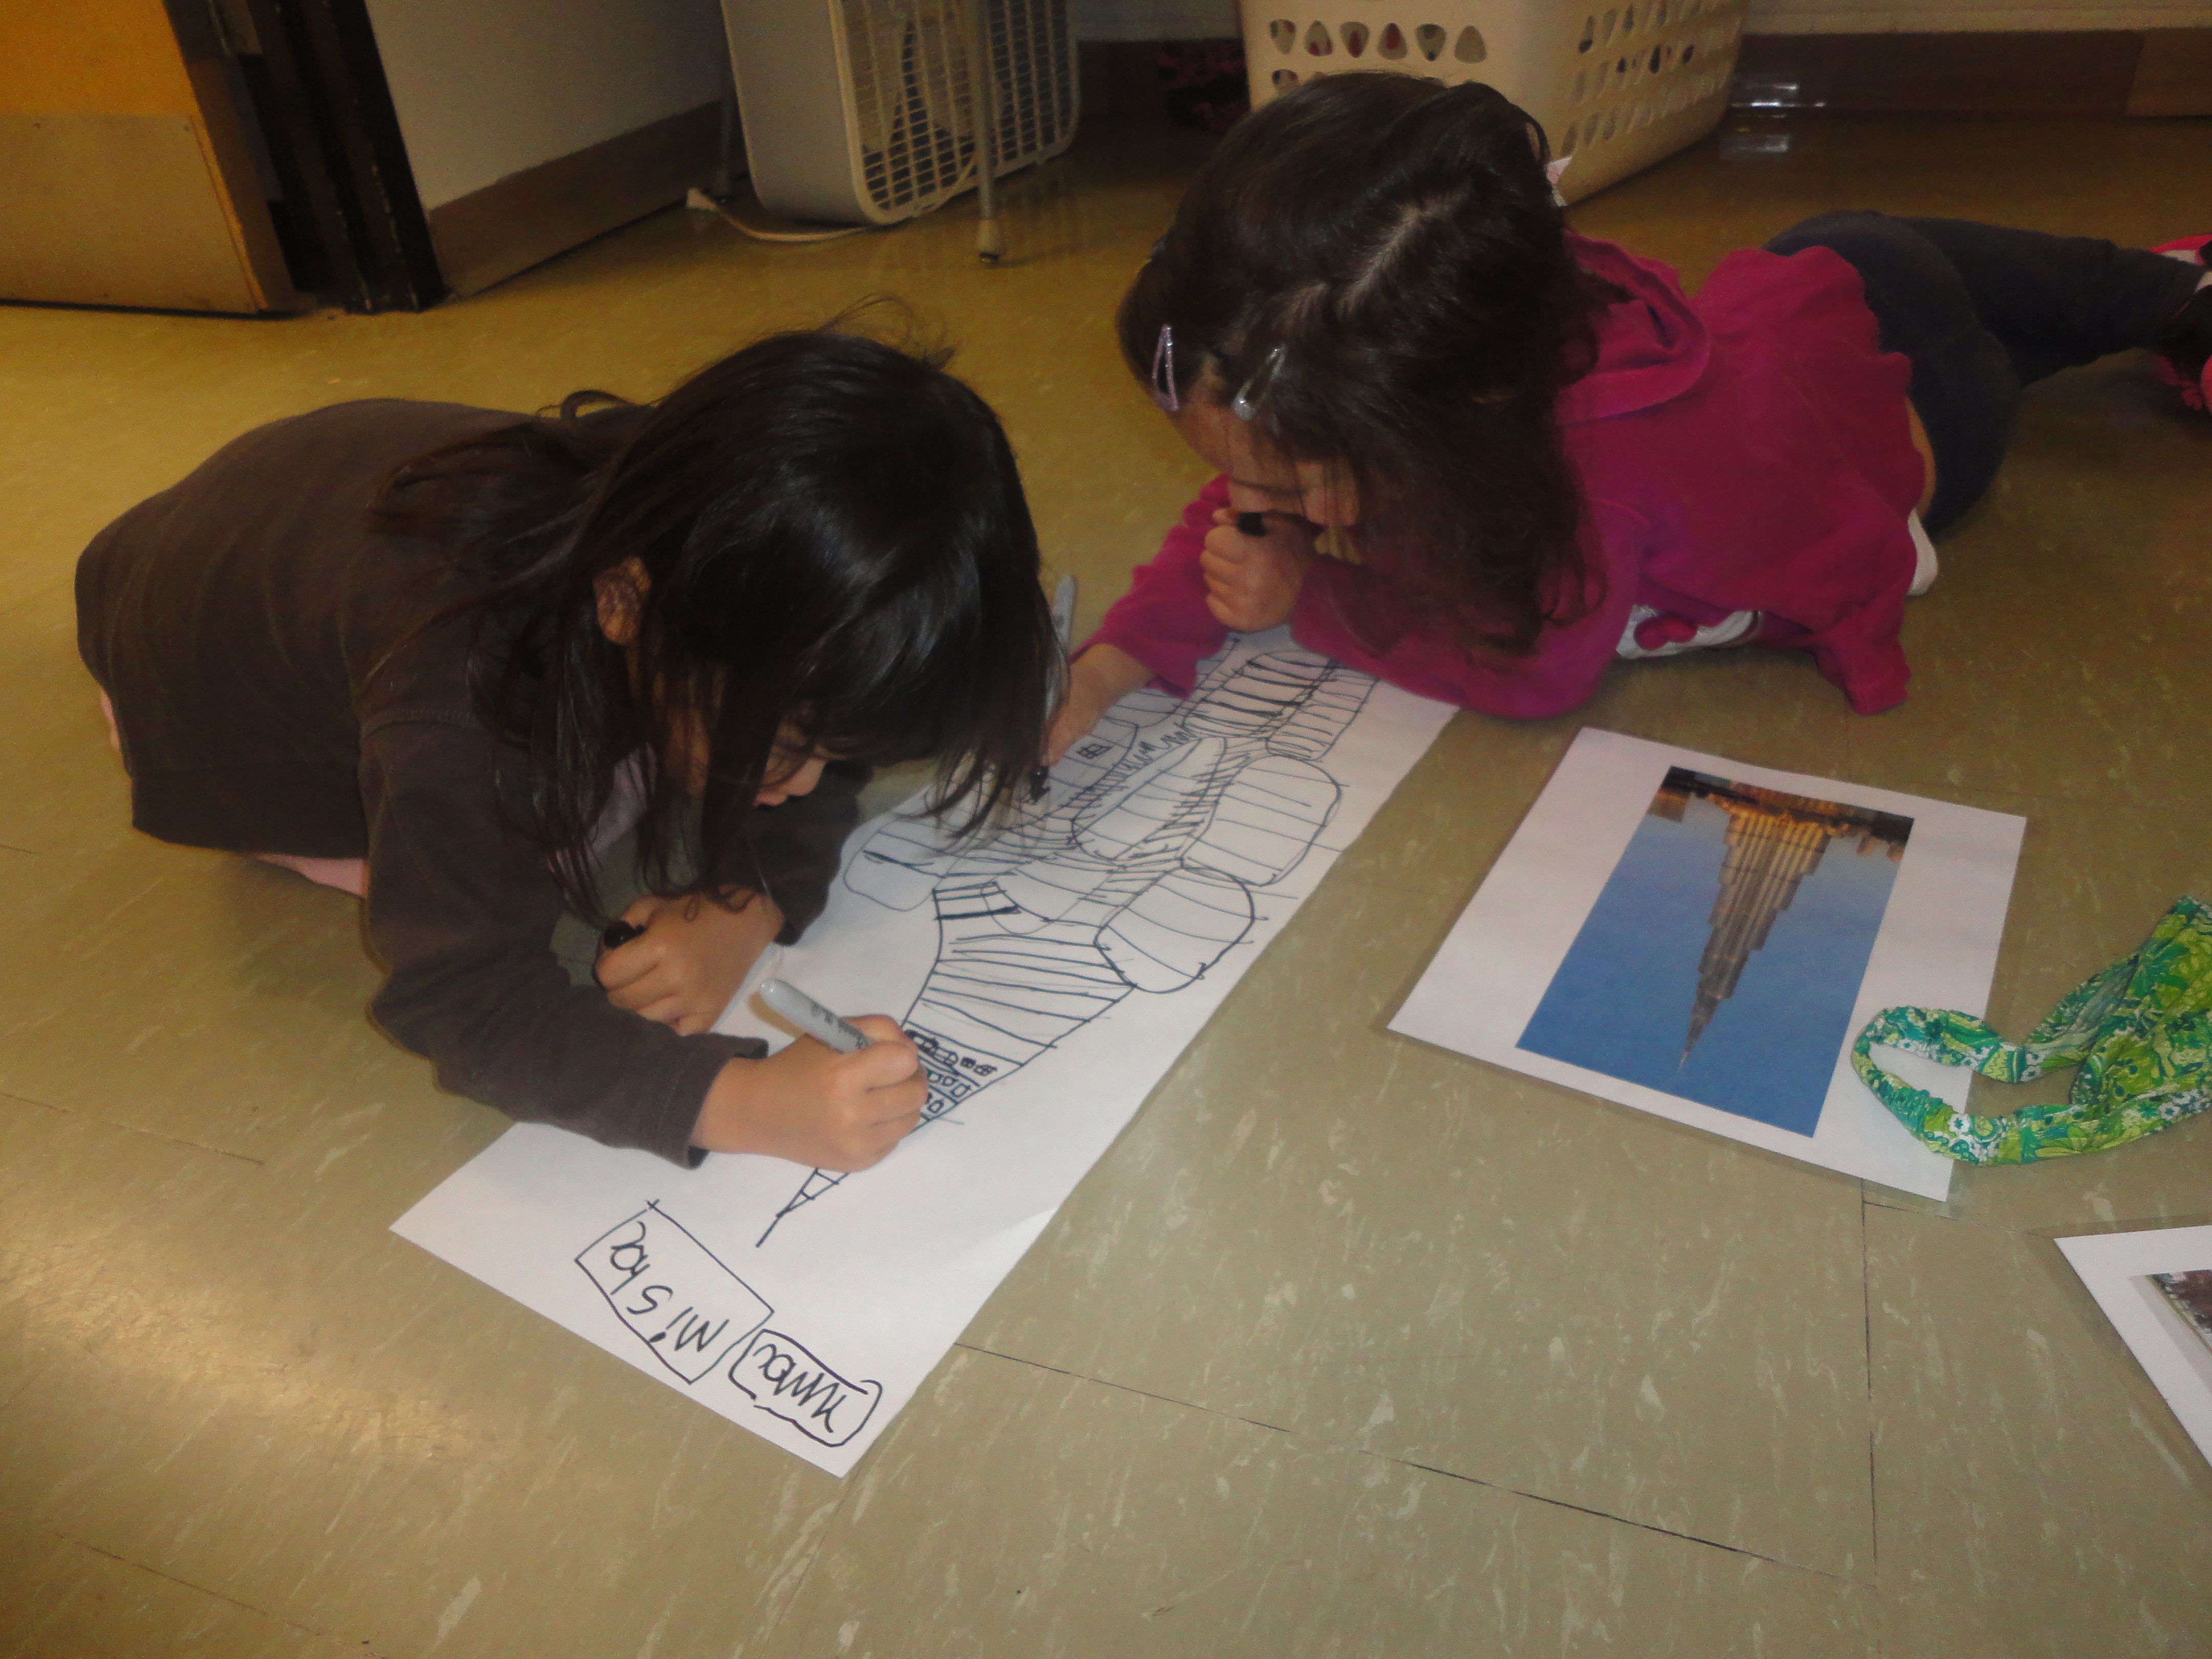
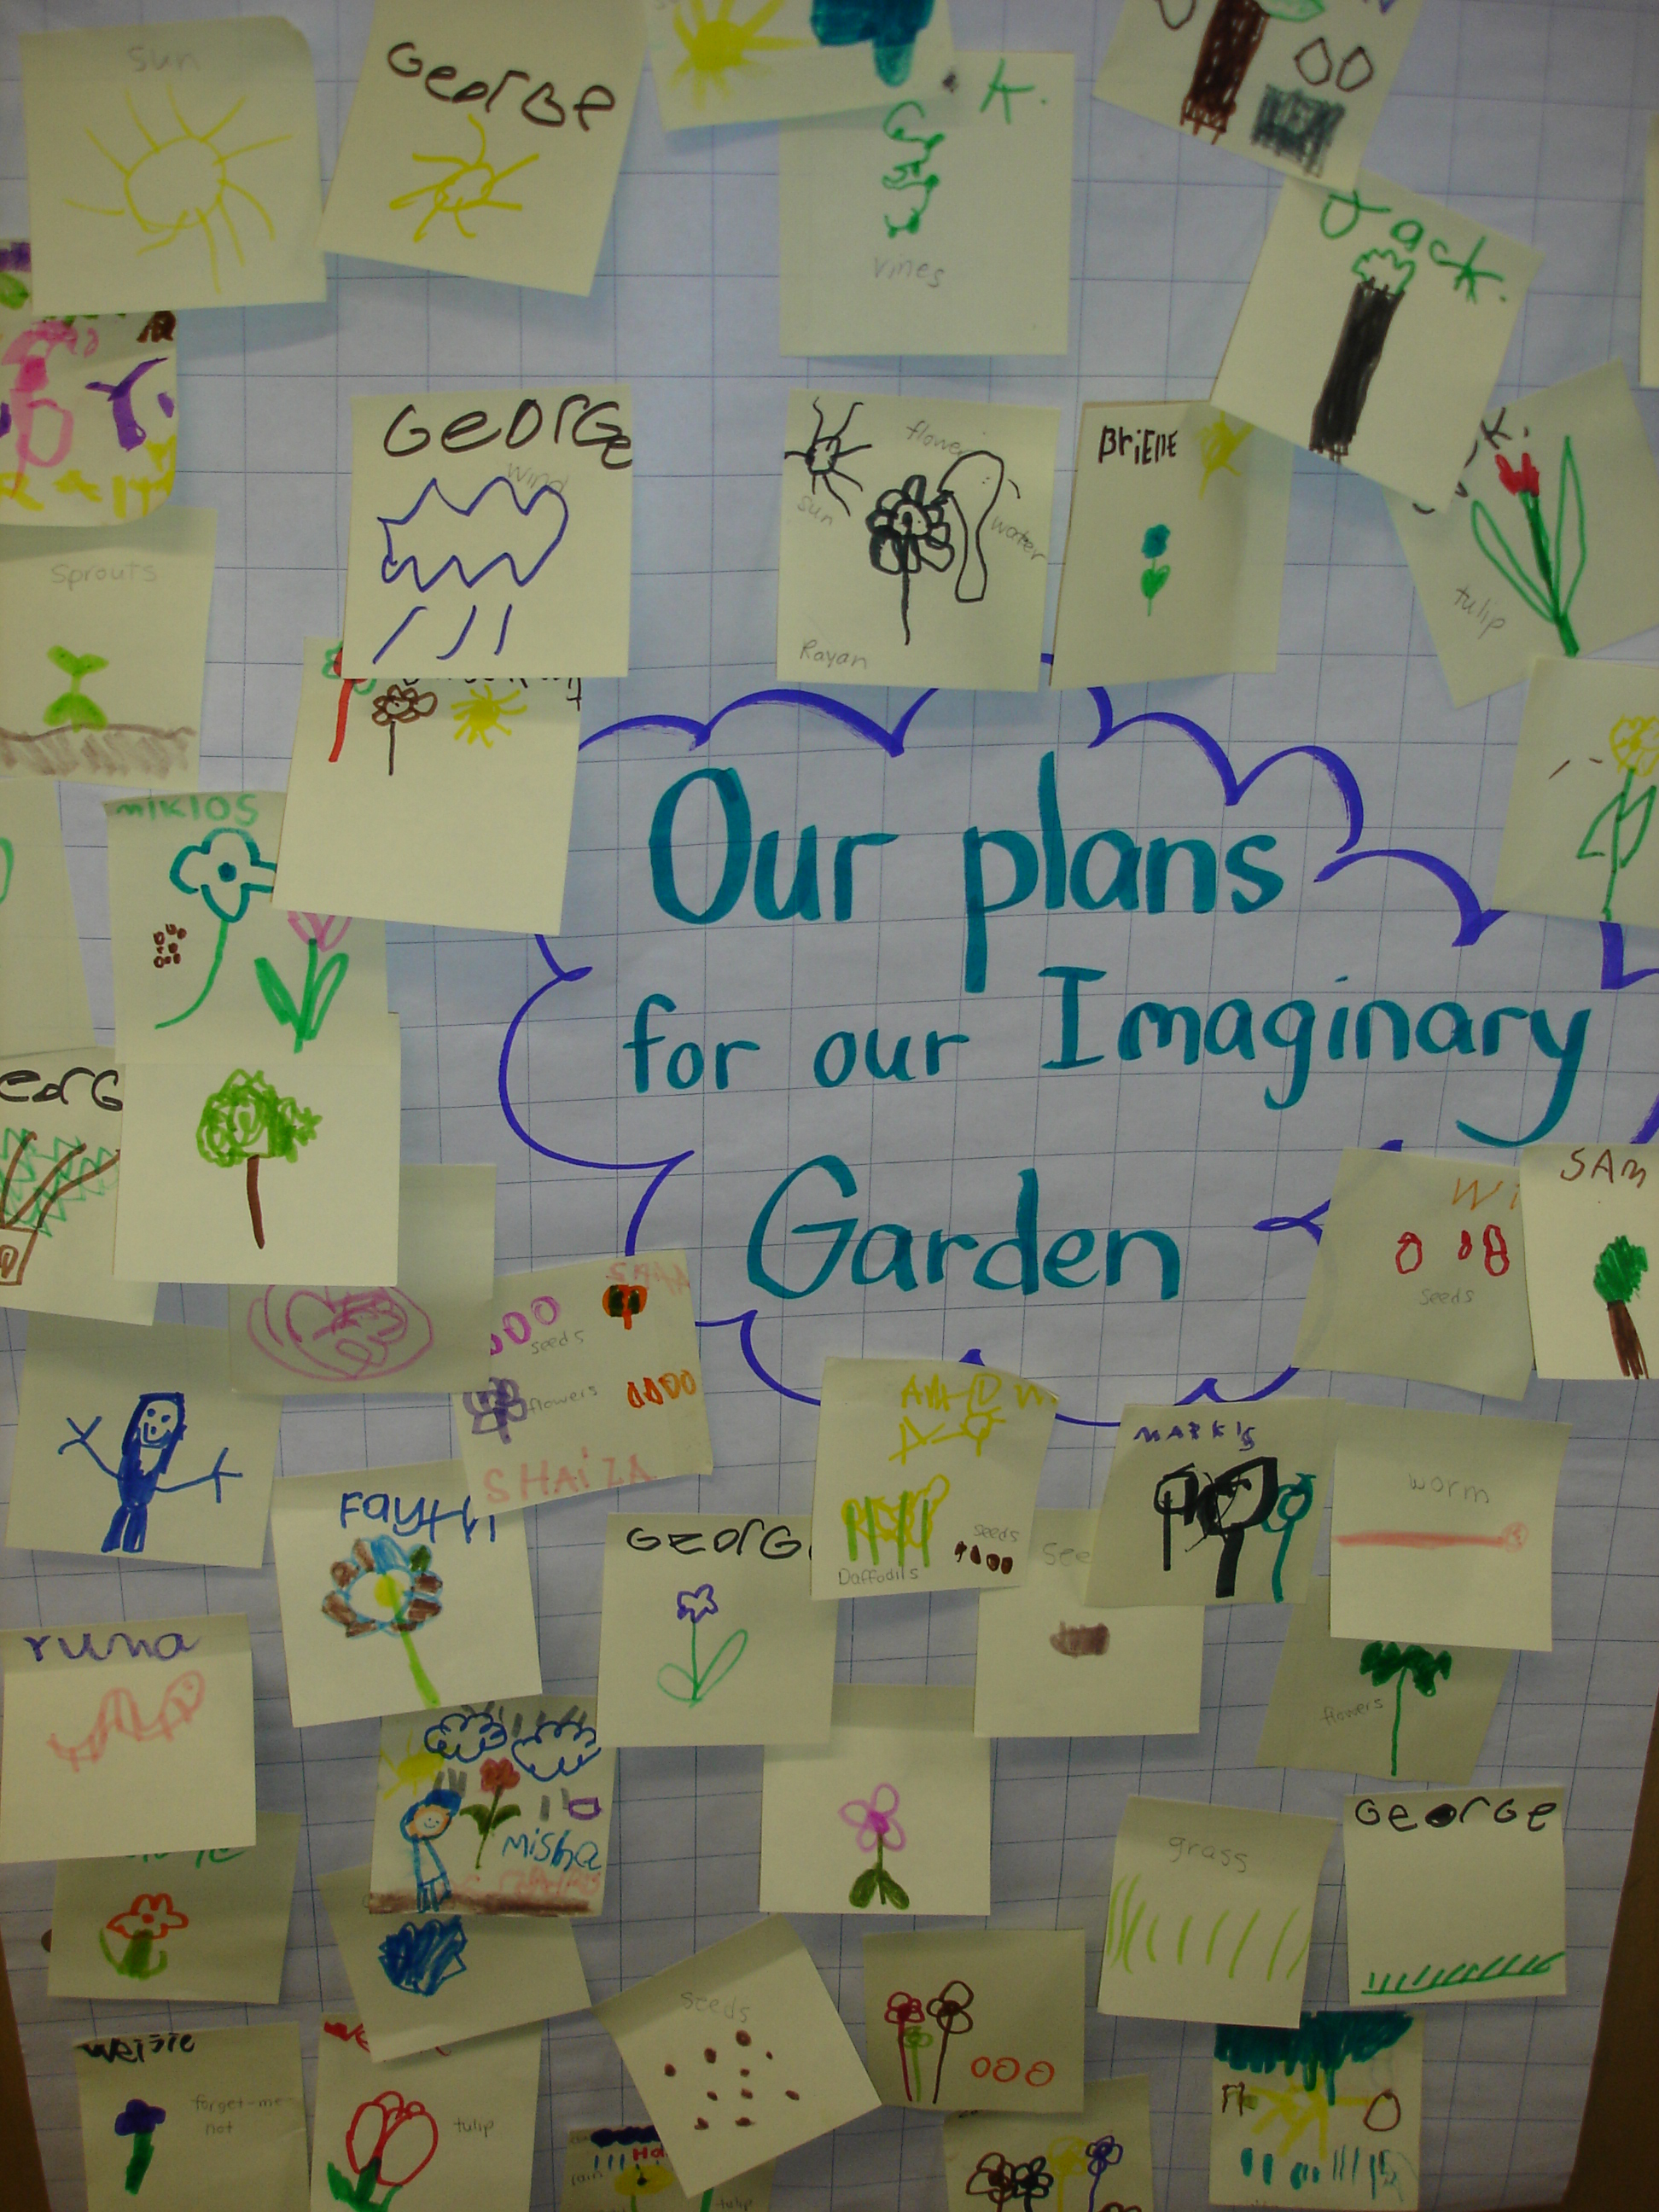
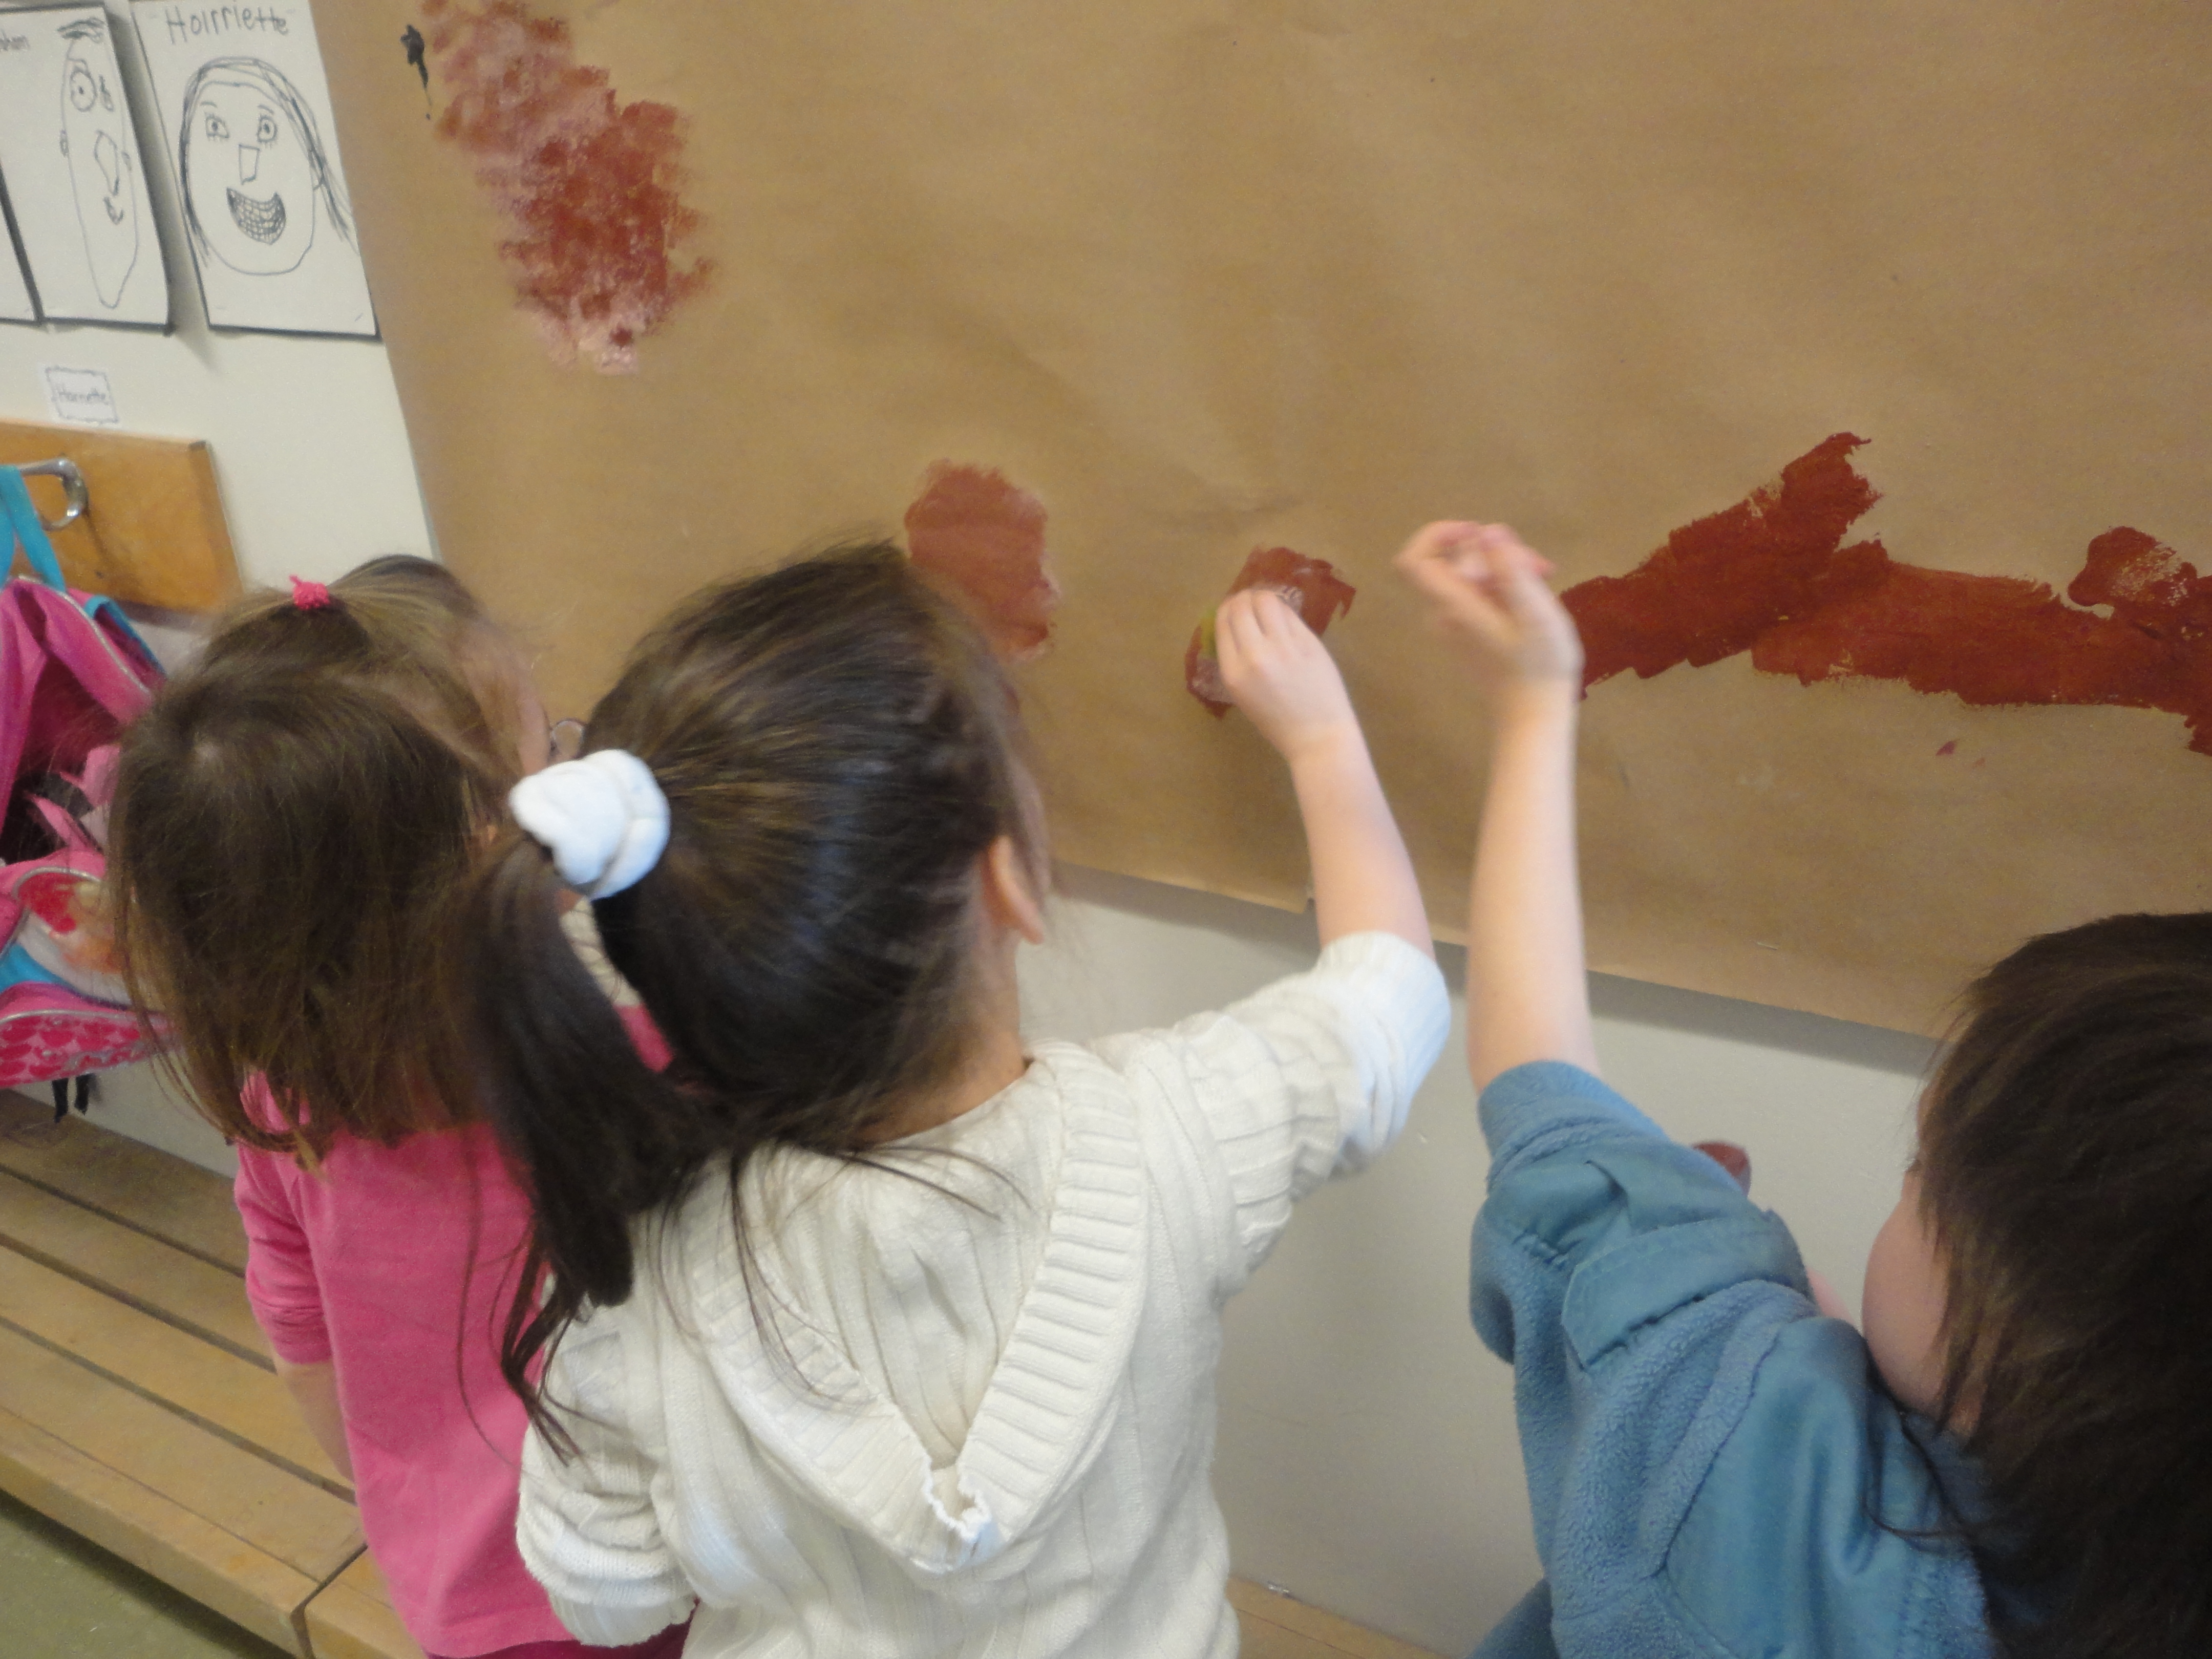
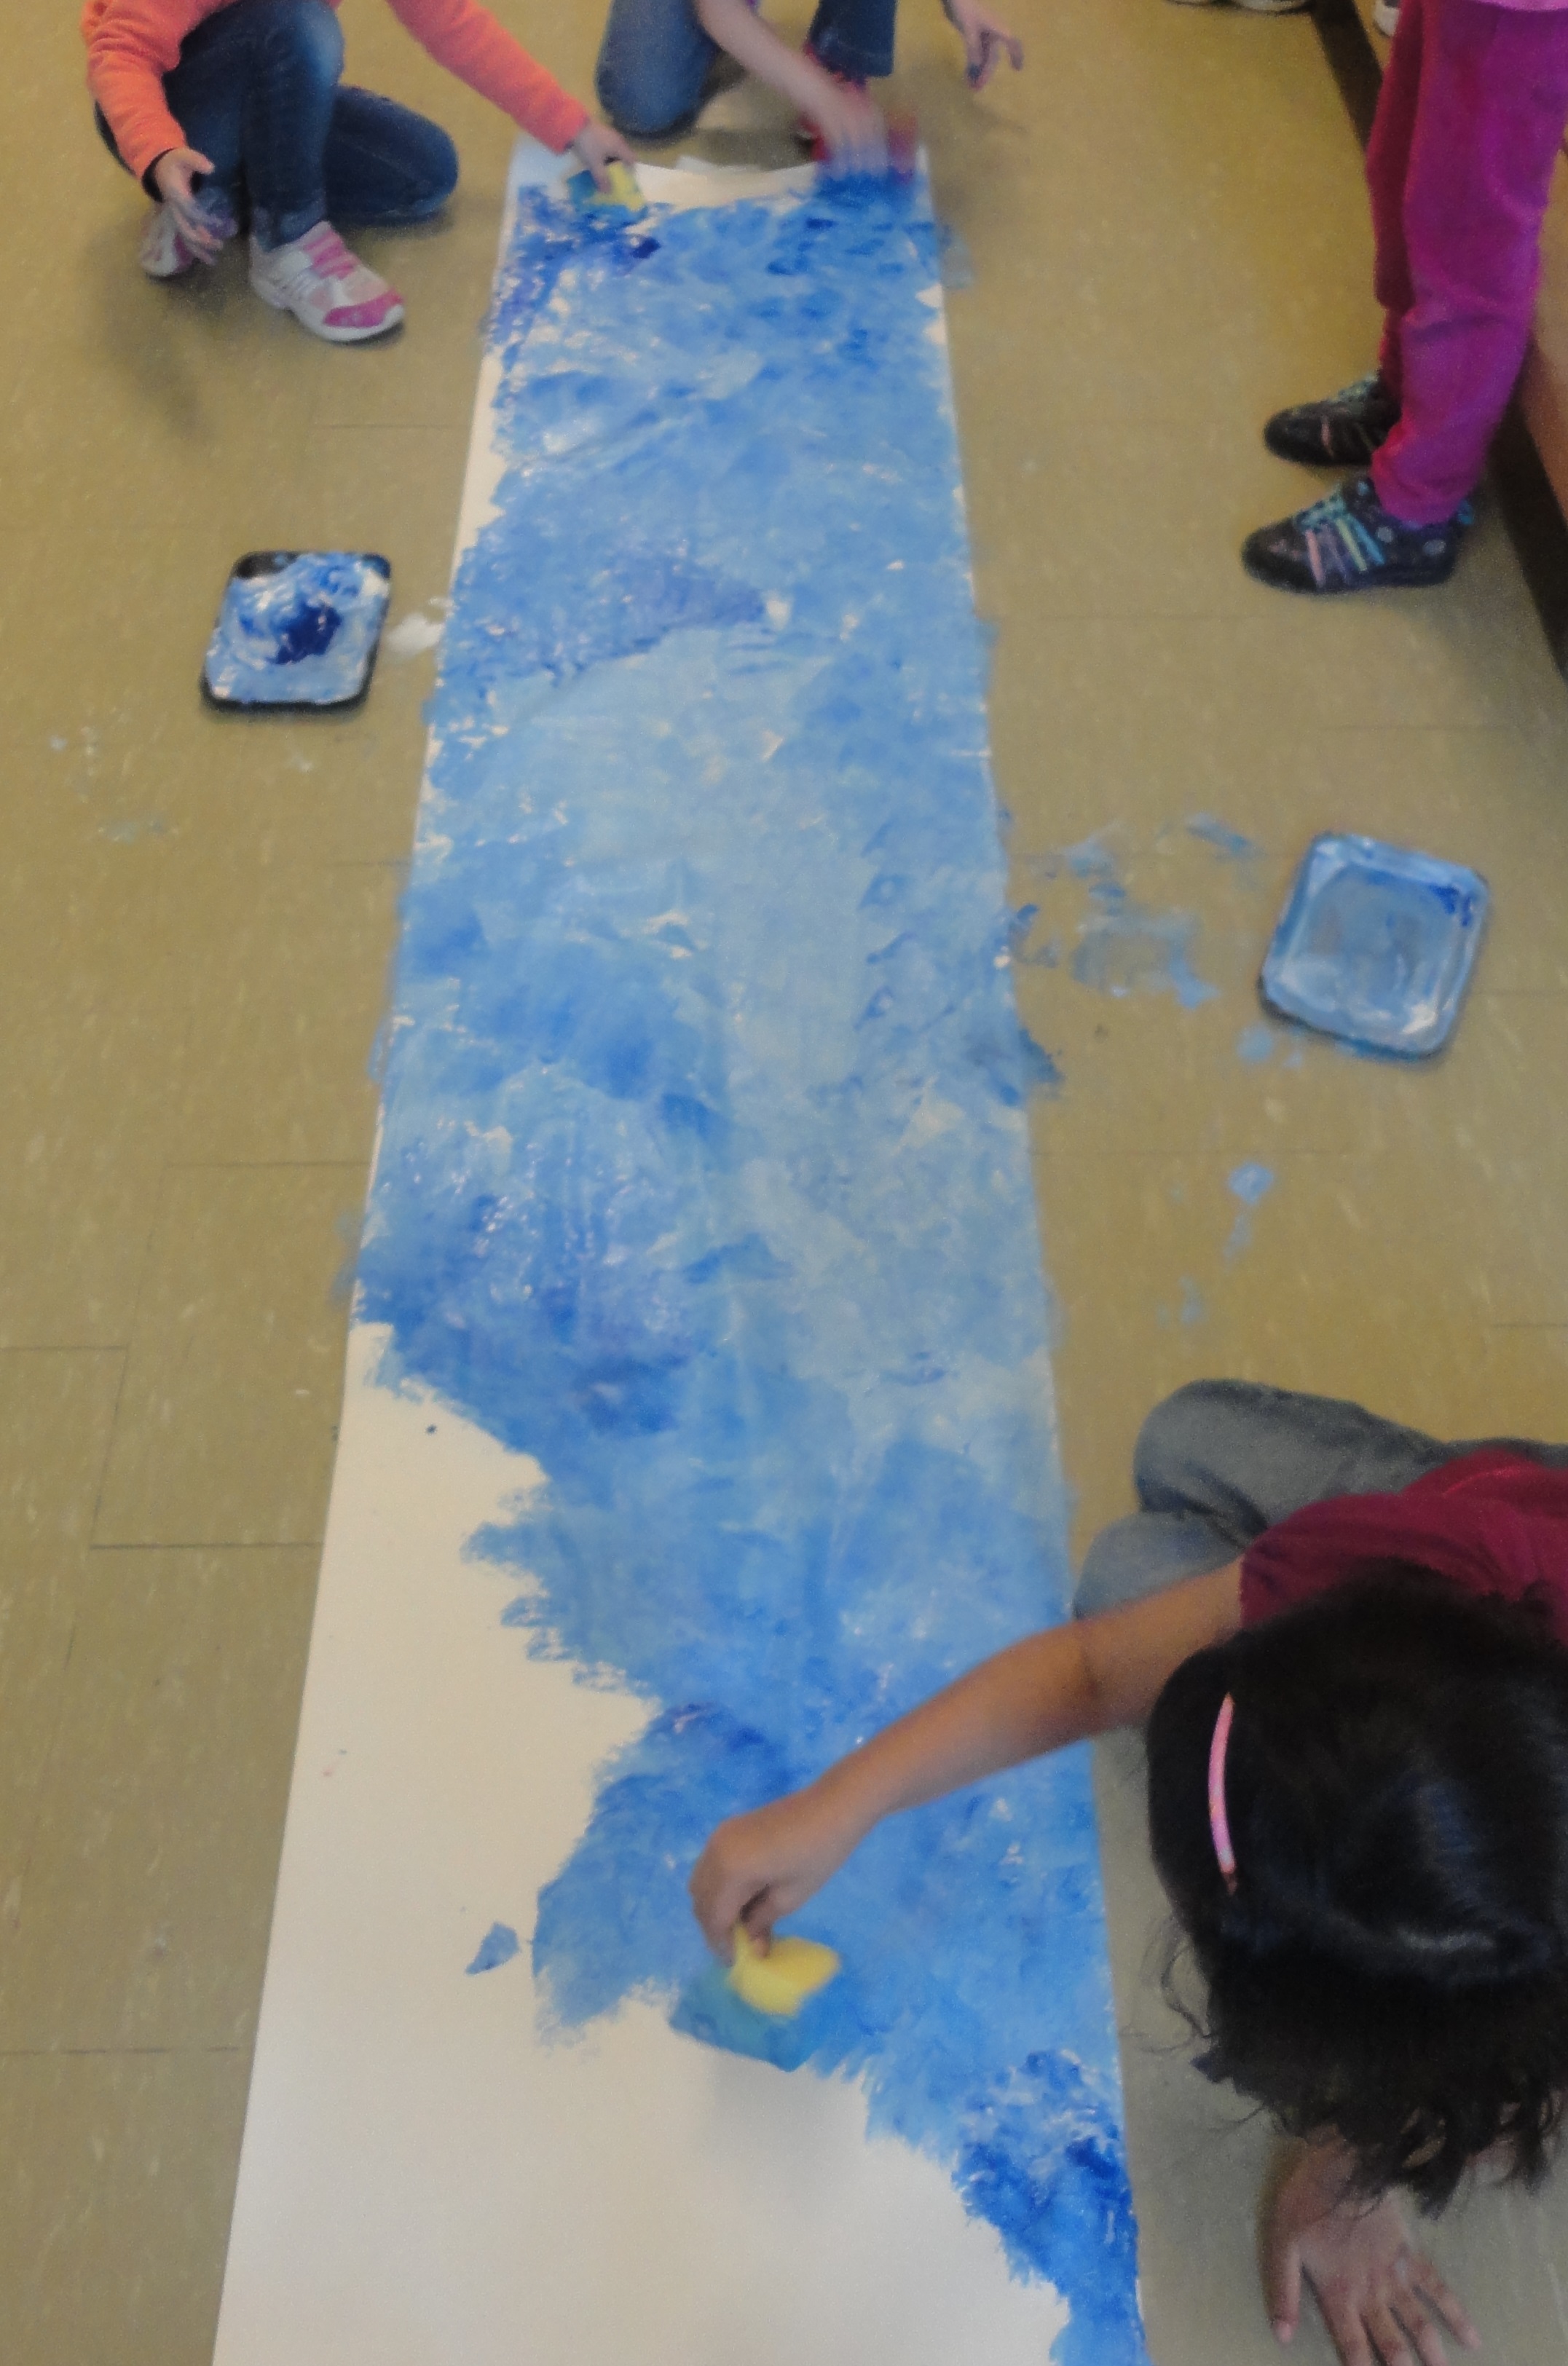
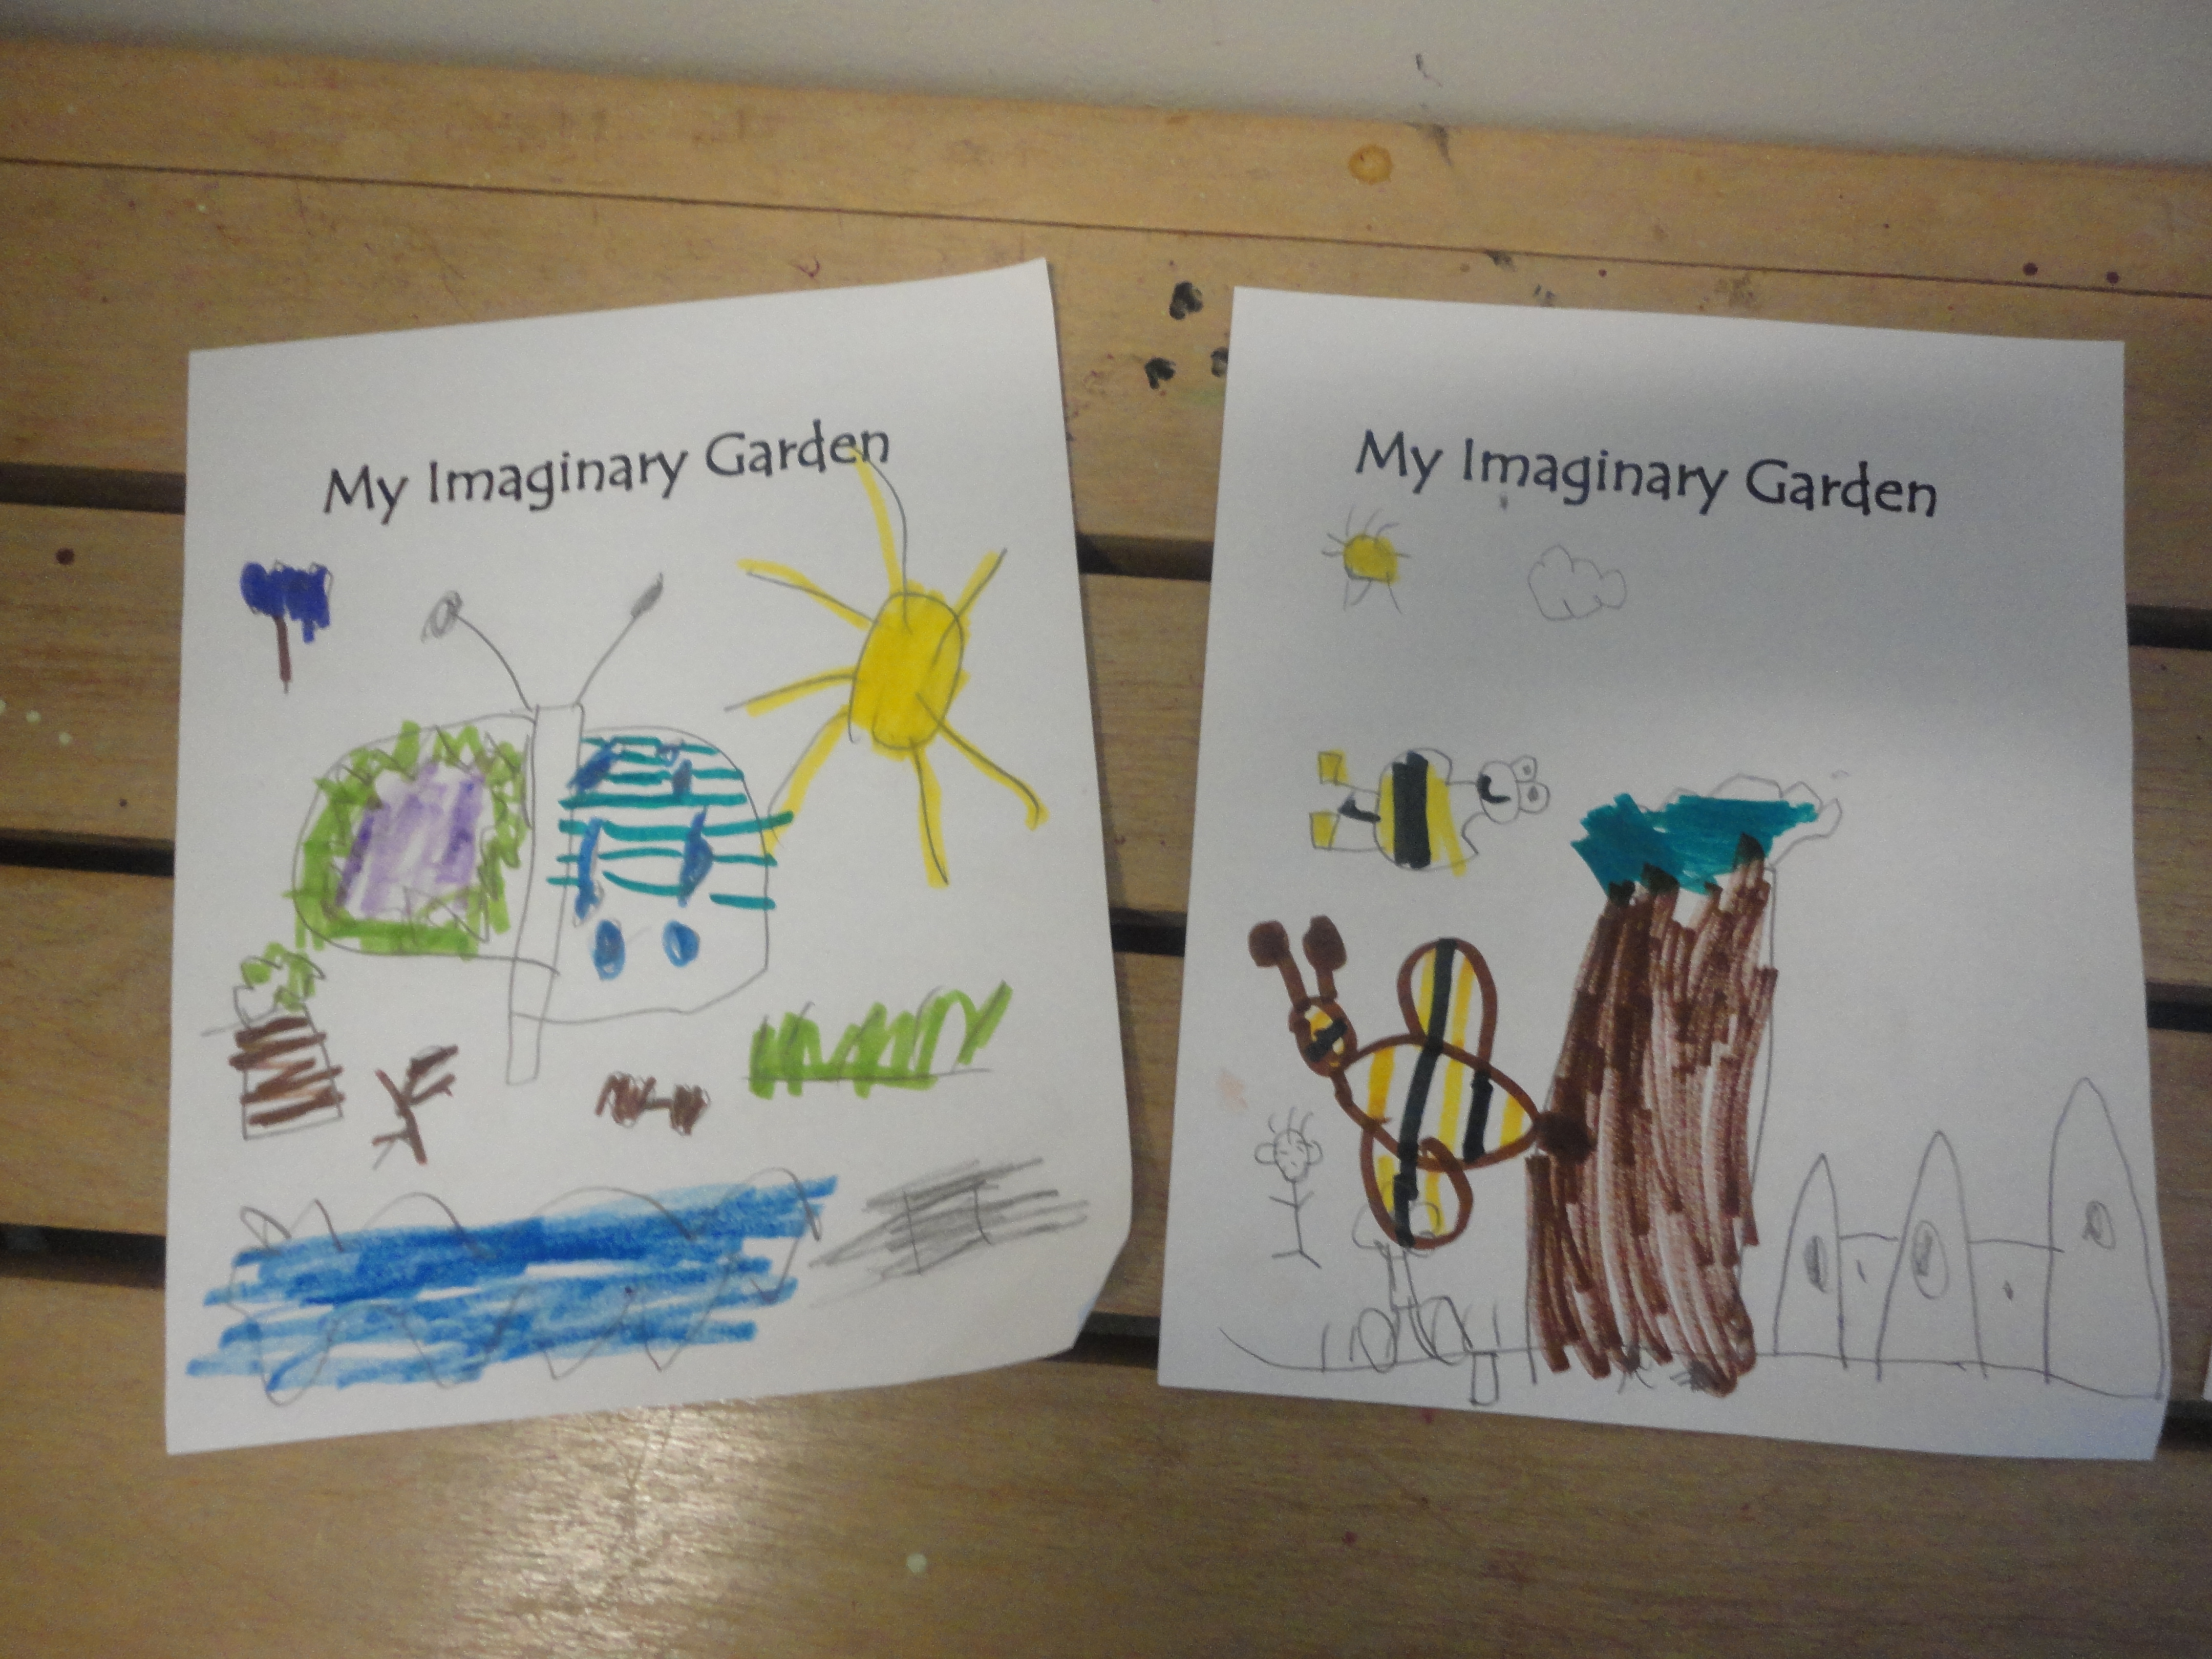
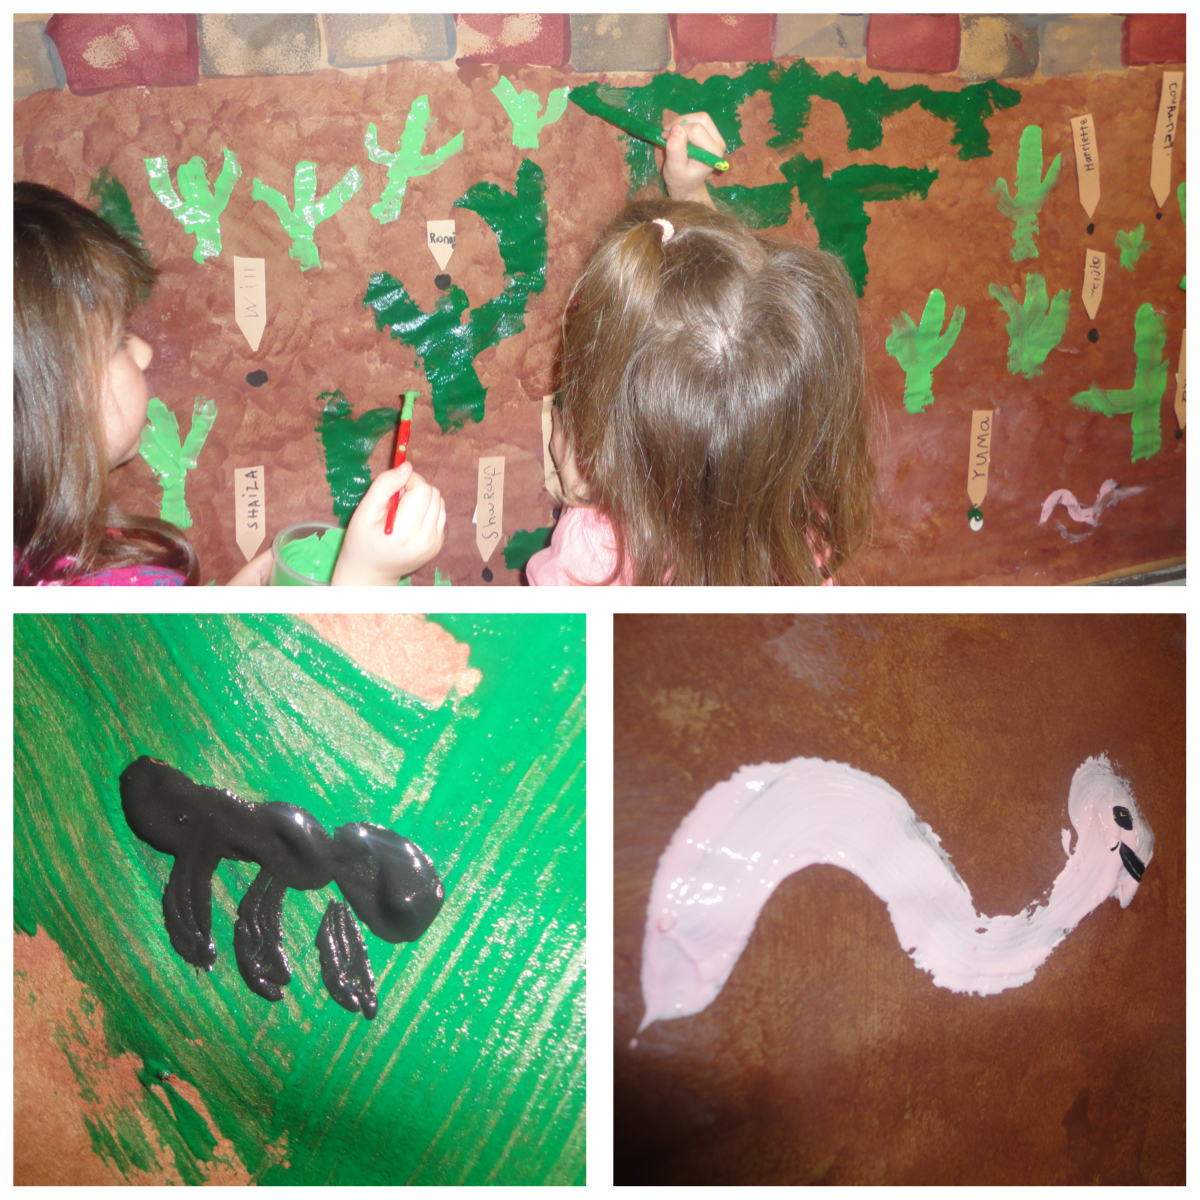
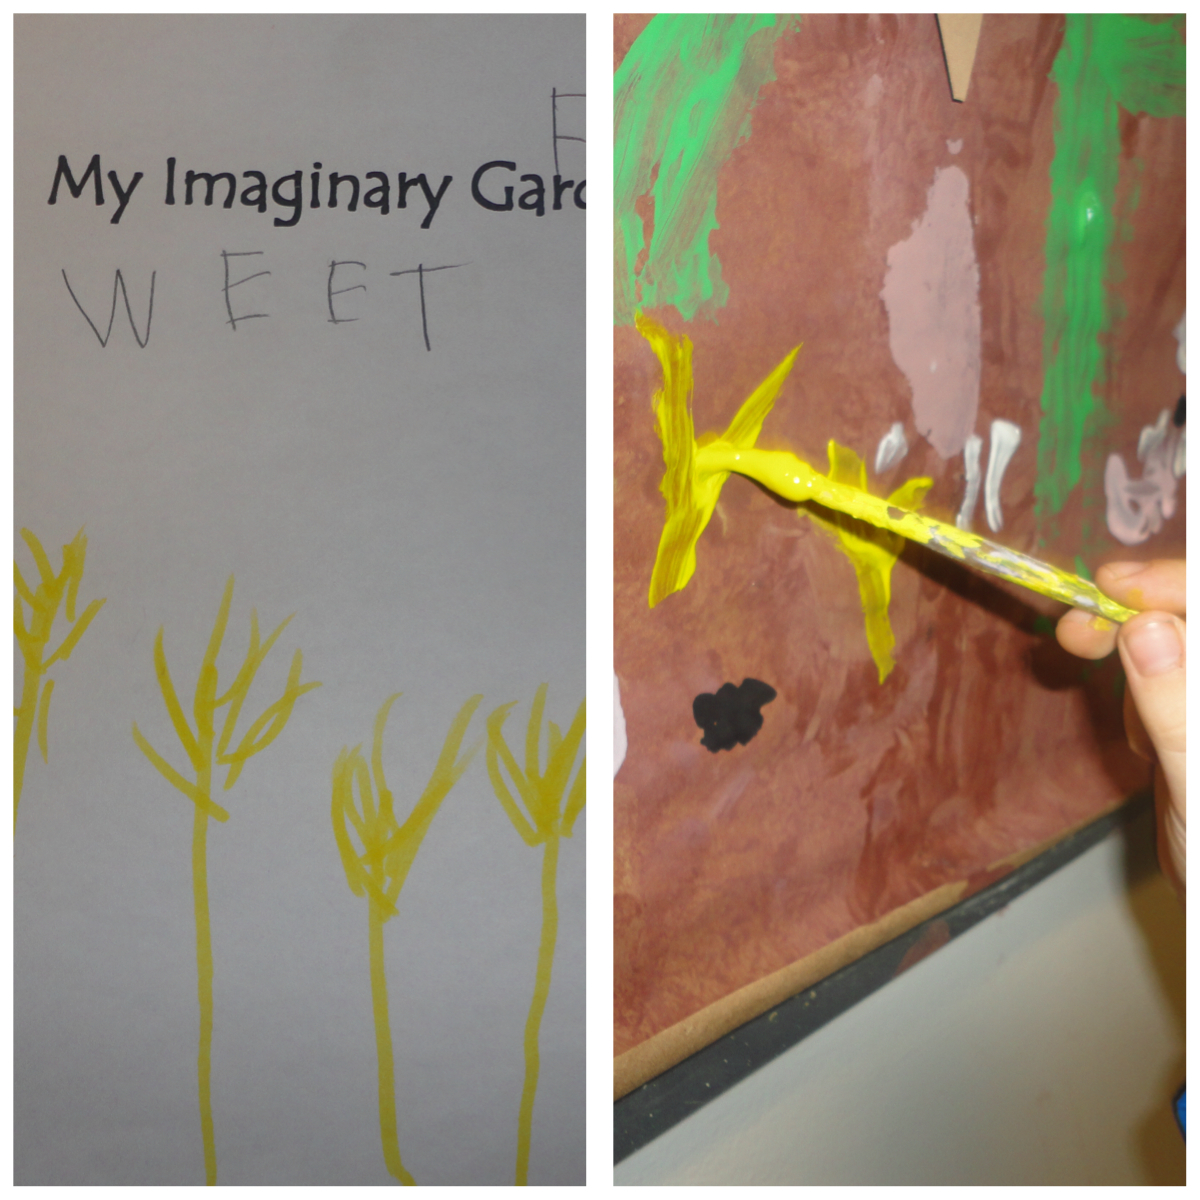
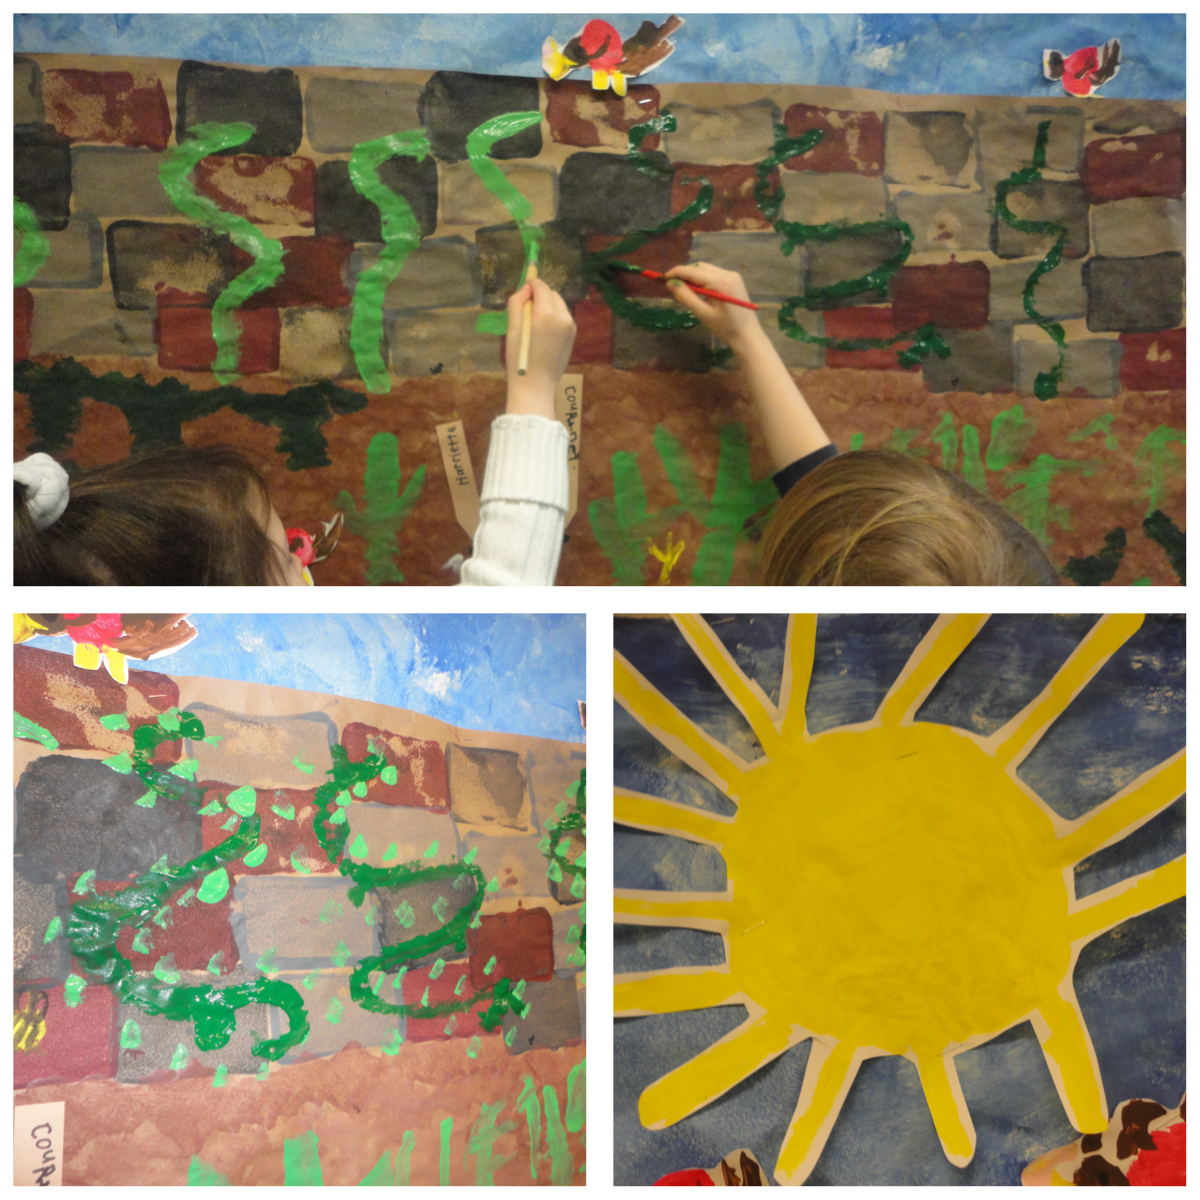
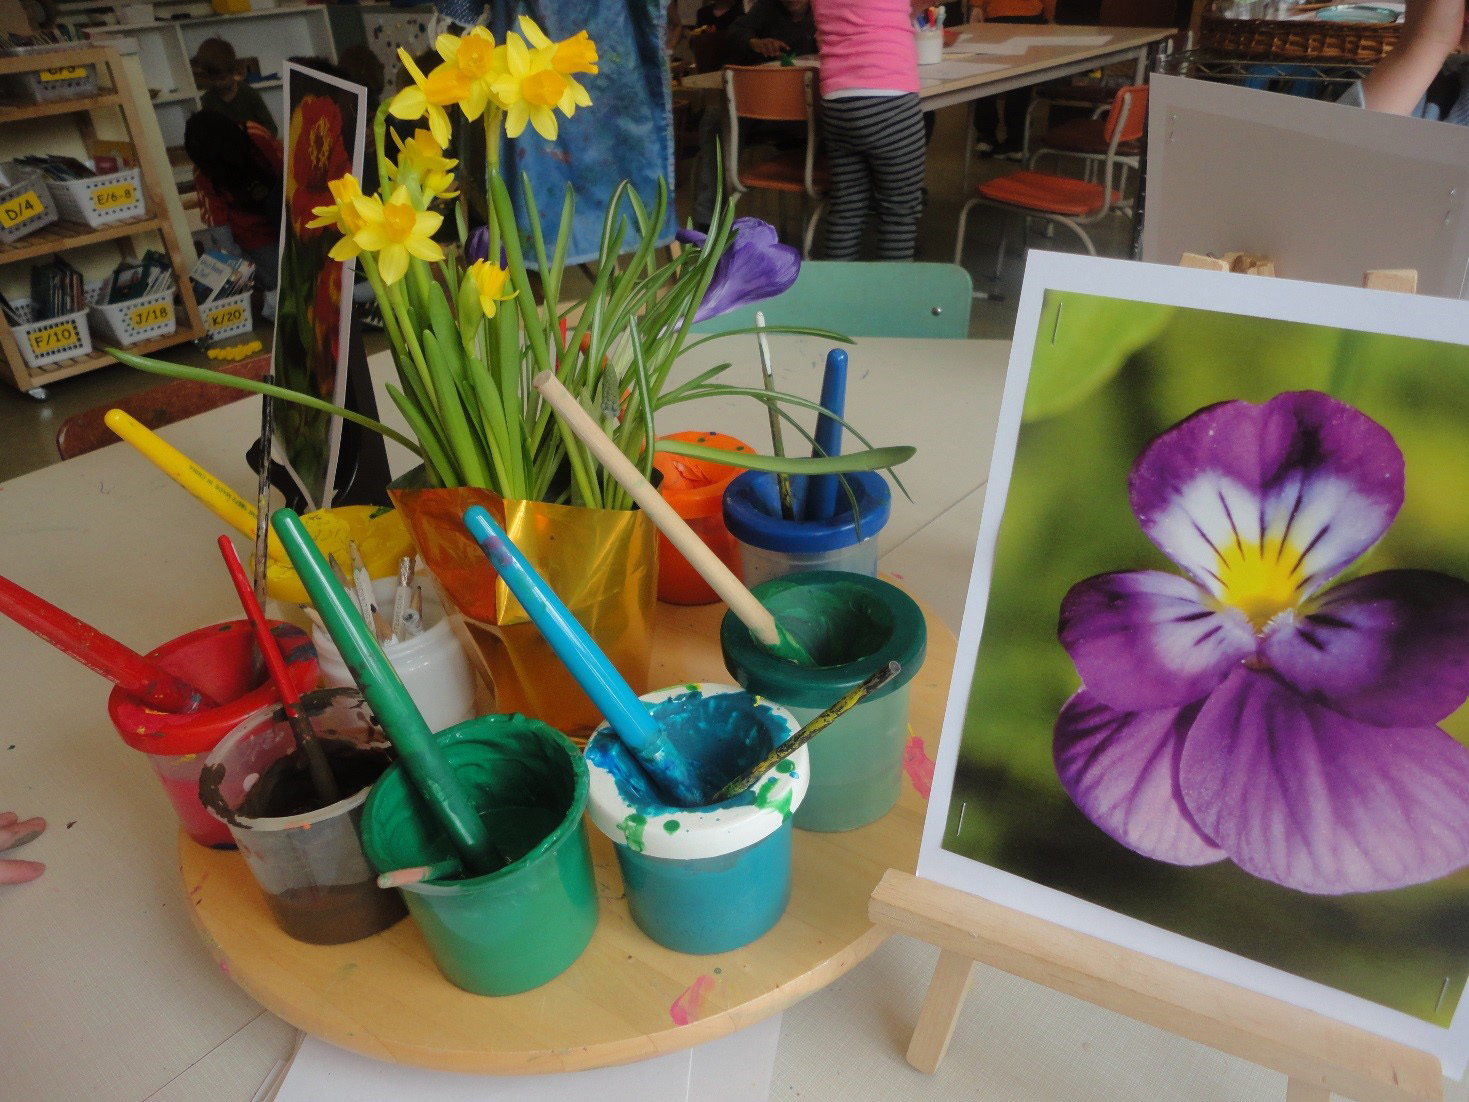
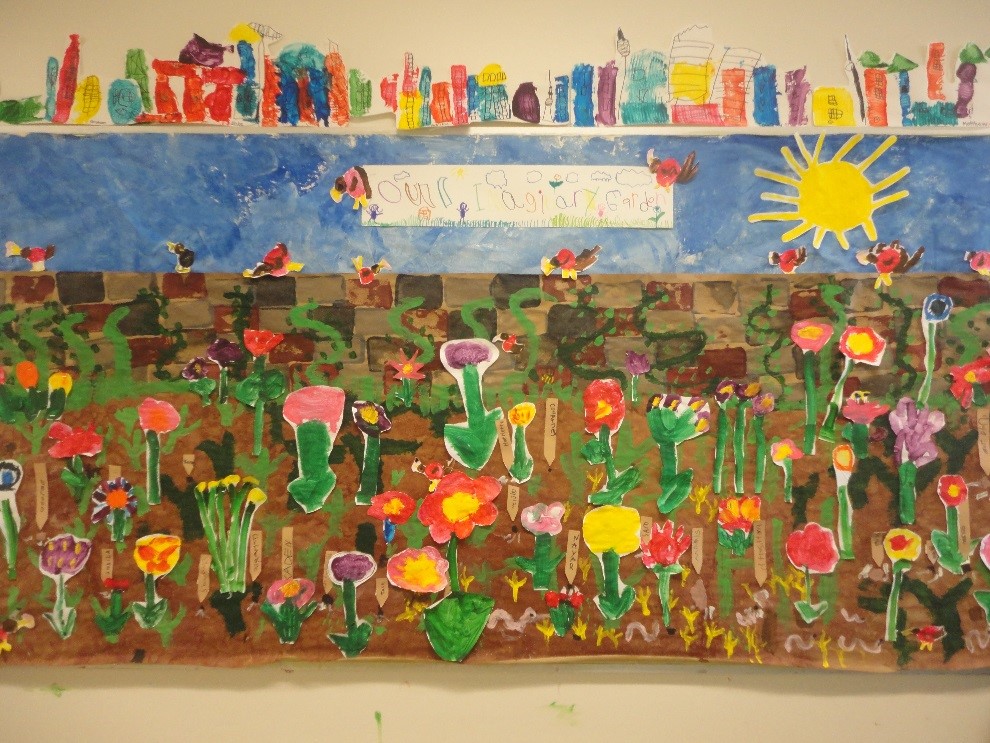
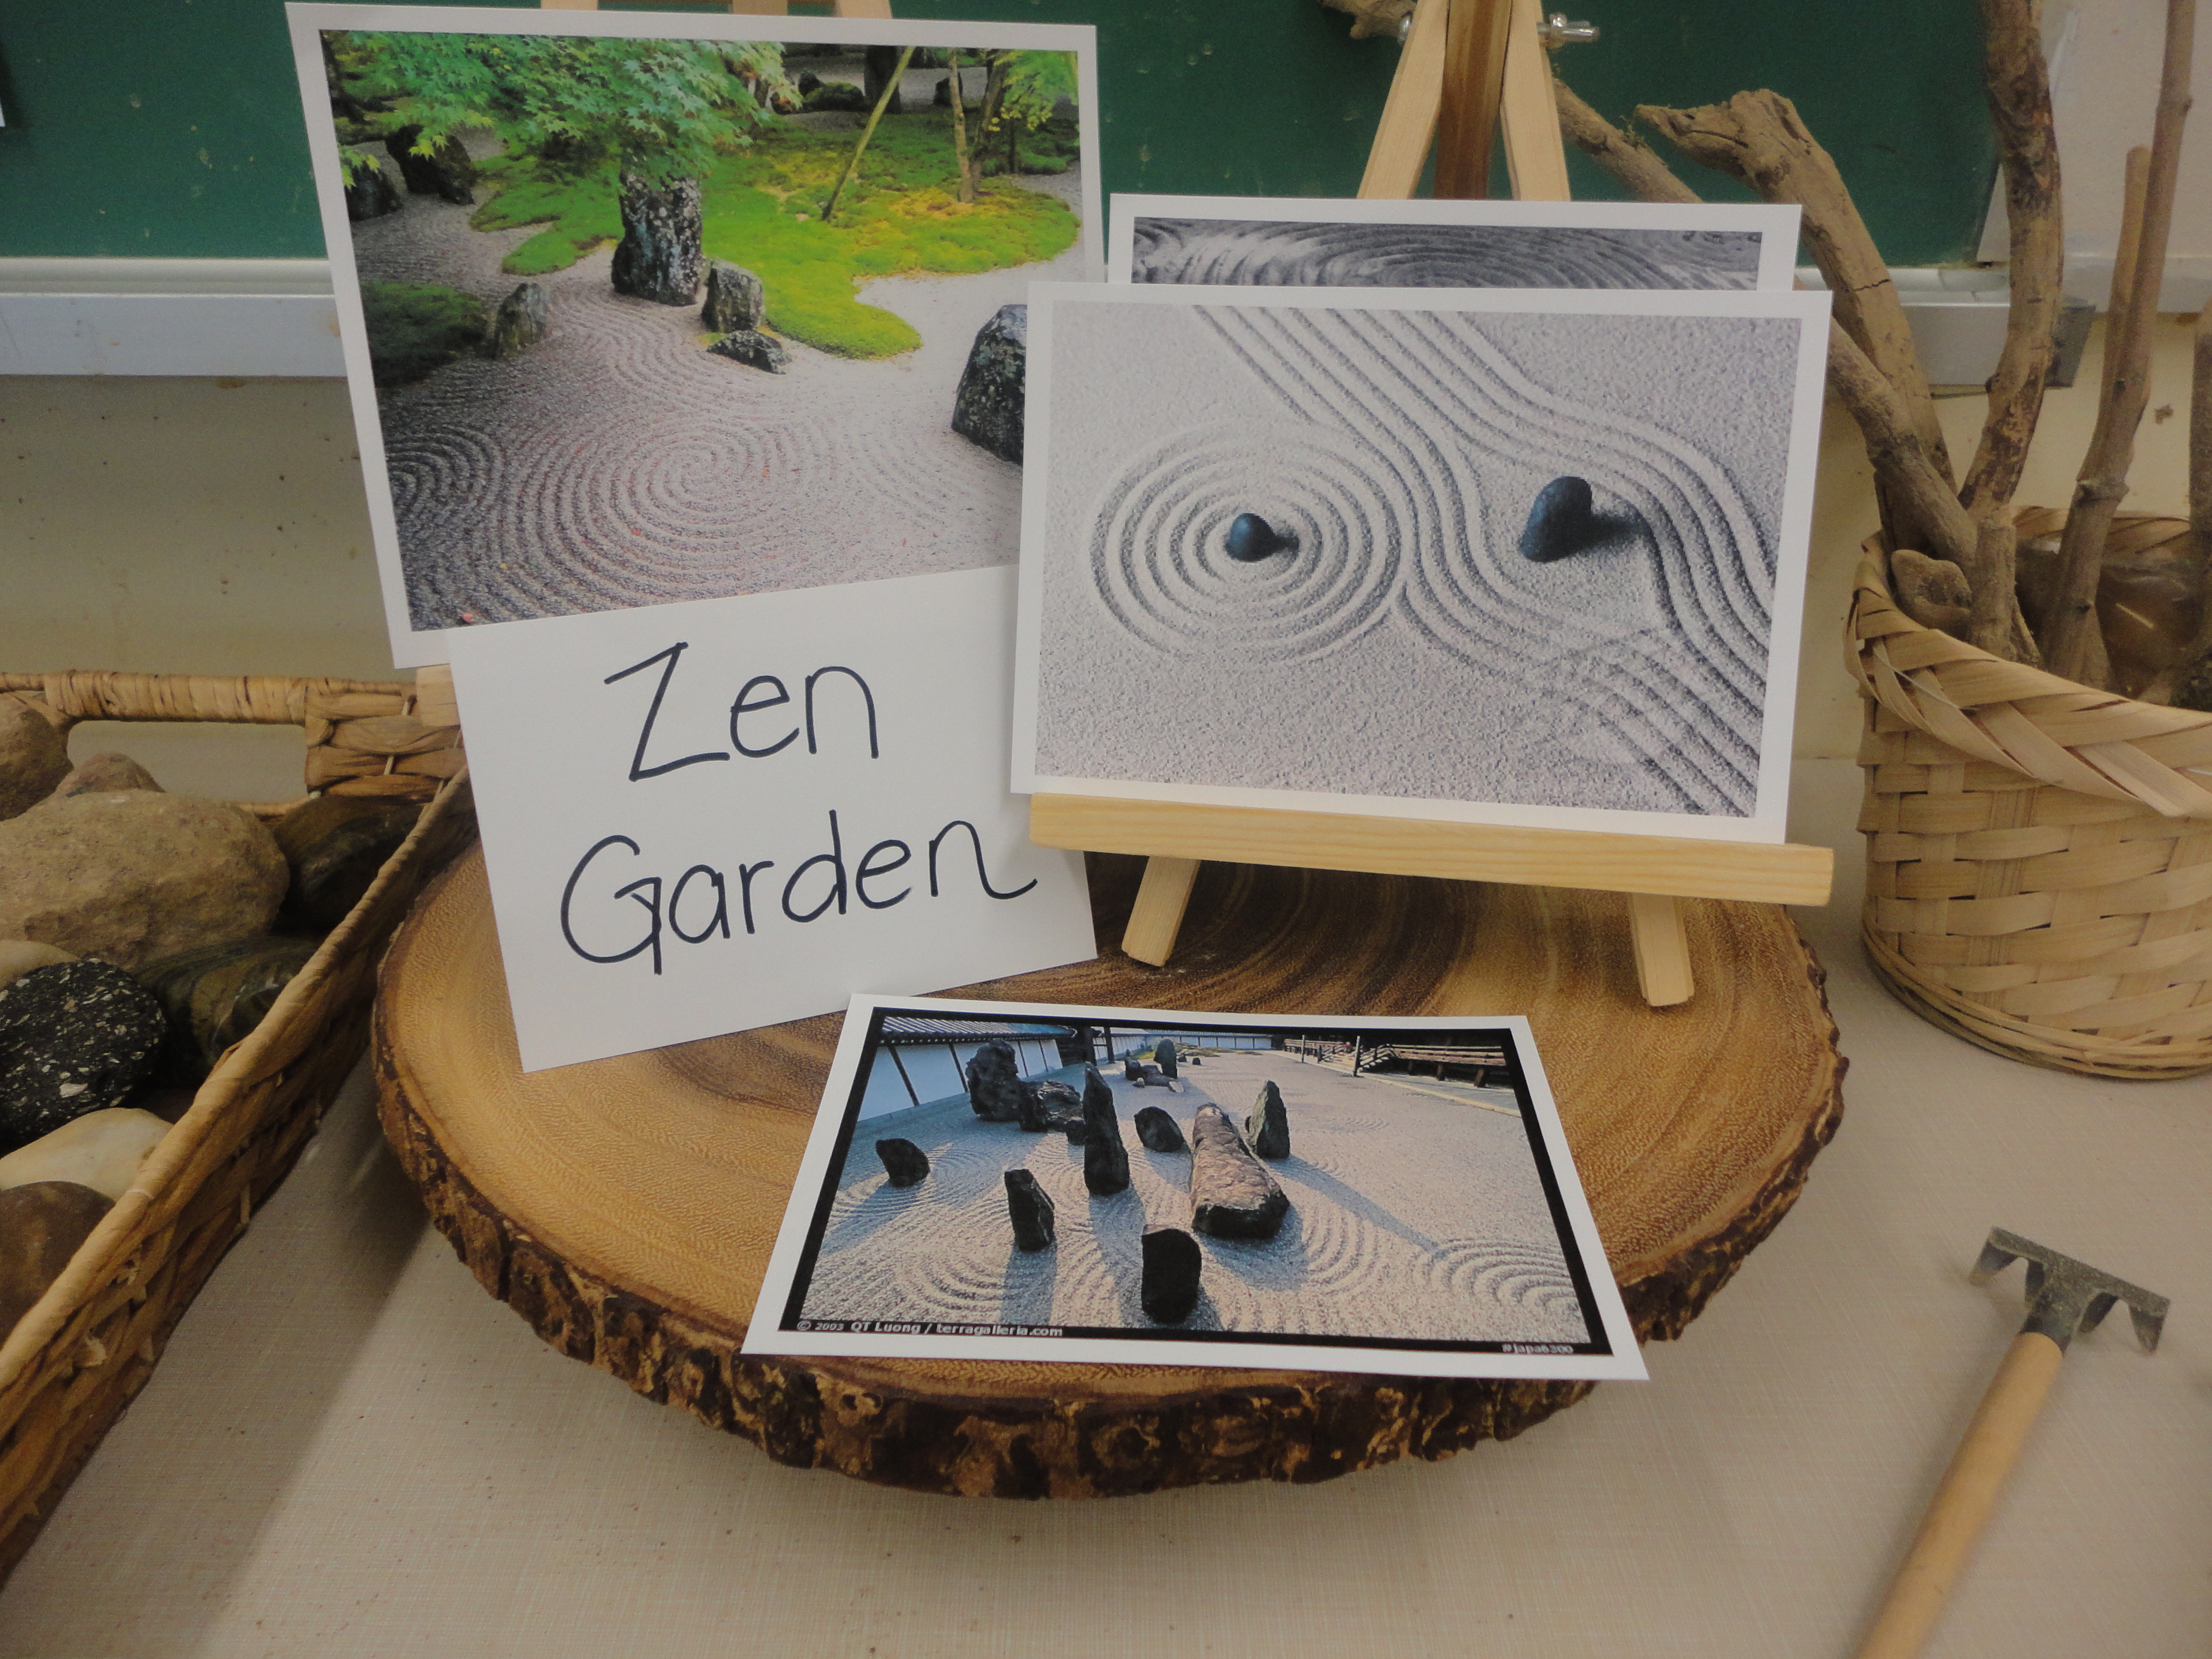
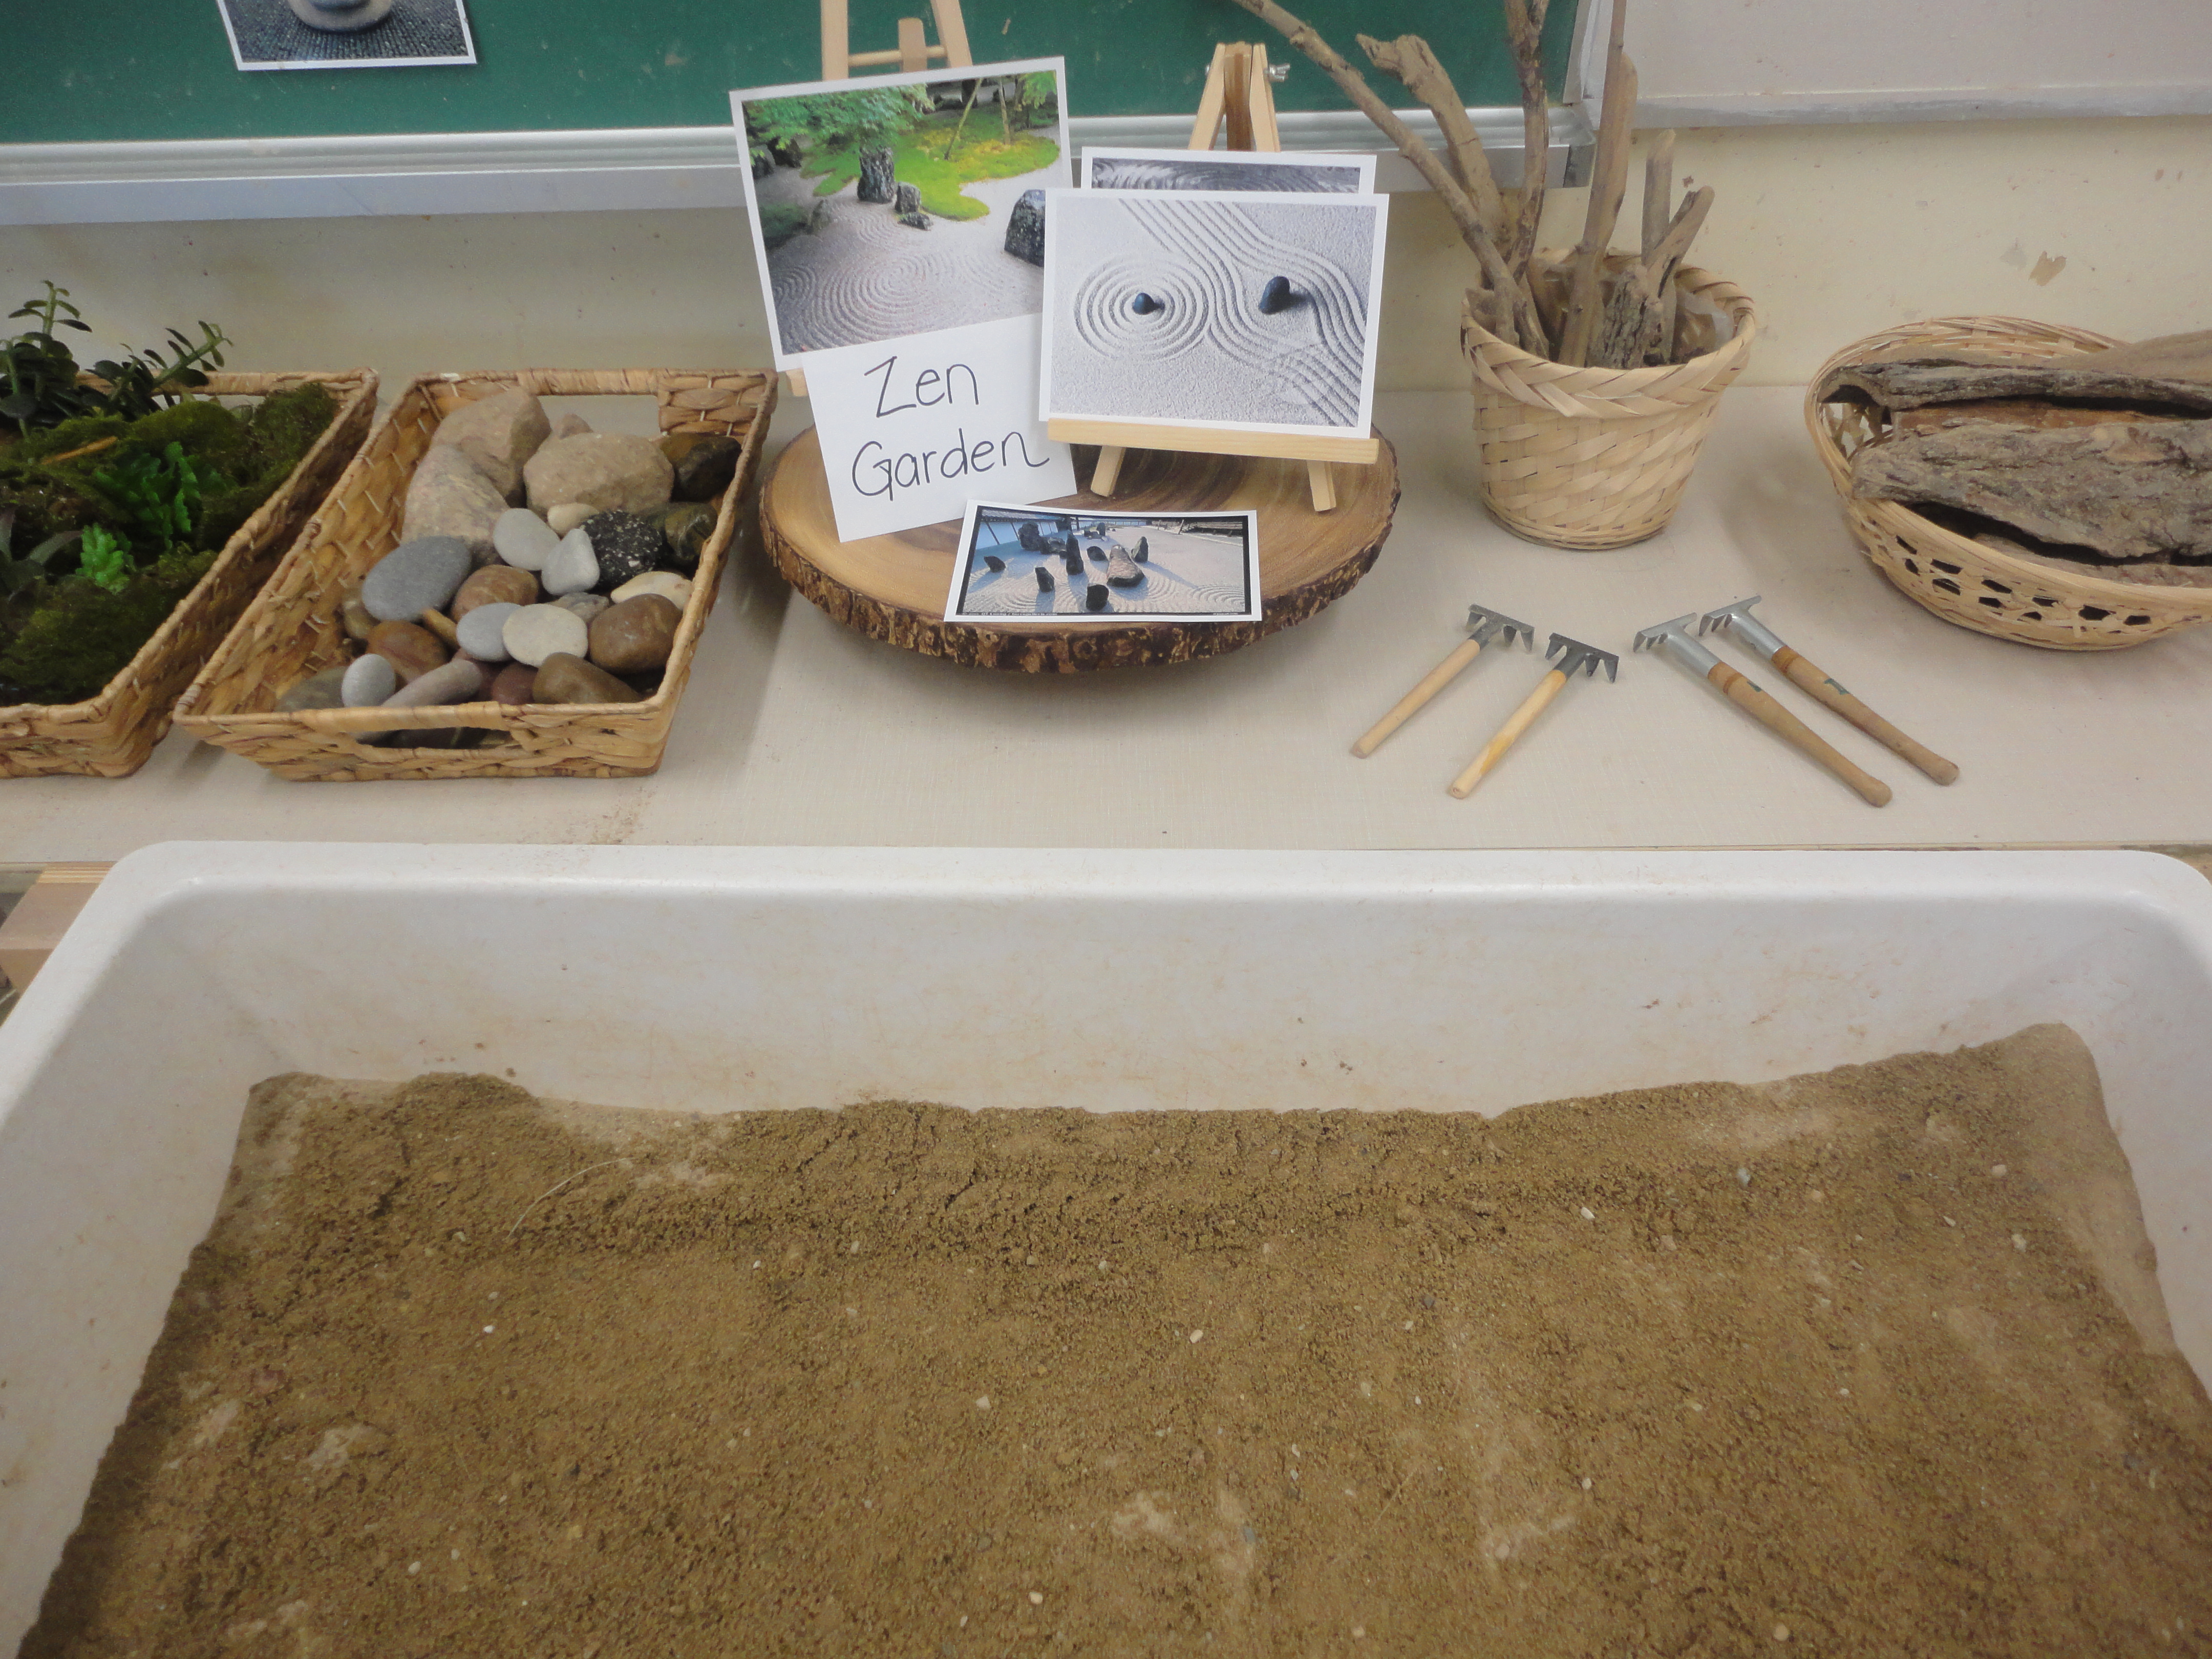
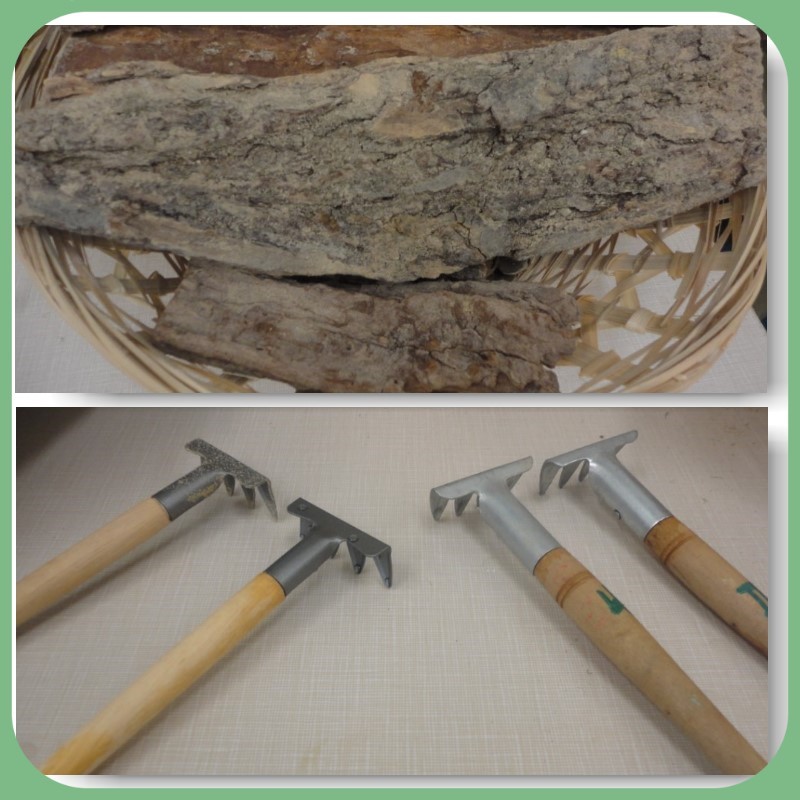
When we were arranging our schedule, we felt it was important to make sure that the children had ample time for working at discovery centres, both in the morning and in the afternoon. In the morning, our discovery time runs from 10:10 a.m. to 11:25 a.m. This time includes a self-directed snack (children stop to eat if/when they feel the need though most opt out of a morning snack) and reflection time. During centre time, the children self-direct their own activities. This was a big change for me initially. When I taught kindergarten half day, I was that teacher with the clipboard who assigned children to specific centres each day. In full day, I let go of making choices for the children and let them choose the activities that are most interesting and important to them. If I encounter a student who only ever chooses the block centre, I may suggest an alternative or invite him/her to see what is happening at the Art Studio. And I have never been turned down. Generally speaking, most children are interested in trying new things and are interested in the provocations that pop up around the classroom.

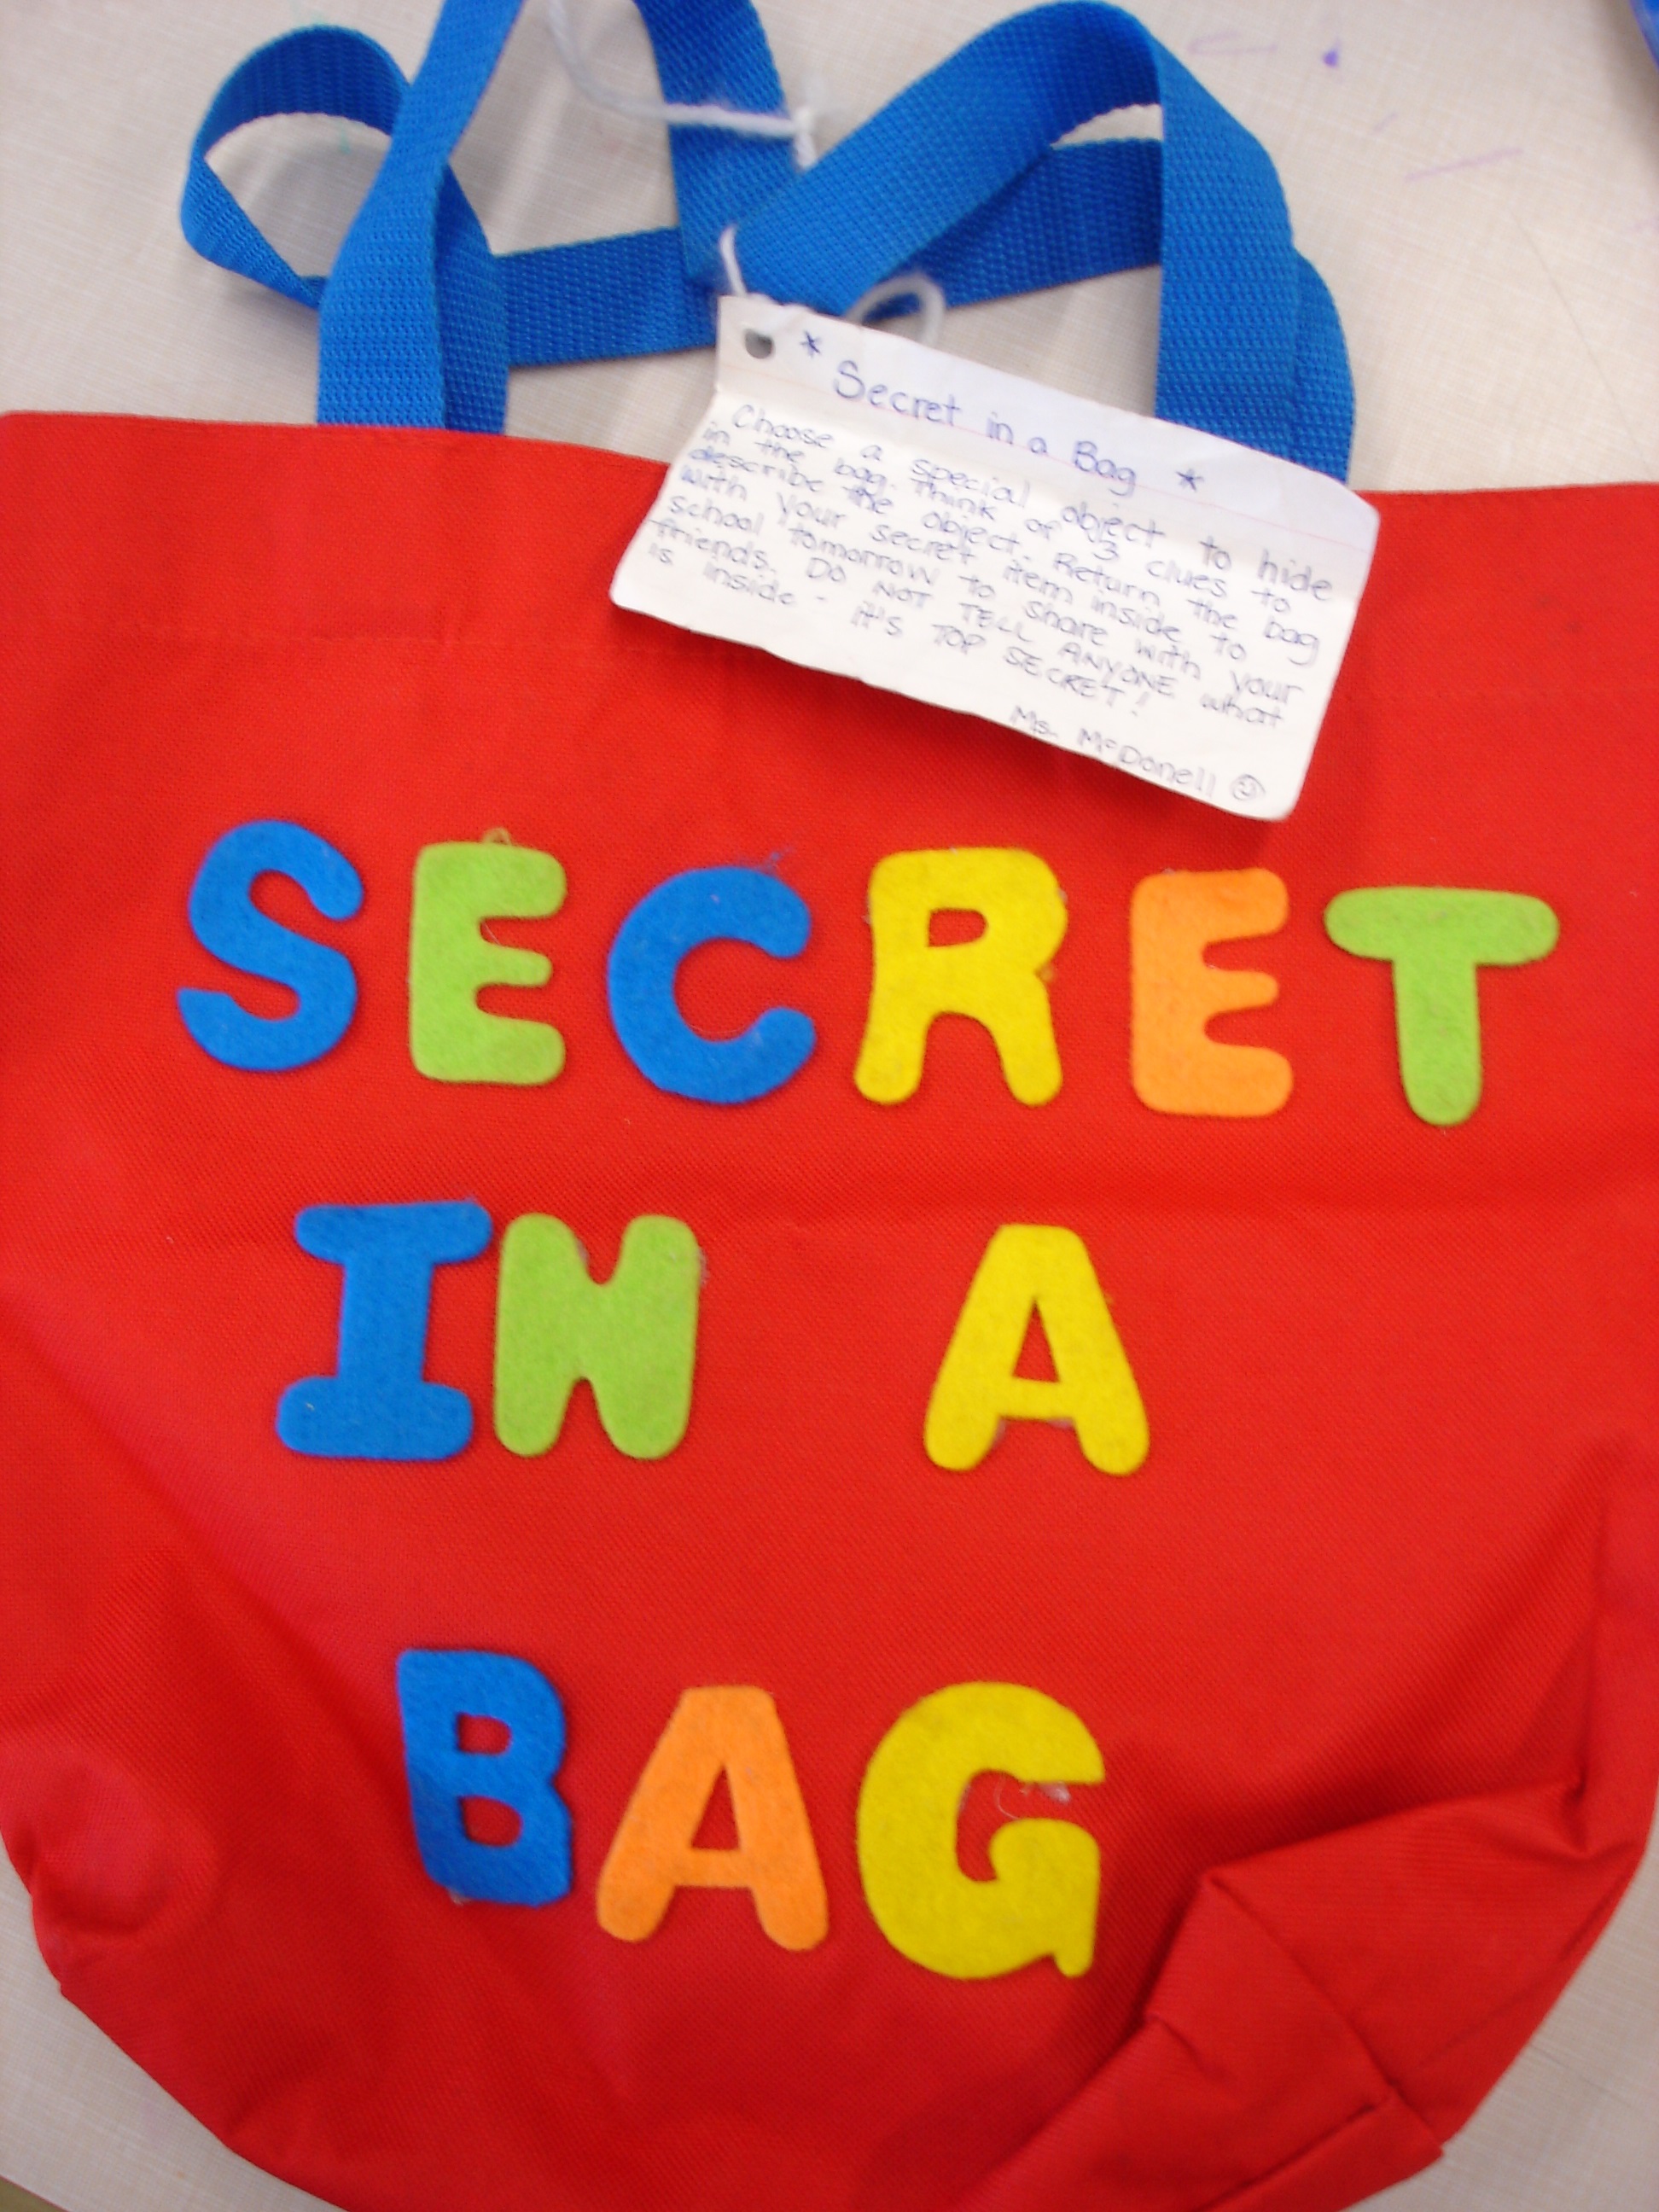
Reflection time is a crucial part of our day. Reflection time is when we gather as a group to share our learning from Discovery time. I jokingly refer to reflection time as “free advertising” because it is the time when we can highlight the important learning goals/behaviours/discoveries we want the children to be demonstrating, through the children’s own work. The decision about which children share is not random, but purposeful. Perhaps it might be a student who made a breakthrough or did their personal best, or it may be a child sharing an interesting way they interacted with materials at one of our provocations, or it may be a child sharing a problem they encountered while working and the class is invited to help them brainstorm a solution. The reflection process is interactive. When a child is sharing, the class is given the opportunity to ask questions and give feedback. I continue to be amazed by how thoughtful the children are in their questions and comments. They often speak of being ‘inspired’ by things they saw their classmates doing. I am often inspired too! And remember that child I mentioned earlier? The one who chooses the same centre day after day? Reflection time is one of the ways we can inspire that child to try something new, or at the very least, stay connected to all the interesting things that are happening in the class.

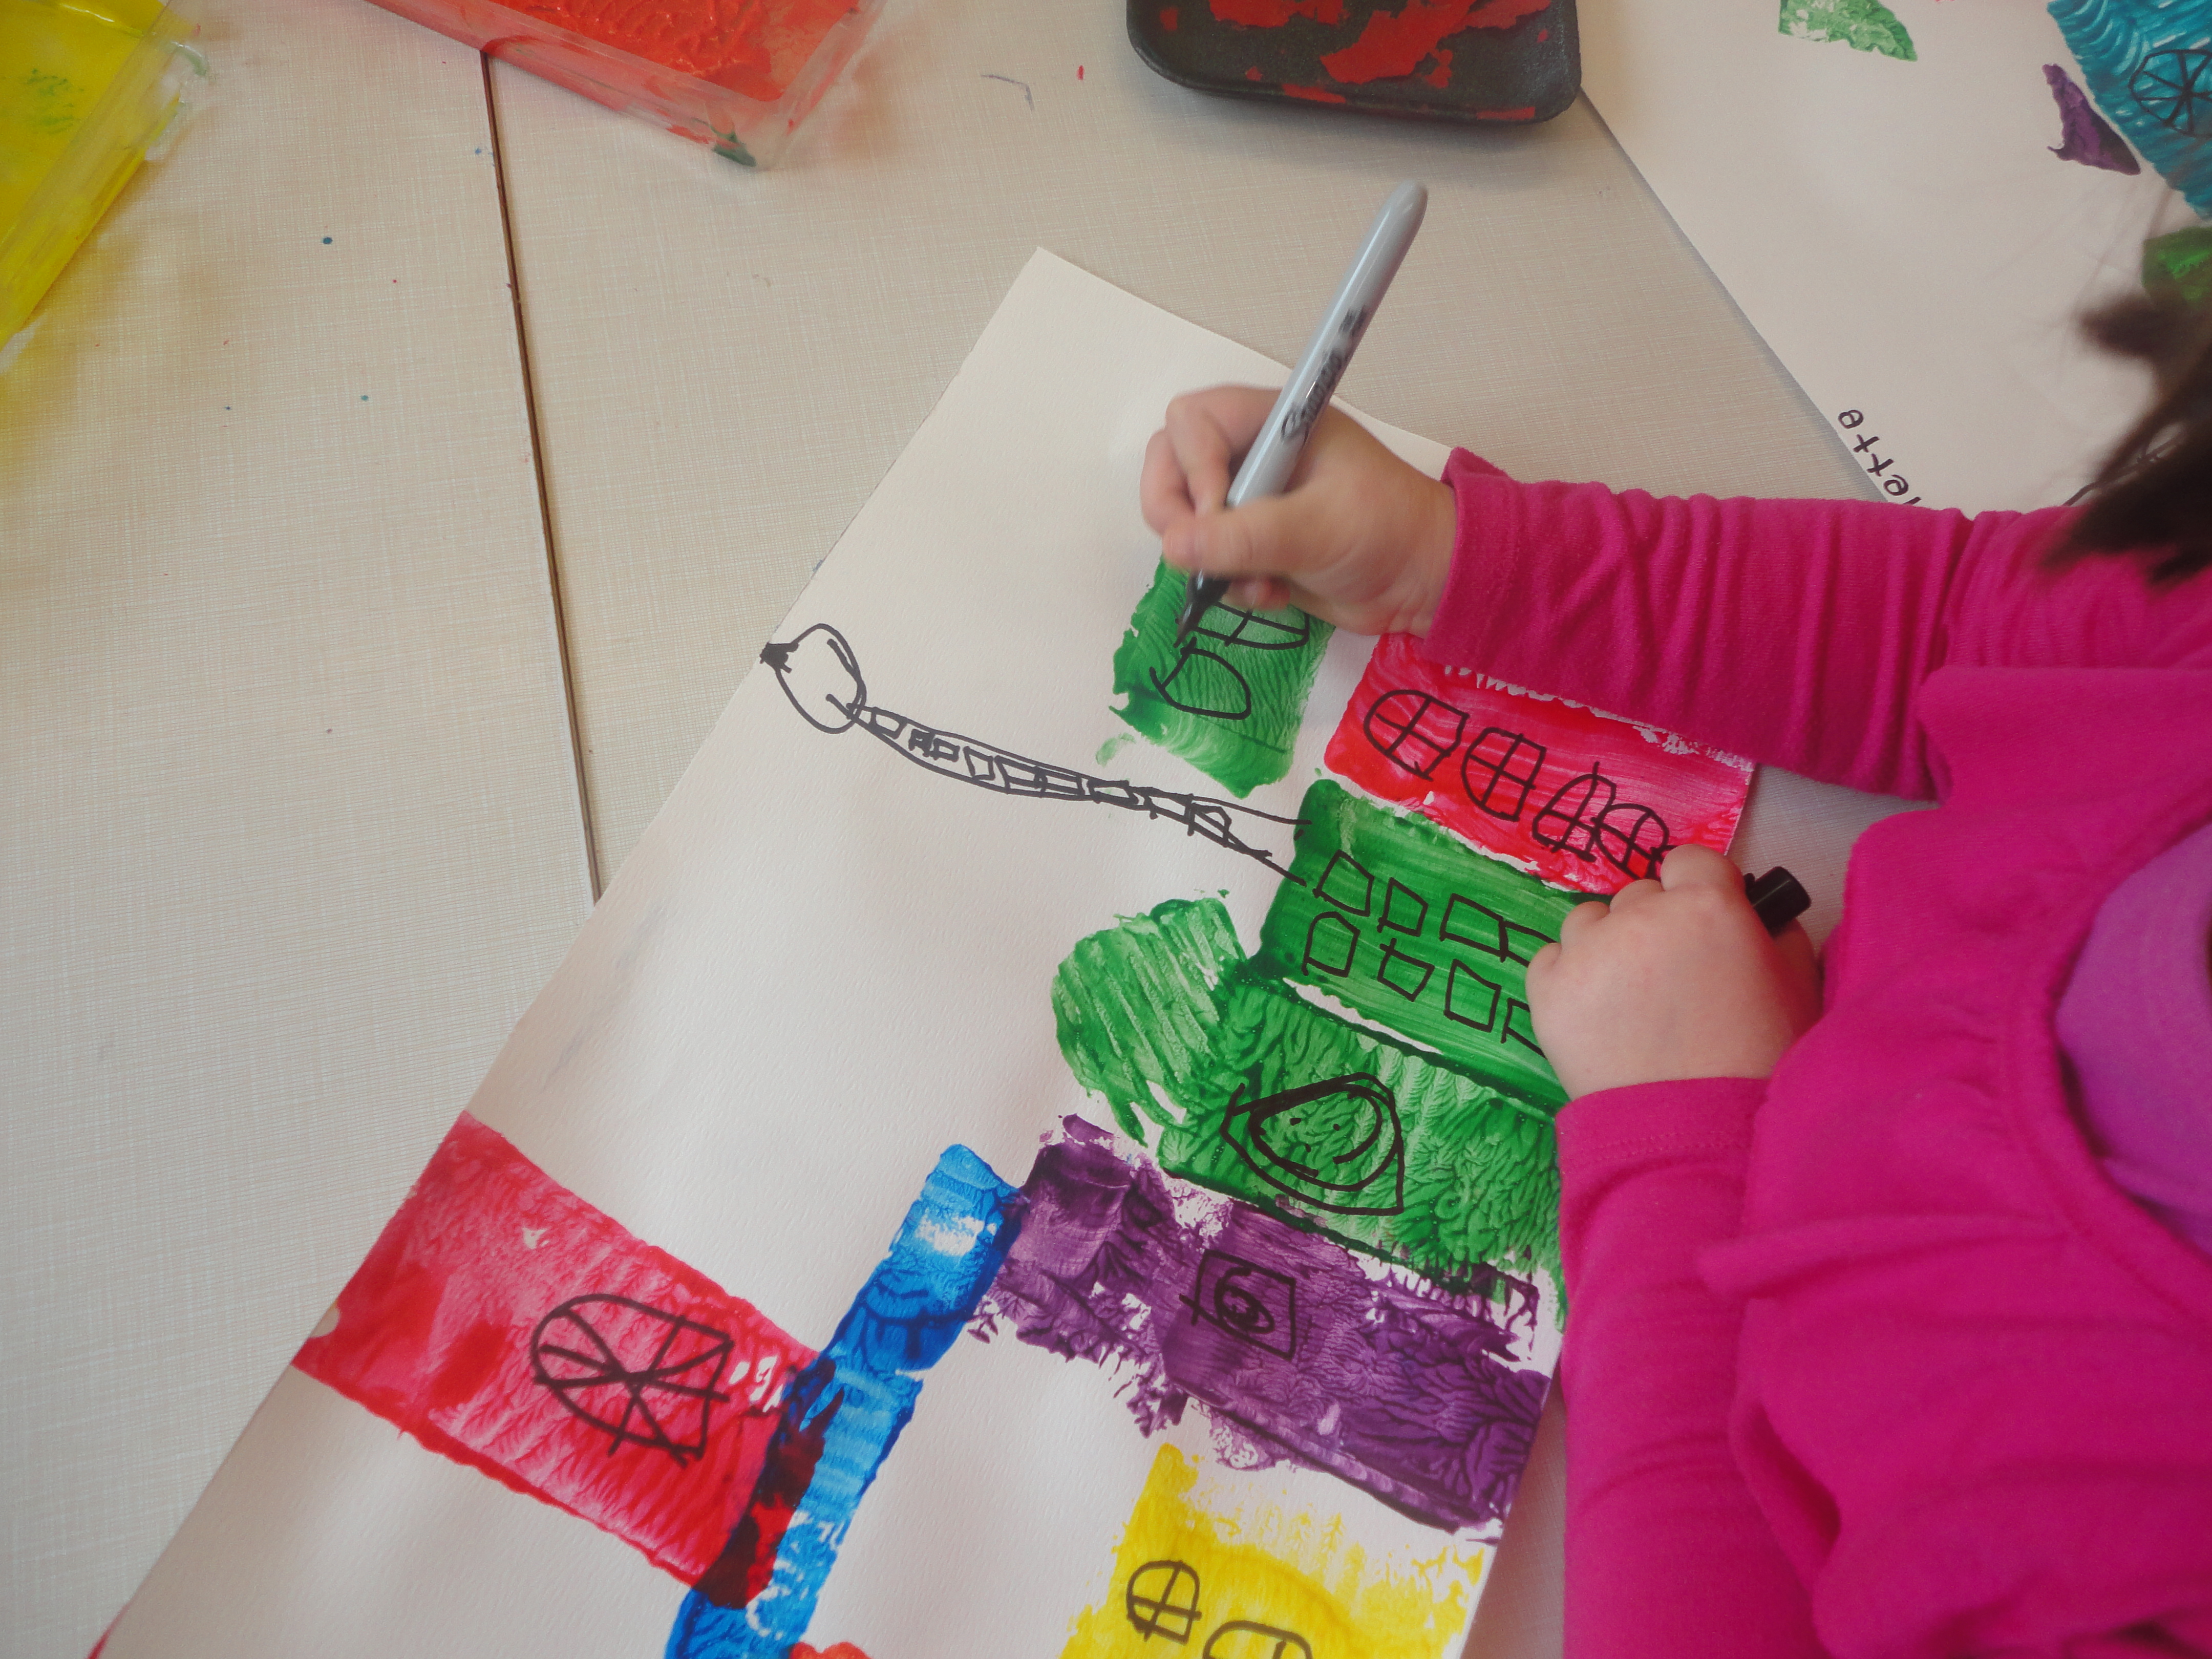
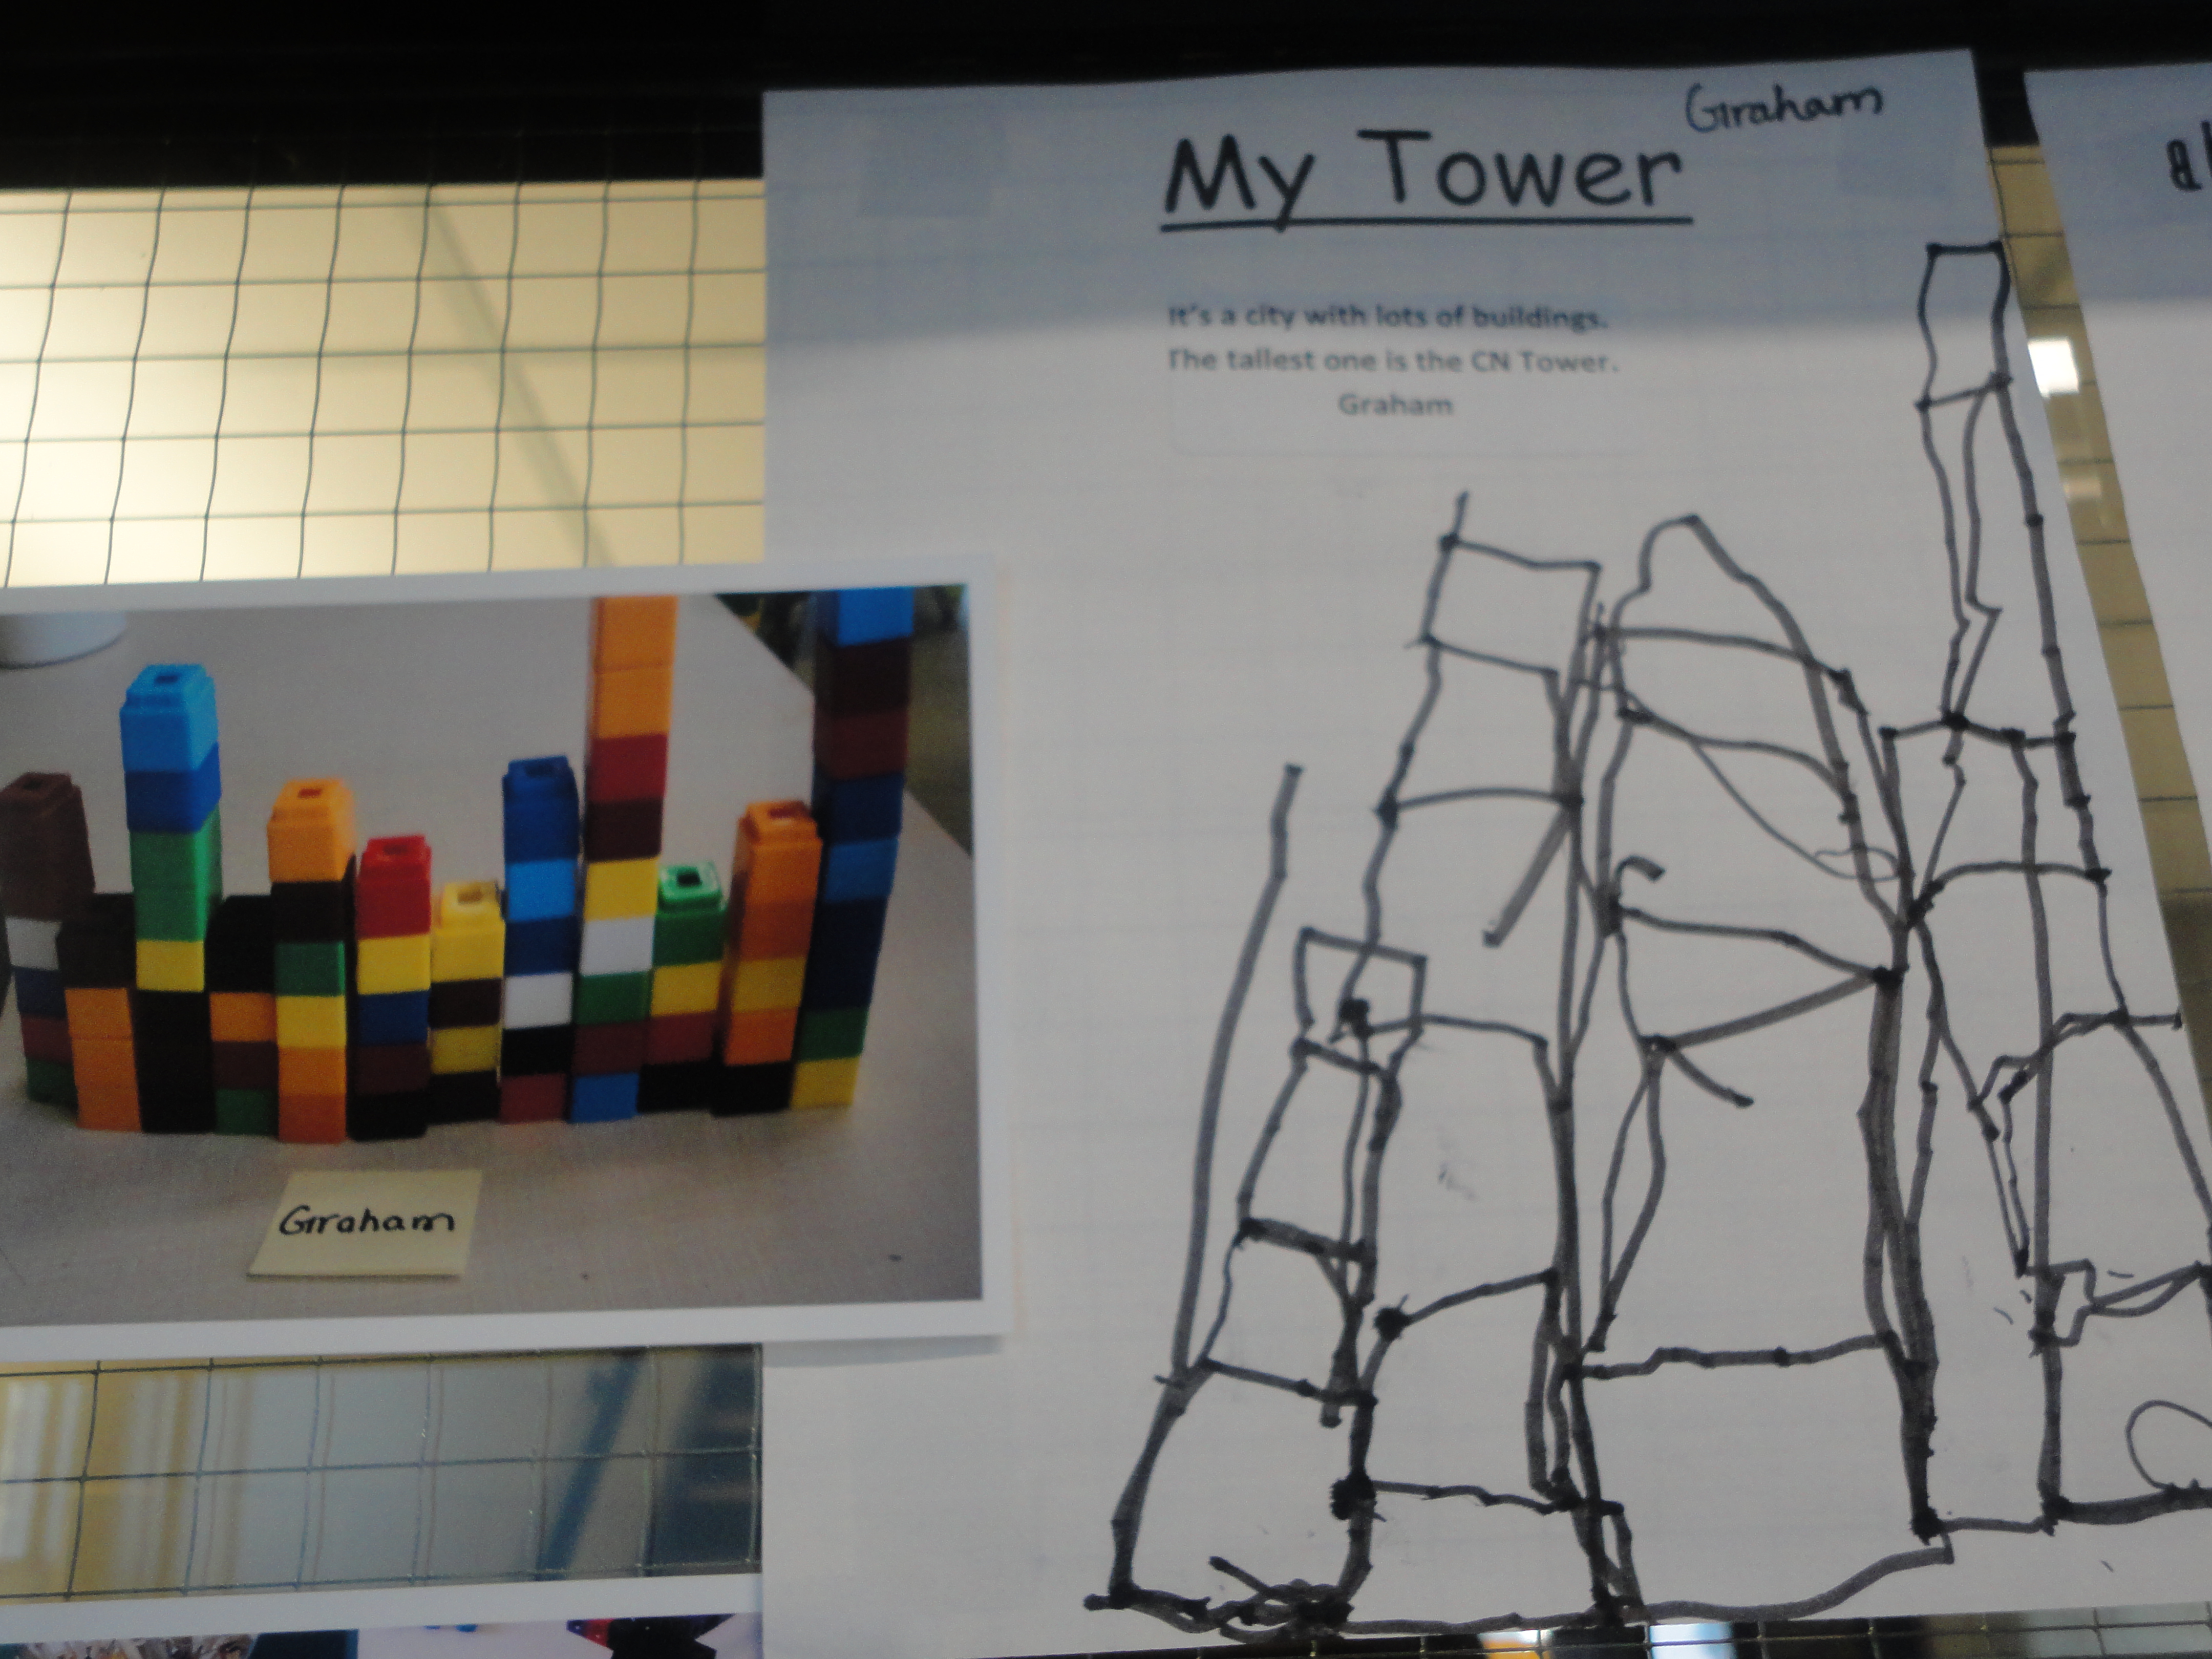
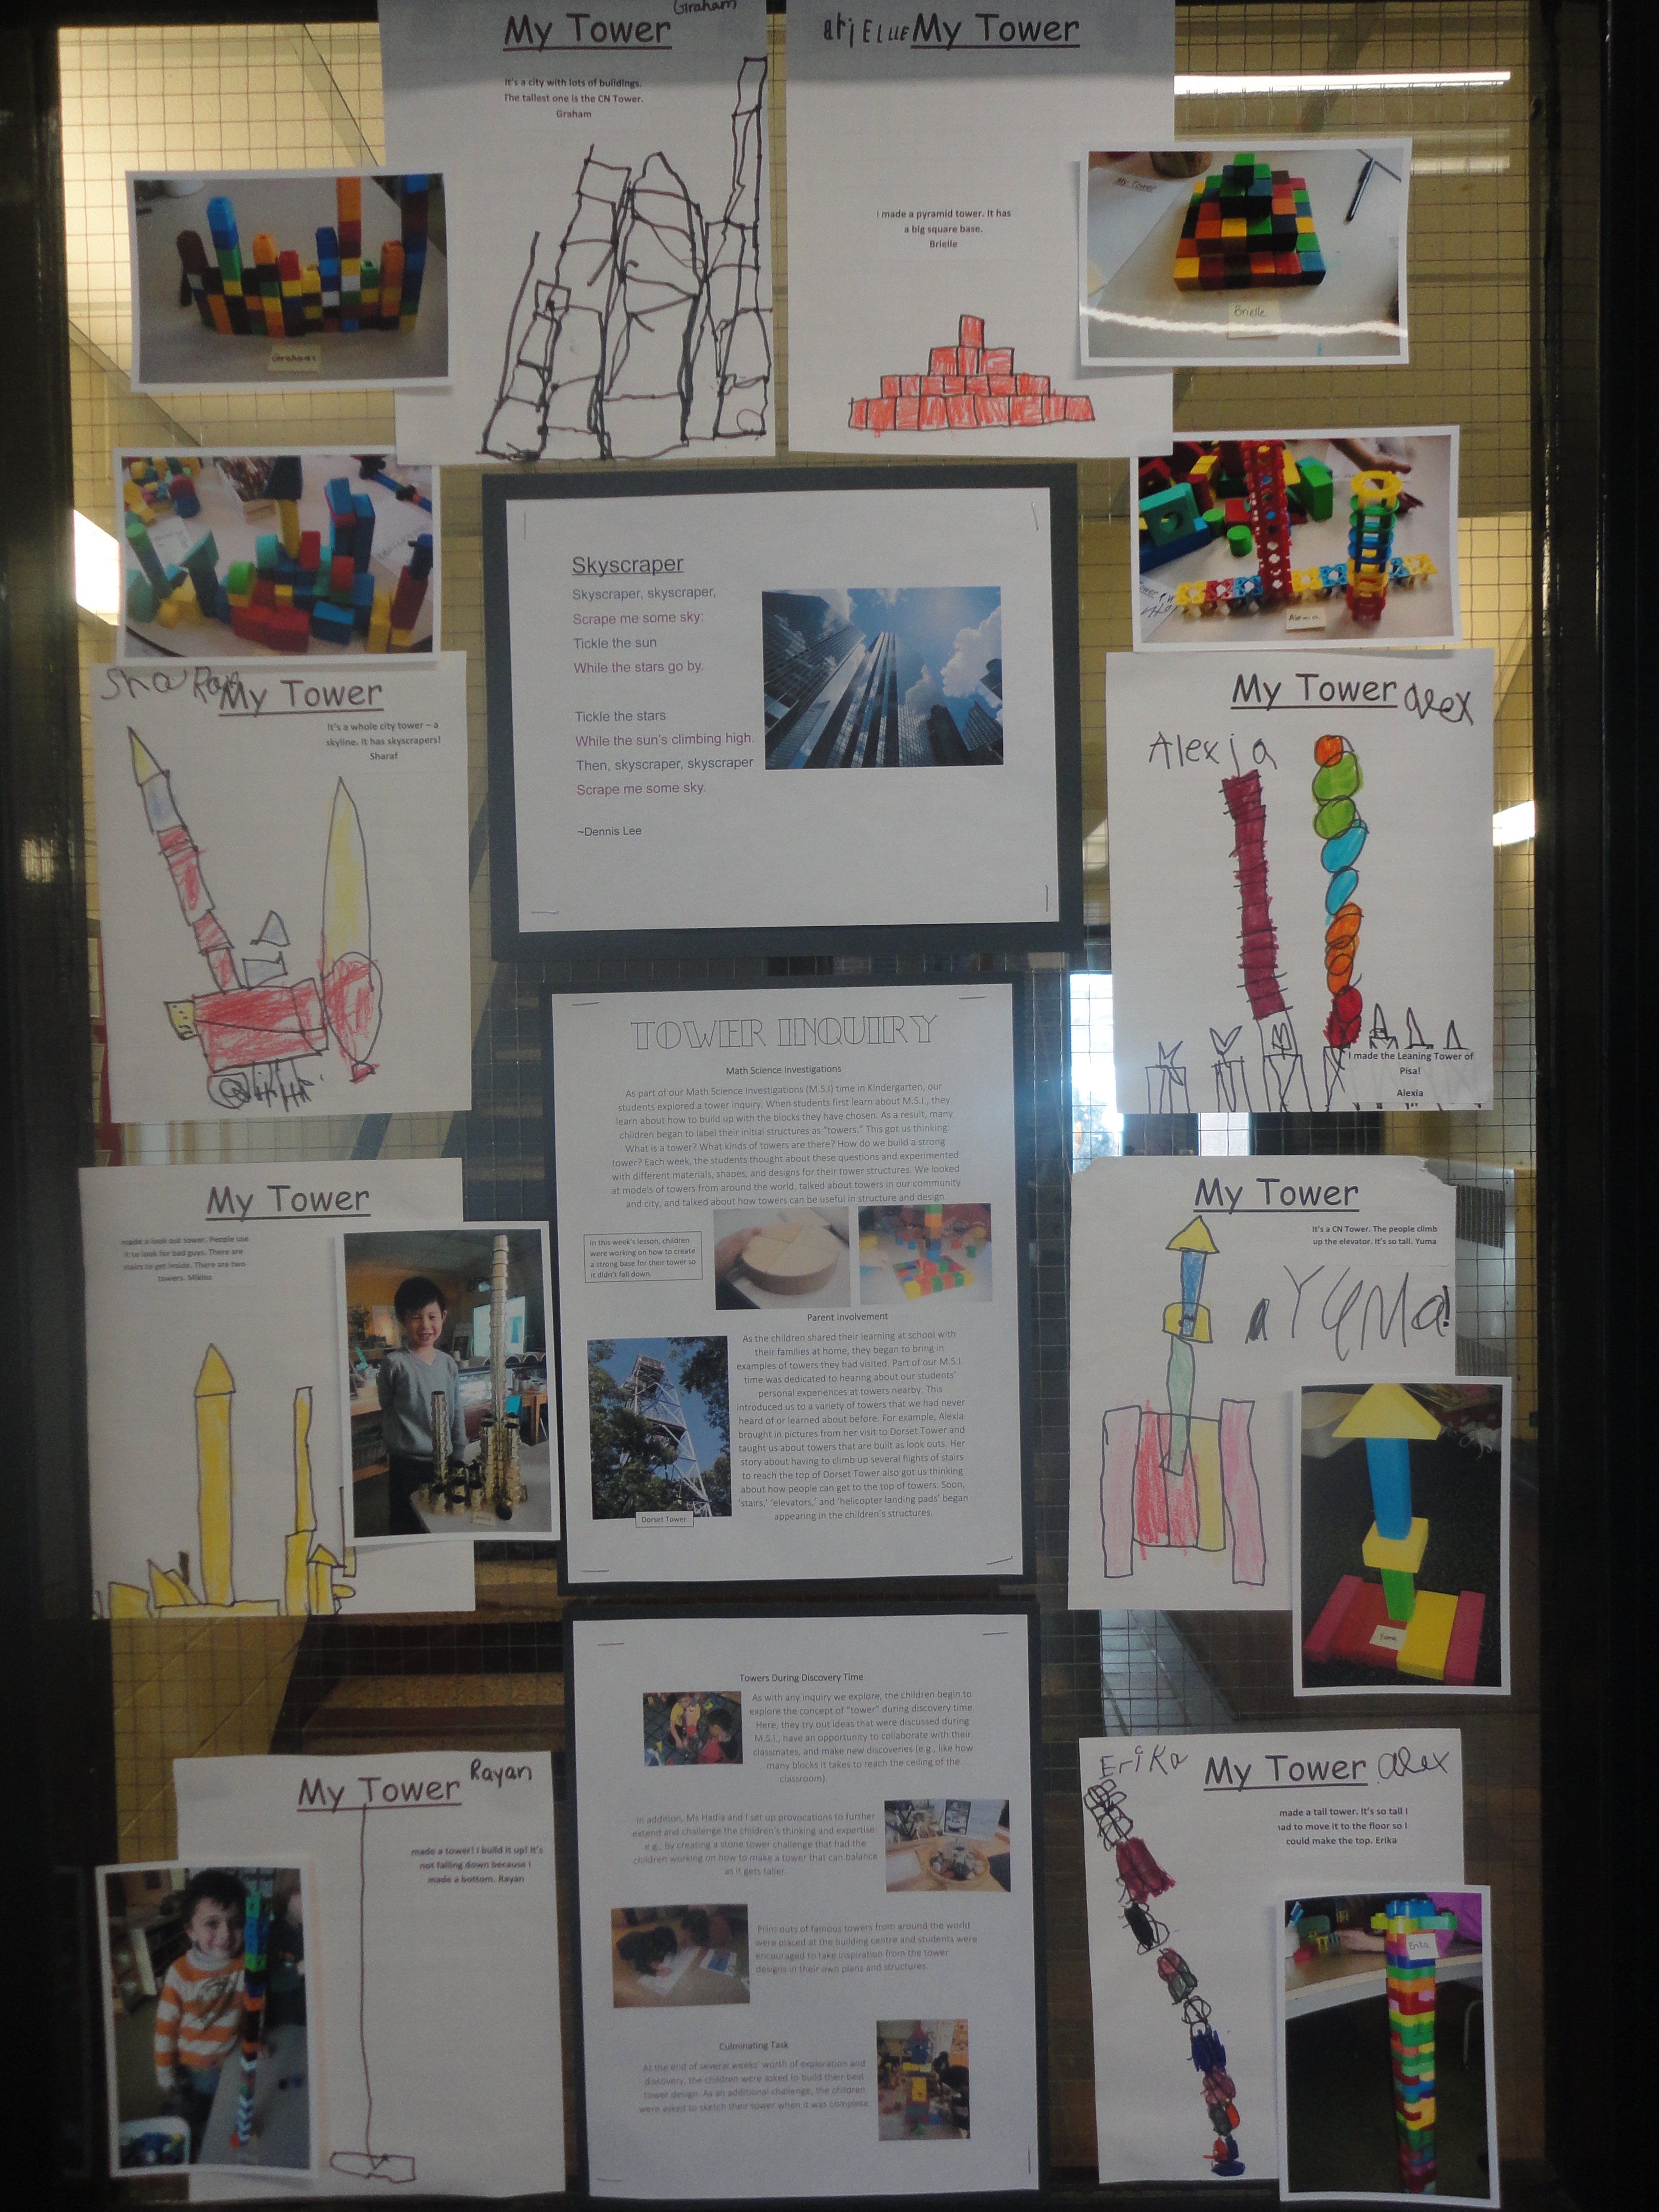
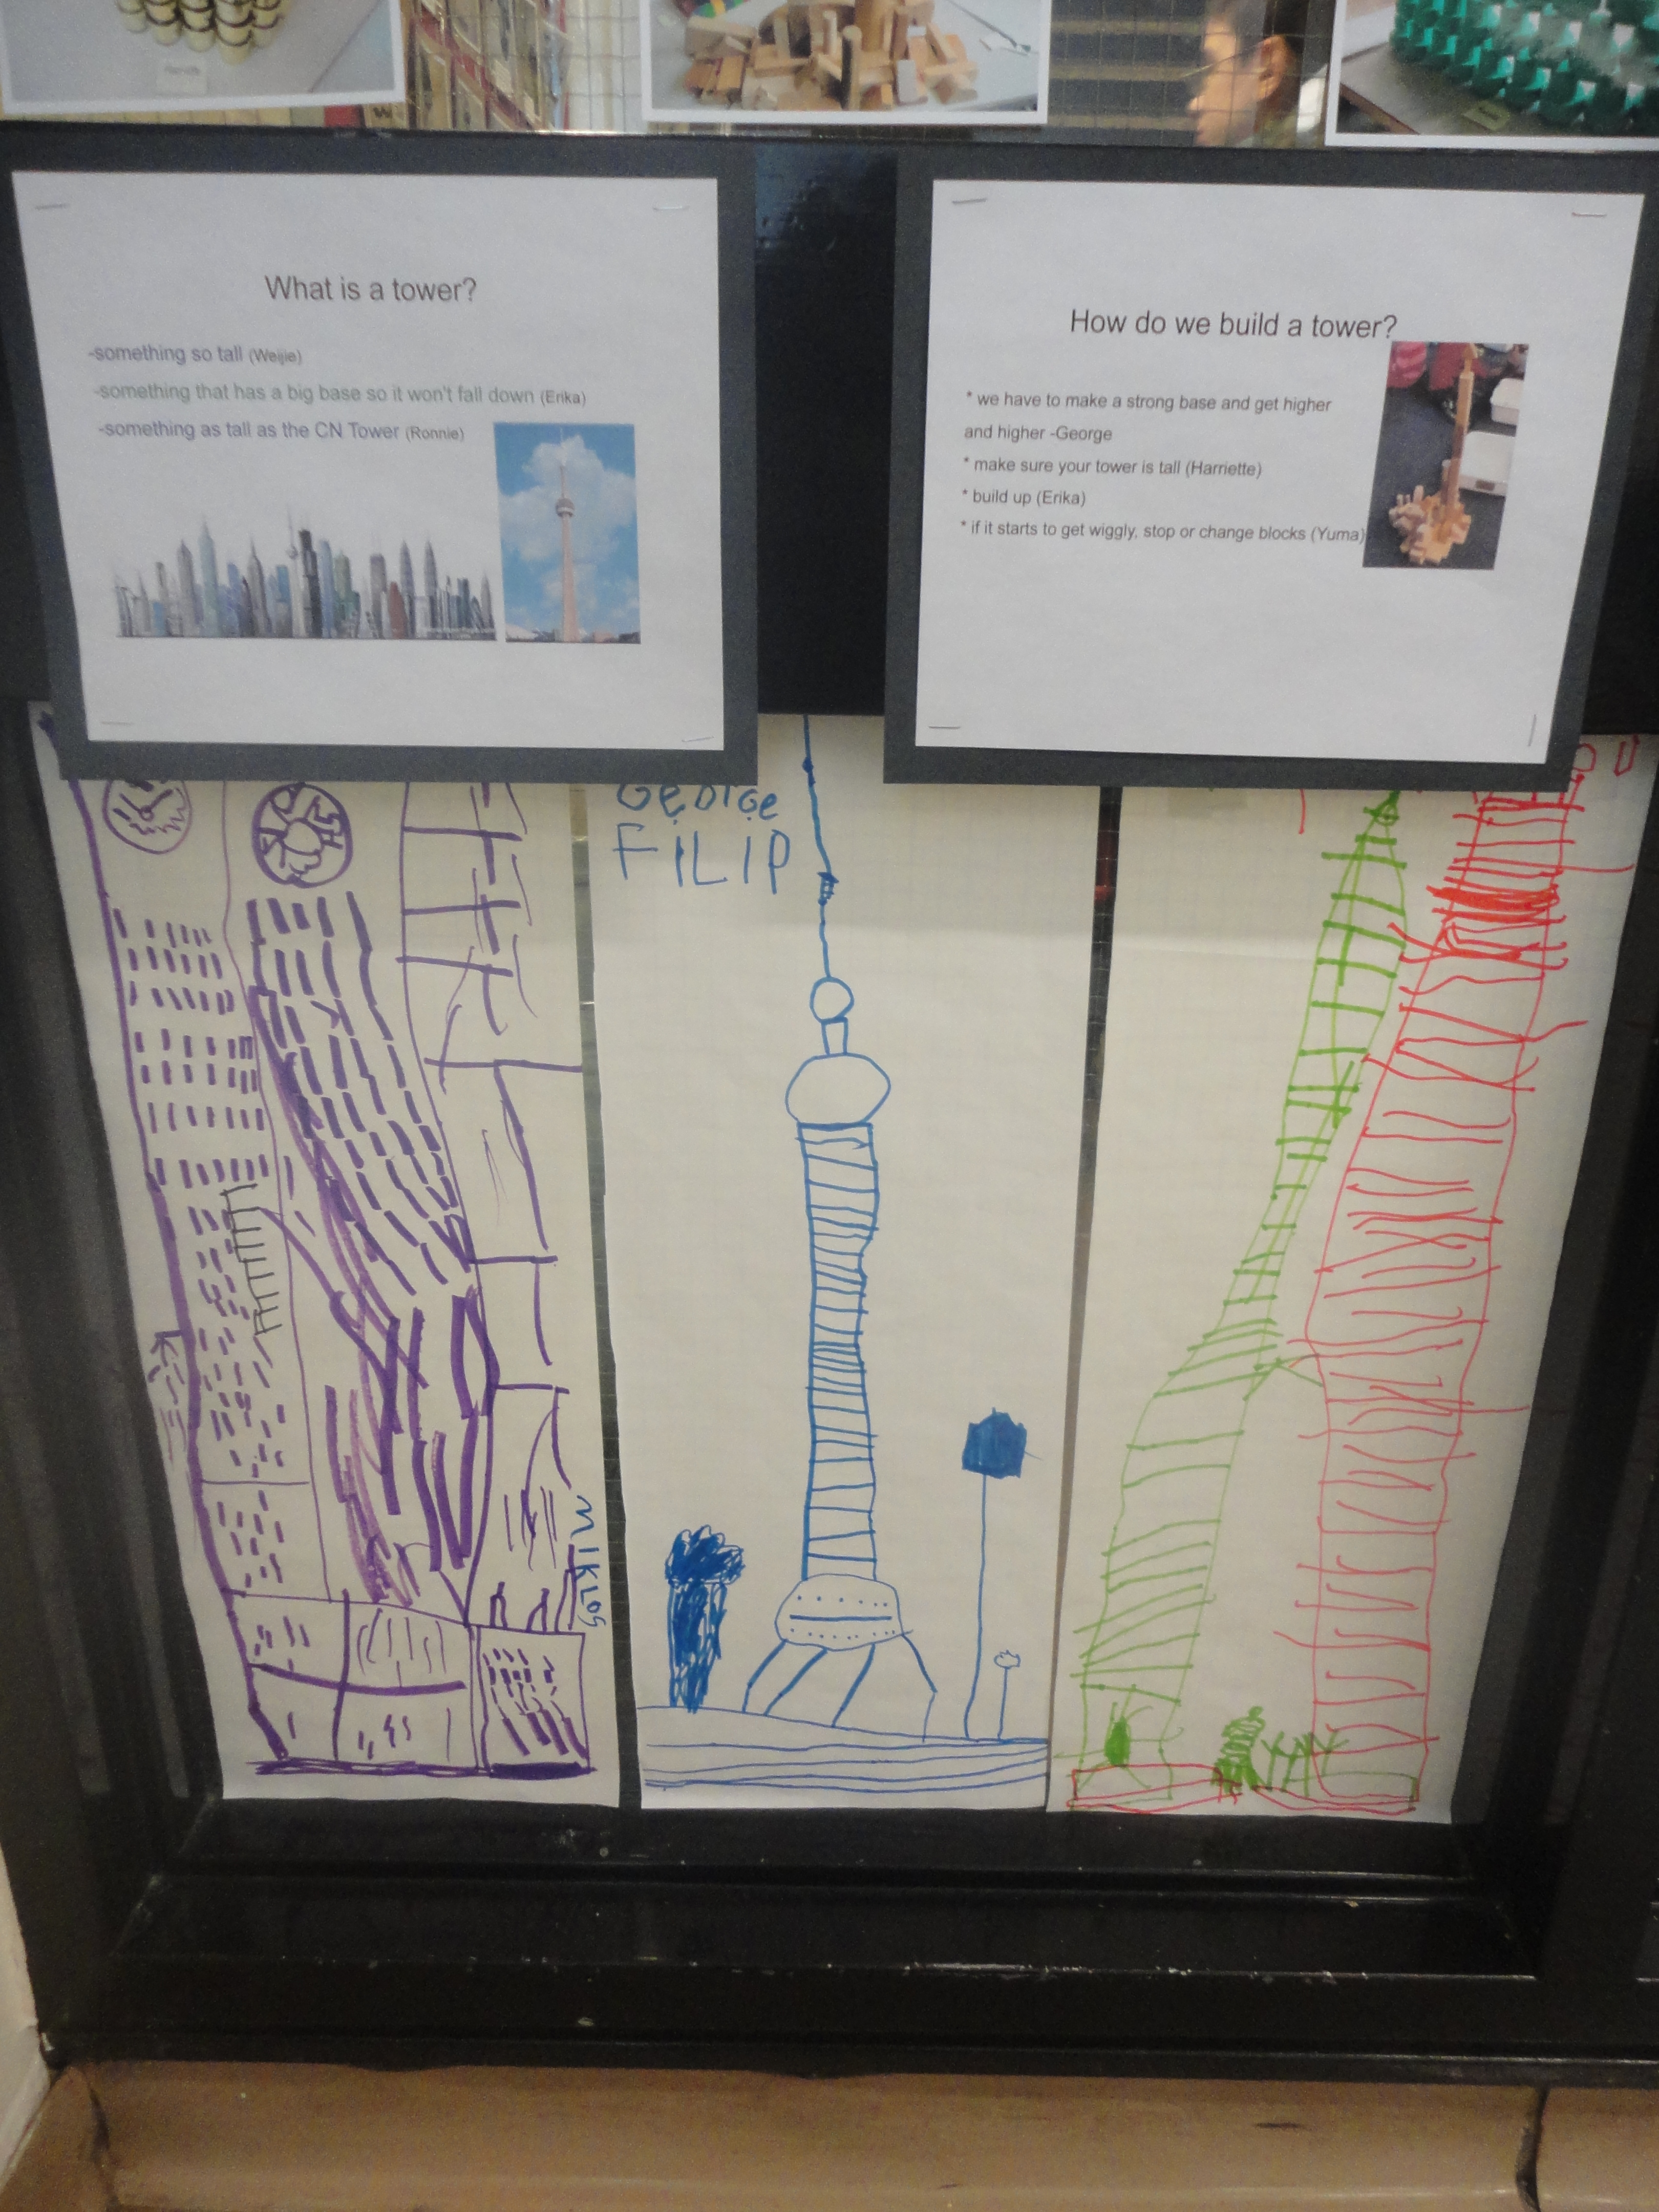
In the afternoon, we try to mirror the morning schedule as closely as possible. We usually begin the afternoon with writer’s workshop, a focused three-part lesson on writing skills. When I have prep in the middle of the afternoon, we sometimes opt for a shorter group time on the carpet with no writing so that the children still get ample time for exploration at centres. The afternoon is also when we run our “special programs” such as Math and Science Investigations (which you can read more about here) and Art and Fine Motor Instruction (which you can read more about here).

In our class, we try and make the most out of every moment of our schedule. For example, if I am leading a group lesson on the carpet (e.g., during Focused Instruction) then my ECE partner is working one-on-one with children for guided reading. Similarly, if my ECE partner is leading Reflection time, then I use that time to pull students for guided reading. In this way, we are able to achieve a balance between whole group instruction and still target the individual needs of our students.

For those interested in my day plan format, I’m including a sample day from my day plans. I’m always tweaking my day plan format each year, but this style has served me well. Click on the image to open a PDF:

sample_day_plan

As always, if you have any questions, don’t hesitate to ask!


Zen Garden

DSC03198

As I have mentioned previously, the children in our class have been curious about gardens lately (check out my post about our Imaginary Garden). One of the things we have been wondering about is different types of gardens: rock gardens, flower gardens, fairy gardens, etc. As a result, we decided to create a Zen Garden provocation at the sand table:

DSC03193

Phototastic-2014-04-26-16-45-26

DSC03195

To give the children some background on Zen Gardens, we looked up pictures online and I found a Youtube clip that showed the process of working in and maintaining a zen garden, which the class was quite fascinated by. The children were quite interested in the designs that were created in the gravel (in our case, sand) and noticed how quiet and still the garden was. We also talked about keeping the garden free from clutter and garbage and the idea that before making designs, it was important to start with a clean surface of sand. This meant using a hand-held brush (small broom) to brush and comb the sand. While watching the children at the centre, I was struck by how seriously they took this initial step – brushing and smoothing the sand in a slow, calm manner.

Initially, the children had difficulty making designs in the sand. Some children were frustrated that they were not able to create the patterns or designs they had envisioned. With practice and reflection (during group sharing time) we discovered that in order to make a clear pattern, the creator had to use the rakes very gently/lightly and slowly. This added to the purposeful work that was happening when the children were engaged here.

DSC03296

Here are some of the children’s creations, which they were certainly quite proud of!

photo

DSC03223

One of my favourite gardens was created by a JK boy in my class. He had been coming to the garden for a few days but had either stood back and watched his classmates or worked in a very small corner of the sand bin. On this particular day, he worked with one other student and then by himself to create his masterpiece:

DSC03306

A.F.: This is my Zen Garden. I made a bridge – the stones are walking on the bridge. And I put in lots of plants and grass. The sticks are the trees. And the rocks are the daddies carrying the babies around. There are lots of daddies in the garden today. I even made designs with my rake! I had to work really slowly and quietly.

DSC03302

The stones going for a walk on the bridge…

DSC03305

The plants and bushes and grass…

DSC03303

The daddy rocks carrying the baby rocks…

As with any provocation, the success of our Zen Garden came from the schema building, questioning, problem solving, and reflection that we engaged in throughout – both as a whole class and individually or in small groups at the centre itself. Our Zen Garden is a calm space that gives the children a quiet place to create with loose parts. The complexity of the gardens is increasing daily, especially now that the children have gotten the hang of design-making with the rakes, so I’m excited to see what happens next!


Inspiring Young Authors: Riddles!

Image

Last week at the writing centre we created a riddle-writing provocation for the children. The idea came from our last “show and tell” idea which was “Secret in a Bag.” Each night, one student took home our “secret in a bag” bag and chose an item to put inside. Then, they thought about three clues that would describe their object. The next day, they returned the bag to school, shared their clues (most students wrote them down on paper and read them aloud) and we all had a go at trying to guess what the object was. When we guessed (or didn’t, as was sometimes the case for some tricky items!) the student was able to talk about what they had brought and we asked questions about it. The children absolutely LOVED “Secret in a Bag” and looked forward to figuring out each others’ riddles each day.

Image

Because of the success of “Secret in a Bag,” we decided to encourage the children’s interest in clue-writing by creating an opportunity for them to write riddles at the writing centre. Along with a question (the back of which contained some sentence starters such as “I am…” “I can…” “I have…” and “I like…”) we placed folded card stock and markers at the table. The children were encouraged to write their clues on the top flap and draw a picture of the answer to their riddle inside the fold. This centre was a huge success! We are in our second week of riddle writing now and the children aren’t slowing down! We’ve posted some of the riddles on our classroom door for passers-by to enjoy and the children also excitedly take their riddles home to try and stump their families!

Here are some samples of my students’ riddles. Please note that we don’t spell anything for the children; they are encouraged to use words from our word wall, sound things out, or ask a friend for help:

Image

“I am yellow. I have black polka dots. What am I?”

Image

A giraffe!”

Image

“I am wooly and I live at the farm and I run on the grass. Who am I?”

Image

I am a sheep!”

Image

I have big teeth. I have big feet. Who am I?”

Image

A dinosaur!”

Image


The Amaryllis Inquiry…a reflection on clustering expectations

DSC01918

What can you do with one Amaryllis bulb? It turns out, quite a lot! One of the questions I often get about choosing an emergent, inquiry-based program is “How do you make sure you still cover all the learning expectations laid out in the Kindergarten curriculum?” This inquiry turned out to be a great example of how an inquiry-based approach to learning can help you cluster learning goals and expectations with effective results!

DSC01591

In the fall, our students made an exciting discovery in the courtyard: seeds! Our beautiful Rose of Sharon bush had gone to sleep for the winter and left behind some interesting pods which, when the children opened them, were found to contain “little fuzzy seeds.” This discovery led to many wonderings about plants, seeds, and growing things. At the science and nature table, the children tried planting the seeds from the Rose of Sharon, orange seeds, and apple seeds. Anything they could find! I happened to have received an Amaryllis bulb as a gift, and I added it to the collection of “growing things” on our table.

DSC01626

Our initial exploration of the bulb led to some interesting observations from the children, a skill I was looking to develop at this early stage of the school year:

“It looks like an onion!”

“It looks like spaghetti!”

“It looks like it has hair and skin!”

“Is something really going to grow from that?”

“Maybe that spaghetti stuff is the roots!”

DSC01641

We planted the bulb and excitedly waited for something to happen.

After the weekend, we noticed something green poking out of the bulb! The children were encouraged to record their observations and make predictions about what the Amaryllis would look like.

DSC01677

DSC02143

At the same time, we had begun to learn about measurement. As our plant sprouted, we asked the children: “How can we measure our Amaryllis?” Very few tools were given to the children; rather, they were encouraged to problem solve their own ways of calculating the plant’s size.

DSC01815

M.F. : “I’m tracing the leaf on the paper and cutting it out to show how big it is.”

DSC03268

E.A. : “I’m measuring the leaves with crayons and pencils. The leaf is as tall as my pencil!”

As the Amaryllis grew and we learned more about using non-standard measurement tools such as cubes, links, and string, the children began to try more precise ways of measuring. To support their desire to measure with different objects, we added the cubes, links, string, paper clips, and measuring tapes to our centre. The children were encouraged to record their thinking and learning on paper and share their ideas during reflection time.

DSC01844

DSC01869

The day our Amaryllis bloomed was truly an exciting event! The children were very interested in touching the flower, looking closely at it (with magnifying glasses and the class microscope), and drawing it. We set up a still-life provocation at the Art Studio for the children to record their observations and creative representations on paper. Many children returned day after day to paint our Amaryllis as it continued to change and bloom.

DSC01921

DSC01925

The children were given black permanent markers to first sketch the flower and watercolour paints to fill their sketches with colour.

DSC03272

From start to finish, our Amaryllis inquiry touched on learning expectations in literacy, mathematics, science and technology, and art. I was able to gather information and assessment on the children’s ability to make observations and predictions, communicate their thinking orally and in drawings and art works, demonstrate their problem solving skills and knowledge of measurement, and learn about the needs of living things and how plants grow. Because our exploration originated from the children’s natural interest in seeds and how things grow, there was a high level of engagement throughout the project.

DSC03266


Tower Inquiry

Image

As part of our Math and Science Investigations (M.S.I) time in Kindergarten, our students explored a tower inquiry (In a previous post I wrote about Math and Science Investigations (M.S.I.) and how it drives a lot of inquiry in our classroom. You can read about it here: https://thecuriouskindergarten.wordpress.com/2014/03/29/math-and-science-investigations-m-s-i/ ). When students first learn about M.S.I., they learn about how to build up with the blocks they have chosen. As a result, many children began to label their initial structures as “towers.” This got us thinking: What is a tower? What kinds of towers are there? How do we build a strong tower? Each week, the students thought about these questions and experimented with different materials, shapes, and designs for their tower structures. We looked at models of towers from around the world, talked about towers in our community and city, and talked about how towers can be useful in structure and design.

As the children shared their learning at school with their families at home, they began to bring in examples of towers they had visited. Part of our M.S.I. time was dedicated to hearing about our students’ personal experiences at towers nearby. This introduced us to a variety of towers that we had never heard of or learned about before. For example, one student brought in pictures from her visit to Dorset Tower and taught us about towers that are built as lookouts. Her story about having to climb up several flights of stairs to reach the top of Dorset Tower also got us thinking about how people can get to the tops of towers. Soon, ‘stairs,’ ‘elevators,’ and ‘helicopter landing pads’ began appearing in the children’s structures. When we began talking about condo towers, many of the children were excited to discover that they actually lived in a tower! You see, most of my students live in a condo complex across the street from our school. Talk about making connections!

Here are some of the anchor charts we co-created with the children:

Image

Image

Image

Image

The learning that was happening during this inquiry was not limited to our once-a-week M.S.I. time. We created a variety of opportunities for the children to express their learning through the centres in the classroom:

At the Art Studio:

Image

Image

Image

At the small building centre:

Image

Image

Image

During Art and Fine Motor Instruction:

Image

As the inquiry began to wrap up, the children were challenged to build their best tower design. As an additional challenge, the children were asked to sketch their towers when they were complete:

Image

Image

Here are some pictures of our Tower Inquiry Documentation:

Image

Image

Image


Growing an Imaginary Garden

Image

Today I’m back with another of my most treasured children’s books to recommend: The Imaginary Garden by Andrew Larson. In this story, Theo and her Poppa share many special days in Poppa’s garden. When Poppa downsizes to an apartment with a windy balcony, recreating that garden becomes a creative inspiration! Instead of plants in pots, Theo and Poppa set about painting an imaginary garden on a large canvas.

My students really responded to this book. We have been anxious for signs of spring, but since it has been a rather slow start to the growing season this book is just what we needed to tide us over until the warm days arrive. After reading the story aloud, the children were immediately interested in creating an imaginary garden of our own. We did a group brainstorming session and decided we wanted to begin where Theo and her Poppa began: by setting the stage for the garden by creating the soil, a garden wall, and the sky.

Image

Our class compilation of ideas for the garden, generated after one of our read-alouds

Image

The children get to work on painting the garden wall – they wanted the bricks to be in “an A-B-C pattern.”

Image

A group of students work on painting the soil.

Image

The children work on painting the sky. They really enjoyed mixing the paint to make different shades of blue.

Last week we continued our garden planning by setting up a planning station at the classroom writing centre. Along with a copy of the book, clipboards, planning sheets, and markers, we also included whimsical objects such as small gardening tools, pots, gloves, and real plants to get the children inspired. We also put out some books about different kinds of flowers. As the children completed their plans, we clipped them to the hanging display at our science centre. Throughout the week, children were invited into the hall to add their ideas to the mural.

Image

Our Imaginary Garden provocation

Image

Image

Image

Each student planted a seed in the garden and labeled it with their name. The children were asked what kind of seed they were planting/what they hoped their seed would become:

J.K.: Mine is going to grow into a Lego flower!

Y.T.: My seed is going to be a sunflower – a GIANT one!

Image

Some children were interested in the idea of painting sprouts, just as Theo and Poppa had done. ‘”These are our baby plants.”

Image

F.I.: “I’m planting wheat in the garden because I just love bread so much!”

Image

J.M.: “We are painting vines. I got the idea of doing it when Poppa said, ‘The vines are reaching for the sun.'”

Image

This is how our garden looked on Friday before we headed home. I can’t wait to see what will appear this week! The children have already established that next week our Art Studio will be dedicated to “painting flowers for the garden.” I’ll be sure to post an update soon so you can see how our garden has grown!

*Update

garden

The spring bulbs popping up in the courtyard outside became a source of artistic inspiration for our students. Along with photos of our flowers outside, we also added pictures of spring flowers and some real potted plants I brought in from home to the Art Studio. The children had access to any colour of paint they wanted (and many decided to mix their own colours!). Many children visited this centre daily and waited anxiously for their painted flowers to dry so they could cut them out and “plant” them in our garden mural.

art studio

Our flower painting provocation at the art studio.

Below is a picture of our completed Imaginary Garden. After our project was complete, we reflected on our work as a class. As one student said, “Our garden gives us happy tears because we love it so much.”

finished garden