Teddy Bear Picnic

Today I thought I’d share some of the learning we’ve been doing in our online Kindergarten this week. My hope is that someone out there will be able to make use of these slides, games, and lessons in the last few weeks of school. Our district is still learning online, which is a challenge for any grade, but particularly in Kindergarten. My teaching partner and I have been thinking about how to make these last days of online Kindergarten feel meaningful and special for our students. We decided to ask our students what kinds of things they would like to do this month and one of their ideas was a Teddy Bear Picnic! I’m sure other educators have noticed the frequency with which the children’s stuffies and teddy bears have appeared during online learning. These well-loved toys have no doubt been providing some much needed comfort to children as they’ve had to navigate many changes to their lives throughout this past year. We’ve tried to give space to our students to talk about their toys and share what makes them special. A whole week devoted to our students’ favourite cuddly comfort toys seemed like the best thing we could do!

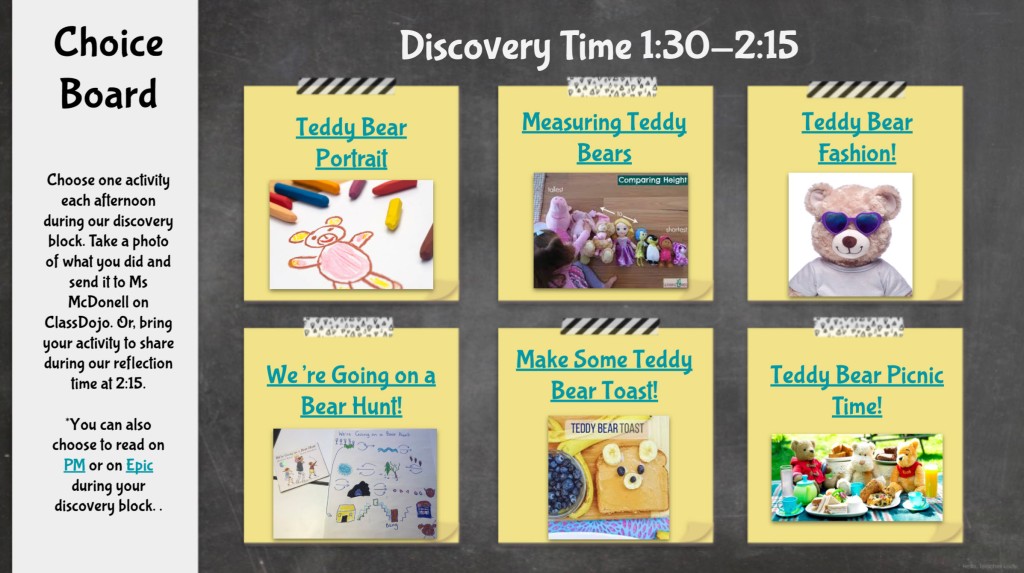
I put together a choice board of Teddy Bear activities for the children to select from during their offline play block. If you click on the link you can make a copy for yourself: https://docs.google.com/presentation/d/19niGzeSwxbxzqO8m6aPczML8-8_2XJWToS-C5i5FL9Q/copy#slide=id.g817afc7eb5_0_35
In addition to the choice board, I developed some lessons and games to support the Teddy Bear interest.

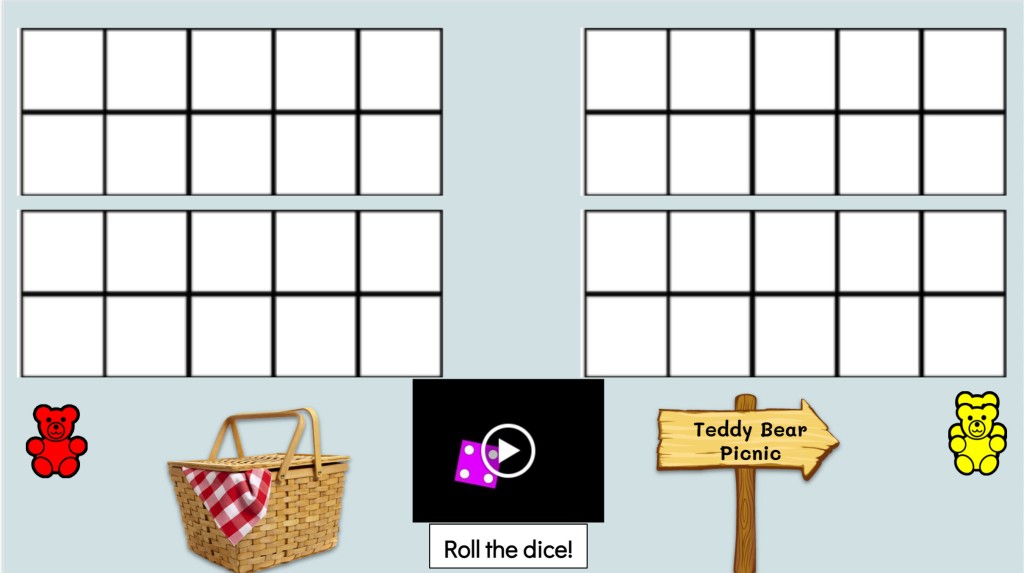
In math, we played a version of “Race to 20” where we raced to see which team could get their 20 bears to the picnic first. My students *love* playing Race to 20. In the online version, their favourite part is taking turns “controlling the dice.” I press play to get the dice rolling and I choose one child on each turn to be the “dice master” who gets to stay “STOP!” to tell me when to hit pause on the roll. I let the children decide which team they want to be on (red or yellow in this case) or we play Ms McDonell vs the Class (which they also love!).

Click on the link to download a copy for yourself: https://docs.google.com/presentation/d/1i4N9xJMGbfHOjKhm_EFH_bcSbhgf7rq70Jf5igX0-VQ/copy#slide=id.p
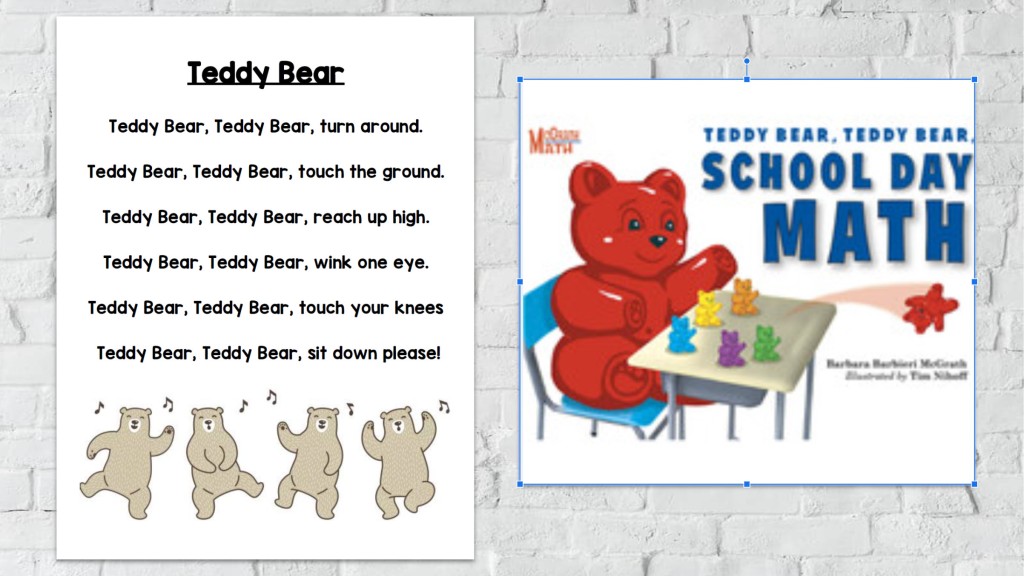
In another math lesson we learned the poem Teddy Bear, Teddy Bear, then read “Teddy Bear School Day Math” on Epic (https://www.getepic.com/app/read/17496). Each page of the story has a math question on it – counting bears, comparing groups, finishing a pattern, and so on. My students enjoyed the rhyming text and having an opportunity to answer a question on each page. https://docs.google.com/presentation/d/1d3D4ZRWCk5K_2QdXaCeA12umox-M4E2uY5nllITHMqc/copy#slide=id.gdfb0072501_0_115
Another fun math game is “Roll an Ice Cream.” I modelled this after the popular “Roll a Snowman” game we used in the winter. Like Race to 20, we use the same technique to take turns rolling the dice. We play to see who will be the first (teacher or class) to draw a complete ice cream picture. In addition to working on number sense, this game is wonderful for developing spatial awareness skills. Where does the cherry go? At the top. Where does the cone go? At the bottom. The children have to leave space to accommodate all three scoops, etc. They love this one! https://docs.google.com/presentation/d/1swyNLh240AkiXzXaCiHCZ7msLo9Yj3s2FkdIS00oVJk/copy#slide=id.gdd960d9021_0_0

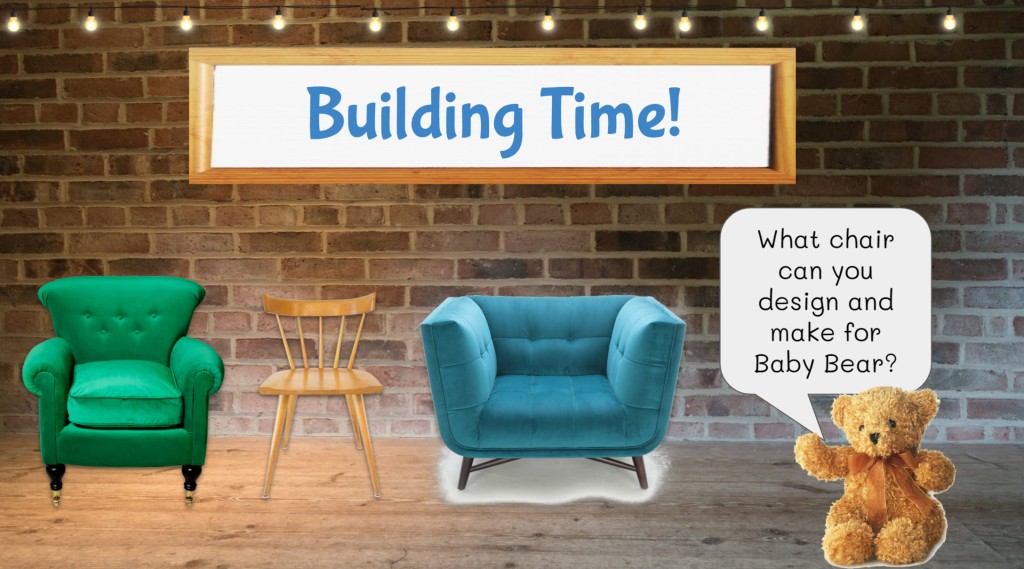
For our STEM challenge this week, we worked on constructing chairs for baby bear. First, we reviewed the story Goldilocks and the Three Bears. All my students remembered what happened to poor Baby Bear – his chair was broken by Goldilocks! We wondered if it ever got fixed. Enter the lovely story: A Chair for Baby Bear by Kaye Umansky and Chris Fisher.

After reading the story, the children were asked to design and build a chair for Baby Bear. They could use their own teddy bears as models/testers (of course!). I showed them some samples to provide options for different kinds of materials they could use at home. The children were so proud to show off their completed chairs to their classmates during Reflection Time! Click on the link to view the slides I used in this lesson: https://docs.google.com/presentation/d/10ry5Lmb6OATB3HSj0vxoa6u_hvH7KZVFiT1OqelmvXk/copy#slide=id.gb6cd2bf49f_0_173
Some of our completed chairs:

We also took some time this week to learn how to draw a Teddy Bear. We viewed a lesson on the Art for Kids Hub Youtube channel: https://www.youtube.com/watch?v=ZDrfxrnjNts=popup

Here are the results of that lesson:

Every Thursday, we have a “social snack” at 2 o’clock. Social snack is open to anyone who wants to come. We bring snacks and have “open air” time to chat, play, tell jokes, and sometimes do magic tricks! It’s a very social time and has been invaluable for me in terms of helping me understand what the children are most interested in at the moment. This week, we decided to make our “social snack” our “Teddy Bear Picnic” time. Children brought their stuffies (or dolls, or superheroes – all were invited!) and we listened to songs (Teddy Bear Picnic, Going on a Bear Hunt, Rock-a-Bye Bear, Teddy Bear, Teddy Bear), played games, and had a dance party (our favourite song is Gummy Bear!) It was a ton of fun! https://docs.google.com/presentation/d/1AfIA3Q25RjW4ASKv-NIRhGESoU1qNcgE_QzfGb0e-iA/copy#slide=id.gdfb26f1a96_0_265

Finally, our shared reading text for the week was “Fuzzy Wuzzy” – and boy, did we have a LOT of fun with this one! The children loved the way this turned into a tongue twister the faster we read it. They challenged themselves to get better and better at reading it so they could go faster and faster when reading aloud! We had a lot of giggles over this one! https://docs.google.com/presentation/d/1lnd9aASGeL9Vq9Y7kKQhZzLAexLj366H439CDKx0bDg/copy#slide=id.p

I hope some of these resources are useful to you as you look forward to planning the last couple weeks of school. Have a wonderful, restful summer!

The Third Teacher: Classroom Layout 2017

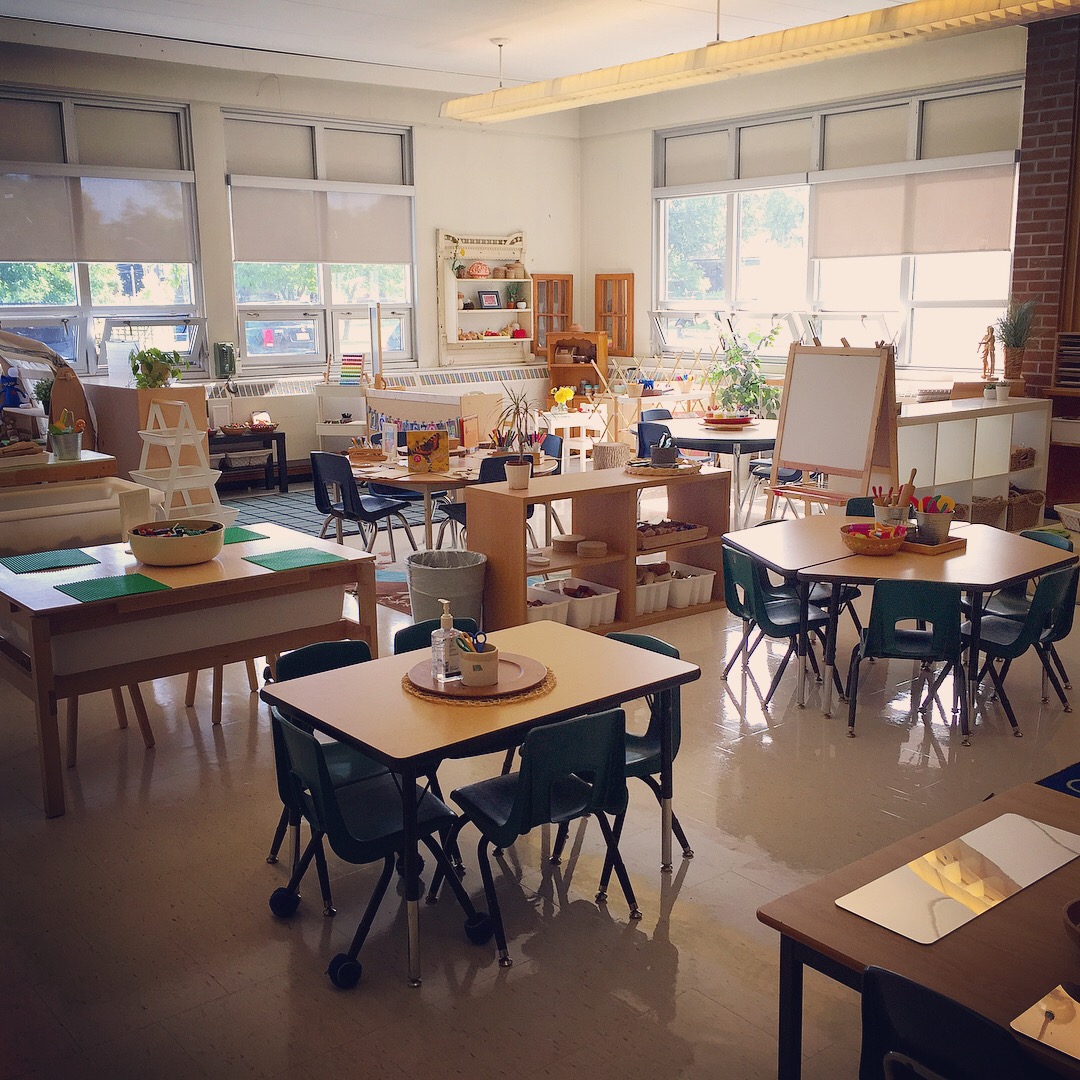
I can’t believe we’ve arrived at another September. This year I moved rooms so I had the opportunity to design a new learning space – which is really one of my favourite aspects of teaching. I take classroom set-up pretty seriously, because I know in the end, the way the room is designed is going to do a lot of teaching for me. When I’m setting up a learning space I’m thinking mostly about how I want the space to feel – homey and inviting are two adjectives that come to mind. I want my students to feel comfortable, to feel the space is theirs and ours together. I also want the space to communicate to anyone who comes in that we believe the children are capable, creative, respected, and valued.

The first thing I do when I’m laying out a new space is make a list of all the centres/learning areas we’d like to include (large gathering space, big blocks, writing centre, play dough table, snack table, water table, sand table, science centre, art studio, small building area, drama centre, math centre, quiet centre, light table, computer area, guided reading table). Then I take out a pencil and paper and start drawing floor plans. There are always elements in every room that dictate where certain things have to go – outlets and internet drops determine where computers will go (although I have been known over the years to use 20 foot cords and duct tape to make things fit where I want them to…); flooring (if you have carpeting and tile) will often dictate where sand and water will be located. I prefer to have art spaces and science areas near windows, so I try and arrange that in my planning. Once I have a few plans worked out, I get started moving the furniture. My partners and I had to move the furniture around a bit before we got everything where we wanted it. Some days I went home knowing it “wasn’t quite right” only to go in the next day and know just how to fix it. It’s a process.

Once the furniture is in place, it’s time to decide what materials we will offer. At the very beginning of the school year, I prefer to have most of my centres open, but with limited materials (the exceptions are: water and sand are not open at the same time, and I tend to leave the paint easel closed the first couple of weeks). I generally select materials that are inviting, but familiar. I steer away from anything that will require teacher help (like art projects or work we will put up) simply because the first days can be unpredictable. We want all staff available to observe the children, help them find learning opportunities that interest them, model tidying up, etc. Sometimes children are upset and need comforting, leaving one staff member to manage the larger group on their own. For this reason, I want the materials and provocations to be safe, easy to tidy up, and accessible to the children. We don’t put anything out on the shelves that the children are not allowed to play with. I also lean towards more open-ended materials such as loose parts and materials that encourage social play and interaction. Since writing is such an important skill we want to encourage, I try and include writing materials (pencils, crayons, paper and clipboards) at most centres. This sends the message that writing is important and it also helps the children develop independence by having the materials they need at their fingertips.

So here we go! A photo tour of the new space…

20170901_152653892_iOS

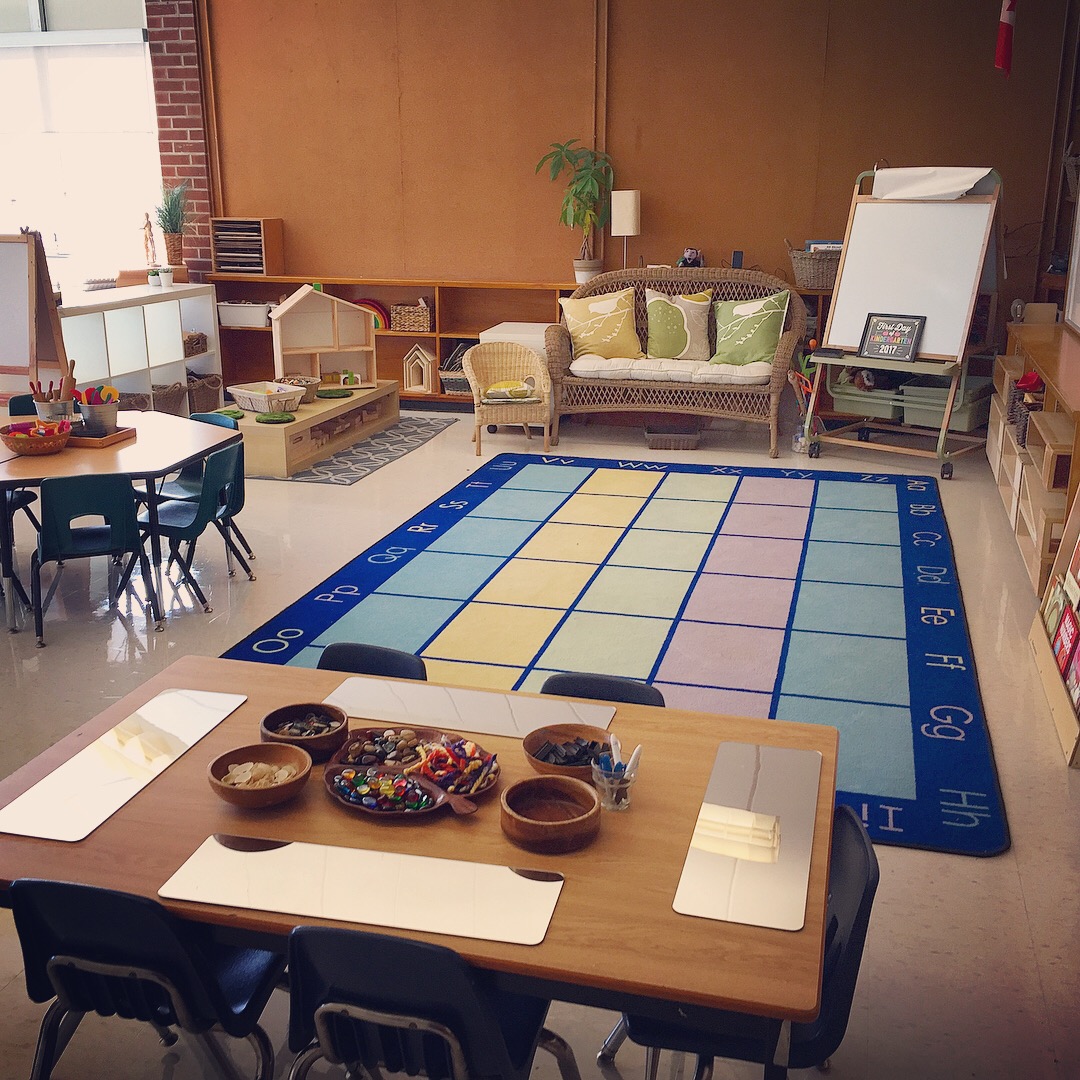
Our main meeting space. This space also doubles as our big blocks area during discovery time.

IMG_0180

The Small Building Centre. We have the doll house, people, and furniture out at the moment. This centre will need no explanation to the students and is always a popular choice during discovery time.

20170901_152608100_iOS

The Writing Centre. We have it set up with mirrors on which we will write the children’s names with a whiteboard marker; the children can cover the lines with loose parts.

20170901_152614003_iOS

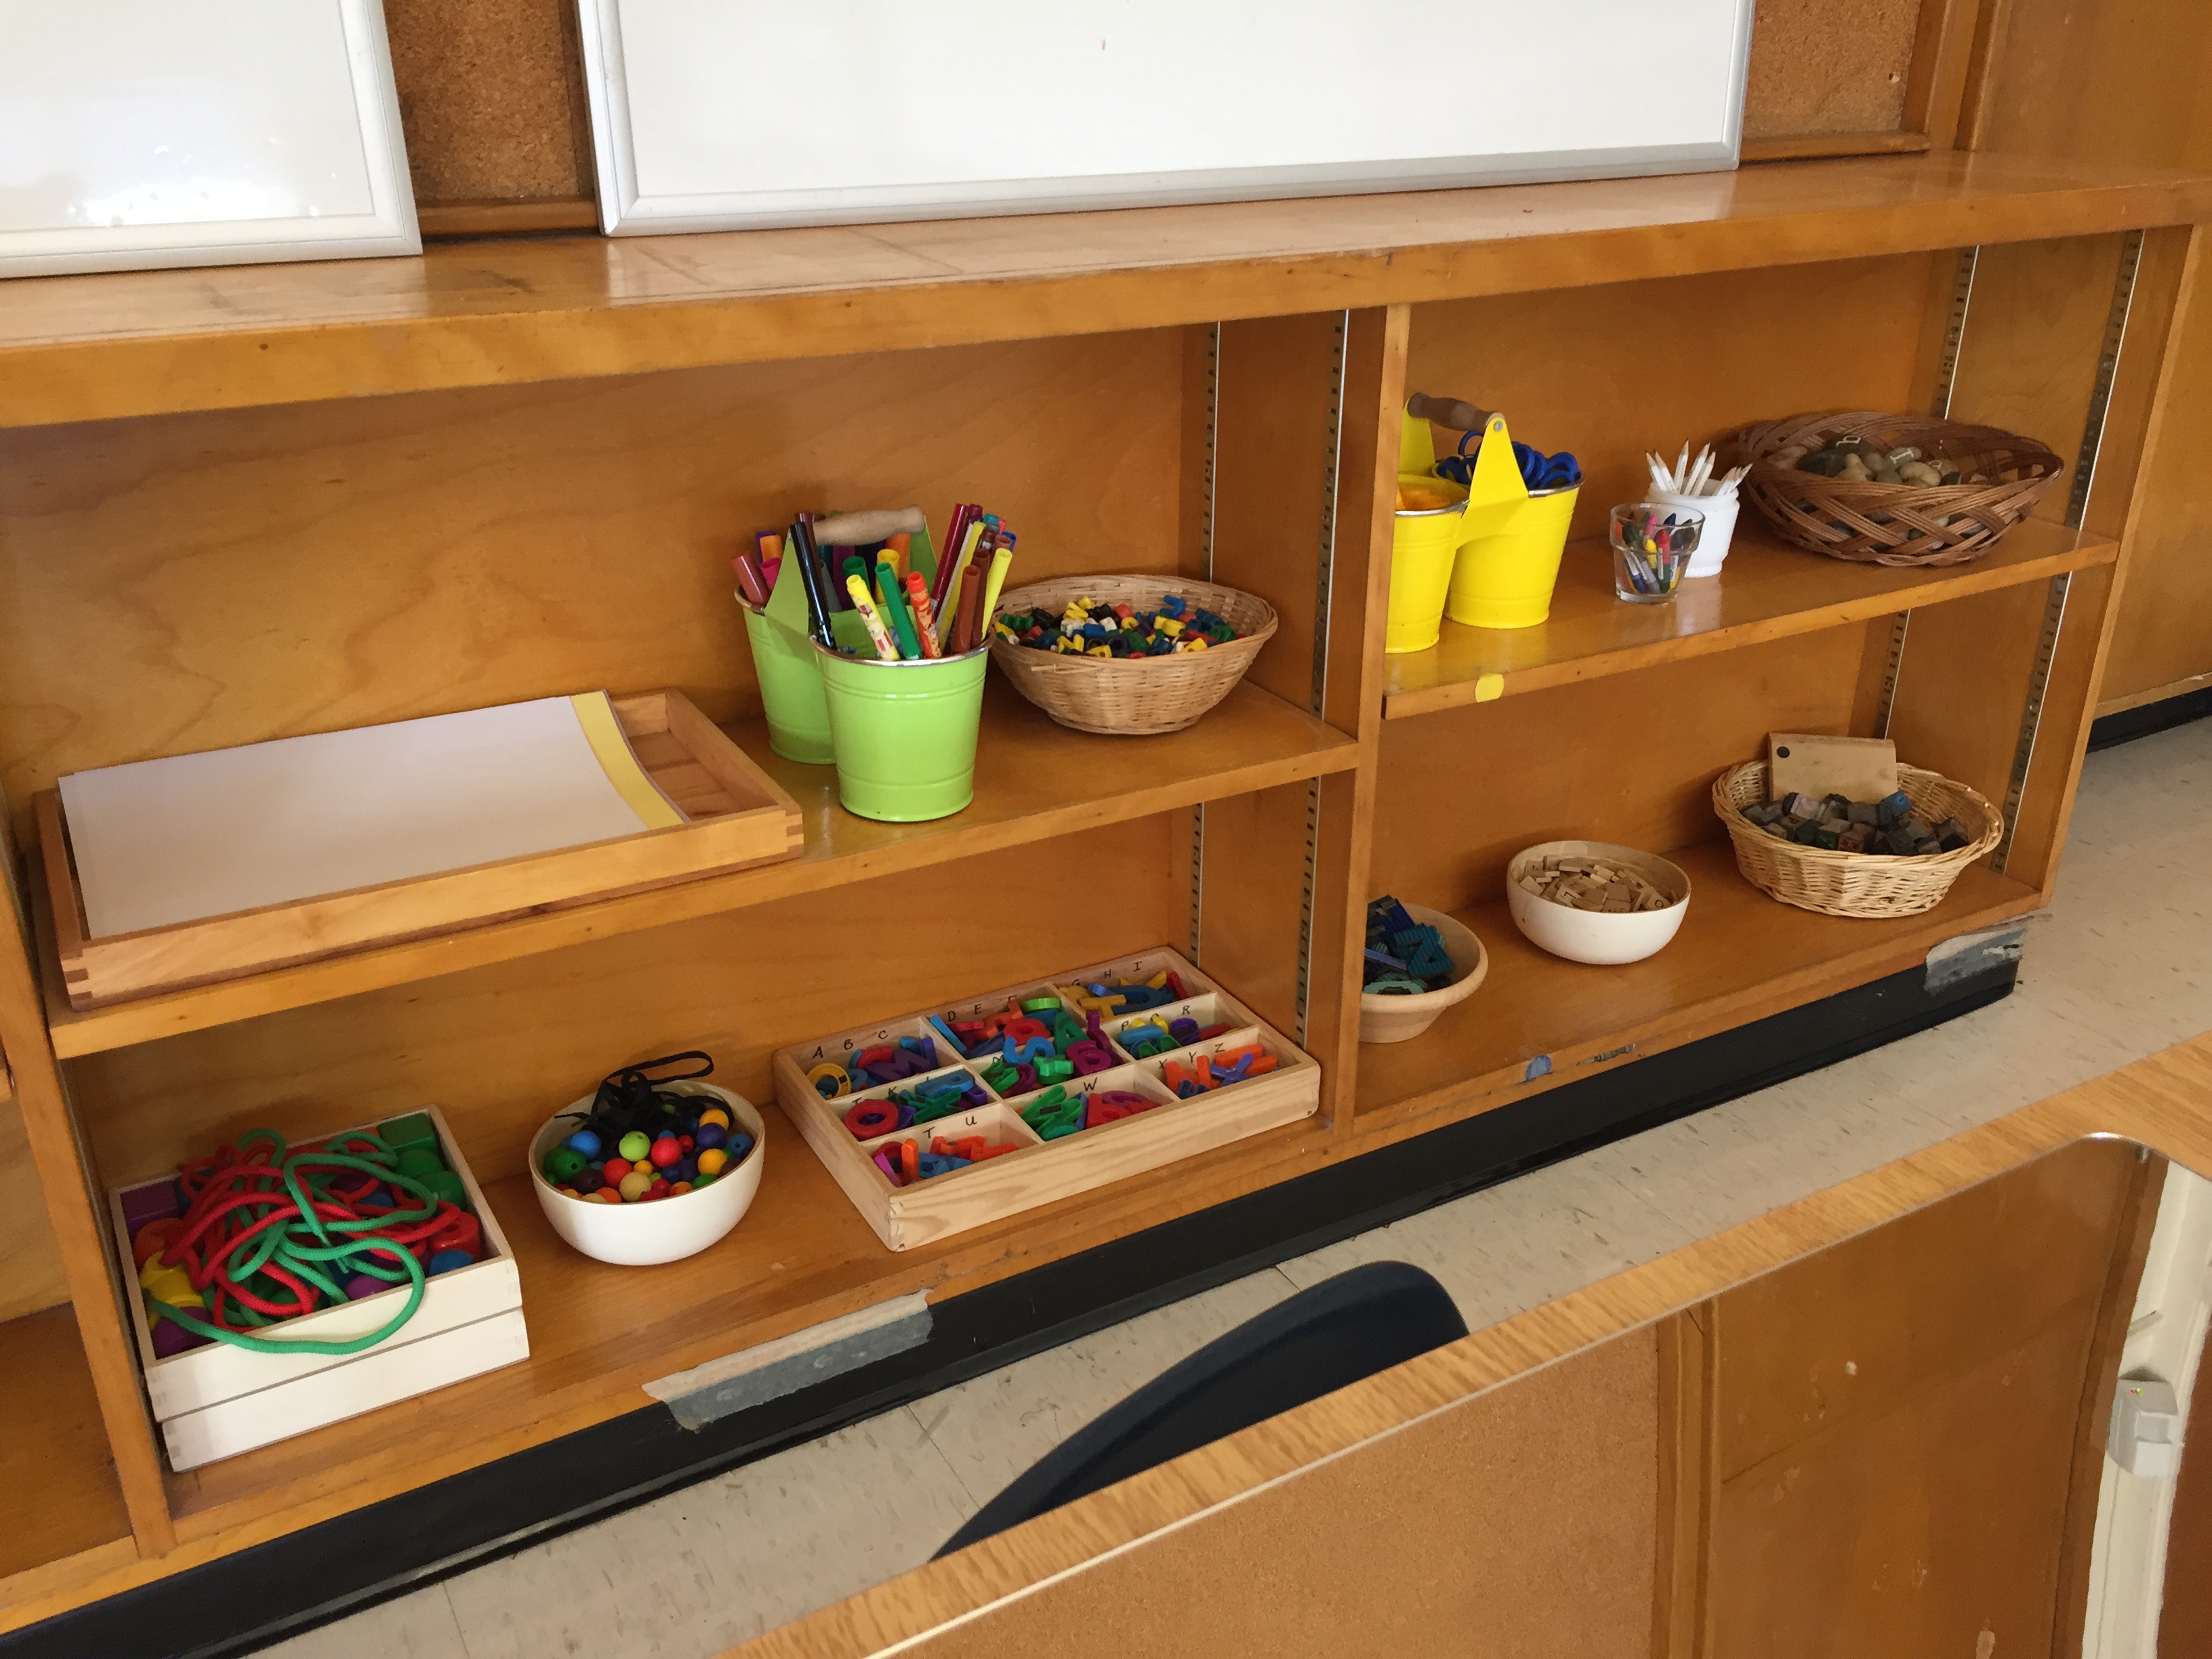
Writing Centre materials. We have beads with laces for fine motor development, magnetic letters, paper, markers, pencils, crayons, glue, scissors, letter tiles, and letter stamps.

IMG_0181

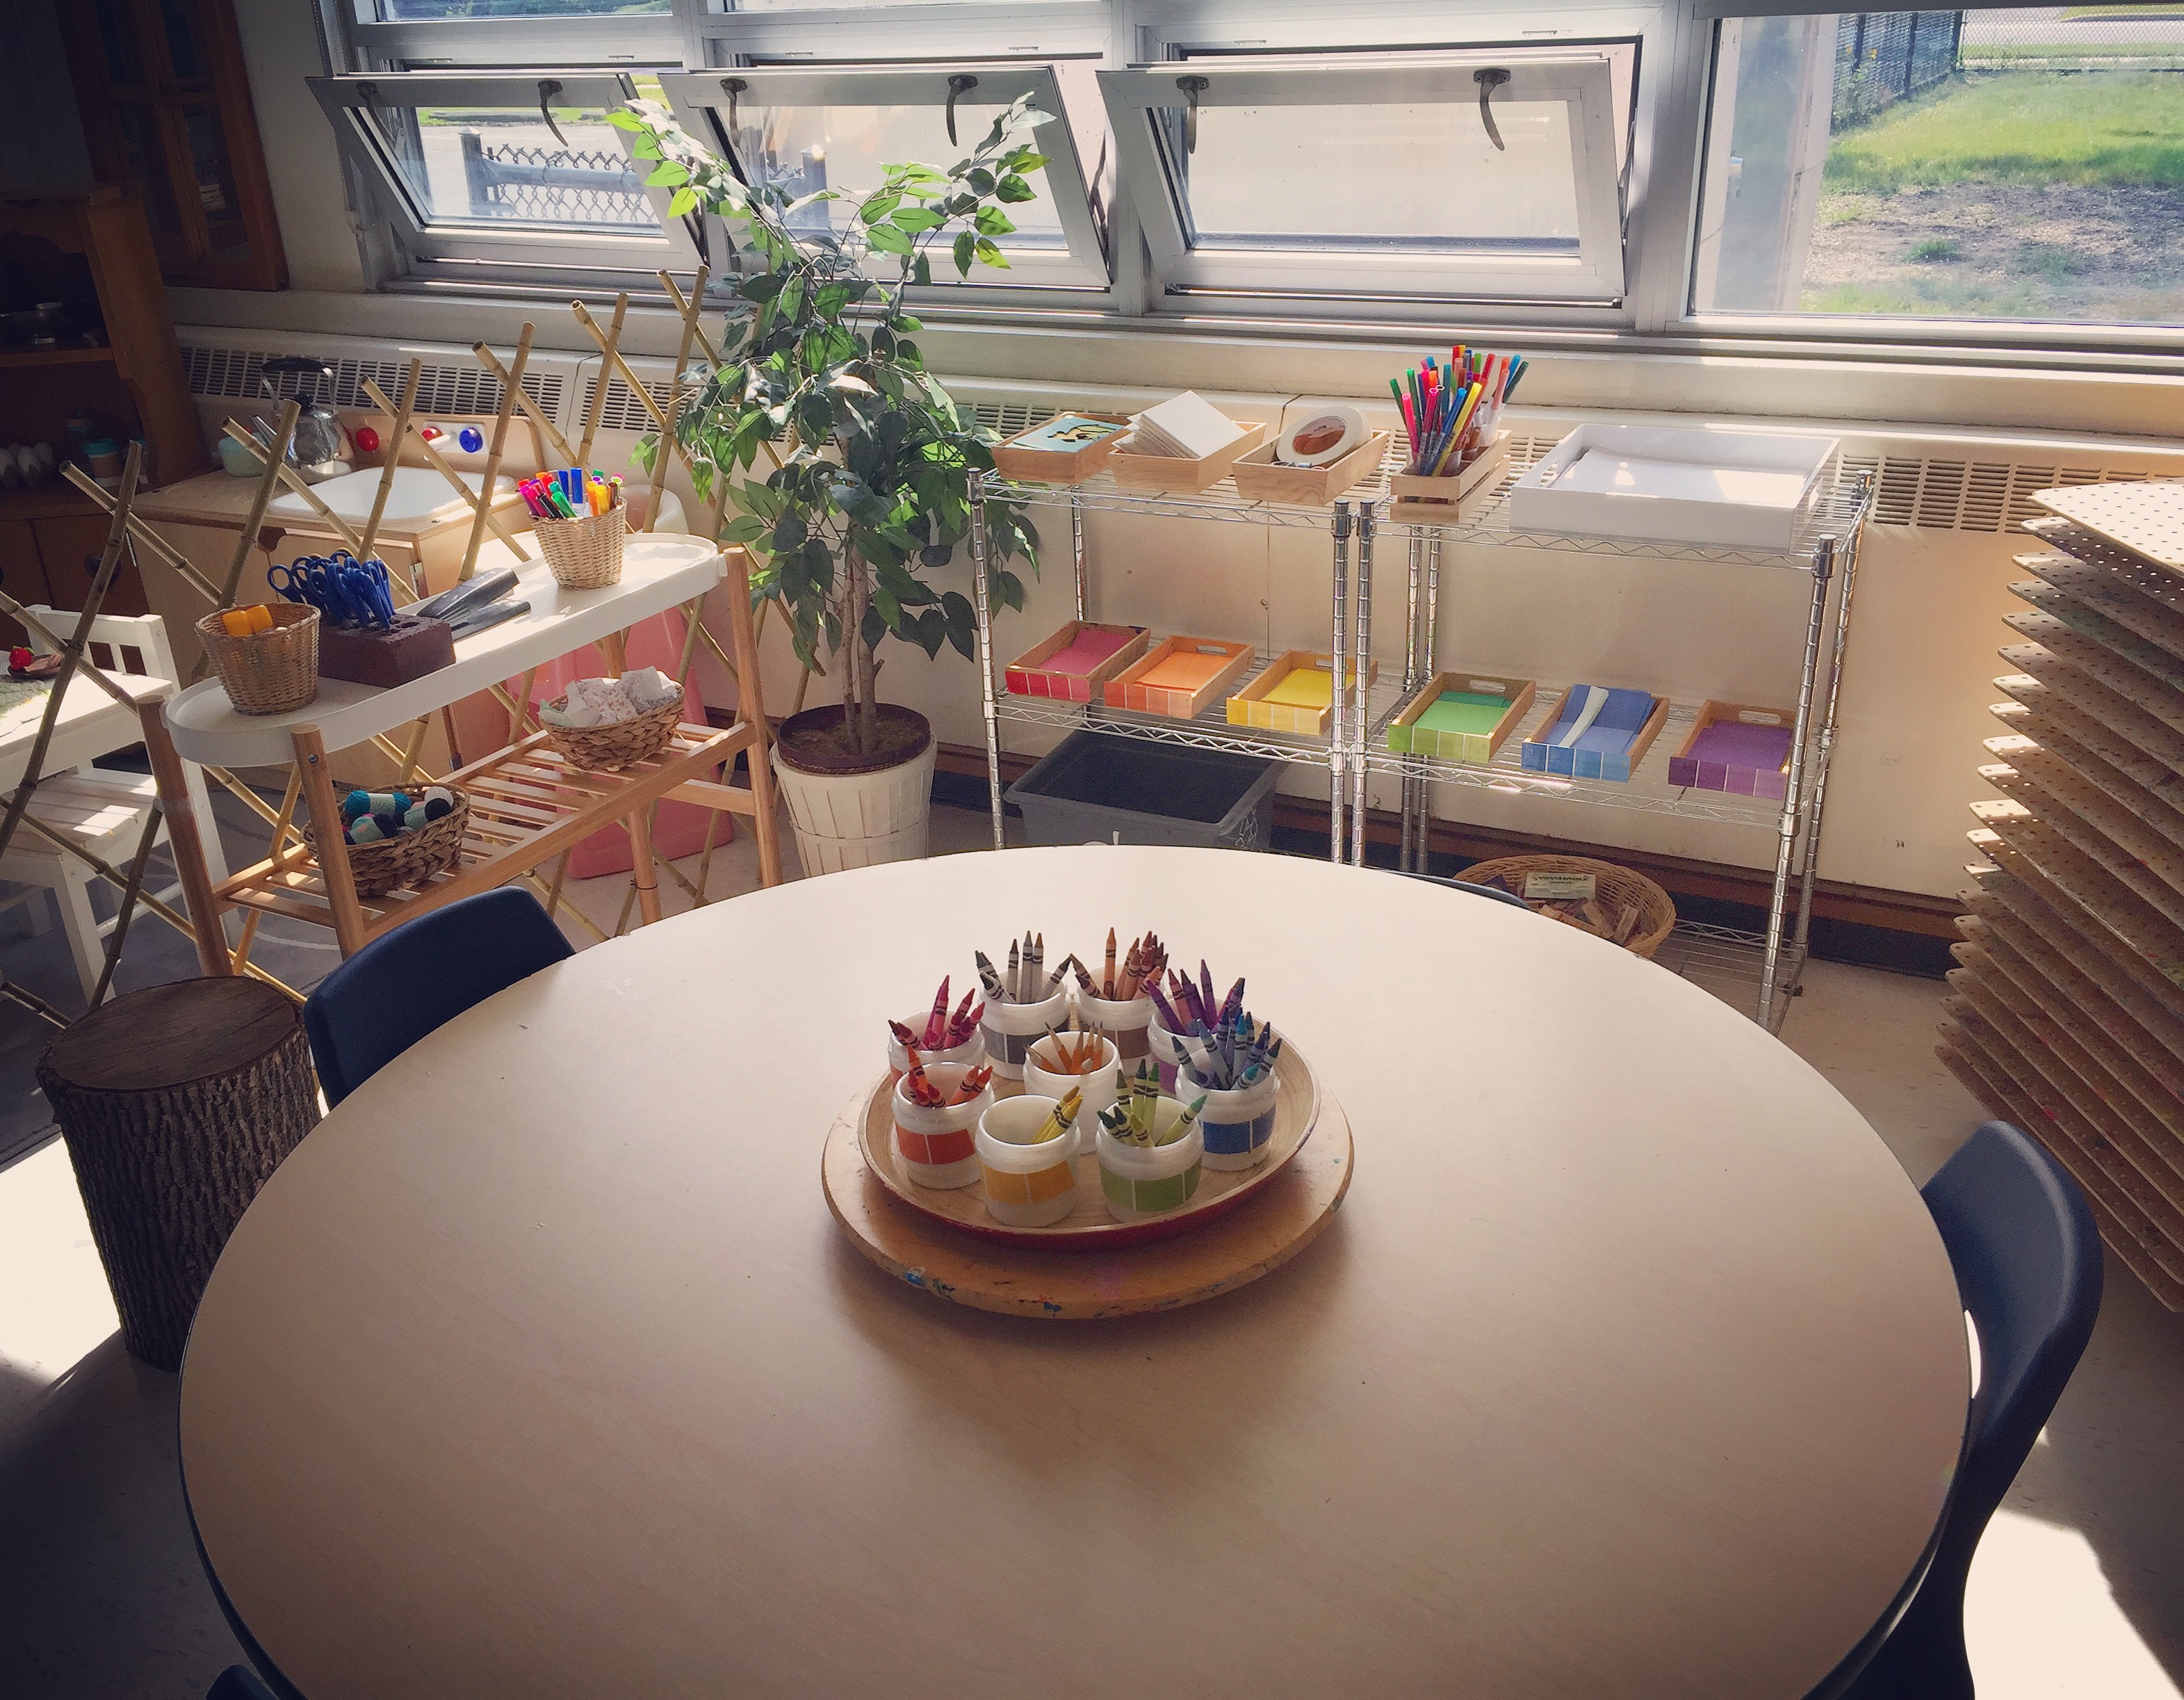
The Art Studio. Simple materials for making and creating are out right now. My students from last year were very interested in creating with recycled cardstock that a parent donates regularly. They love the stencils and making books with tape/washi tape. All of those materials are out for them to use as they wish and I’m confident the returning students will model for their new classmates how to use these materials creatively!

20170901_152549456_iOS

I love this simple shelving for storing supplies. We can easily switch out or add new materials as interests arise.

20170901_152556494_iOS

I like to have these guys on hand at the Art Studio. We will be getting to self-portraits this month and I find them helpful for that process! You can also see one of my many plants in the room. This one is fake, but I have a number of real plants as well. I think the greenery adds a softness to the space. Plants are also supposed to be calming.

20170901_152551357_iOS

This shelf at the Art Studio doubles as a divider for the drama centre. I attached the bamboo trellis to the legs of the shelf for stability. Sometimes you have to get creative!

IMG_0175

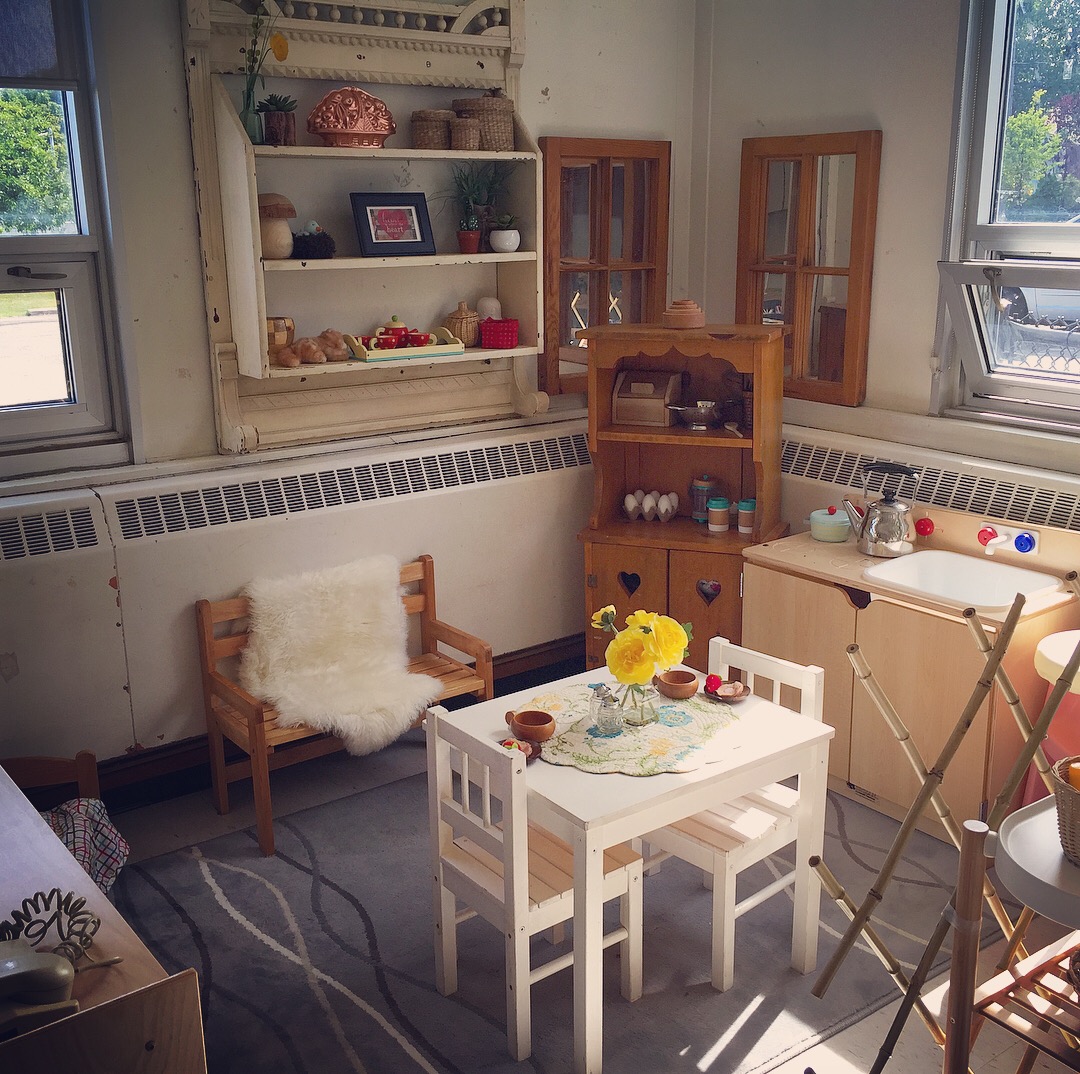
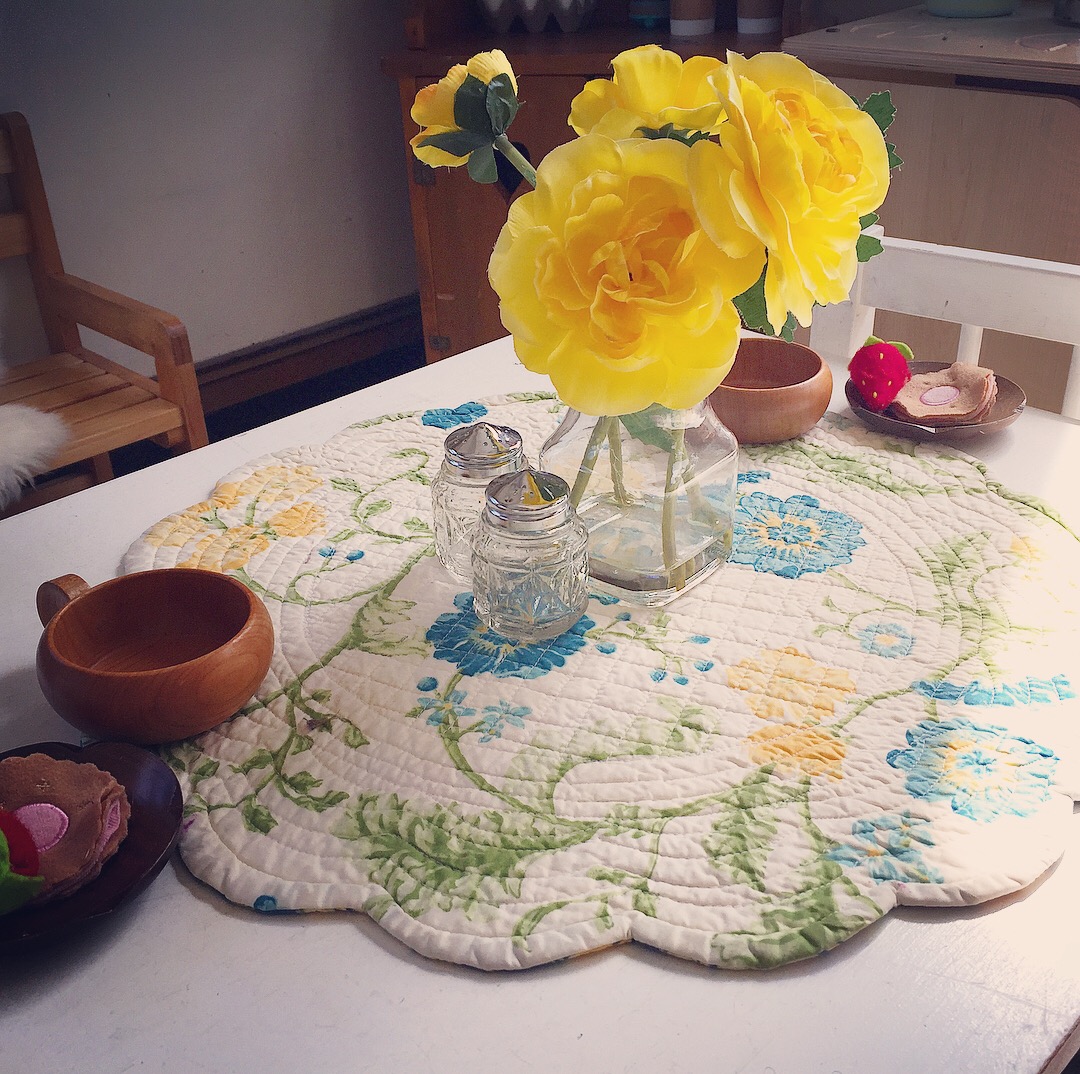
Drama centre. I always start the year with a “home” set-up in the drama centre for comfort and familiarity.

IMG_0177

Home is where the heart is! This shelf has homey knick-knacks now, but I hope to add some of the children’s creations to it later.

IMG_0176

Tea, anyone?

IMG_0178

Math Centre. We have materials for sorting and counting out at the moment. I love my number line cards from Right Brained Mom – you can download them for free on her website: https://rightbrainedmom.com/2017/08/28/free-printable-numbers-1-10/

IMG_0179

Close up of math materials. Sorry for the fuzzy photo – it was particularly sunny when I took the picture!

20170901_152758507_iOS

The Quiet Centre. A space for children to “get away” and have a moment to themselves. I introduced a quiet centre to our class last year and it was absolutely invaluable for encouraging the children to self-regulate. We have a number of children with special needs and they also found comfort in having a spot in the class to go and “take a break.”

20170901_152642419_iOS

Science Table. I have a few monarch caterpillars at home so I will be bringing one in to school. We had Painted Lady butterflies in our class last year, so I thought the children would enjoy seeing another species of butterfly. We also have some milkweed plants in our outdoor play space so I hope to teach the children how important the milkweed is to the monarch species.

20170901_152624242_iOS

This is actually our water table, but we are choosing to set out Lego for the beginning of the year. This is another centre that will need no explanation to the children. Lego always inspires  creative work and the children often work collaboratively on these green building mats.

20170901_152655993_iOS

Here is a picture of the whole space. You can see the snack table and the play dough table in this picture.

So there it is! A new space for learning together. Today while I was working, a family who was registering their child came in and exclaimed, “Wow! It looks just like a home!” I hope our students feel the same way when they see their new home away from home next week. Happy weekend, everyone!

3D Shape Challenge

DSC09213

In preparation for September, I have been looking back at photos from our learning last year and reflecting on what made certain provocations successful (or not). In doing so, I came across a series of photos from an exploration we did on 3D shapes. This particular learning story caught my attention because I noticed how I had started with one question/idea for my students to explore and then changed it as I observed the children interacting with the materials.

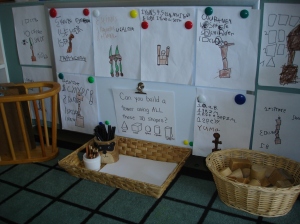
In my first provocation, I asked the children if they could build a tower using 3D shapes. I put all the necessary materials at the math centre: clipboards, pencils/pens, sticky notes, an iPad, a basket of 3D solids. I also asked the children to self-document their learning with the iPad and/or the writing materials.

DSC03407

While several children visited the centre and were eager to share their learning about how they were able to stack the shapes (based on their properties), I noticed there was a group of children who didn’t seem interested in this centre at all. I usually encourage the children to self-select their centres based on their interests, but there are some centres which I would like all the children to try at some point. In my experience, most children will eventually want to come and see what a centre is all about, especially after we talk about it during reflection time and other children share their learning problems/successes. At the beginning of the week, however, I was starting to question whether or not my provocation/question for the students was engaging enough for all my learners. It became clear that some students may need more of a challenge.

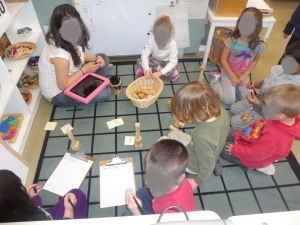
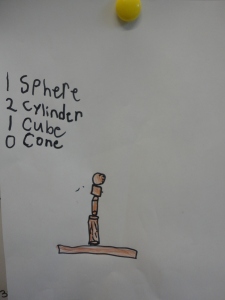
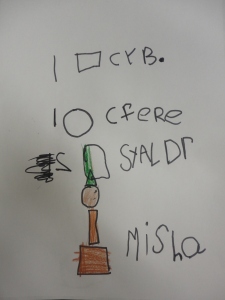
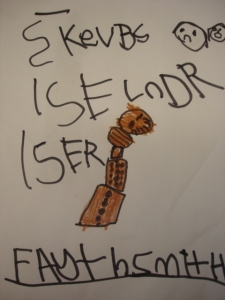
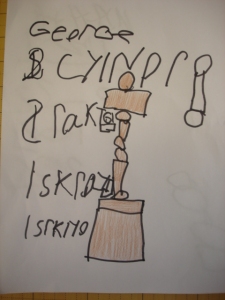
During the course of our reflection time, we noticed that no one in the class had used a sphere in their tower. Why was this? The children all agreed that there was no way a sphere could be used in a tower design (“It’s too rolly polly!,” “It doesn’t have any flat sides!,” “It won’t balance.”). After this conversation, I issued a challenge to the class: let’s see if anyone can build a tower using ALL of the different 3D shapes. Interestingly, the group of children who had not been at all interested in visiting the math centre suddenly chose it as their first choice during discovery time. In fact, the math centre went from having two or three children in it at a time to being completely jam packed. It seems that in this case, some children needed the promise of a challenge to spark their interest and creativity.

DSC09215

DSC03406N

The children discovered that indeed it was possible to build a tower using a sphere (“You have to put it at the top because nothing else will balance on it.”) and many interesting reflections were had about strategies for using all the shapes, how the properties of the shapes affected the planning process, and how the children were inspired by their classmates’ ideas.

DSC03431 DSC03432 DSC03433 DSC09069 DSC09074 DSC09075 DSC09076

It was interesting for me to look back on this exploration as a reminder that provocations evolve and change as the children engage (or in this case, don’t engage) with the materials I have provided for them. This is a part of my pedagogy I want to keep in mind as I make plans for the upcoming year.

For anyone who is interested, we also used a riddle song about the shapes to learn about their properties. You can find a link to the tune/lyrics here: http://webcheck-test.eharcourtschool.com/hspfw/review-hspmy/http/ma/math04_preview/se/nsmedia/activities/jingles/k_what_am_i.html

Halloween Inspirations

edit

An emergent curriculum is one that is guided by the children’s interests. I get a lot of questions about what this looks like in Kindergarten. In particular, many educators often express a fear that an emergent curriculum will be random, unorganized, and not tied to the curriculum, which is everything it is not! So today, I thought I’d share an example of  how you can incorporate the children’s interests into your weekly planning.

When my partner and I sit down to plan, we have the curriculum goals in mind that we want to address – the challenge is coming up with creative and interesting provocations or activities that will be inviting to our students. The easiest way to do that is to fuse our curriculum goals with the children’s interests. When you spend time listening to your students – really listening – you will find the things they talk about to be a source of great inspiration!

At this time of year, Halloween is a big source of conversation and excitement amongst my students, and really, it’s not hard to see why. Dressing up? Free candy? No wonder the kids are so excited!

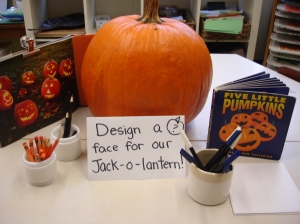
An exciting event like Halloween is a great opportunity to inspire children to try activities they might not normally try simply by putting a Halloween twist on them. An example I can share is a provocation we created at the Art Studio last year that asked the children to design a face for our Jack-o-Lantern. Even my most reluctant artists were eager to try their hand at creating a spooky masterpiece! What a great opportunity for the children to talk about their preferences, past experiences with celebrations, and future plans. Here is a picture of the provocation:

DSC08485 DSC08497

Often, we set up such experiences for the children and they take on a life of their own or go in a direction we didn’t initially expect. In this case, our fine motor and language activity developed into a mathematical discussion after one student who visited this centre created two options for our Jack-O-Lantern: one happy, and one spooky. You can see he also added the words “YES” and “NO” to his design.

DSC08501

I’m making a survey…so we can vote to see if we make a scary face or a happy face.”

After sharing Sam’s idea during reflection time, of course the class was excited about the opportunity to put it to a vote! After looking at some pictures online of scary and happy Jack-O-Lanterns, we did our survey on the Smart Board. What an authentic way to talk about the purpose of surveys. Afterwards, many children were inspired to replicate this idea on their own during discovery time.

DSC08519

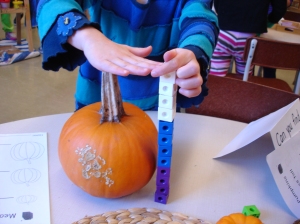
Around Halloween we were also working on measurement and pumpkin measuring became another popular and interesting provocation. Here, the children were given snap cubes and pumpkins of different sizes (which we happened to bring back from a recent trip to the farm). The children were asked to find out how many cubes tall the pumpkins were. I was also interested in finding out if the children could identify which pumpkins were the tallest or smallest and how they could prove their thinking. Because pumpkins are round and we were measuring with cube sticks, it became clear that accuracy in the measurements was hard to prove simply by using our eyes. I asked one student how she was sure her measuring stick was the same height as her pumpkin, and this is what she did:

DSC08369

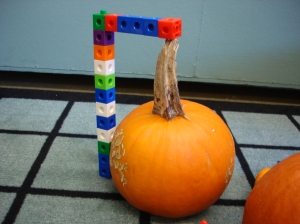
During reflection time, we posted this picture on the SmartBoard so this student could share her thinking with the class. It gave us an opportunity to talk about the importance of accuracy when measuring. Later that same day, a group of excited boys called me to the math centre. They had been inspired by our discussion before lunch but had come up with a “better way” to show their measurements were accurate:

DSC08403 DSC08405

The boys then used these structures to directly compare heights to see which pumpkins were taller. Amazing!

Are your students excited about Halloween? How are you incorporating your students’ interests in this spooky holiday in your classroom?

The Amaryllis Inquiry…a reflection on clustering expectations

DSC01918

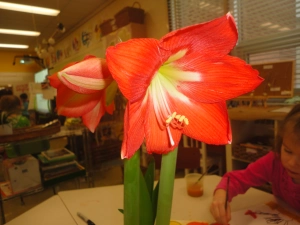
What can you do with one Amaryllis bulb? It turns out, quite a lot! One of the questions I often get about choosing an emergent, inquiry-based program is “How do you make sure you still cover all the learning expectations laid out in the Kindergarten curriculum?” This inquiry turned out to be a great example of how an inquiry-based approach to learning can help you cluster learning goals and expectations with effective results!

DSC01591

In the fall, our students made an exciting discovery in the courtyard: seeds! Our beautiful Rose of Sharon bush had gone to sleep for the winter and left behind some interesting pods which, when the children opened them, were found to contain “little fuzzy seeds.” This discovery led to many wonderings about plants, seeds, and growing things. At the science and nature table, the children tried planting the seeds from the Rose of Sharon, orange seeds, and apple seeds. Anything they could find! I happened to have received an Amaryllis bulb as a gift, and I added it to the collection of “growing things” on our table.

DSC01626

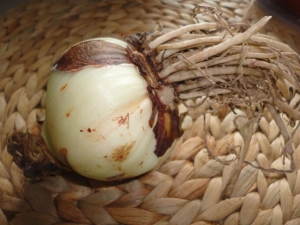
Our initial exploration of the bulb led to some interesting observations from the children, a skill I was looking to develop at this early stage of the school year:

“It looks like an onion!”

“It looks like spaghetti!”

“It looks like it has hair and skin!”

“Is something really going to grow from that?”

“Maybe that spaghetti stuff is the roots!”

DSC01641

We planted the bulb and excitedly waited for something to happen.

After the weekend, we noticed something green poking out of the bulb! The children were encouraged to record their observations and make predictions about what the Amaryllis would look like.

DSC01677

DSC02143

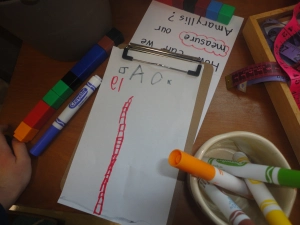
At the same time, we had begun to learn about measurement. As our plant sprouted, we asked the children: “How can we measure our Amaryllis?” Very few tools were given to the children; rather, they were encouraged to problem solve their own ways of calculating the plant’s size.

DSC01815

M.F. : “I’m tracing the leaf on the paper and cutting it out to show how big it is.”

DSC03268

E.A. : “I’m measuring the leaves with crayons and pencils. The leaf is as tall as my pencil!”

As the Amaryllis grew and we learned more about using non-standard measurement tools such as cubes, links, and string, the children began to try more precise ways of measuring. To support their desire to measure with different objects, we added the cubes, links, string, paper clips, and measuring tapes to our centre. The children were encouraged to record their thinking and learning on paper and share their ideas during reflection time.

DSC01844

DSC01869

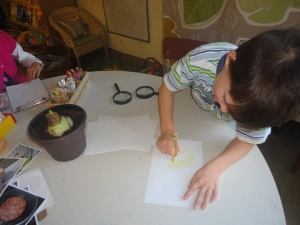
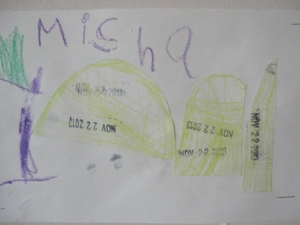
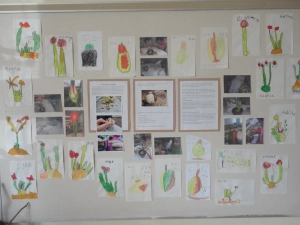
The day our Amaryllis bloomed was truly an exciting event! The children were very interested in touching the flower, looking closely at it (with magnifying glasses and the class microscope), and drawing it. We set up a still-life provocation at the Art Studio for the children to record their observations and creative representations on paper. Many children returned day after day to paint our Amaryllis as it continued to change and bloom.

DSC01921

DSC01925

The children were given black permanent markers to first sketch the flower and watercolour paints to fill their sketches with colour.

DSC03272

From start to finish, our Amaryllis inquiry touched on learning expectations in literacy, mathematics, science and technology, and art. I was able to gather information and assessment on the children’s ability to make observations and predictions, communicate their thinking orally and in drawings and art works, demonstrate their problem solving skills and knowledge of measurement, and learn about the needs of living things and how plants grow. Because our exploration originated from the children’s natural interest in seeds and how things grow, there was a high level of engagement throughout the project.

DSC03266


Math and Science Investigations (M.S.I.)

Image

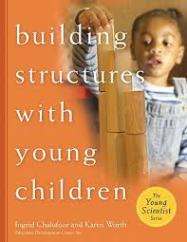
Math and Science Investigations (M.S.I.) is a building program I have been doing in Kindergarten since I started my career. I first learned about it during one of my practicums in a Kindergarten class when I was in teacher’s college. Essentially, M.S.I. is an inquiry-based program that uses building materials to encourage the development of math and science concepts, creativity, problem-solving, perseverance, planning, and much, much, more. My original resource for M.S.I (a worn photocopy from a book that used to exist somewhere in the board) is long since lost; however, I found a great replacement in the book Building Structures With Young Children by Ingrid Chalufour and Karen Worth:

Image

Basically, M.S.I. goes something like this:

1) I teach a mini lesson on the day’s focus.

2) Each student gets their own bin of building materials (blocks, connectors, cups, etc.) and takes it to a table. The bin goes on the chair and the children stand at the table and build. I circulate and facilitate discussion, pose questions, take notes, take photographs.

3) Reflection. I post pictures of interesting structures for discussion and feedback.

Image

We engage in M.S.I. as an entire class, one period per week. That being said, the building bins are always available during discovery time and it is common to find children selecting them to continue working on an inquiry we are engaged in. We also often find ourselves setting up provocations that support the learning that is happening in M.S.I., due to significant student interest.

Here are a few questions I often get about M.S.I:

Q: What kind of materials do you use? How do you organize enough bins for each child to have one?

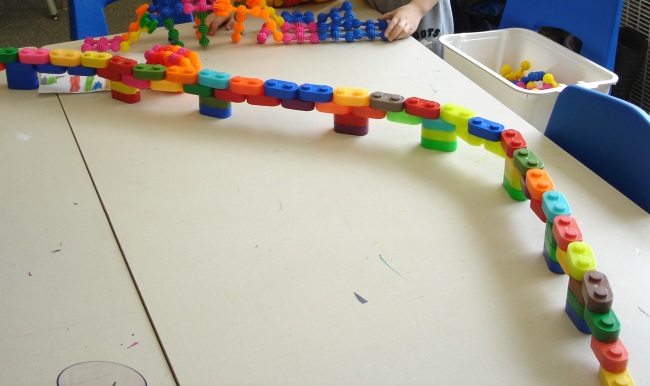
A: We use a variety of store-bought traditional building blocks and some found materials to make up our bins. Wooden blocks, tree blocks, better blocks (kind of like Duplo), foam blocks, cups (laundry caps) from the recycling depot, anything that will stack! I purchased some materials from school catalogues, found others at garage sales and recycling stores, and got some for free from the recycling depot in our school board. Anything that can stack reasonably well is a good material for M.S.I. If you don’t have enough for everyone in your class you could always run the program with children working in partners or groups, and we sometimes do this as well depending on the focus of the lesson.

Q: What about space? Where do you store your materials? What if you don’t have enough table space for each student?

If you don’t have enough table space for each student to have their own spot, children can build on the floor. The idea behind standing and building at a table is that children are initially encouraged to build up with their materials. Standing helps the children stack their blocks more easily, and see their structure from all sides. Placing the building bin on a chair frees up table space for working. We store our building materials in two large rolling shelves. The shelves hold about 36 bins. I have a small space, but it’s not overwhelming in the classroom. I saw another school where the three kindergarten classes shared their M.S.I materials on a rolling cart that was parked in the hallway and could be easily moved to each class.

Q: What kinds of inquiries have you done? How long does one inquiry last?

A: The resource Building Structures With Young Children focuses on two inquiries: Towers and Enclosures. This year we have completed a Tower Inquiry (which I will write more about soon) and are now working on enclosures. We have also done inquiries on bridges and castles. In one school year, we usually have time to complete at least 2 large structure inquiries through M.S.I.

Image

Q: How is M.S.I introduced? What does it look like at the beginning of the year?

A: At the beginning of the year, M.S.I. time is mainly spent establishing routines and working on basic concepts of space, balance, making a plan, etc. There is a lot to be said just for helping the children locate a bin, find their own work space, build, and then tidy up. A lot of time also goes into establishing routines and expectations for sharing and reflecting on our structures at the end of the lesson. The most important part of the initial phase of M.S.I. is exploration and helping the children stay focused on solving problems rather than getting frustrated if/when their structure falls down. The children are often encouraged to choose different bins regularly to get a feel for the variety of materials we have available.

Image

I have to say, the children are always excited to see M.S.I. on the schedule. I continue to be amazed at how reflective and thoughtful they are about their structures and how mature they appear when giving feedback and suggestions to their classmates during reflection time. Although when I started teaching I successfully ran an M.S.I. program without a lot of fancy technology (none, actually), the access we now have to iPads, a classroom camera, and an interactive SMARTBoard have helped me take our building program to a whole new level. Being able to take a photo of a child’s structure and immediately post it on the SMARTboard for us to discuss is an invaluable part of the program. We regularly use the SMARTBoard pens to label the structure in the photo, highlight shapes in the design of the structure or draw on possible ideas to add next time.

If you have any other questions about how M.S.I. works, please don’t hesitate to drop me a line!

Snap Cube Workshop: Inspiring Young Authors

Image

G.M.: Inside my book is a man and an invisible ship and a laser sword. I put how many of the cubes you need. For the man you need 5 blues, 1 purple, 1 black, and 2 browns. I want someone to build the invisible ship and then play with it. I did one for the laser sword and then W.W. looked at my instructions and made it.

Earlier, I wrote about embracing the children’s interests by creating a Snap Cube Workshop with the ever-popular snap cubes (You can read about it here: https://thecuriouskindergarten.wordpress.com/2014/03/10/snap-cube-workshop/). The children in my class view snap cubes like Lego – something they can use to build whatever kind of creations they want. In looking for ways to extend the learning at this centre, I ended up having a conversation with some of my students about the similarities and differences between Lego and Snap Cubes. One of my students pointed out that his Lego sets come with instruction or inspiration booklets to help him make the structures in the kit…and Voila! A new idea was born! The children were immediately interested in creating instruction booklets for their creations, with a view to helping their classmates re-create their structures. “How did you make it?” is the most popular question the children ask each other during reflection time, so it seemed logical for the students to not only tell each other, but show each other what to do in a diagram. Beyond adding some blank paper, markers, and a stapler to the Snap Cube Workshop, the children required very little guidance with how to create their instruction manuals since most of them were well-versed with Lego booklets. The children who did not have experience with Lego booklets simply learned from their more experienced peers and were soon well on their way to their own Snap Cube construction kits. We provided the children with a place to store their manuals (clipped to a string hung at the centre) and many children came by throughout the week to add to their booklets or borrow booklets to try to recreate the structures within.

Image

Image

Image

Image

Snap Cube Workshop

Image

Lately I’ve been looking for ways to extend the learning that has been happening at my small building centre. Basically, snap cubes have taken over our classroom. What started as a daily activity by a small group of boys soon spread into a full-on class obsession with all things related to building with this “Lego-like” material.

I had never looked at snap cubes and thought “Lego” before. It was my students who clued me in when I asked why it was their number one choice of activity each day:

W.W. “These are just like Lego. You can build whatever you want with them.”

G.M. “Lego is our favourite. But we don’t have Lego here. It’s ok though, because snap cubes are just like Lego. They stick together and have different colours and you can make whatever you want.”

Image

Although I was completely amazed and inspired with what the children were able to construct with their snap cubes, how they problem-solved and worked together, and how they presented their discoveries and creations with the class, I’ll admit there have been times when I struggled with the snap cube craze in my classroom. There were certainly children that worked with snap cubes and only snap cubes, children that fought over having a turn there, and children who turned their noses up at the carefully organized provocations we put out at other centres.

In the end, we decided to embrace the interest in snap cubes. We moved them to their own centre (a Snap Cube Building Workshop) and, after some discussions with the class about balance and fairness, noticed that the children were able to make better choices about when to visit the snap cube centre and when to try something new.

Does your class have an activity or material that your students just can’t put down? How did you embrace the children’s interests?

You can read what happened next at this centre by clicking here: https://thecuriouskindergarten.wordpress.com/2014/03/10/snap-cube-workshop-inspiring-young-authors/

Image

Stone Towers

Image

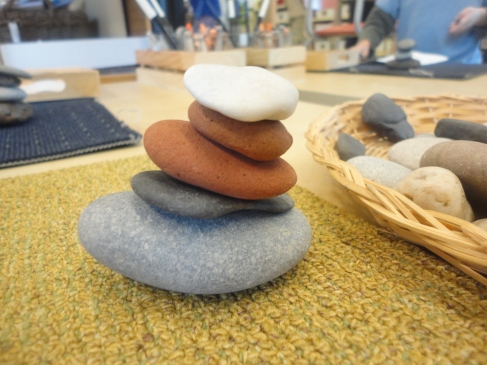
This term we have been working on a tower inquiry. As with any inquiry we are engaged in, I am constantly looking for ways to provoke or enhance student thinking and learning throughout various centres in the classroom. In the summer time I visited the beach quite regularly and was always fascinated by the small stone towers that were left behind on the beach by talented beach-combing architects. Of course, eventually I was inspired to build my own…and I snapped a picture of my creation. This week I placed a picture of my stone tower, along with a challenge to my students, in our small building area. Since tower building with rocks is a bit of a challenge, I was looking for the children to use what they have learned about balance and problem solving to build the tallest tower they could. I also wanted to introduce them to the concept of recording their work on paper, so I provided them with paper, fine tipped markers, and crayons. This is how the centre looked:

Image

Image

The children were quite excited to give this challenge a go. As they worked, I took notes on how they approached the challenge, what strategies they used, and how they problem solved. The children most enjoyed recording their towers on paper – even taking care to draw them as accurately as they could by counting and checking how many stones they used, demonstrating each stone’s size, and colouring them in the appropriate colour.

Here are some of the students’ thinking I captured:

M.B.: “1, 2, 3, 4. I used 4. I put the big big big rock first and then I got medium sized, small and then so small at the top.”

S.M.: It looks like a snowman. I used 5 rocks. First I got a big one, and then another one the same size, and then some small ones.

A.F.: I saw they were all kinds of grey colours. I used 3 stones. I didn’t use more because I was worried it would make it fall down.

A: I need the flatter ones. I got five! 1, 2, 3, 4, 5!

DSC01617

DSC01546

DSC01552

Stay tuned for more updates on our tower inquiry!