A Map of My Heart

Featured

DSC02401

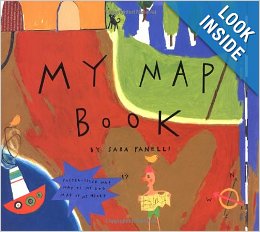
What is love? What are the things that you love the most? If we could see inside your heart, what would we find there? These are the questions we examined in our class through the Map of My Heart project. All of this really began when we noticed the children showing an interest in making maps at the writing table. To support and challenge their thinking, we added special “map paper” and an amazing book called My Map Book by Sara Finelli to our writing centre. In My Map Book, Finelli inspires us to think about maps in a whole new way with wonderful images of maps including: “A Map of My Dog,” “A Map of My Day,” “A Map of My Stomach,” and yes, “A Map of My Heart.”

my map book finelli

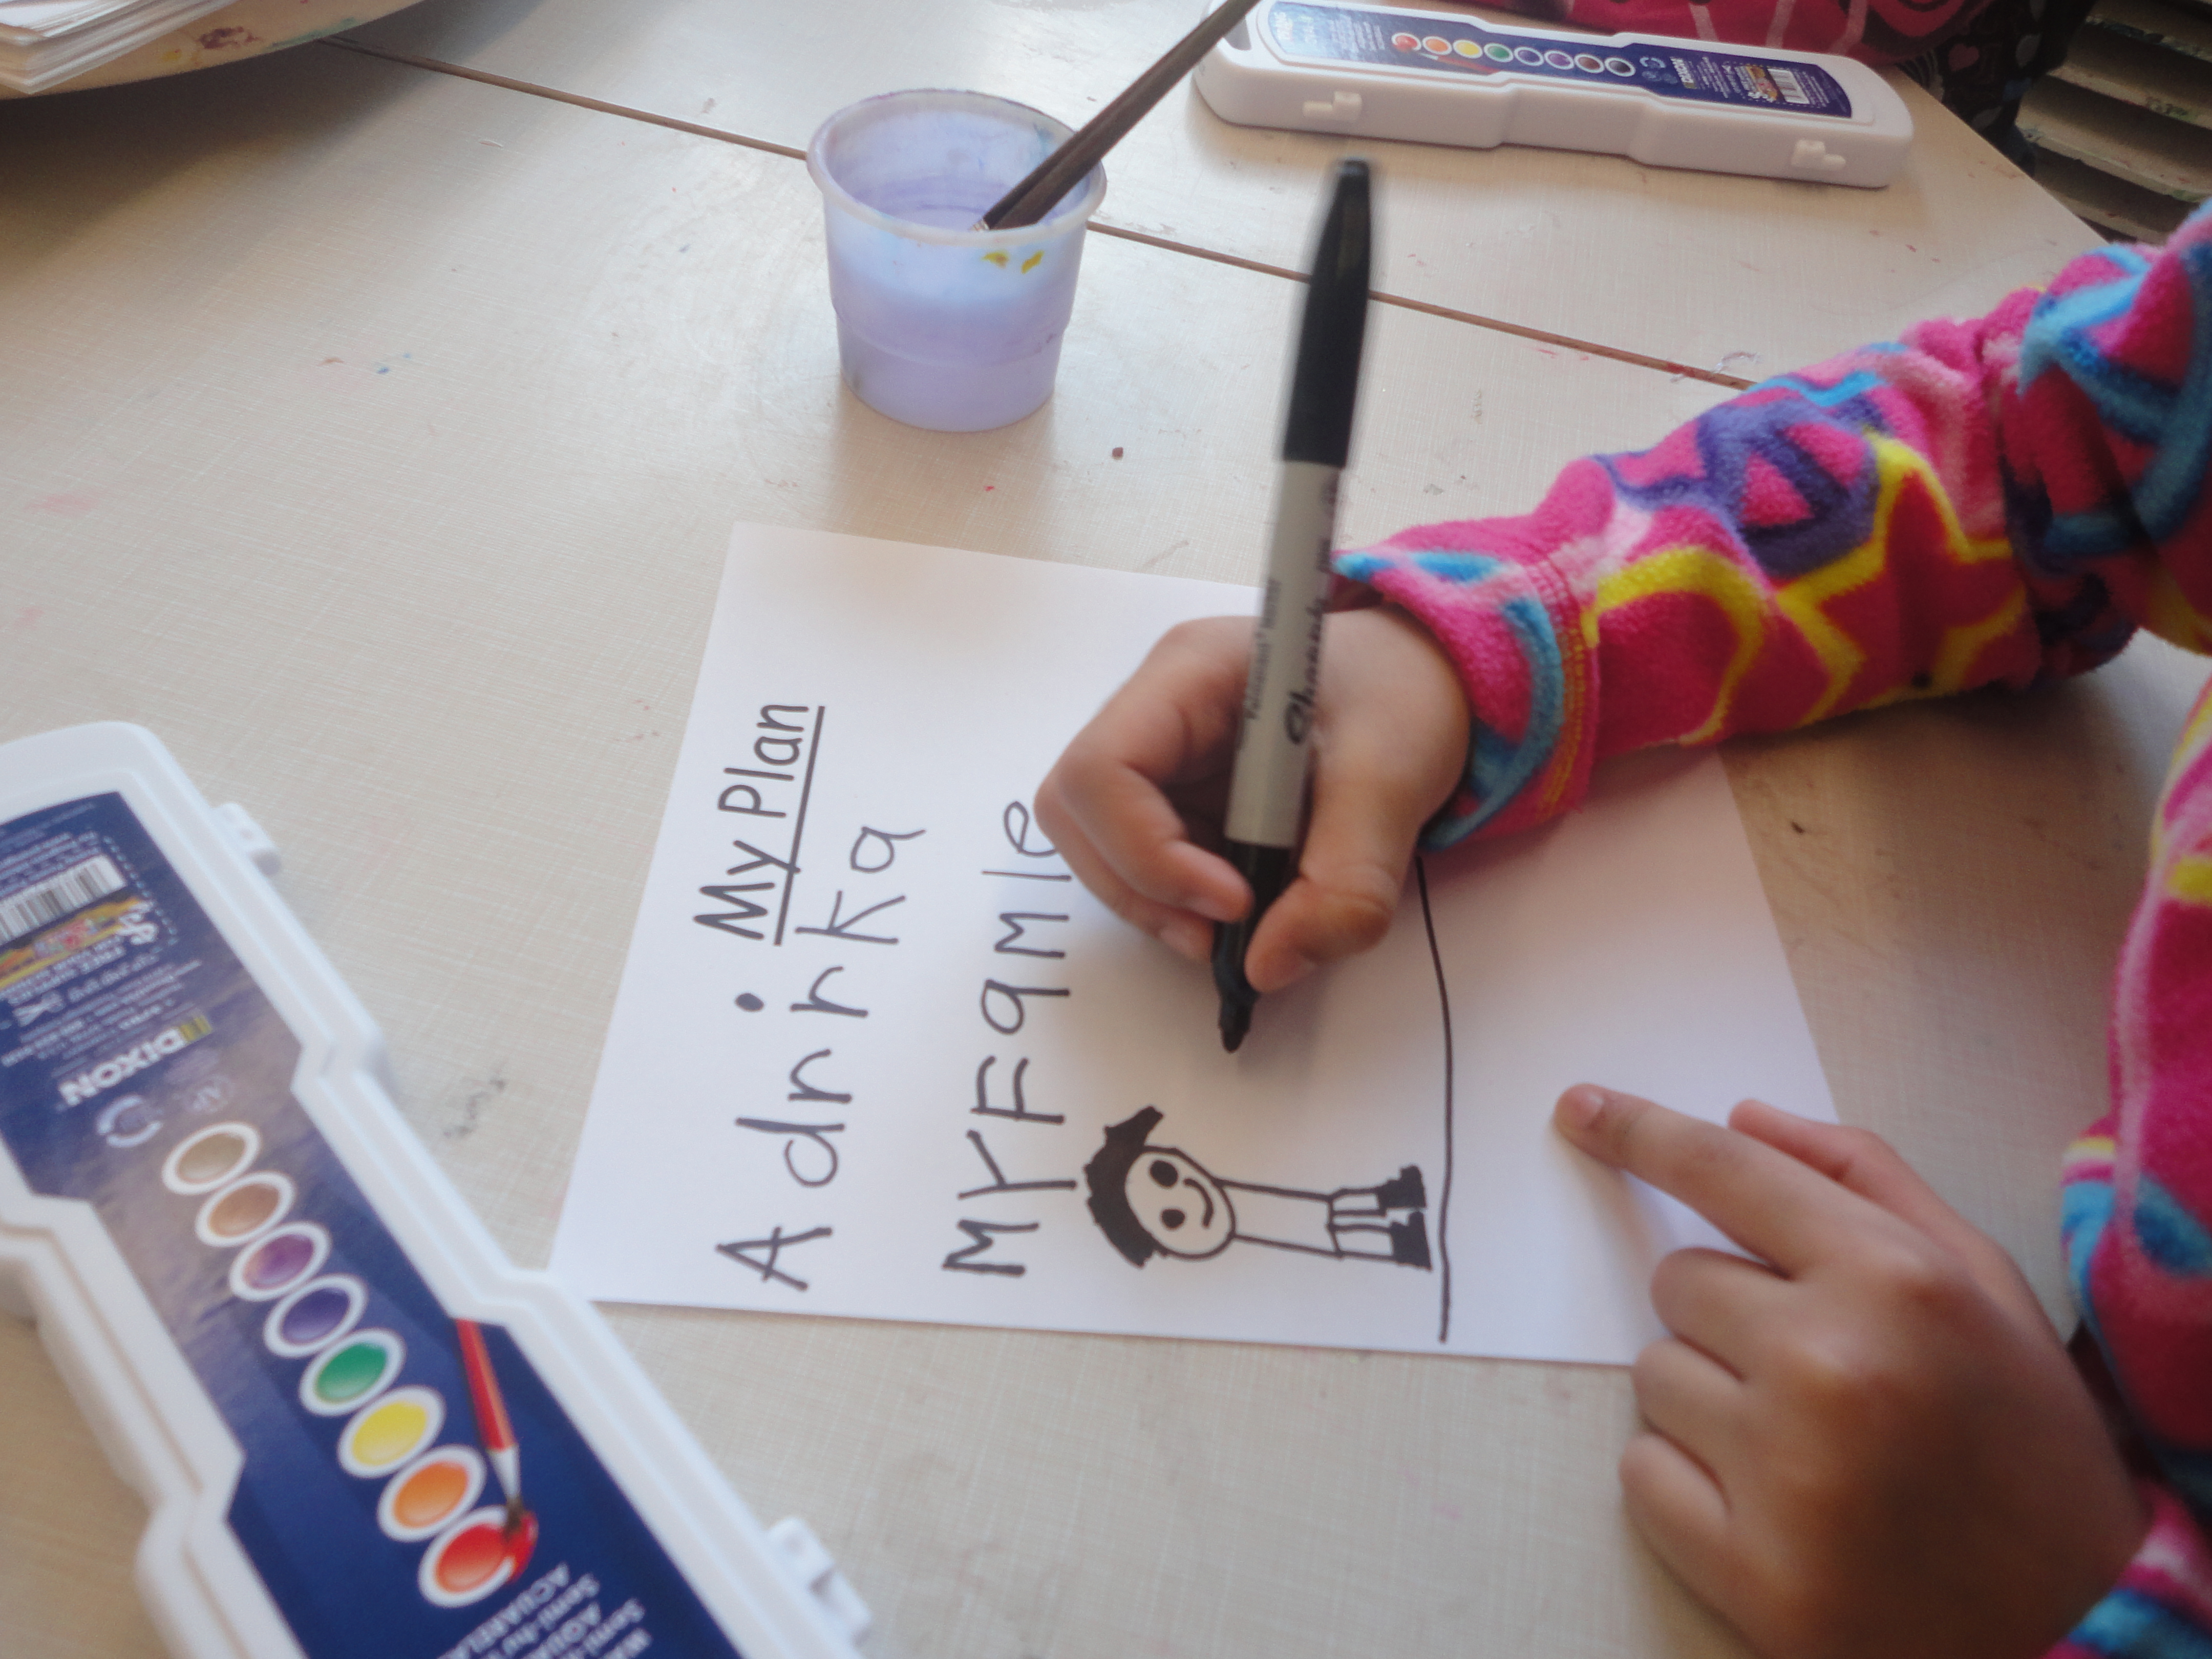
With Valentine’s Day approaching, I wanted to discuss the theme of love and friendship with my students. To get them thinking about love, we focused on Finelli’s heart map and talked about what we might find in our own hearts. At the Art Studio, we offered the children an opportunity to continue thinking about these questions by making their own heart maps (see the original idea from Playful Learning here: http://playfullearning.net/2009/01/map-of-my-heart/). I felt it was important to give the children as much thinking time as possible for this activity, so rather than having them dive right in to the drawing and painting process, we provided them with planning paper so they could jot down their ideas first. This also had the added bonus of creating some lovely opportunities for dialogue between children as they shared their plans with each other. I found that throughout the art process, children routinely referred back to their plans to help them include all their original ideas in their art piece.

DSC02253

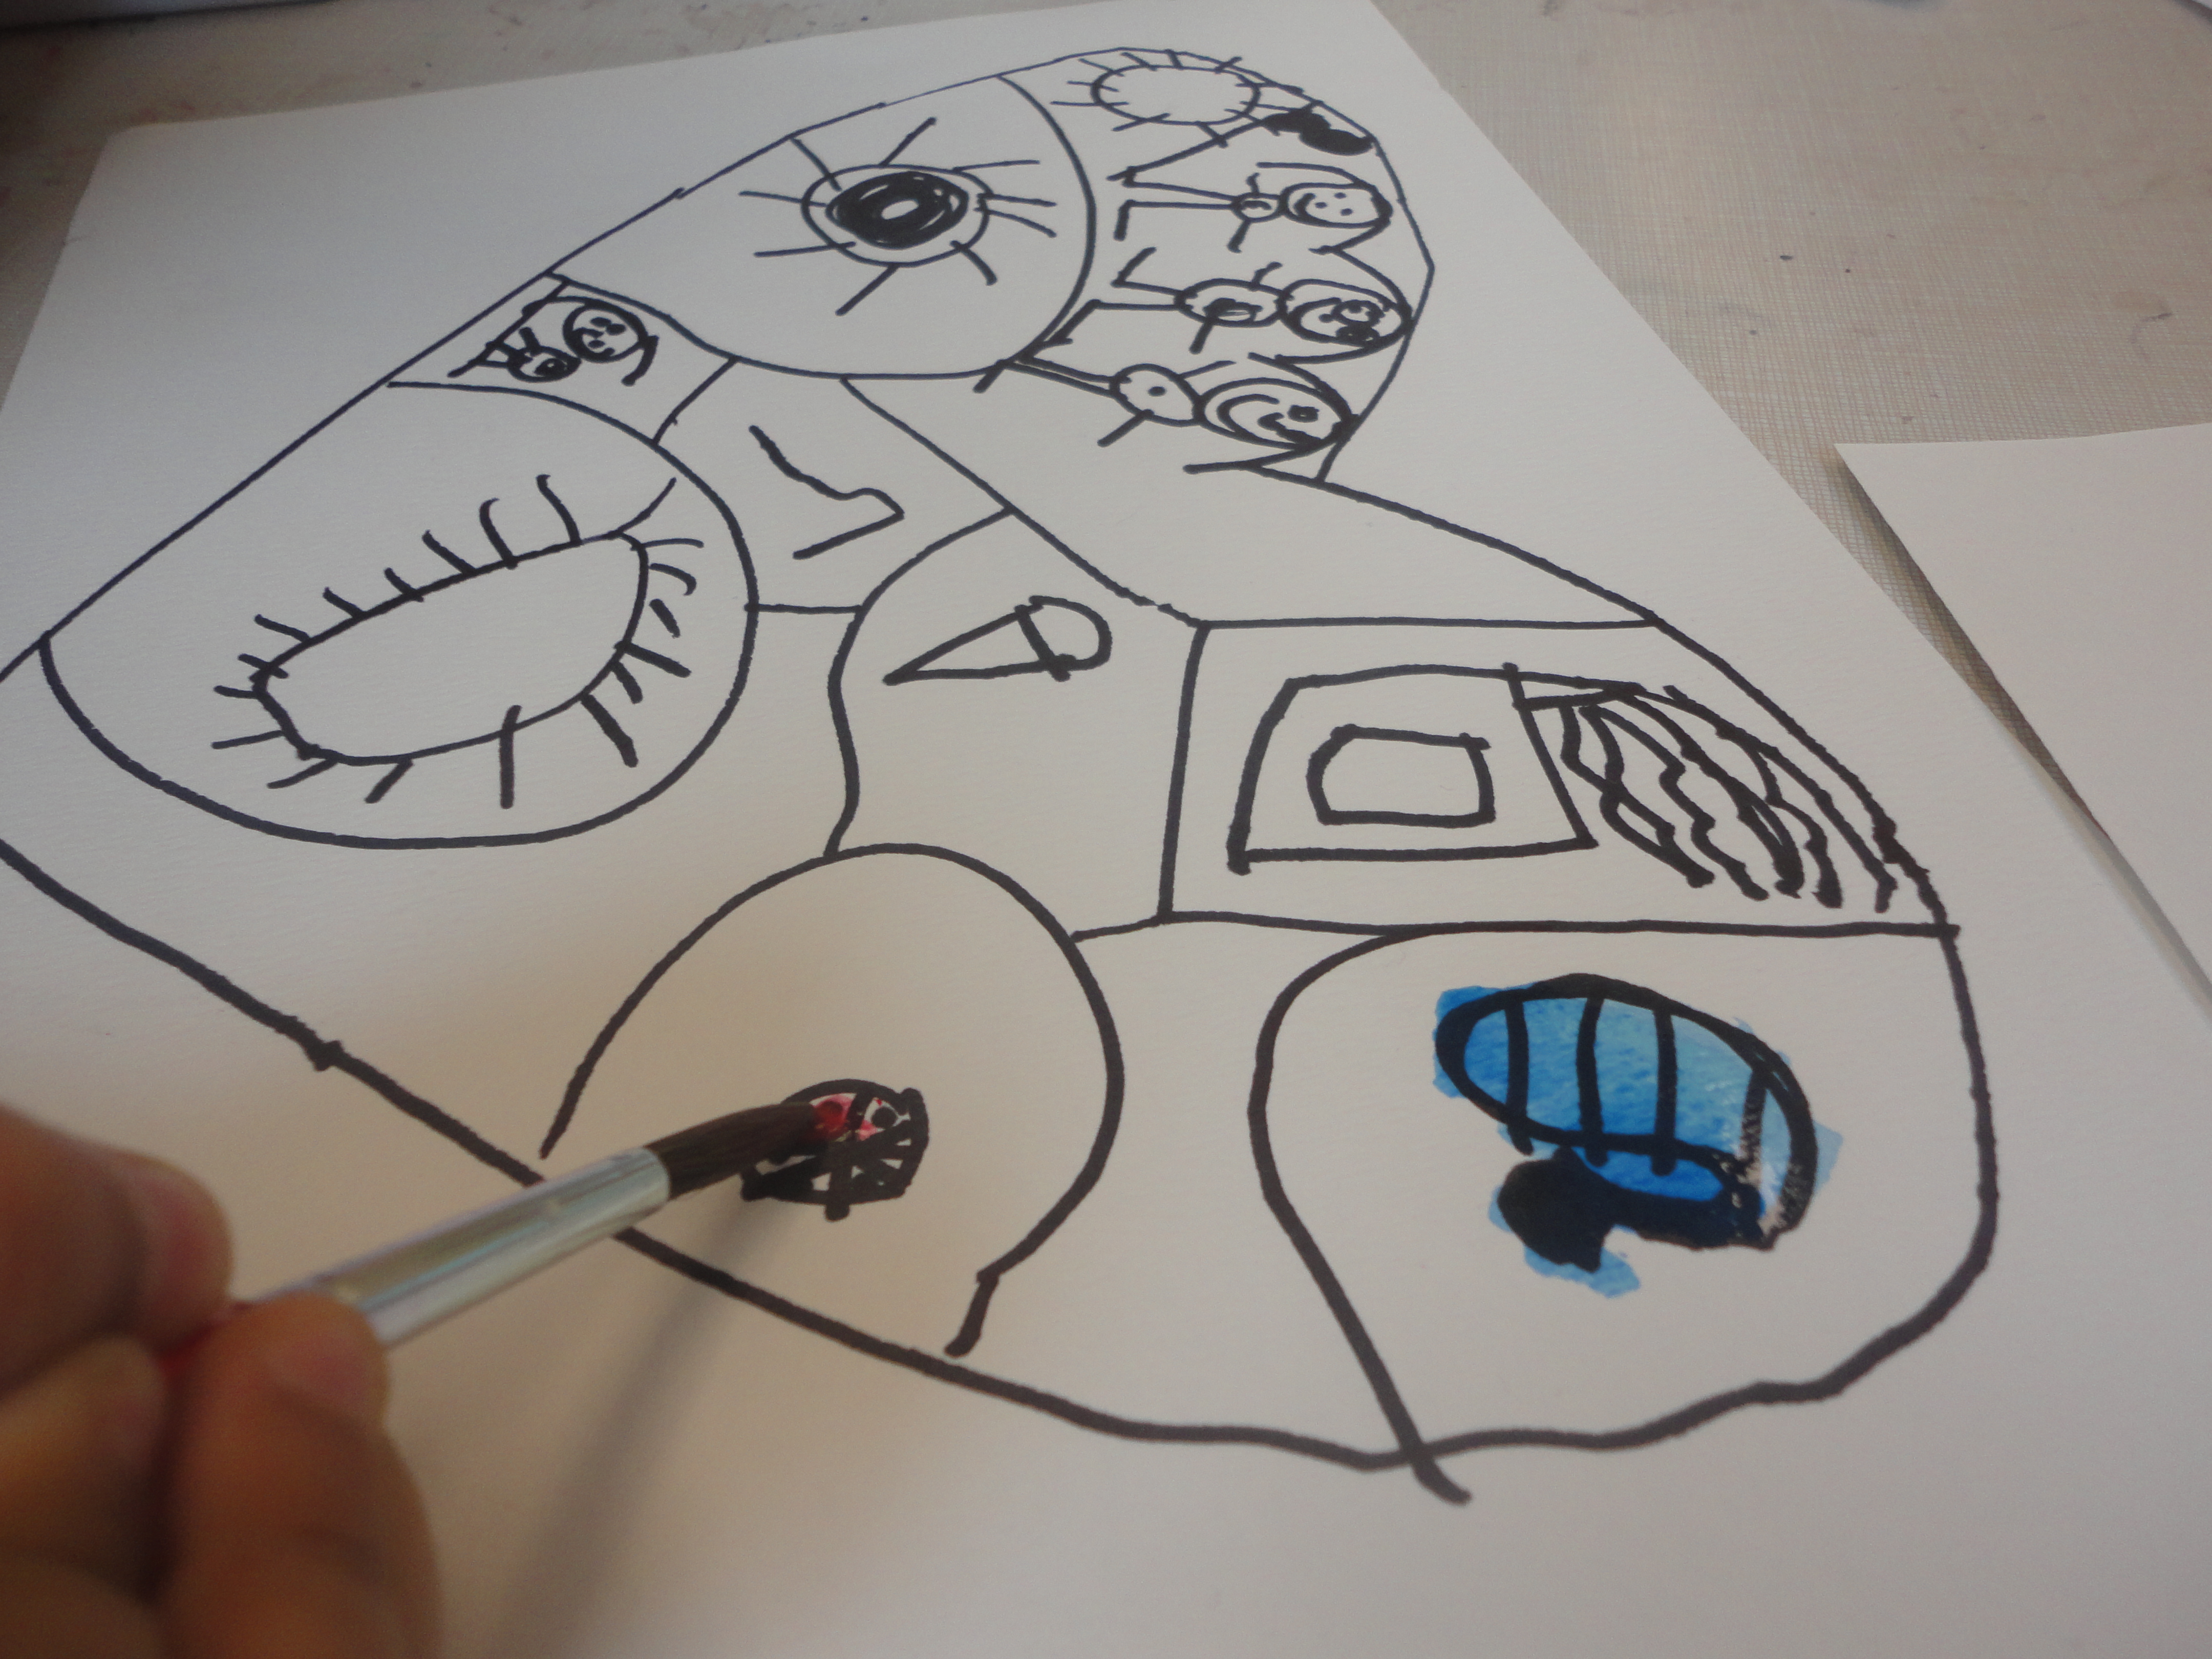
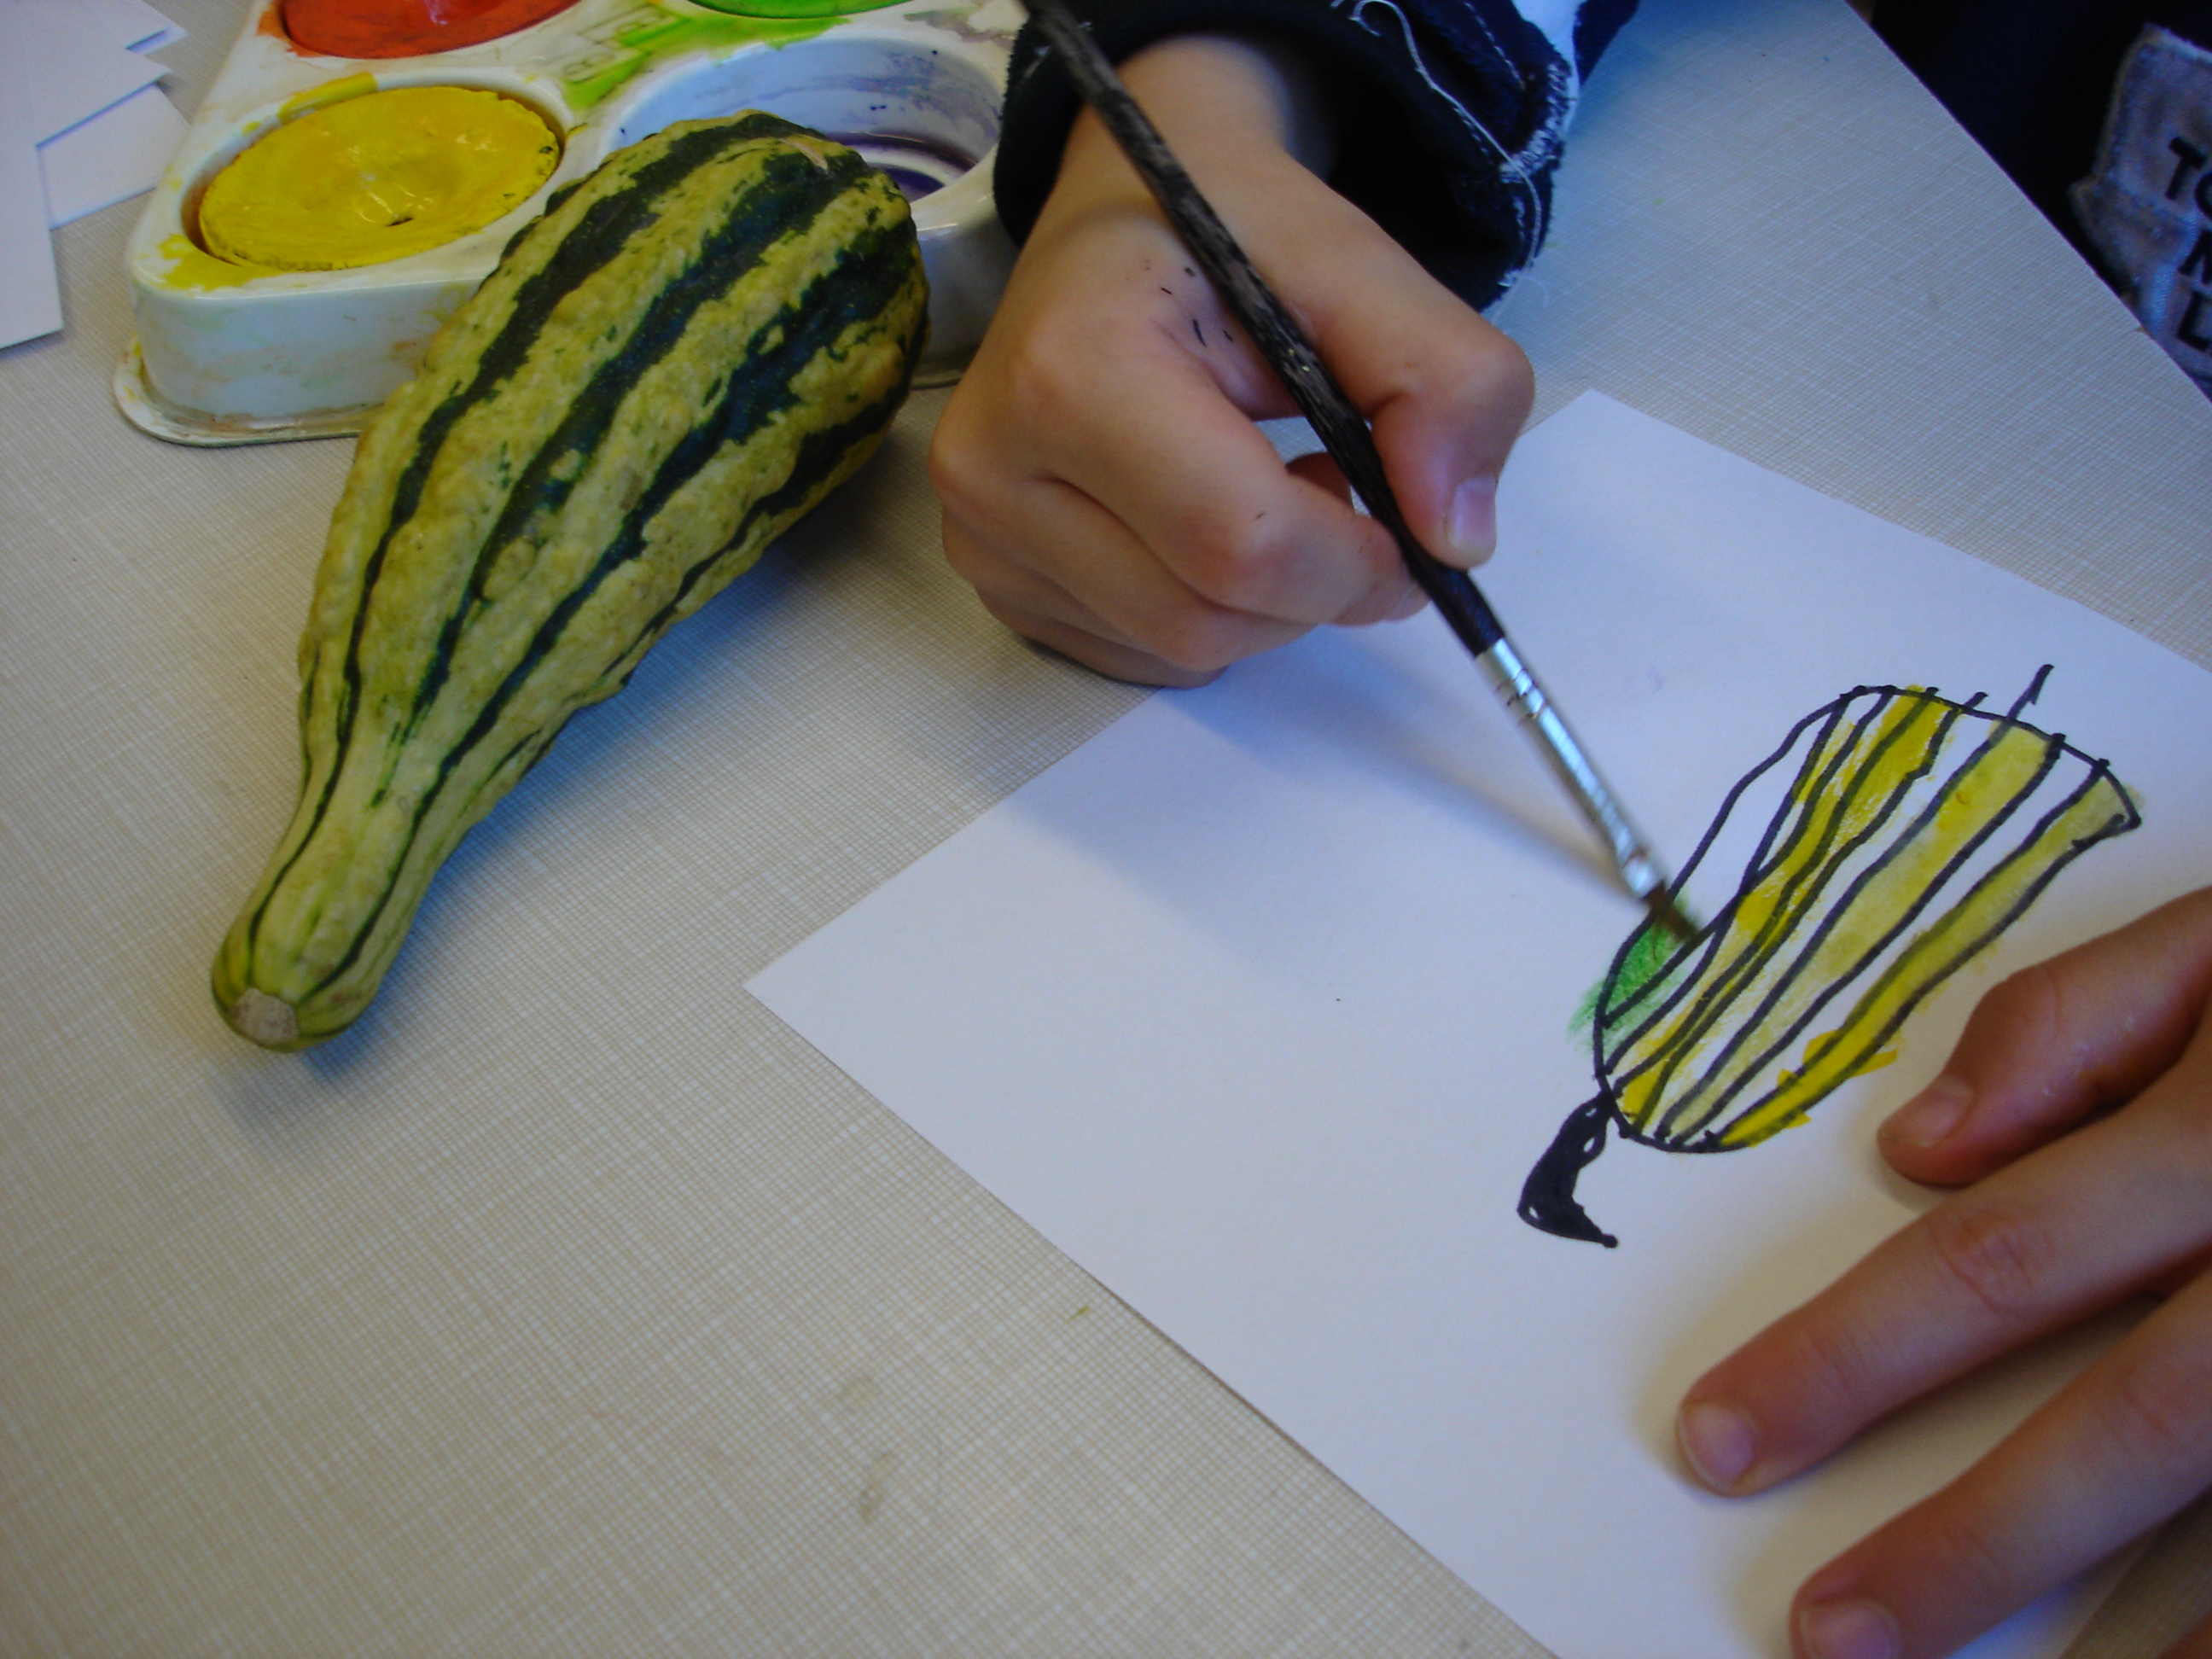
After planning, the children set to work filling in their heart maps. We used permanent black markers for the drawing process and watercolour paints to add colour when the drawings were complete. As part of our evaluation and discussion of Finelli’s heart map, some children felt that some things would naturally take up more space in our hearts (e.g. more love for my family = a large space in my heart vs a little bit of love for flowers, which would = a smaller corner of my heart) and tried to represent this in their work. Overall, I felt the finished pieces so charmingly represented all of the things my students hold dear – and I learned even more about what kinds of things/experiences are really important to the children in my class.

DSC02258 DSC02403

DSC02402

DSC02404

In the Art Studio: Still Life Portraits

Image

This experience is another gem that comes from Ann Pelo, author of The Language of Art: Inquiry Based Studio Practices in Early Childhood Settings.

Here is what Ann has to say about still-life portraits:

“In creating still-life portraits, children form an intimate relationship with their subject. They spend time looking closely, aligning themselves with the subject of their work. Then they translate their understanding of the subject to paper, first sketching with black pen and then adding colour.”

Image

In my classroom, I refer to still-life portrait experiences such as these as “dainty painting.” ‘Dainty’ refers to the fact that the children use fine tipped markers and fine brushes to create their artwork. I have never understood why Kindergarten children are always given large, fat brushes to paint with. Large brushes are incredibly difficult to manipulate with small hands, hold more paint than is often needed, and are not useful for adding small details. In the pictures below, you’ll notice that we use only the smallest of brushes for this activity. If the goal is for the children to notice the finest of details in their subject, we need to give them the proper tools for them to recreate what they see.

Image

Before painting, the teacher spends time with the children looking closely at the gourds. The children are encouraged to talk about what they notice about each gourd’s size, texture, shape, and colour. Interesting markings or designs are also noted. When the children have had time to get acquainted with their subject, they are given fine black markers to sketch what they see. At this point the teacher may offer suggestions on how the children can add more details to their work. Finally, the children use watercolour paints to add colour to their sketches.

Image

J: I got a beautiful gourd. I notice it’s green on the bottom and yellow on top. It is a beautiful gourd. It has lots of bumps on it too.

E: I made lots of bumps because it is bumpy. My gourd is orange and yellow. It looks like a pear. The stem is green – actually, it’s a really dark green.

G: There are lines on the pumpkin so I drew them. The lines help me keep my painting neat.

W: This one is hard because it has two colours. I can’t make it the right colour. When I added more green it turned the yellow green too and I can’t fix it.

Y: It’s a fluffy one. It’s green, yellow, and orange. It has so many bumps. It looks like a melon.

K: The stem is kinda wiggly!

Image

Dainty painting is an art experience that we revisit often throughout the year. Over time, the children become expert at using their senses, describing what they notice, and using their art skills to recreate what they see on the page.