
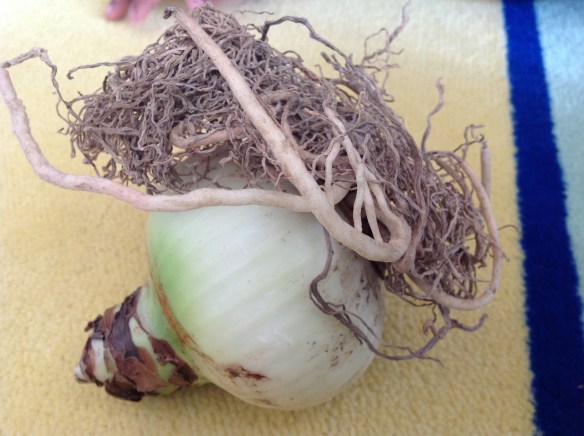
Don’t you love a good mystery? I know whenever I’m reading a book or watching a film with an element of the unknown, I am always SO curious to see how things will turn out in the end. This year, I decided to spark some interest in a new inquiry by adding in an element of surprise: a “mystery object.” I started with an amaryllis bulb. You can really use anything for this project, but a plant was a great option because of the fact that a plant is always growing and changing. I knew the focus of this inquiry was going to be on building the children’s capacity for making good observations and predictions, and I wanted them to be able to revisit their predictions as the plant grew and changed. An amaryllis blooms in about 6-8 weeks from the time of planting so the children had plenty of time to practice their inquiry skills!
I introduced this project with a game that our music itinerant taught us: “What’s in the box?” I placed the bulb, pot, and bag of soil in a box marked with question marks. We passed the box around the circle asking each child in a sing-song voice, “What’s in the box?” and the children sang back their guesses in turn. After everyone had had a guess, we opened the box to reveal what was inside. I passed around the bulb and each child tried to guess what it was. I recorded their predictions in my notebook. After we had all had a turn at guessing, I asked the class what they thought we should do next. Since there were no instructions with our mystery object, we would have to figure out for ourselves what to do. Right away, many of the children suggested putting the object in the pot with the soil. One child suggested that we need to put water in it too…because that’s what you do when you put something in a pot of dirt.
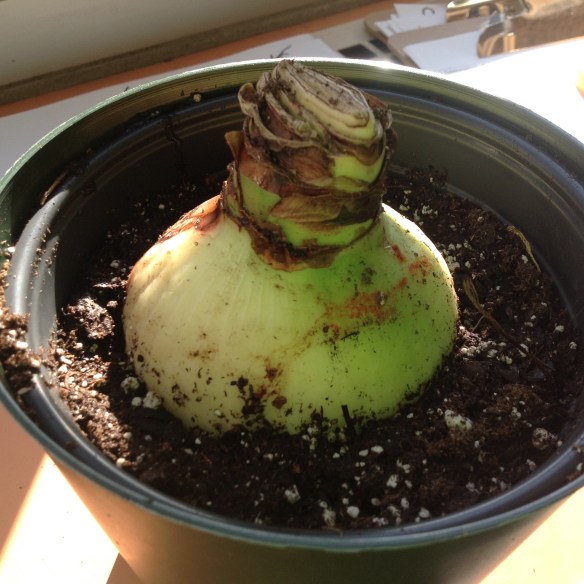
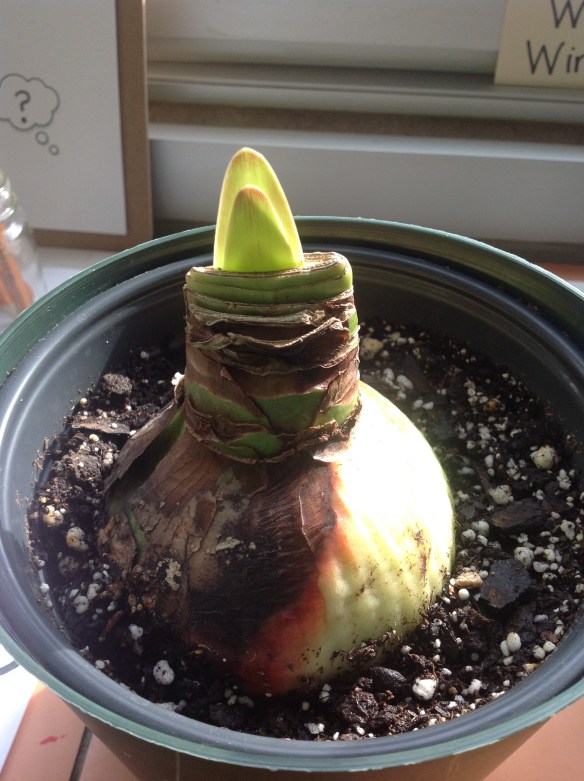
Our Mystery Object in its bed of dirt. One student suggested we leave it on the windowsill at the science table so it could catch some sunshine!
We placed our mystery object at the science table. It was the first place most children visited when they entered the classroom each day! Every time there was a change in the mystery object, we took time to discuss our observations as a group. The children had access to our See Think Wonder and “My Prediction” recording sheets throughout the project. It was interesting for me to see which children changed their predictions based on new information and observations as the mystery object grew (and which children held fast to their original ideas).
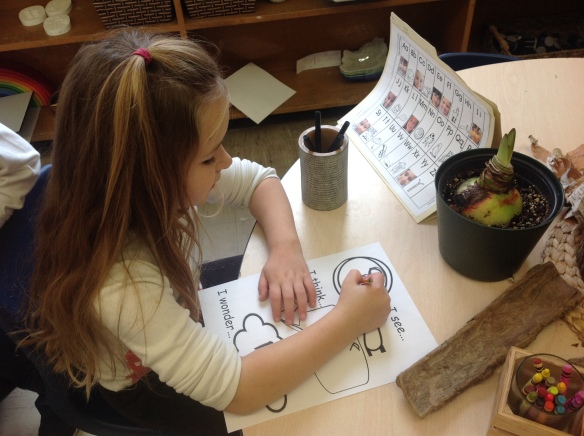
A.R. records her thinking about the Mystery Object on a “See, Think, Wonder” recording sheet.
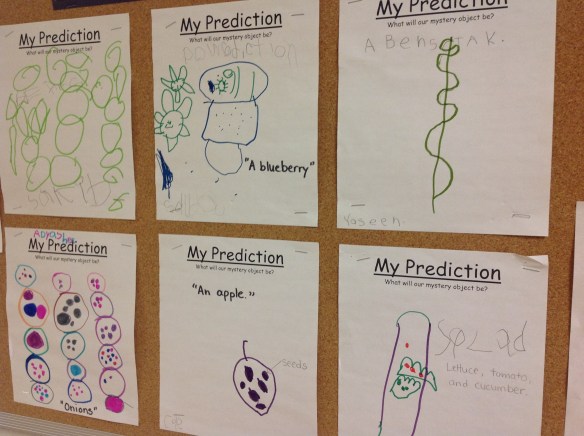
Some of the children’s predictions about what the Mystery Object might be/grow into: beans, a blueberry, a beanstalk, onions, an apple, salad.
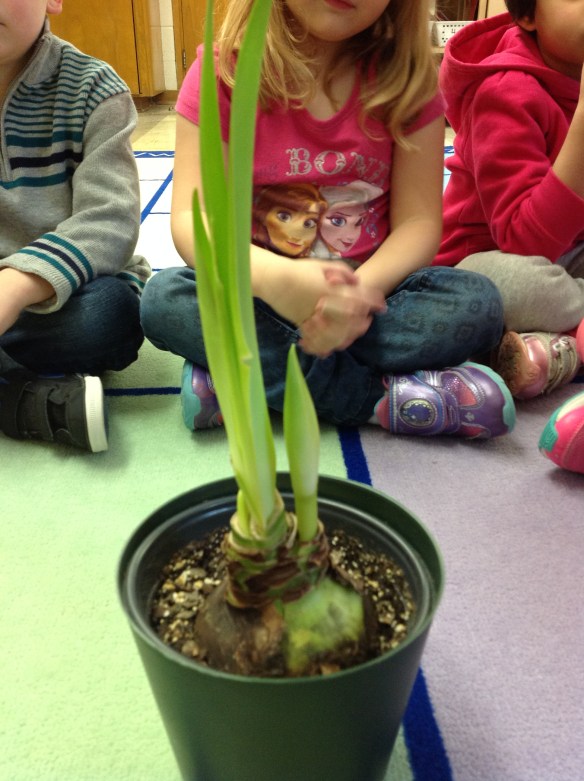
Our object changes! The students were excited to see these “sprouts” emerge – first one, then two, then three, then four!
One of the interesting questions that arose from one of our reflection discussions was “Is our mystery object a living thing?” This was a question that divided the class! We decided to do some further research to find out. Our librarian gave us a book called “What is a living thing?” which we read in hopes of answering the question once and for all. Again, some children could see right away evidence that our object was indeed living (it was growing, changing, requiring our care and attention) while other children had difficulty connecting the information from the book to their observations of the mystery object.
The discussion this day revolved around the growth coming from our object. Many children noticed that the new “sprout” looked different than the previous growth. I was encouraging the children to be specific with their observations and descriptions. The leaves were described as “smooth,” “flat,” “pointy” and the new growth as “fat,” “curvy,” and “round.” Many children felt there might be a surprise inside the new growth which caused them to rethink their original predictions.

The children measure the mystery object to keep track of its growth. J.T. visited the science table every day to measure the mystery object and update the class on how much it had grown!
The day our mystery object bloomed was incredibly exciting! We decided to google “bulb plant that blooms after 8 weeks” and found a matching image for our flower in our search! Giving our plant a name (Amaryllis) was quite satisfying to the children. Every visitor to our classroom was immediately shown to the science table and told about our mystery object – “Do you wanna see our mystery object? It’s an AMARYLLIS!”
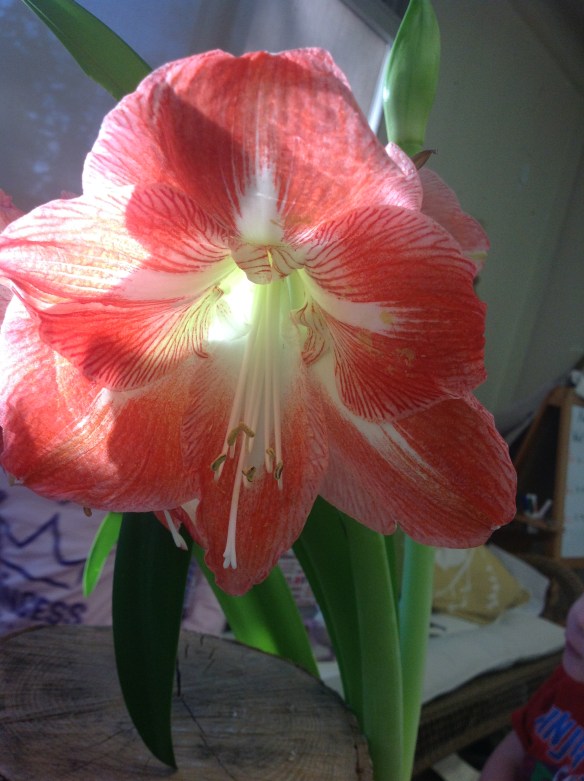
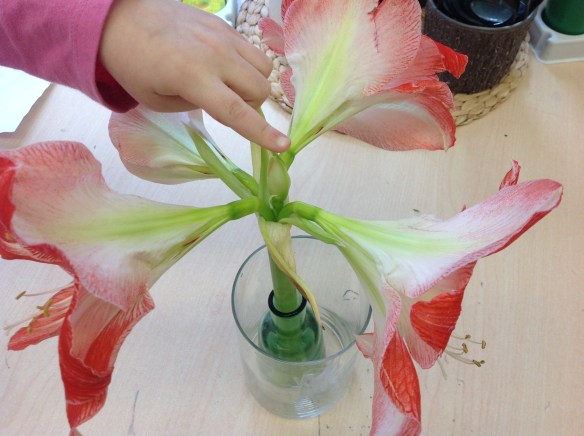
Our beautiful amaryllis bloom. We were shocked to discover that each pod (we ended up with two) held not one, but 4 blooms inside! Amazing!
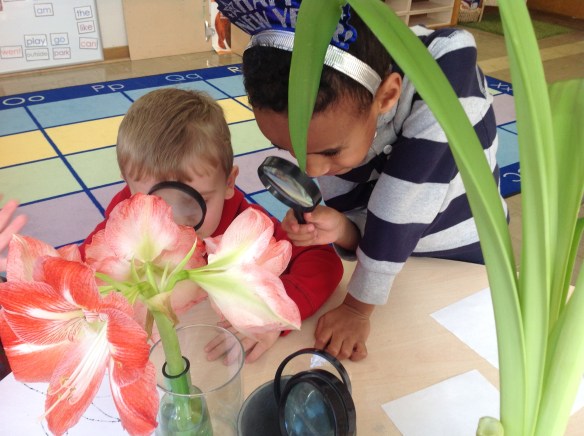
Taking a closer look with the magnifiers…
Counting the blooms…and wondering what might be inside this little pod??
Overall, I feel like the mysterious element to this inquiry was an asset to piquing the children’s initial interest and keeping it sustained throughout the project. My goal from the beginning was to provide an opportunity for the children to practice their inquiry skills – and in that, the mystery object inquiry was very successful!
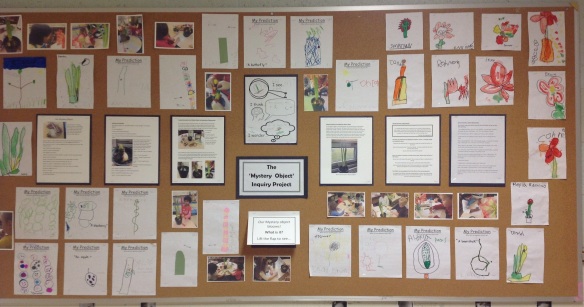
Documenting our work

We thought we’d add a little element of mystery to our hallway display…
Have you ever tried teaching with a mystery object? I’d love to hear what you used as the spark for your learning!
