Tower Inquiry

Image

As part of our Math and Science Investigations (M.S.I) time in Kindergarten, our students explored a tower inquiry (In a previous post I wrote about Math and Science Investigations (M.S.I.) and how it drives a lot of inquiry in our classroom. You can read about it here: https://thecuriouskindergarten.wordpress.com/2014/03/29/math-and-science-investigations-m-s-i/ ). When students first learn about M.S.I., they learn about how to build up with the blocks they have chosen. As a result, many children began to label their initial structures as “towers.” This got us thinking: What is a tower? What kinds of towers are there? How do we build a strong tower? Each week, the students thought about these questions and experimented with different materials, shapes, and designs for their tower structures. We looked at models of towers from around the world, talked about towers in our community and city, and talked about how towers can be useful in structure and design.

As the children shared their learning at school with their families at home, they began to bring in examples of towers they had visited. Part of our M.S.I. time was dedicated to hearing about our students’ personal experiences at towers nearby. This introduced us to a variety of towers that we had never heard of or learned about before. For example, one student brought in pictures from her visit to Dorset Tower and taught us about towers that are built as lookouts. Her story about having to climb up several flights of stairs to reach the top of Dorset Tower also got us thinking about how people can get to the tops of towers. Soon, ‘stairs,’ ‘elevators,’ and ‘helicopter landing pads’ began appearing in the children’s structures. When we began talking about condo towers, many of the children were excited to discover that they actually lived in a tower! You see, most of my students live in a condo complex across the street from our school. Talk about making connections!

Here are some of the anchor charts we co-created with the children:

Image

Image

Image

Image

The learning that was happening during this inquiry was not limited to our once-a-week M.S.I. time. We created a variety of opportunities for the children to express their learning through the centres in the classroom:

At the Art Studio:

Image

Image

Image

At the small building centre:

Image

Image

Image

During Art and Fine Motor Instruction:

Image

As the inquiry began to wrap up, the children were challenged to build their best tower design. As an additional challenge, the children were asked to sketch their towers when they were complete:

Image

Image

Here are some pictures of our Tower Inquiry Documentation:

Image

Image

Image


Growing an Imaginary Garden

Image

Today I’m back with another of my most treasured children’s books to recommend: The Imaginary Garden by Andrew Larson. In this story, Theo and her Poppa share many special days in Poppa’s garden. When Poppa downsizes to an apartment with a windy balcony, recreating that garden becomes a creative inspiration! Instead of plants in pots, Theo and Poppa set about painting an imaginary garden on a large canvas.

My students really responded to this book. We have been anxious for signs of spring, but since it has been a rather slow start to the growing season this book is just what we needed to tide us over until the warm days arrive. After reading the story aloud, the children were immediately interested in creating an imaginary garden of our own. We did a group brainstorming session and decided we wanted to begin where Theo and her Poppa began: by setting the stage for the garden by creating the soil, a garden wall, and the sky.

Image

Our class compilation of ideas for the garden, generated after one of our read-alouds

Image

The children get to work on painting the garden wall – they wanted the bricks to be in “an A-B-C pattern.”

Image

A group of students work on painting the soil.

Image

The children work on painting the sky. They really enjoyed mixing the paint to make different shades of blue.

Last week we continued our garden planning by setting up a planning station at the classroom writing centre. Along with a copy of the book, clipboards, planning sheets, and markers, we also included whimsical objects such as small gardening tools, pots, gloves, and real plants to get the children inspired. We also put out some books about different kinds of flowers. As the children completed their plans, we clipped them to the hanging display at our science centre. Throughout the week, children were invited into the hall to add their ideas to the mural.

Image

Our Imaginary Garden provocation

Image

Image

Image

Each student planted a seed in the garden and labeled it with their name. The children were asked what kind of seed they were planting/what they hoped their seed would become:

J.K.: Mine is going to grow into a Lego flower!

Y.T.: My seed is going to be a sunflower – a GIANT one!

Image

Some children were interested in the idea of painting sprouts, just as Theo and Poppa had done. ‘”These are our baby plants.”

Image

F.I.: “I’m planting wheat in the garden because I just love bread so much!”

Image

J.M.: “We are painting vines. I got the idea of doing it when Poppa said, ‘The vines are reaching for the sun.'”

Image

This is how our garden looked on Friday before we headed home. I can’t wait to see what will appear this week! The children have already established that next week our Art Studio will be dedicated to “painting flowers for the garden.” I’ll be sure to post an update soon so you can see how our garden has grown!

*Update

garden

The spring bulbs popping up in the courtyard outside became a source of artistic inspiration for our students. Along with photos of our flowers outside, we also added pictures of spring flowers and some real potted plants I brought in from home to the Art Studio. The children had access to any colour of paint they wanted (and many decided to mix their own colours!). Many children visited this centre daily and waited anxiously for their painted flowers to dry so they could cut them out and “plant” them in our garden mural.

art studio

Our flower painting provocation at the art studio.

Below is a picture of our completed Imaginary Garden. After our project was complete, we reflected on our work as a class. As one student said, “Our garden gives us happy tears because we love it so much.”

finished garden

Spring Inspirations

When you dream of spring, what does it look like?

Image

Spring is finally here…sort of. Despite the fact that it is still chilly outside, spring has sprung at the Curious Kindergarten! This year, the children were particularly excited about the arrival of spring – doing their own countdown in the days leading up to March 20th. When the first day of spring arrived, some children were naturally disappointed that when they woke up that morning there was still snow on the ground, a chill in the air, and a winter jacket to wear to school. We wanted to latch on to the children’s natural excitement about the changes that were still ahead, so we created a “Spring Inspiration” table at our classroom science table.

Image

Above: Birds nests, birds, eggs, and early spring plants inspire the children’s thinking around the creatures we have already observed in our Outdoor Classroom.

Image

Above: Insects, a bug house, planting supplies, animals, and non-fiction books about spring changes help the children envision what they might begin to see and do outside now that the weather is changing.

Image

Above: These fairies and garden gnomes were a huge hit, providing ample opportunities for dramatic play, storytelling, and the development of ideas around how creatures respond to the changes outside.

The question we have been asking leading up to spring (and after) is: “When you dream of spring, what does it look like?” In order to support the children’s thinking, we have been reading a lot of books (both fiction and non-fiction) about spring and engaging in visualization exercises. Many of our classroom activities have been designed to help the children communicate their thinking in a variety of ways. For example, at the playdough table we created a provocation with green dough and spring-themed loose parts (mushrooms, flowers, butterflies, stones, wood chips, etc.) in which the children created their own “spring scenes.” At the writing table, children have been encouraged to write their own poems about spring, and at the art studio, children were given the opportunity to paint a still-life portrait of a tulip.

ImageImage

M.F. and M.B. created a collaborative drawing that tells their story of spring creatures.

Image

“Hello Spring” is a poem written by one of our JK students at the writing table.

What an exciting time! It really does feel like there has been a “spring awakening” happening in our classroom. How have you marked the arrival of spring with your students? What kinds of inquiries and ideas are you talking about?

Math and Science Investigations (M.S.I.)

Image

Math and Science Investigations (M.S.I.) is a building program I have been doing in Kindergarten since I started my career. I first learned about it during one of my practicums in a Kindergarten class when I was in teacher’s college. Essentially, M.S.I. is an inquiry-based program that uses building materials to encourage the development of math and science concepts, creativity, problem-solving, perseverance, planning, and much, much, more. My original resource for M.S.I (a worn photocopy from a book that used to exist somewhere in the board) is long since lost; however, I found a great replacement in the book Building Structures With Young Children by Ingrid Chalufour and Karen Worth:

Image

Basically, M.S.I. goes something like this:

1) I teach a mini lesson on the day’s focus.

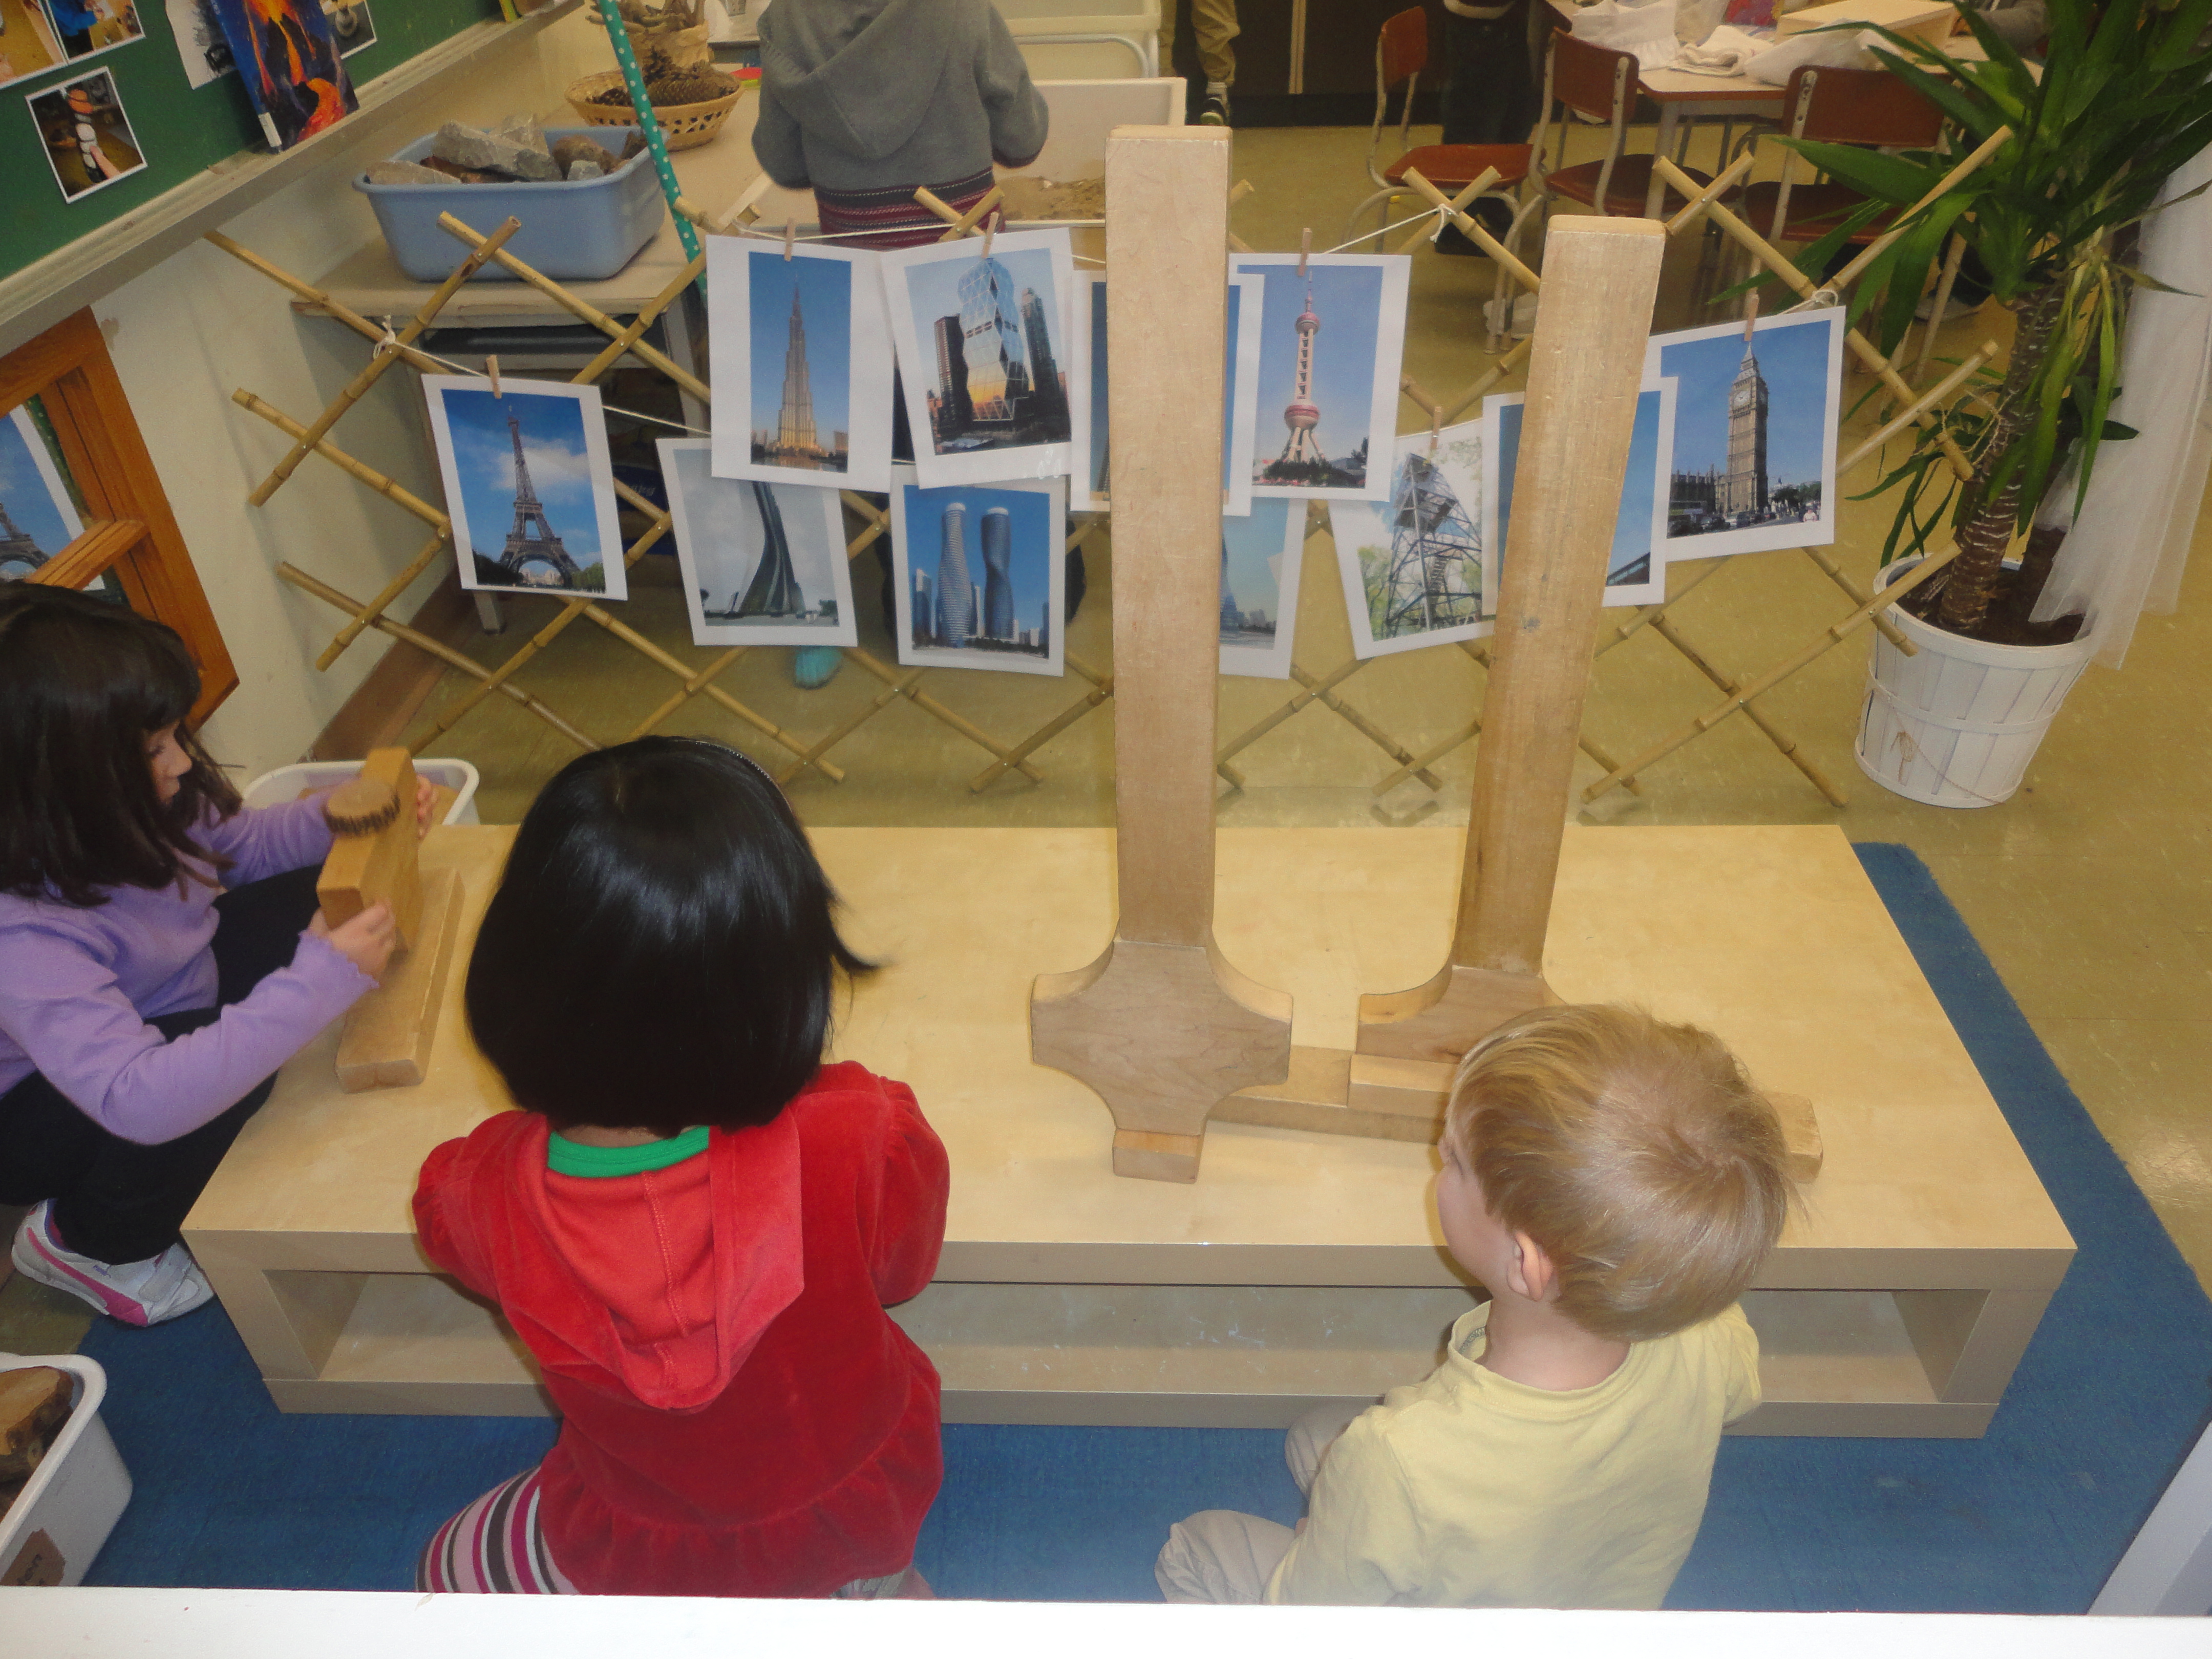
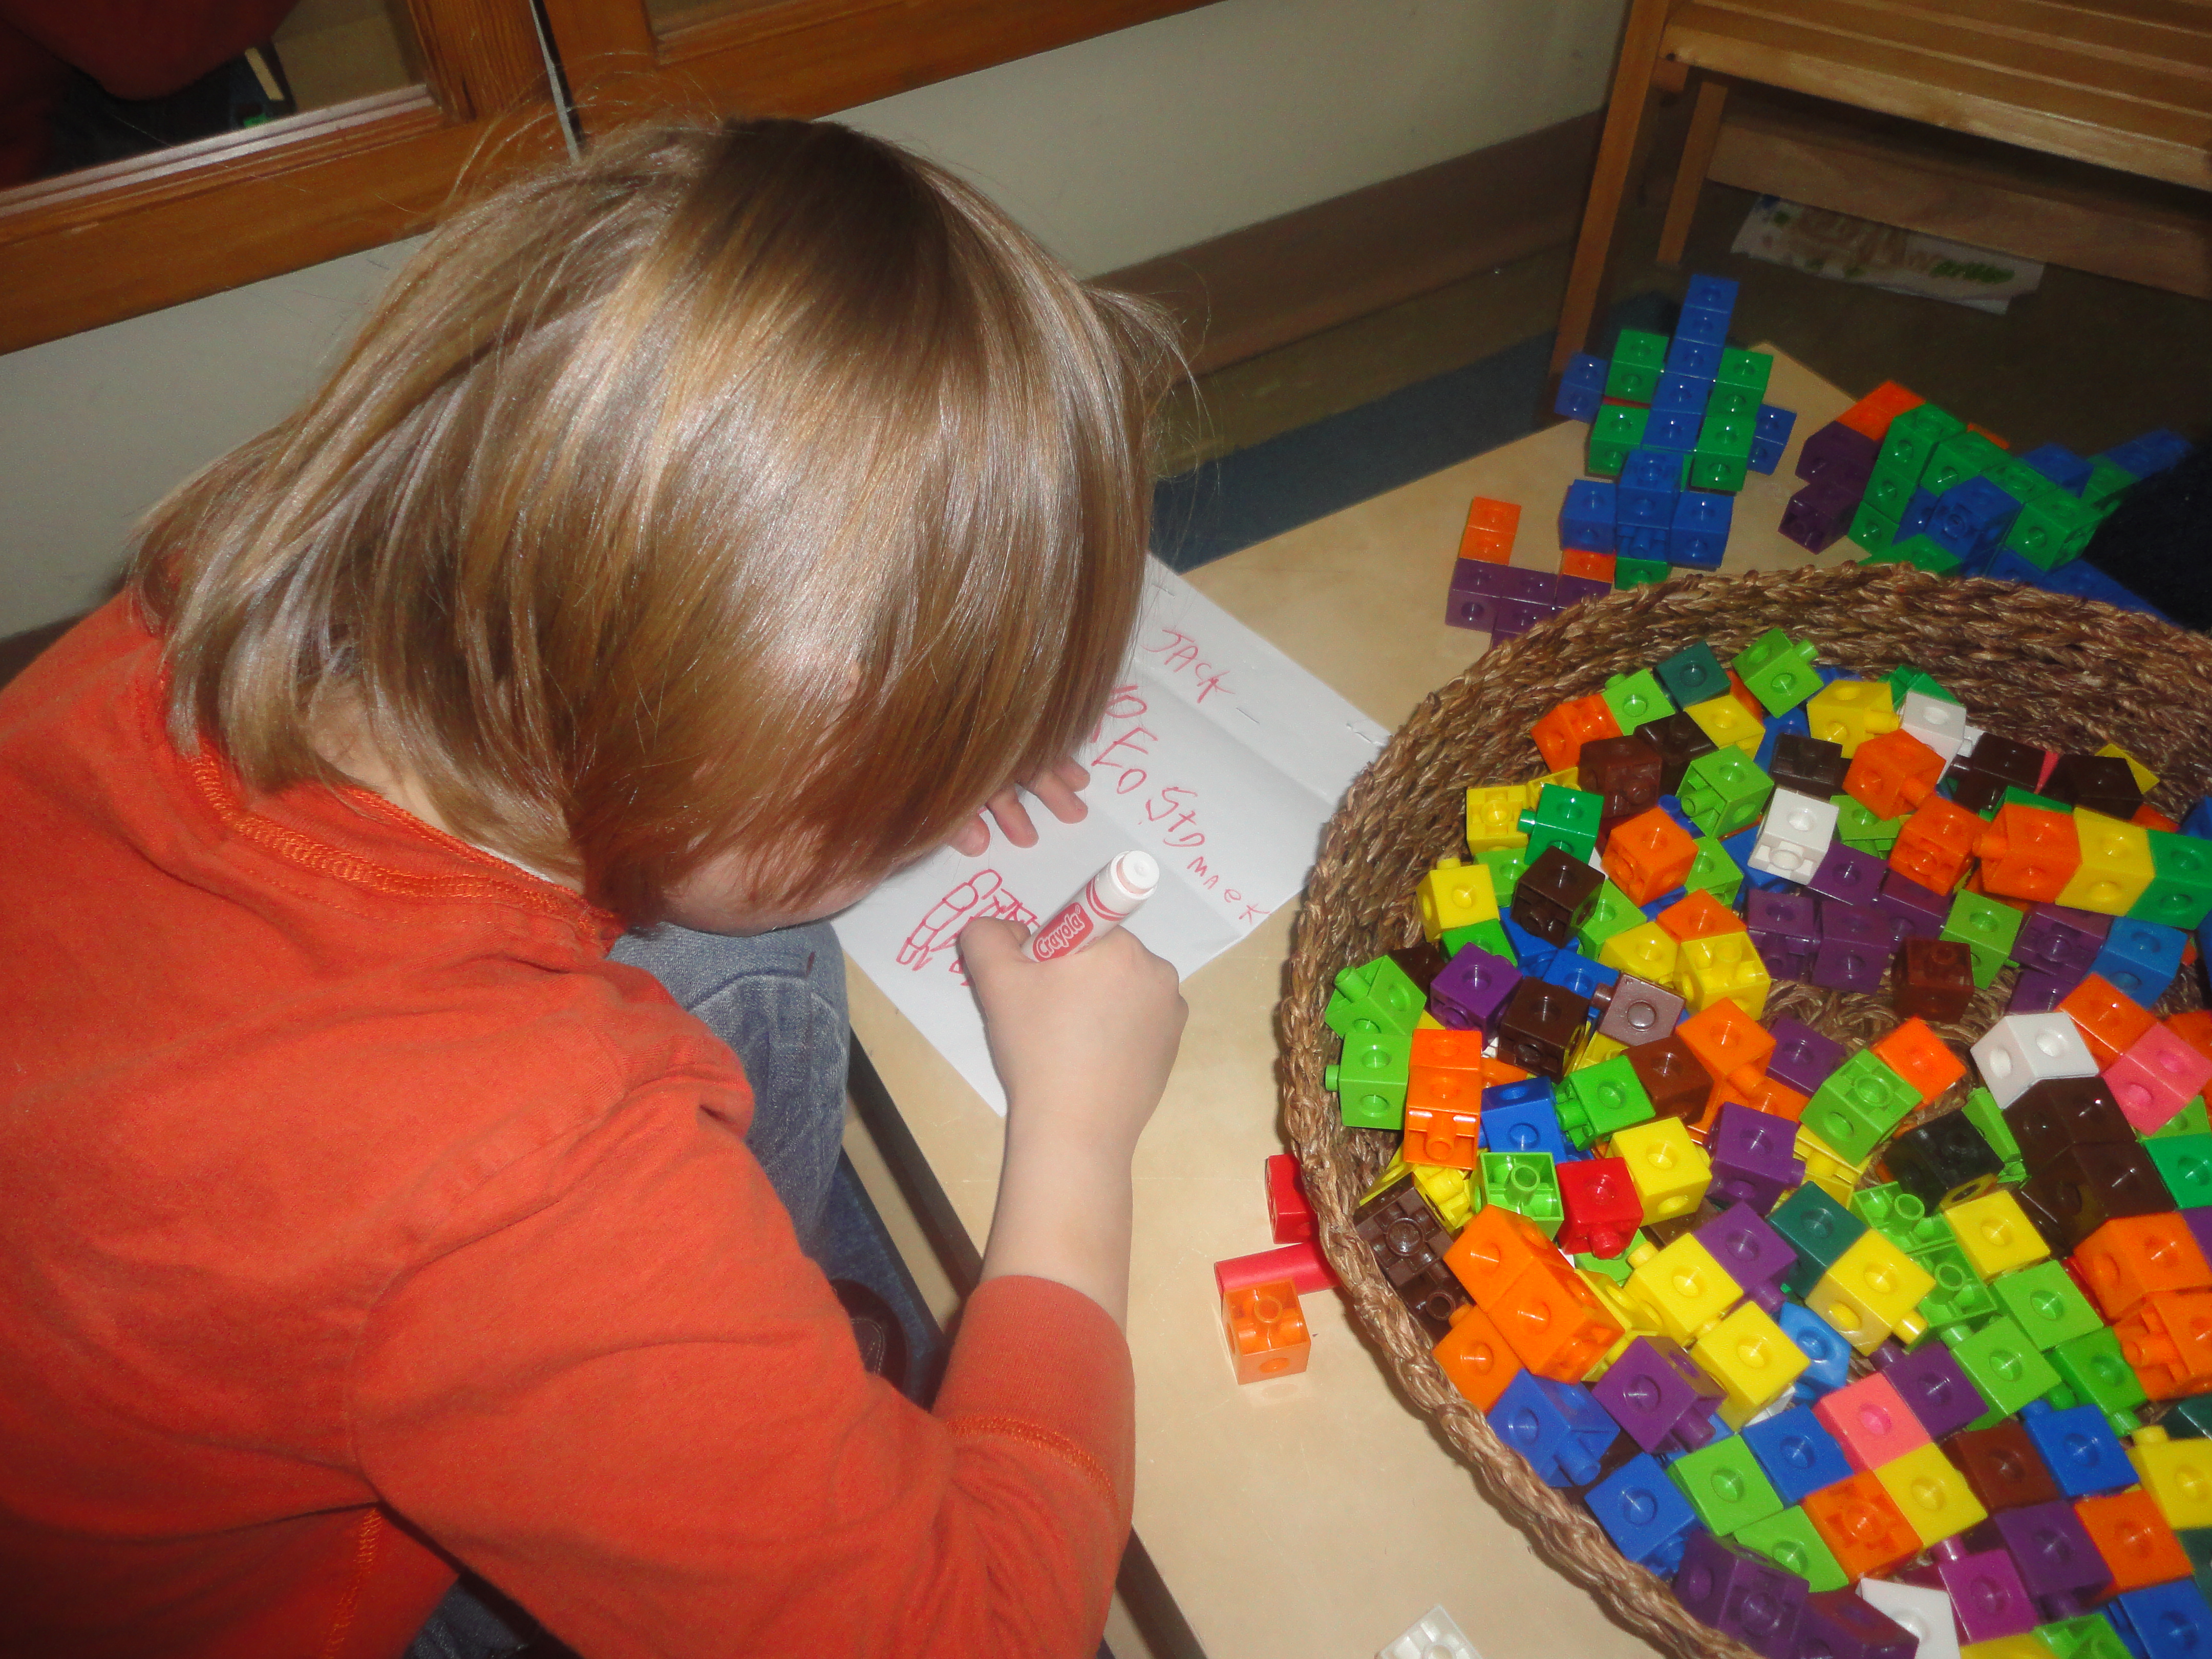
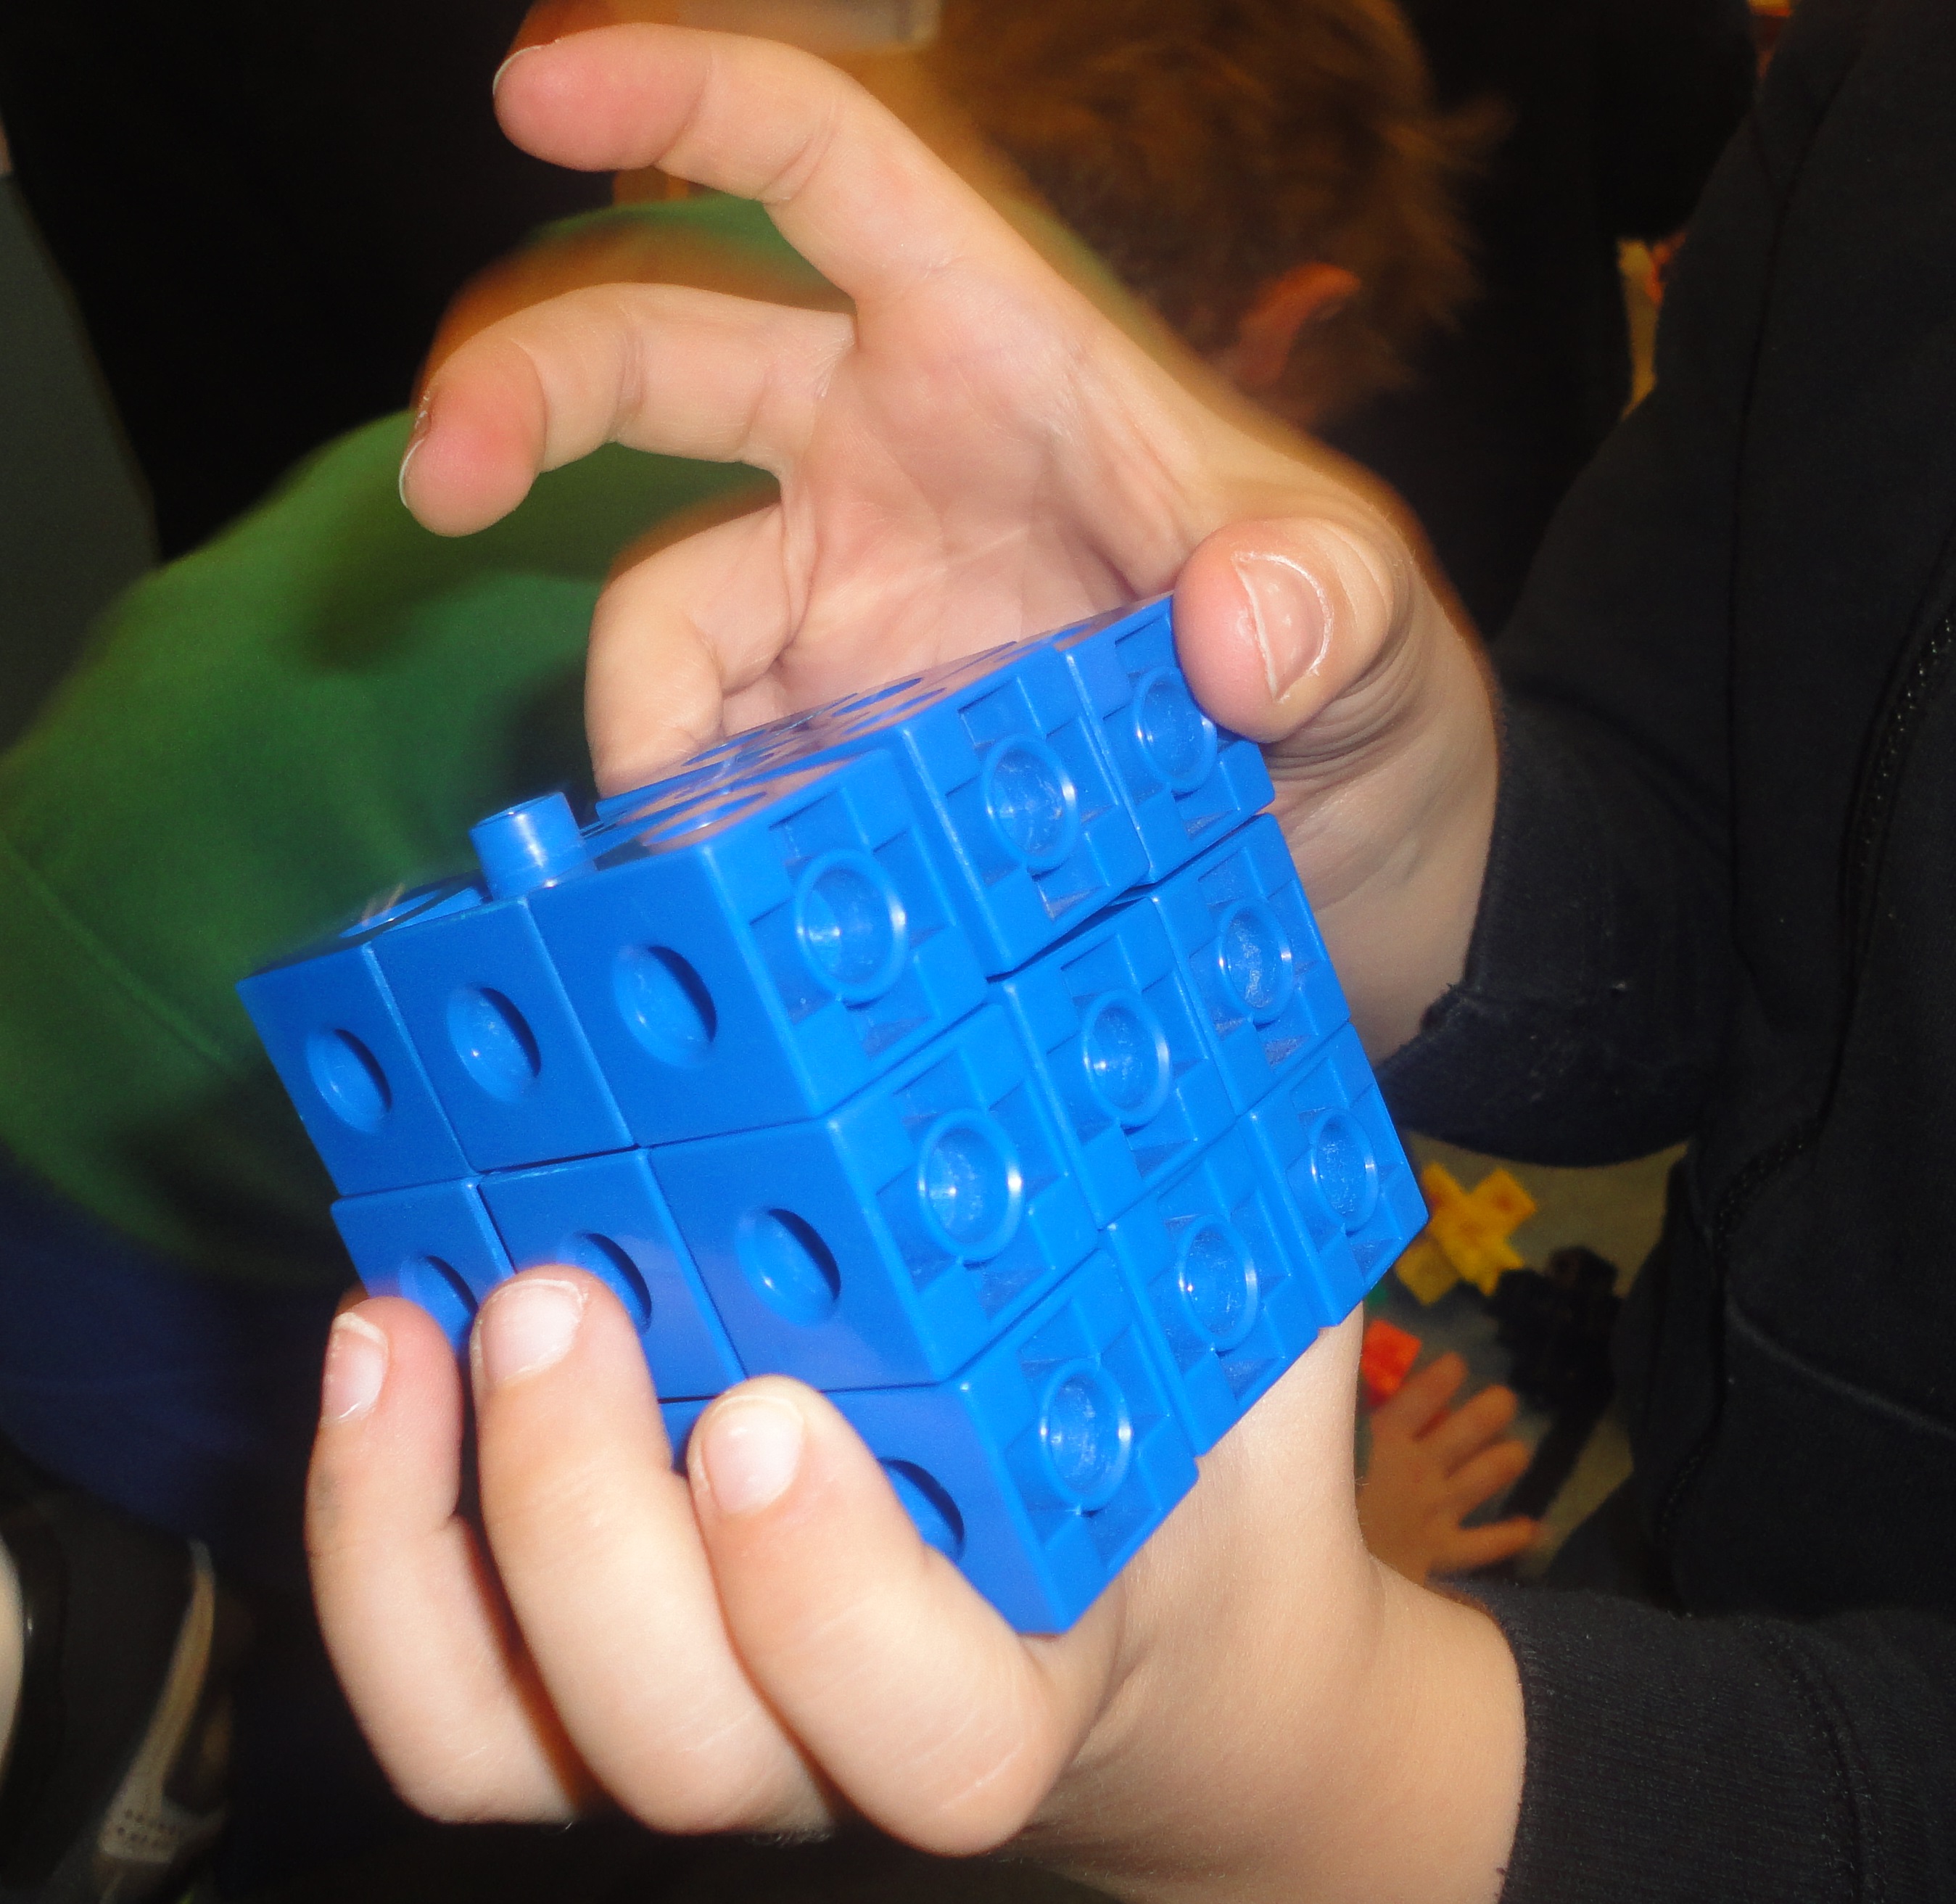
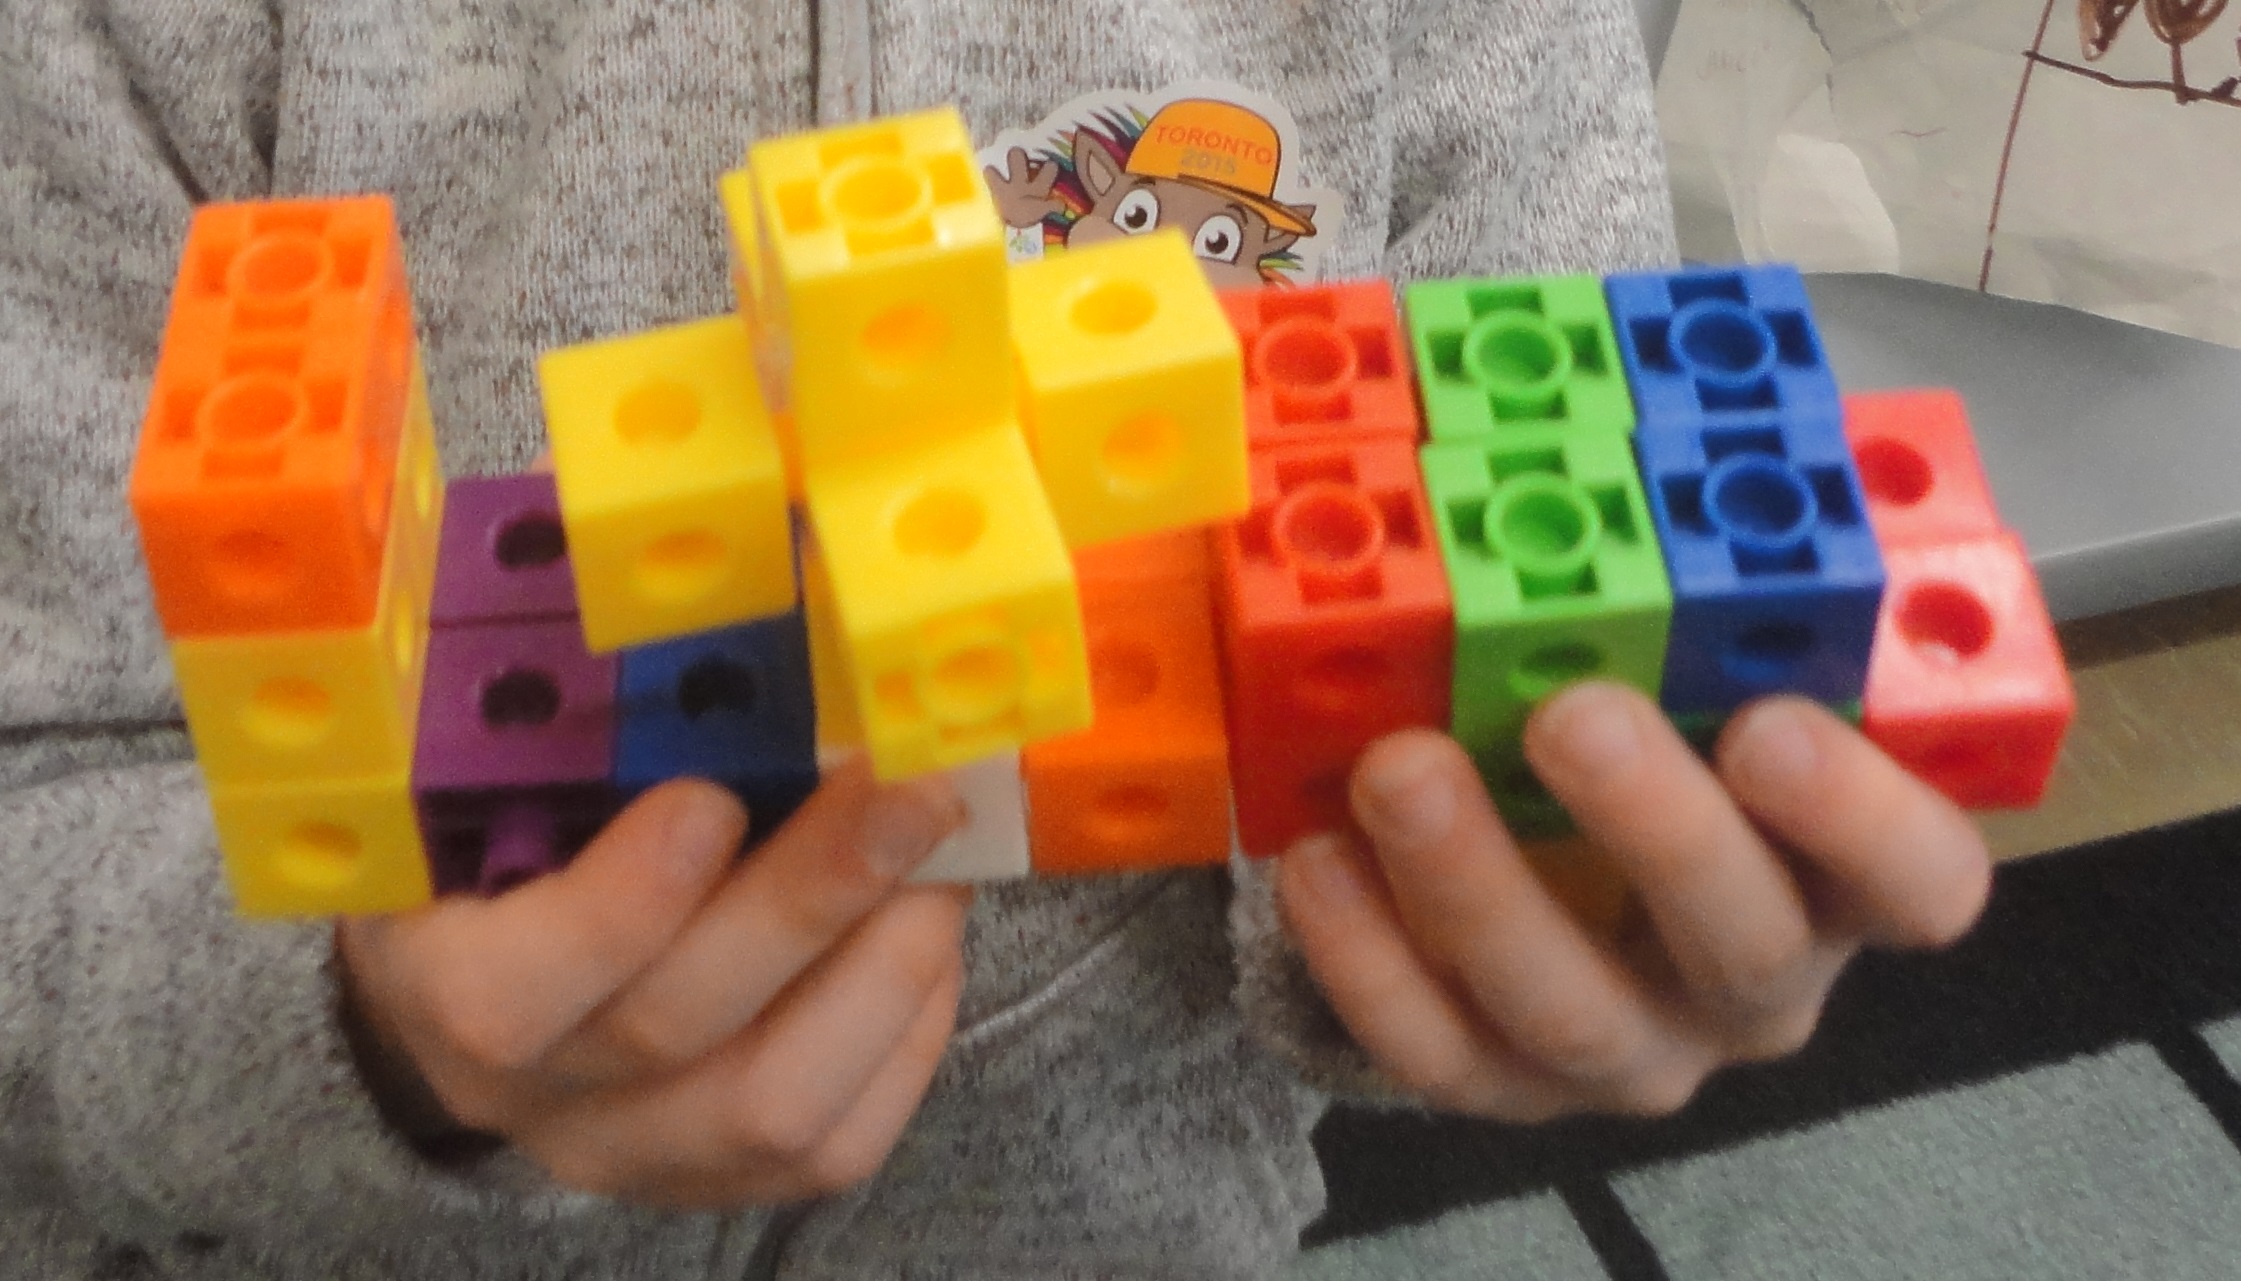
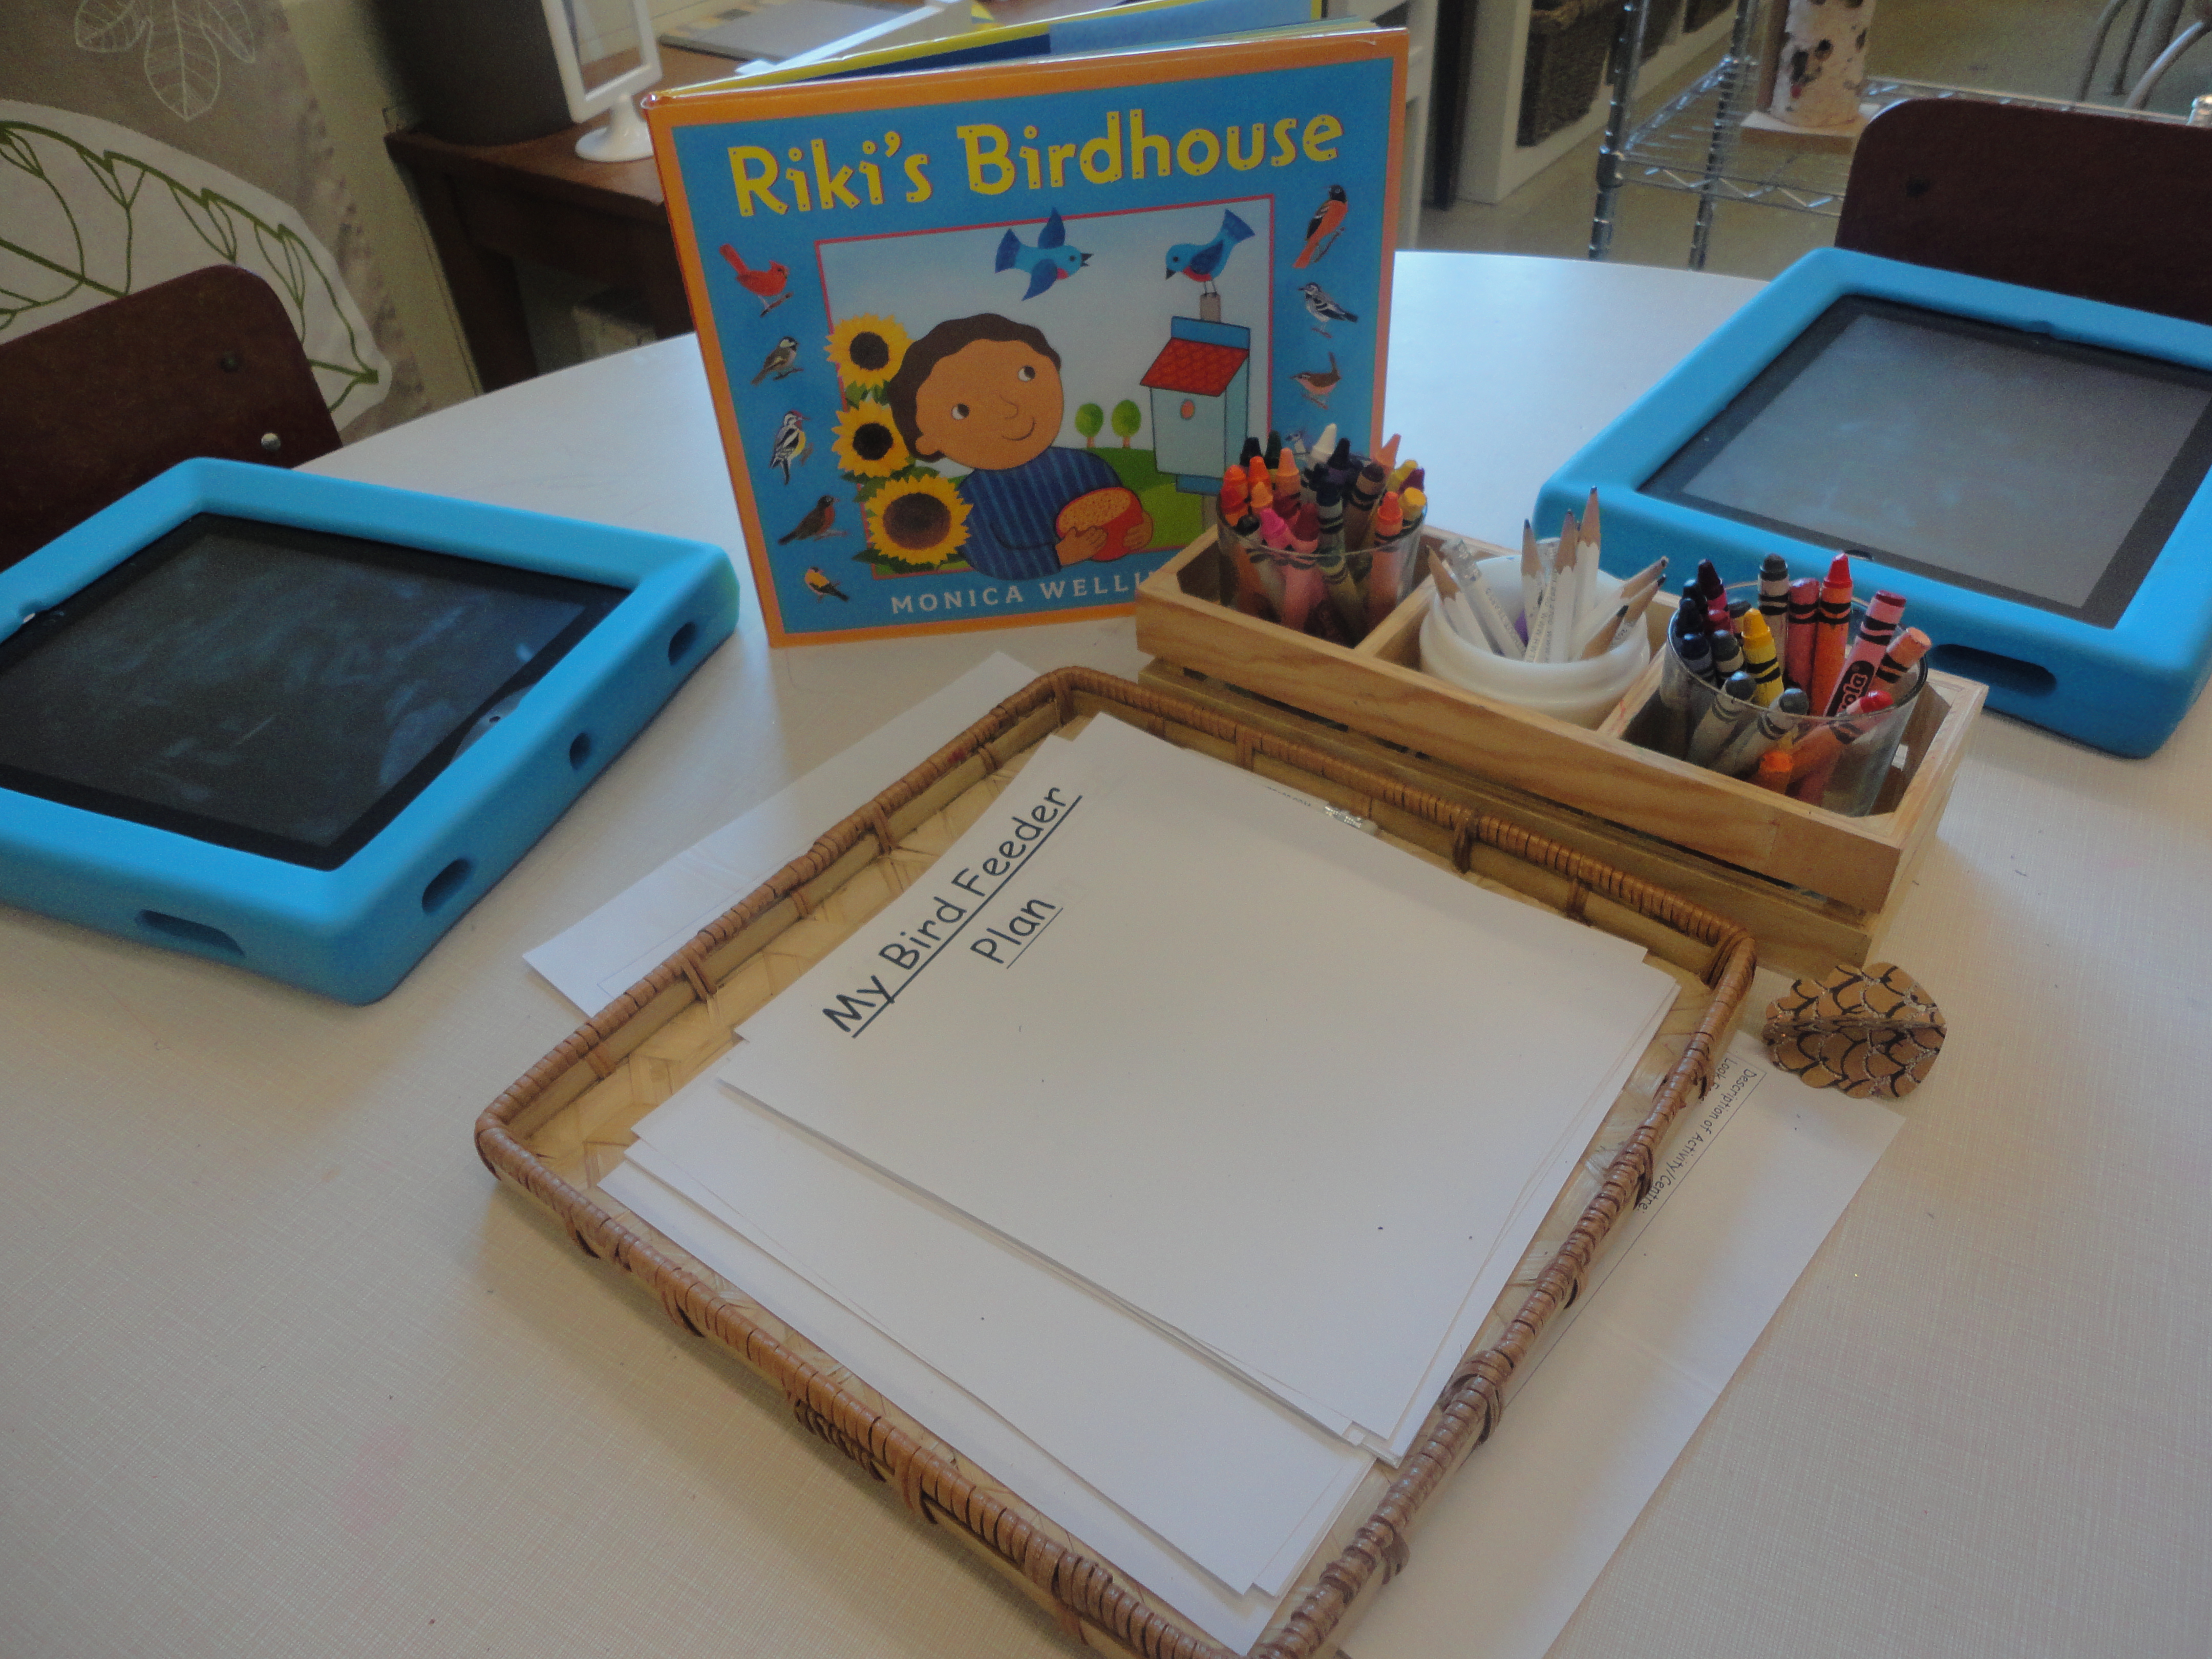
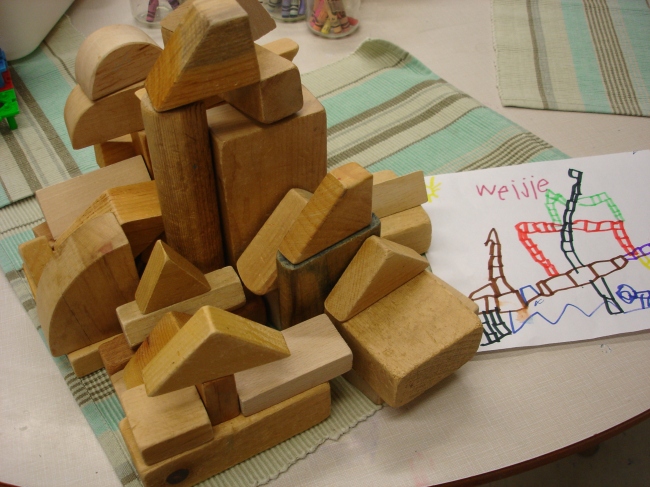
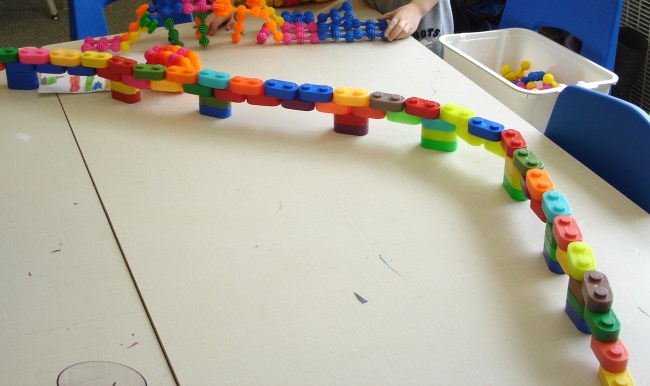
2) Each student gets their own bin of building materials (blocks, connectors, cups, etc.) and takes it to a table. The bin goes on the chair and the children stand at the table and build. I circulate and facilitate discussion, pose questions, take notes, take photographs.

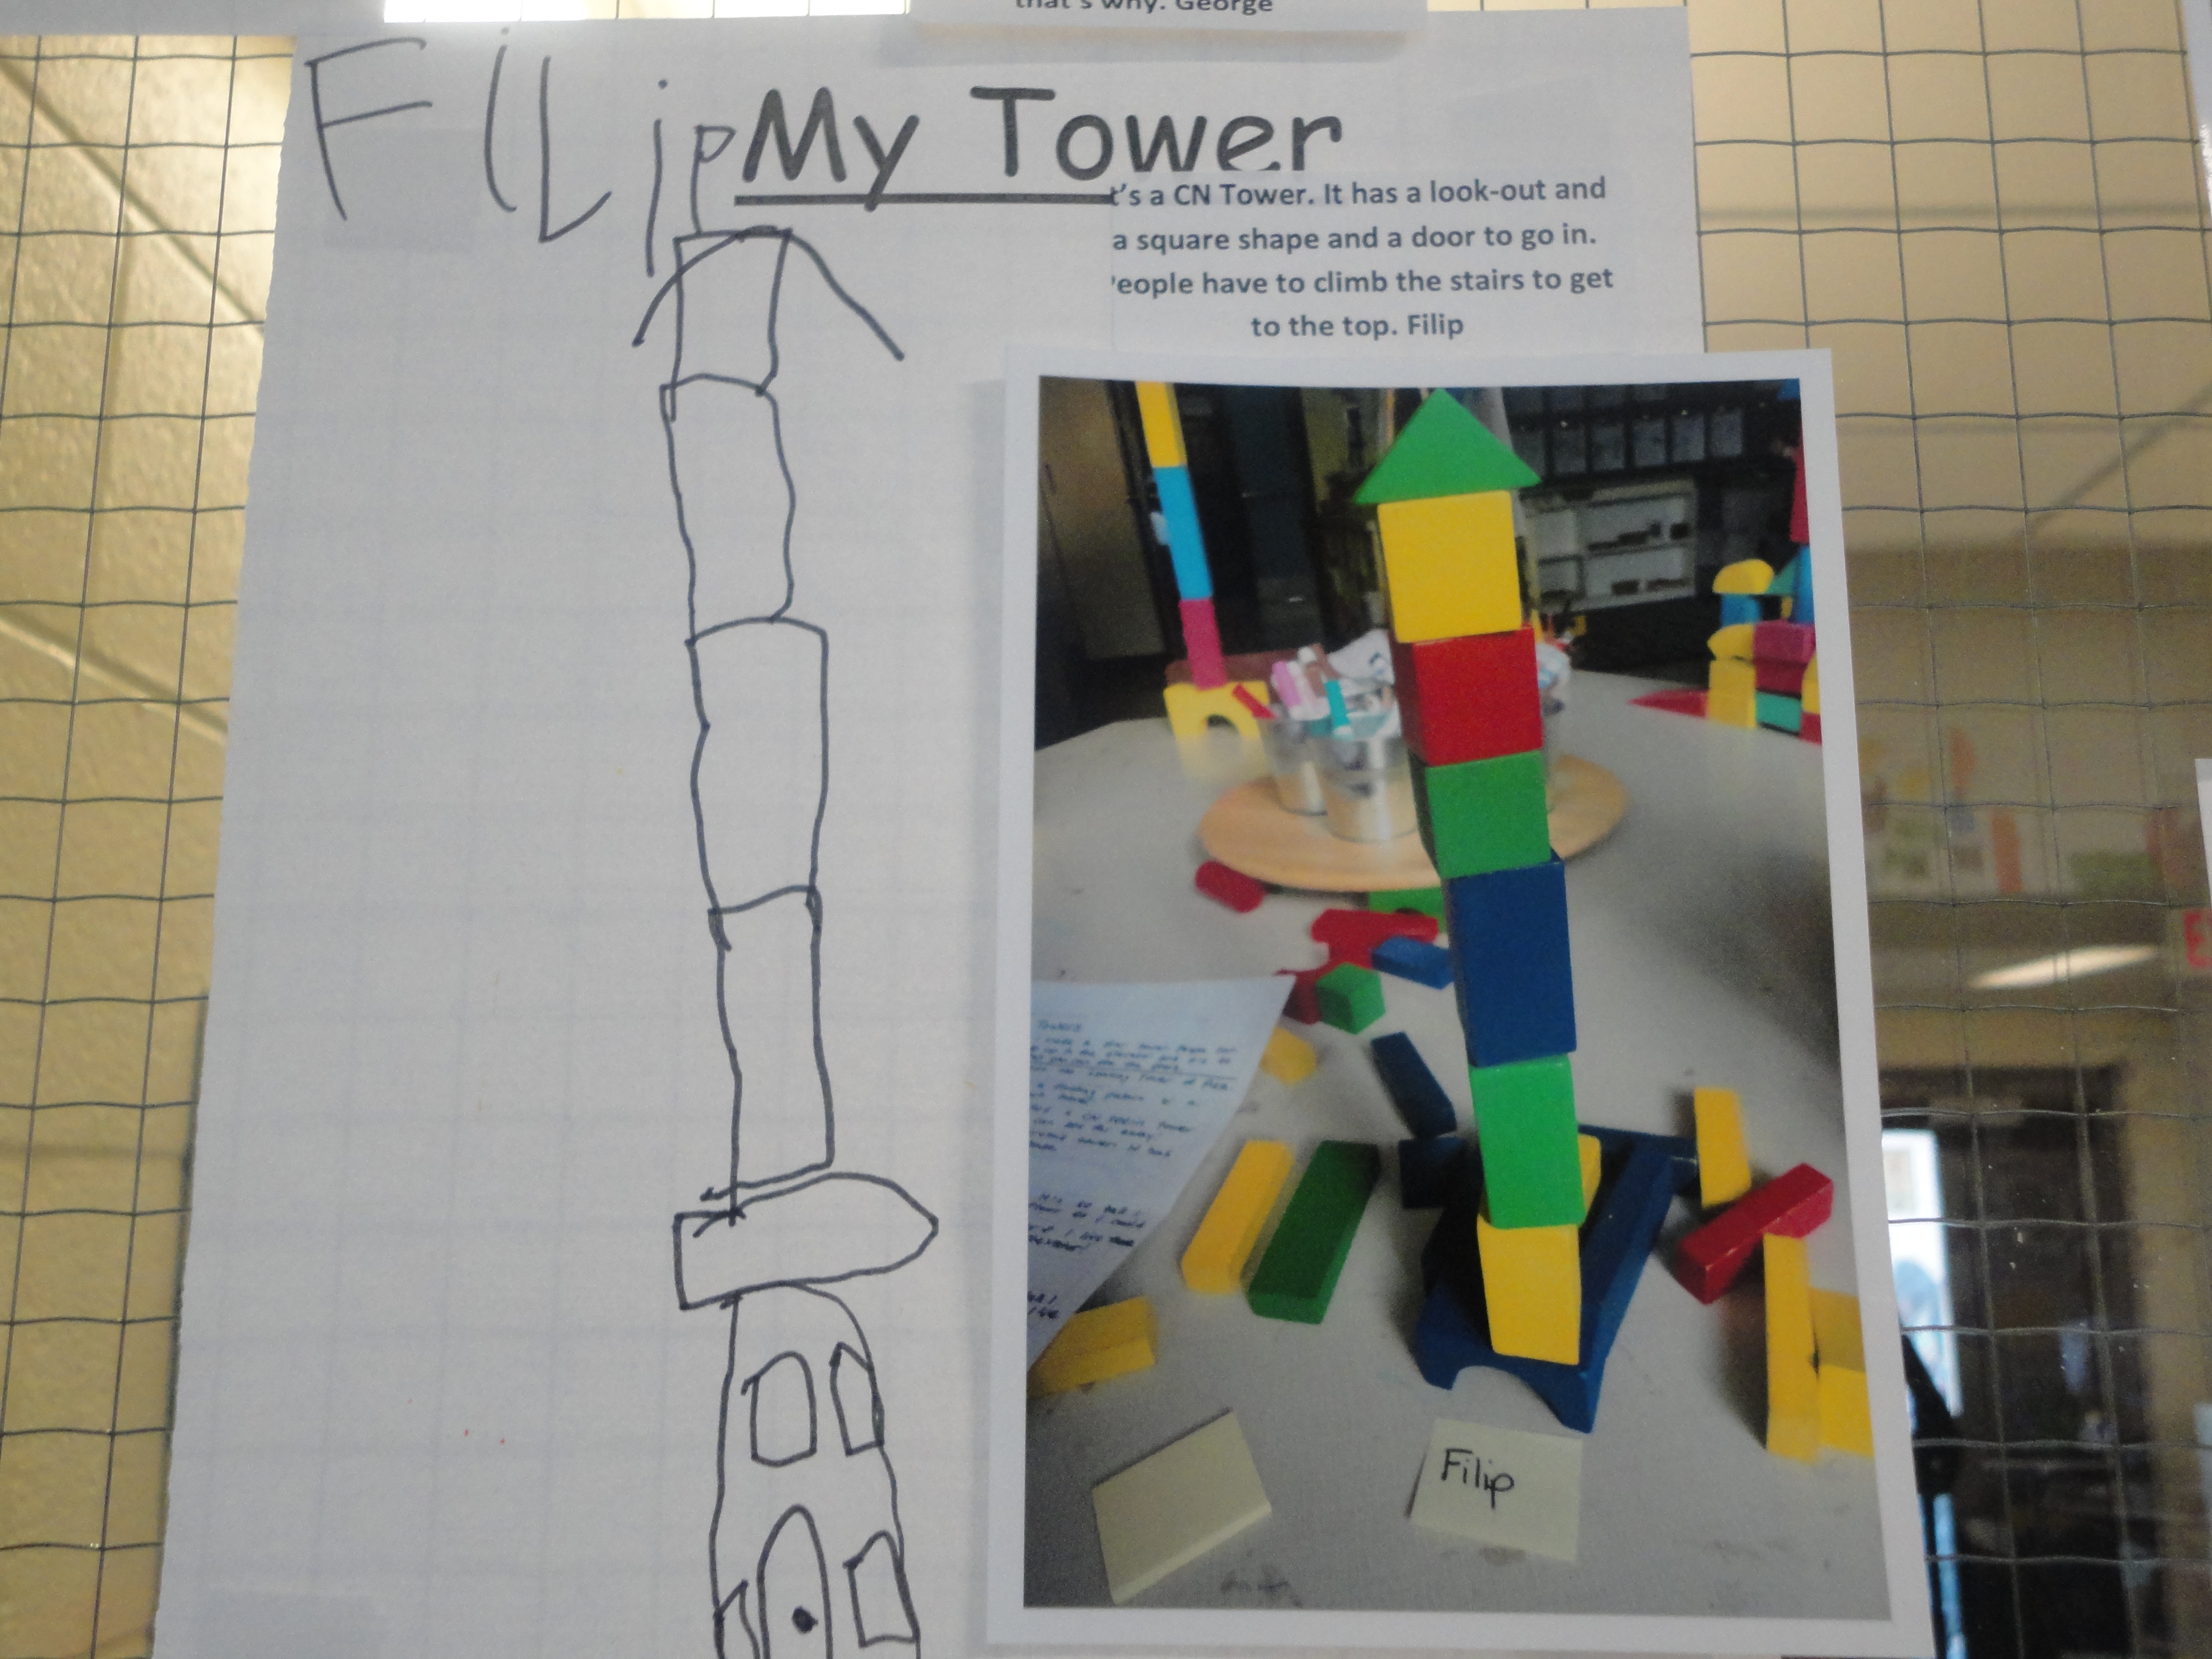
3) Reflection. I post pictures of interesting structures for discussion and feedback.

Image

We engage in M.S.I. as an entire class, one period per week. That being said, the building bins are always available during discovery time and it is common to find children selecting them to continue working on an inquiry we are engaged in. We also often find ourselves setting up provocations that support the learning that is happening in M.S.I., due to significant student interest.

Here are a few questions I often get about M.S.I:

Q: What kind of materials do you use? How do you organize enough bins for each child to have one?

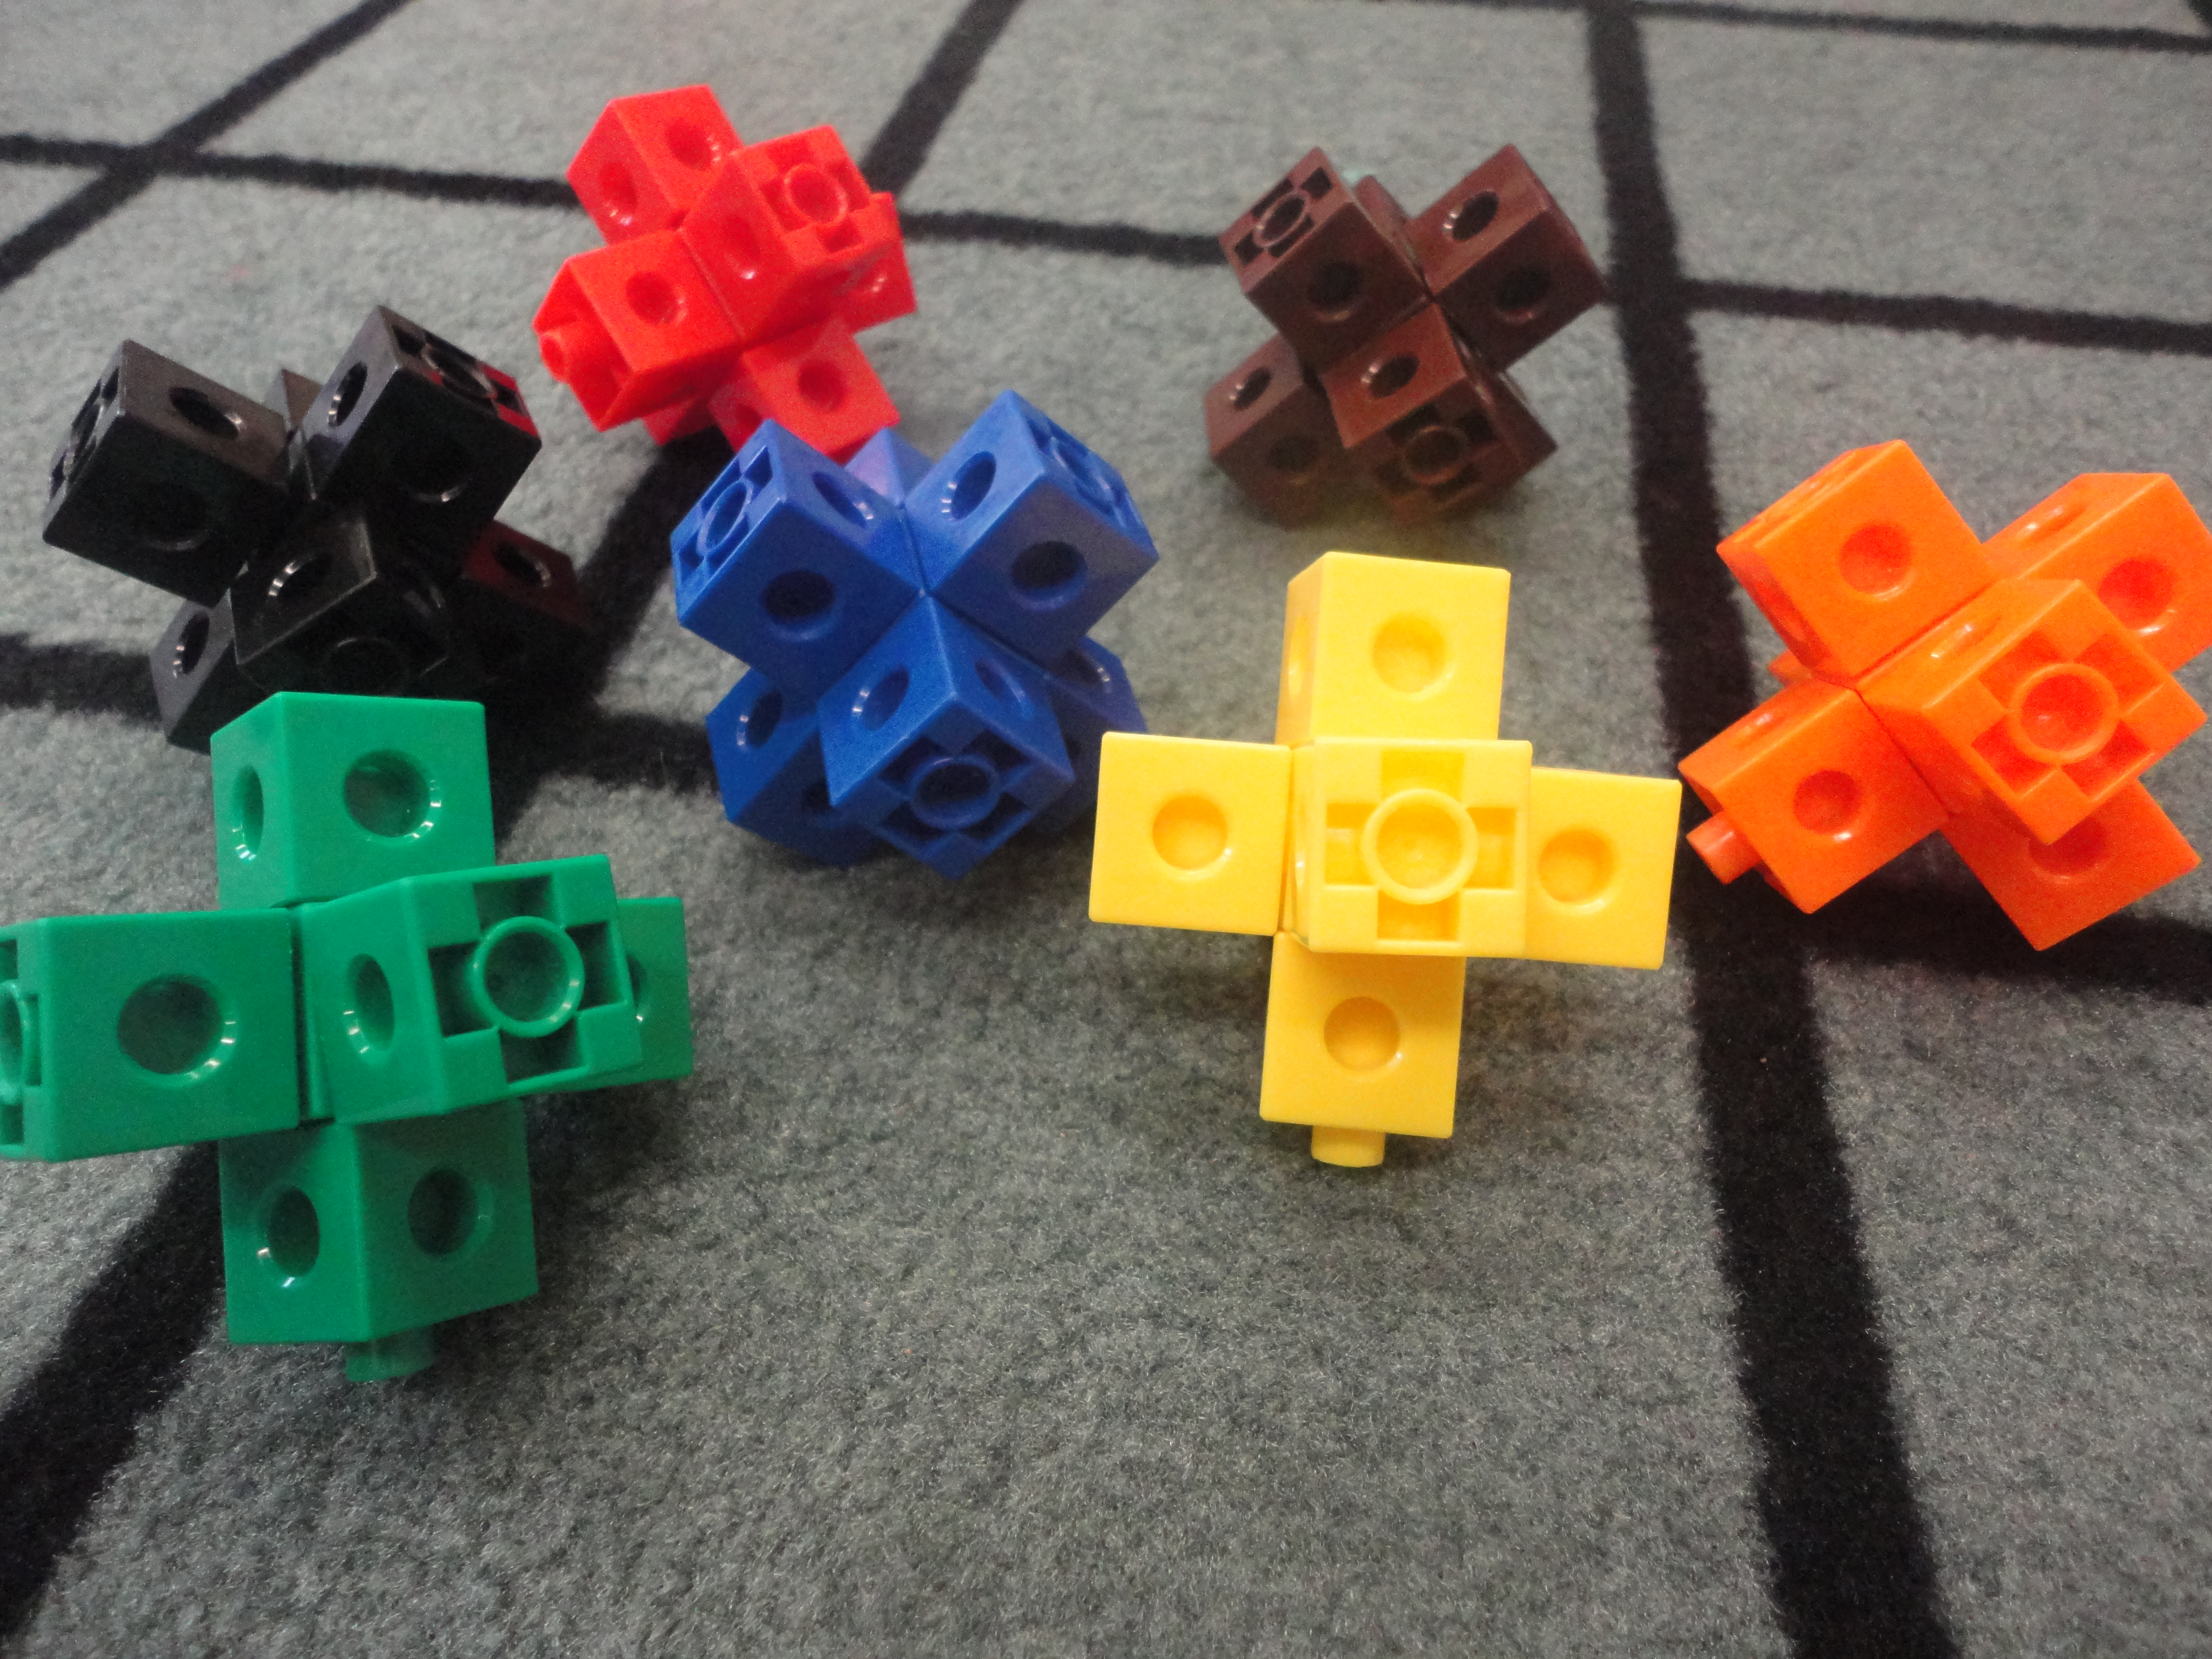
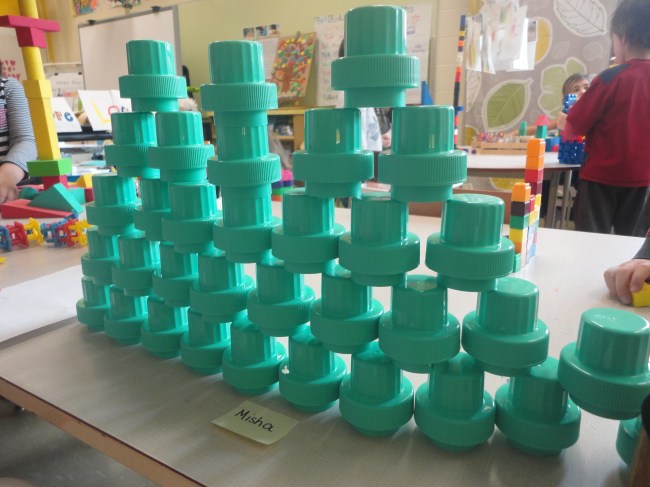
A: We use a variety of store-bought traditional building blocks and some found materials to make up our bins. Wooden blocks, tree blocks, better blocks (kind of like Duplo), foam blocks, cups (laundry caps) from the recycling depot, anything that will stack! I purchased some materials from school catalogues, found others at garage sales and recycling stores, and got some for free from the recycling depot in our school board. Anything that can stack reasonably well is a good material for M.S.I. If you don’t have enough for everyone in your class you could always run the program with children working in partners or groups, and we sometimes do this as well depending on the focus of the lesson.

Q: What about space? Where do you store your materials? What if you don’t have enough table space for each student?

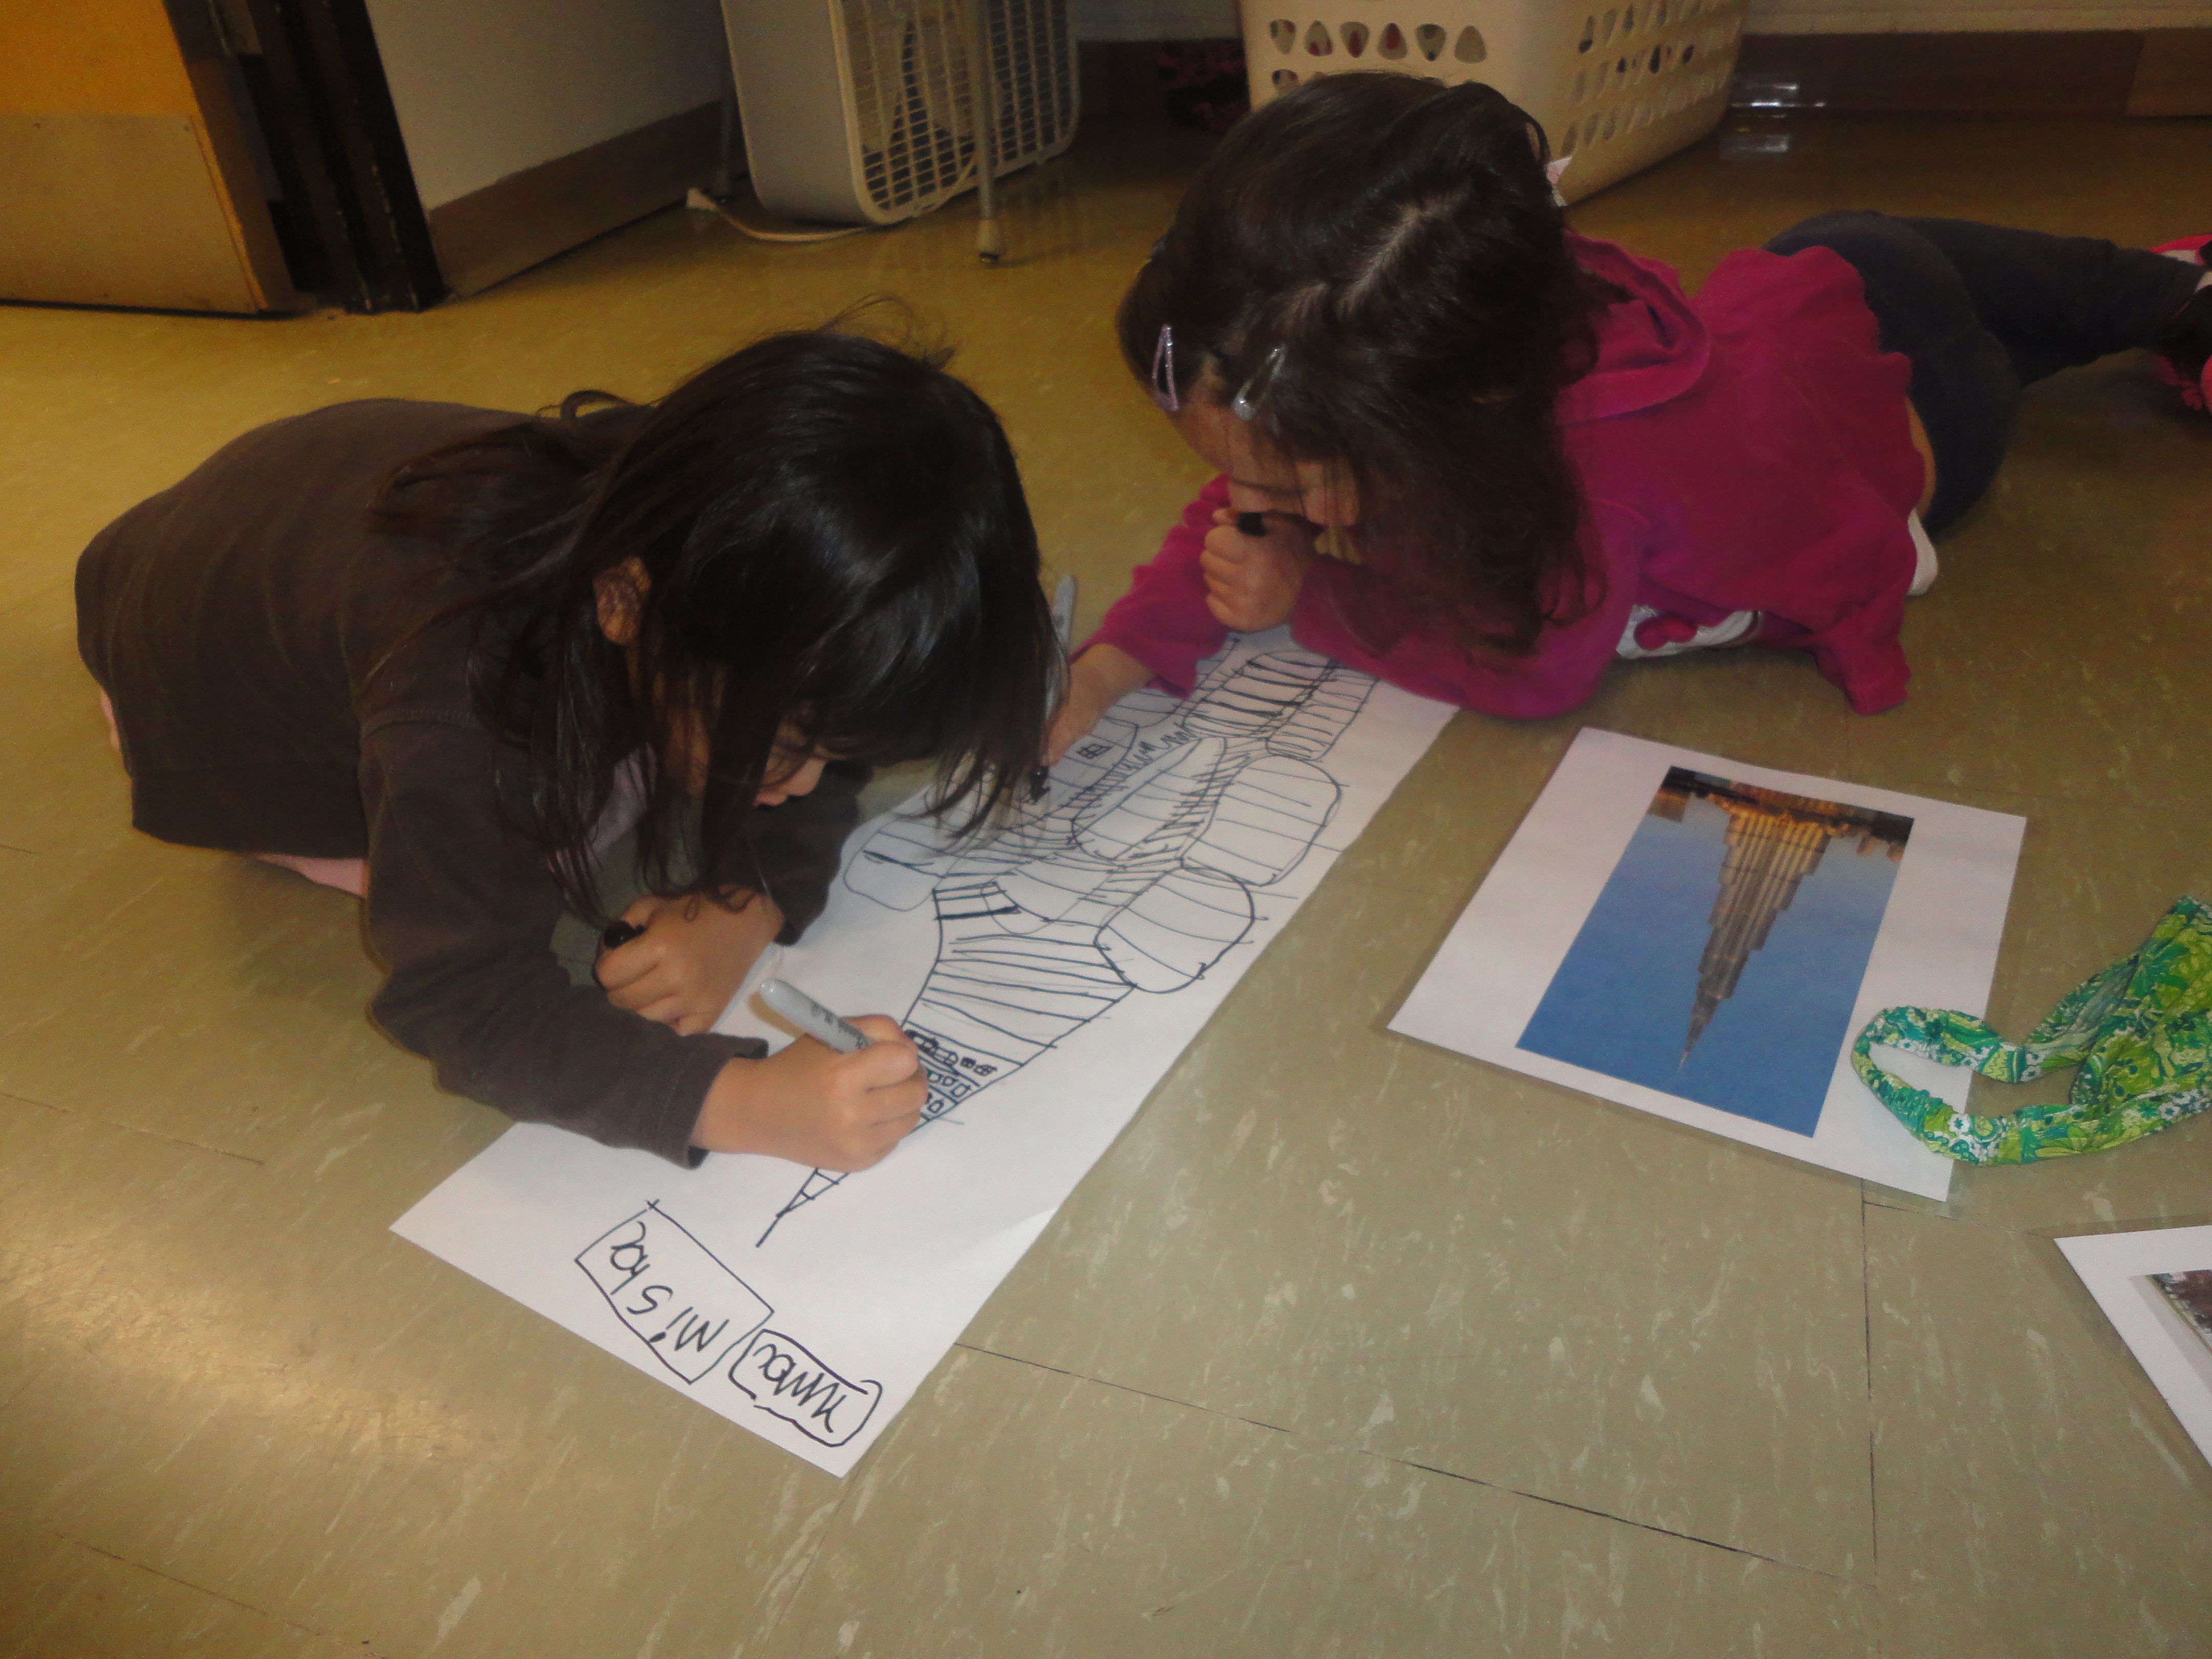
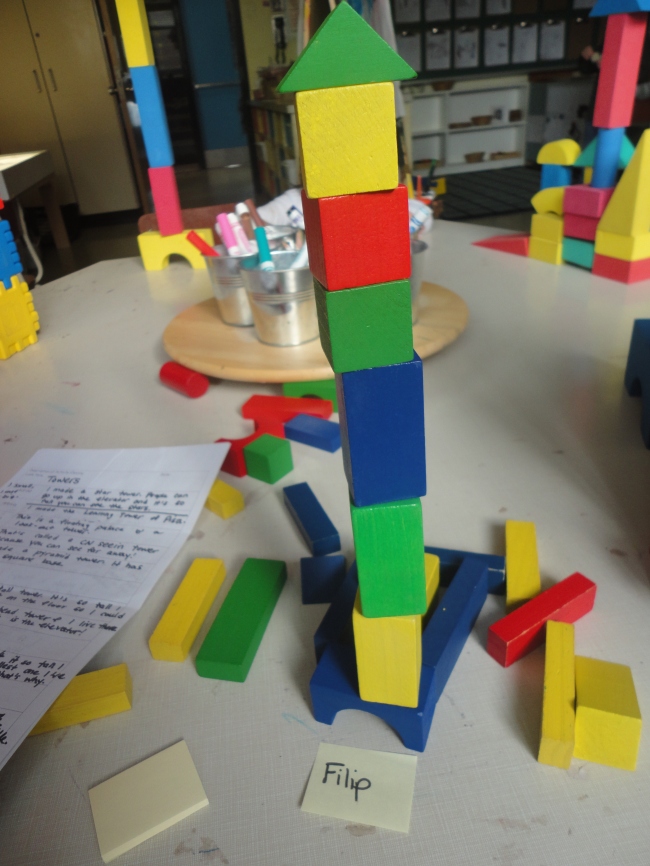
If you don’t have enough table space for each student to have their own spot, children can build on the floor. The idea behind standing and building at a table is that children are initially encouraged to build up with their materials. Standing helps the children stack their blocks more easily, and see their structure from all sides. Placing the building bin on a chair frees up table space for working. We store our building materials in two large rolling shelves. The shelves hold about 36 bins. I have a small space, but it’s not overwhelming in the classroom. I saw another school where the three kindergarten classes shared their M.S.I materials on a rolling cart that was parked in the hallway and could be easily moved to each class.

Q: What kinds of inquiries have you done? How long does one inquiry last?

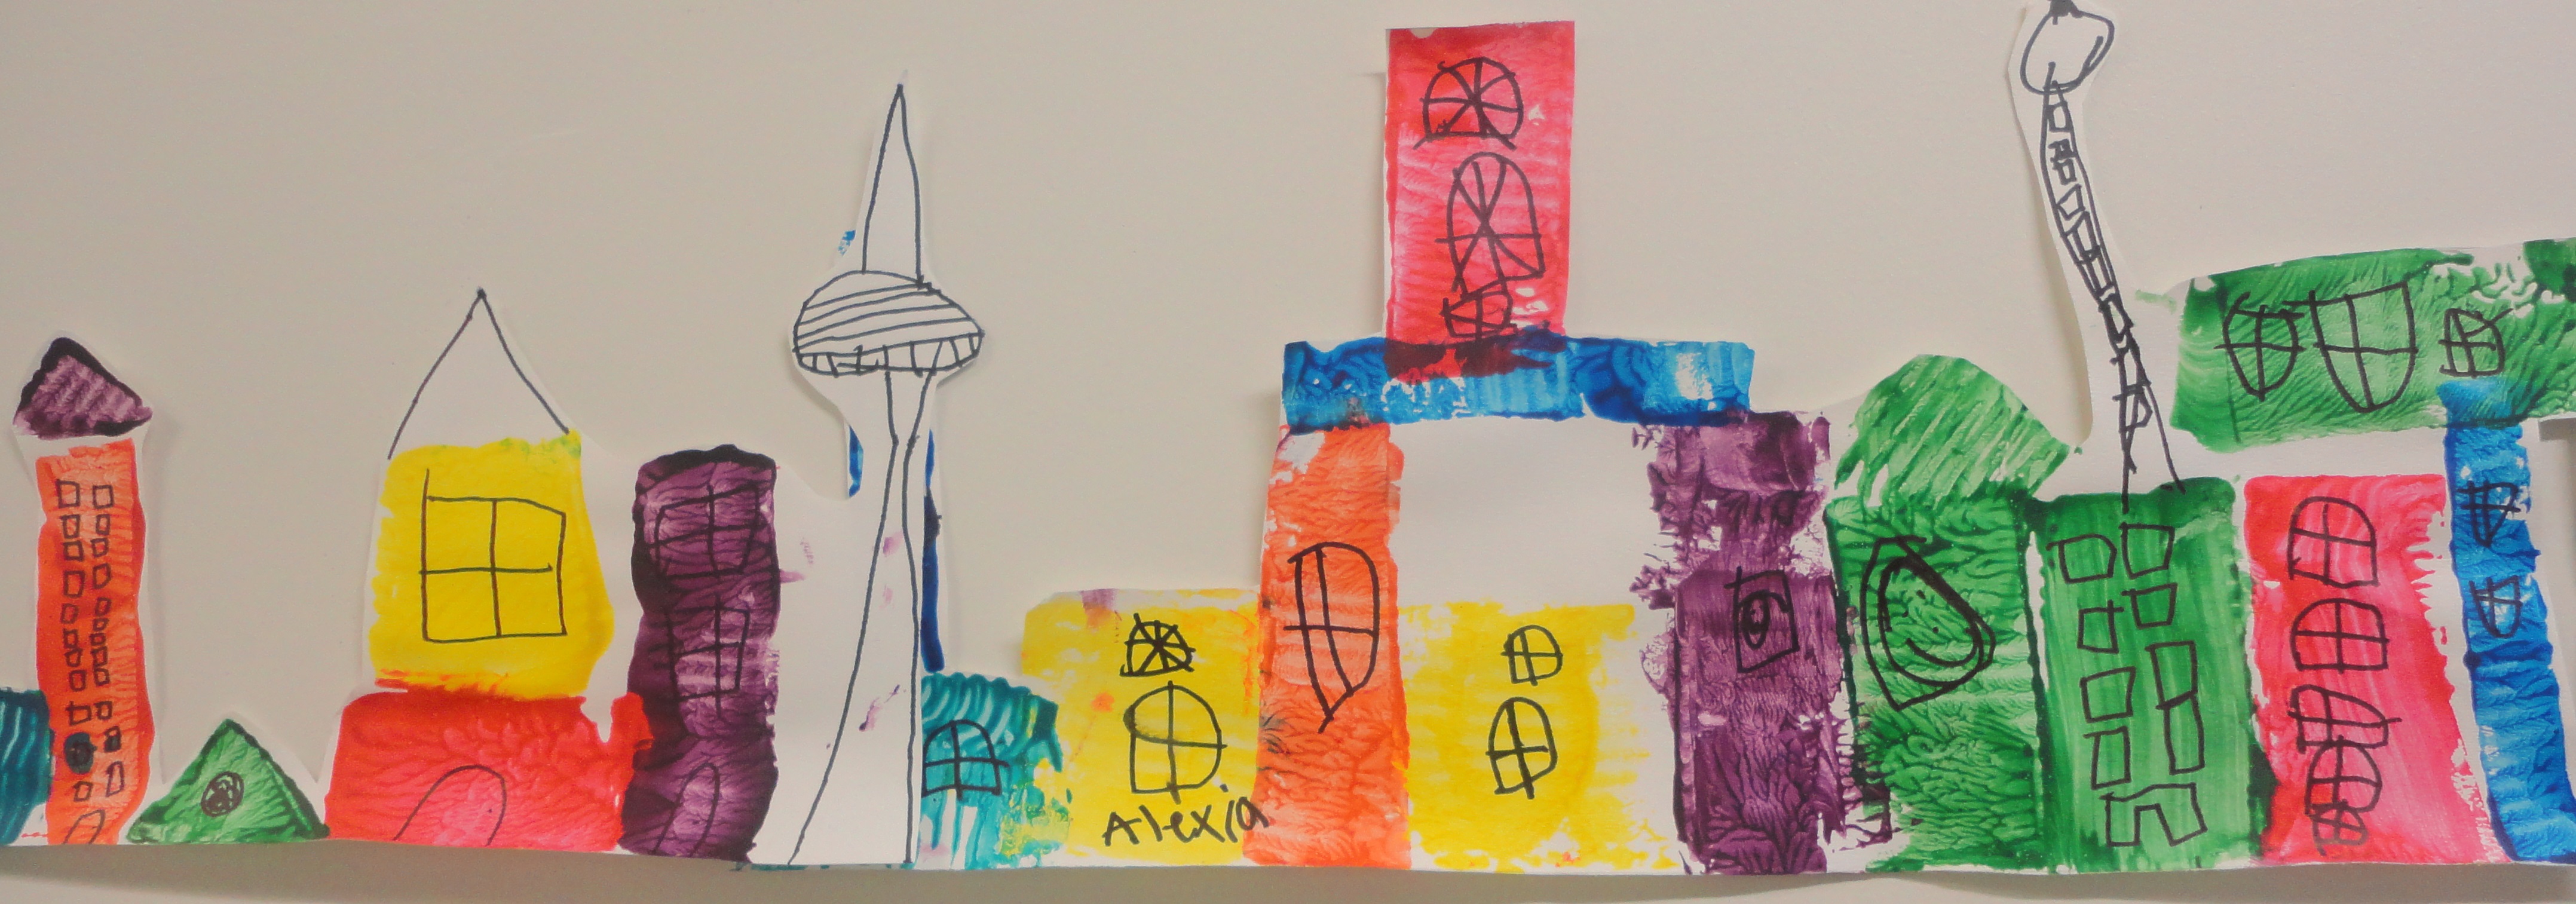
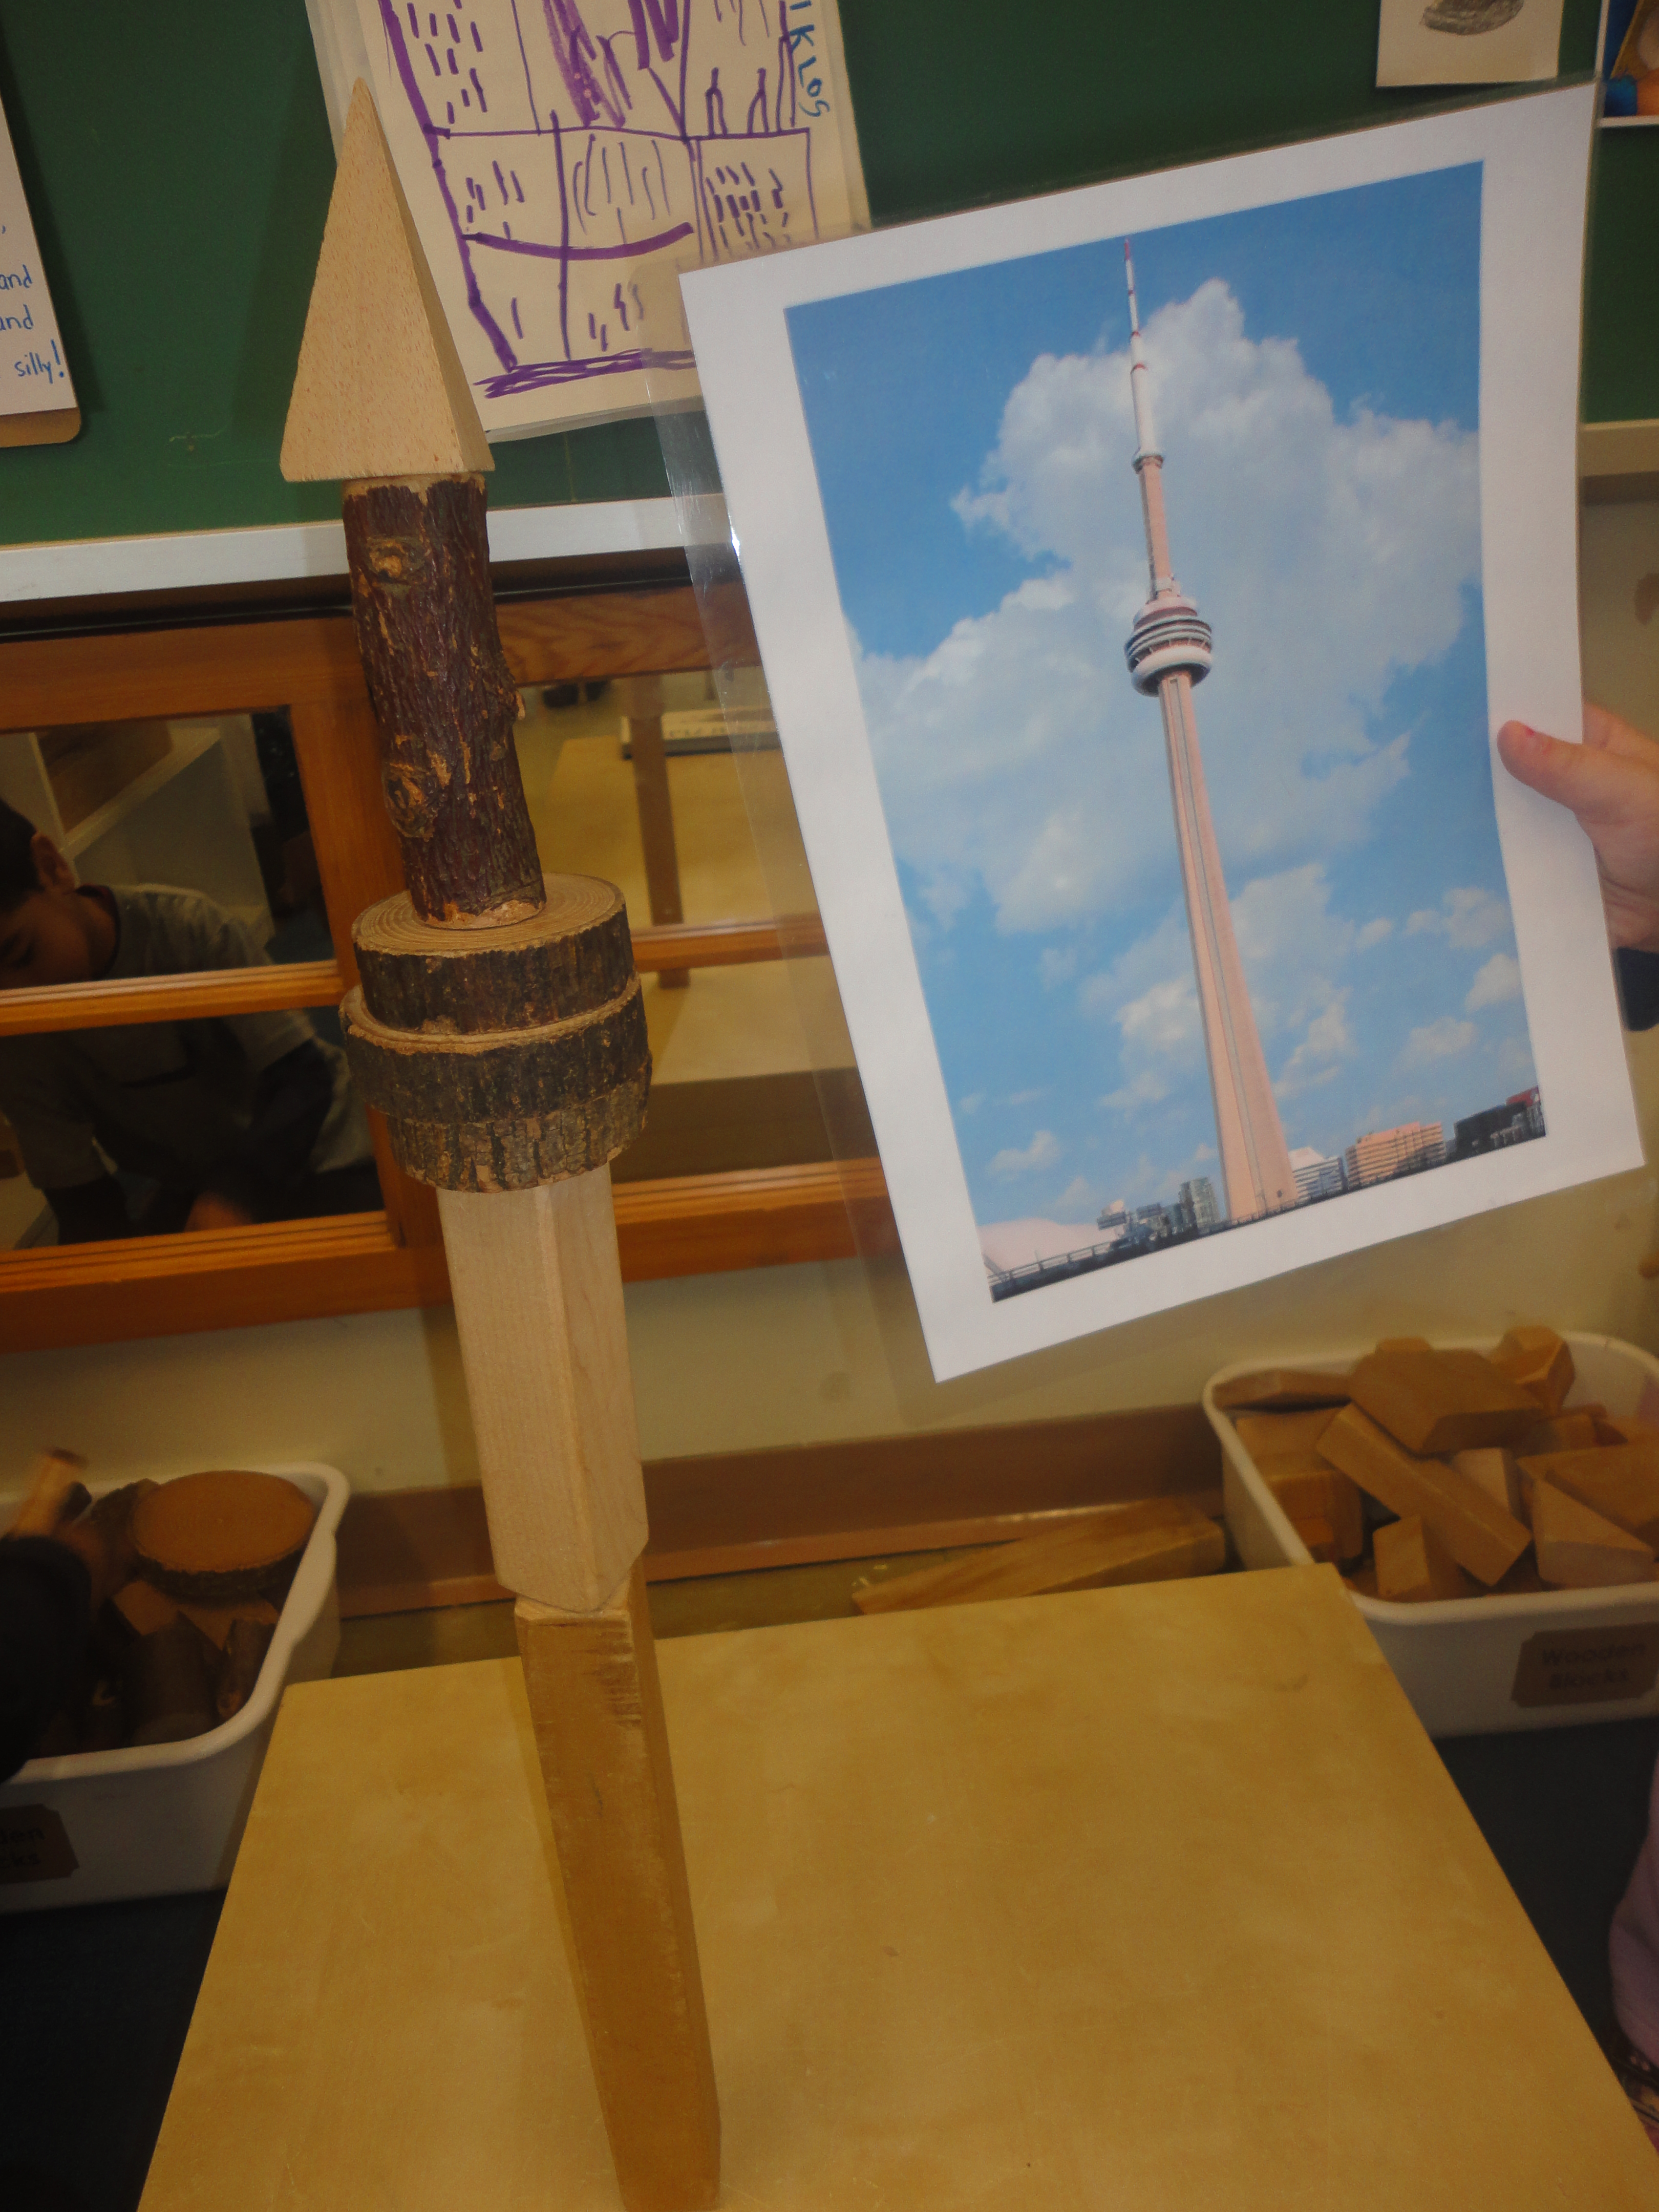
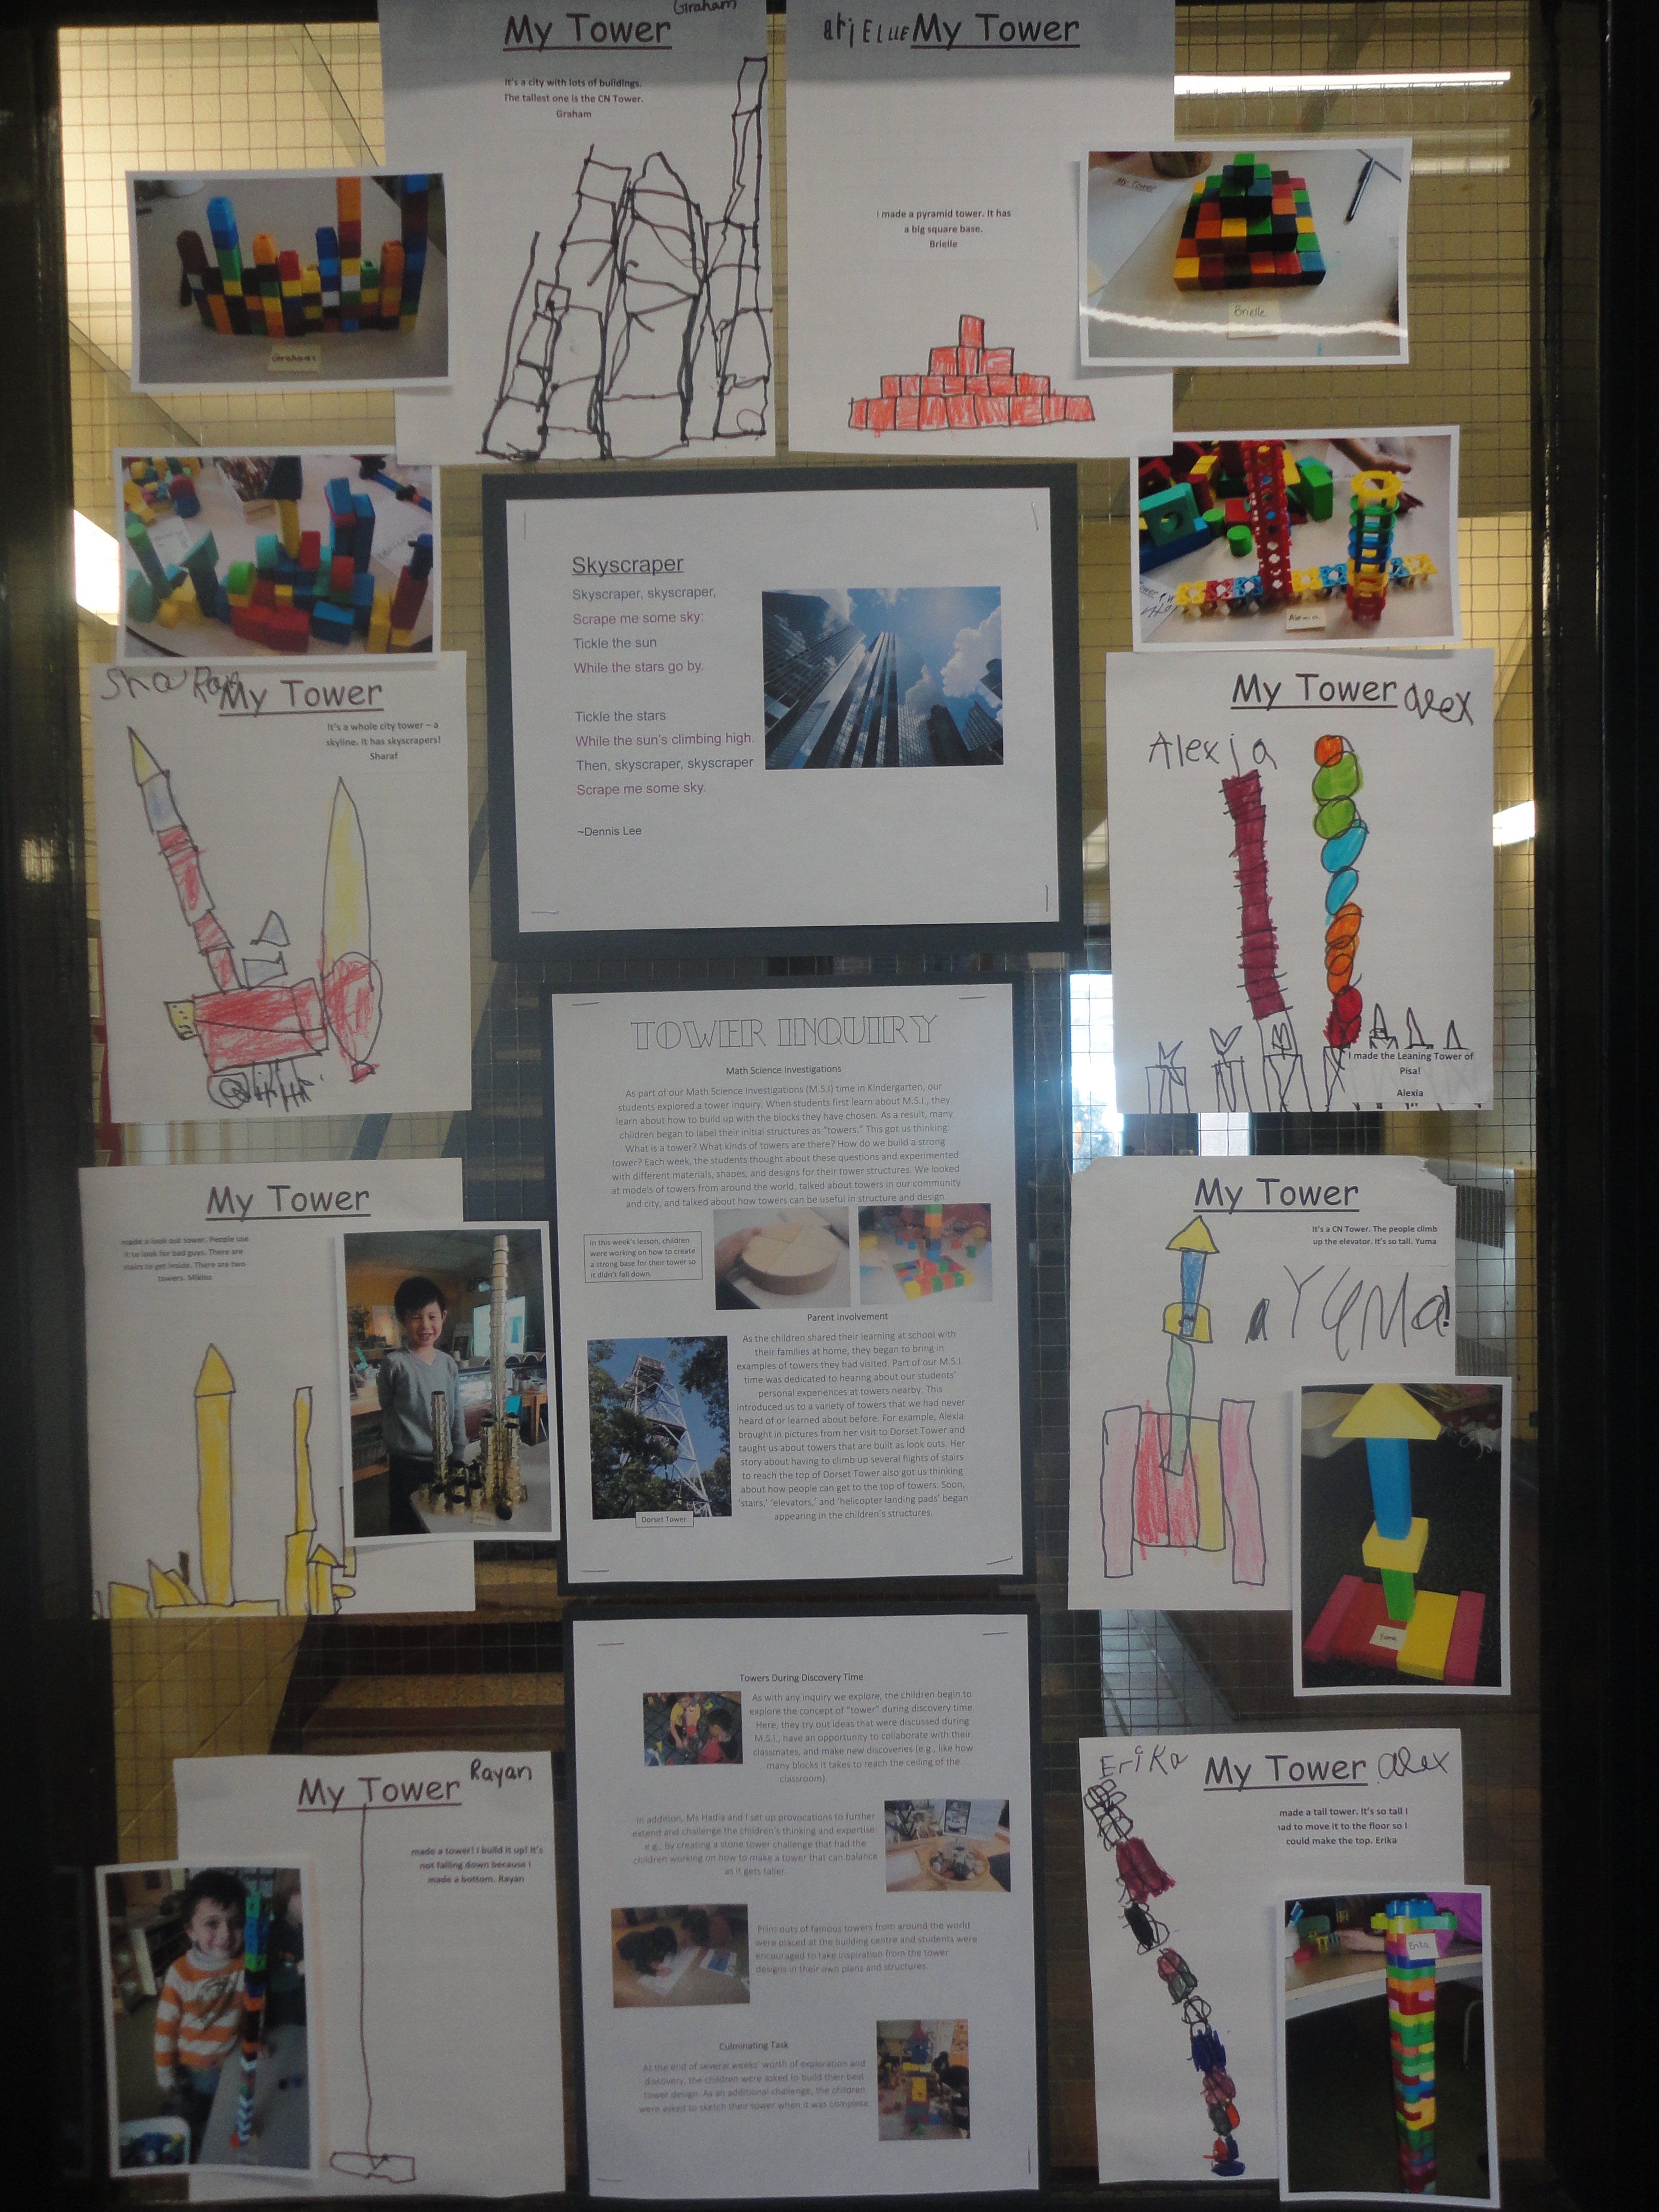
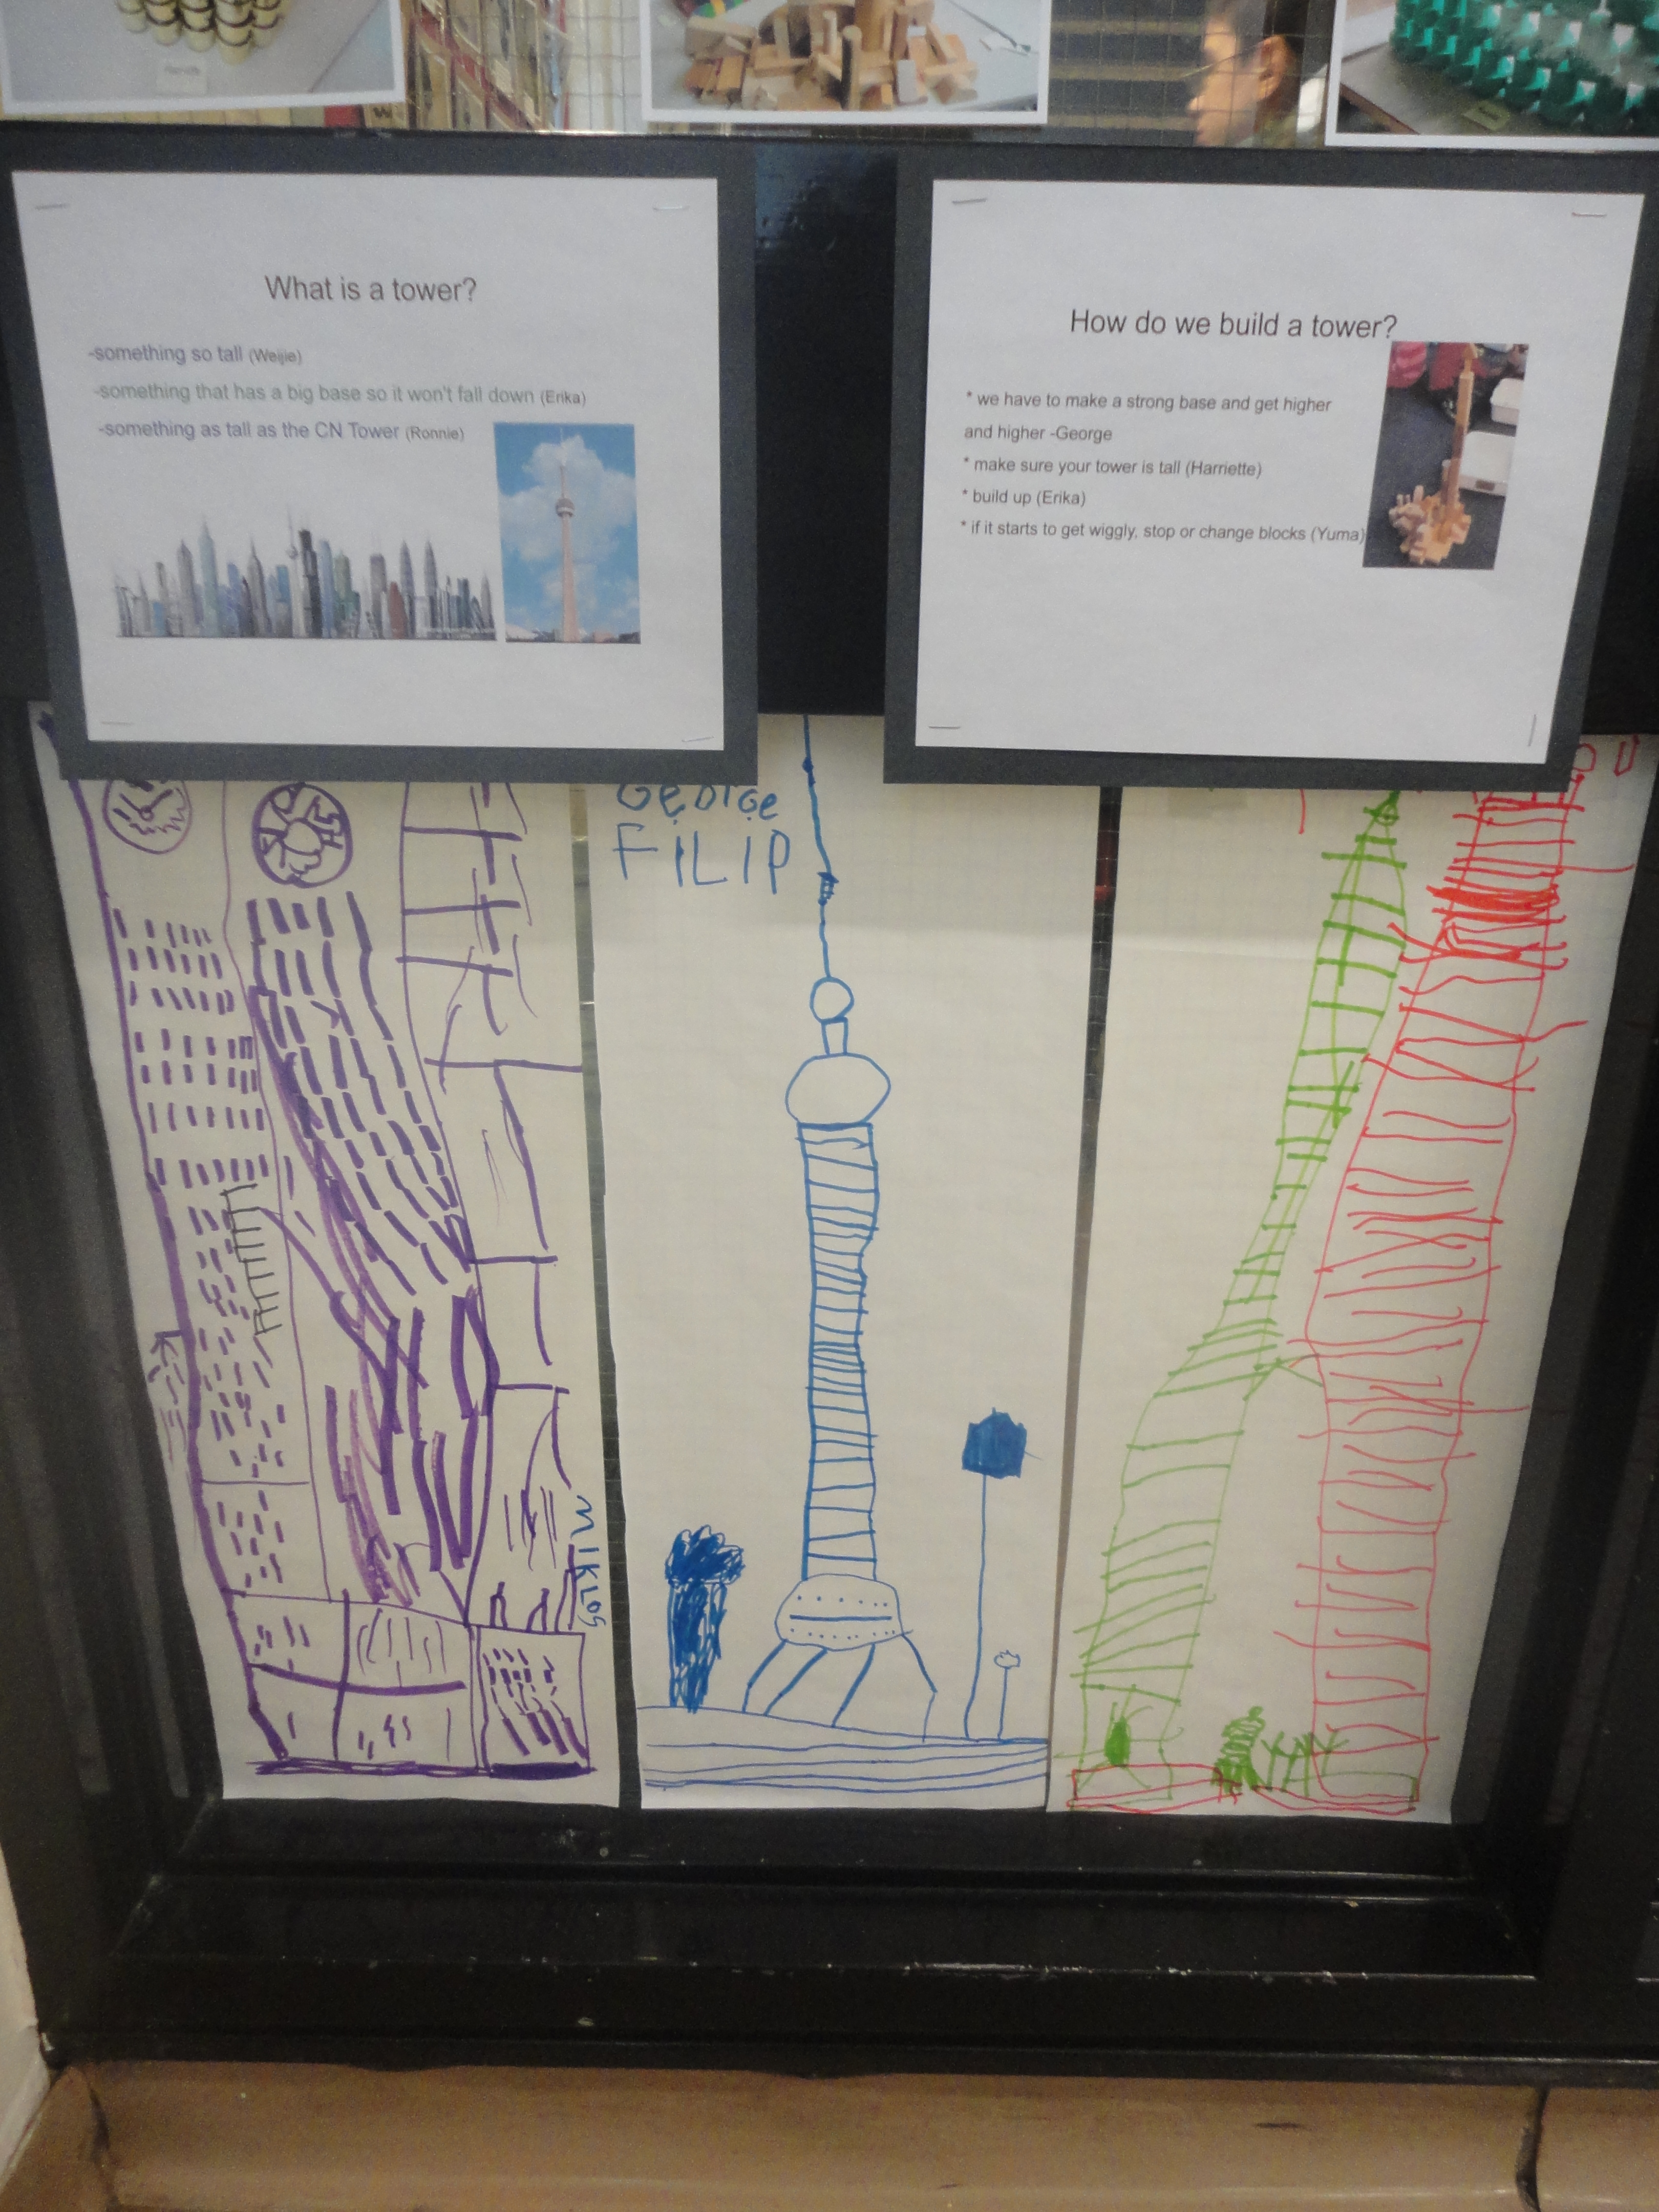
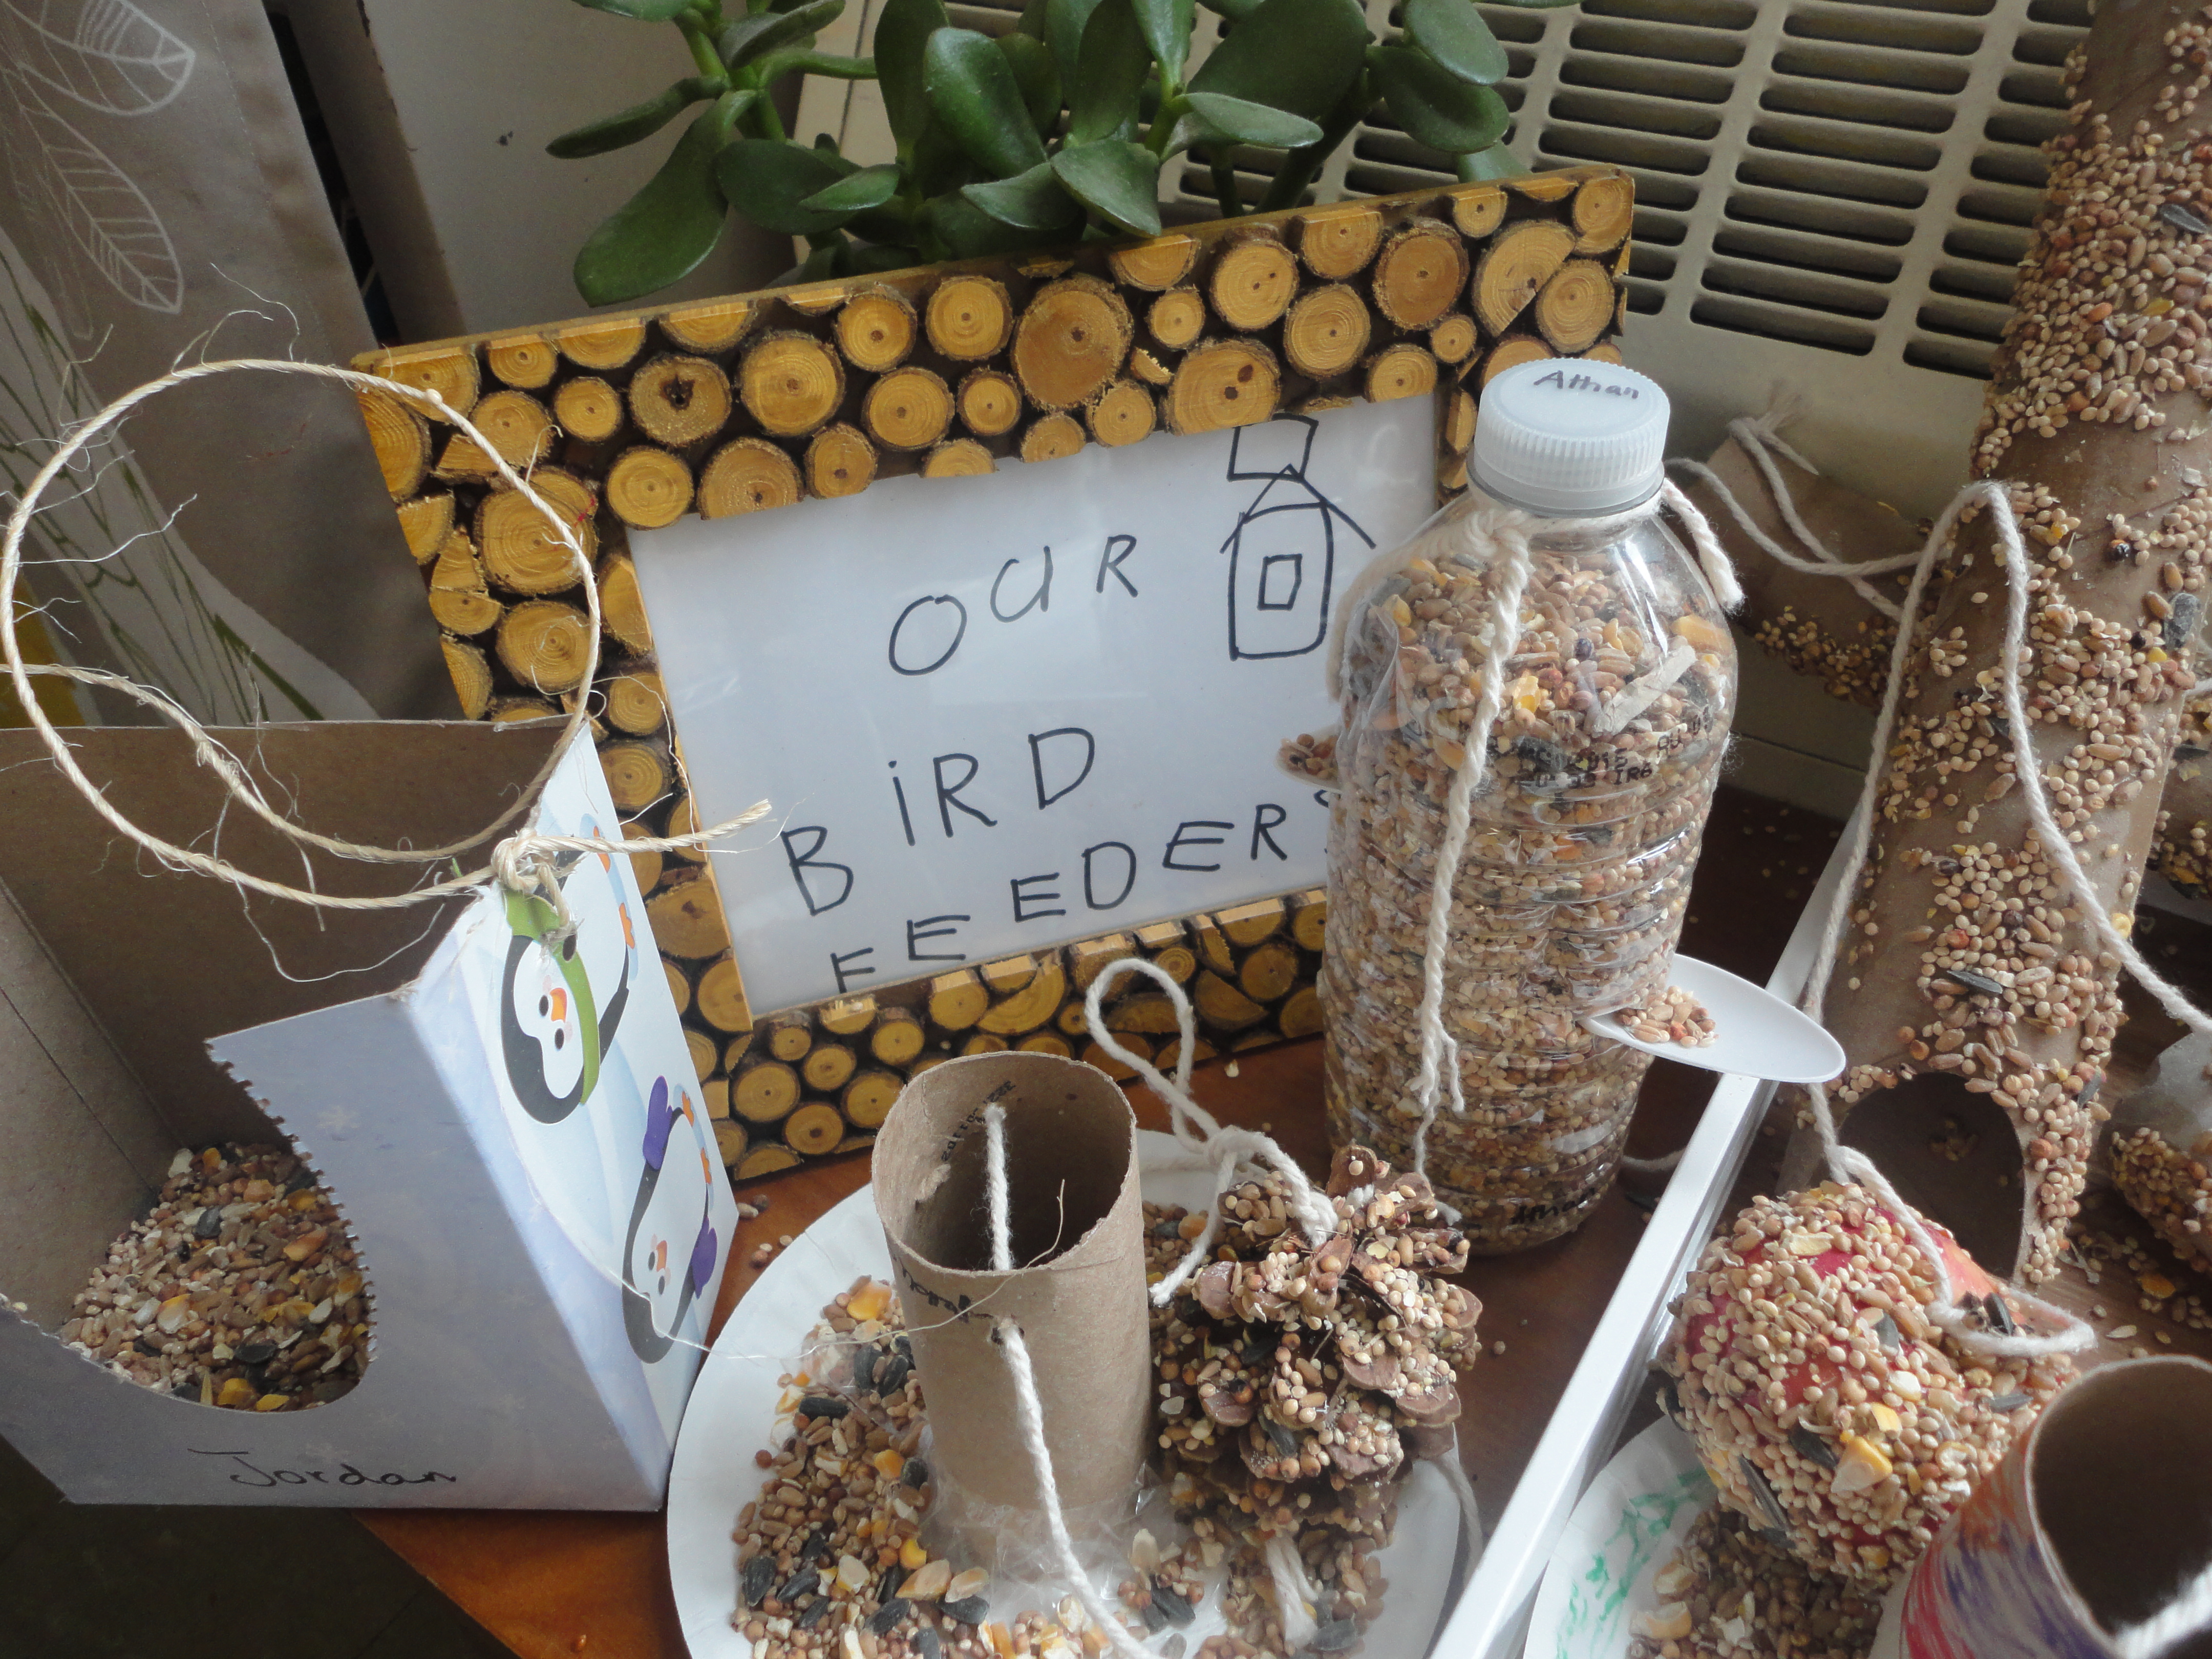
A: The resource Building Structures With Young Children focuses on two inquiries: Towers and Enclosures. This year we have completed a Tower Inquiry (which I will write more about soon) and are now working on enclosures. We have also done inquiries on bridges and castles. In one school year, we usually have time to complete at least 2 large structure inquiries through M.S.I.

Image

Q: How is M.S.I introduced? What does it look like at the beginning of the year?

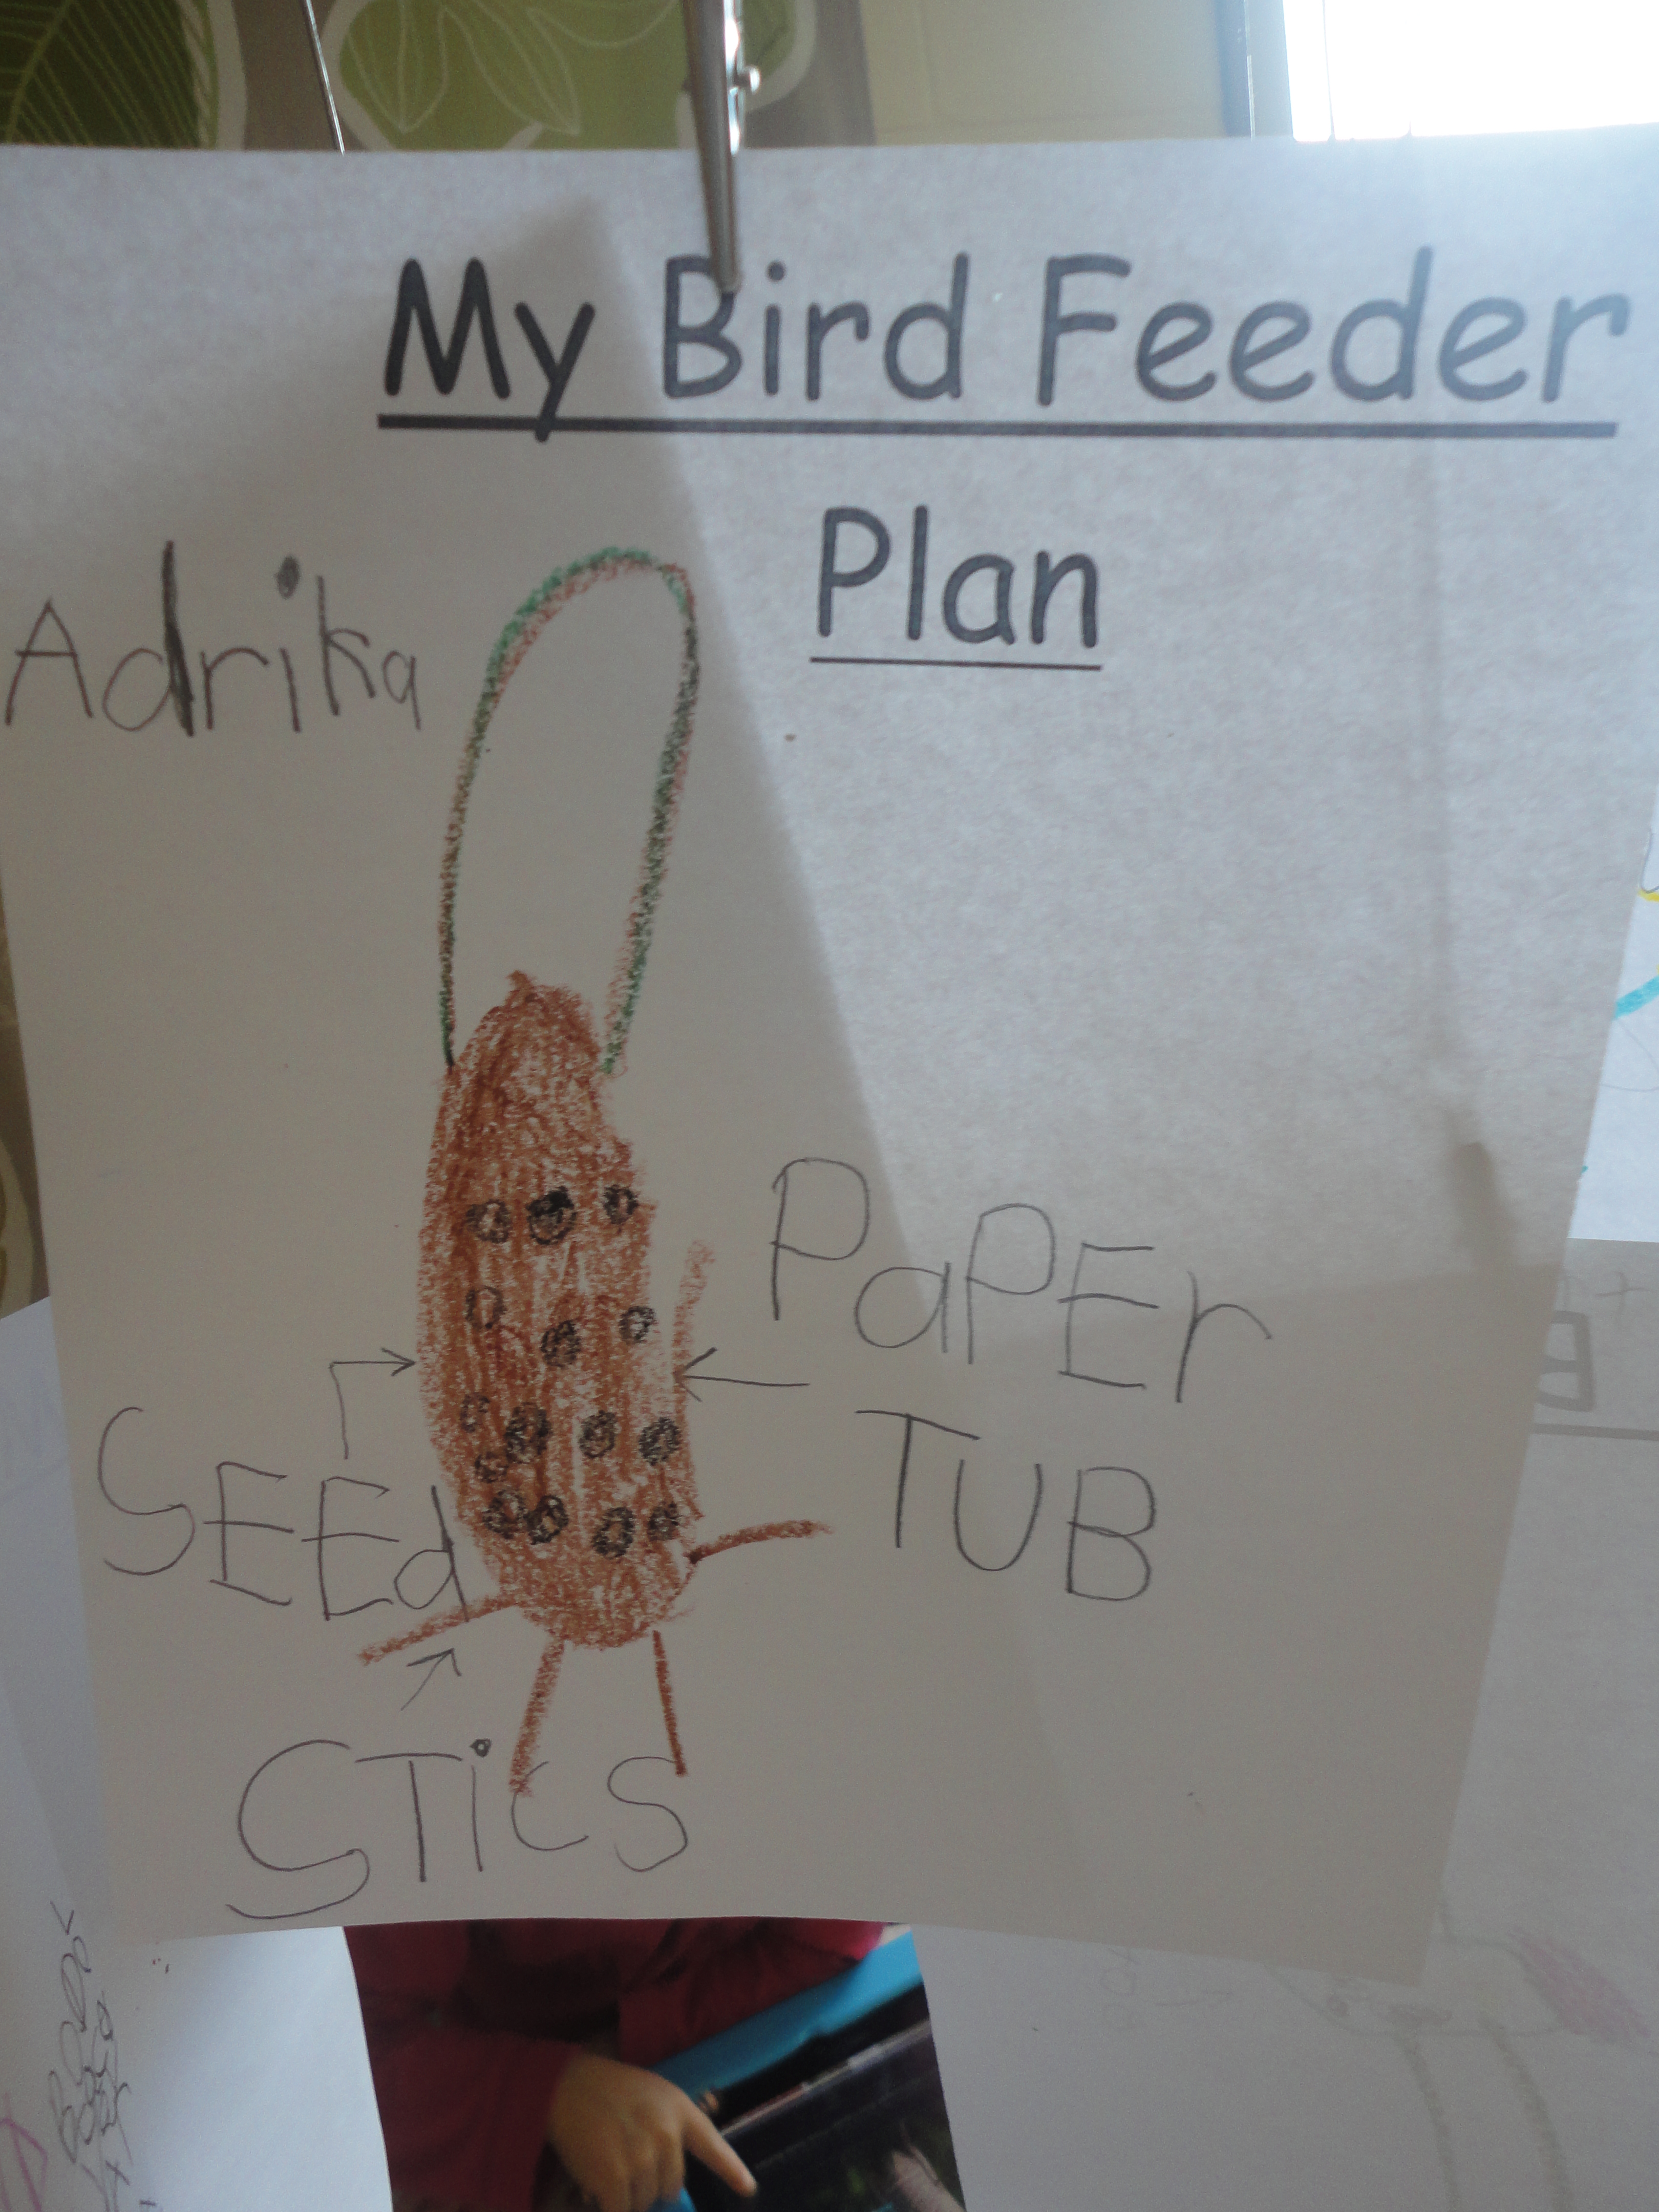
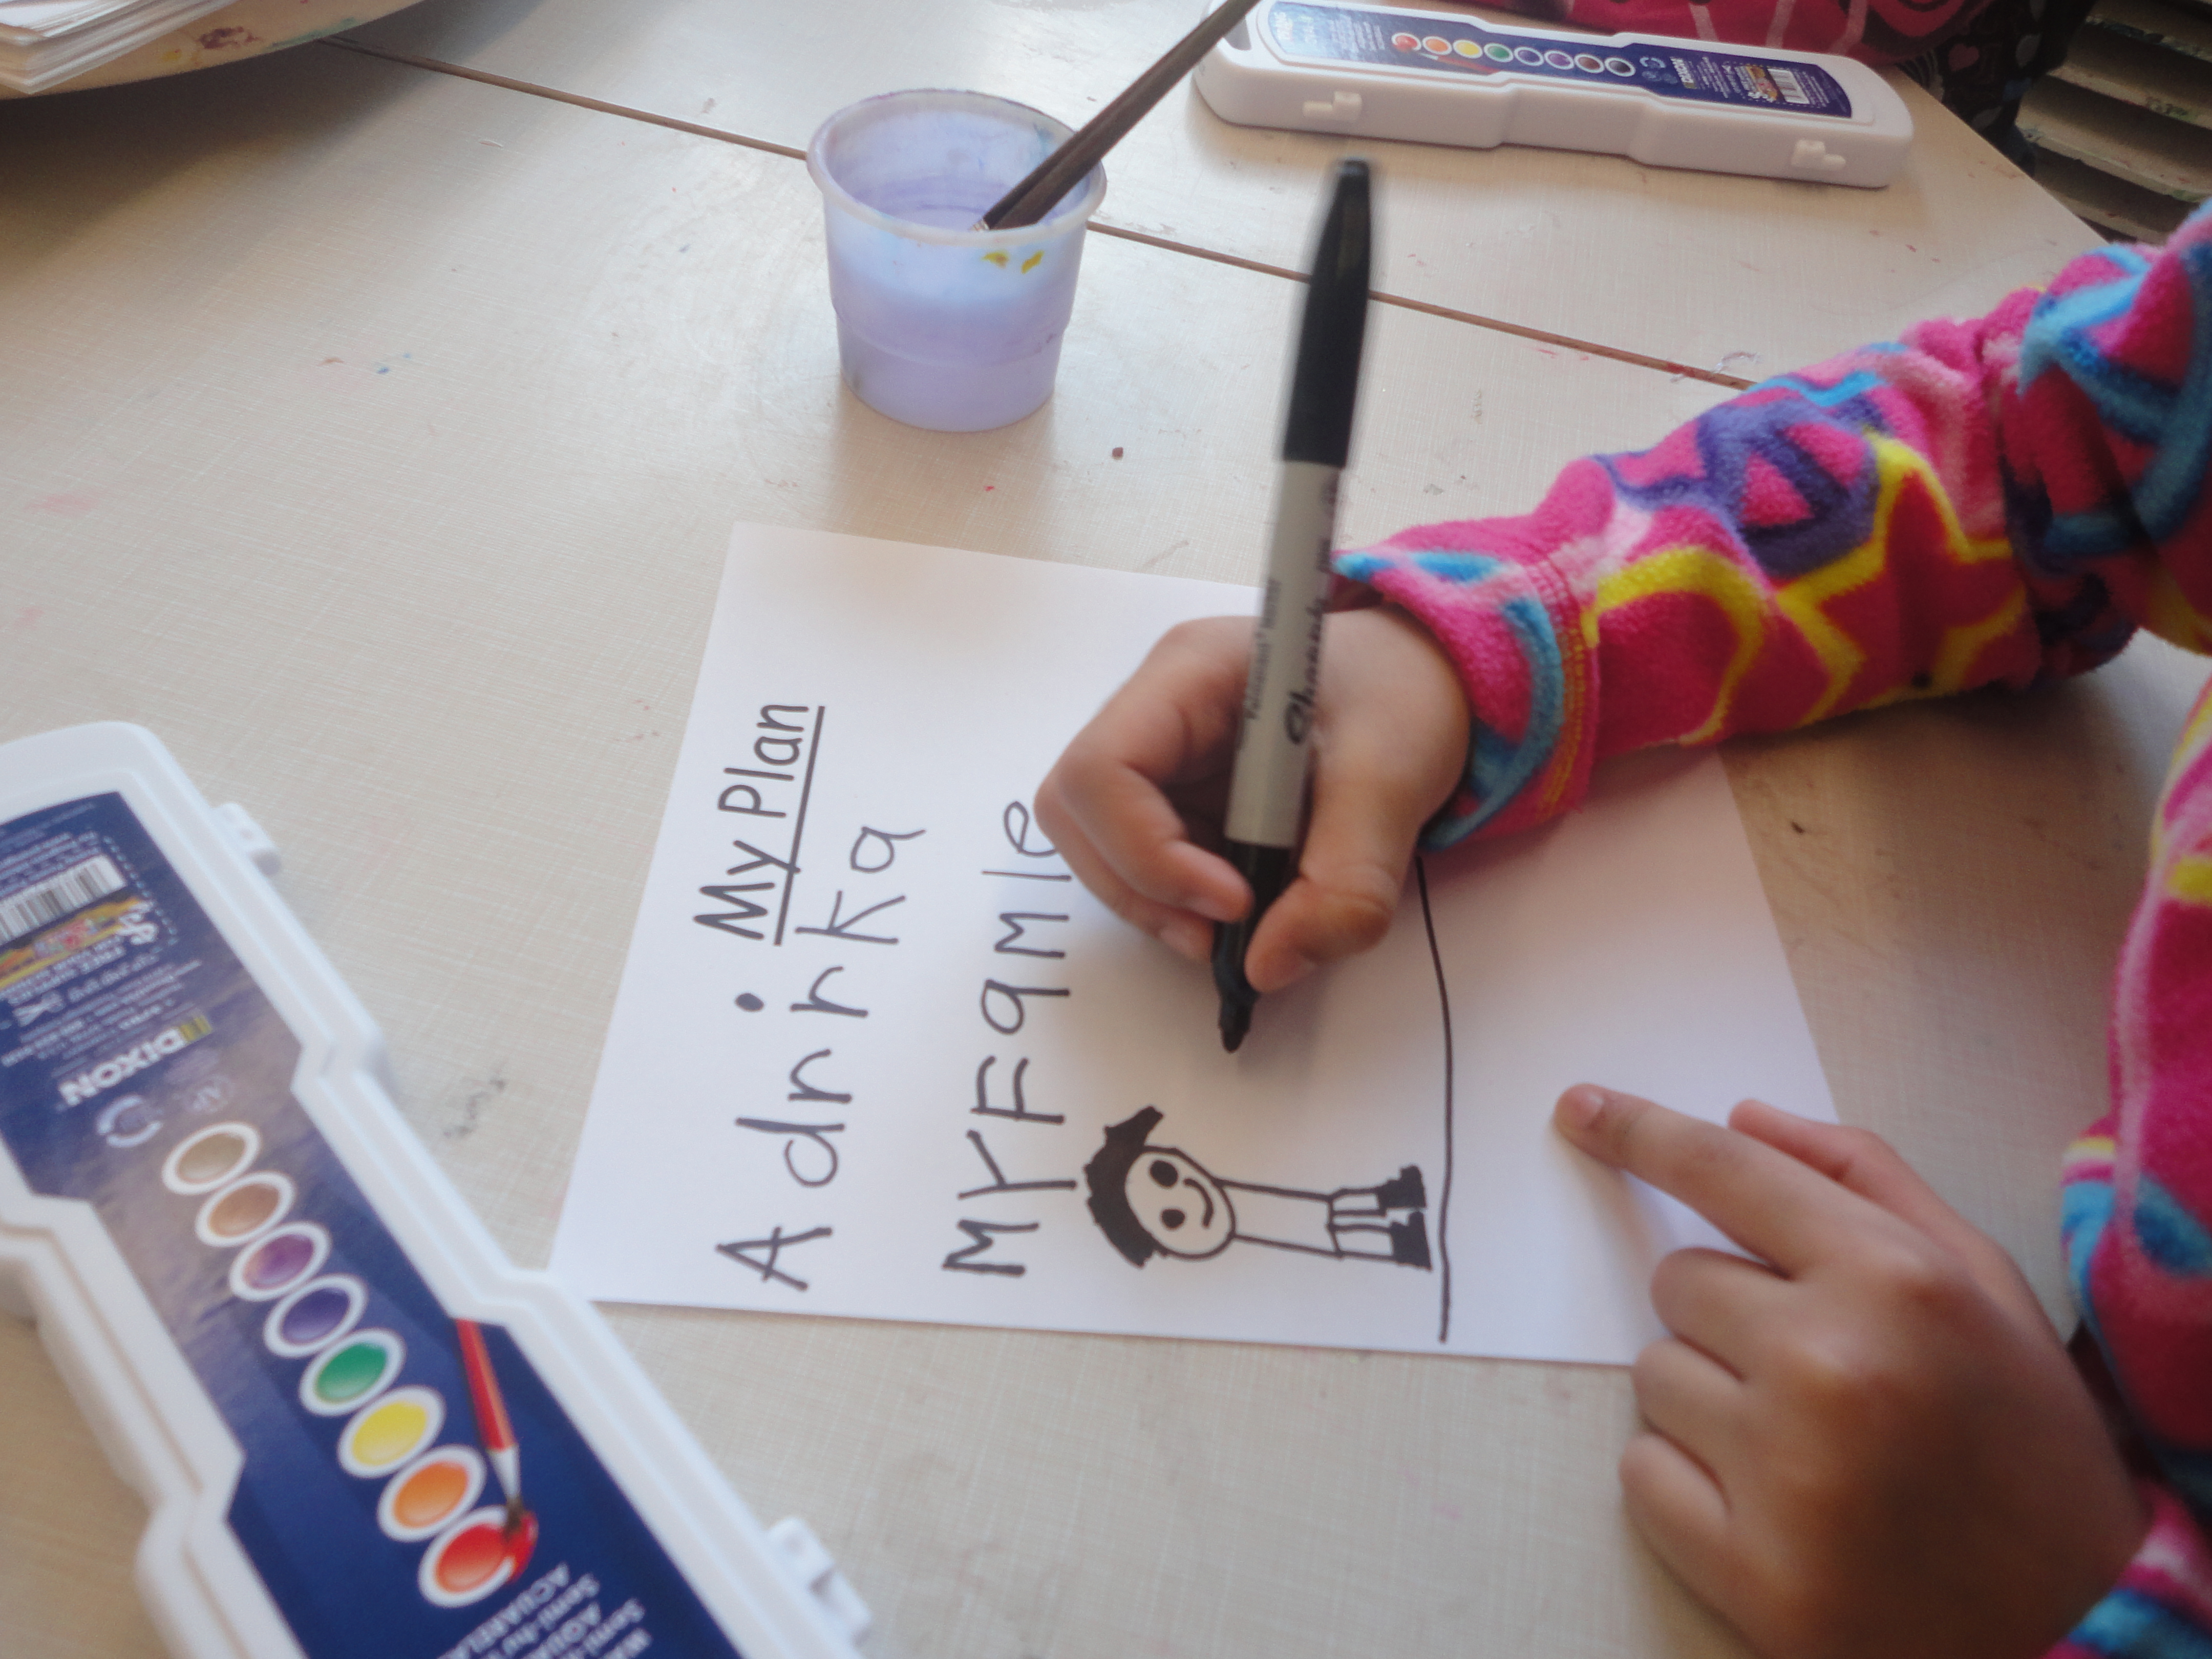
A: At the beginning of the year, M.S.I. time is mainly spent establishing routines and working on basic concepts of space, balance, making a plan, etc. There is a lot to be said just for helping the children locate a bin, find their own work space, build, and then tidy up. A lot of time also goes into establishing routines and expectations for sharing and reflecting on our structures at the end of the lesson. The most important part of the initial phase of M.S.I. is exploration and helping the children stay focused on solving problems rather than getting frustrated if/when their structure falls down. The children are often encouraged to choose different bins regularly to get a feel for the variety of materials we have available.

Image

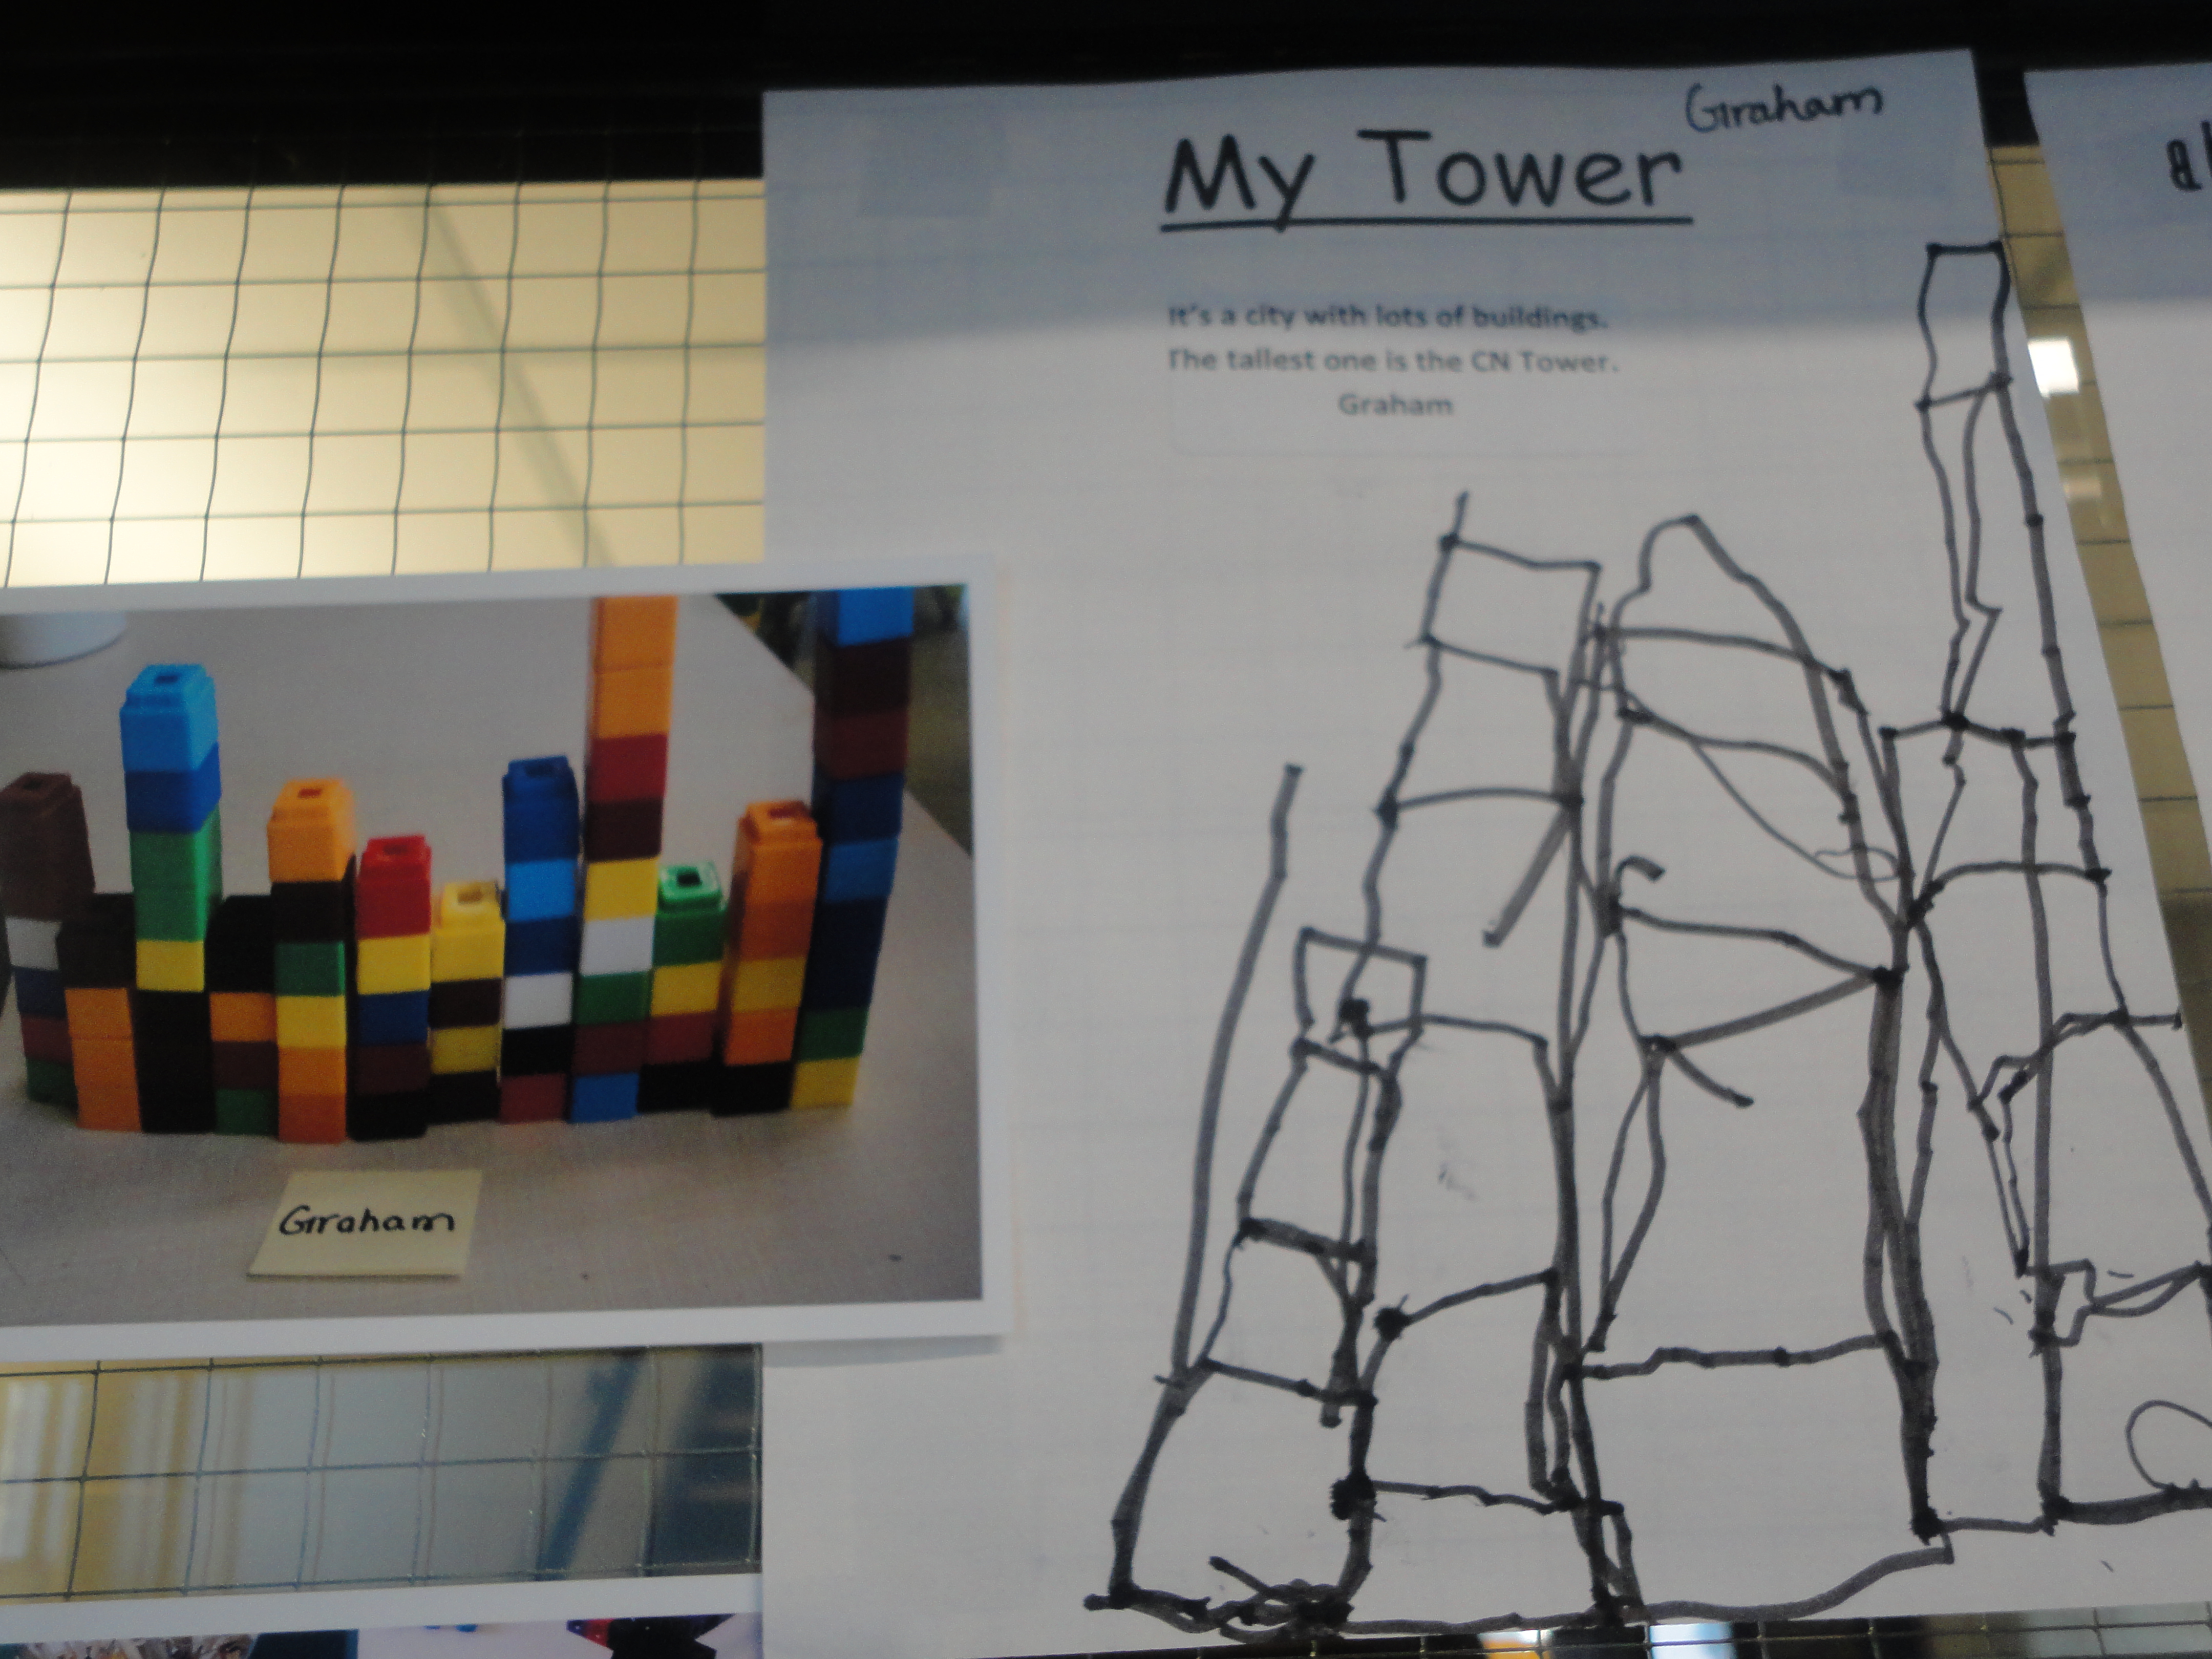
I have to say, the children are always excited to see M.S.I. on the schedule. I continue to be amazed at how reflective and thoughtful they are about their structures and how mature they appear when giving feedback and suggestions to their classmates during reflection time. Although when I started teaching I successfully ran an M.S.I. program without a lot of fancy technology (none, actually), the access we now have to iPads, a classroom camera, and an interactive SMARTBoard have helped me take our building program to a whole new level. Being able to take a photo of a child’s structure and immediately post it on the SMARTboard for us to discuss is an invaluable part of the program. We regularly use the SMARTBoard pens to label the structure in the photo, highlight shapes in the design of the structure or draw on possible ideas to add next time.

If you have any other questions about how M.S.I. works, please don’t hesitate to drop me a line!

Snap Cube Workshop: Inspiring Young Authors

Image

G.M.: Inside my book is a man and an invisible ship and a laser sword. I put how many of the cubes you need. For the man you need 5 blues, 1 purple, 1 black, and 2 browns. I want someone to build the invisible ship and then play with it. I did one for the laser sword and then W.W. looked at my instructions and made it.

Earlier, I wrote about embracing the children’s interests by creating a Snap Cube Workshop with the ever-popular snap cubes (You can read about it here: https://thecuriouskindergarten.wordpress.com/2014/03/10/snap-cube-workshop/). The children in my class view snap cubes like Lego – something they can use to build whatever kind of creations they want. In looking for ways to extend the learning at this centre, I ended up having a conversation with some of my students about the similarities and differences between Lego and Snap Cubes. One of my students pointed out that his Lego sets come with instruction or inspiration booklets to help him make the structures in the kit…and Voila! A new idea was born! The children were immediately interested in creating instruction booklets for their creations, with a view to helping their classmates re-create their structures. “How did you make it?” is the most popular question the children ask each other during reflection time, so it seemed logical for the students to not only tell each other, but show each other what to do in a diagram. Beyond adding some blank paper, markers, and a stapler to the Snap Cube Workshop, the children required very little guidance with how to create their instruction manuals since most of them were well-versed with Lego booklets. The children who did not have experience with Lego booklets simply learned from their more experienced peers and were soon well on their way to their own Snap Cube construction kits. We provided the children with a place to store their manuals (clipped to a string hung at the centre) and many children came by throughout the week to add to their booklets or borrow booklets to try to recreate the structures within.

Image

Image

Image

Image

Snap Cube Workshop

Image

Lately I’ve been looking for ways to extend the learning that has been happening at my small building centre. Basically, snap cubes have taken over our classroom. What started as a daily activity by a small group of boys soon spread into a full-on class obsession with all things related to building with this “Lego-like” material.

I had never looked at snap cubes and thought “Lego” before. It was my students who clued me in when I asked why it was their number one choice of activity each day:

W.W. “These are just like Lego. You can build whatever you want with them.”

G.M. “Lego is our favourite. But we don’t have Lego here. It’s ok though, because snap cubes are just like Lego. They stick together and have different colours and you can make whatever you want.”

Image

Although I was completely amazed and inspired with what the children were able to construct with their snap cubes, how they problem-solved and worked together, and how they presented their discoveries and creations with the class, I’ll admit there have been times when I struggled with the snap cube craze in my classroom. There were certainly children that worked with snap cubes and only snap cubes, children that fought over having a turn there, and children who turned their noses up at the carefully organized provocations we put out at other centres.

In the end, we decided to embrace the interest in snap cubes. We moved them to their own centre (a Snap Cube Building Workshop) and, after some discussions with the class about balance and fairness, noticed that the children were able to make better choices about when to visit the snap cube centre and when to try something new.

Does your class have an activity or material that your students just can’t put down? How did you embrace the children’s interests?

You can read what happened next at this centre by clicking here: https://thecuriouskindergarten.wordpress.com/2014/03/10/snap-cube-workshop-inspiring-young-authors/

Image

The Bird Feeder Project

DSC02317

Here in Toronto this year we have been having an exceptionally cold and snowy winter! Despite the weather, some of our feathered friends have remained in our outdoor classroom. One day when we were outside, some children began to wonder about the birds – weren’t they cold? How were they finding food under all this snow?

DSC02413

After reading Ricki’s Birdhouse by Monica Wellington, a book about a boy who constructs a birdhouse for the birds in his yard and proceeds to feed the birds throughout the year, the children were interested in making their own bird feeders for the birds in our outdoor classroom. We set up a provocation at the science table including planning sheets, our Ricki’s Birdhouse story, and iPads. Using the iPads, we googled “homemade bird feeder” images and the children looked for designs that appealed to them. Then they set about creating their plans. We encouraged the children to label their plans with the materials we would need to build them.

DSC02228

DSC02193

DSC02202

After giving the children ample time for the planning process, we gathered up the materials the children requested for their bird feeders. I sent a letter home asking the parents to send in any materials they may have at home to help us with our project. Then we set up our bird feeder making centre! For the most part, the children really stuck to their original designs when making their bird feeders. Other children who weren’t initially interested in making their own plans stopped by and got inspired by their classmates’ projects. The children were really in charge of this activity from start to finish, and were so proud of the feeders they made!

DSC02260

DSC02314

At the end of the week, we took our feeders outside to hang up in the courtyard. The children were beyond excited to share their creations with the birds. It felt like a bird feeder hanging party!

hanging

Update: After the weekend, we took the children outside to see if there were any clues that the birds had enjoyed the birdseed. We had had another dose of snow, so the children noticed that some of the materials we used did not hold up in the extreme winter conditions.

E.A.: The bird feeders made of Kleenex boxes and toilet rolls with honey stayed up.
F.S.: The snow covered the paper plates and they fell down.
A.C.: The tissue boxes and the buckets are good to make feeders because they stayed up.
J.M.: The apples stayed up too and some of the food was missing.

When talking about whether or not the birds enjoyed the feeders:

M.F.: The bird seed is gone!
B.L.: That’s because the snow is covering the seeds. I can see it if I dig down.
H.K.: I think the birds look fatter!

A Map of My Heart

Featured

DSC02401

What is love? What are the things that you love the most? If we could see inside your heart, what would we find there? These are the questions we examined in our class through the Map of My Heart project. All of this really began when we noticed the children showing an interest in making maps at the writing table. To support and challenge their thinking, we added special “map paper” and an amazing book called My Map Book by Sara Finelli to our writing centre. In My Map Book, Finelli inspires us to think about maps in a whole new way with wonderful images of maps including: “A Map of My Dog,” “A Map of My Day,” “A Map of My Stomach,” and yes, “A Map of My Heart.”

my map book finelli

With Valentine’s Day approaching, I wanted to discuss the theme of love and friendship with my students. To get them thinking about love, we focused on Finelli’s heart map and talked about what we might find in our own hearts. At the Art Studio, we offered the children an opportunity to continue thinking about these questions by making their own heart maps (see the original idea from Playful Learning here: http://playfullearning.net/2009/01/map-of-my-heart/). I felt it was important to give the children as much thinking time as possible for this activity, so rather than having them dive right in to the drawing and painting process, we provided them with planning paper so they could jot down their ideas first. This also had the added bonus of creating some lovely opportunities for dialogue between children as they shared their plans with each other. I found that throughout the art process, children routinely referred back to their plans to help them include all their original ideas in their art piece.

DSC02253

After planning, the children set to work filling in their heart maps. We used permanent black markers for the drawing process and watercolour paints to add colour when the drawings were complete. As part of our evaluation and discussion of Finelli’s heart map, some children felt that some things would naturally take up more space in our hearts (e.g. more love for my family = a large space in my heart vs a little bit of love for flowers, which would = a smaller corner of my heart) and tried to represent this in their work. Overall, I felt the finished pieces so charmingly represented all of the things my students hold dear – and I learned even more about what kinds of things/experiences are really important to the children in my class.

DSC02258 DSC02403

DSC02402

DSC02404

Exploring Loose Parts

DSC02130

This week at the small building centre, we created an “animals in winter” provocation using a variety of materials and loose parts: wood chips, acorns, mushrooms, small blocks, glass tiles, animals, stones, etc. We also provided the children with some non-fiction books about animals and the class iPad. Having a variety of loose parts available to the children is advantageous in many ways. Loose parts can be used in any way the children wish, thus encouraging creativity and imagination. The children are also not limited with how loose parts can be used, combined, or organized. Because loose parts can be used in many ways, the children are able to demonstrate and explore a variety of themes and ideas. A popular theme that arose from this provocation was that of animal homes. The children were very interested in using the loose parts to create shelters for the animals. When they weren’t sure what a particular animal’s home looked like in real life, we googled it on the iPad and used the images we found to recreate a home that suited the animal. There was a lot of investigation, research, and problem solving going on!

DSC02132

DSC02131

DSC02097

hedg

DSC02135

DSC02102

DSC02098


Zooming in on Technology!

Image

I am always on the lookout for new and interesting ways to enhance student learning using technology. Recently, our class received a digital microscope to pilot in the classroom. As technology goes, this tool is relatively inexpensive (around $60) and has proven to be a neat way of looking at things in a brand new way!

We began by using the microscope to explore our plants growing in the classroom and to zoom in on the bird nests that our students brought in to share. These activities were teacher-led during our large group instruction time and helped the students understand how the microscope works and how it can be useful for seeing things our eyes can’t normally see.

This week, the children took their own initiative with the microscope. A group of students approached me during Discovery Time – they wanted to use the microscope to explore some objects in the classroom. After hooking it up to the laptop for them, the children proceeded to snap images of a classroom chair, table-top, finger, iPad, and iPad button. There is only one button to press for picture taking, so the children were able to do this themselves. I had to help them focus the microscope (by rotating the lens at the top) first. The children were so amazed at how different our classroom materials looked close-up that they wanted to print out their pictures and share them with the class. We decided to make a game of it. The students wrote clues on their pictures and we presented them to the class to see if anyone could guess what the picture was of (I also posted the pictures on our classroom SMARTBoard so they were easy for the class to see).

DSC02220

M.B. – “What is this? It starts with CH and you sit on it.”DSC02221

R.K: “What is this? You press it and it starts with a B.”

Overall, we have really been enjoying the digital microscope in our classroom. It took a little getting used to while we were learning how to focus the lens, but the set up and installation (we downloaded software directly from the website where the microscope can be purchased) was easy. The children are comfortable manipulating the microscope on their own (with some assistance in focusing) and its small size means it’s good for small hands and doesn’t take up space in the classroom. I’m interested to see what new discoveries we will make with our new tool!