Nests, revisited…

Image

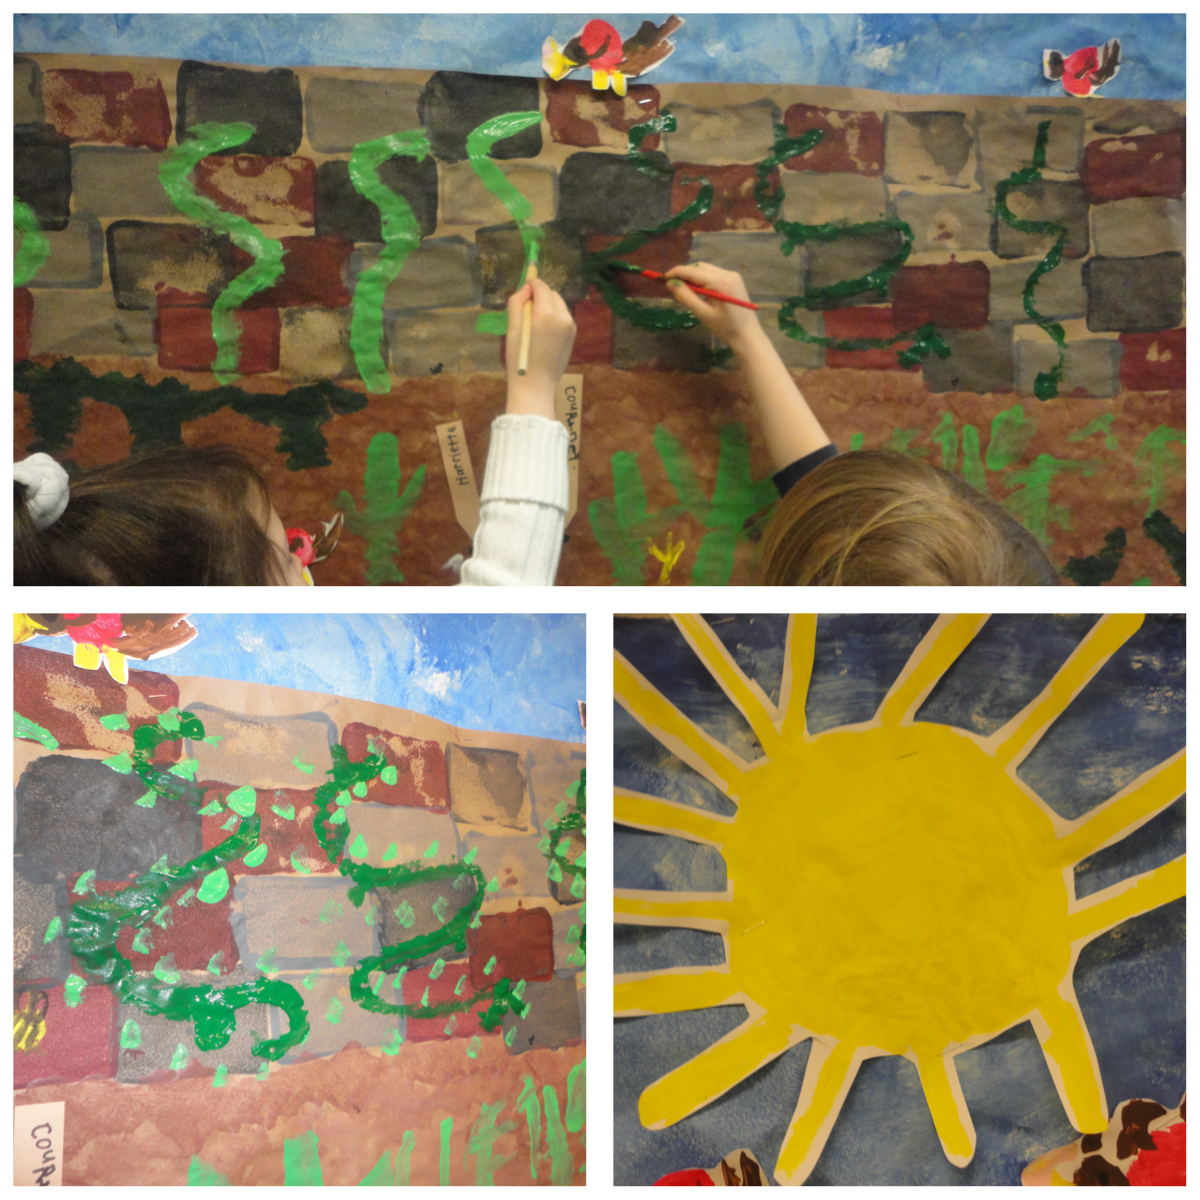
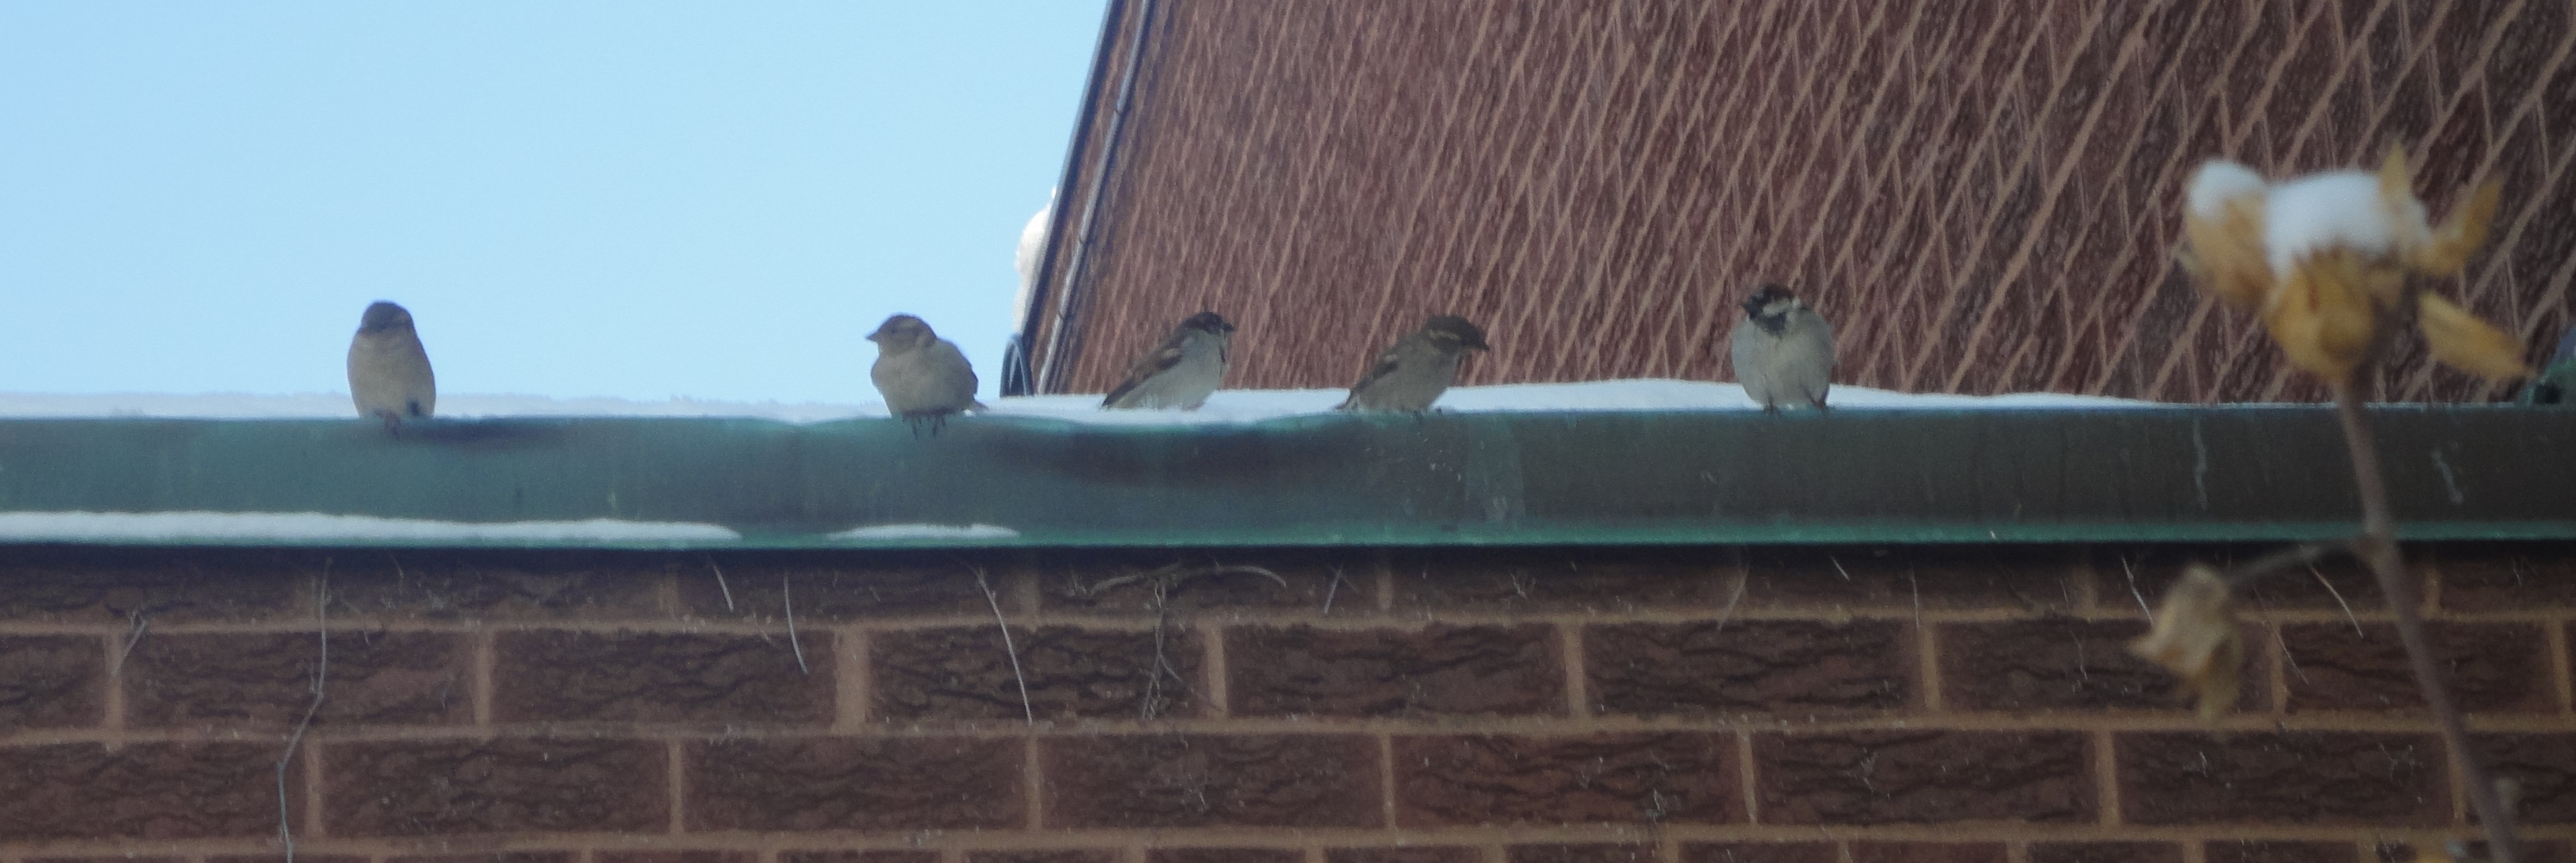
One of the things I’ve noticed about inquiry projects is how everlasting the learning is. Our projects never really end; though we may “shelve” our thinking and ideas for a time, we often revisit our projects throughout the year – or even in the following year. Earlier in the fall I wrote about a nest inquiry we embarked on after one of my students brought in a nest she found on her way to school (you can read about it here: “Whose Nest is This?”). This Spring, students started thinking about an inquiry from last year where we studied the birds in our yard. As the weather warmed up, the children started noticing our sparrows territorially guarding the bird houses in the courtyard and began speculating that the birds might be preparing nests for their babies, as they had done last year. This created some interesting discussion and wondering about nests. Some of the questions that came up were:

Why do birds (and other animals) build nests?

How do they build nests? What materials do they use? How long does it take?

We really wished we could see inside our bird houses so we could see what the birds were up to! To that end, I found a clip on YouTube that showed a time lapse of a bird building a nest inside a birdhouse (some clever person had set up a video camera in the roof of the house to capture the whole process – boy, did my students think THAT was a genius idea!).

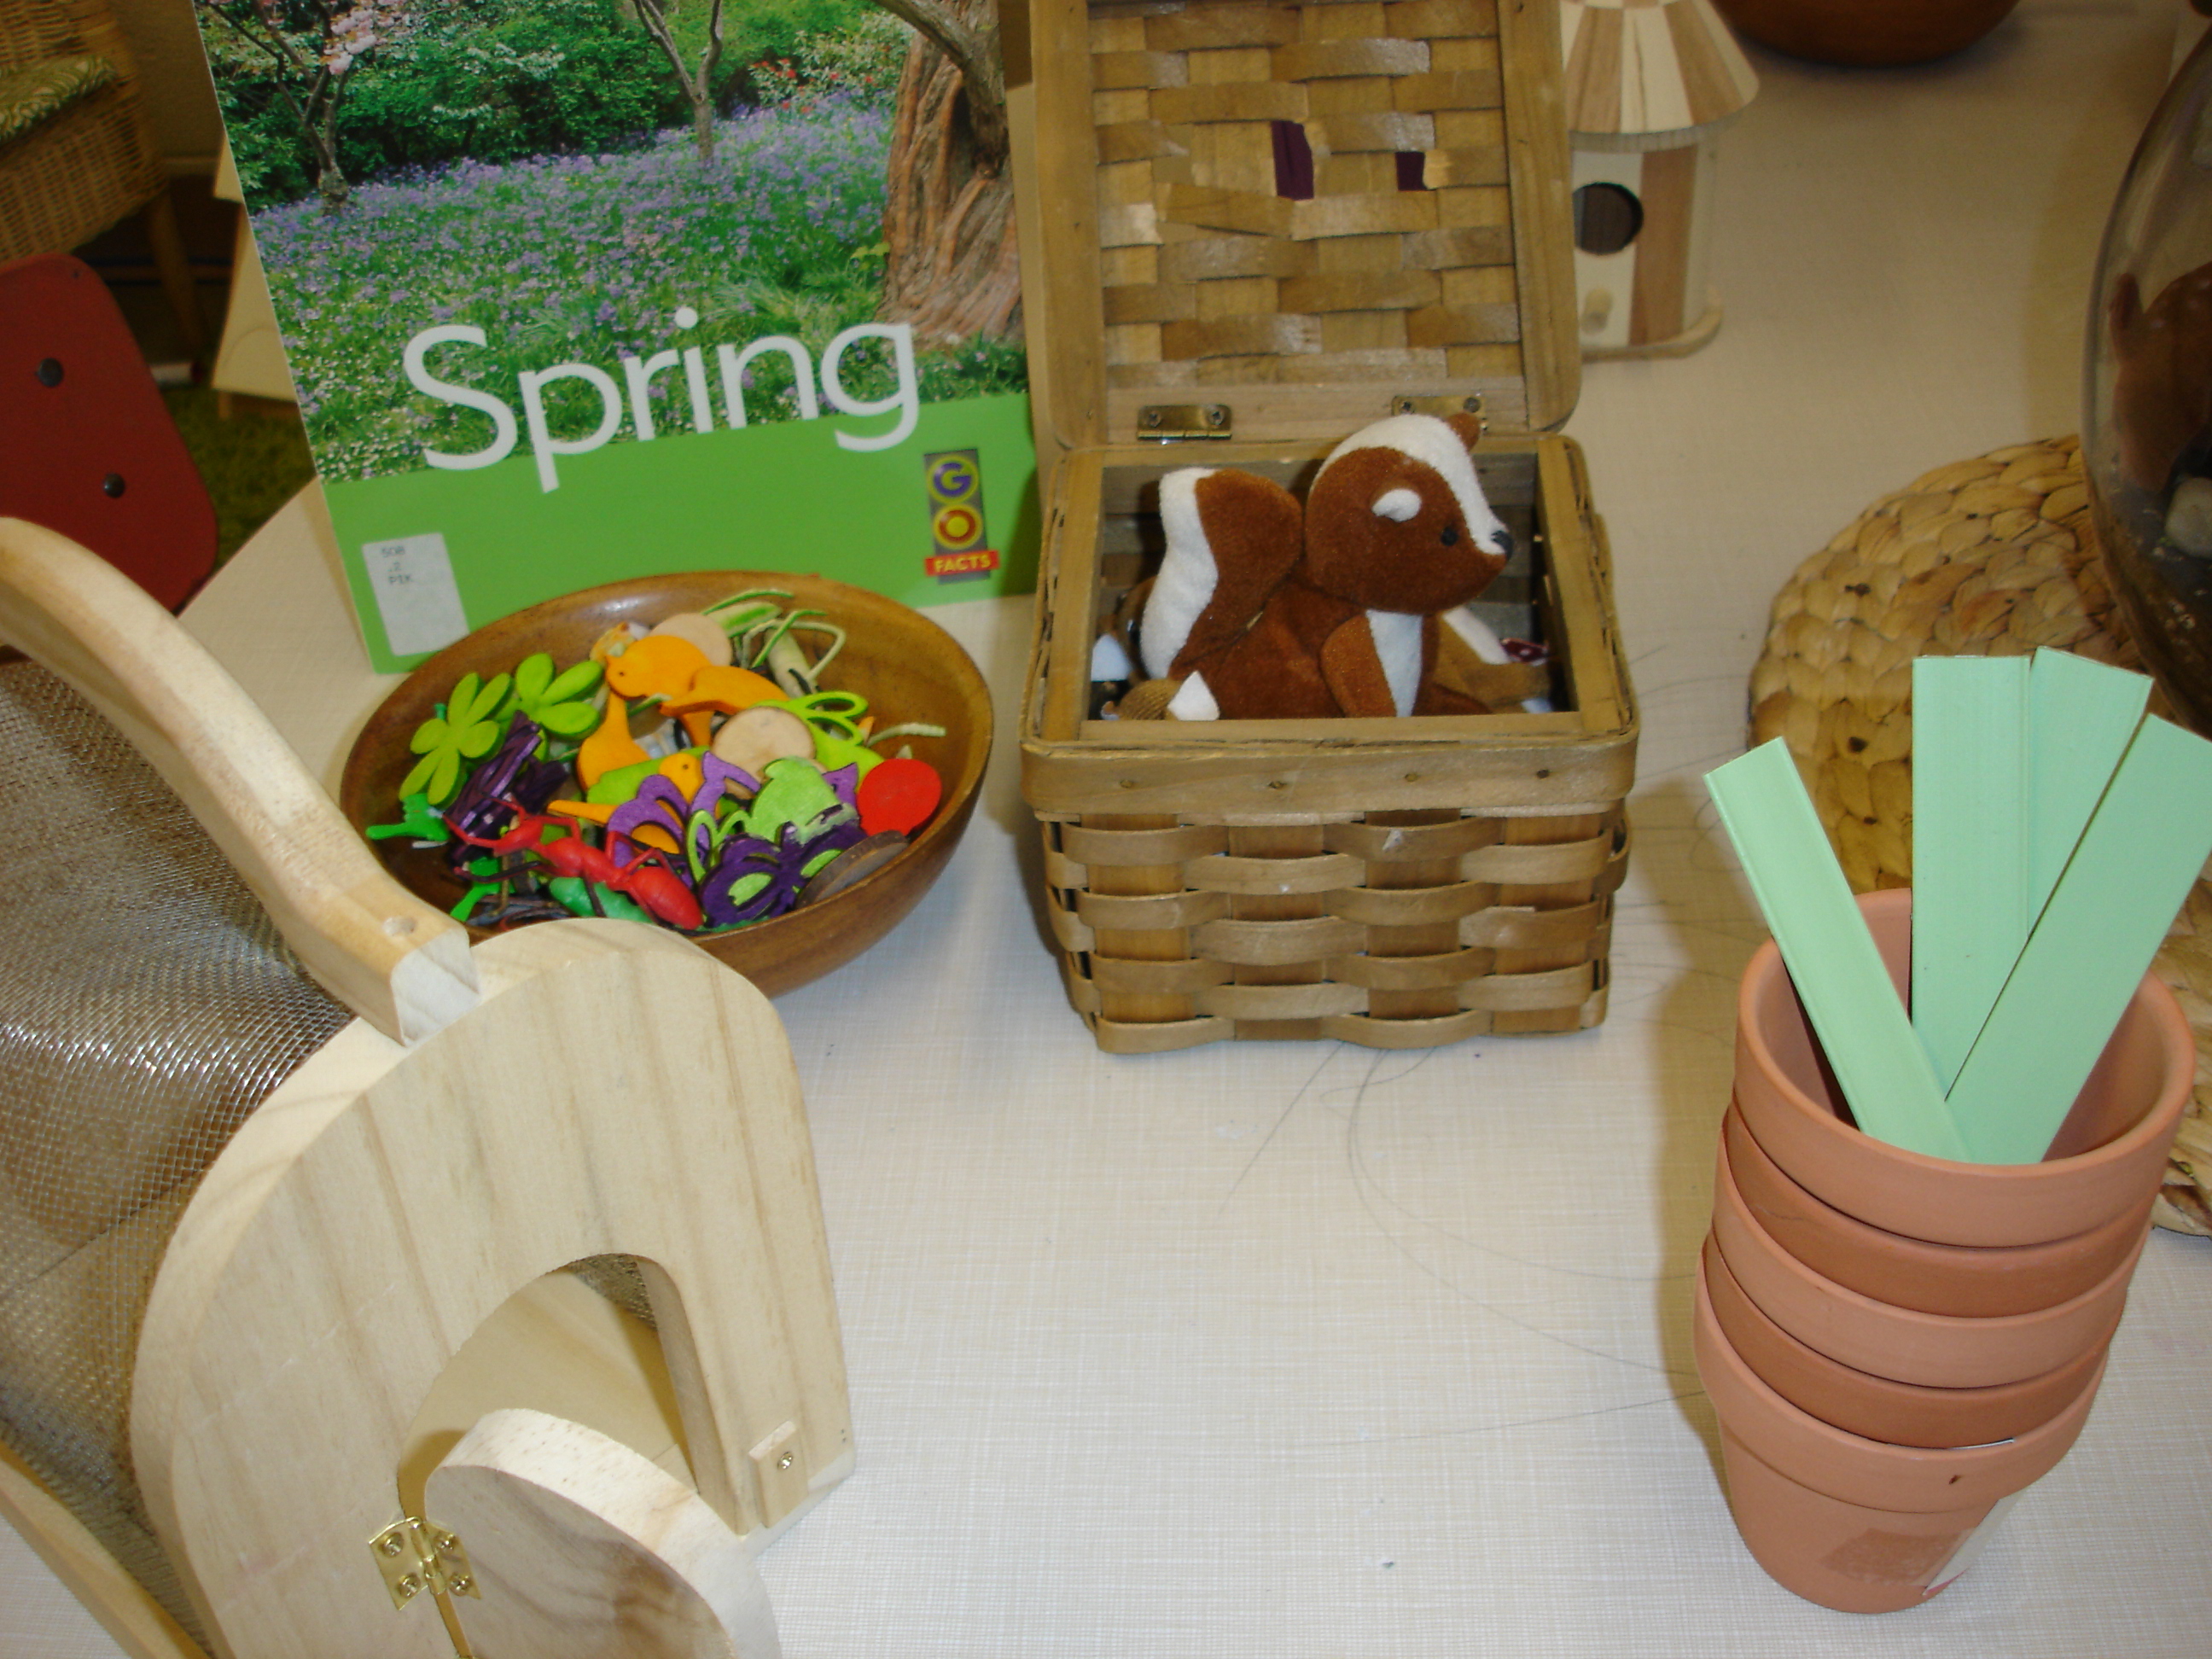
To capitalize on the students’ interest in nests, I created a provocation at the Art Studio. We had been working with clay over the last few weeks and I wanted to give the students a new experience with this popular material. Here is the provocation:

Image

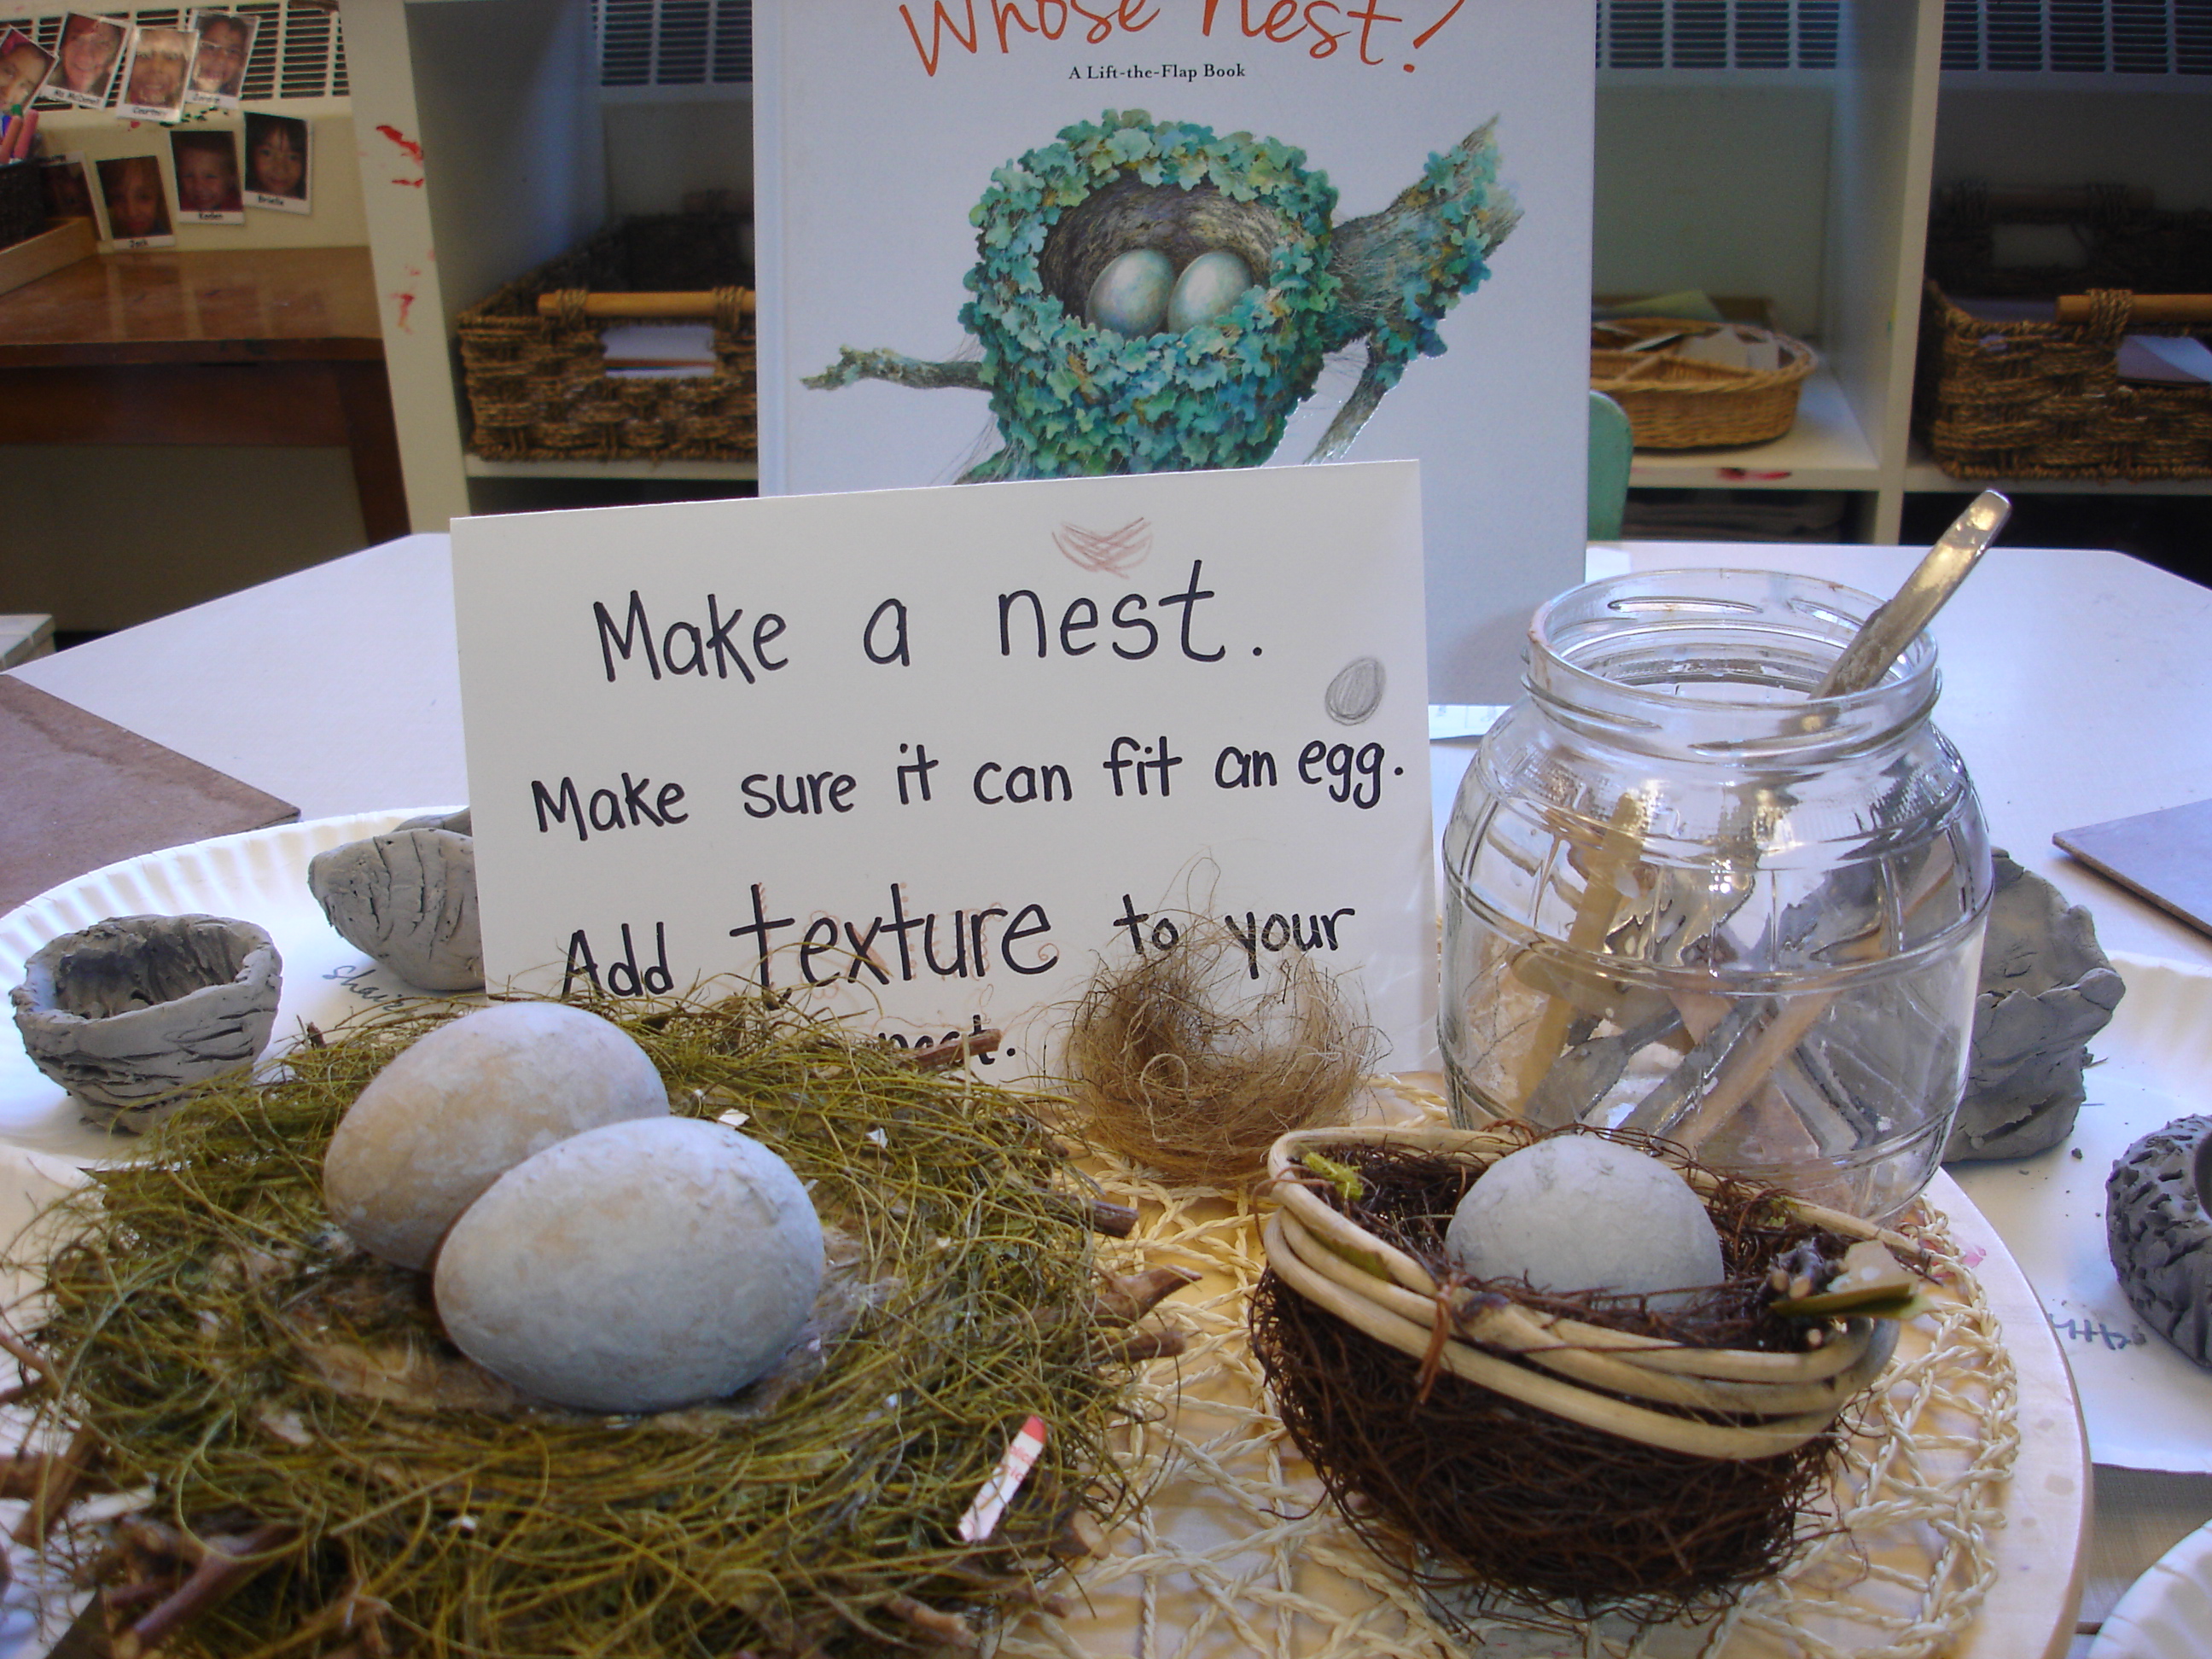
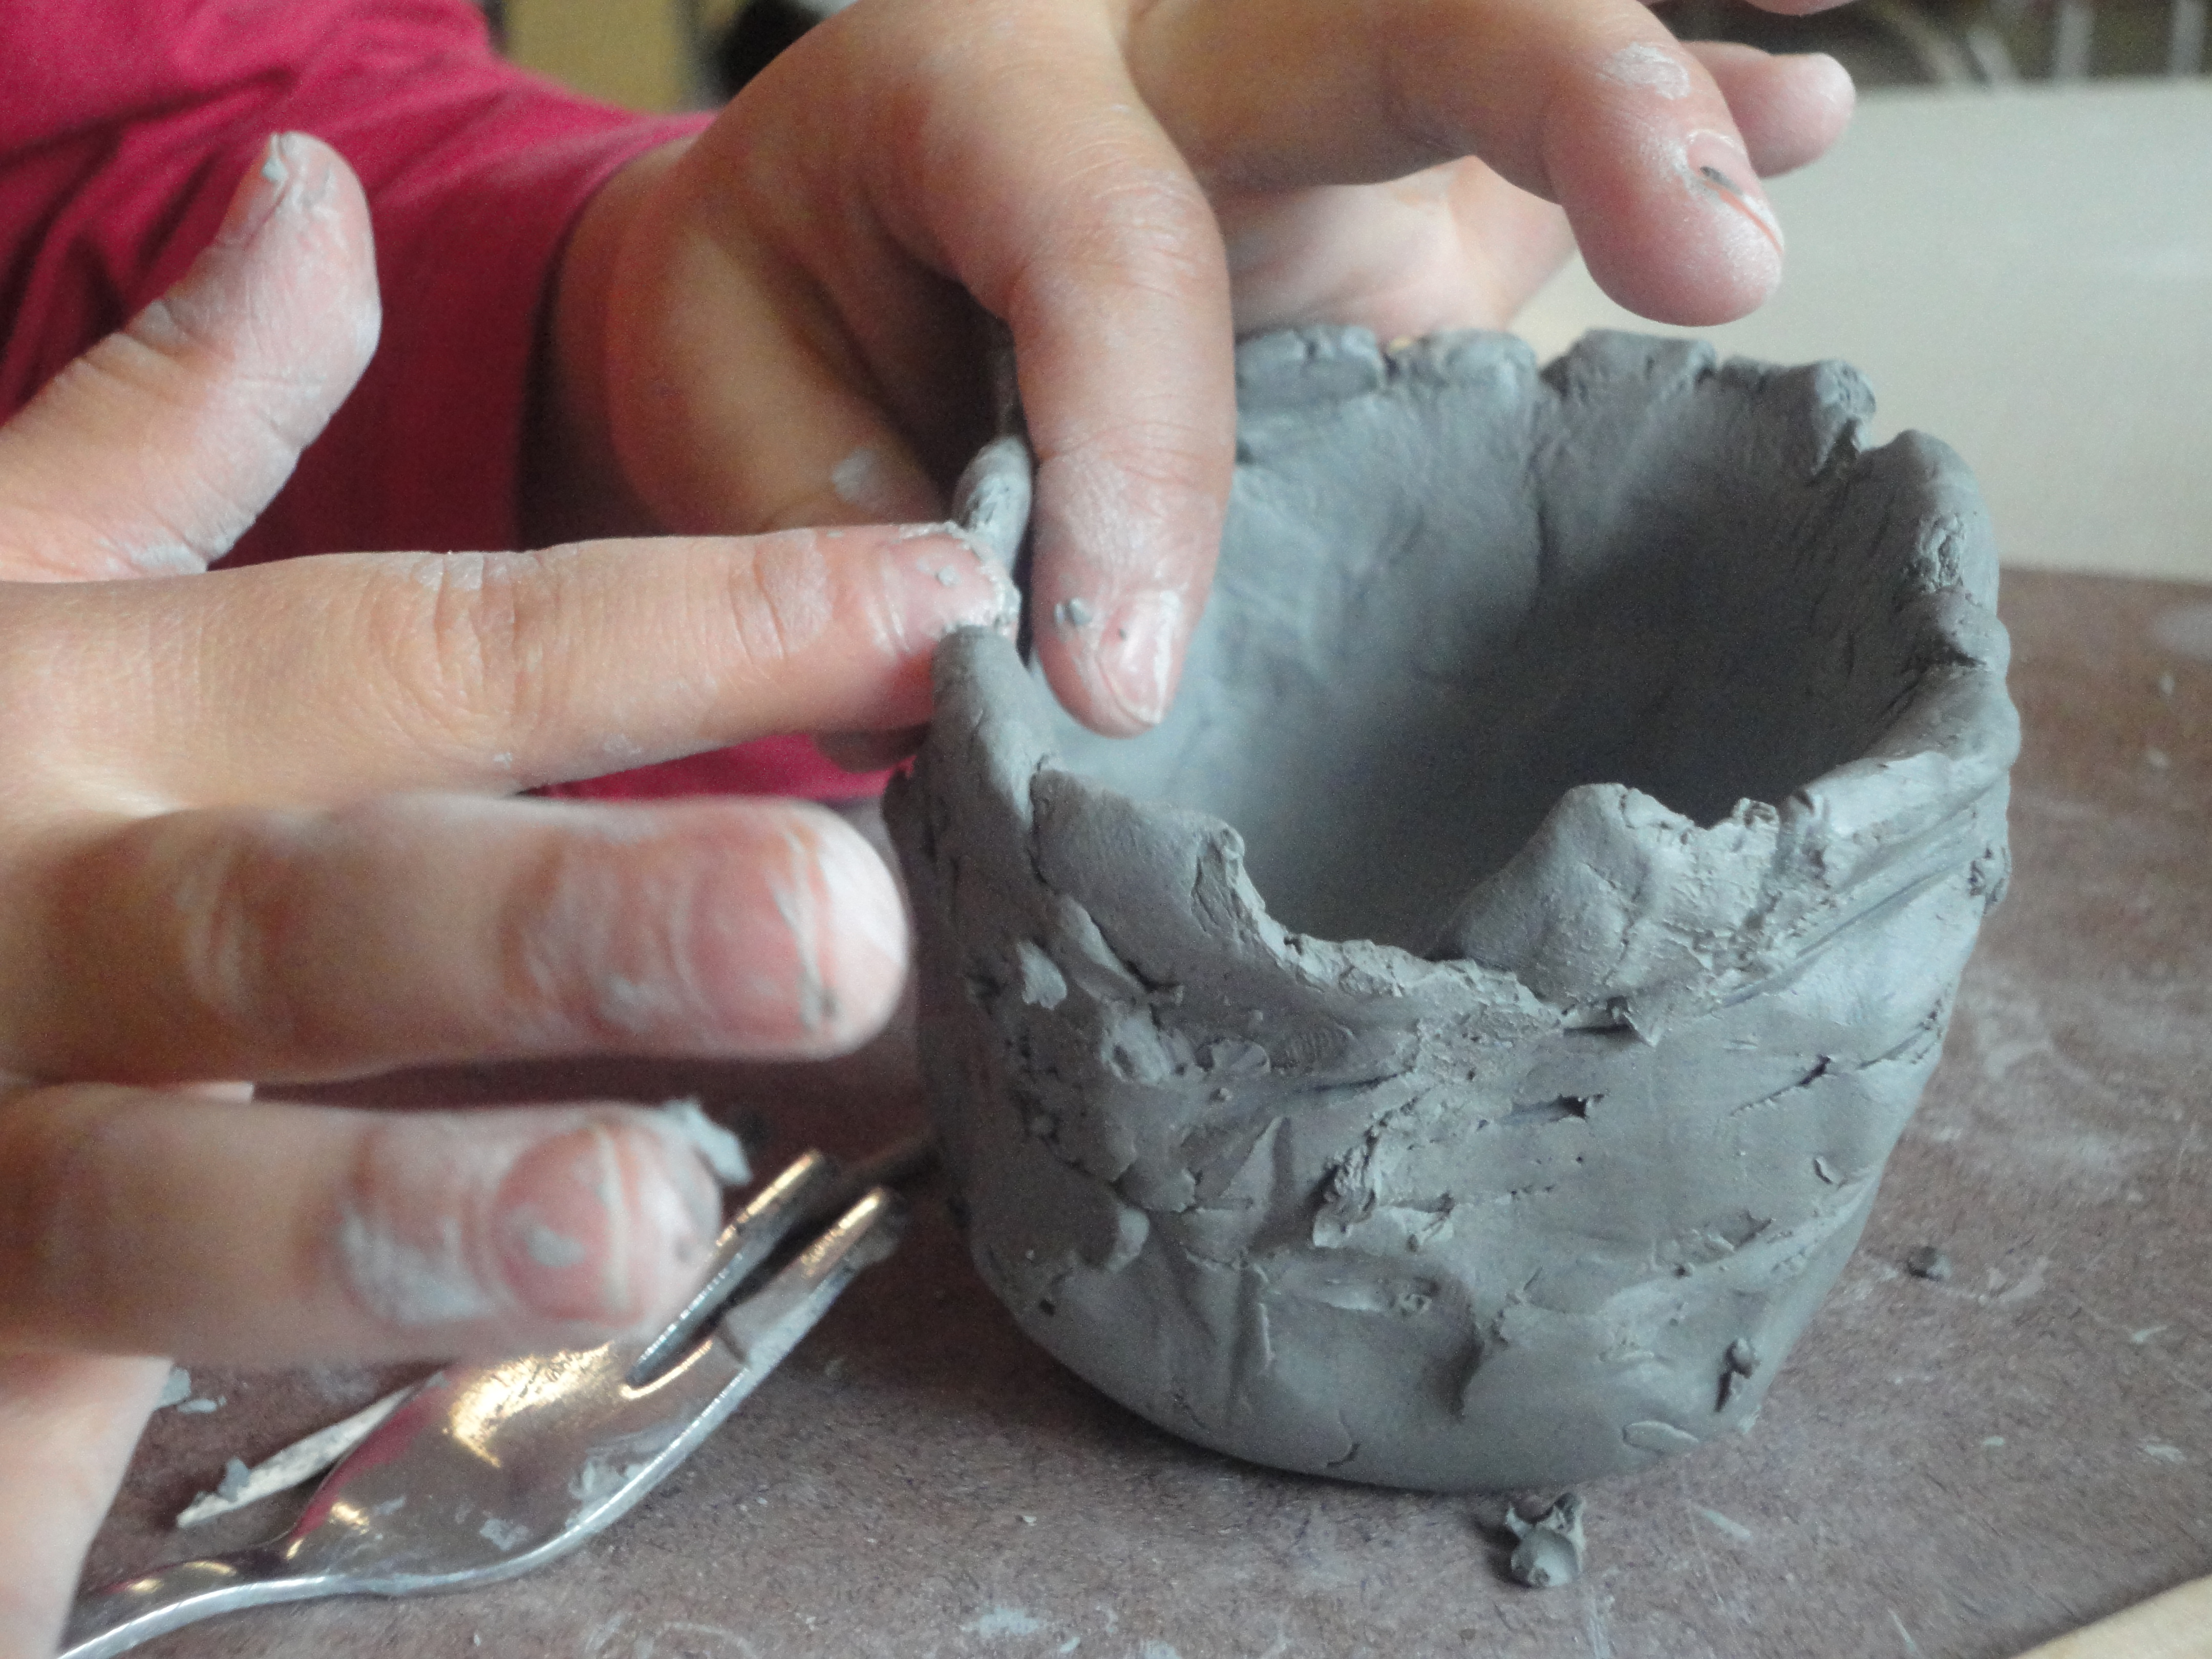
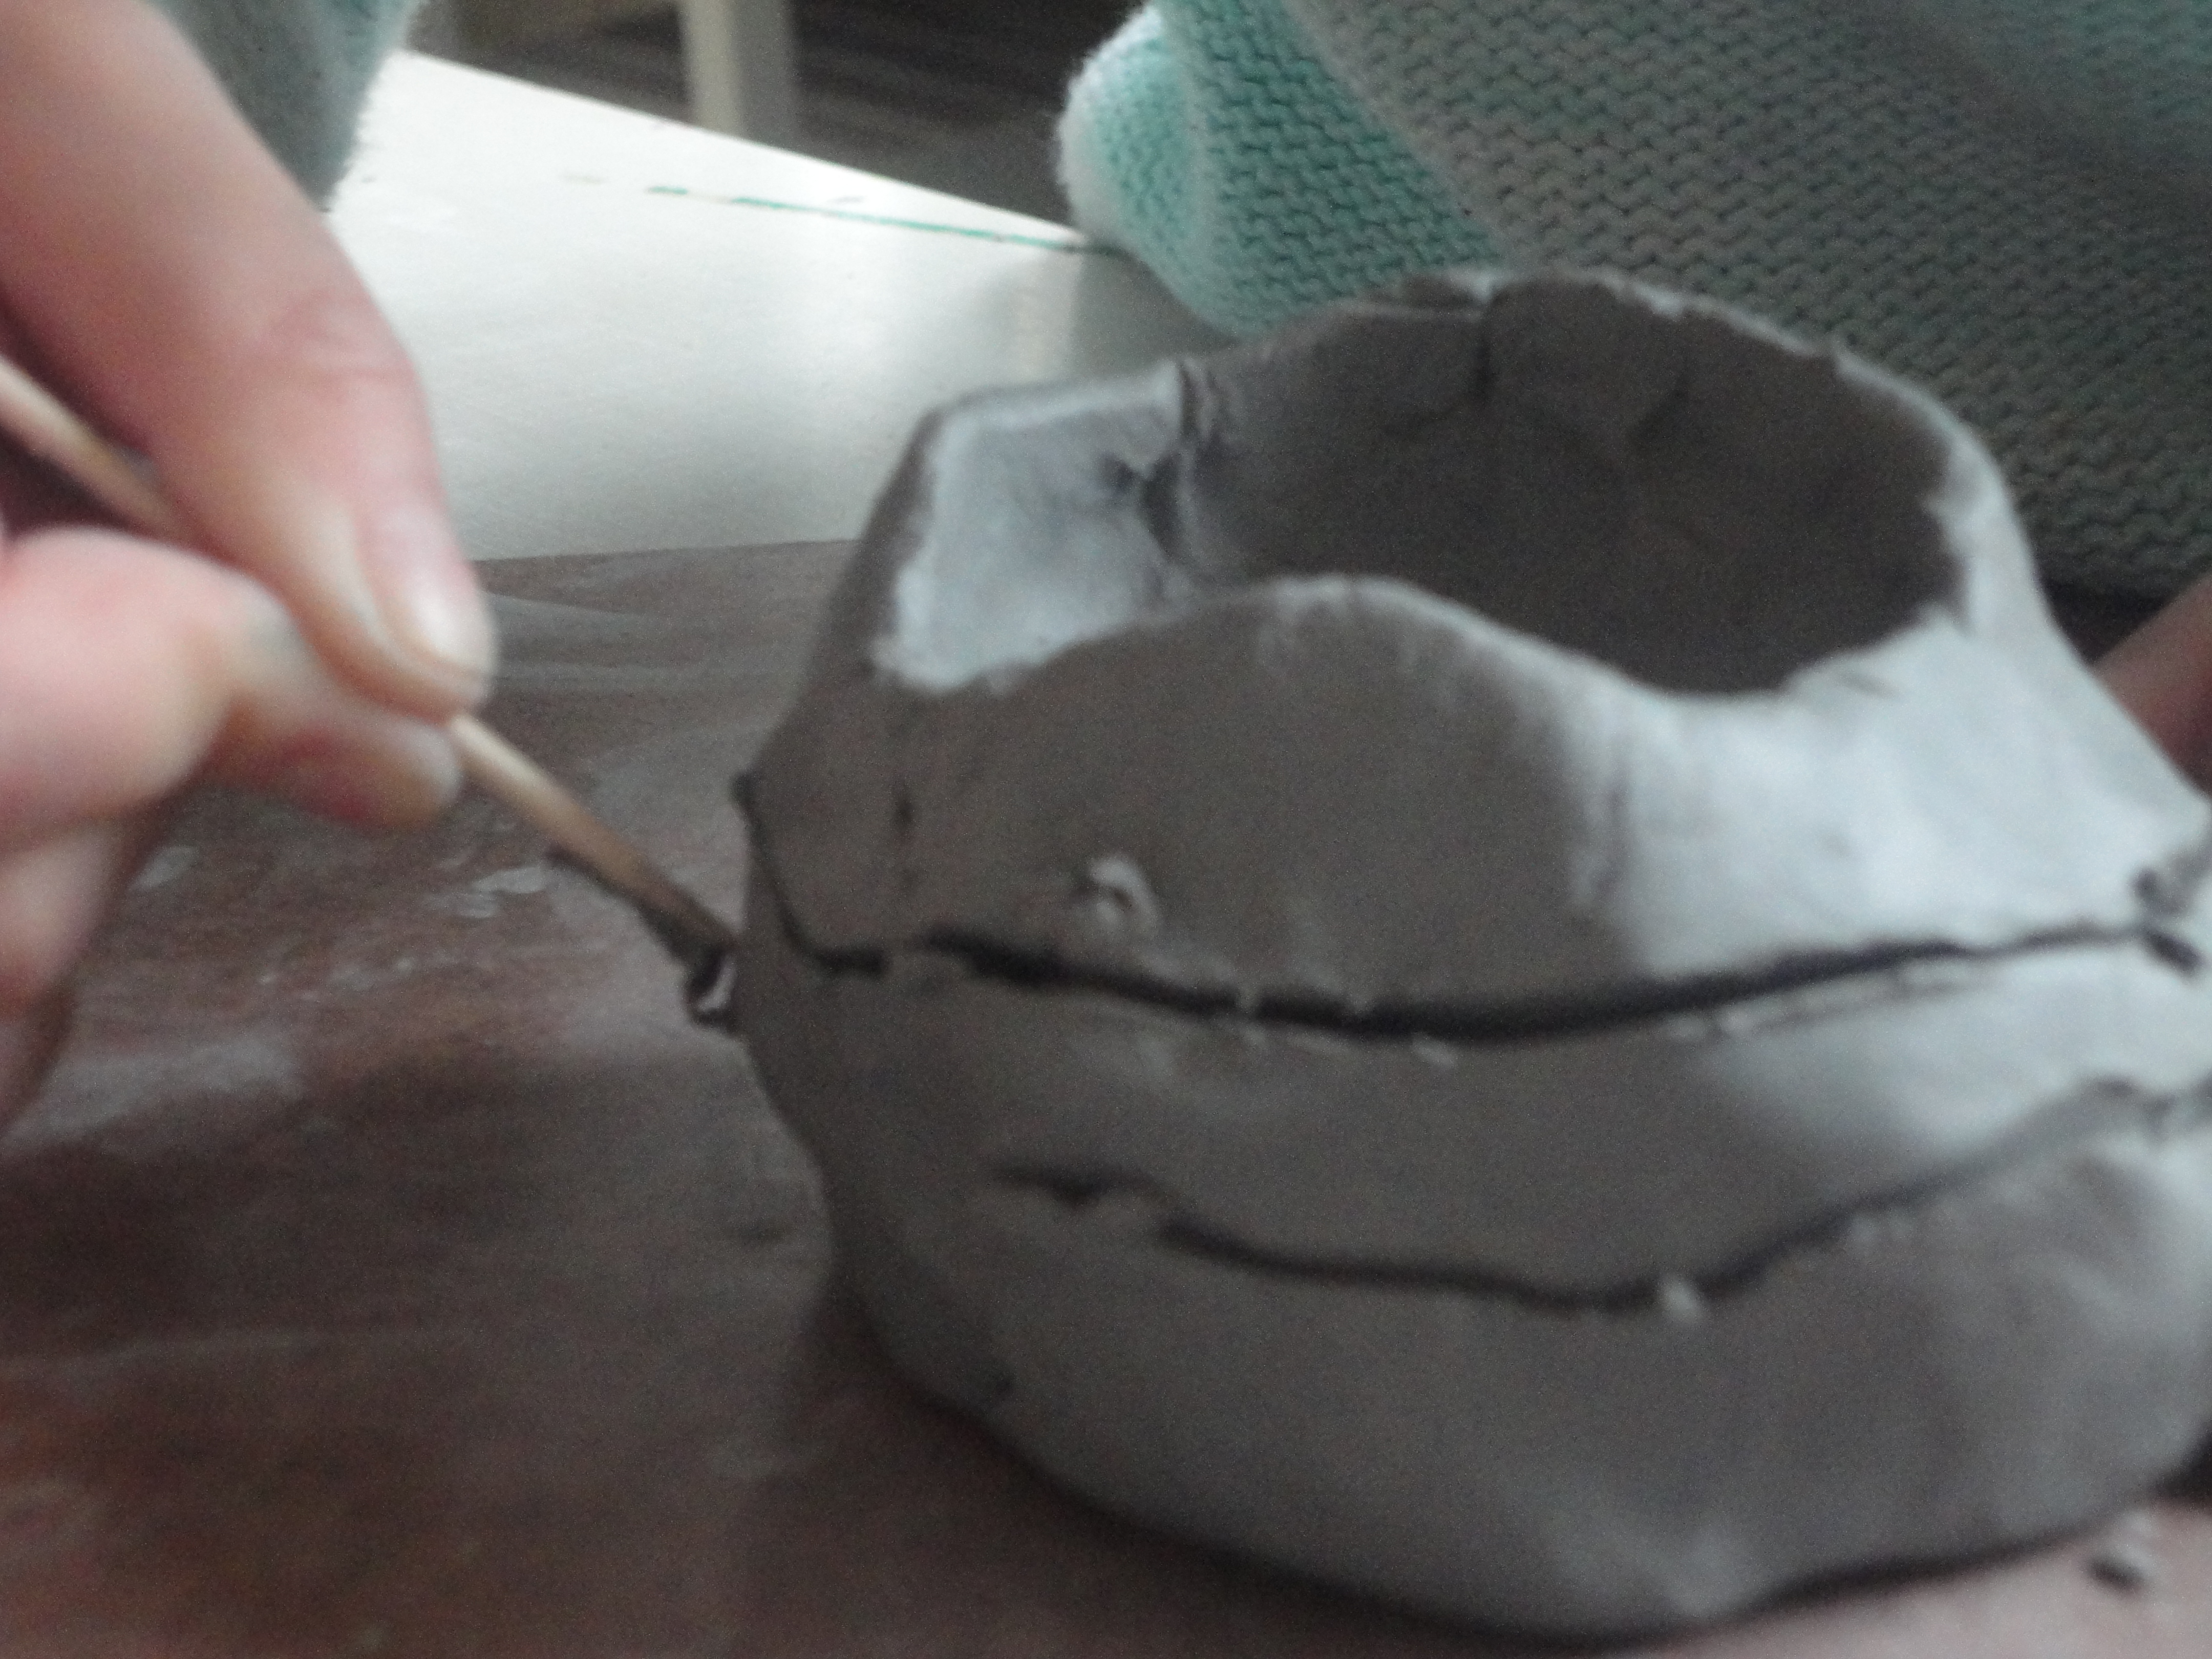
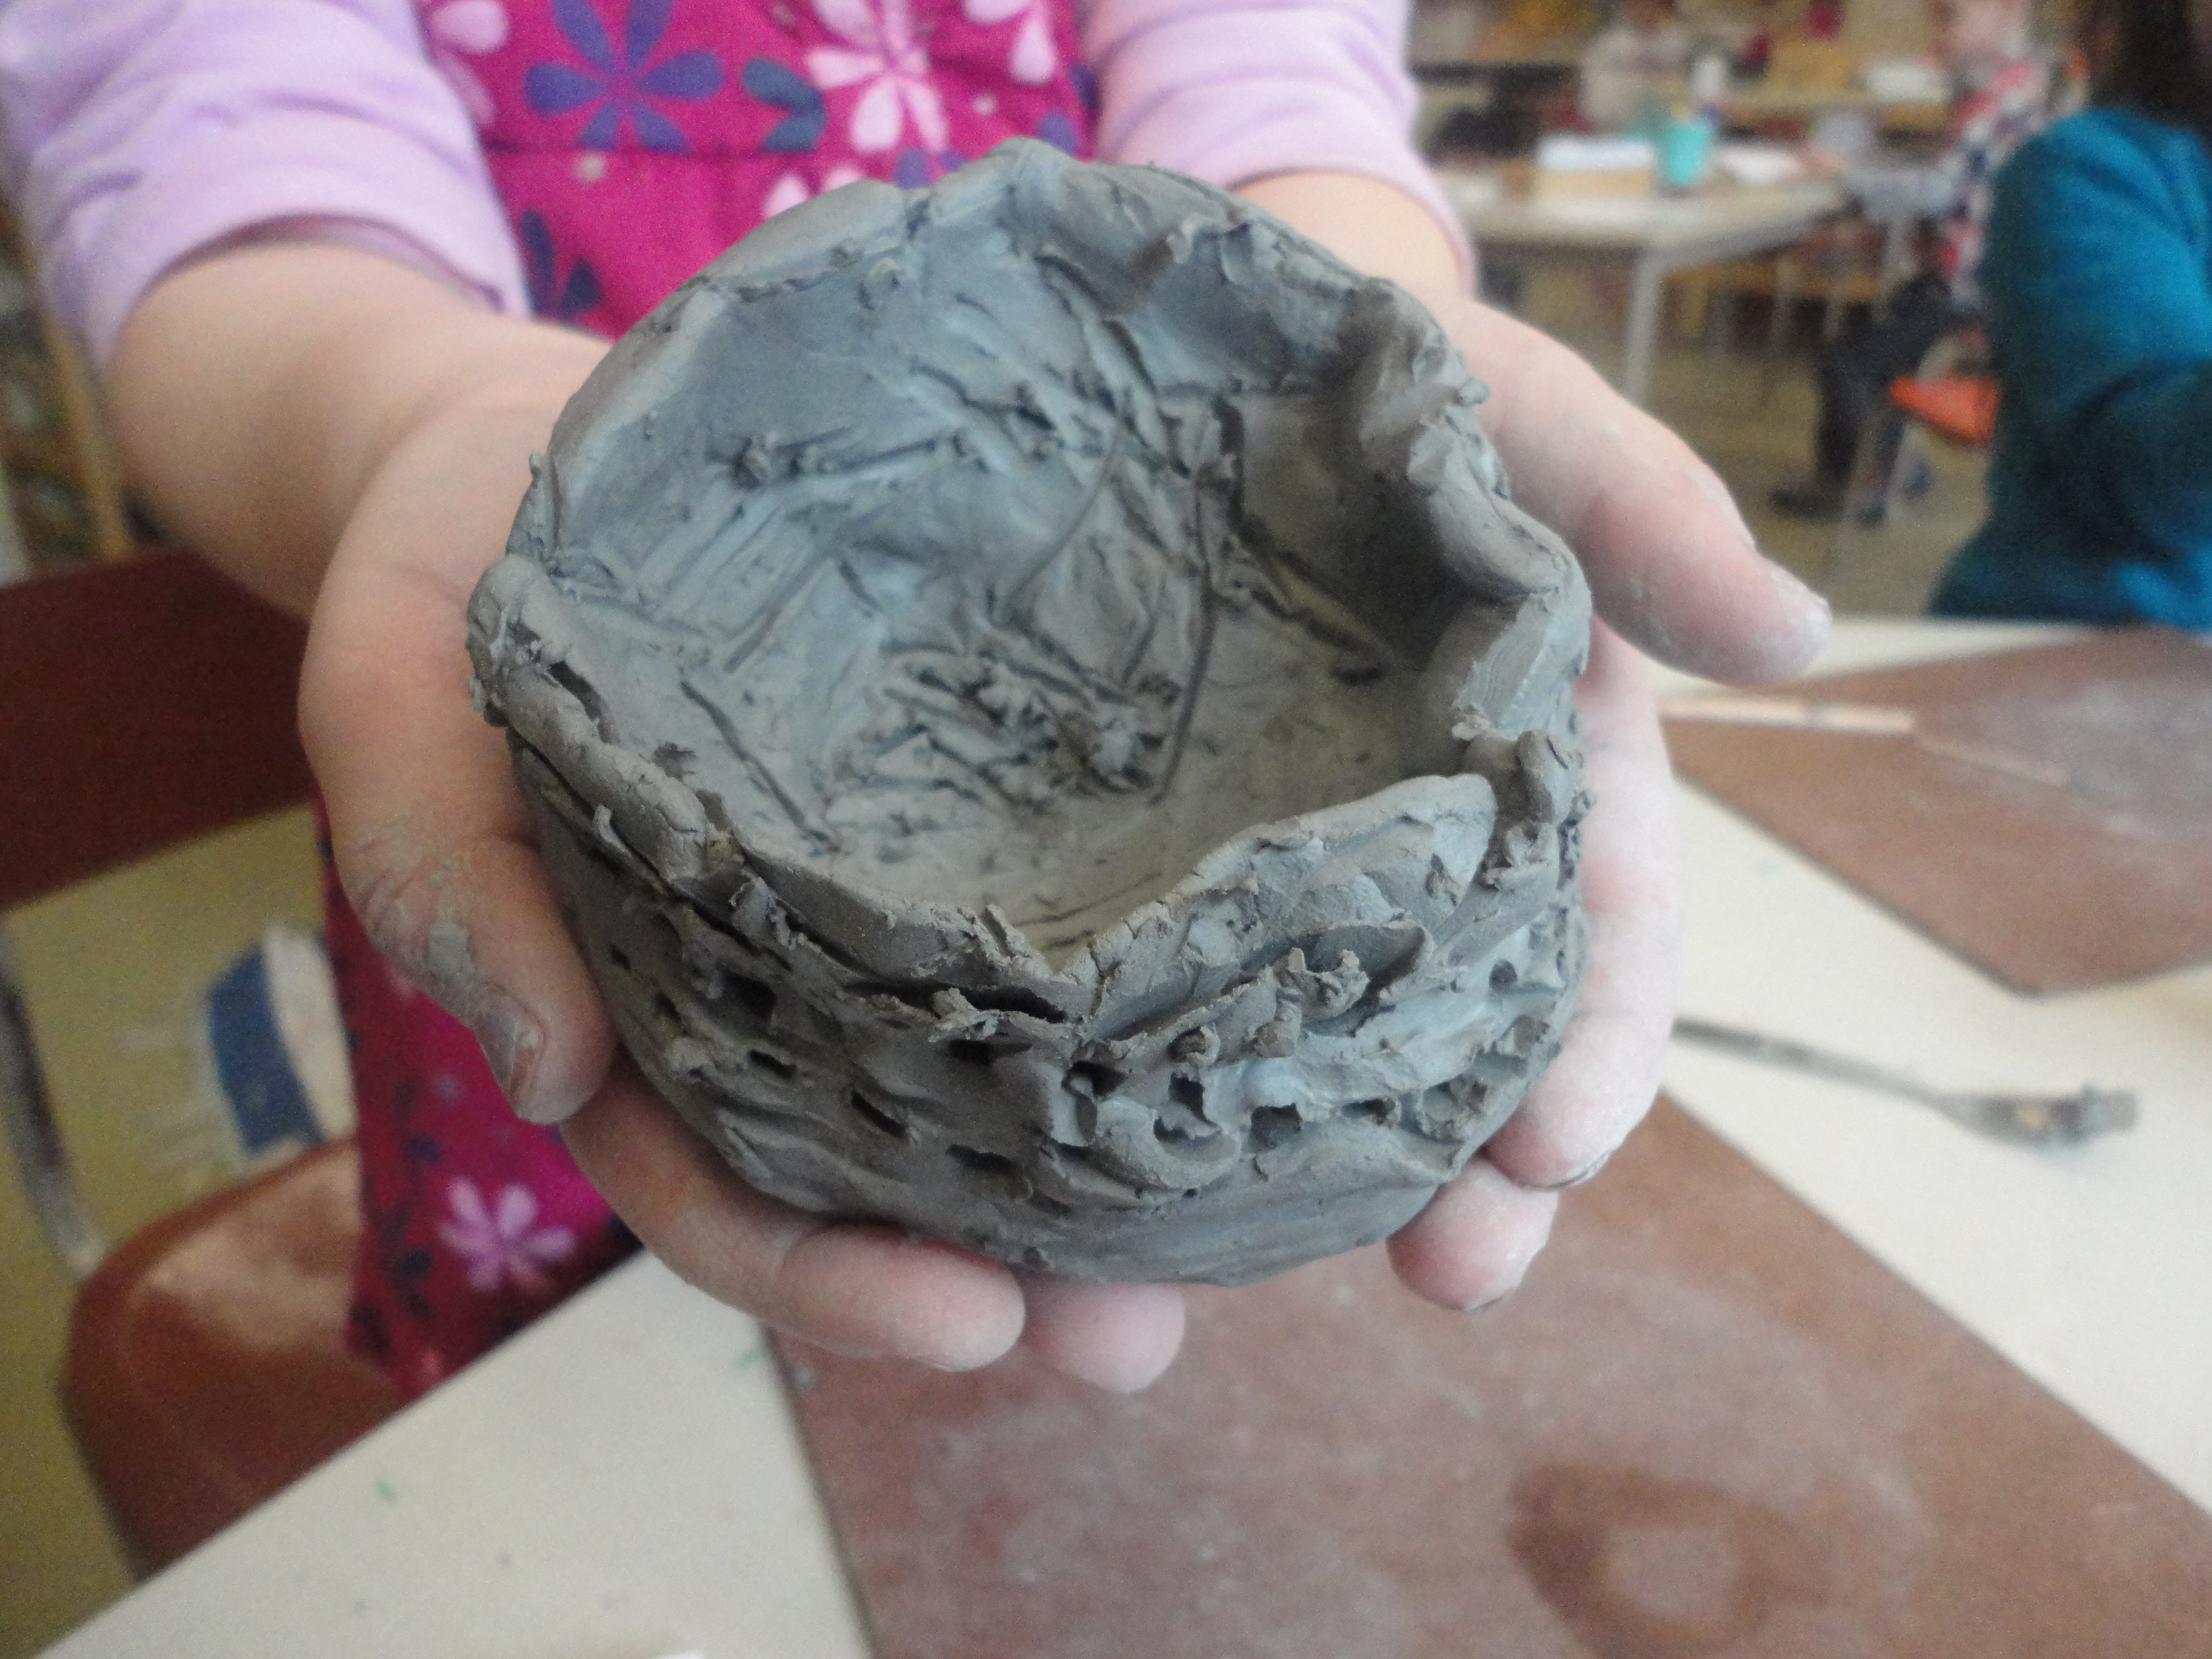
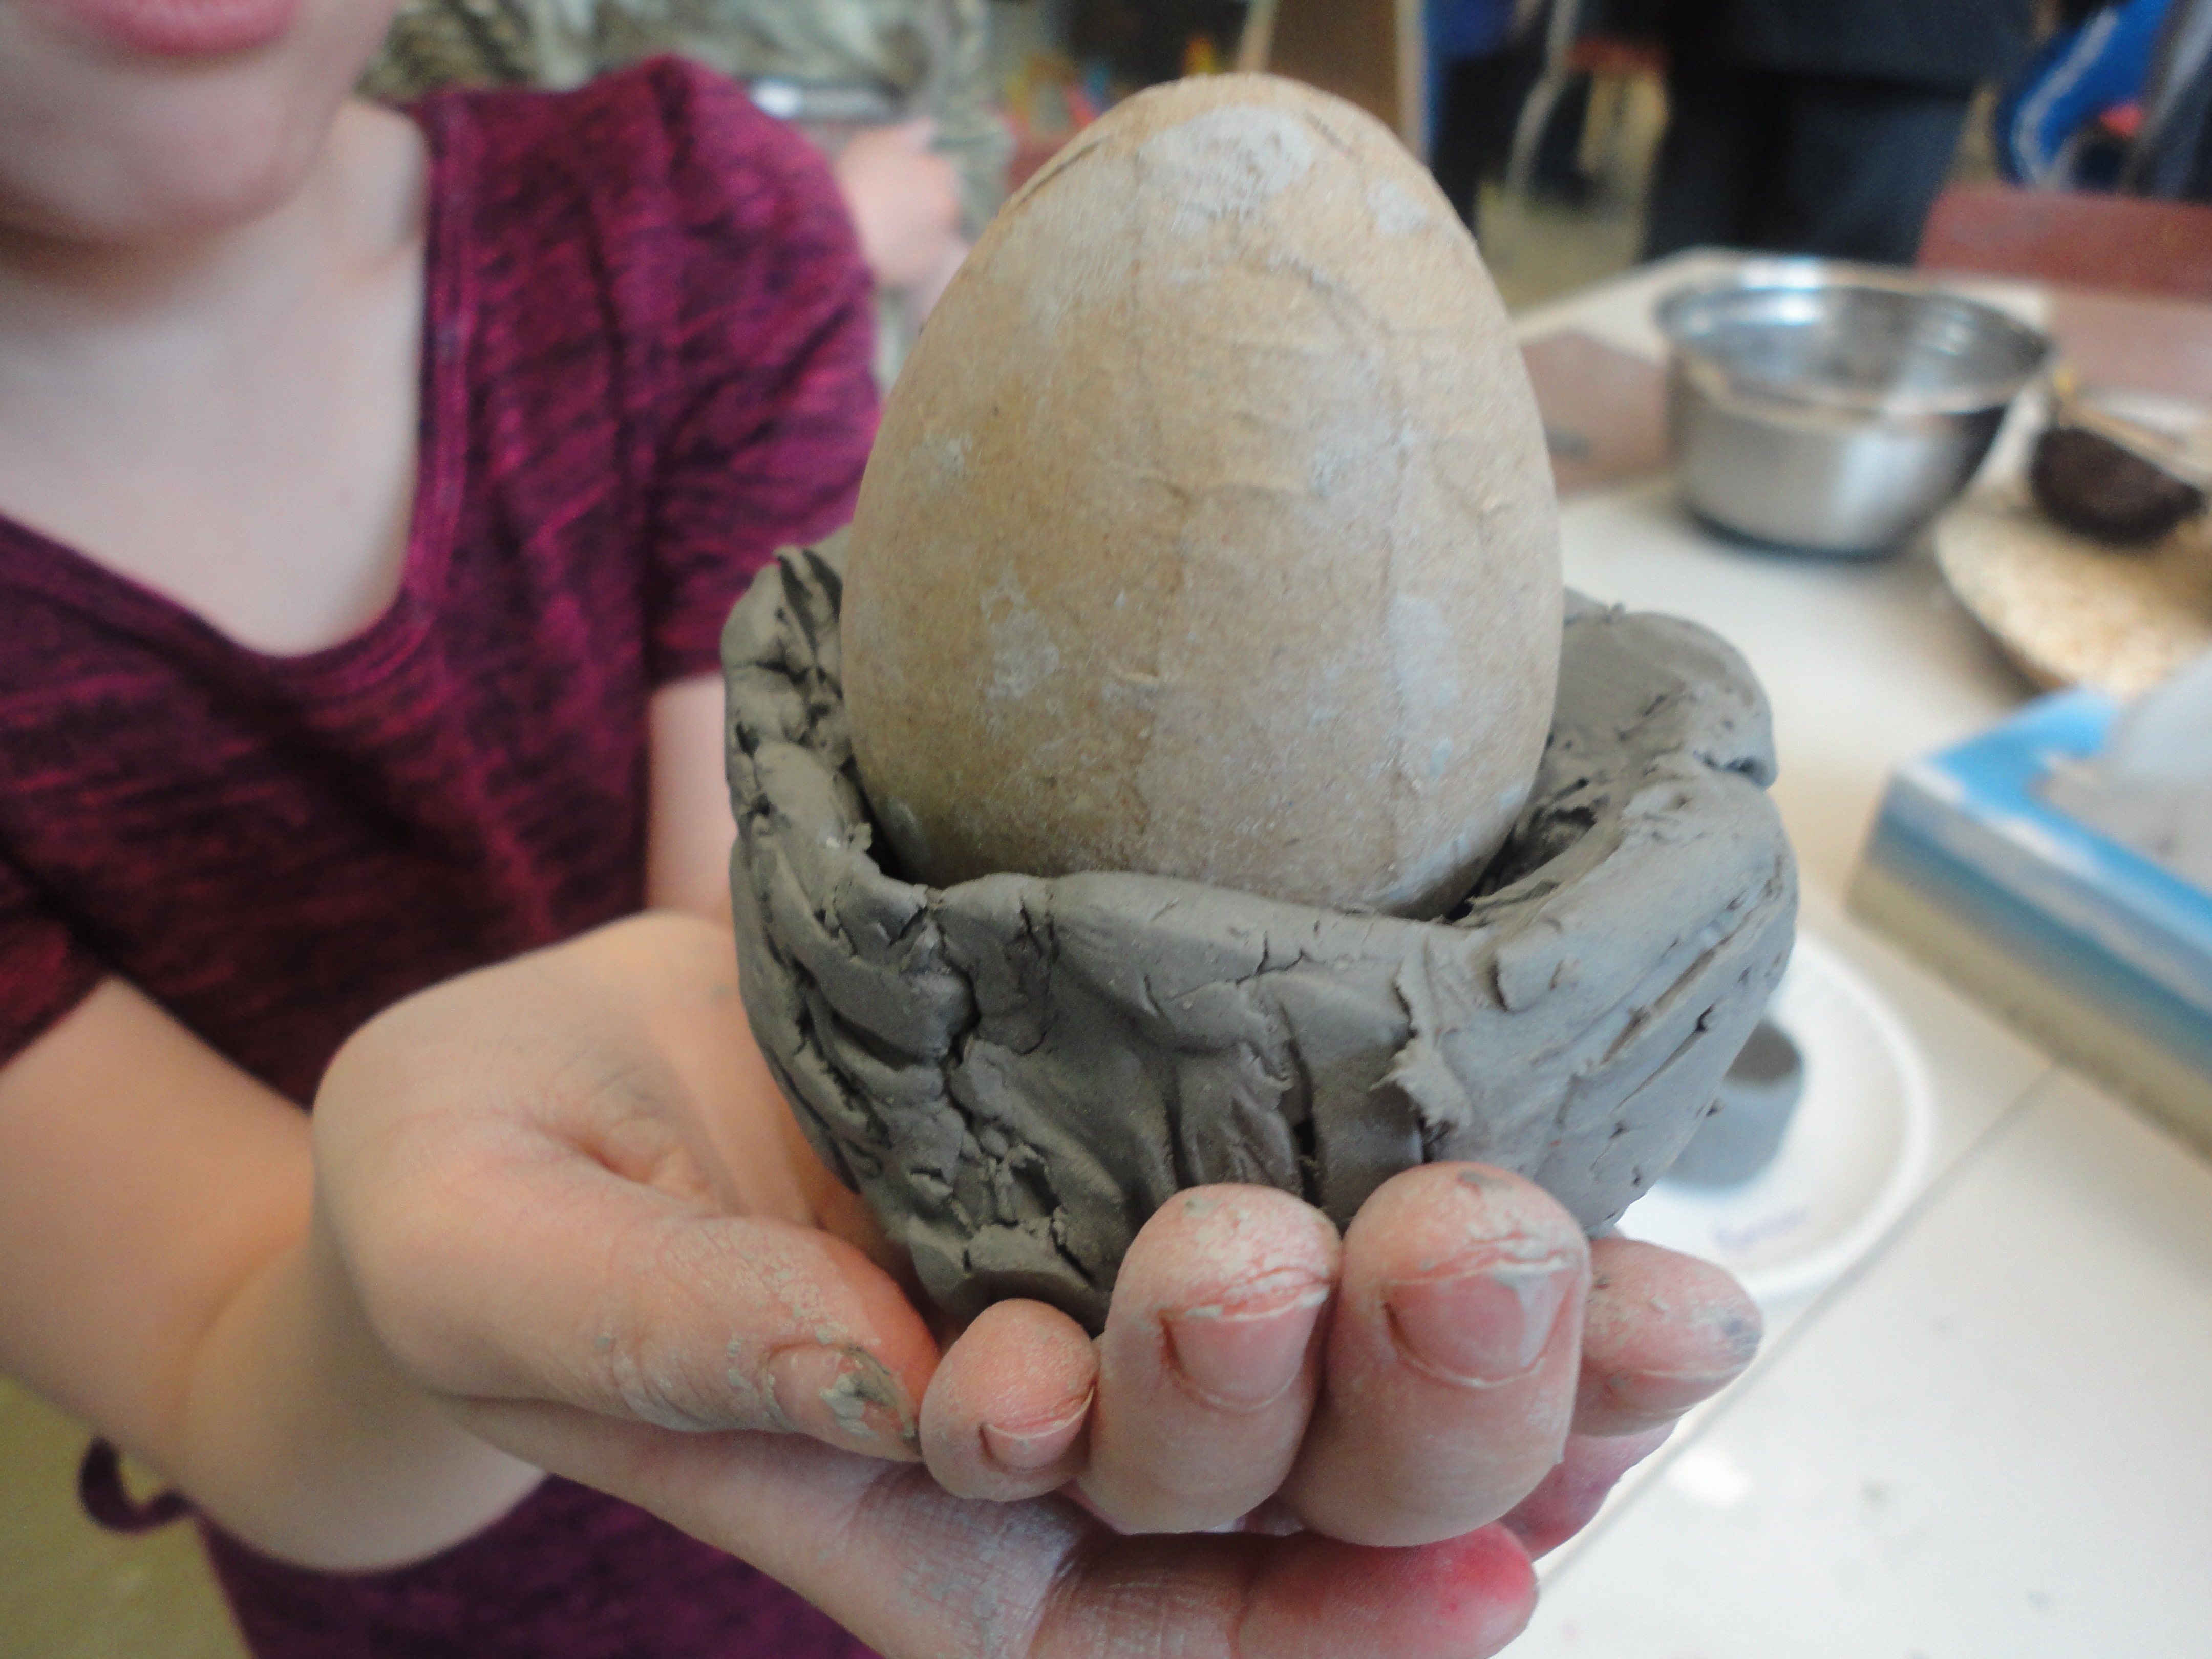
Students were asked to sculpt a nest out of clay and make sure that it could safely hold at least one egg. Students were also asked to add “texture” to their nests using a variety of materials. Fitting an egg proved to be a wonderful challenge that encouraged the children to problem solve as they worked  – making their nests deeper, wider, or taller as necessary to safely hold the egg. When it came to adding texture, we spent some time holding real bird nests and describing how they felt – “rough,” “prickly,” “scratchy.” “soft,” “smooth,” etc. Children were given simple tools (popsicle sticks, toothpicks, forks, etc.) to add the texture they felt was appropriate. This was a new experience for my students, as our previous work with clay had required them to make their pieces as smooth as possible. Some children had a hard time scratching up their work – in their minds, the nests needed to be smooth because “that’s what clay should feel like.” I was fascinated by this line of thinking. It just goes to show that we often misinterpret the messages that children receive from us from our teaching.

Image

S.M: The inside of my nest is very big so all the eggs can fit and won’t fly out because of the wind!

Y.T: I made my nest with clay. First, I made a circle and then I put my thumb in and pushed. First the egg didn’t fit and then I pinched it more and tested it but it still didn’t fit, then I tested it again and it fit!

G.M: Nests are for baby birds. The nest keeps the eggs from falling out on the ground where someone might eat them.

Image

J.M.: Nests are very scratchy. I’m going to pinch it to make it rough. I really enjoyed making this!

J.K.: Nests have a bumpy texture.

S.M.: My nest has a rough texture on the outside and a smooth texture on the inside. It’s smooth in the inside because we don’t want to hurt the birds.

Image

Image

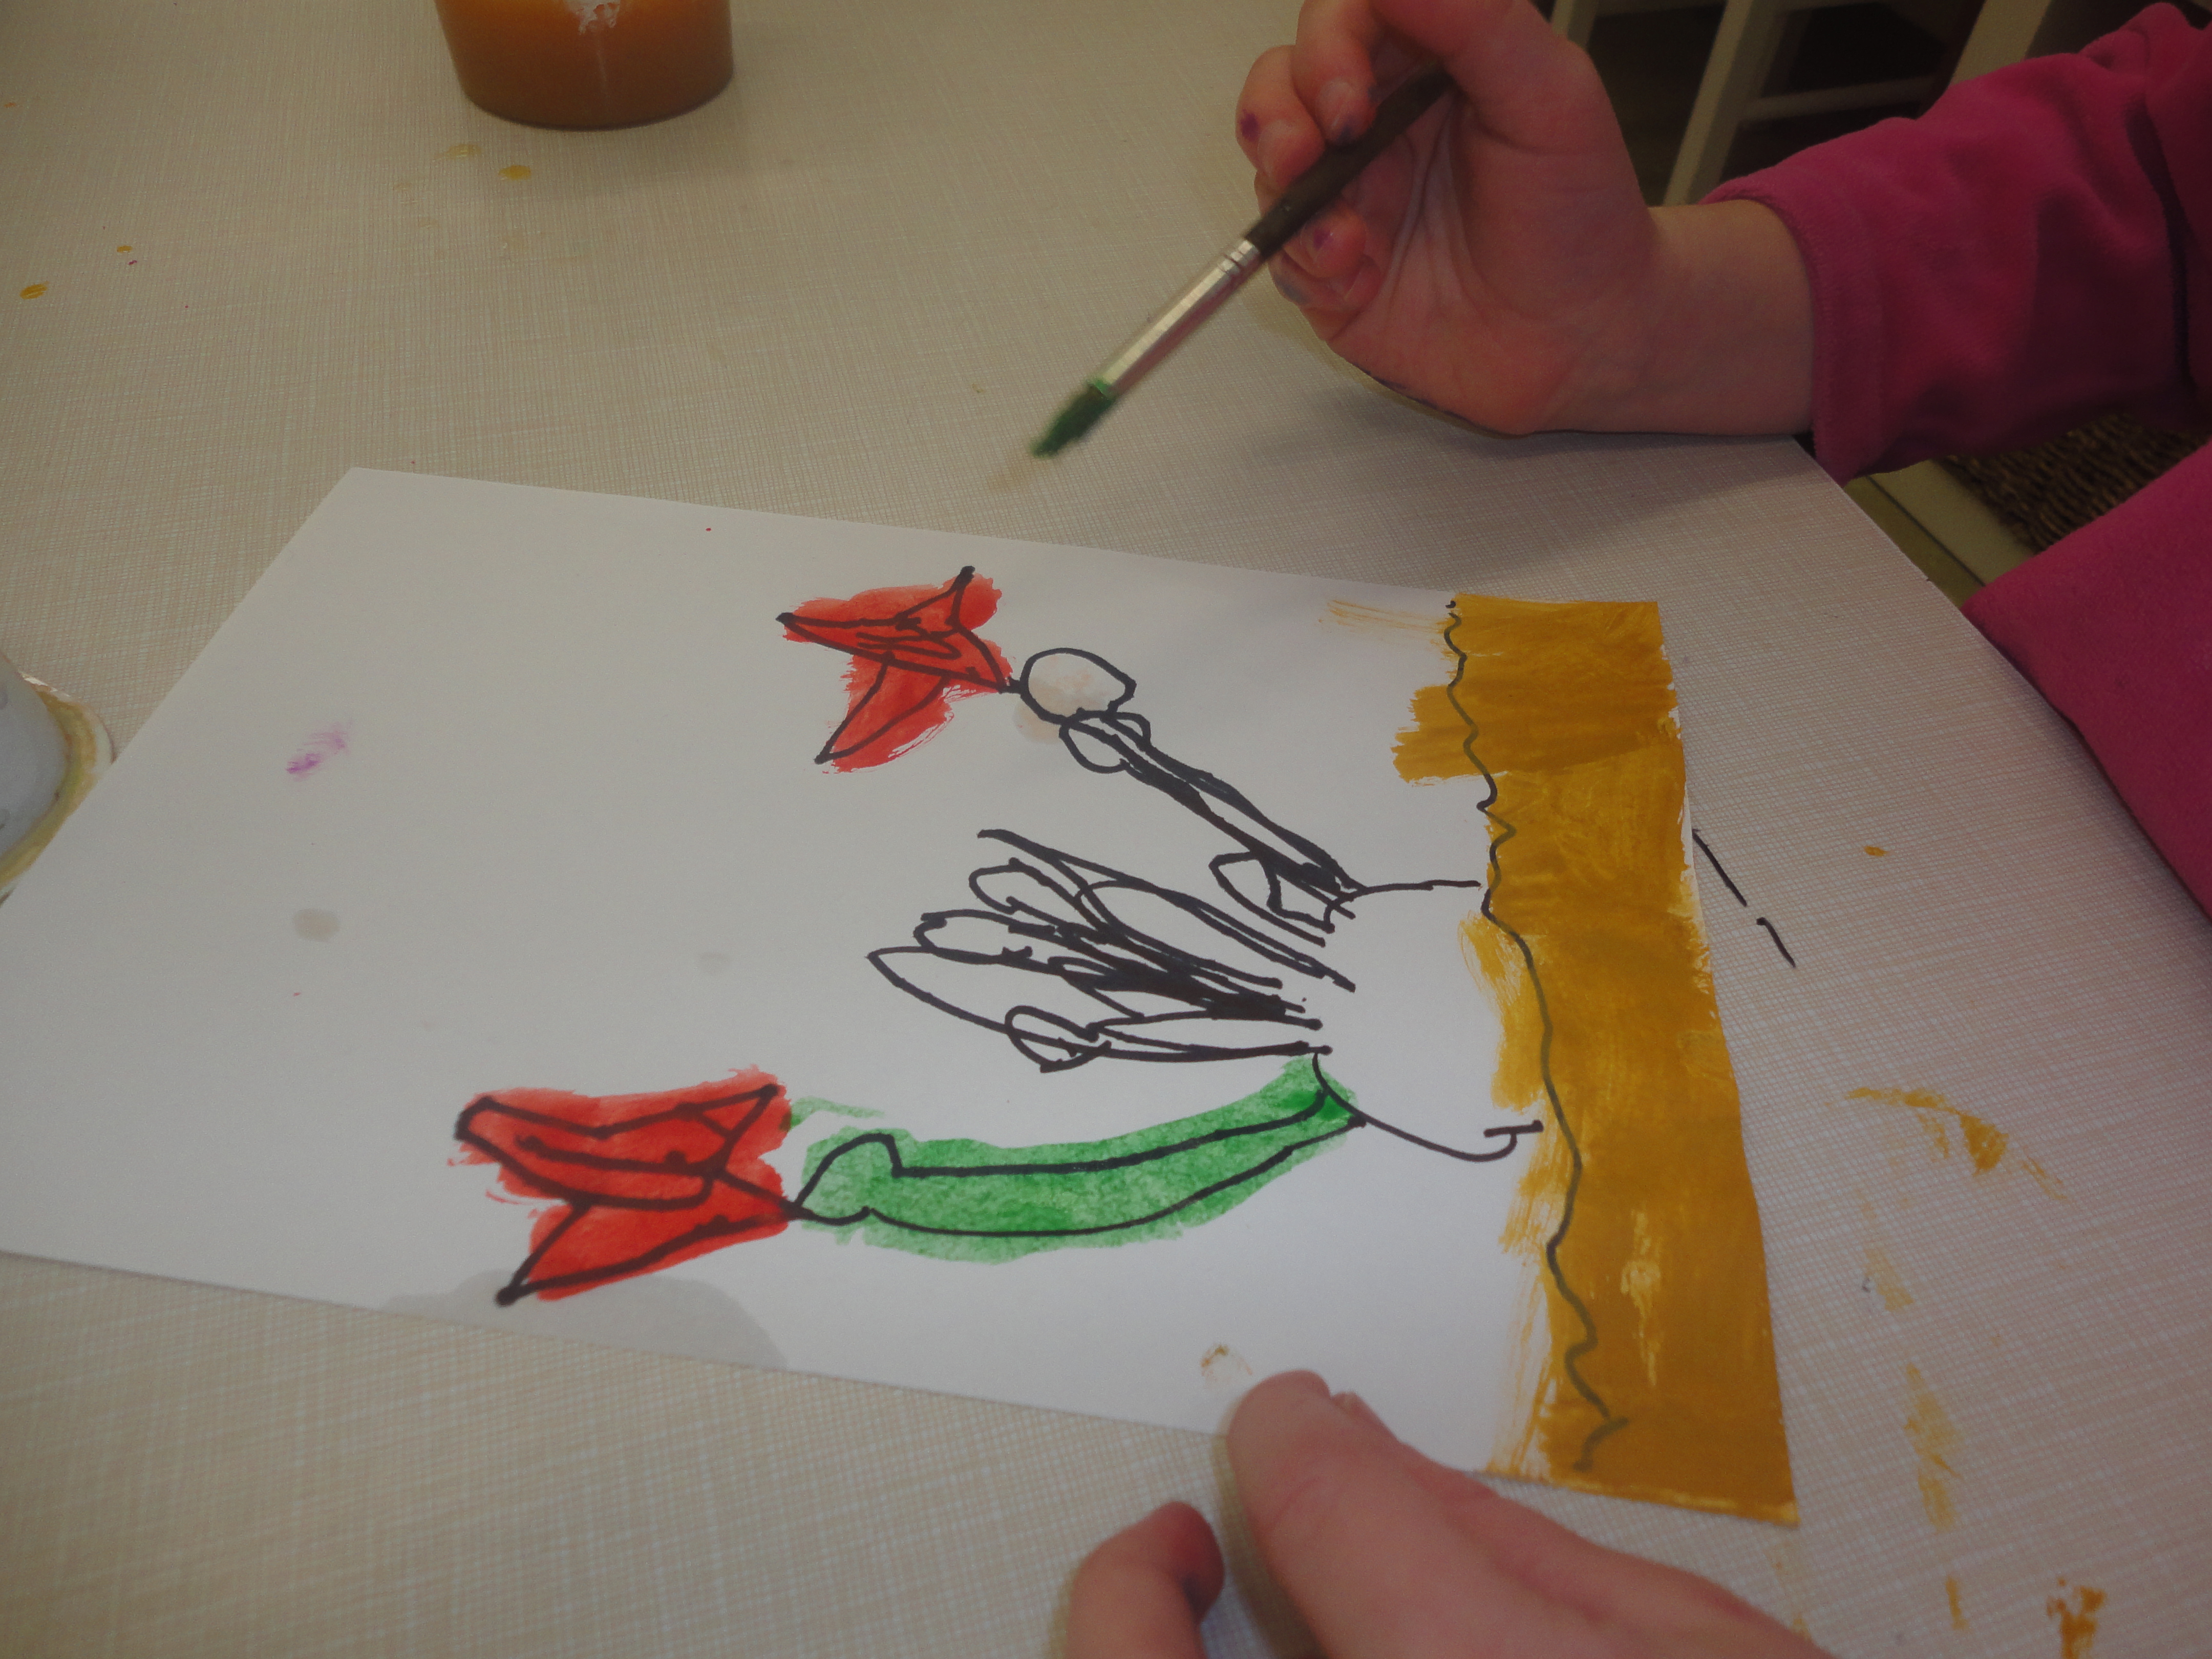
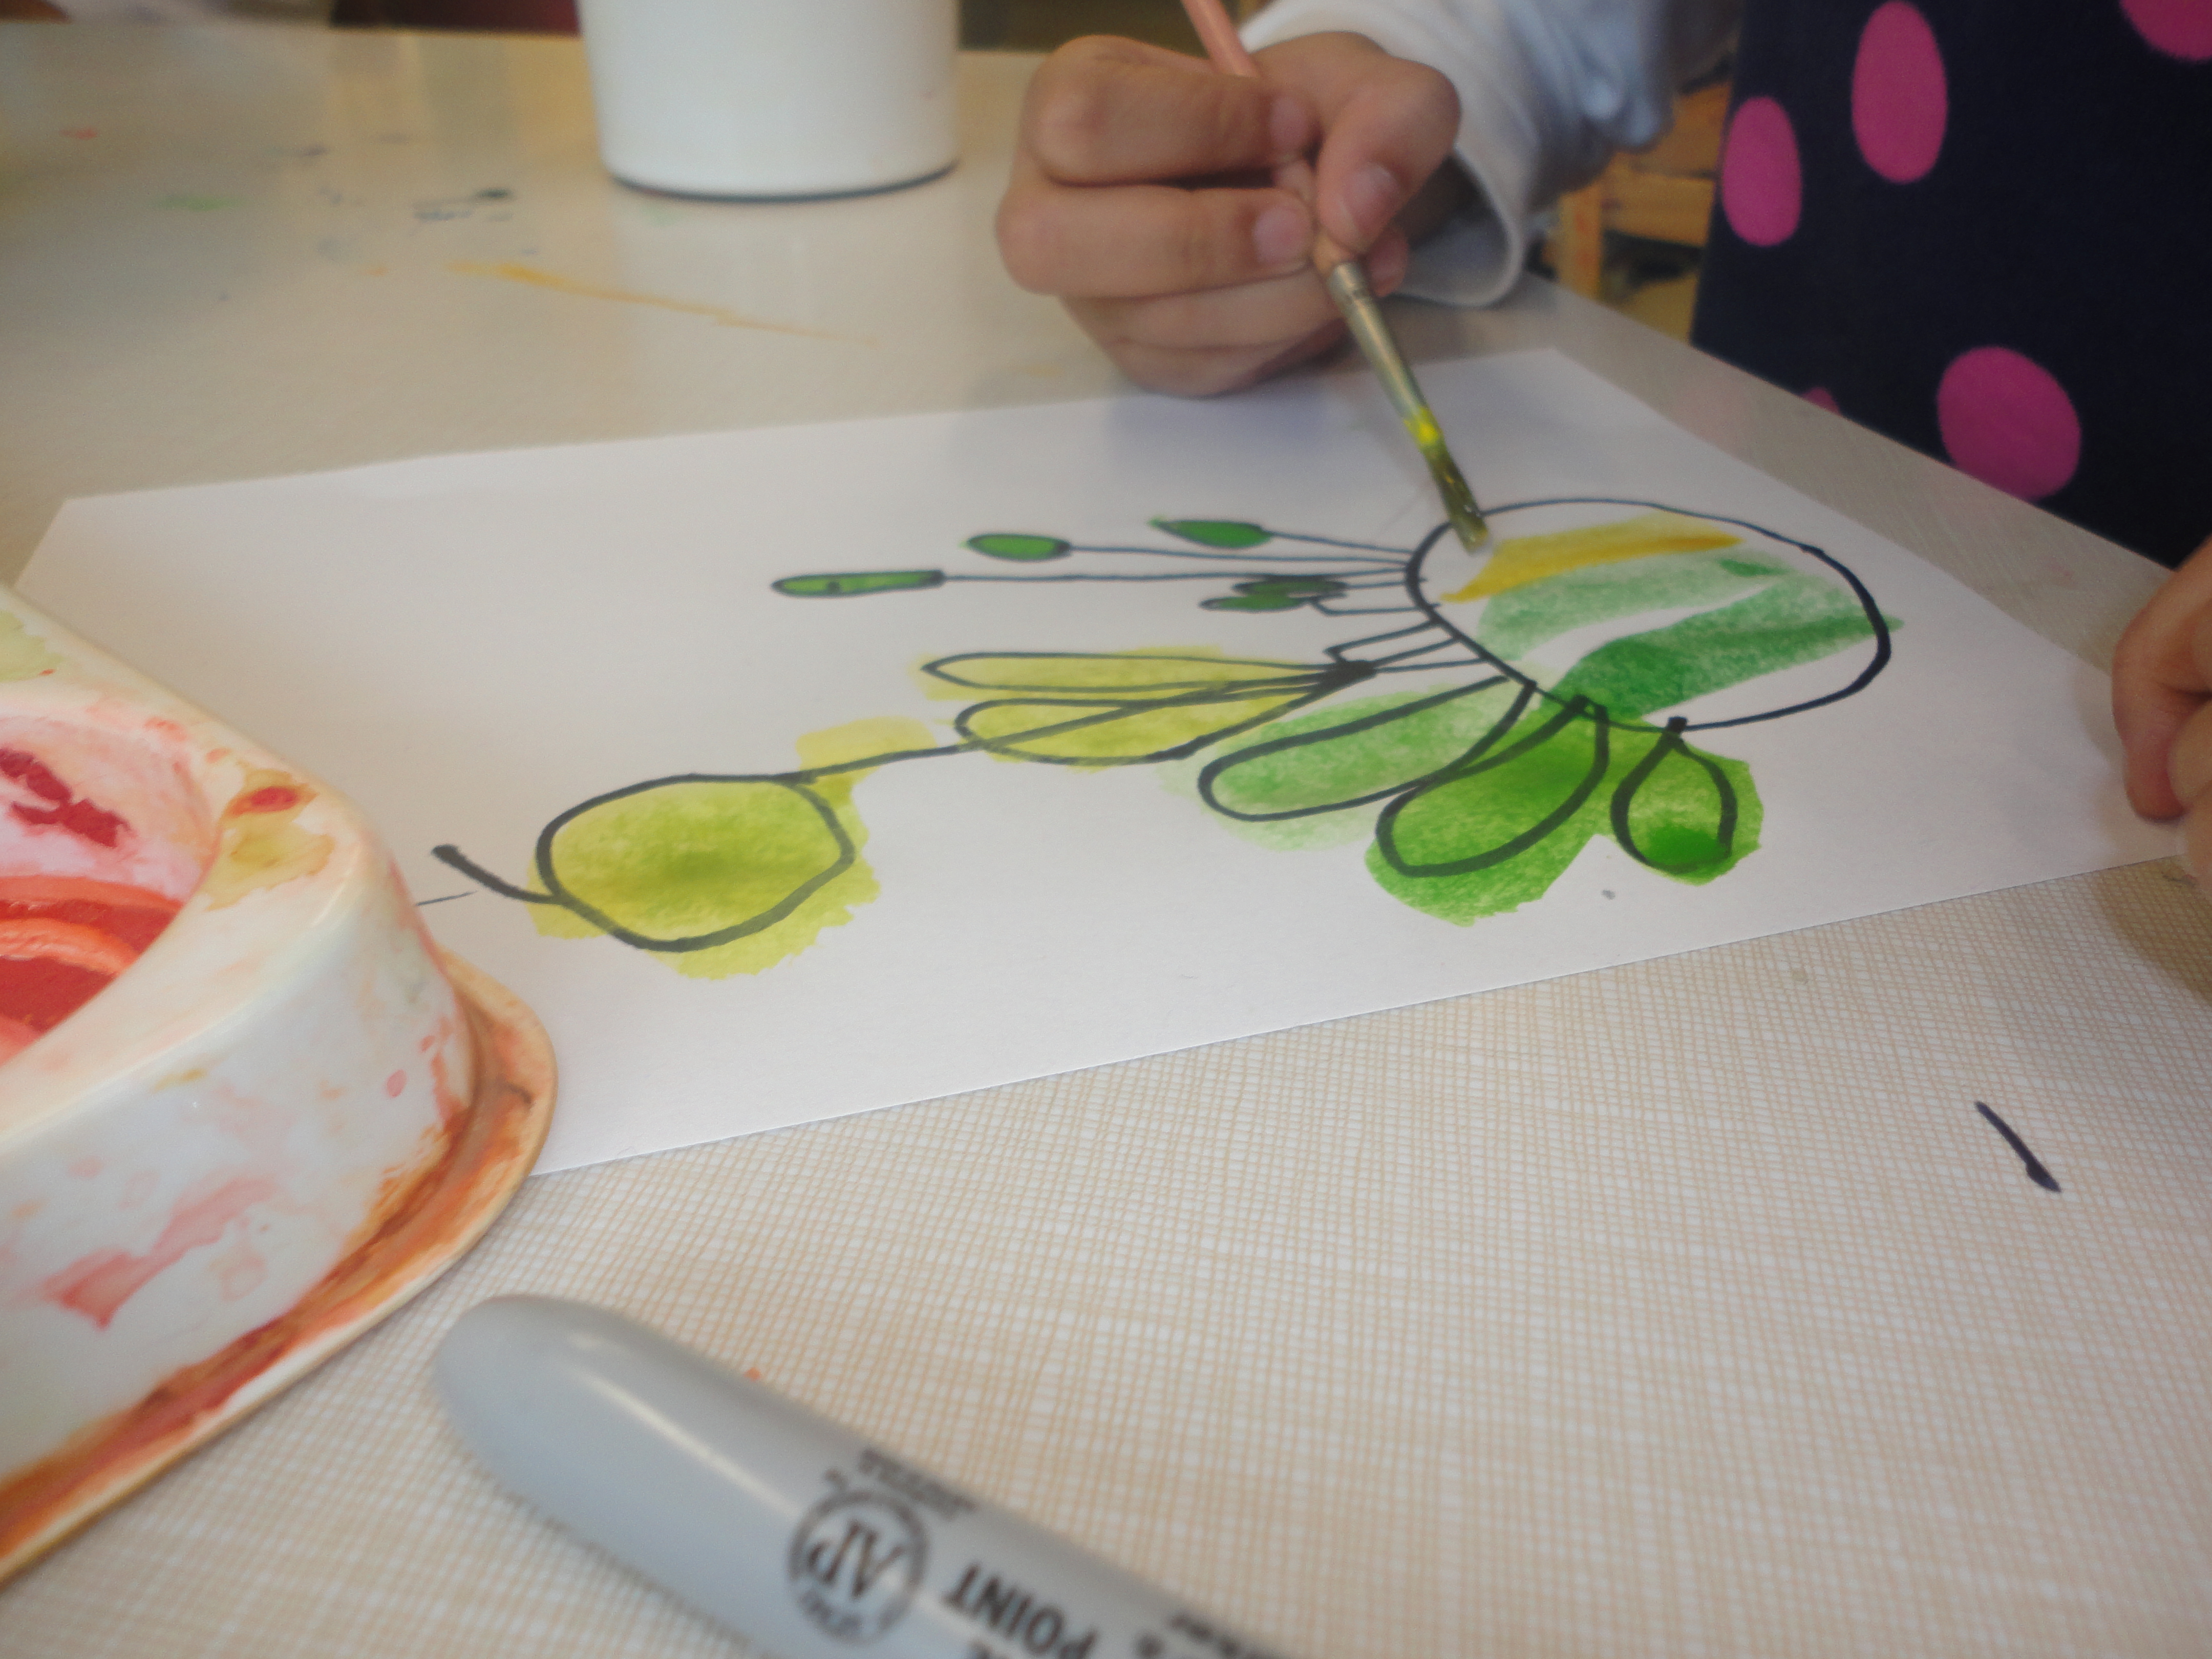
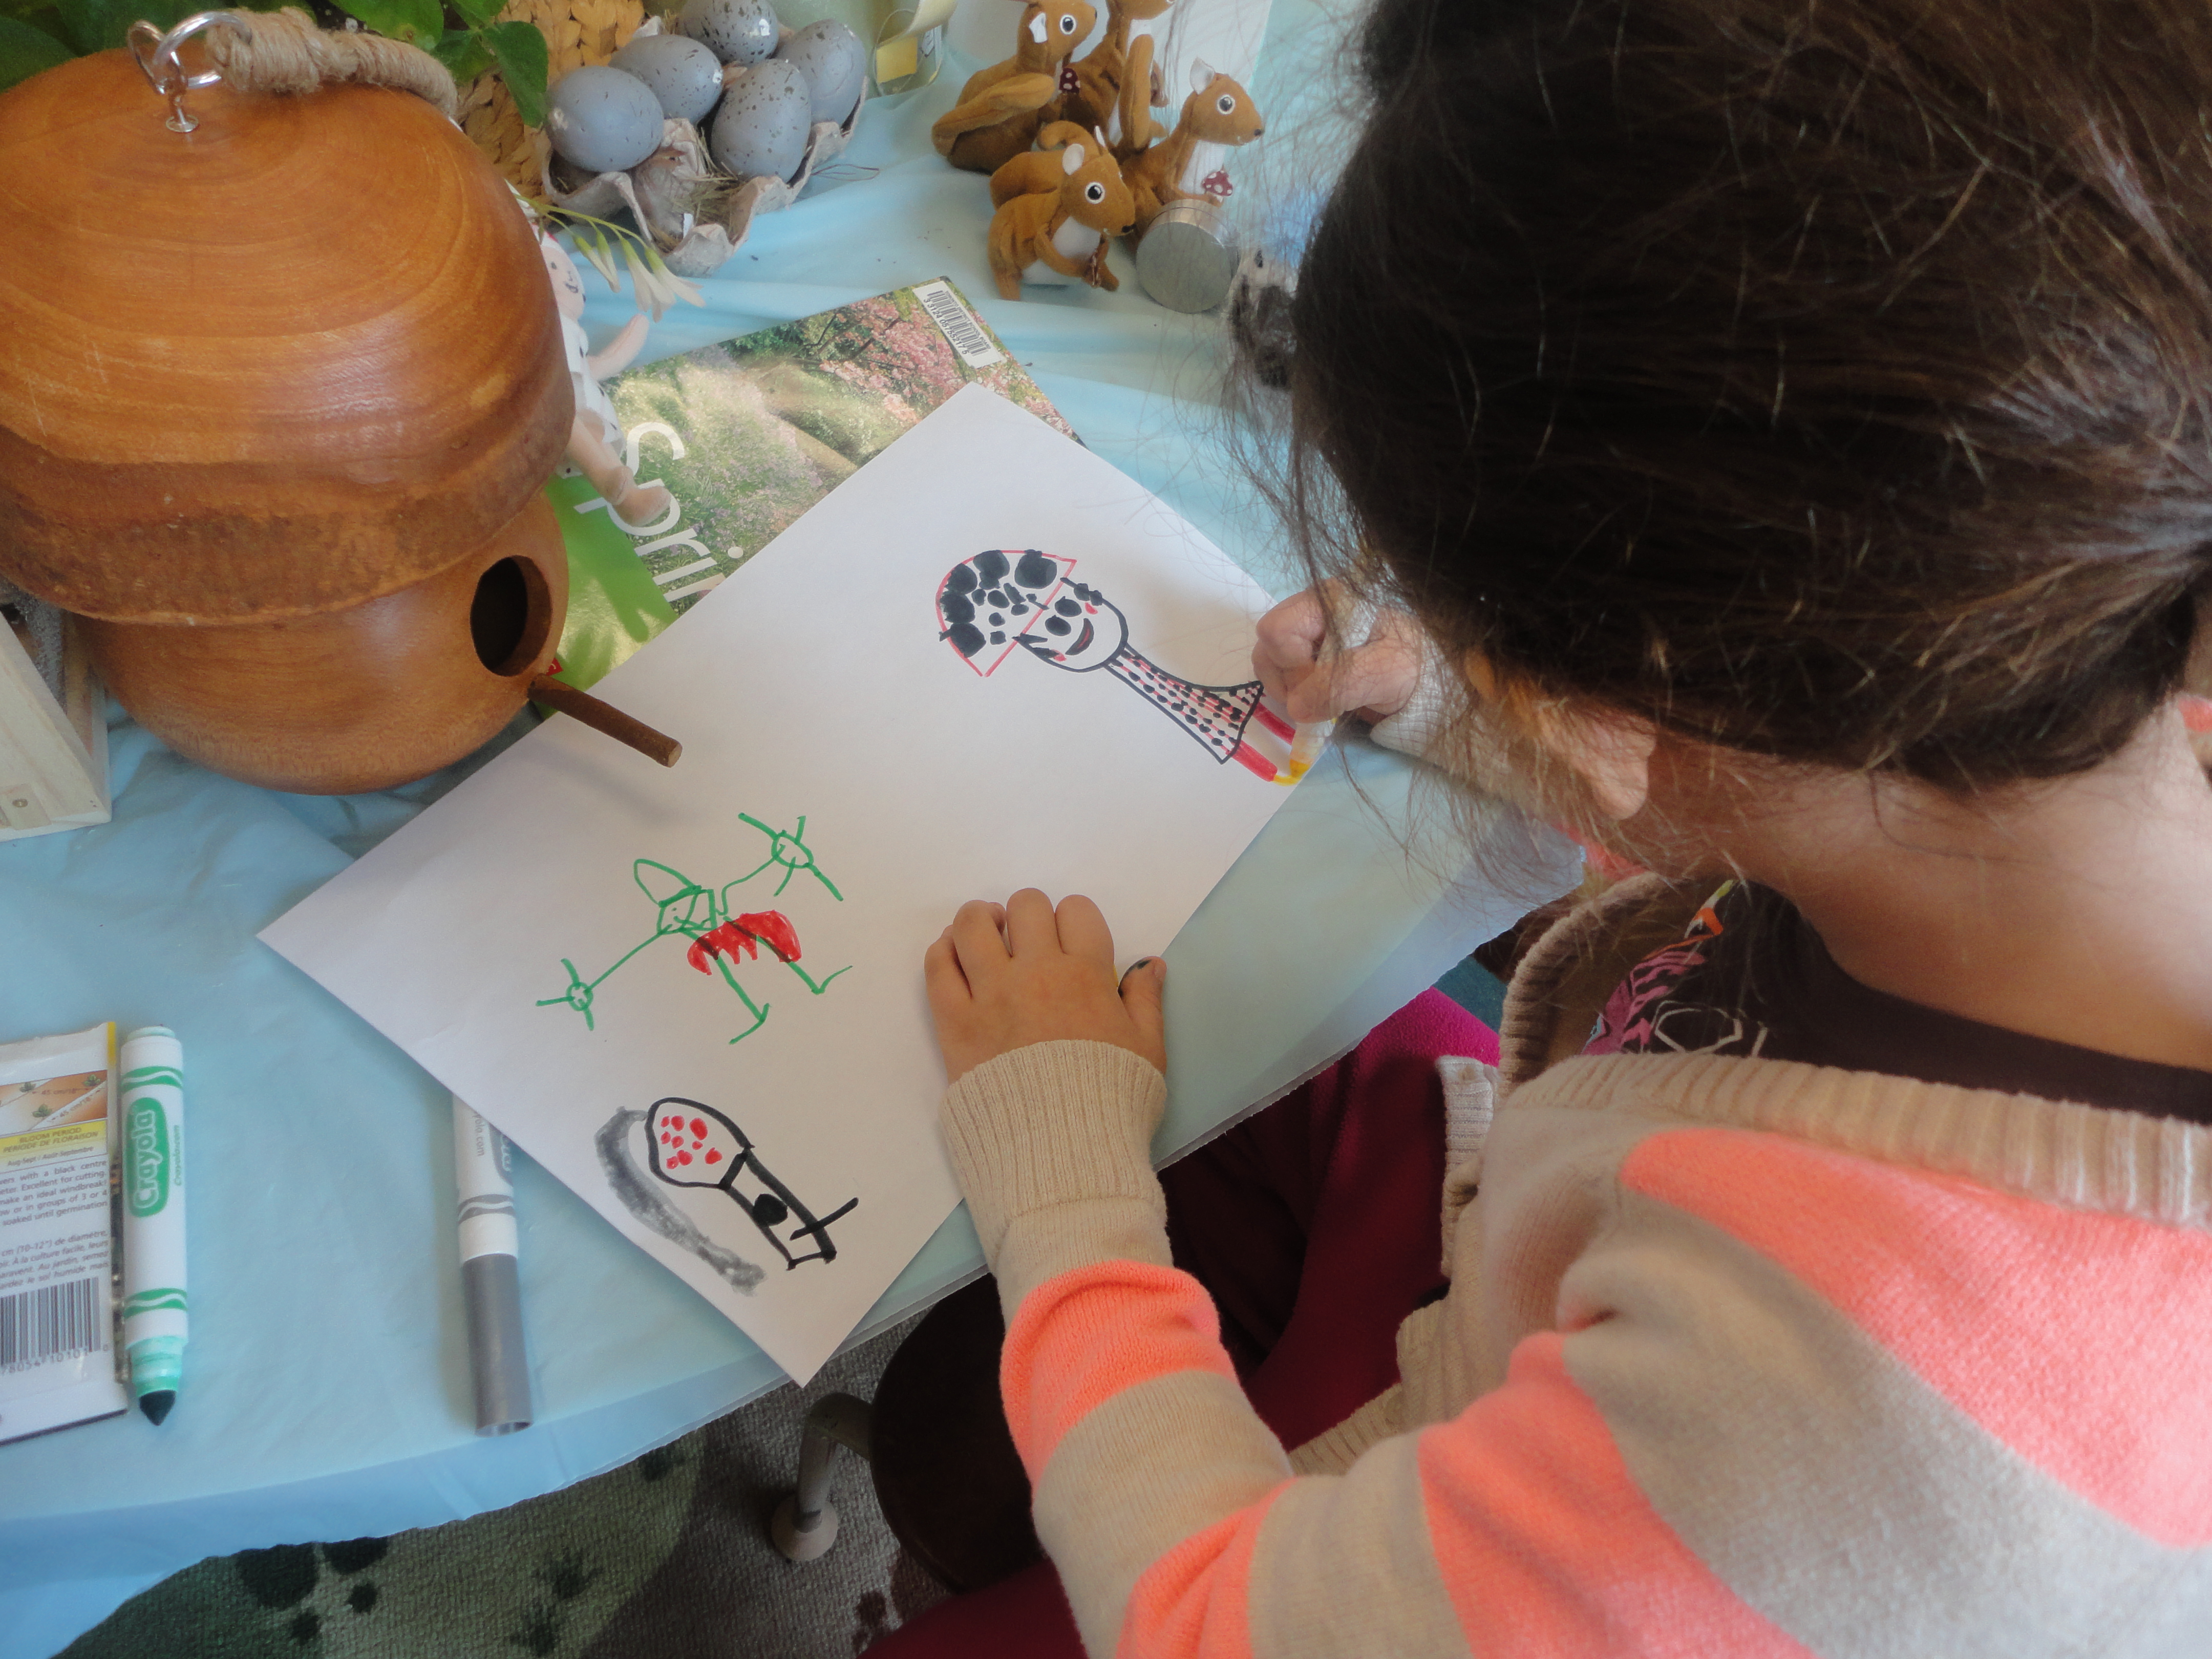
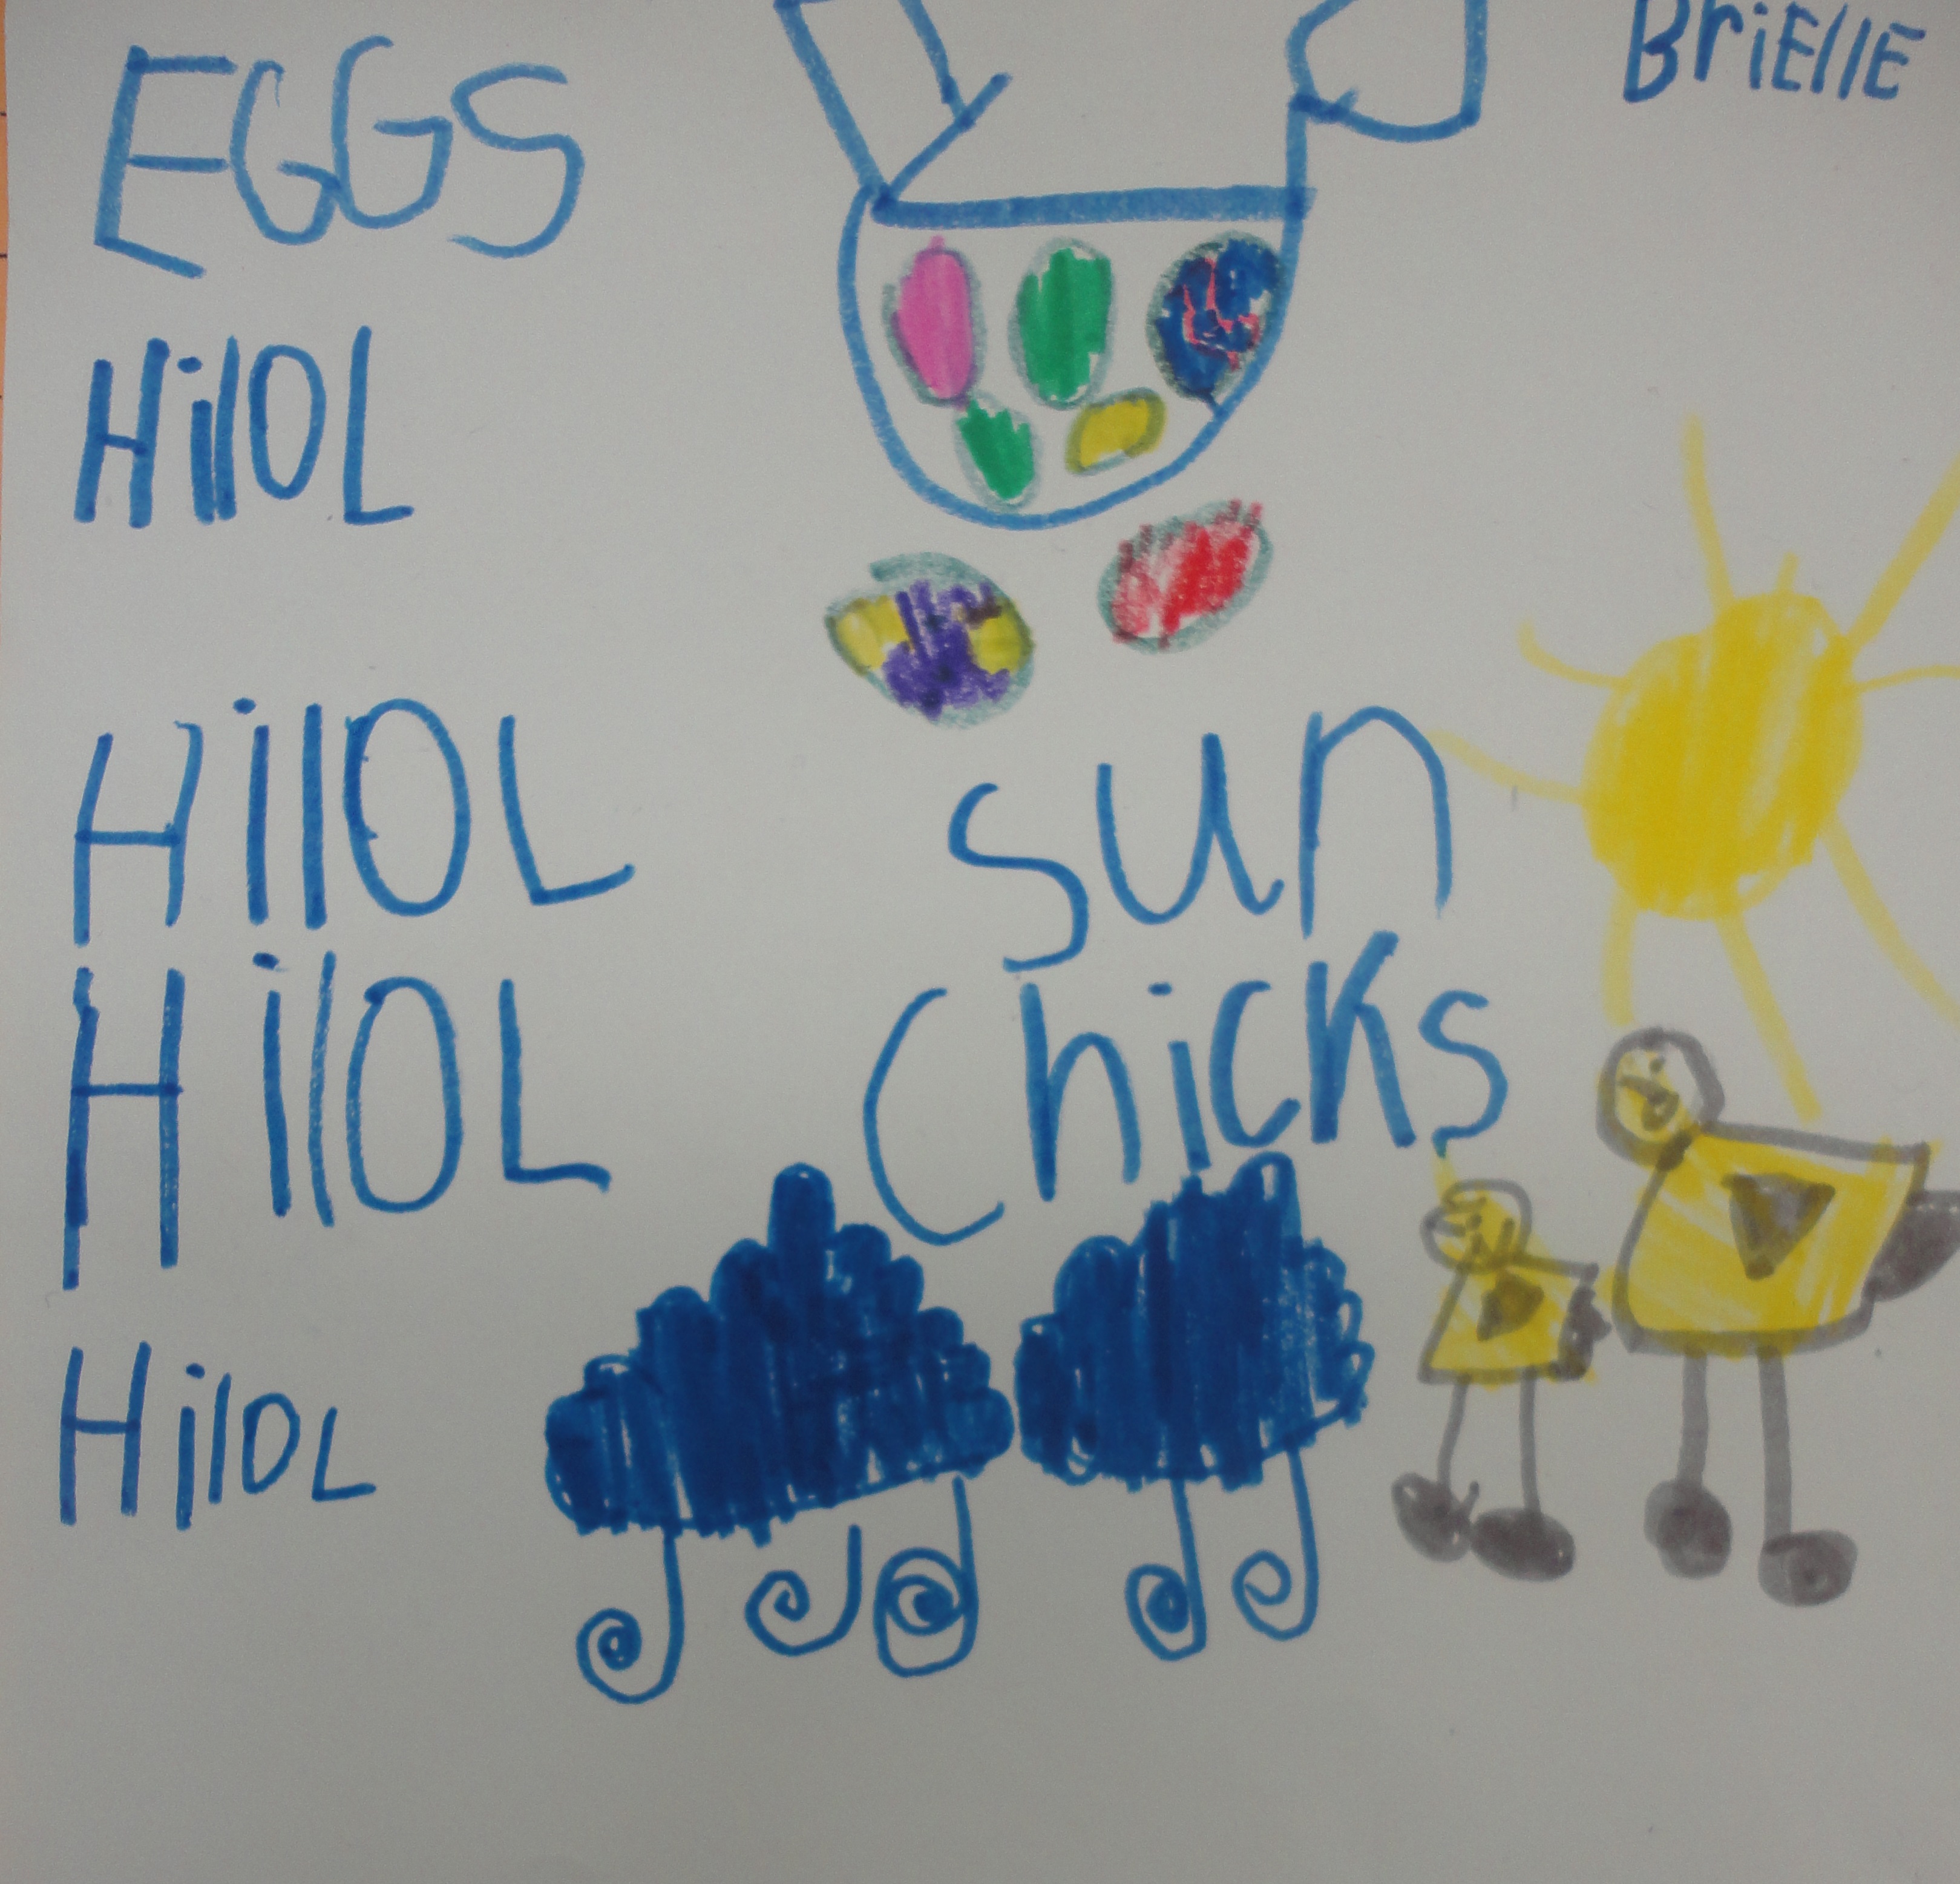
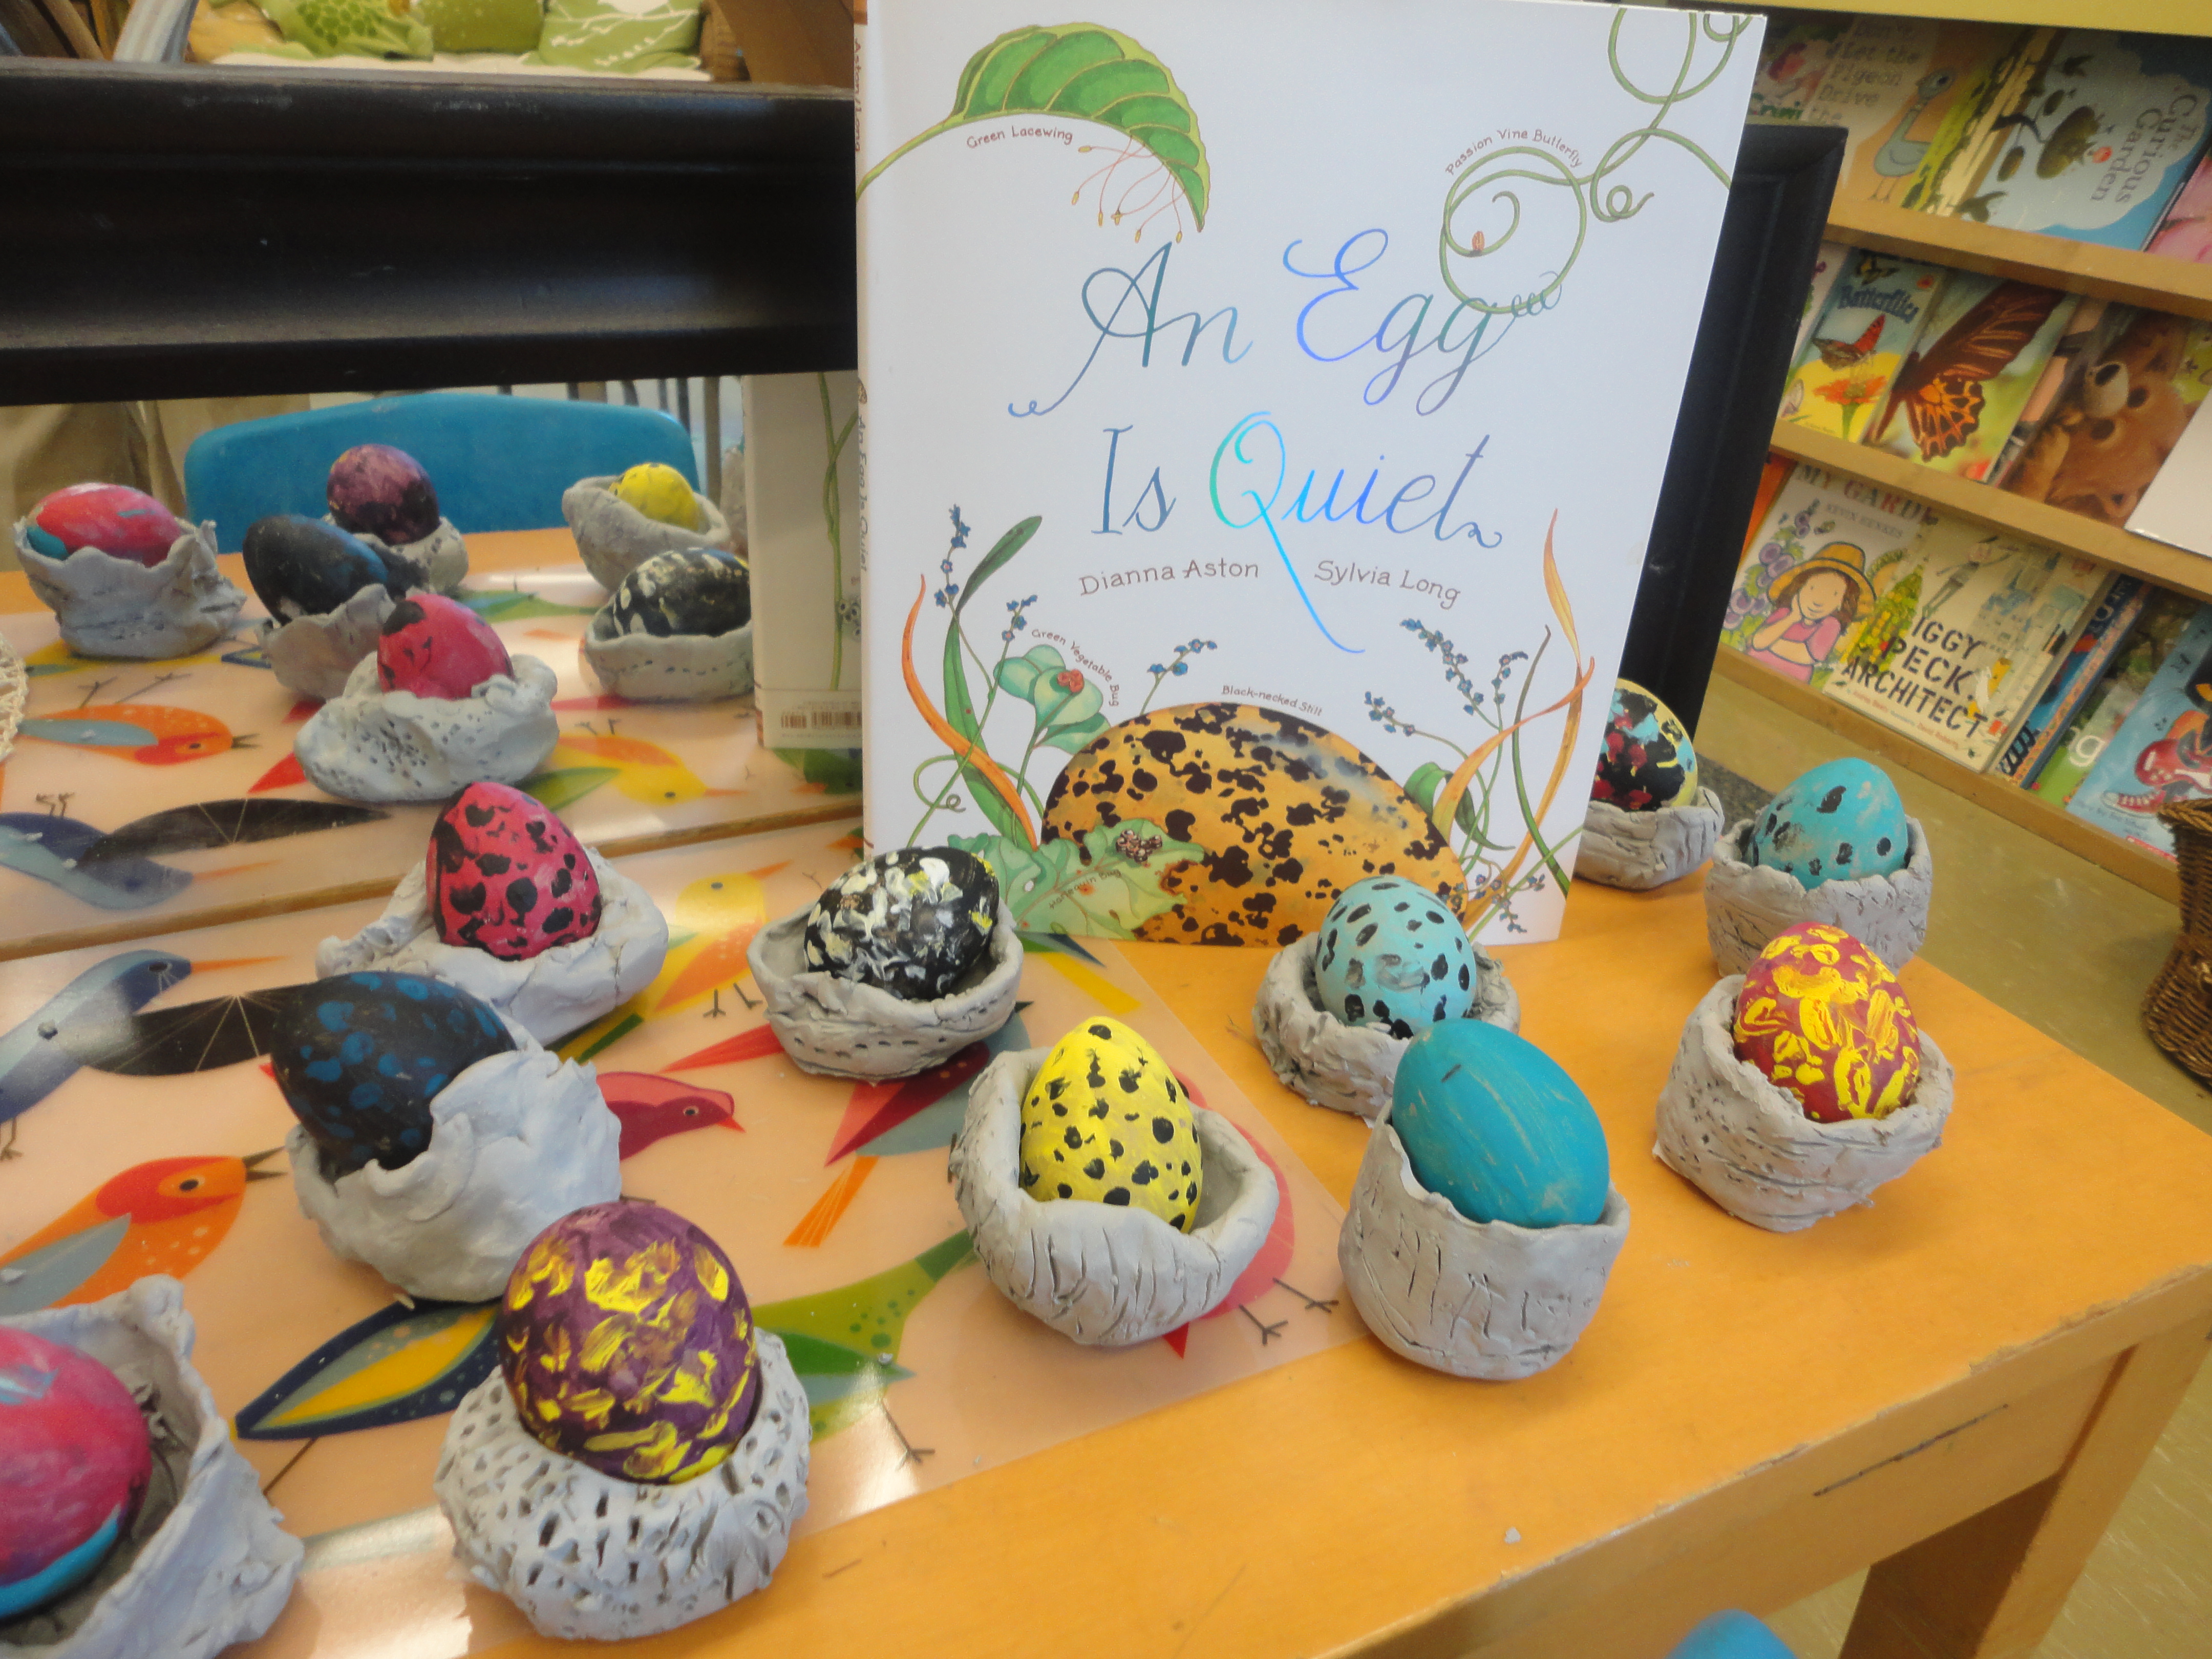
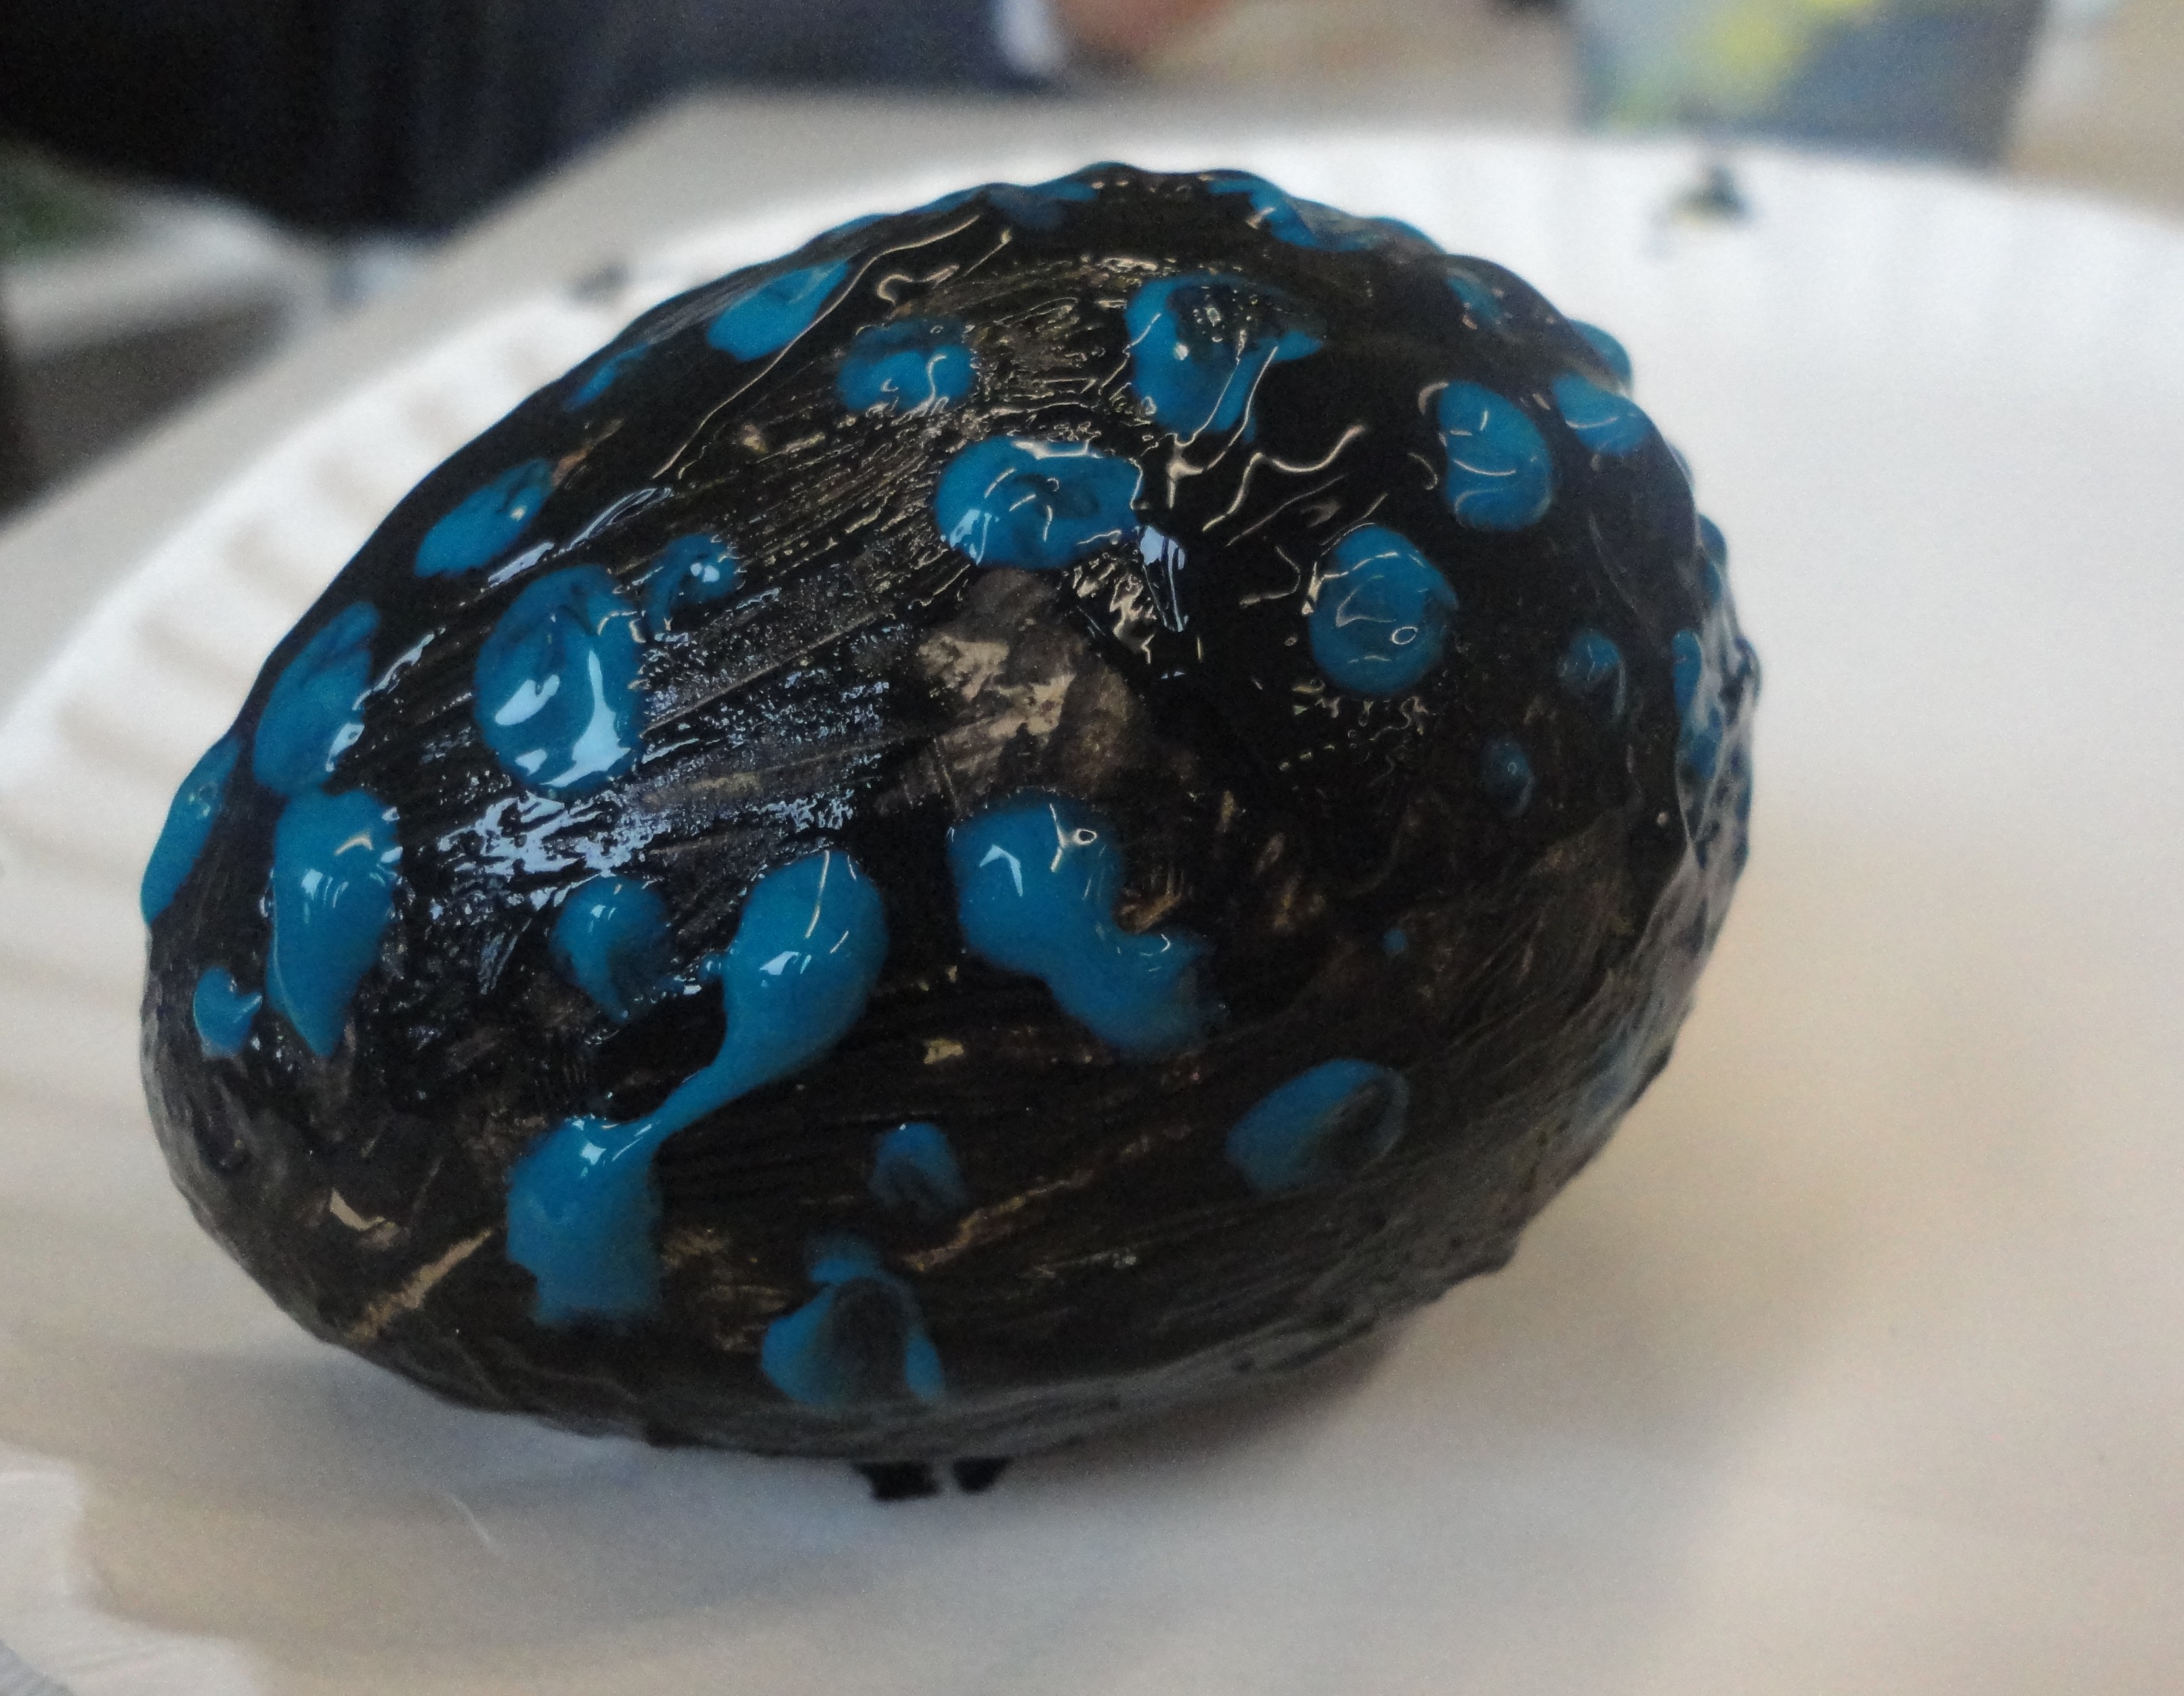
After completing our nests, the children were given the opportunity to paint an egg to put inside. We read An Egg is Quiet by Dianna Hutts Aston and Silvia Long (one book of many in a wonderful series – definitely worth checking out!) where we learned about the different sizes, shapes, designs, and textures eggs can have. We also discovered that eggs can be laid by a wide variety of animals! While working on their eggs, the children were asked to imagine what creature might hatch from their egg – a wonderful, creative exercise that greatly influenced how the children designed and painted their eggs.

Image


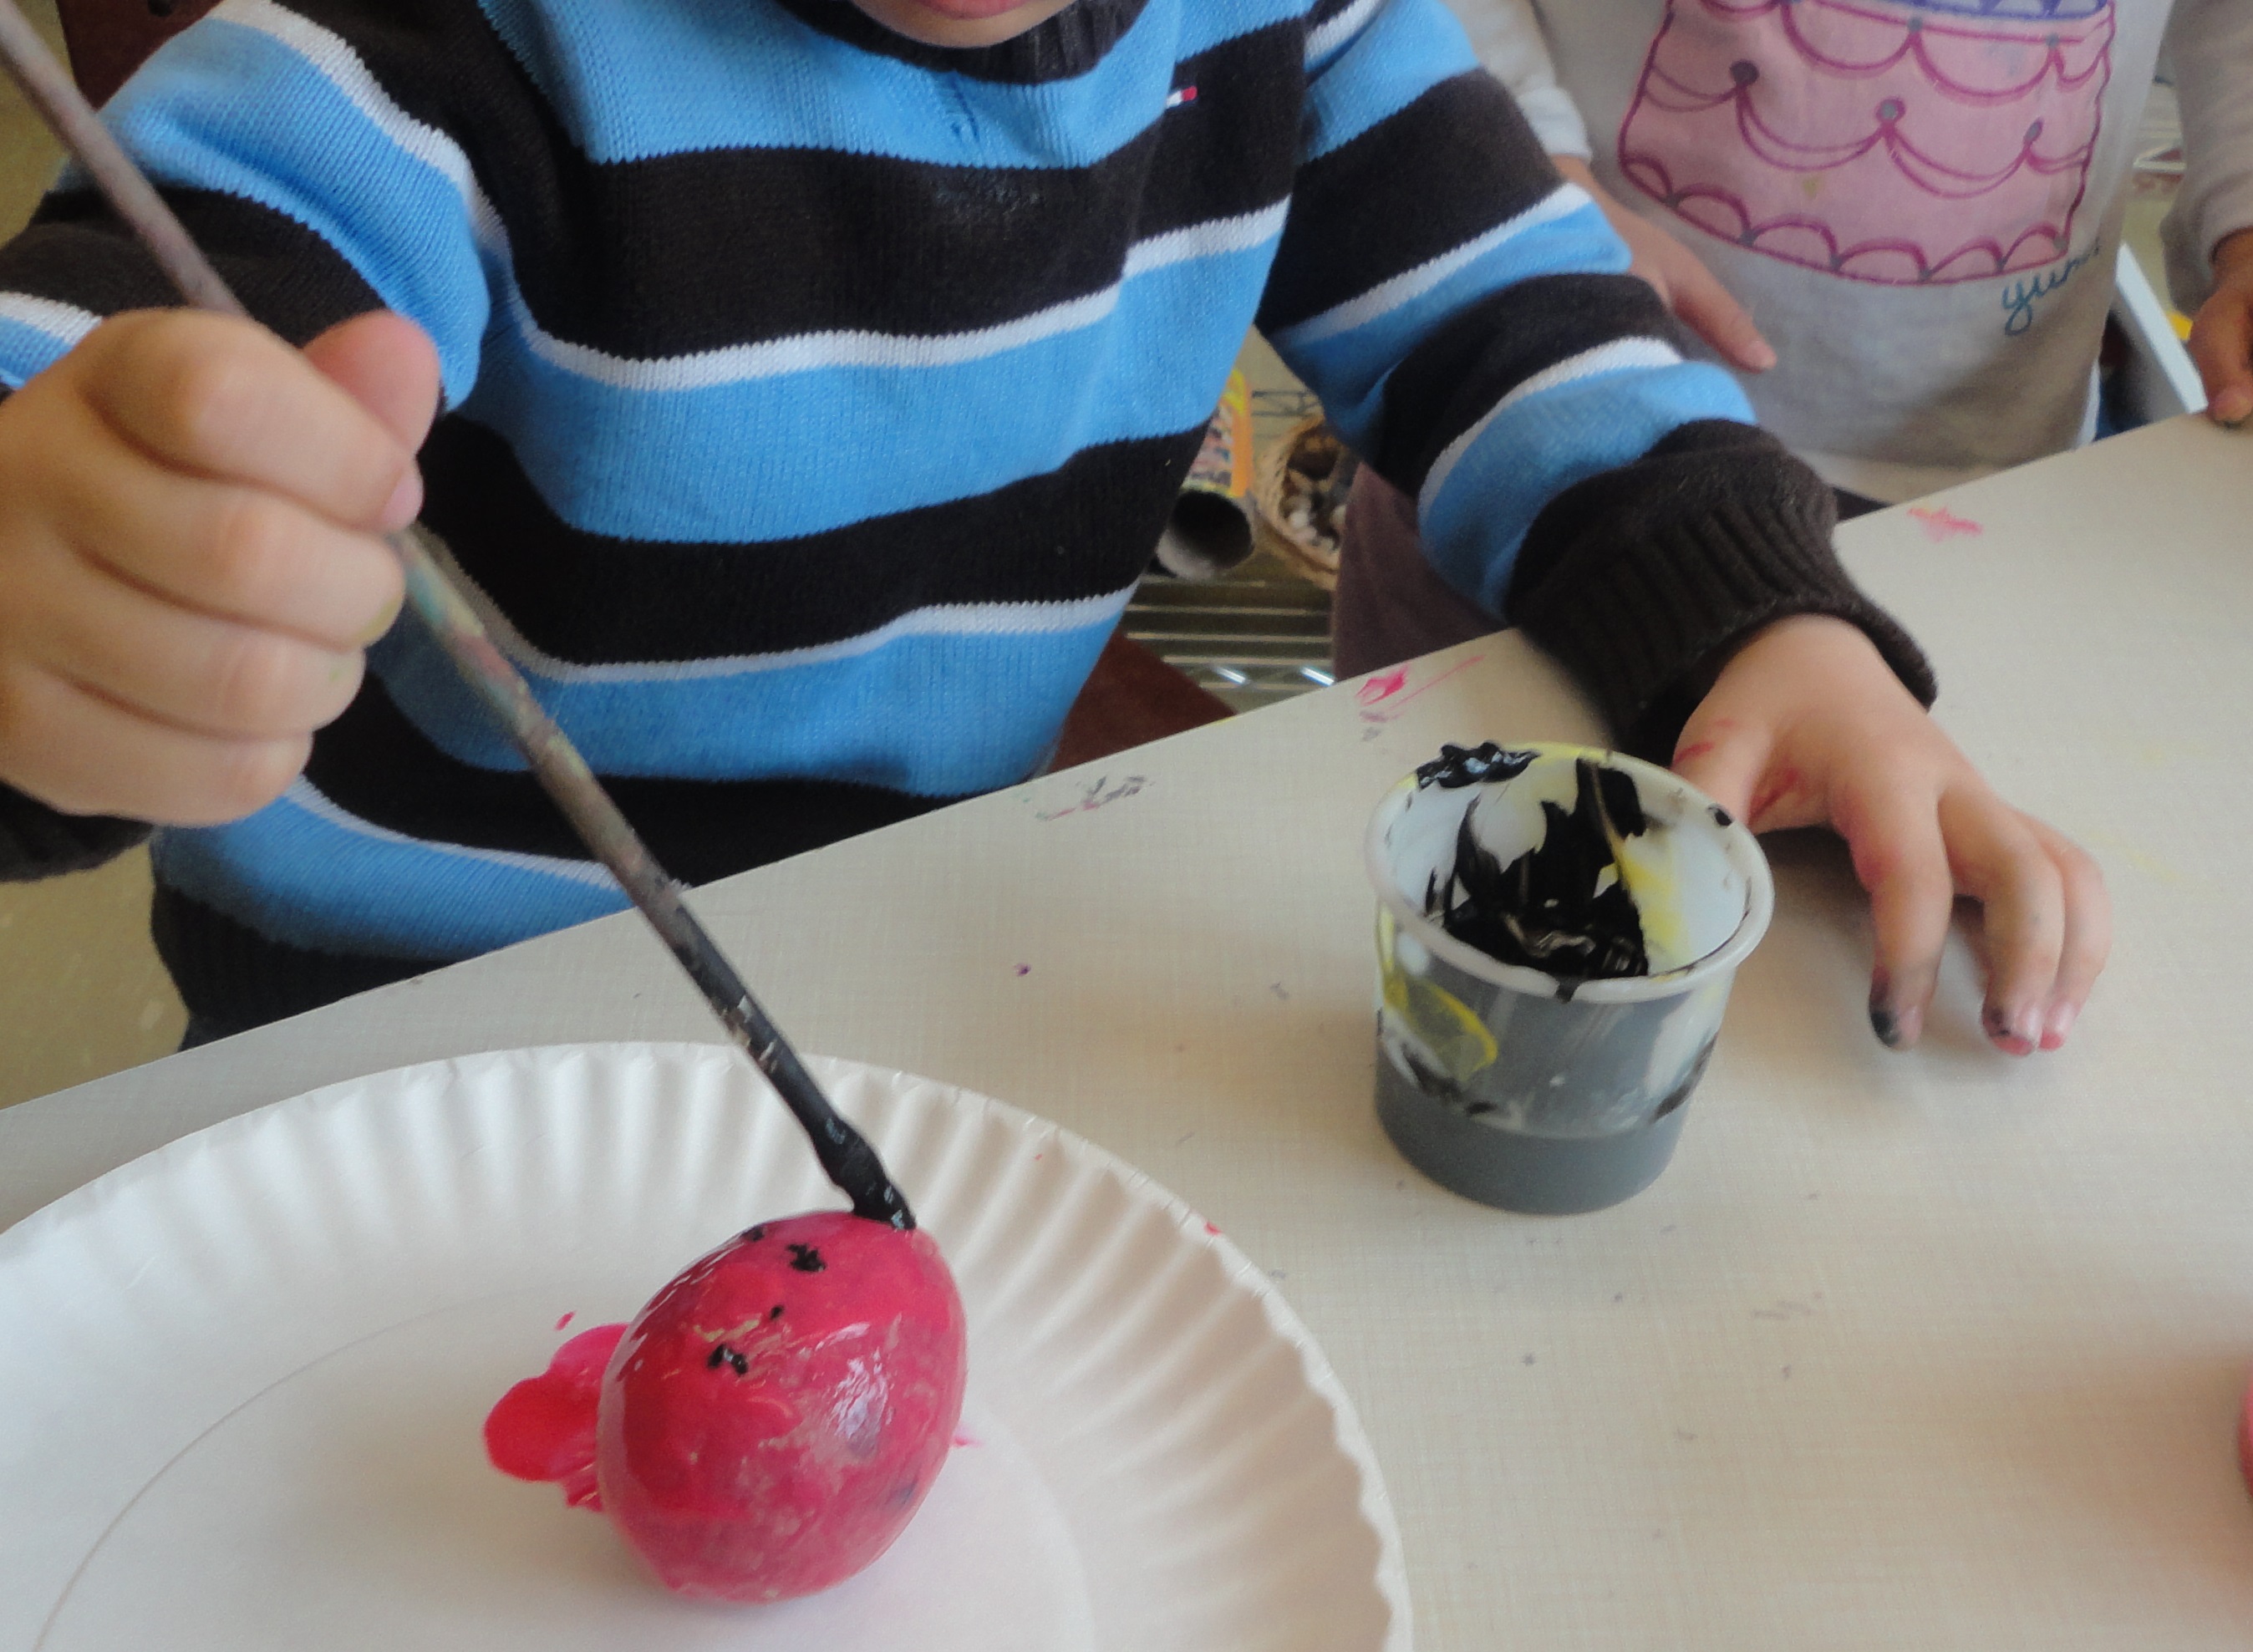
M: That’s a crab egg. It’s red with black spots!

M.B. I knew he was making a crab egg. I knew it because he made it so red!

Image

M.C: I’m painting my egg black because there’s a black snake inside!

R.K.: Mine is a blue jay egg. It’s just blue because a blue jay is blue. Oh, I love my egg!

J.M.: I made my egg green with white, yellow, and blue. I put on black speckles and blue lines. There’s a little robin inside.

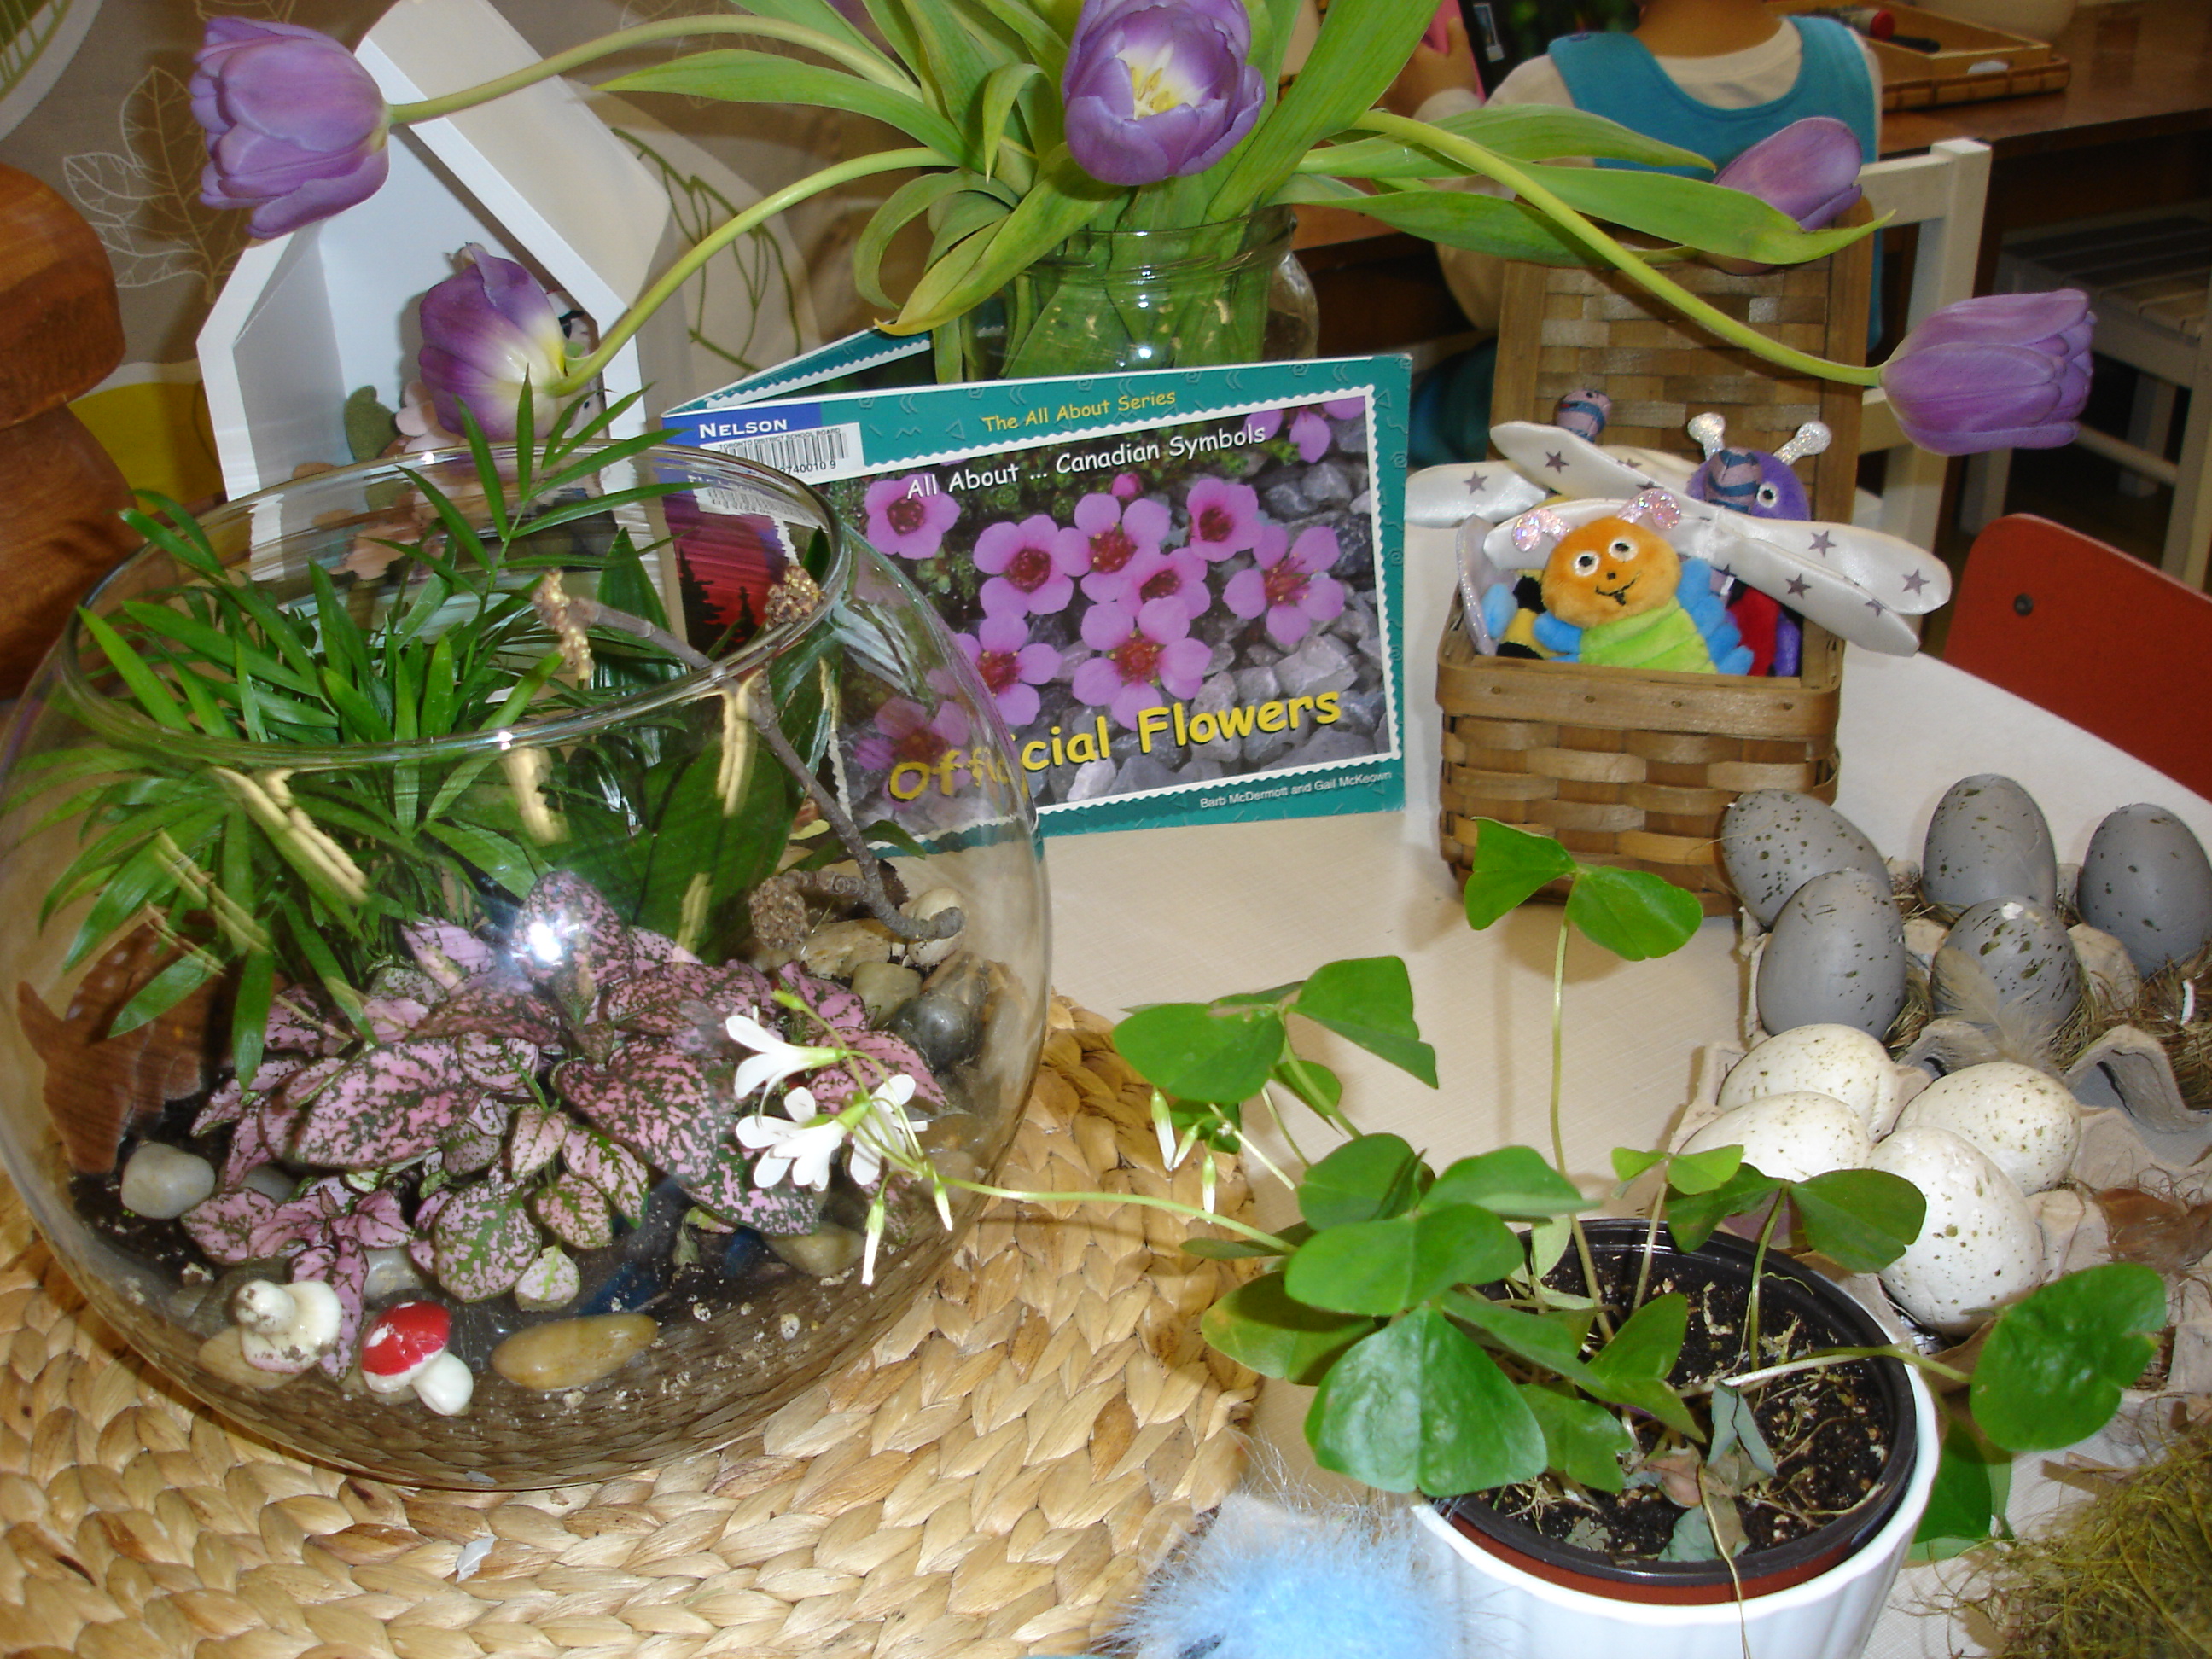
Our display of nests and eggs is in the centre of our classroom, at the children’s level. Our students can be found admiring their work daily (and they can’t wait to take them home!).

Are you working on a bird or nest inquiry at the moment? What kind of thinking is happening in your class? I’d love to hear what you are up to!

The Amaryllis Inquiry…a reflection on clustering expectations

DSC01918

What can you do with one Amaryllis bulb? It turns out, quite a lot! One of the questions I often get about choosing an emergent, inquiry-based program is “How do you make sure you still cover all the learning expectations laid out in the Kindergarten curriculum?” This inquiry turned out to be a great example of how an inquiry-based approach to learning can help you cluster learning goals and expectations with effective results!

DSC01591

In the fall, our students made an exciting discovery in the courtyard: seeds! Our beautiful Rose of Sharon bush had gone to sleep for the winter and left behind some interesting pods which, when the children opened them, were found to contain “little fuzzy seeds.” This discovery led to many wonderings about plants, seeds, and growing things. At the science and nature table, the children tried planting the seeds from the Rose of Sharon, orange seeds, and apple seeds. Anything they could find! I happened to have received an Amaryllis bulb as a gift, and I added it to the collection of “growing things” on our table.

DSC01626

Our initial exploration of the bulb led to some interesting observations from the children, a skill I was looking to develop at this early stage of the school year:

“It looks like an onion!”

“It looks like spaghetti!”

“It looks like it has hair and skin!”

“Is something really going to grow from that?”

“Maybe that spaghetti stuff is the roots!”

DSC01641

We planted the bulb and excitedly waited for something to happen.

After the weekend, we noticed something green poking out of the bulb! The children were encouraged to record their observations and make predictions about what the Amaryllis would look like.

DSC01677

DSC02143

At the same time, we had begun to learn about measurement. As our plant sprouted, we asked the children: “How can we measure our Amaryllis?” Very few tools were given to the children; rather, they were encouraged to problem solve their own ways of calculating the plant’s size.

DSC01815

M.F. : “I’m tracing the leaf on the paper and cutting it out to show how big it is.”

DSC03268

E.A. : “I’m measuring the leaves with crayons and pencils. The leaf is as tall as my pencil!”

As the Amaryllis grew and we learned more about using non-standard measurement tools such as cubes, links, and string, the children began to try more precise ways of measuring. To support their desire to measure with different objects, we added the cubes, links, string, paper clips, and measuring tapes to our centre. The children were encouraged to record their thinking and learning on paper and share their ideas during reflection time.

DSC01844

DSC01869

The day our Amaryllis bloomed was truly an exciting event! The children were very interested in touching the flower, looking closely at it (with magnifying glasses and the class microscope), and drawing it. We set up a still-life provocation at the Art Studio for the children to record their observations and creative representations on paper. Many children returned day after day to paint our Amaryllis as it continued to change and bloom.

DSC01921

DSC01925

The children were given black permanent markers to first sketch the flower and watercolour paints to fill their sketches with colour.

DSC03272

From start to finish, our Amaryllis inquiry touched on learning expectations in literacy, mathematics, science and technology, and art. I was able to gather information and assessment on the children’s ability to make observations and predictions, communicate their thinking orally and in drawings and art works, demonstrate their problem solving skills and knowledge of measurement, and learn about the needs of living things and how plants grow. Because our exploration originated from the children’s natural interest in seeds and how things grow, there was a high level of engagement throughout the project.

DSC03266


Growing an Imaginary Garden

Image

Today I’m back with another of my most treasured children’s books to recommend: The Imaginary Garden by Andrew Larson. In this story, Theo and her Poppa share many special days in Poppa’s garden. When Poppa downsizes to an apartment with a windy balcony, recreating that garden becomes a creative inspiration! Instead of plants in pots, Theo and Poppa set about painting an imaginary garden on a large canvas.

My students really responded to this book. We have been anxious for signs of spring, but since it has been a rather slow start to the growing season this book is just what we needed to tide us over until the warm days arrive. After reading the story aloud, the children were immediately interested in creating an imaginary garden of our own. We did a group brainstorming session and decided we wanted to begin where Theo and her Poppa began: by setting the stage for the garden by creating the soil, a garden wall, and the sky.

Image

Our class compilation of ideas for the garden, generated after one of our read-alouds

Image

The children get to work on painting the garden wall – they wanted the bricks to be in “an A-B-C pattern.”

Image

A group of students work on painting the soil.

Image

The children work on painting the sky. They really enjoyed mixing the paint to make different shades of blue.

Last week we continued our garden planning by setting up a planning station at the classroom writing centre. Along with a copy of the book, clipboards, planning sheets, and markers, we also included whimsical objects such as small gardening tools, pots, gloves, and real plants to get the children inspired. We also put out some books about different kinds of flowers. As the children completed their plans, we clipped them to the hanging display at our science centre. Throughout the week, children were invited into the hall to add their ideas to the mural.

Image

Our Imaginary Garden provocation

Image

Image

Image

Each student planted a seed in the garden and labeled it with their name. The children were asked what kind of seed they were planting/what they hoped their seed would become:

J.K.: Mine is going to grow into a Lego flower!

Y.T.: My seed is going to be a sunflower – a GIANT one!

Image

Some children were interested in the idea of painting sprouts, just as Theo and Poppa had done. ‘”These are our baby plants.”

Image

F.I.: “I’m planting wheat in the garden because I just love bread so much!”

Image

J.M.: “We are painting vines. I got the idea of doing it when Poppa said, ‘The vines are reaching for the sun.'”

Image

This is how our garden looked on Friday before we headed home. I can’t wait to see what will appear this week! The children have already established that next week our Art Studio will be dedicated to “painting flowers for the garden.” I’ll be sure to post an update soon so you can see how our garden has grown!

*Update

garden

The spring bulbs popping up in the courtyard outside became a source of artistic inspiration for our students. Along with photos of our flowers outside, we also added pictures of spring flowers and some real potted plants I brought in from home to the Art Studio. The children had access to any colour of paint they wanted (and many decided to mix their own colours!). Many children visited this centre daily and waited anxiously for their painted flowers to dry so they could cut them out and “plant” them in our garden mural.

art studio

Our flower painting provocation at the art studio.

Below is a picture of our completed Imaginary Garden. After our project was complete, we reflected on our work as a class. As one student said, “Our garden gives us happy tears because we love it so much.”

finished garden

Spring Inspirations

When you dream of spring, what does it look like?

Image

Spring is finally here…sort of. Despite the fact that it is still chilly outside, spring has sprung at the Curious Kindergarten! This year, the children were particularly excited about the arrival of spring – doing their own countdown in the days leading up to March 20th. When the first day of spring arrived, some children were naturally disappointed that when they woke up that morning there was still snow on the ground, a chill in the air, and a winter jacket to wear to school. We wanted to latch on to the children’s natural excitement about the changes that were still ahead, so we created a “Spring Inspiration” table at our classroom science table.

Image

Above: Birds nests, birds, eggs, and early spring plants inspire the children’s thinking around the creatures we have already observed in our Outdoor Classroom.

Image

Above: Insects, a bug house, planting supplies, animals, and non-fiction books about spring changes help the children envision what they might begin to see and do outside now that the weather is changing.

Image

Above: These fairies and garden gnomes were a huge hit, providing ample opportunities for dramatic play, storytelling, and the development of ideas around how creatures respond to the changes outside.

The question we have been asking leading up to spring (and after) is: “When you dream of spring, what does it look like?” In order to support the children’s thinking, we have been reading a lot of books (both fiction and non-fiction) about spring and engaging in visualization exercises. Many of our classroom activities have been designed to help the children communicate their thinking in a variety of ways. For example, at the playdough table we created a provocation with green dough and spring-themed loose parts (mushrooms, flowers, butterflies, stones, wood chips, etc.) in which the children created their own “spring scenes.” At the writing table, children have been encouraged to write their own poems about spring, and at the art studio, children were given the opportunity to paint a still-life portrait of a tulip.

ImageImage

M.F. and M.B. created a collaborative drawing that tells their story of spring creatures.

Image

“Hello Spring” is a poem written by one of our JK students at the writing table.

What an exciting time! It really does feel like there has been a “spring awakening” happening in our classroom. How have you marked the arrival of spring with your students? What kinds of inquiries and ideas are you talking about?

Math and Science Investigations (M.S.I.)

Image

Math and Science Investigations (M.S.I.) is a building program I have been doing in Kindergarten since I started my career. I first learned about it during one of my practicums in a Kindergarten class when I was in teacher’s college. Essentially, M.S.I. is an inquiry-based program that uses building materials to encourage the development of math and science concepts, creativity, problem-solving, perseverance, planning, and much, much, more. My original resource for M.S.I (a worn photocopy from a book that used to exist somewhere in the board) is long since lost; however, I found a great replacement in the book Building Structures With Young Children by Ingrid Chalufour and Karen Worth:

Image

Basically, M.S.I. goes something like this:

1) I teach a mini lesson on the day’s focus.

2) Each student gets their own bin of building materials (blocks, connectors, cups, etc.) and takes it to a table. The bin goes on the chair and the children stand at the table and build. I circulate and facilitate discussion, pose questions, take notes, take photographs.

3) Reflection. I post pictures of interesting structures for discussion and feedback.

Image

We engage in M.S.I. as an entire class, one period per week. That being said, the building bins are always available during discovery time and it is common to find children selecting them to continue working on an inquiry we are engaged in. We also often find ourselves setting up provocations that support the learning that is happening in M.S.I., due to significant student interest.

Here are a few questions I often get about M.S.I:

Q: What kind of materials do you use? How do you organize enough bins for each child to have one?

A: We use a variety of store-bought traditional building blocks and some found materials to make up our bins. Wooden blocks, tree blocks, better blocks (kind of like Duplo), foam blocks, cups (laundry caps) from the recycling depot, anything that will stack! I purchased some materials from school catalogues, found others at garage sales and recycling stores, and got some for free from the recycling depot in our school board. Anything that can stack reasonably well is a good material for M.S.I. If you don’t have enough for everyone in your class you could always run the program with children working in partners or groups, and we sometimes do this as well depending on the focus of the lesson.

Q: What about space? Where do you store your materials? What if you don’t have enough table space for each student?

If you don’t have enough table space for each student to have their own spot, children can build on the floor. The idea behind standing and building at a table is that children are initially encouraged to build up with their materials. Standing helps the children stack their blocks more easily, and see their structure from all sides. Placing the building bin on a chair frees up table space for working. We store our building materials in two large rolling shelves. The shelves hold about 36 bins. I have a small space, but it’s not overwhelming in the classroom. I saw another school where the three kindergarten classes shared their M.S.I materials on a rolling cart that was parked in the hallway and could be easily moved to each class.

Q: What kinds of inquiries have you done? How long does one inquiry last?

A: The resource Building Structures With Young Children focuses on two inquiries: Towers and Enclosures. This year we have completed a Tower Inquiry (which I will write more about soon) and are now working on enclosures. We have also done inquiries on bridges and castles. In one school year, we usually have time to complete at least 2 large structure inquiries through M.S.I.

Image

Q: How is M.S.I introduced? What does it look like at the beginning of the year?

A: At the beginning of the year, M.S.I. time is mainly spent establishing routines and working on basic concepts of space, balance, making a plan, etc. There is a lot to be said just for helping the children locate a bin, find their own work space, build, and then tidy up. A lot of time also goes into establishing routines and expectations for sharing and reflecting on our structures at the end of the lesson. The most important part of the initial phase of M.S.I. is exploration and helping the children stay focused on solving problems rather than getting frustrated if/when their structure falls down. The children are often encouraged to choose different bins regularly to get a feel for the variety of materials we have available.

Image

I have to say, the children are always excited to see M.S.I. on the schedule. I continue to be amazed at how reflective and thoughtful they are about their structures and how mature they appear when giving feedback and suggestions to their classmates during reflection time. Although when I started teaching I successfully ran an M.S.I. program without a lot of fancy technology (none, actually), the access we now have to iPads, a classroom camera, and an interactive SMARTBoard have helped me take our building program to a whole new level. Being able to take a photo of a child’s structure and immediately post it on the SMARTboard for us to discuss is an invaluable part of the program. We regularly use the SMARTBoard pens to label the structure in the photo, highlight shapes in the design of the structure or draw on possible ideas to add next time.

If you have any other questions about how M.S.I. works, please don’t hesitate to drop me a line!

Snap Cube Workshop: Inspiring Young Authors

Image

G.M.: Inside my book is a man and an invisible ship and a laser sword. I put how many of the cubes you need. For the man you need 5 blues, 1 purple, 1 black, and 2 browns. I want someone to build the invisible ship and then play with it. I did one for the laser sword and then W.W. looked at my instructions and made it.

Earlier, I wrote about embracing the children’s interests by creating a Snap Cube Workshop with the ever-popular snap cubes (You can read about it here: https://thecuriouskindergarten.wordpress.com/2014/03/10/snap-cube-workshop/). The children in my class view snap cubes like Lego – something they can use to build whatever kind of creations they want. In looking for ways to extend the learning at this centre, I ended up having a conversation with some of my students about the similarities and differences between Lego and Snap Cubes. One of my students pointed out that his Lego sets come with instruction or inspiration booklets to help him make the structures in the kit…and Voila! A new idea was born! The children were immediately interested in creating instruction booklets for their creations, with a view to helping their classmates re-create their structures. “How did you make it?” is the most popular question the children ask each other during reflection time, so it seemed logical for the students to not only tell each other, but show each other what to do in a diagram. Beyond adding some blank paper, markers, and a stapler to the Snap Cube Workshop, the children required very little guidance with how to create their instruction manuals since most of them were well-versed with Lego booklets. The children who did not have experience with Lego booklets simply learned from their more experienced peers and were soon well on their way to their own Snap Cube construction kits. We provided the children with a place to store their manuals (clipped to a string hung at the centre) and many children came by throughout the week to add to their booklets or borrow booklets to try to recreate the structures within.

Image

Image

Image

Image

Snap Cube Workshop

Image

Lately I’ve been looking for ways to extend the learning that has been happening at my small building centre. Basically, snap cubes have taken over our classroom. What started as a daily activity by a small group of boys soon spread into a full-on class obsession with all things related to building with this “Lego-like” material.

I had never looked at snap cubes and thought “Lego” before. It was my students who clued me in when I asked why it was their number one choice of activity each day:

W.W. “These are just like Lego. You can build whatever you want with them.”

G.M. “Lego is our favourite. But we don’t have Lego here. It’s ok though, because snap cubes are just like Lego. They stick together and have different colours and you can make whatever you want.”

Image

Although I was completely amazed and inspired with what the children were able to construct with their snap cubes, how they problem-solved and worked together, and how they presented their discoveries and creations with the class, I’ll admit there have been times when I struggled with the snap cube craze in my classroom. There were certainly children that worked with snap cubes and only snap cubes, children that fought over having a turn there, and children who turned their noses up at the carefully organized provocations we put out at other centres.

In the end, we decided to embrace the interest in snap cubes. We moved them to their own centre (a Snap Cube Building Workshop) and, after some discussions with the class about balance and fairness, noticed that the children were able to make better choices about when to visit the snap cube centre and when to try something new.

Does your class have an activity or material that your students just can’t put down? How did you embrace the children’s interests?

You can read what happened next at this centre by clicking here: https://thecuriouskindergarten.wordpress.com/2014/03/10/snap-cube-workshop-inspiring-young-authors/

Image

The Bird Feeder Project

DSC02317

Here in Toronto this year we have been having an exceptionally cold and snowy winter! Despite the weather, some of our feathered friends have remained in our outdoor classroom. One day when we were outside, some children began to wonder about the birds – weren’t they cold? How were they finding food under all this snow?

DSC02413

After reading Ricki’s Birdhouse by Monica Wellington, a book about a boy who constructs a birdhouse for the birds in his yard and proceeds to feed the birds throughout the year, the children were interested in making their own bird feeders for the birds in our outdoor classroom. We set up a provocation at the science table including planning sheets, our Ricki’s Birdhouse story, and iPads. Using the iPads, we googled “homemade bird feeder” images and the children looked for designs that appealed to them. Then they set about creating their plans. We encouraged the children to label their plans with the materials we would need to build them.

DSC02228

DSC02193

DSC02202

After giving the children ample time for the planning process, we gathered up the materials the children requested for their bird feeders. I sent a letter home asking the parents to send in any materials they may have at home to help us with our project. Then we set up our bird feeder making centre! For the most part, the children really stuck to their original designs when making their bird feeders. Other children who weren’t initially interested in making their own plans stopped by and got inspired by their classmates’ projects. The children were really in charge of this activity from start to finish, and were so proud of the feeders they made!

DSC02260

DSC02314

At the end of the week, we took our feeders outside to hang up in the courtyard. The children were beyond excited to share their creations with the birds. It felt like a bird feeder hanging party!

hanging

Update: After the weekend, we took the children outside to see if there were any clues that the birds had enjoyed the birdseed. We had had another dose of snow, so the children noticed that some of the materials we used did not hold up in the extreme winter conditions.

E.A.: The bird feeders made of Kleenex boxes and toilet rolls with honey stayed up.
F.S.: The snow covered the paper plates and they fell down.
A.C.: The tissue boxes and the buckets are good to make feeders because they stayed up.
J.M.: The apples stayed up too and some of the food was missing.

When talking about whether or not the birds enjoyed the feeders:

M.F.: The bird seed is gone!
B.L.: That’s because the snow is covering the seeds. I can see it if I dig down.
H.K.: I think the birds look fatter!

Exploring Loose Parts

DSC02130

This week at the small building centre, we created an “animals in winter” provocation using a variety of materials and loose parts: wood chips, acorns, mushrooms, small blocks, glass tiles, animals, stones, etc. We also provided the children with some non-fiction books about animals and the class iPad. Having a variety of loose parts available to the children is advantageous in many ways. Loose parts can be used in any way the children wish, thus encouraging creativity and imagination. The children are also not limited with how loose parts can be used, combined, or organized. Because loose parts can be used in many ways, the children are able to demonstrate and explore a variety of themes and ideas. A popular theme that arose from this provocation was that of animal homes. The children were very interested in using the loose parts to create shelters for the animals. When they weren’t sure what a particular animal’s home looked like in real life, we googled it on the iPad and used the images we found to recreate a home that suited the animal. There was a lot of investigation, research, and problem solving going on!

DSC02132

DSC02131

DSC02097

hedg

DSC02135

DSC02102

DSC02098


Zooming in on Technology!

Image

I am always on the lookout for new and interesting ways to enhance student learning using technology. Recently, our class received a digital microscope to pilot in the classroom. As technology goes, this tool is relatively inexpensive (around $60) and has proven to be a neat way of looking at things in a brand new way!

We began by using the microscope to explore our plants growing in the classroom and to zoom in on the bird nests that our students brought in to share. These activities were teacher-led during our large group instruction time and helped the students understand how the microscope works and how it can be useful for seeing things our eyes can’t normally see.

This week, the children took their own initiative with the microscope. A group of students approached me during Discovery Time – they wanted to use the microscope to explore some objects in the classroom. After hooking it up to the laptop for them, the children proceeded to snap images of a classroom chair, table-top, finger, iPad, and iPad button. There is only one button to press for picture taking, so the children were able to do this themselves. I had to help them focus the microscope (by rotating the lens at the top) first. The children were so amazed at how different our classroom materials looked close-up that they wanted to print out their pictures and share them with the class. We decided to make a game of it. The students wrote clues on their pictures and we presented them to the class to see if anyone could guess what the picture was of (I also posted the pictures on our classroom SMARTBoard so they were easy for the class to see).

DSC02220

M.B. – “What is this? It starts with CH and you sit on it.”DSC02221

R.K: “What is this? You press it and it starts with a B.”

Overall, we have really been enjoying the digital microscope in our classroom. It took a little getting used to while we were learning how to focus the lens, but the set up and installation (we downloaded software directly from the website where the microscope can be purchased) was easy. The children are comfortable manipulating the microscope on their own (with some assistance in focusing) and its small size means it’s good for small hands and doesn’t take up space in the classroom. I’m interested to see what new discoveries we will make with our new tool!