I can’t believe we’ve arrived at another September. This year I moved rooms so I had the opportunity to design a new learning space – which is really one of my favourite aspects of teaching. I take classroom set-up pretty seriously, because I know in the end, the way the room is designed is going to do a lot of teaching for me. When I’m setting up a learning space I’m thinking mostly about how I want the space to feel – homey and inviting are two adjectives that come to mind. I want my students to feel comfortable, to feel the space is theirs and ours together. I also want the space to communicate to anyone who comes in that we believe the children are capable, creative, respected, and valued.
The first thing I do when I’m laying out a new space is make a list of all the centres/learning areas we’d like to include (large gathering space, big blocks, writing centre, play dough table, snack table, water table, sand table, science centre, art studio, small building area, drama centre, math centre, quiet centre, light table, computer area, guided reading table). Then I take out a pencil and paper and start drawing floor plans. There are always elements in every room that dictate where certain things have to go – outlets and internet drops determine where computers will go (although I have been known over the years to use 20 foot cords and duct tape to make things fit where I want them to…); flooring (if you have carpeting and tile) will often dictate where sand and water will be located. I prefer to have art spaces and science areas near windows, so I try and arrange that in my planning. Once I have a few plans worked out, I get started moving the furniture. My partners and I had to move the furniture around a bit before we got everything where we wanted it. Some days I went home knowing it “wasn’t quite right” only to go in the next day and know just how to fix it. It’s a process.
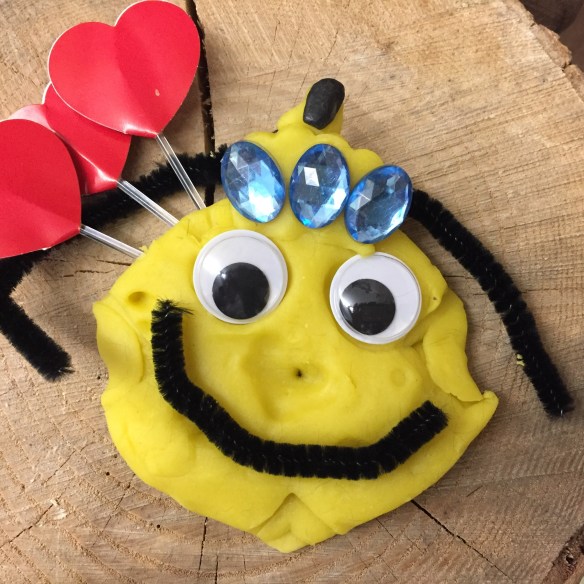
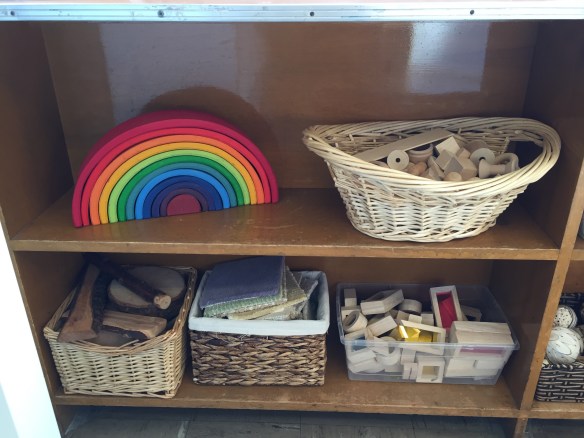
Once the furniture is in place, it’s time to decide what materials we will offer. At the very beginning of the school year, I prefer to have most of my centres open, but with limited materials (the exceptions are: water and sand are not open at the same time, and I tend to leave the paint easel closed the first couple of weeks). I generally select materials that are inviting, but familiar. I steer away from anything that will require teacher help (like art projects or work we will put up) simply because the first days can be unpredictable. We want all staff available to observe the children, help them find learning opportunities that interest them, model tidying up, etc. Sometimes children are upset and need comforting, leaving one staff member to manage the larger group on their own. For this reason, I want the materials and provocations to be safe, easy to tidy up, and accessible to the children. We don’t put anything out on the shelves that the children are not allowed to play with. I also lean towards more open-ended materials such as loose parts and materials that encourage social play and interaction. Since writing is such an important skill we want to encourage, I try and include writing materials (pencils, crayons, paper and clipboards) at most centres. This sends the message that writing is important and it also helps the children develop independence by having the materials they need at their fingertips.
So here we go! A photo tour of the new space…
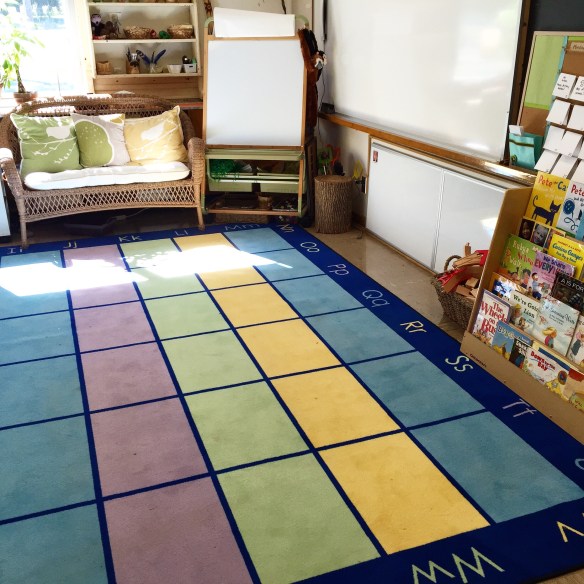
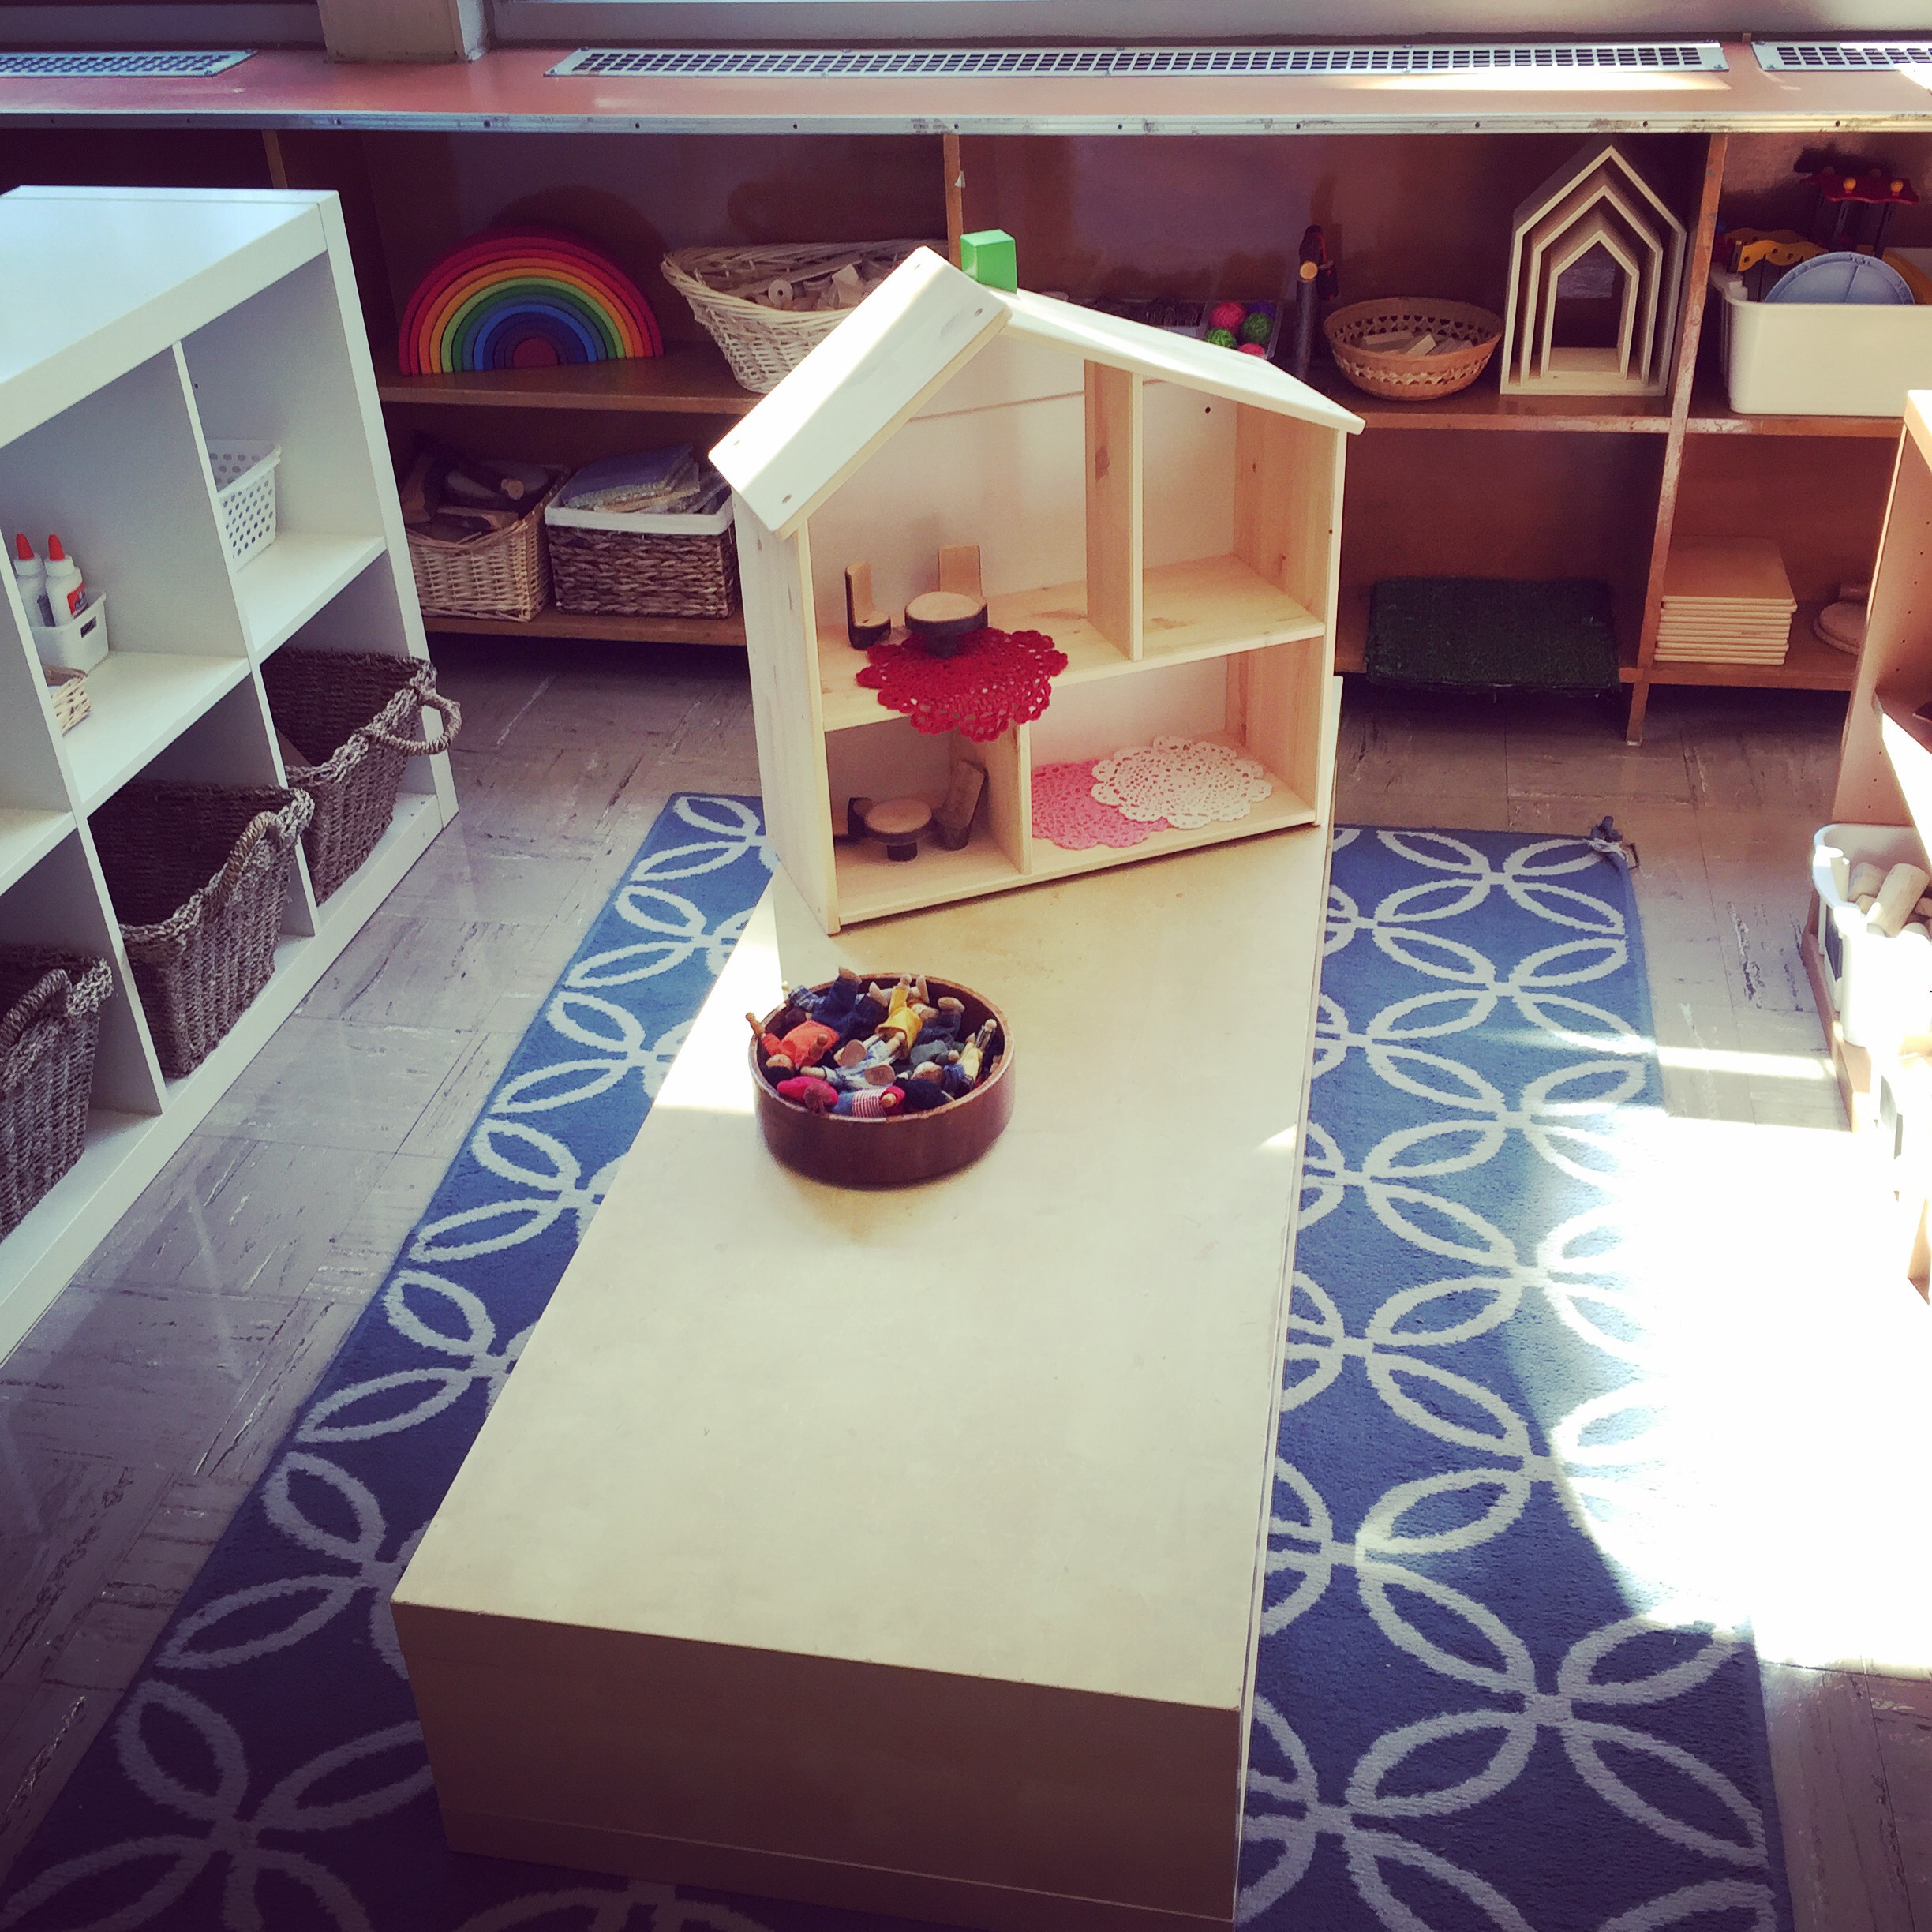
Our main meeting space. This space also doubles as our big blocks area during discovery time.
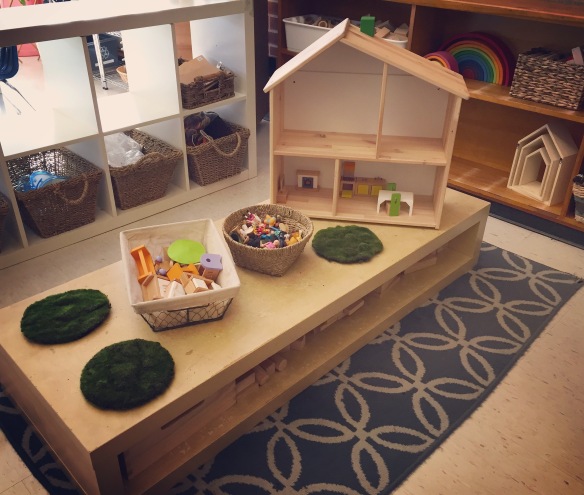
The Small Building Centre. We have the doll house, people, and furniture out at the moment. This centre will need no explanation to the students and is always a popular choice during discovery time.

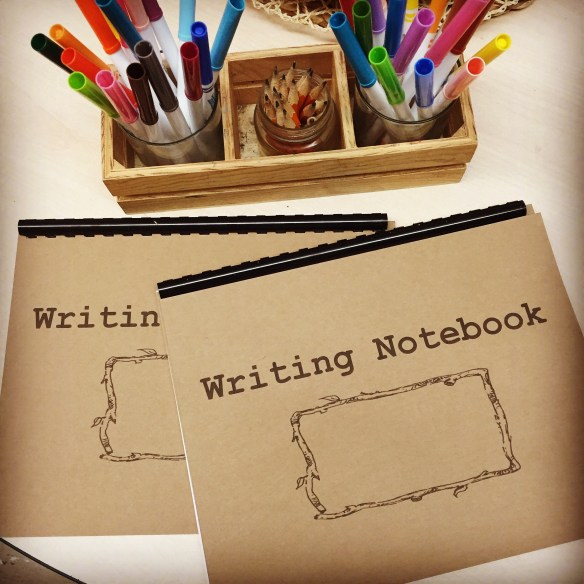
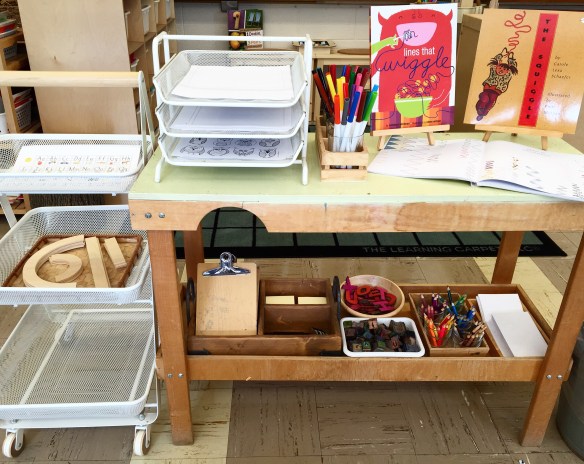
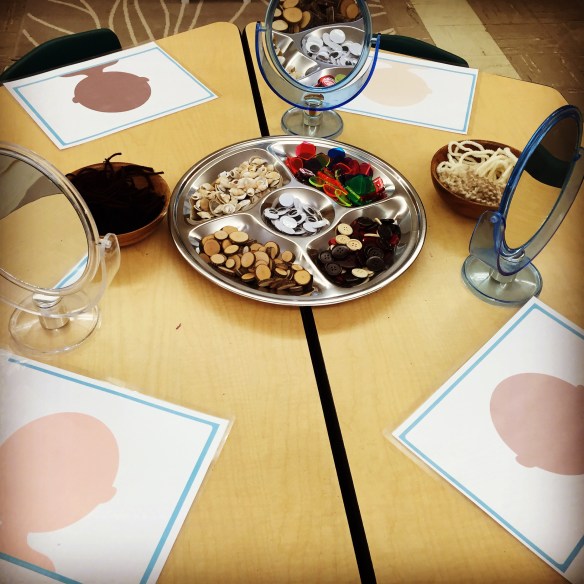
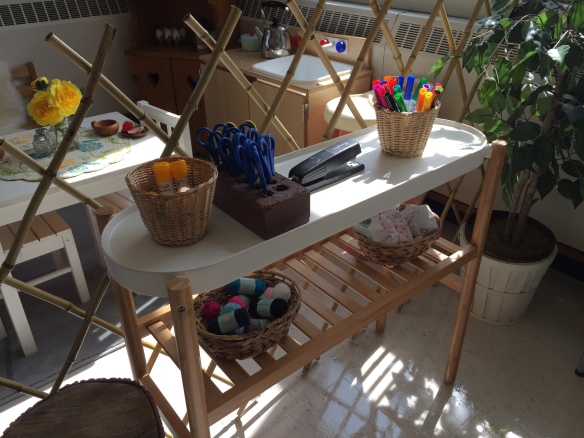
The Writing Centre. We have it set up with mirrors on which we will write the children’s names with a whiteboard marker; the children can cover the lines with loose parts.
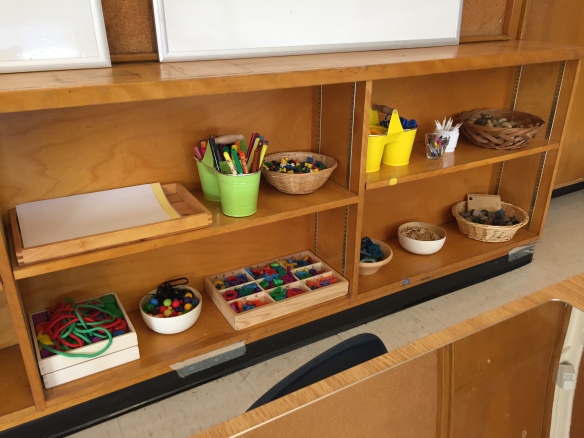
Writing Centre materials. We have beads with laces for fine motor development, magnetic letters, paper, markers, pencils, crayons, glue, scissors, letter tiles, and letter stamps.
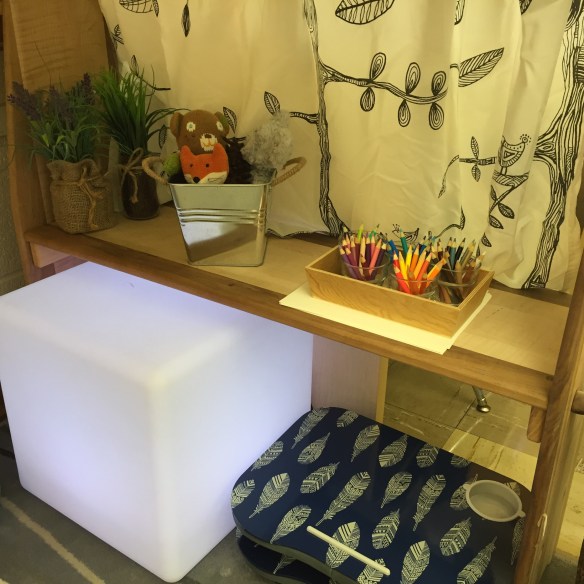
The Art Studio. Simple materials for making and creating are out right now. My students from last year were very interested in creating with recycled cardstock that a parent donates regularly. They love the stencils and making books with tape/washi tape. All of those materials are out for them to use as they wish and I’m confident the returning students will model for their new classmates how to use these materials creatively!
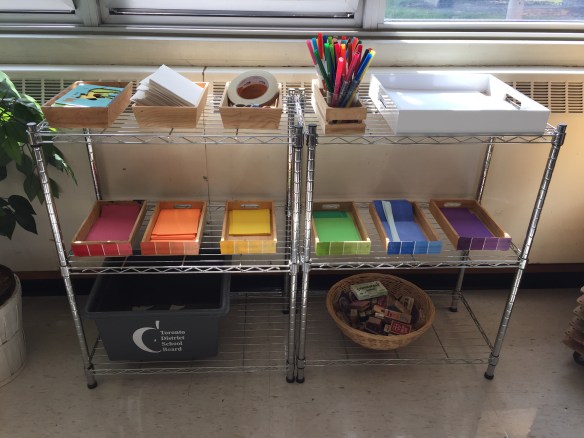
I love this simple shelving for storing supplies. We can easily switch out or add new materials as interests arise.
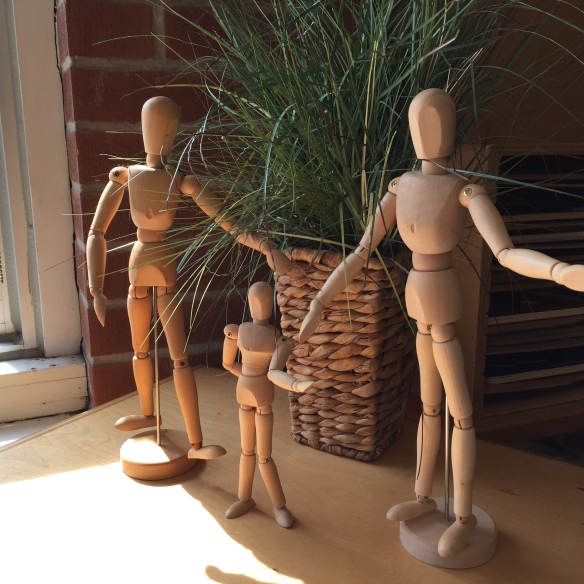
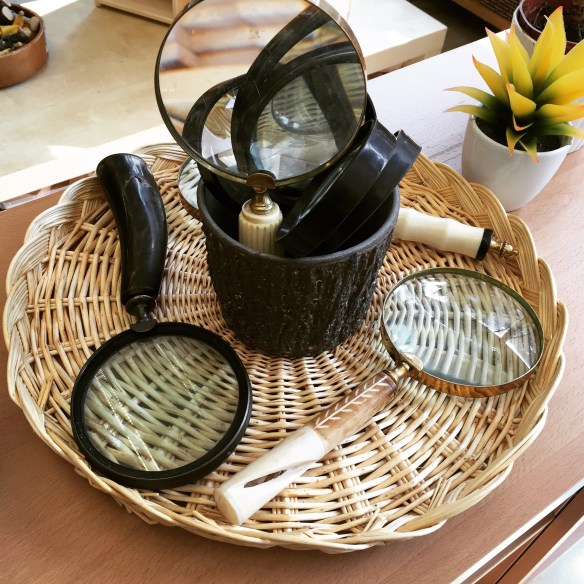
I like to have these guys on hand at the Art Studio. We will be getting to self-portraits this month and I find them helpful for that process! You can also see one of my many plants in the room. This one is fake, but I have a number of real plants as well. I think the greenery adds a softness to the space. Plants are also supposed to be calming.
This shelf at the Art Studio doubles as a divider for the drama centre. I attached the bamboo trellis to the legs of the shelf for stability. Sometimes you have to get creative!
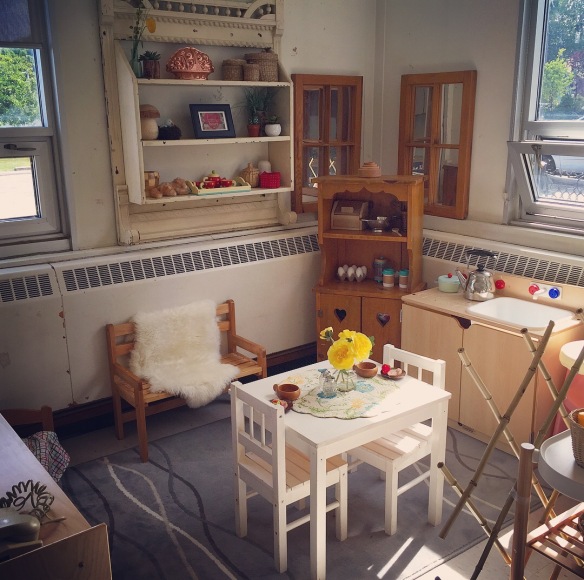
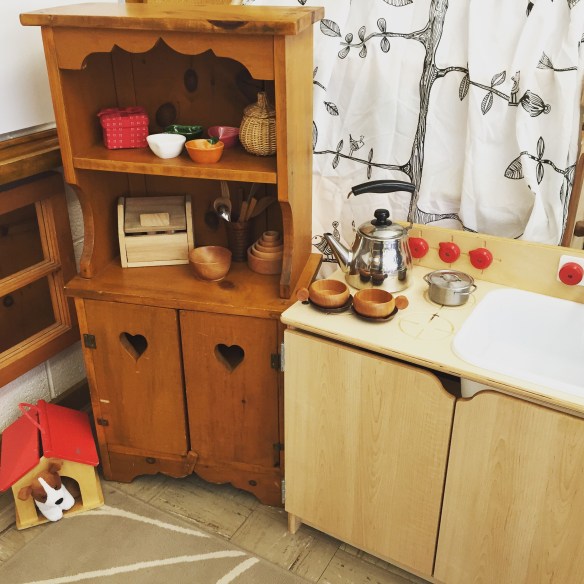
Drama centre. I always start the year with a “home” set-up in the drama centre for comfort and familiarity.
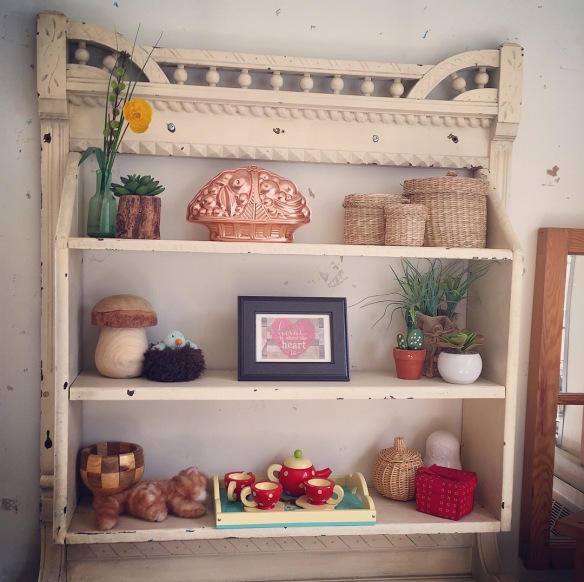
Home is where the heart is! This shelf has homey knick-knacks now, but I hope to add some of the children’s creations to it later.
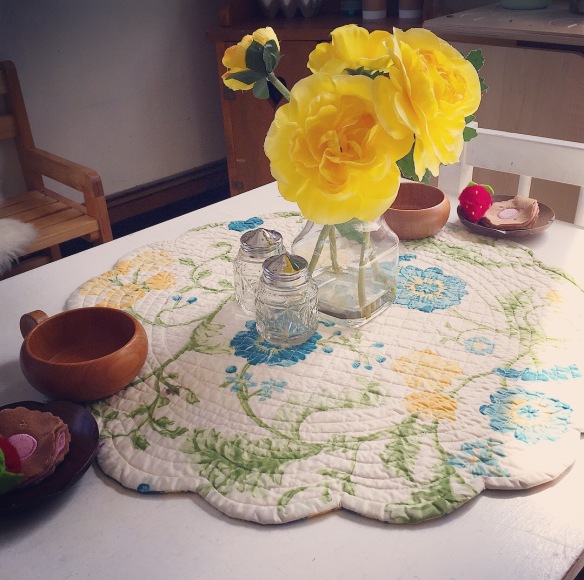
Tea, anyone?
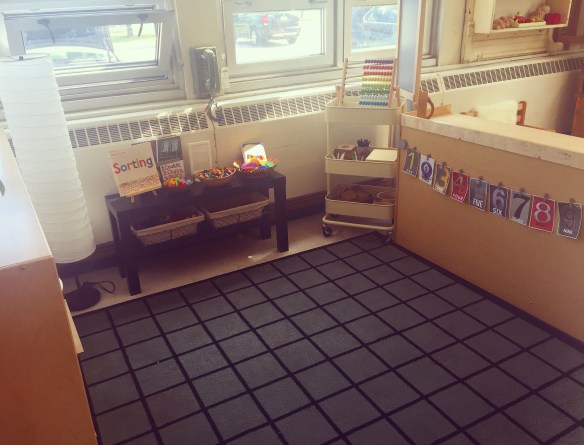
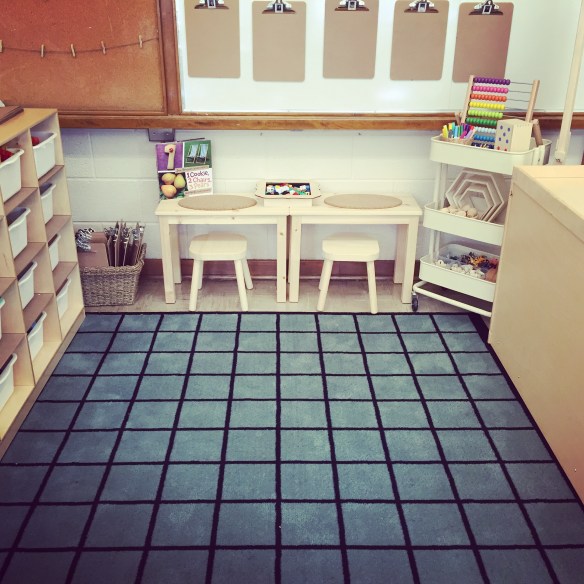
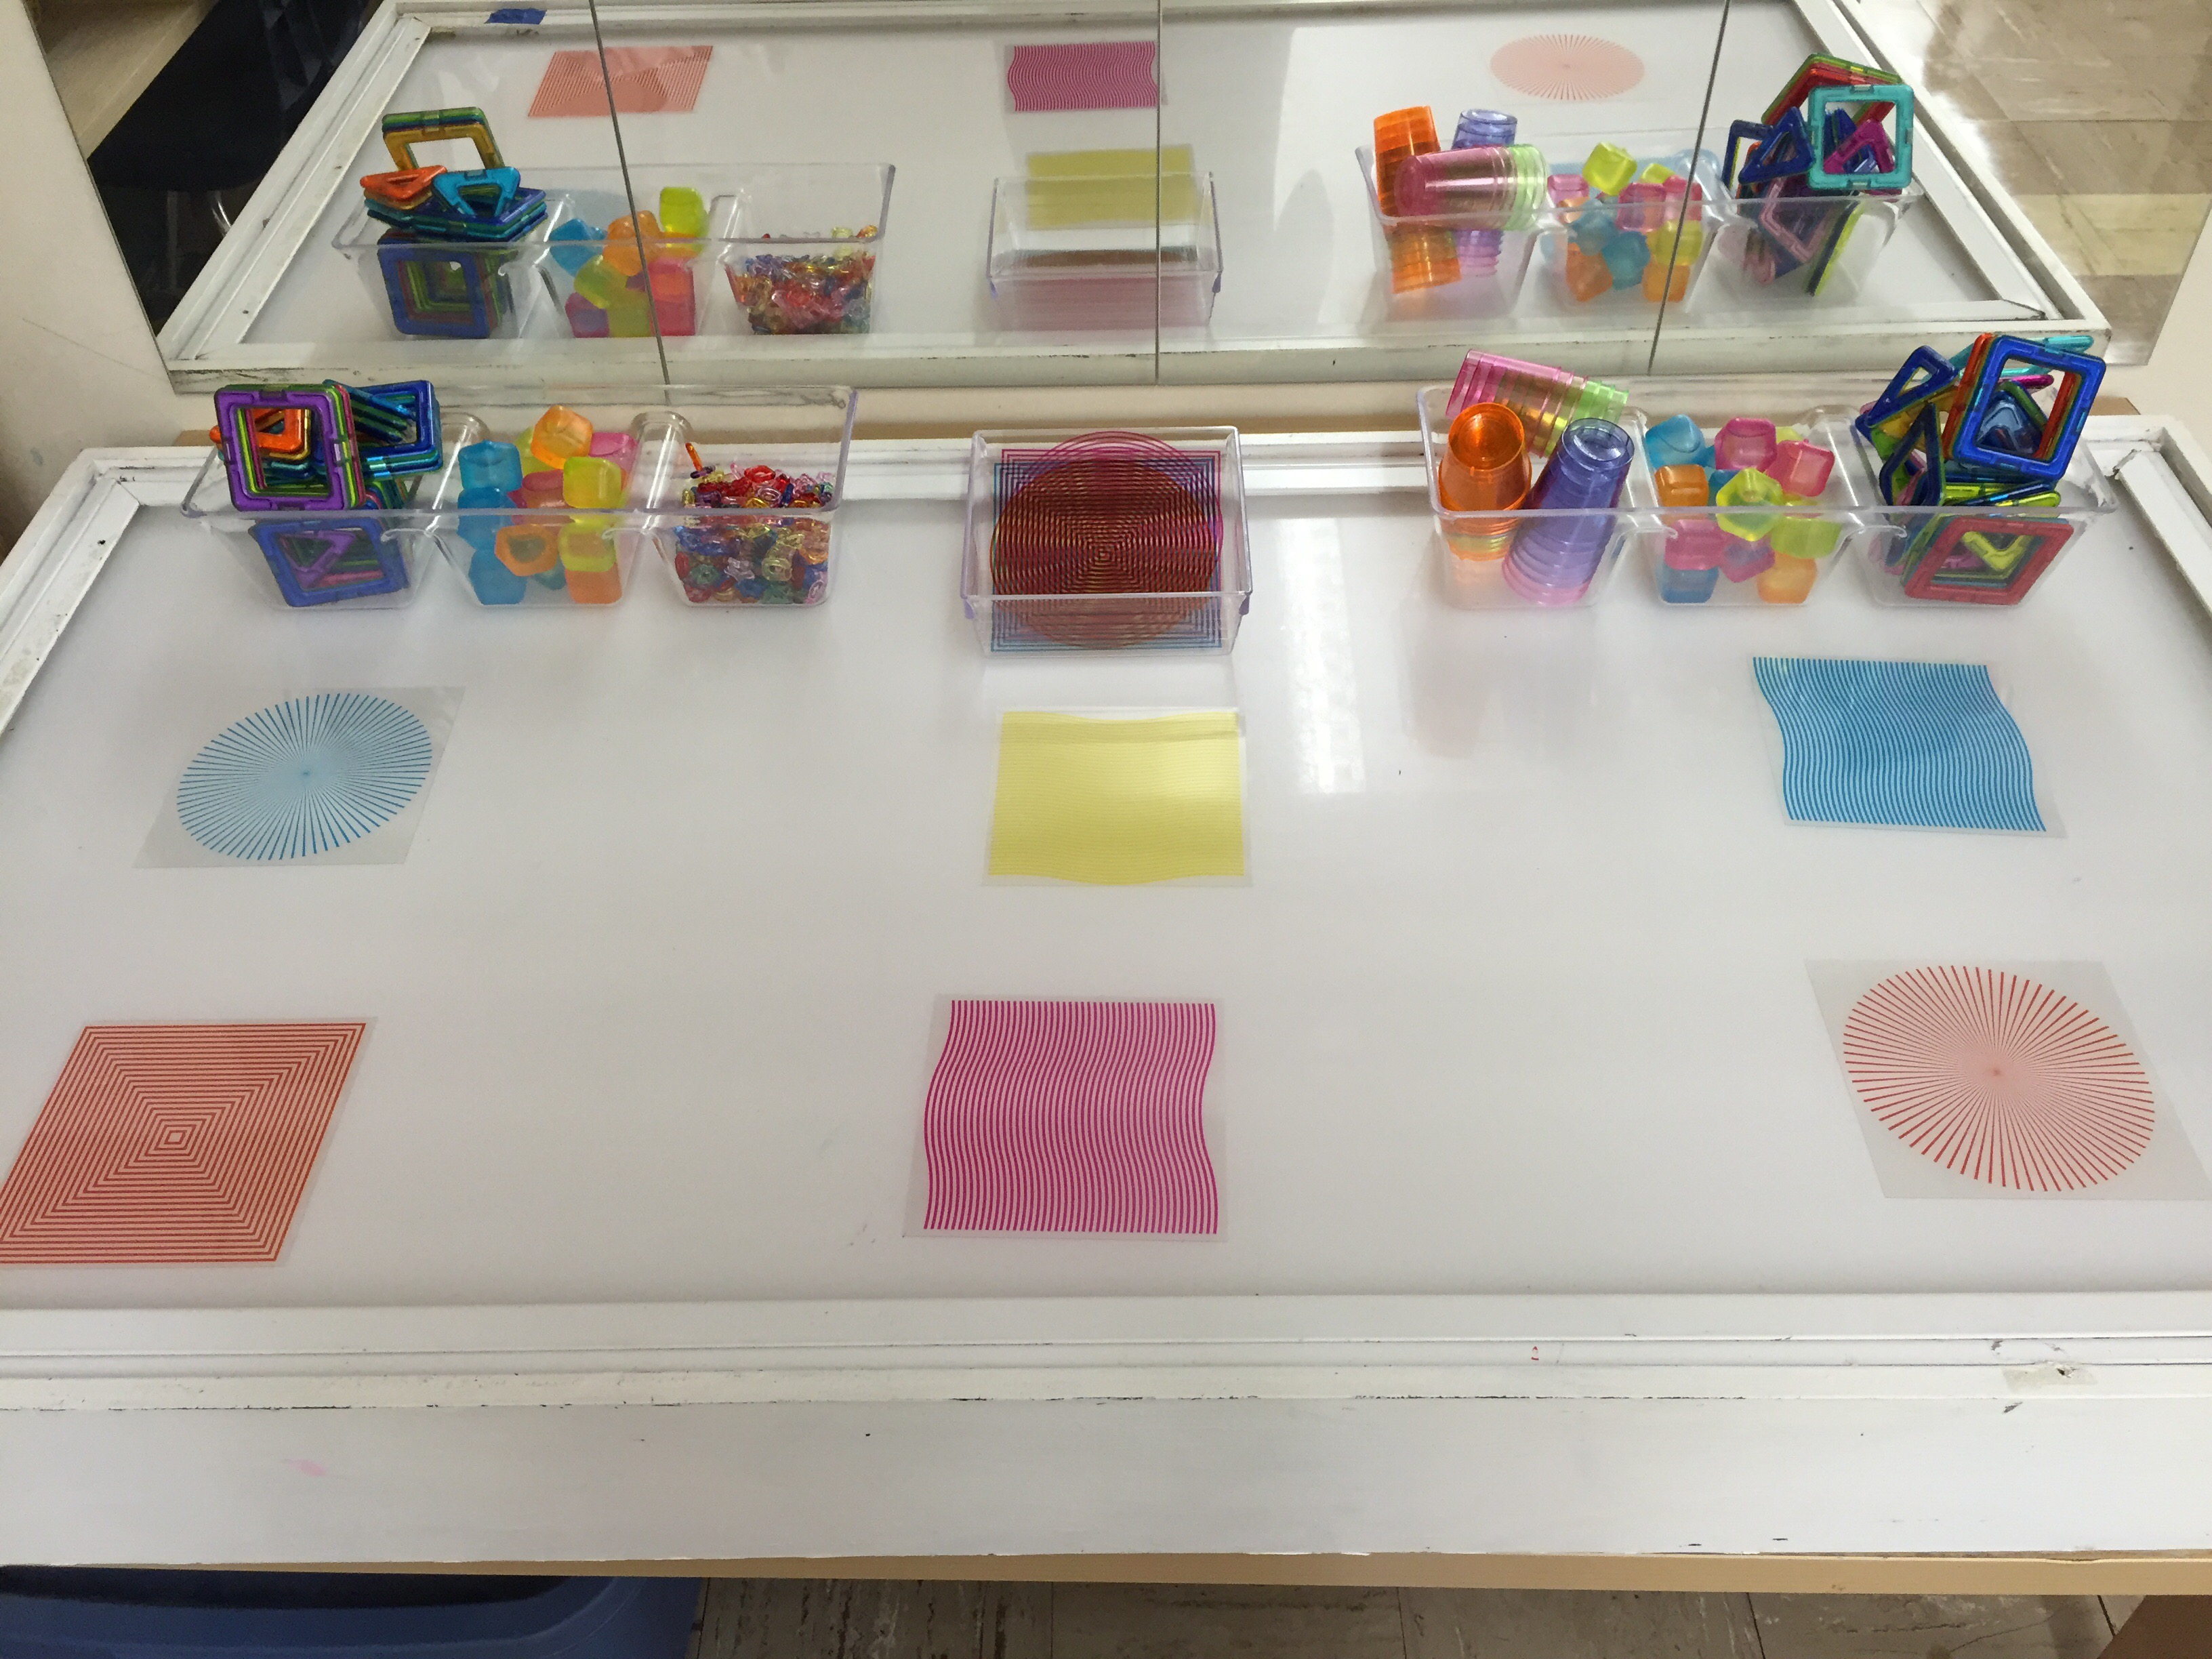
Math Centre. We have materials for sorting and counting out at the moment. I love my number line cards from Right Brained Mom – you can download them for free on her website: https://rightbrainedmom.com/2017/08/28/free-printable-numbers-1-10/
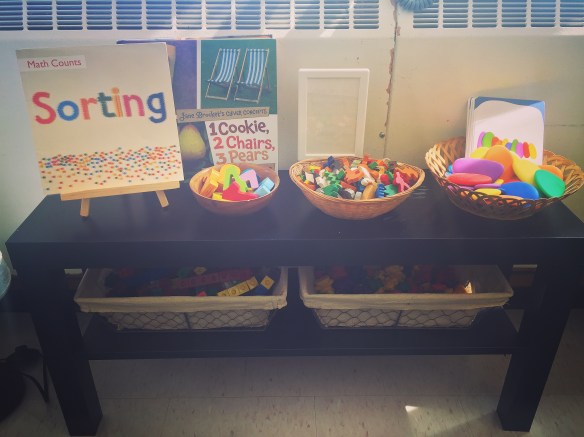
Close up of math materials. Sorry for the fuzzy photo – it was particularly sunny when I took the picture!
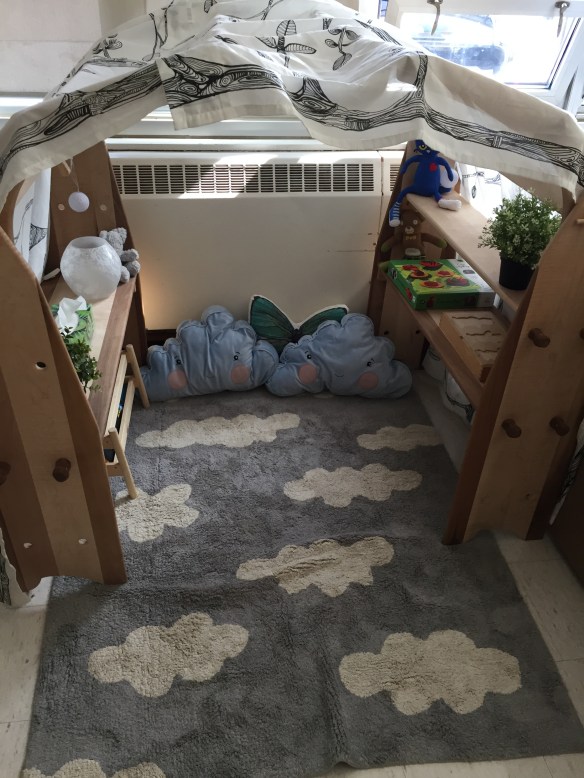
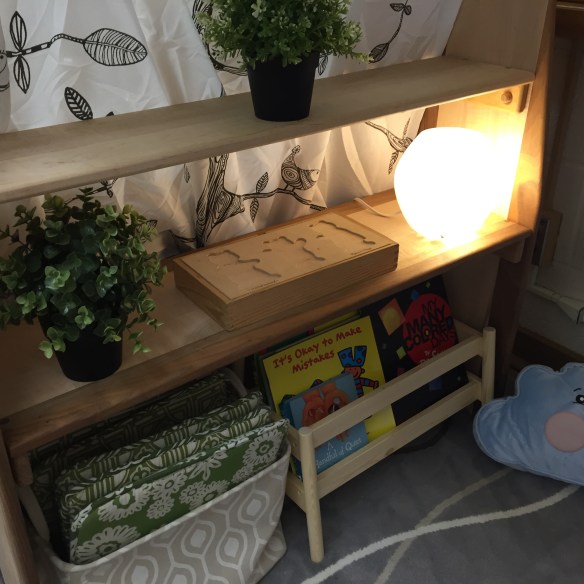
The Quiet Centre. A space for children to “get away” and have a moment to themselves. I introduced a quiet centre to our class last year and it was absolutely invaluable for encouraging the children to self-regulate. We have a number of children with special needs and they also found comfort in having a spot in the class to go and “take a break.”
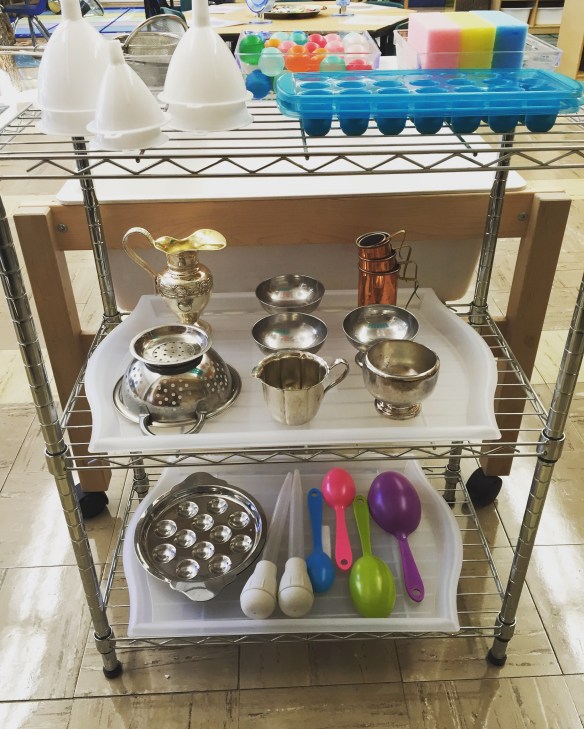
Science Table. I have a few monarch caterpillars at home so I will be bringing one in to school. We had Painted Lady butterflies in our class last year, so I thought the children would enjoy seeing another species of butterfly. We also have some milkweed plants in our outdoor play space so I hope to teach the children how important the milkweed is to the monarch species.


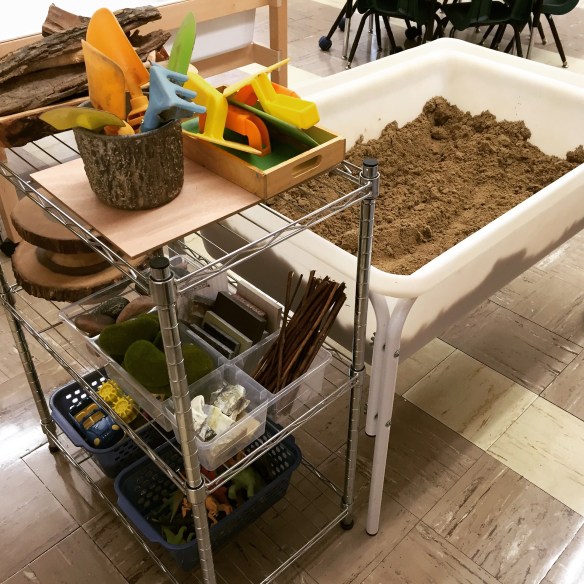
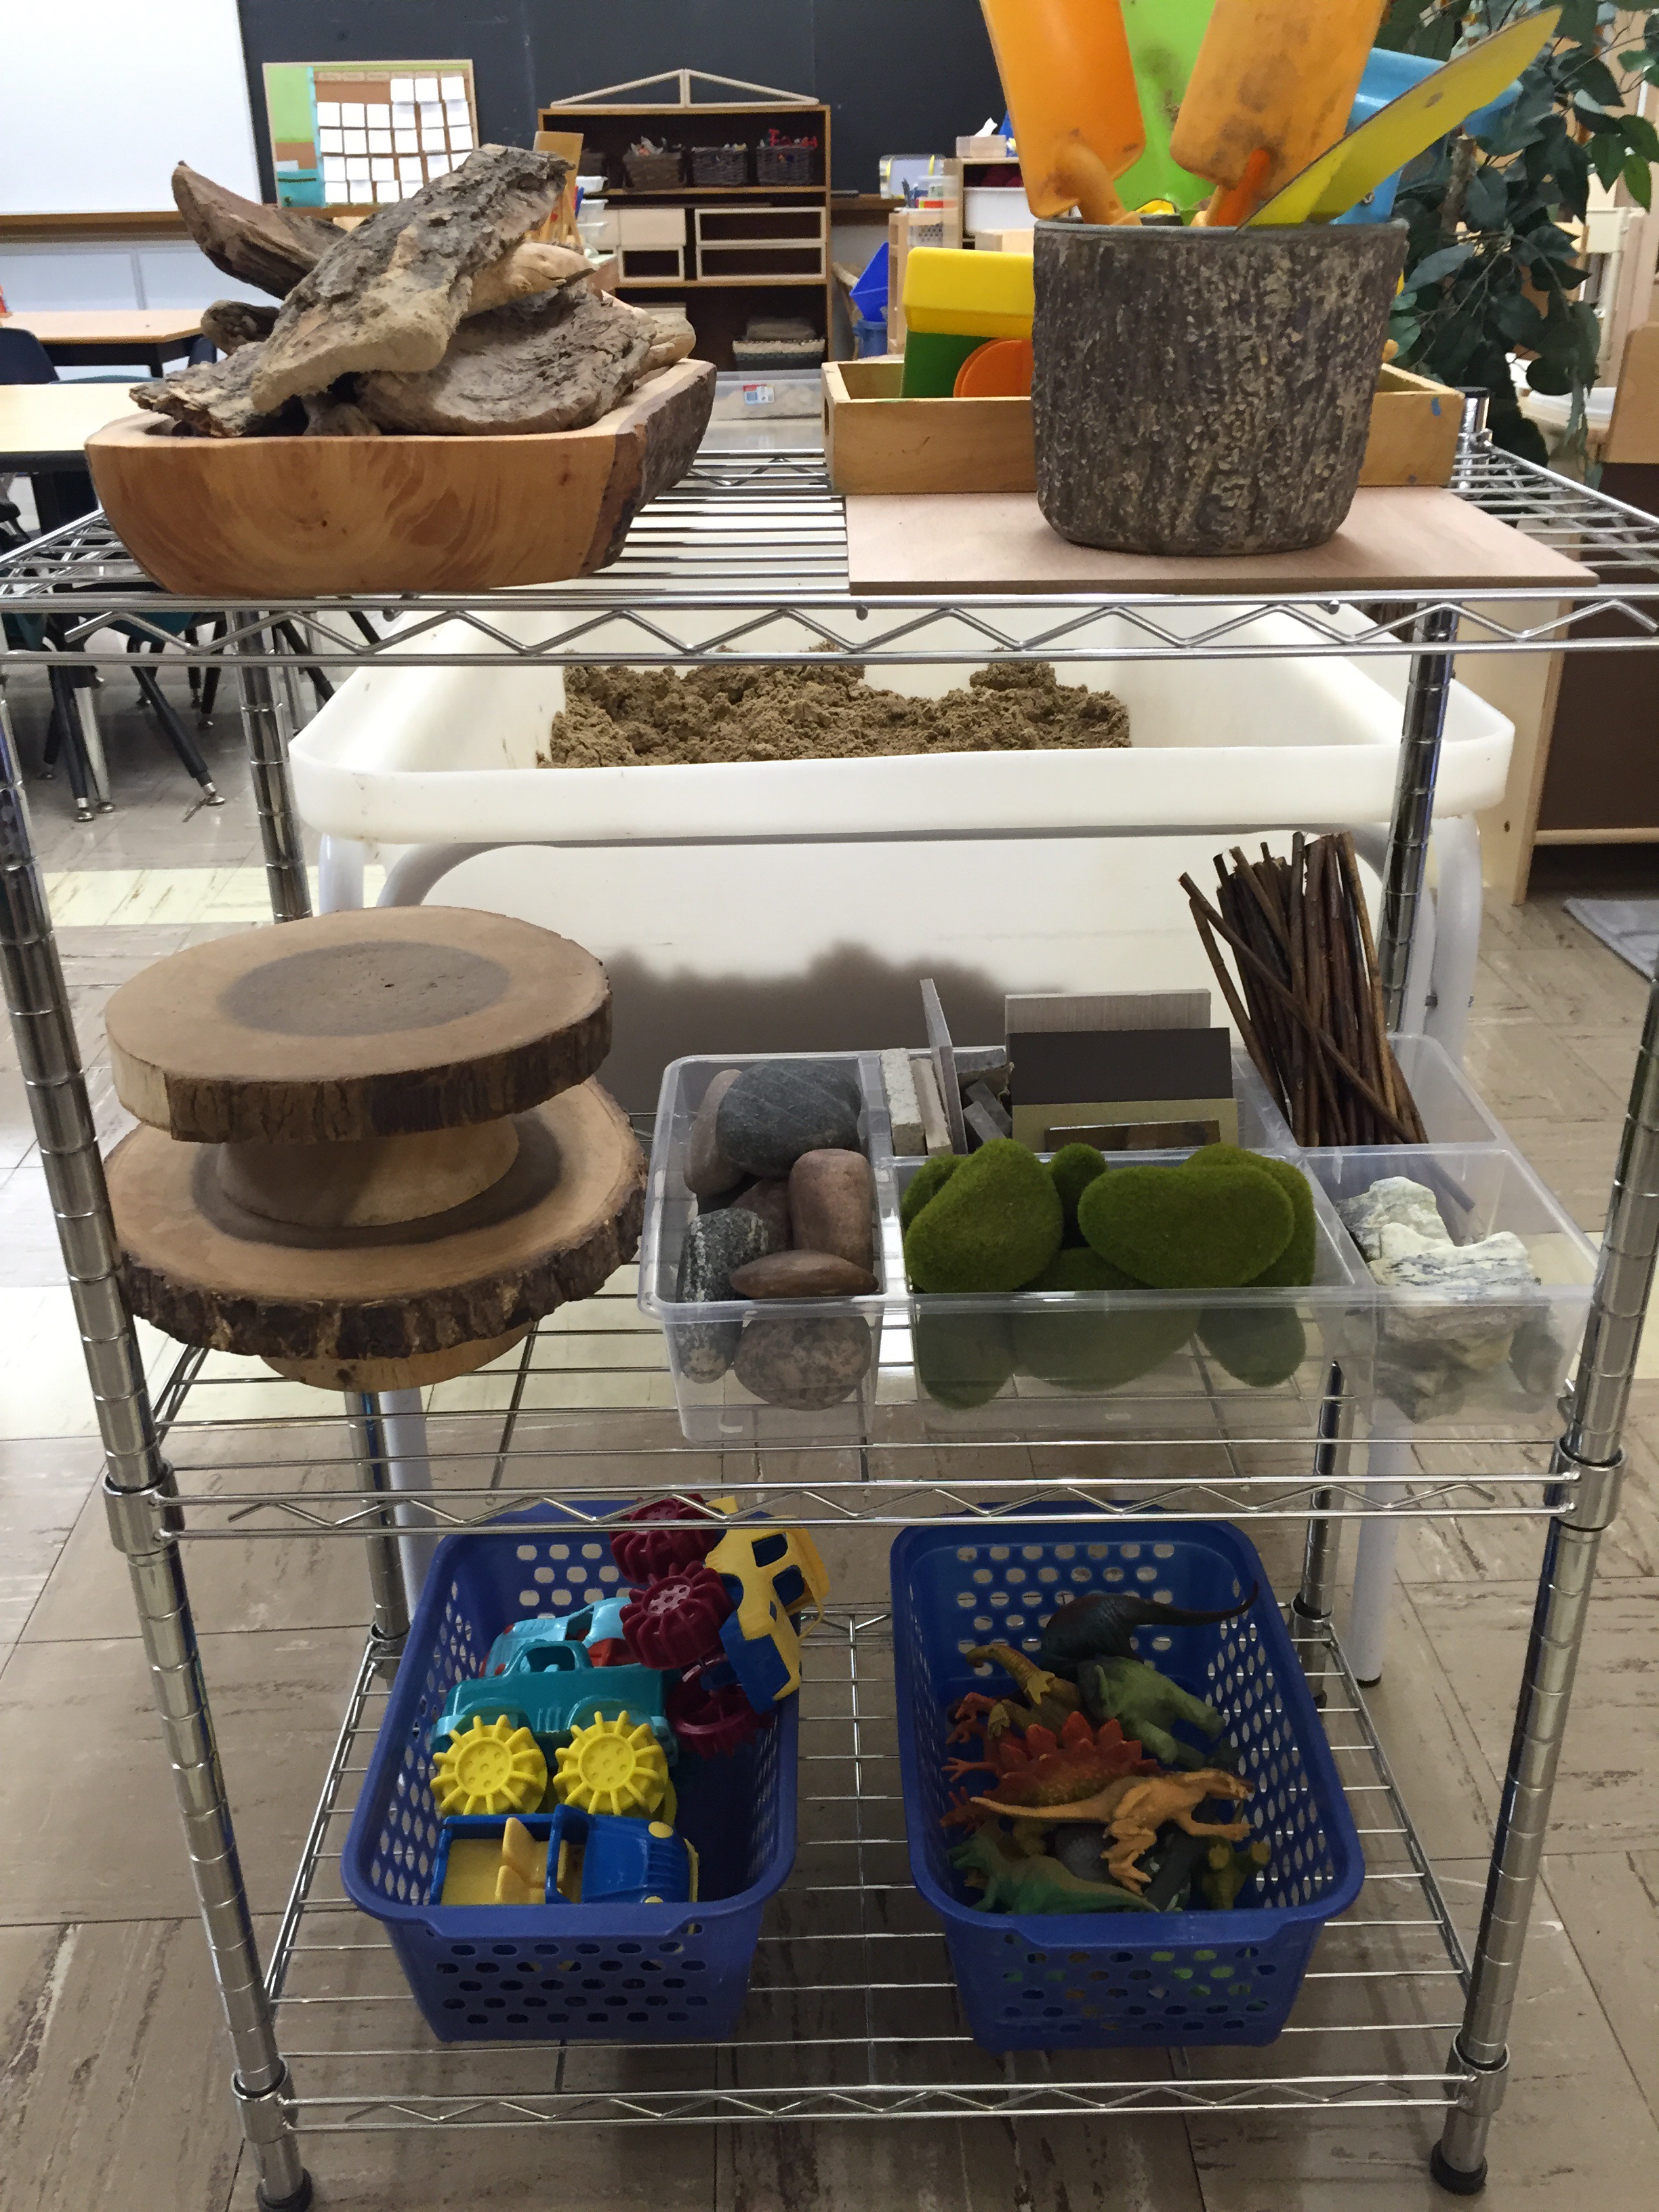
This is actually our water table, but we are choosing to set out Lego for the beginning of the year. This is another centre that will need no explanation to the children. Lego always inspires creative work and the children often work collaboratively on these green building mats.
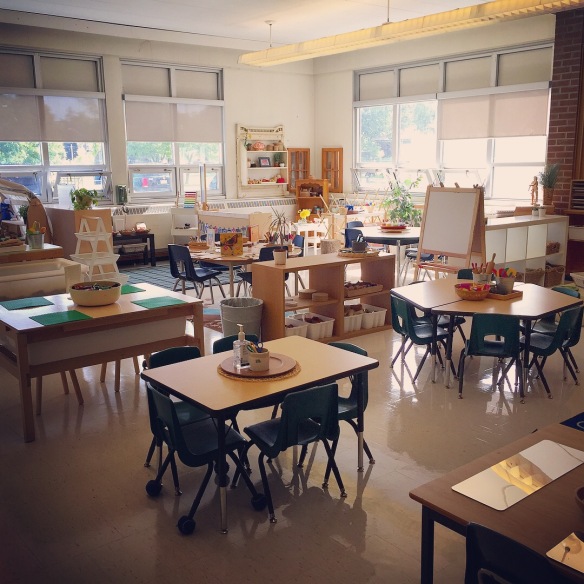
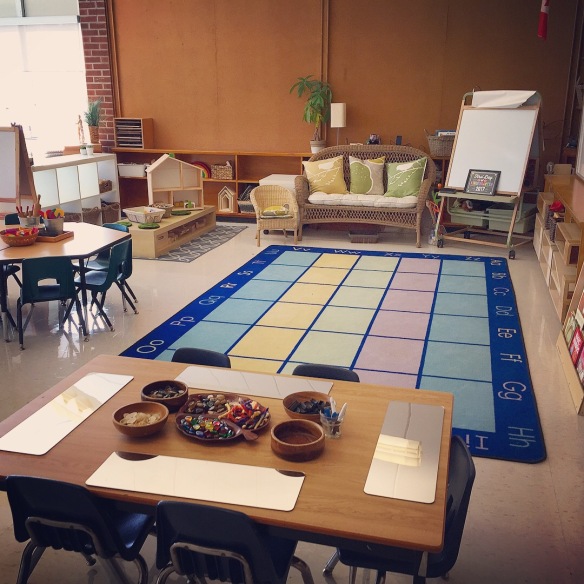
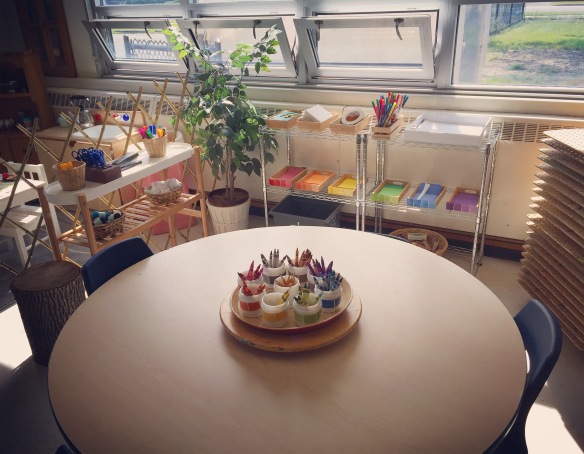
Here is a picture of the whole space. You can see the snack table and the play dough table in this picture.
So there it is! A new space for learning together. Today while I was working, a family who was registering their child came in and exclaimed, “Wow! It looks just like a home!” I hope our students feel the same way when they see their new home away from home next week. Happy weekend, everyone!