Beautiful Stuff

Image

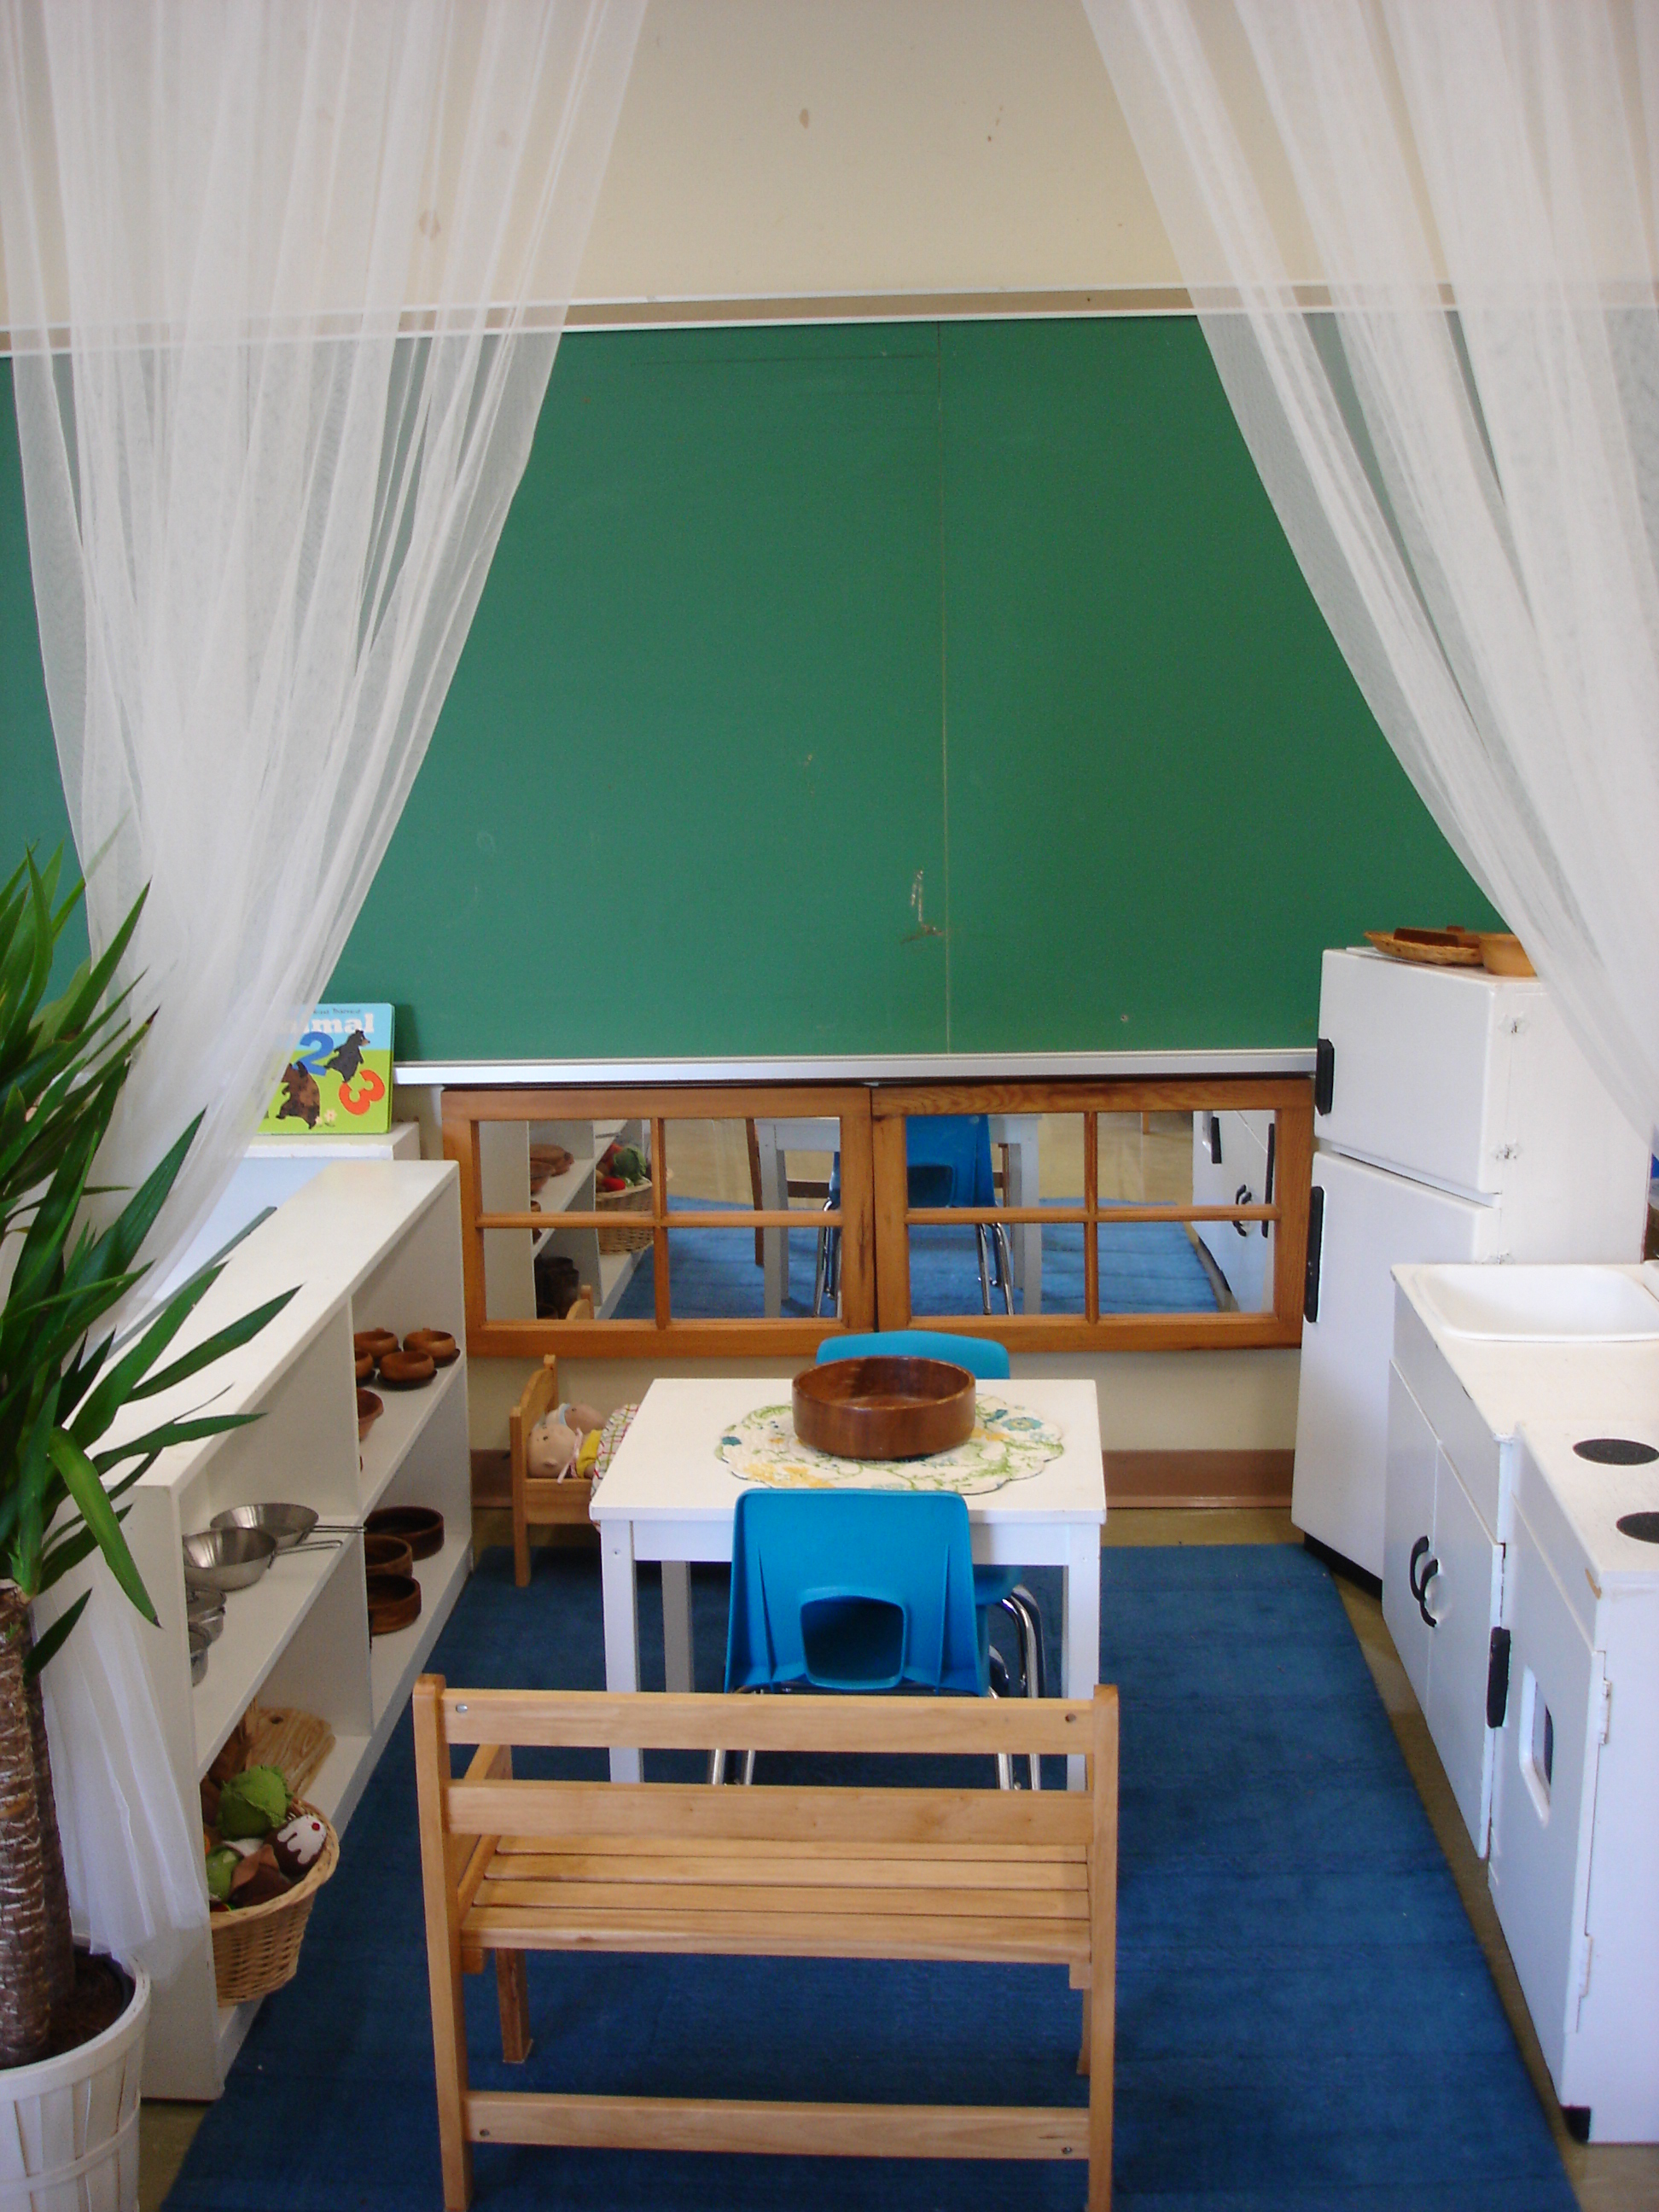
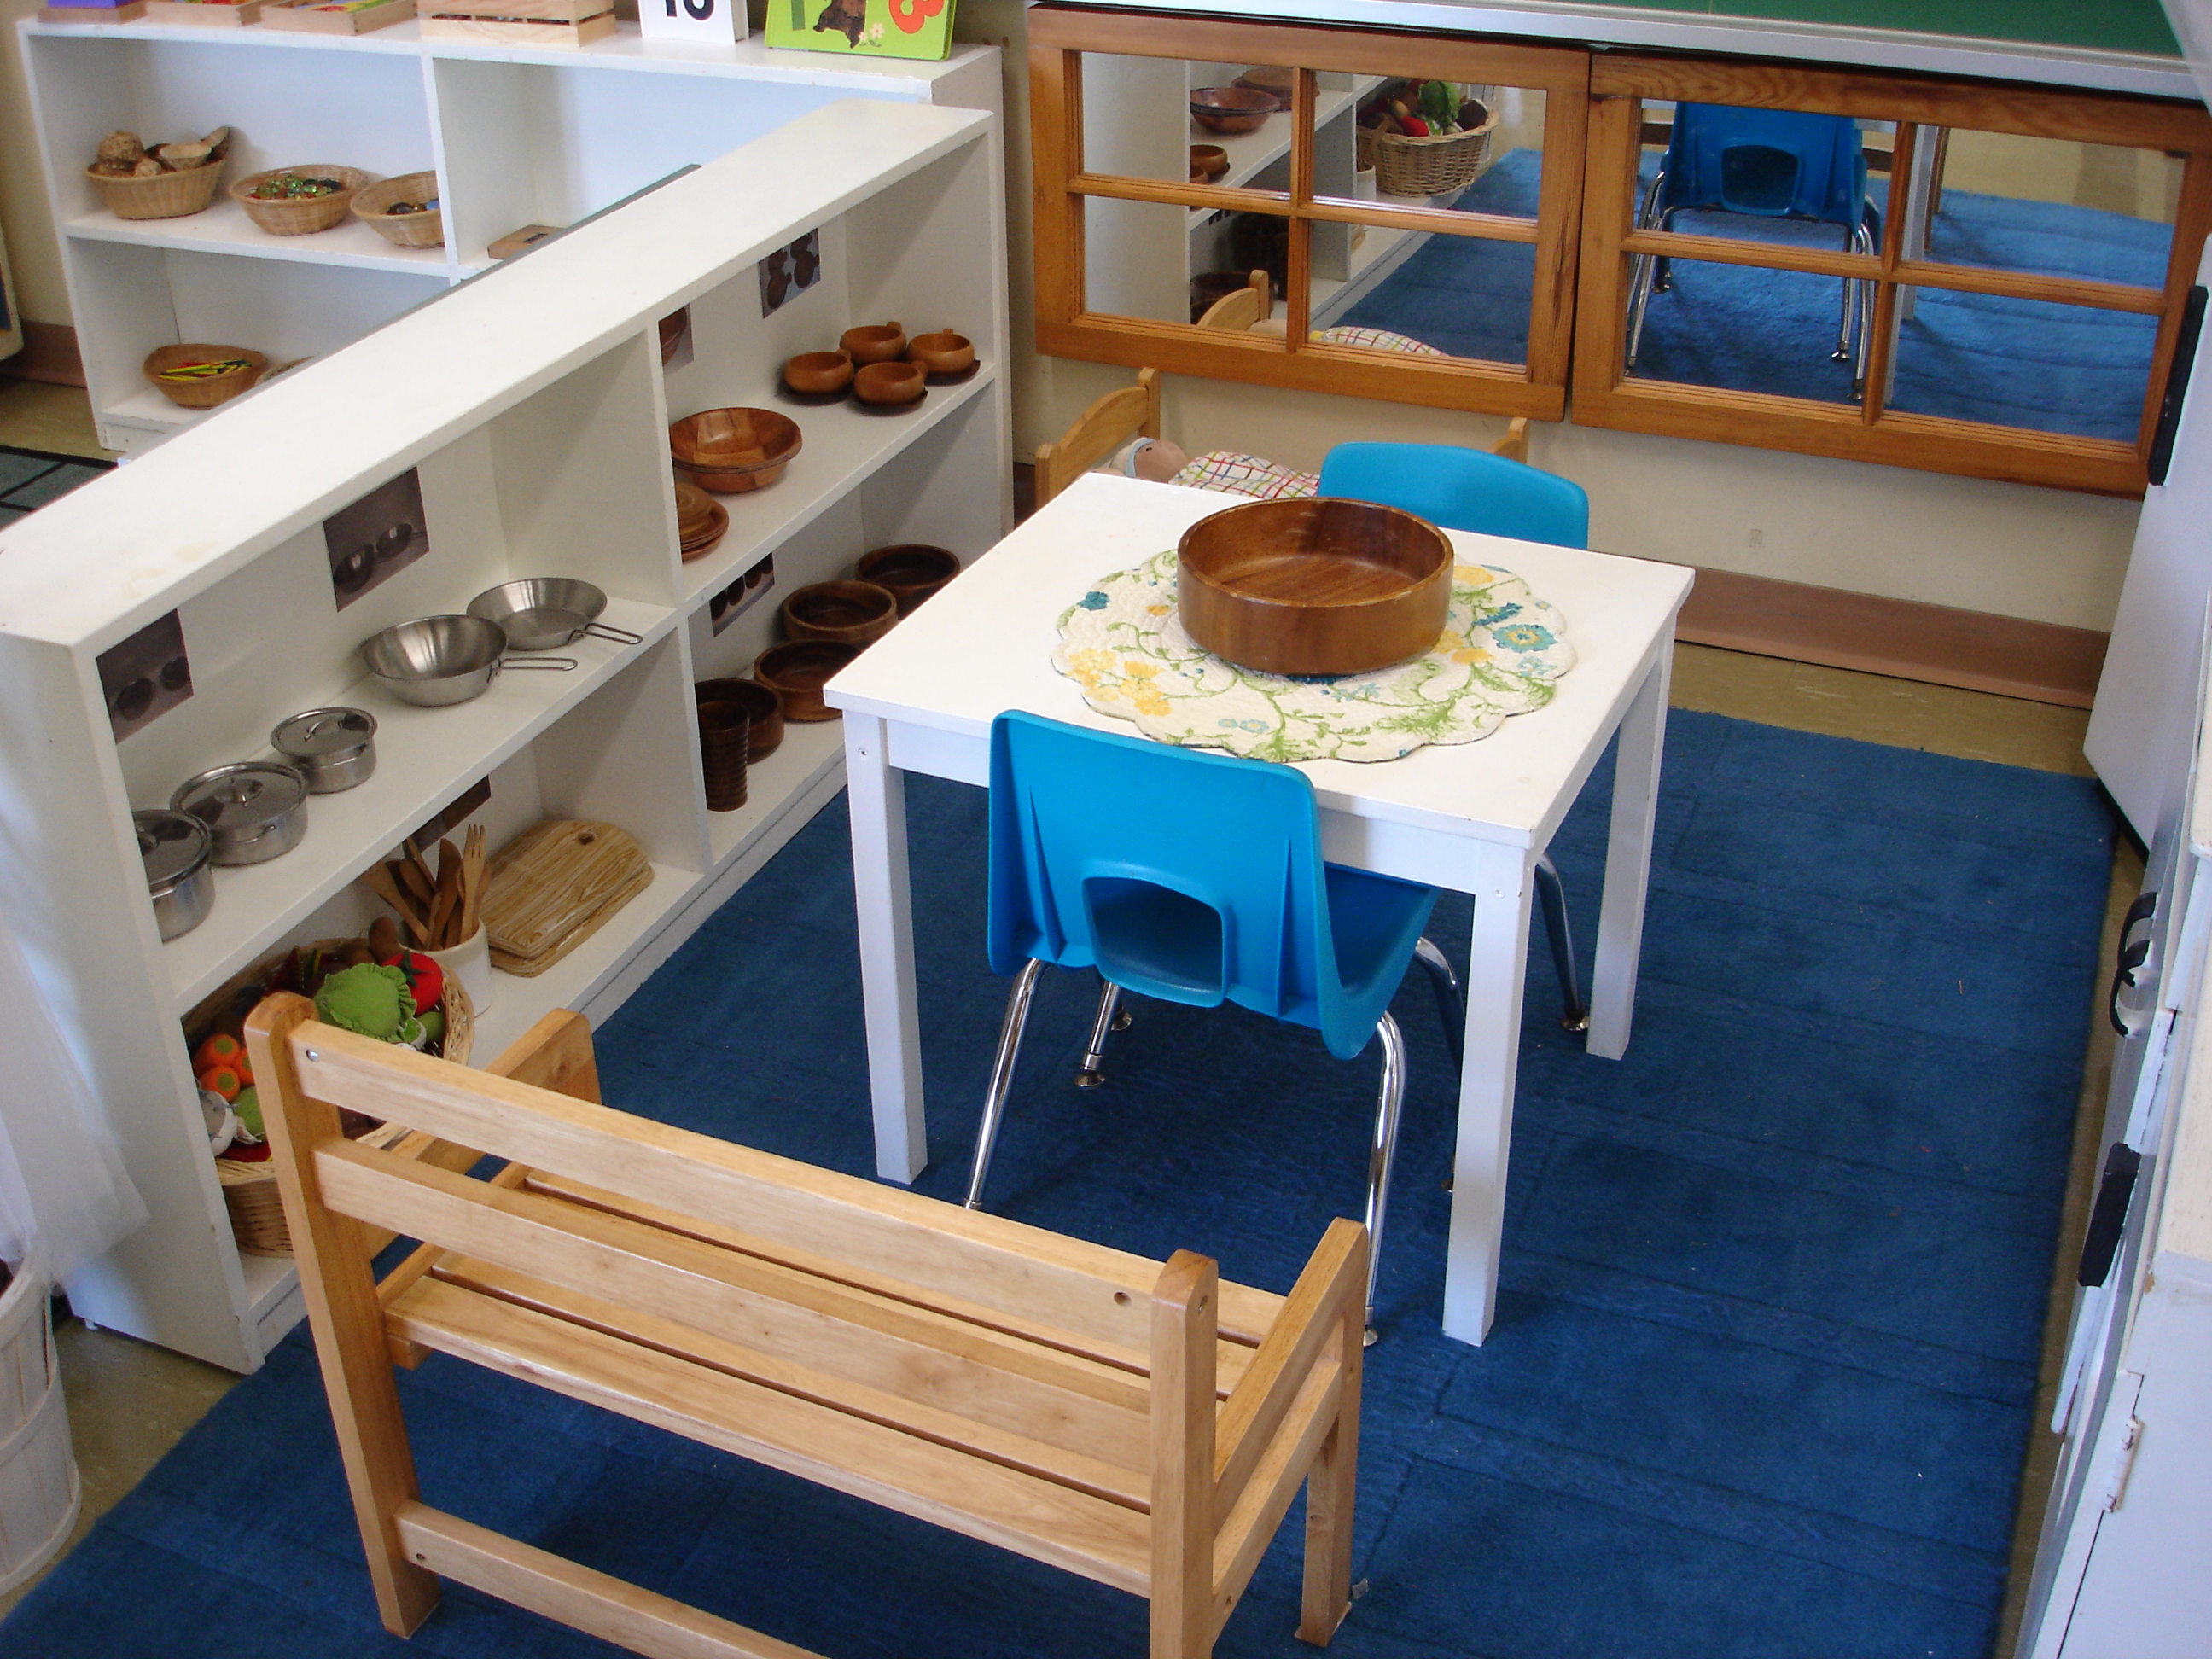
Maintaining a variety of supplies at the Art Studio can be a challenge on a limited budget. I often have visitors to my classroom ask me where I get my materials. One simple way to stock your studio is to involve the children and their families in setting it up. This year we stocked our studio by embarking on a “Beautiful Stuff Project” – an idea I read about in Beautiful Stuff: Learning with Found Materials by Cathy Weisman Topal and Lella Gandini. Just like the book suggests, we wrote a letter to the parents with the children. Here is what the children said:

Image

Each student received a large paper bag with a clothespin on top. They were told their stuff must fit in the bag and should be clipped shut to ensure their materials stayed top secret until sharing day.

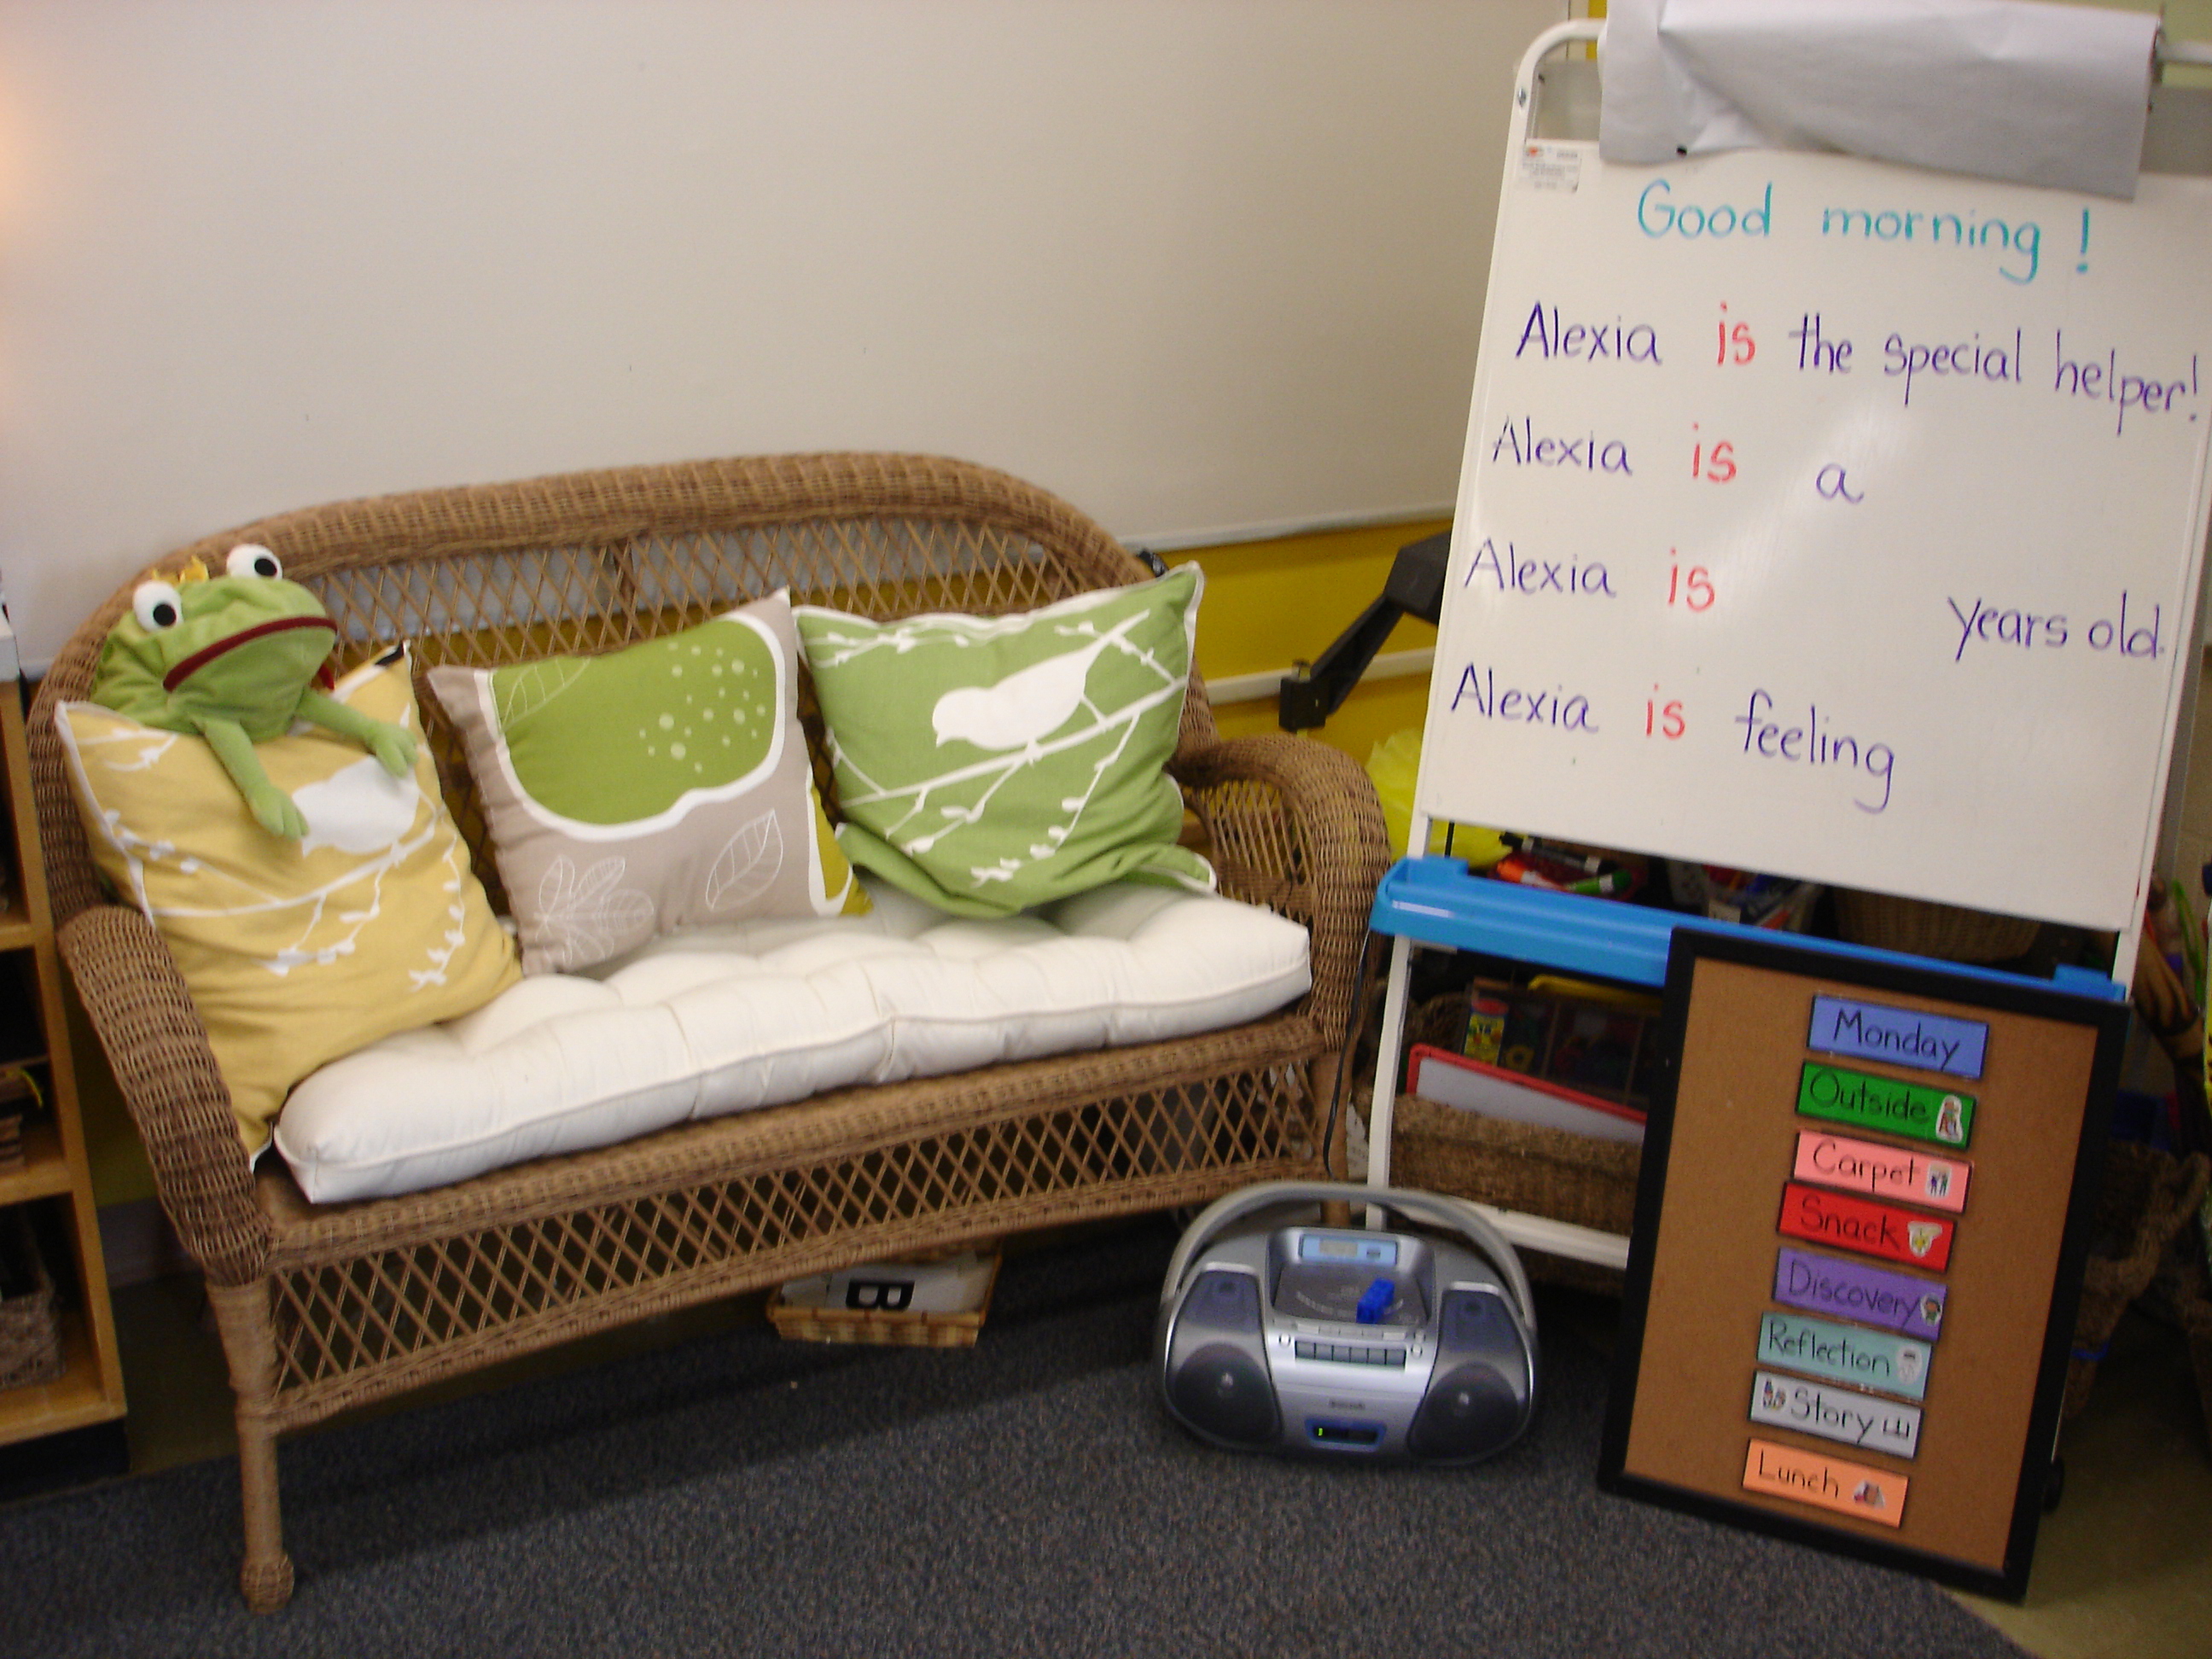
Along with stocking our Art Studio, I was also interested in creating an authentic opportunity for the children to sort. We have been working on sorting as one of our Math goals. One of the questions we have been asking is: “How does sorting the materials in the classroom help us with our learning?”

On sharing day, we asked each student to talk about one special item from their bag in our sharing circle. And then…we dumped our Beautiful Stuff out on the the carpet. After a few minutes of excited exploration, we got down to the business of figuring out what to do with our collections.

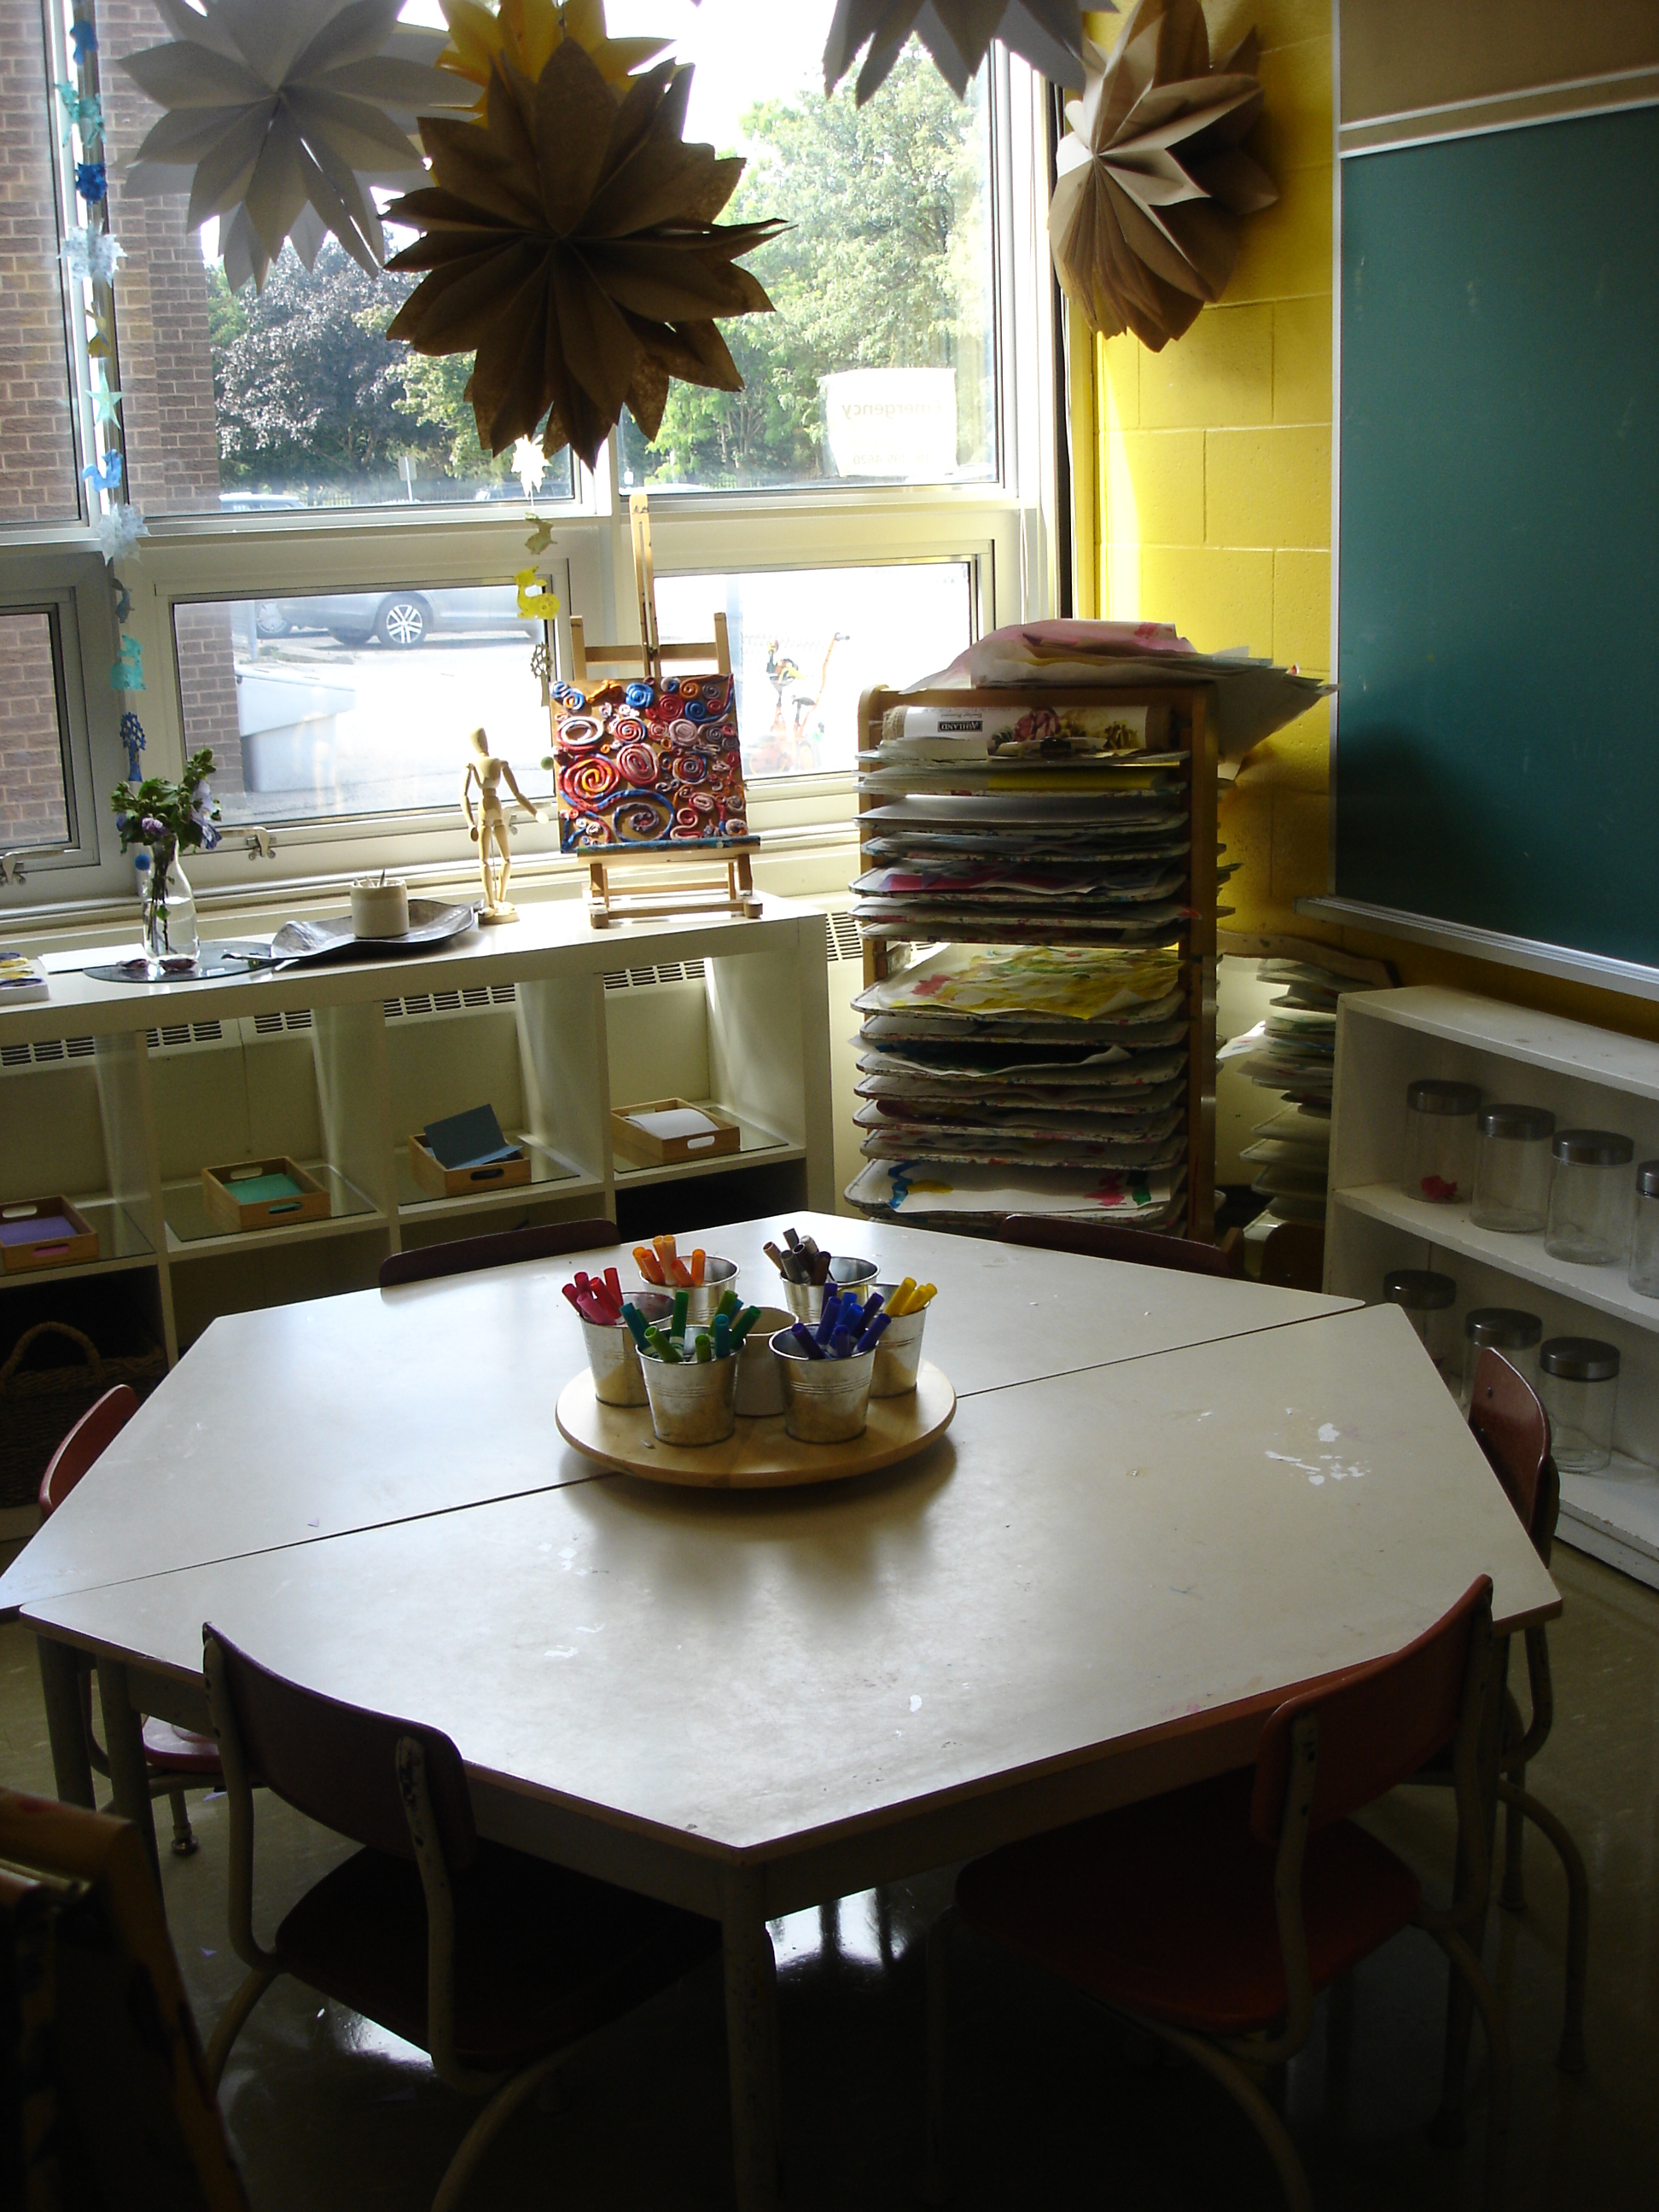
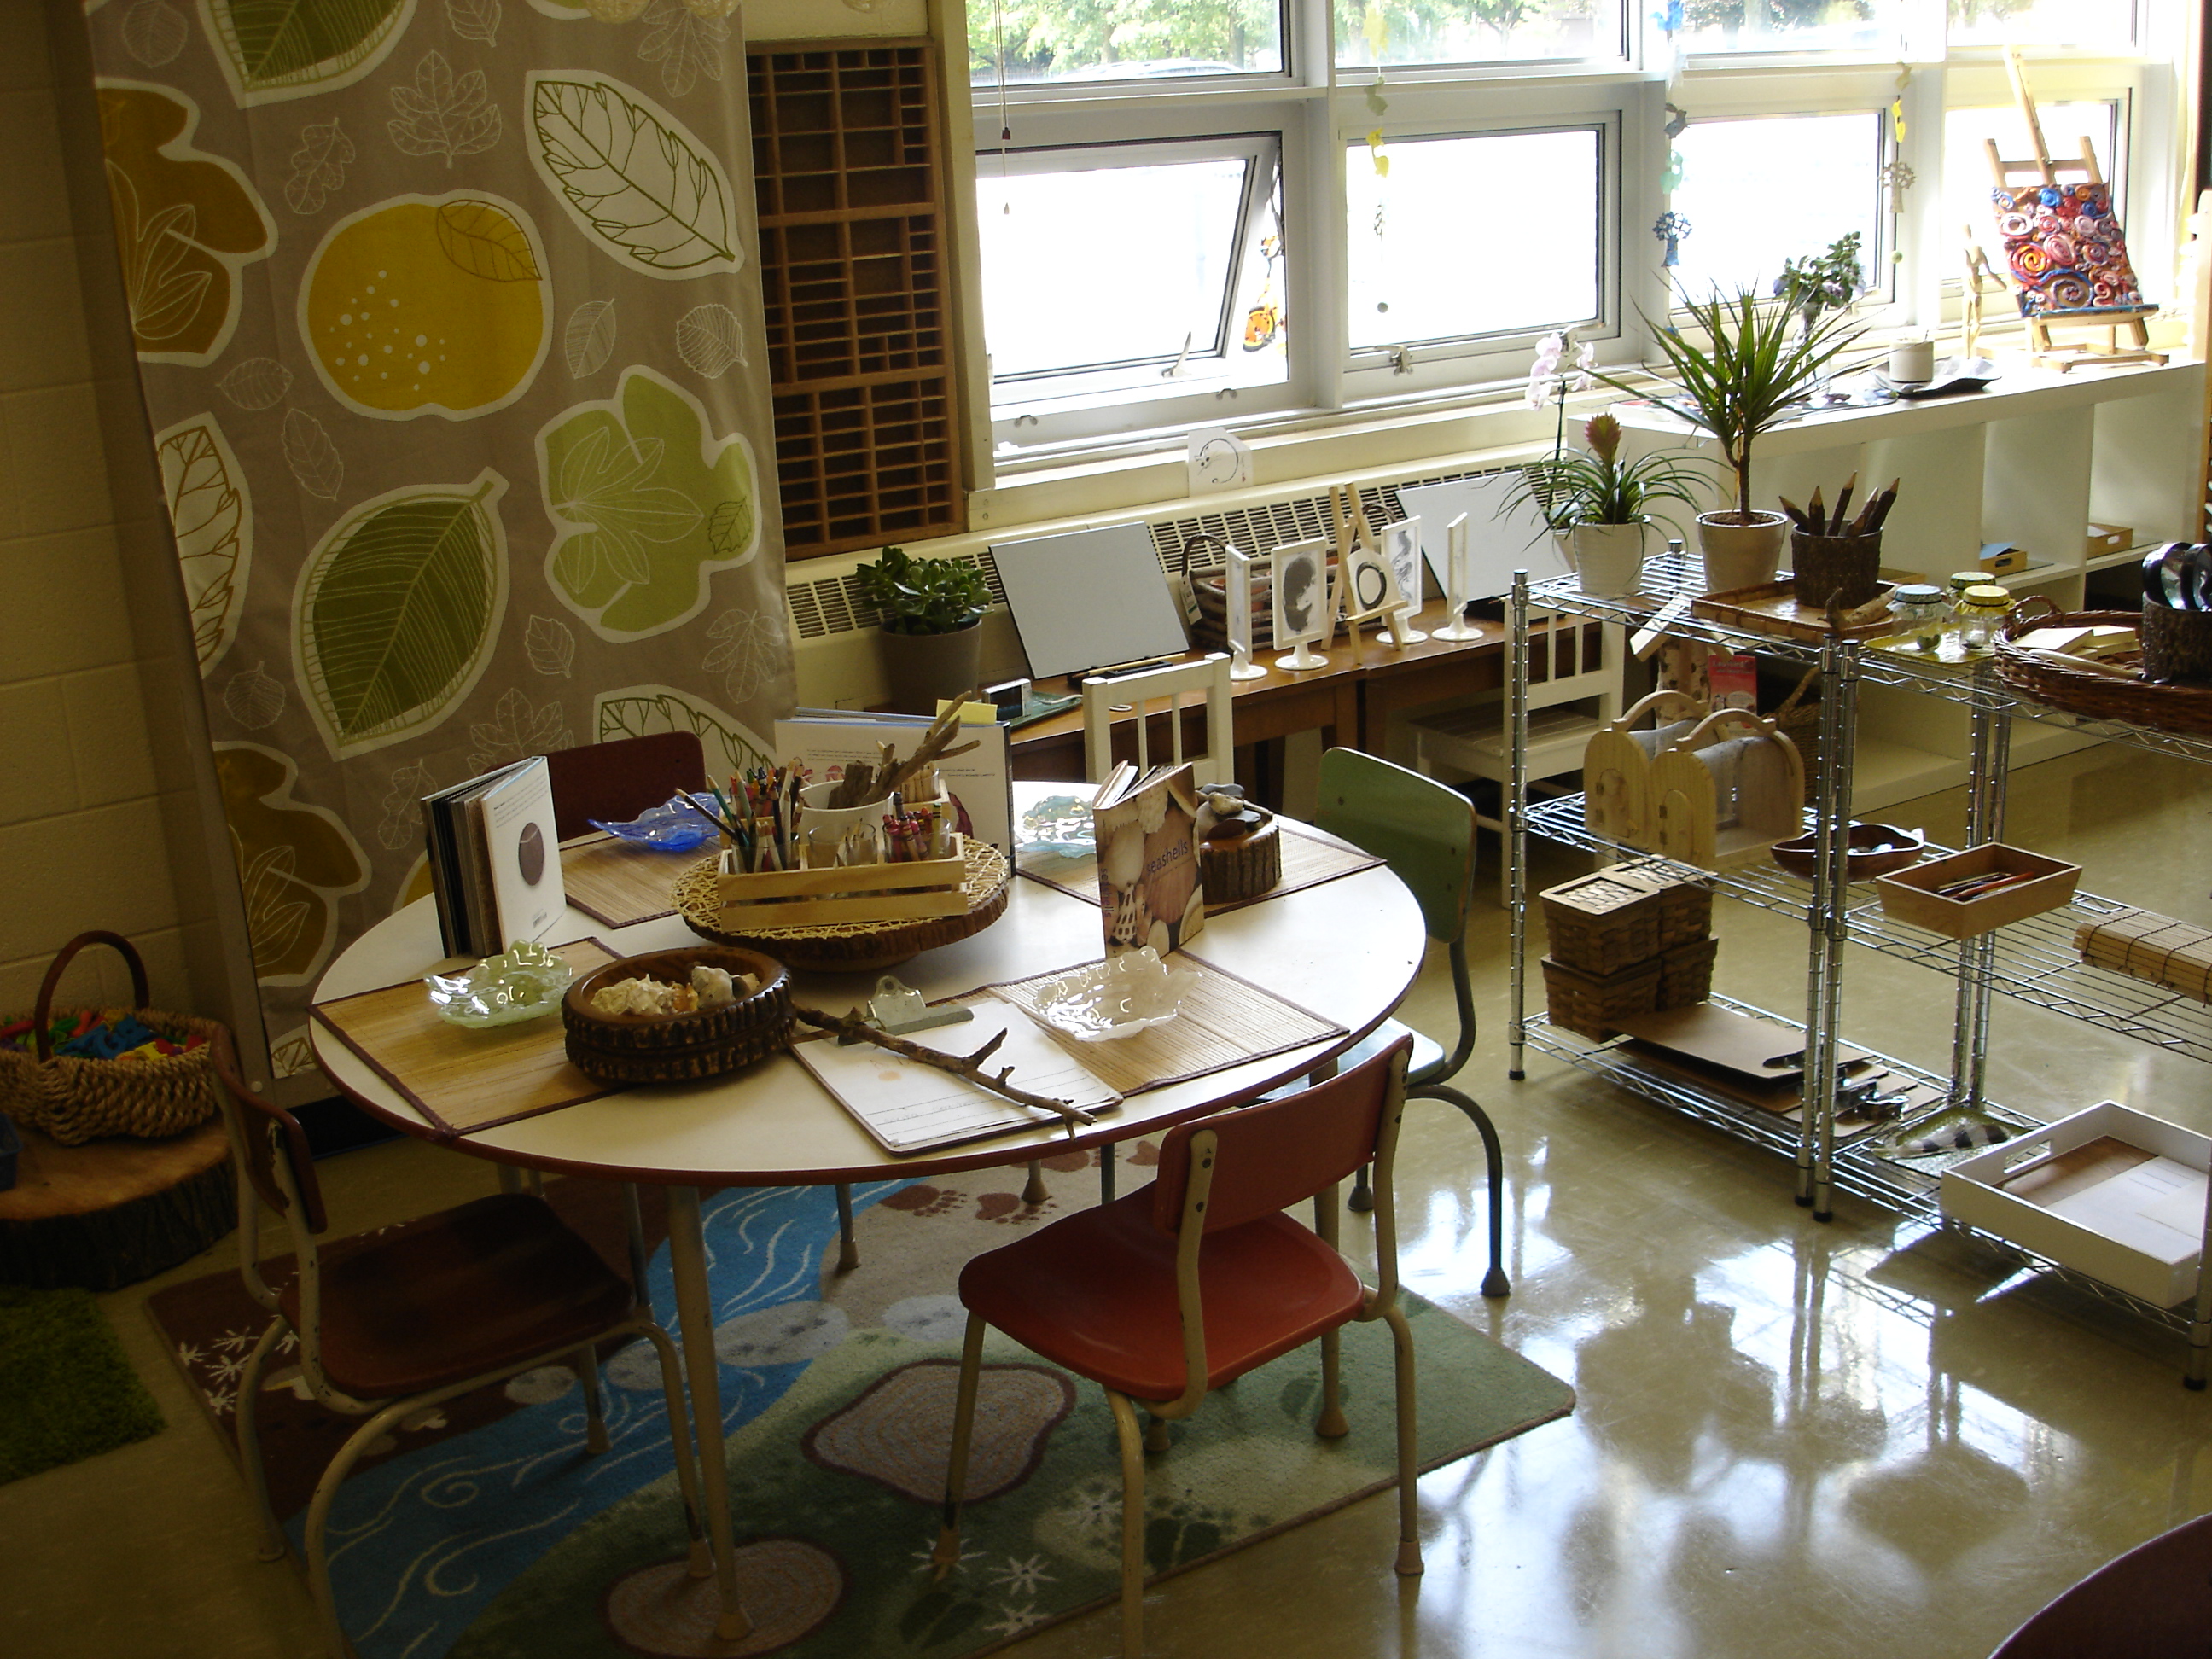
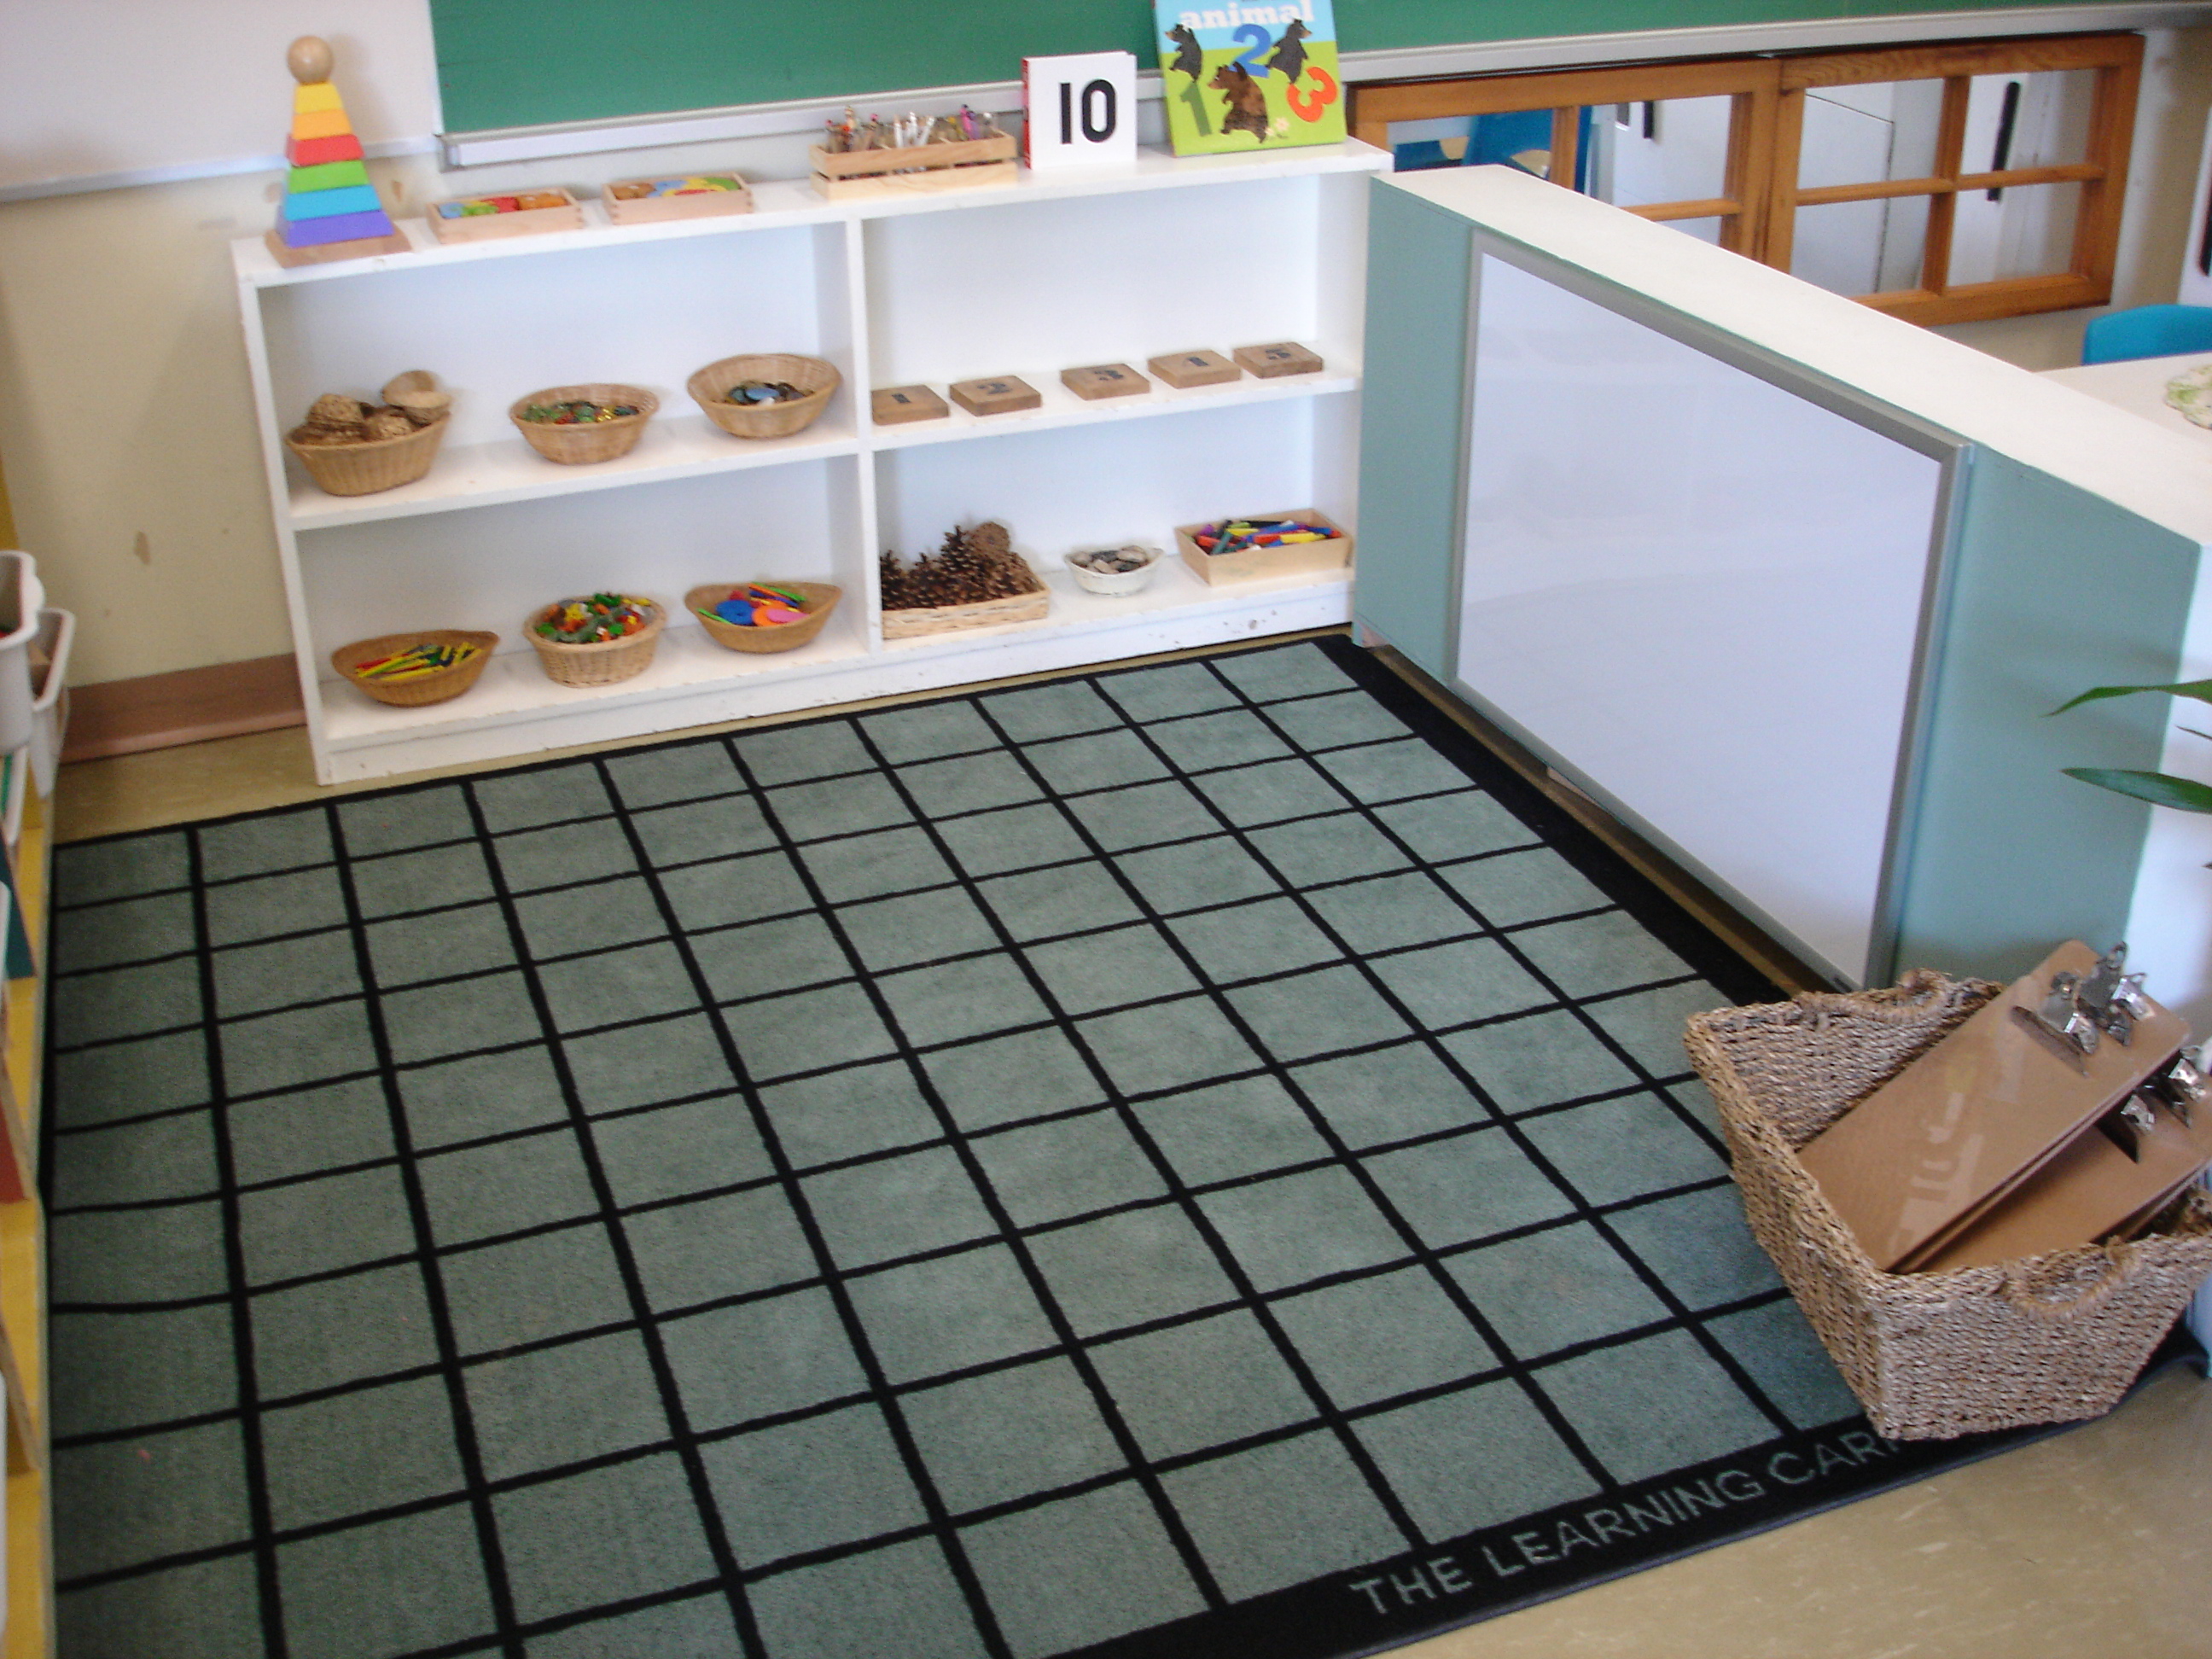
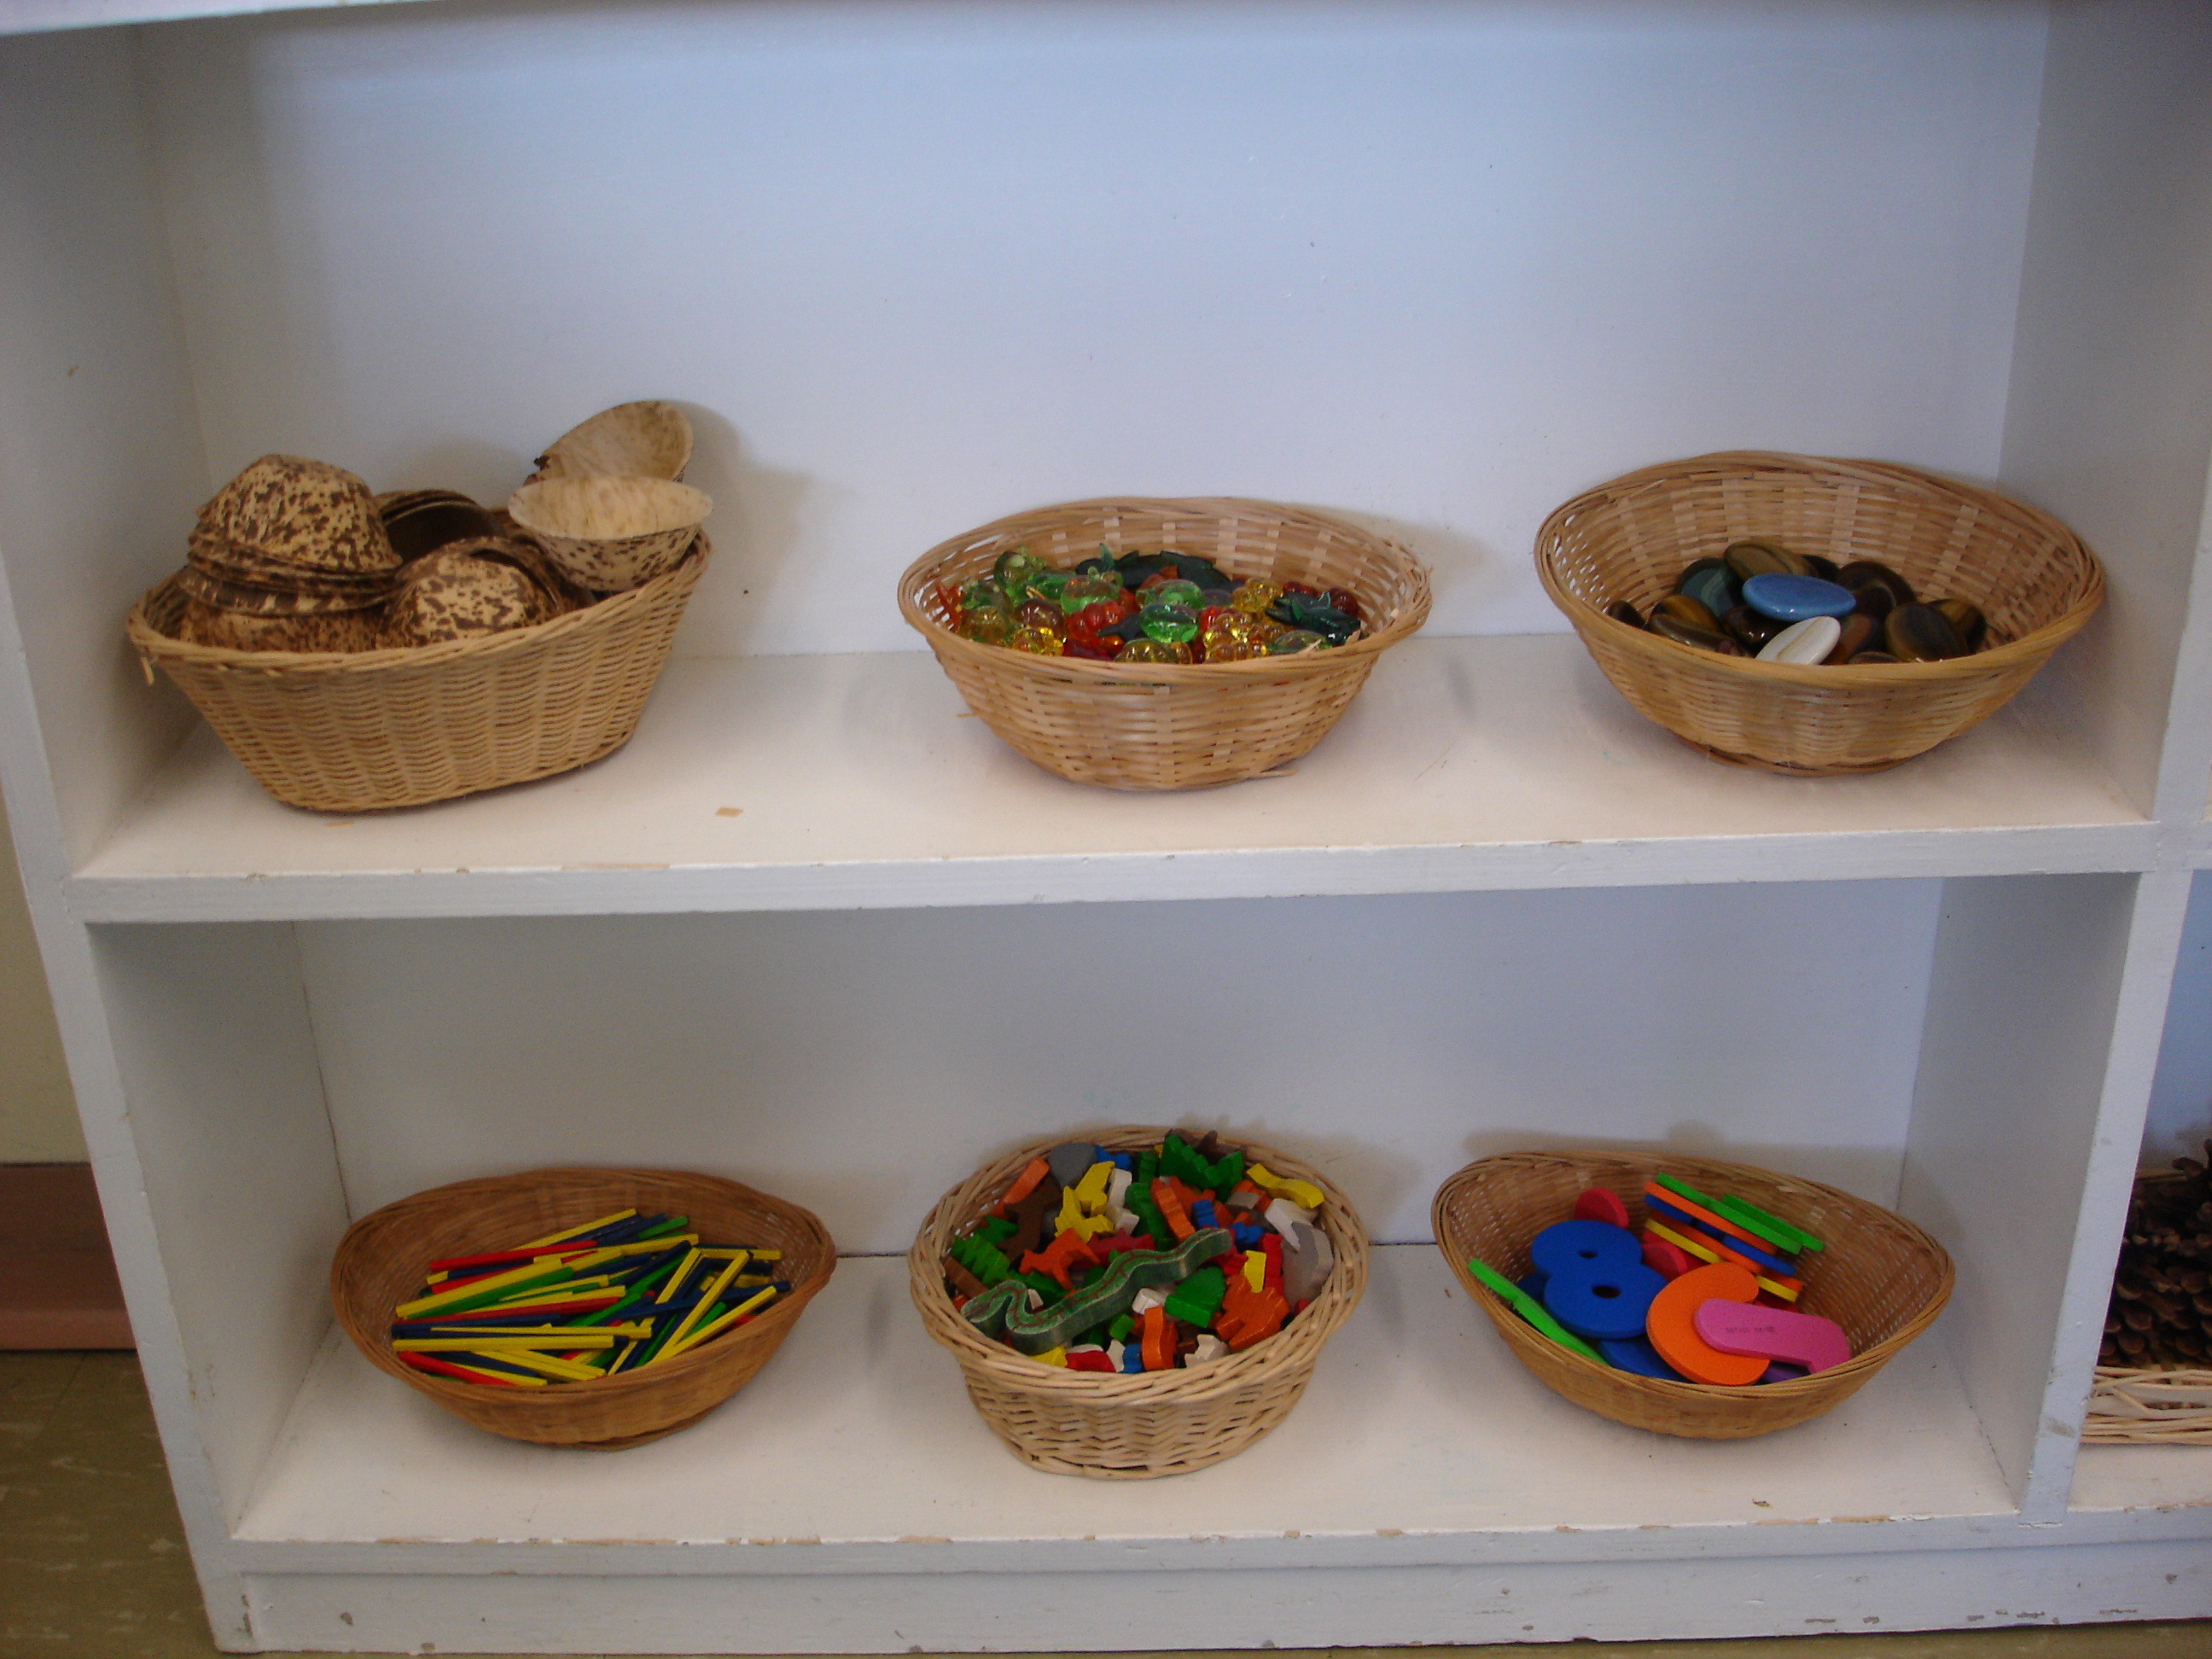
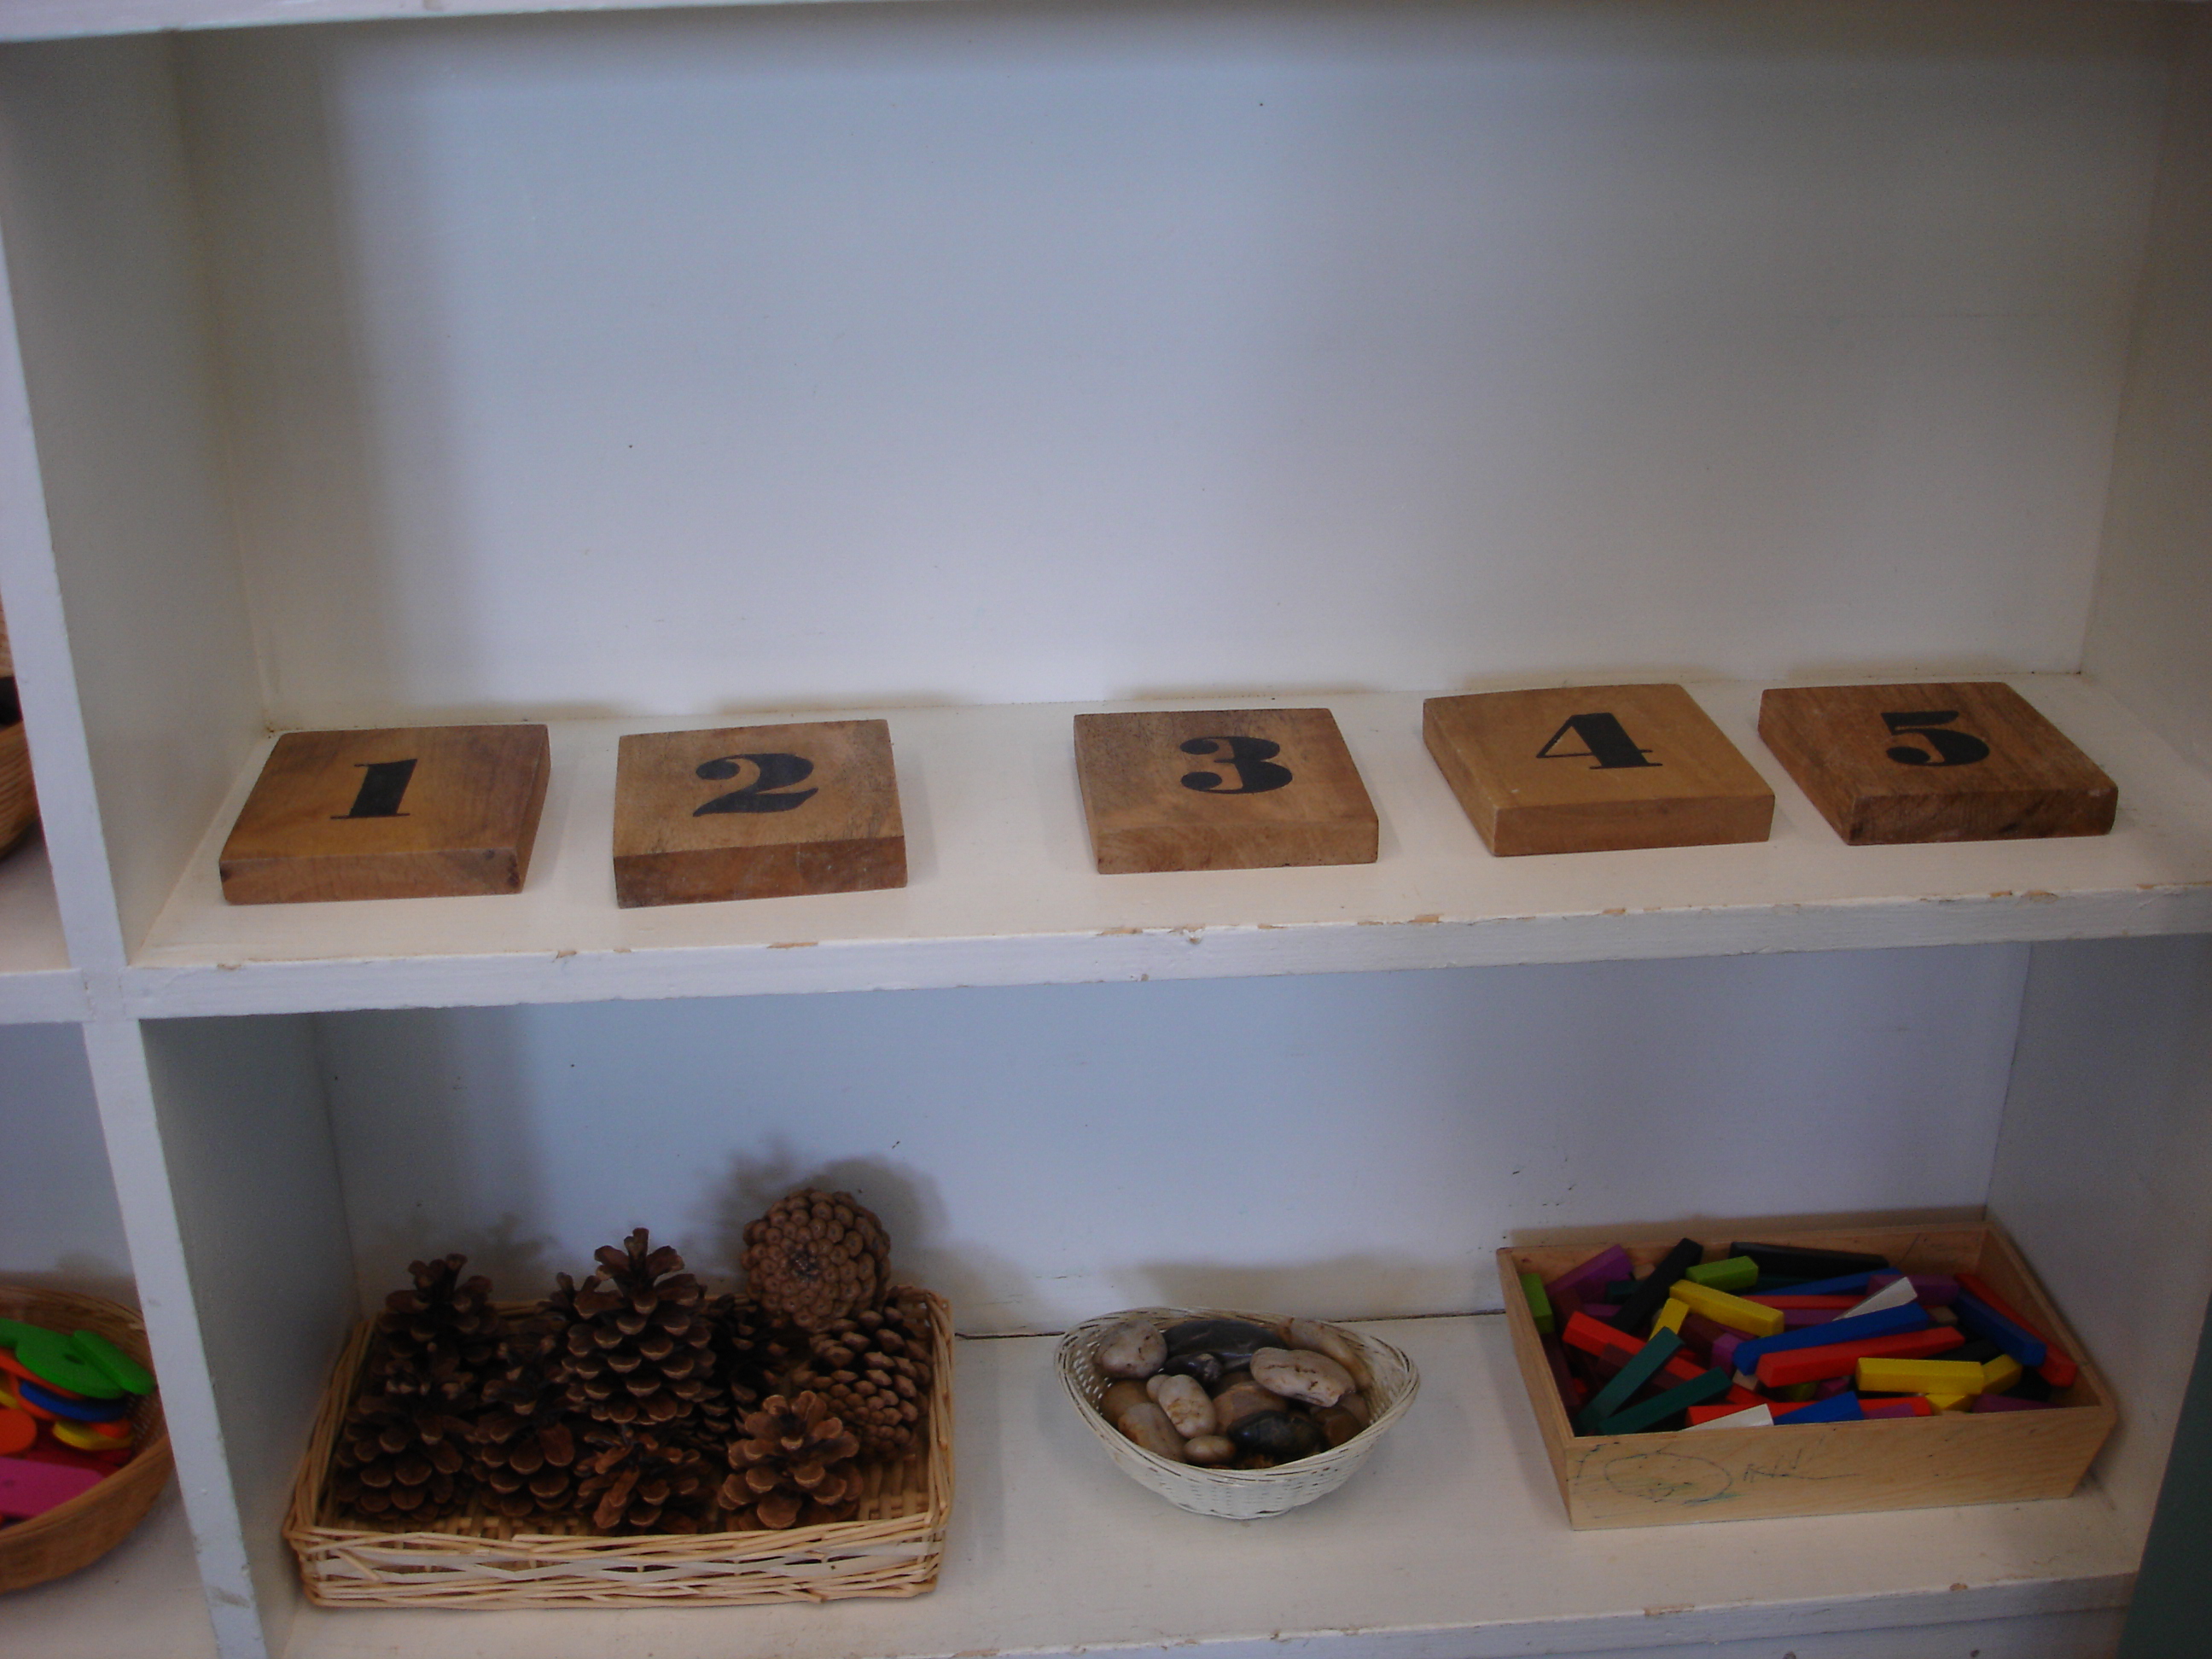
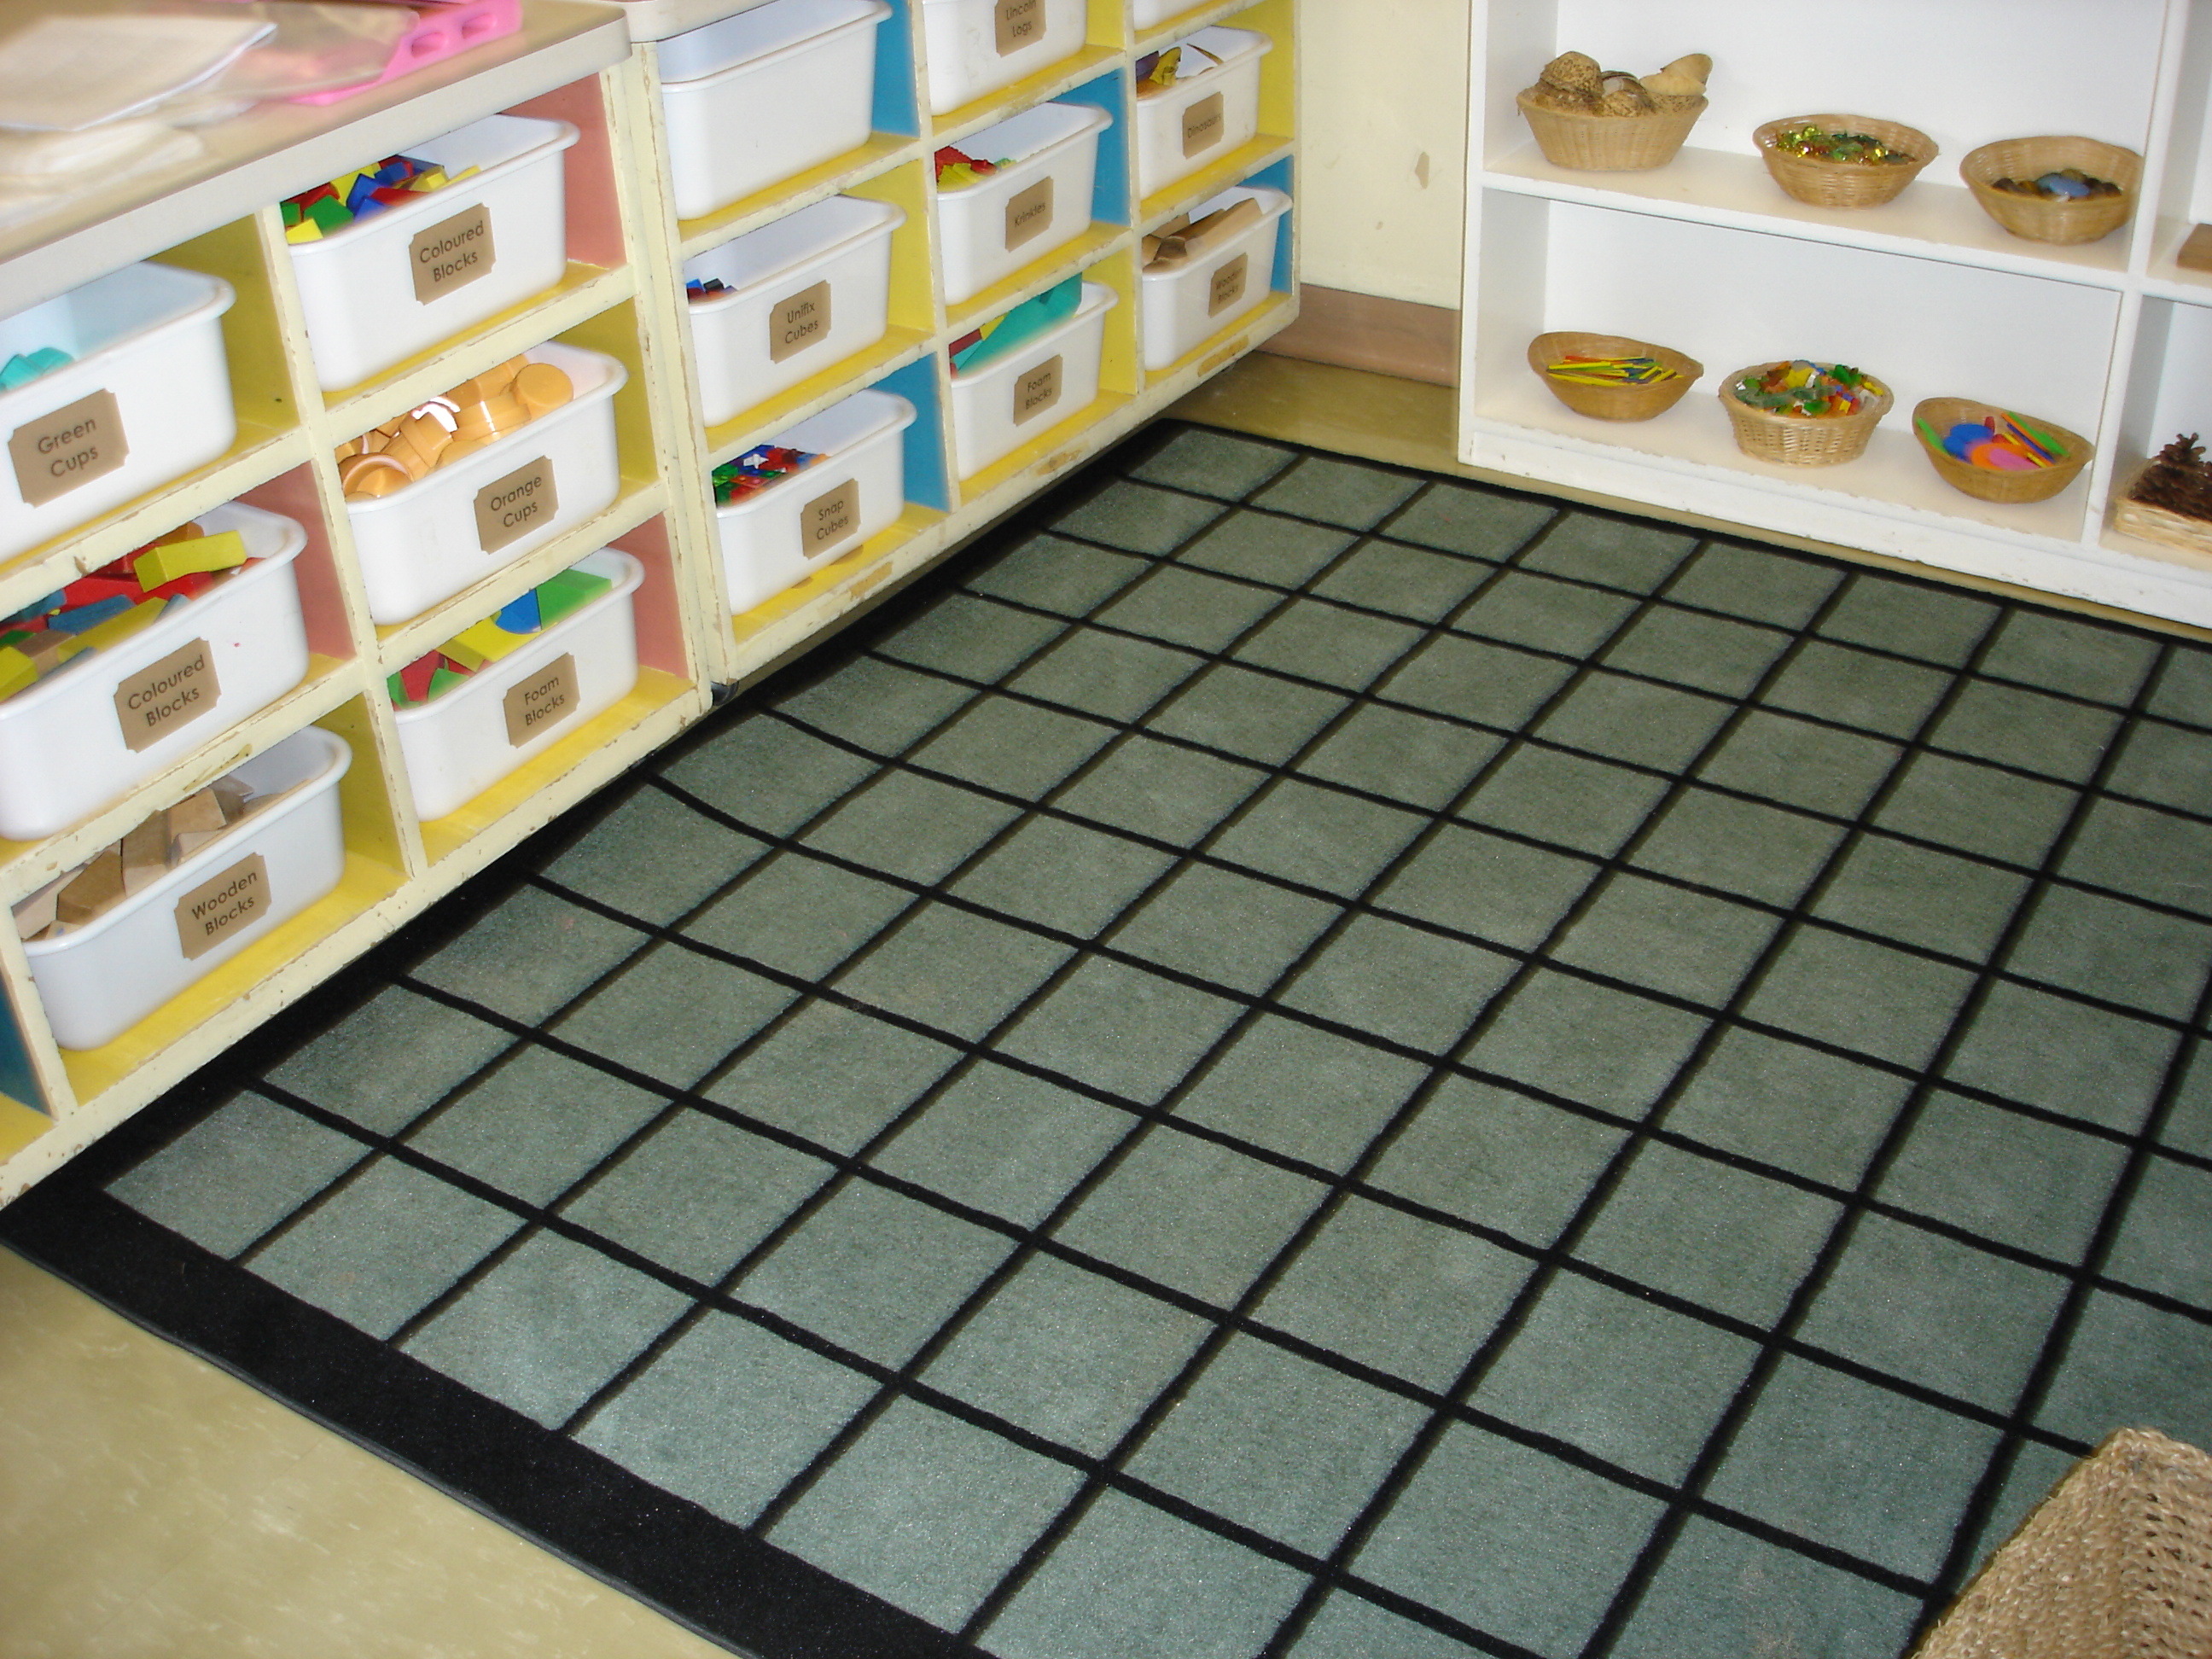
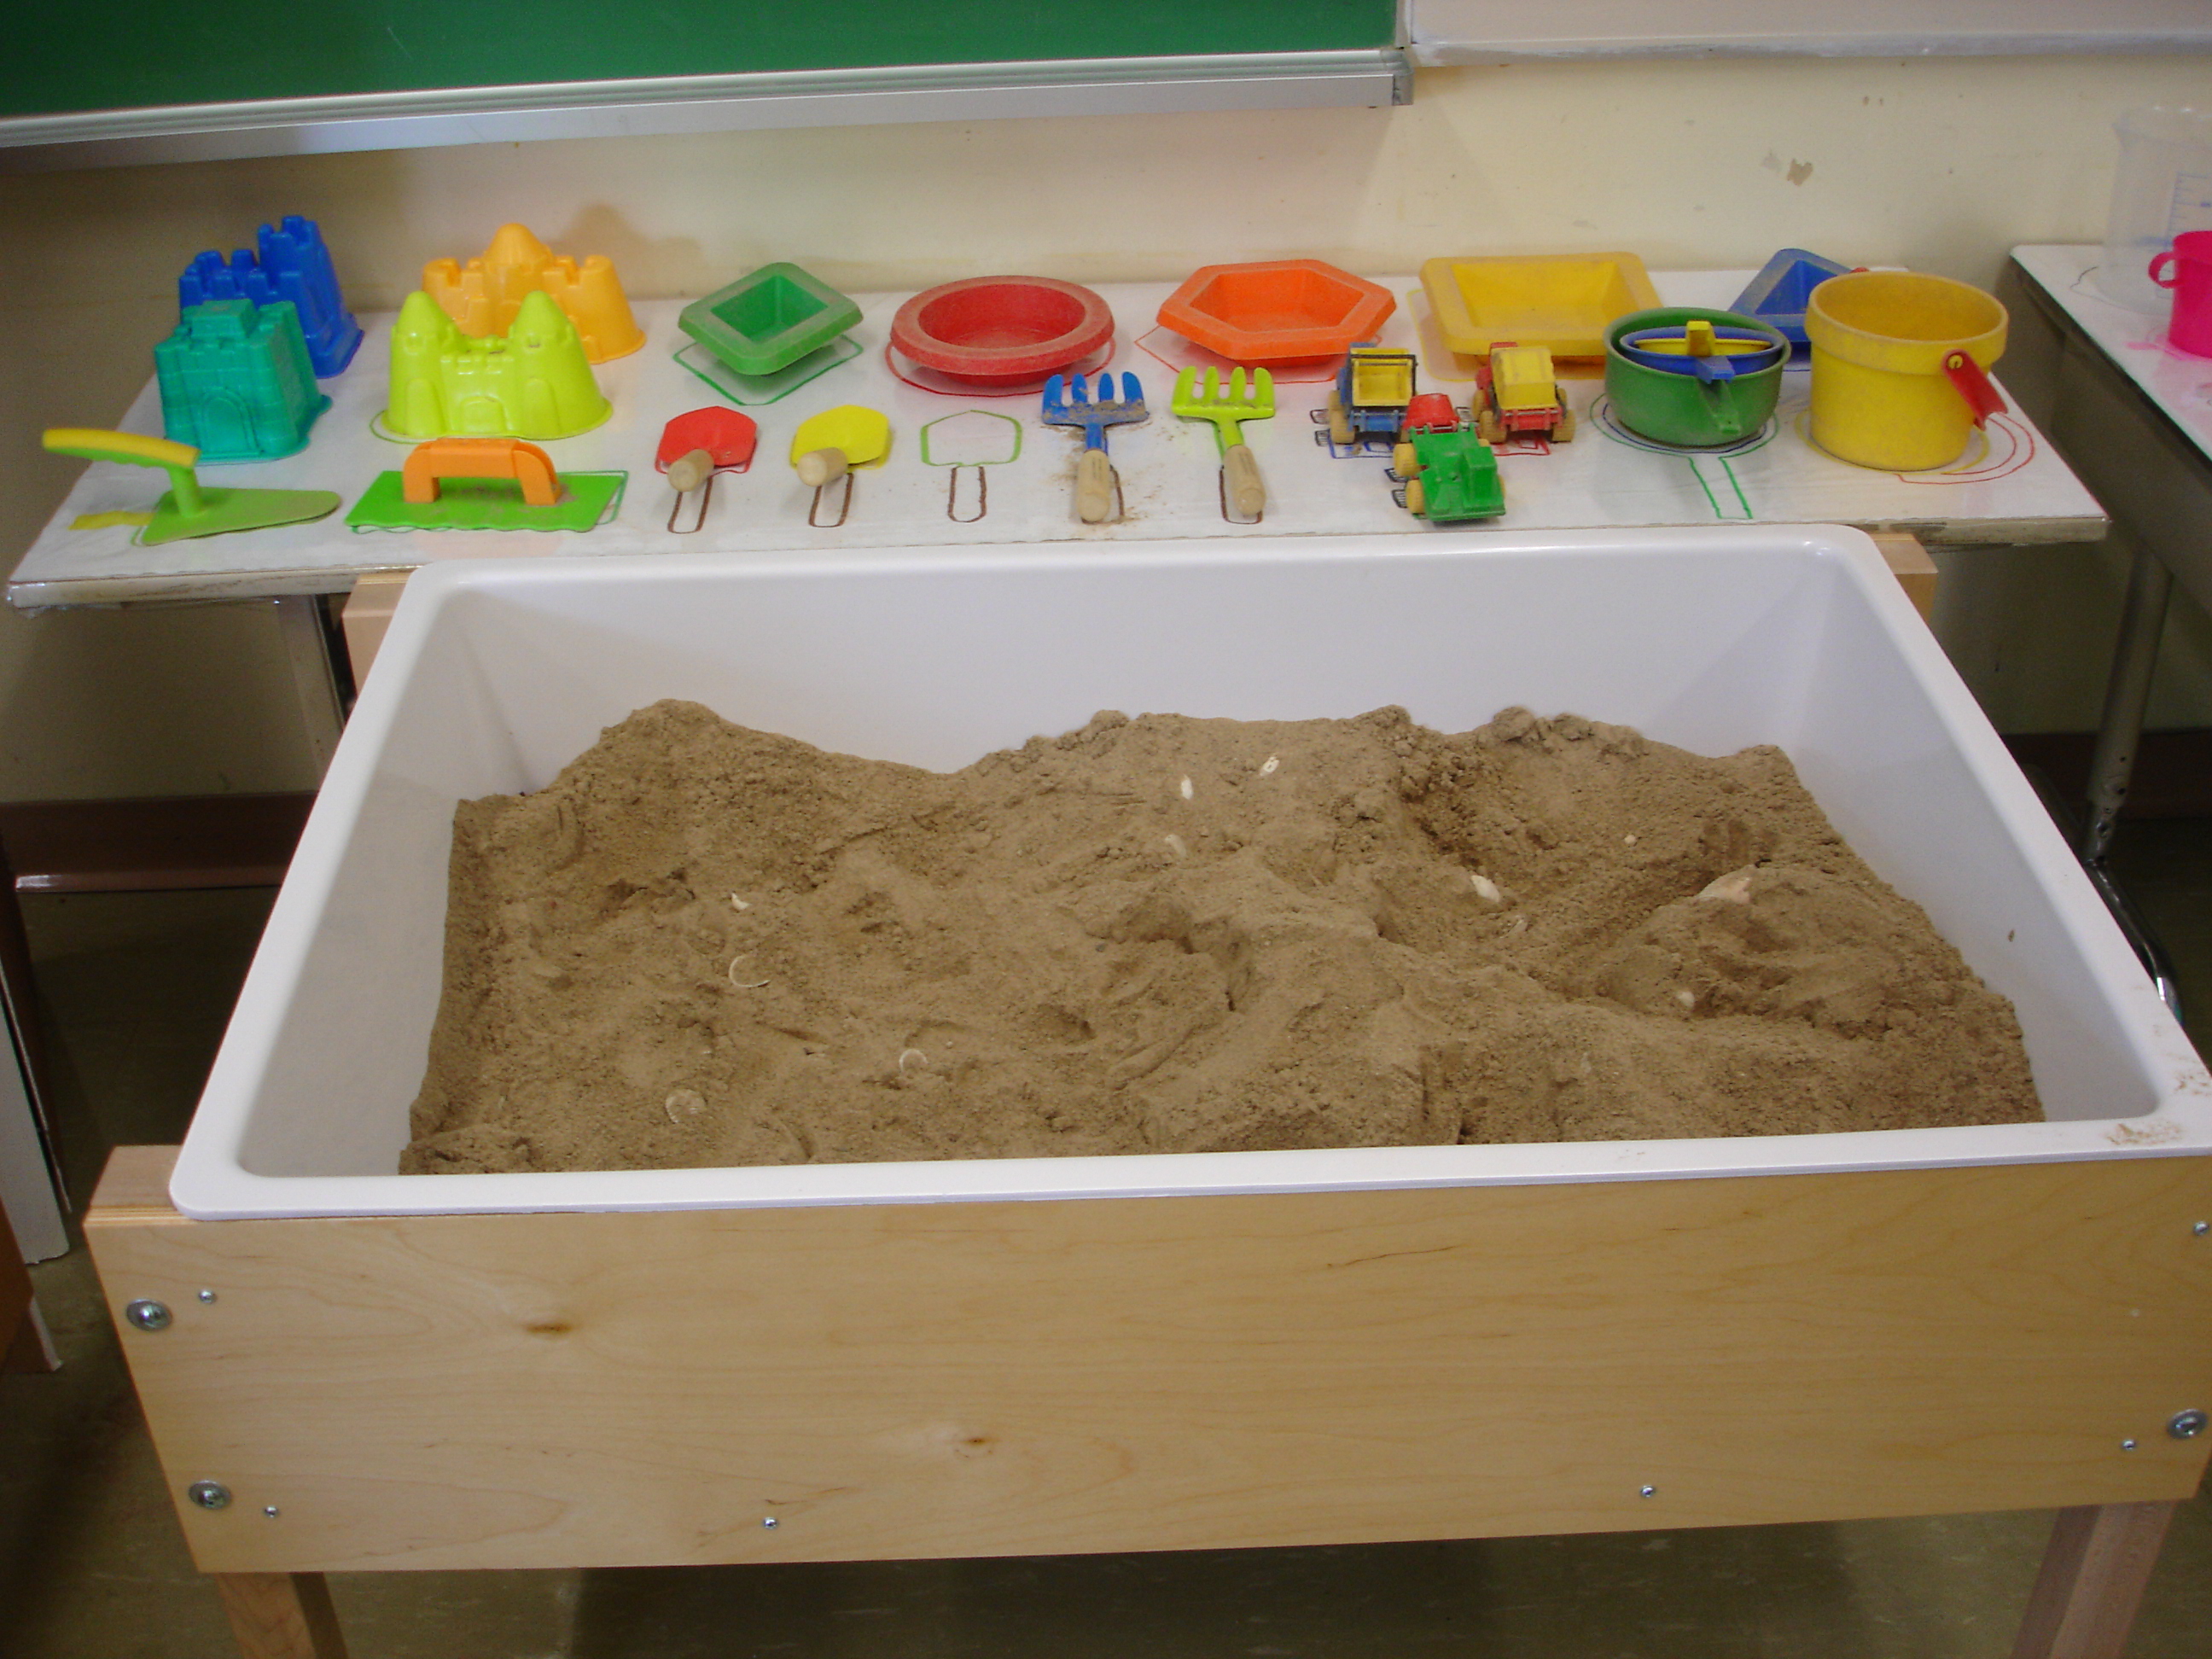
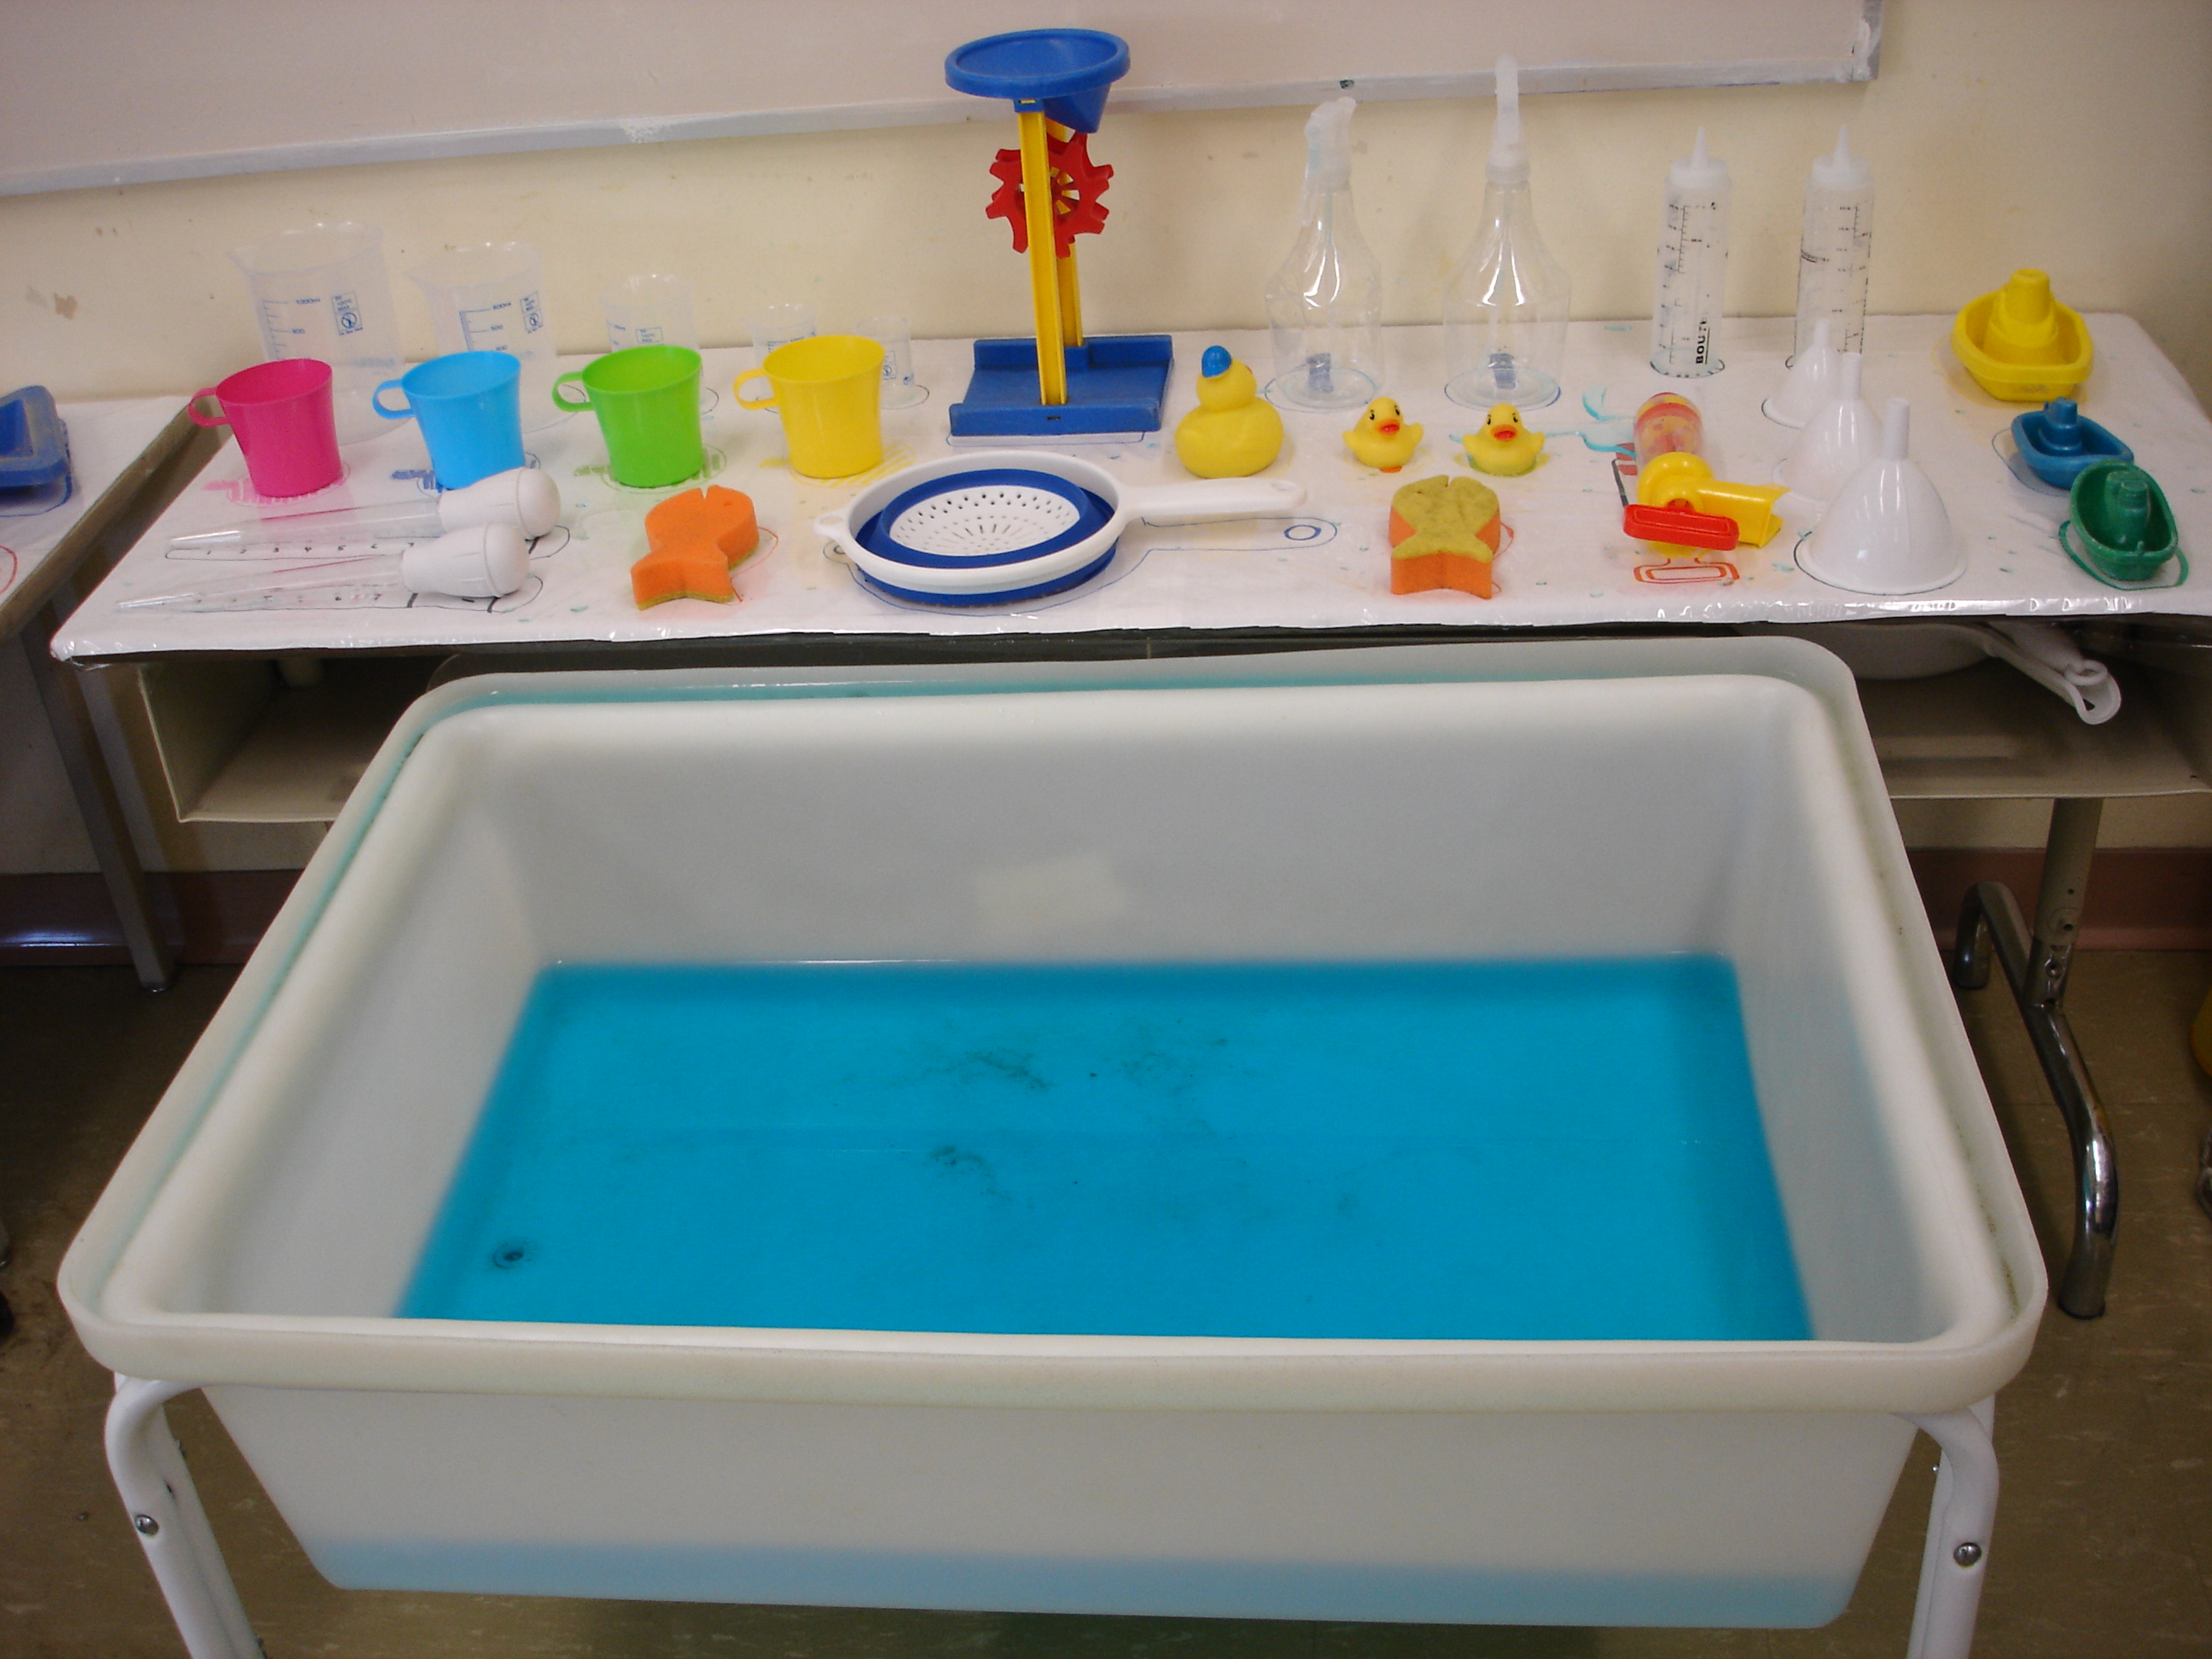
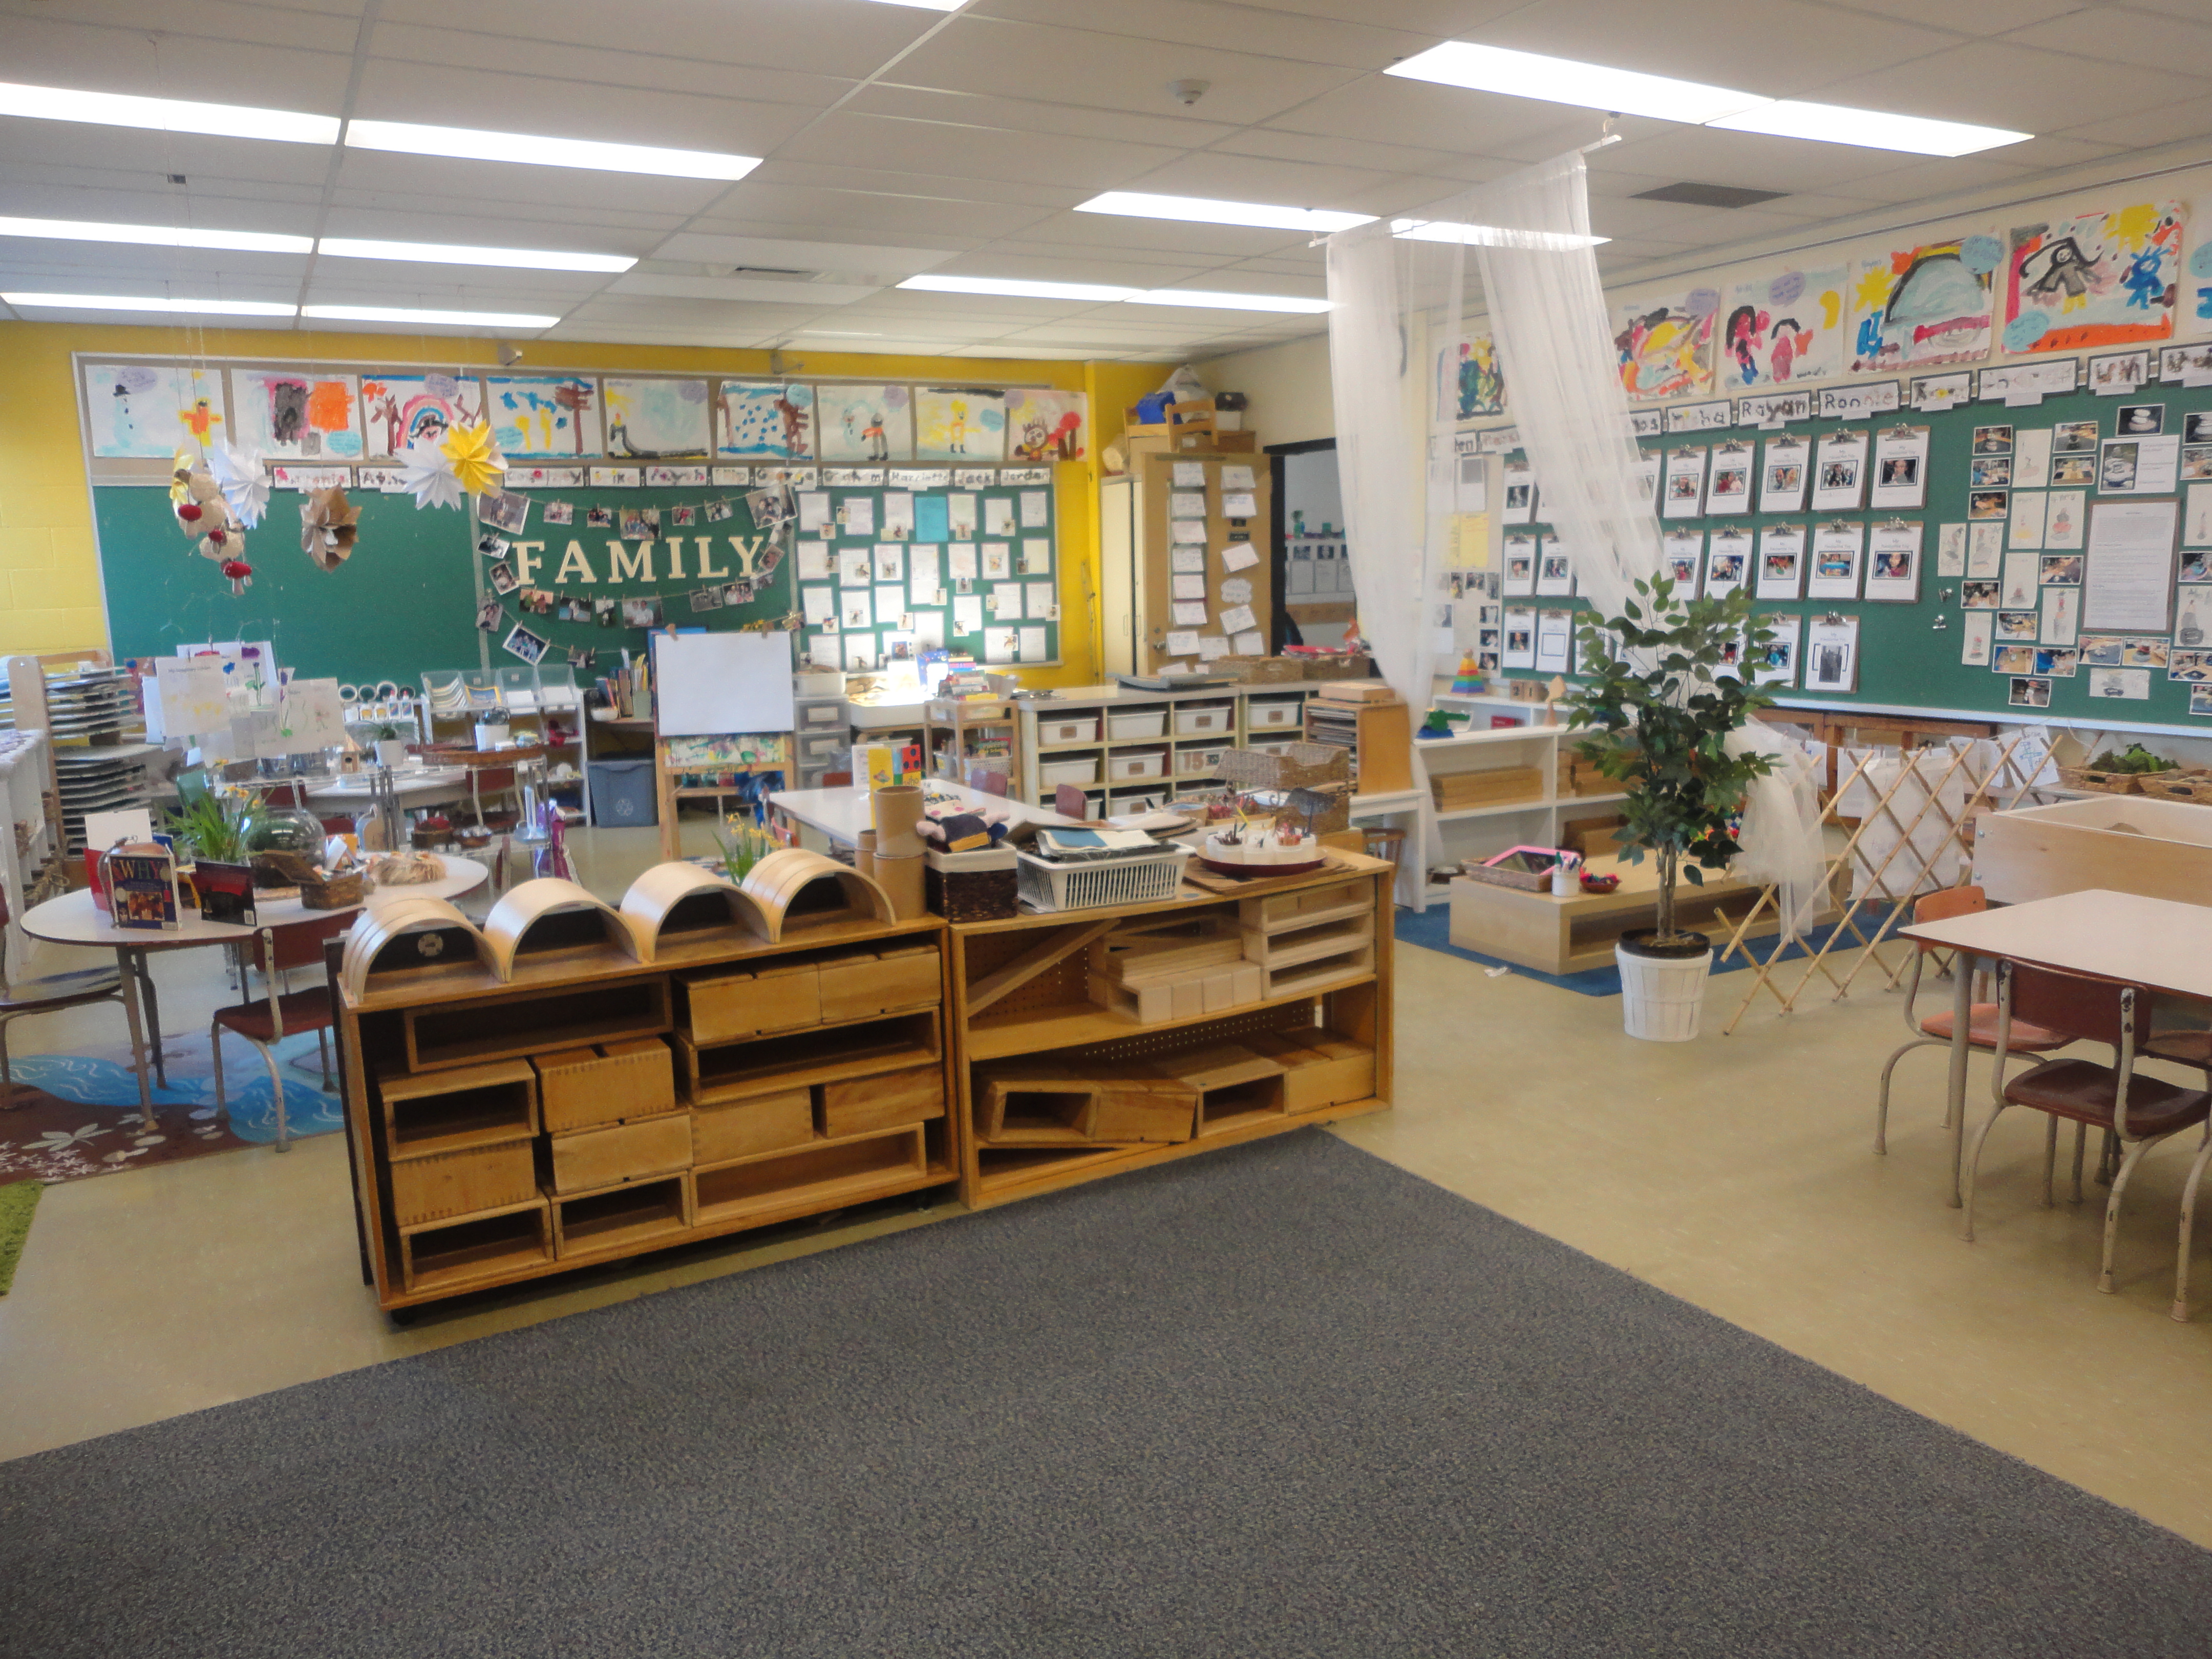
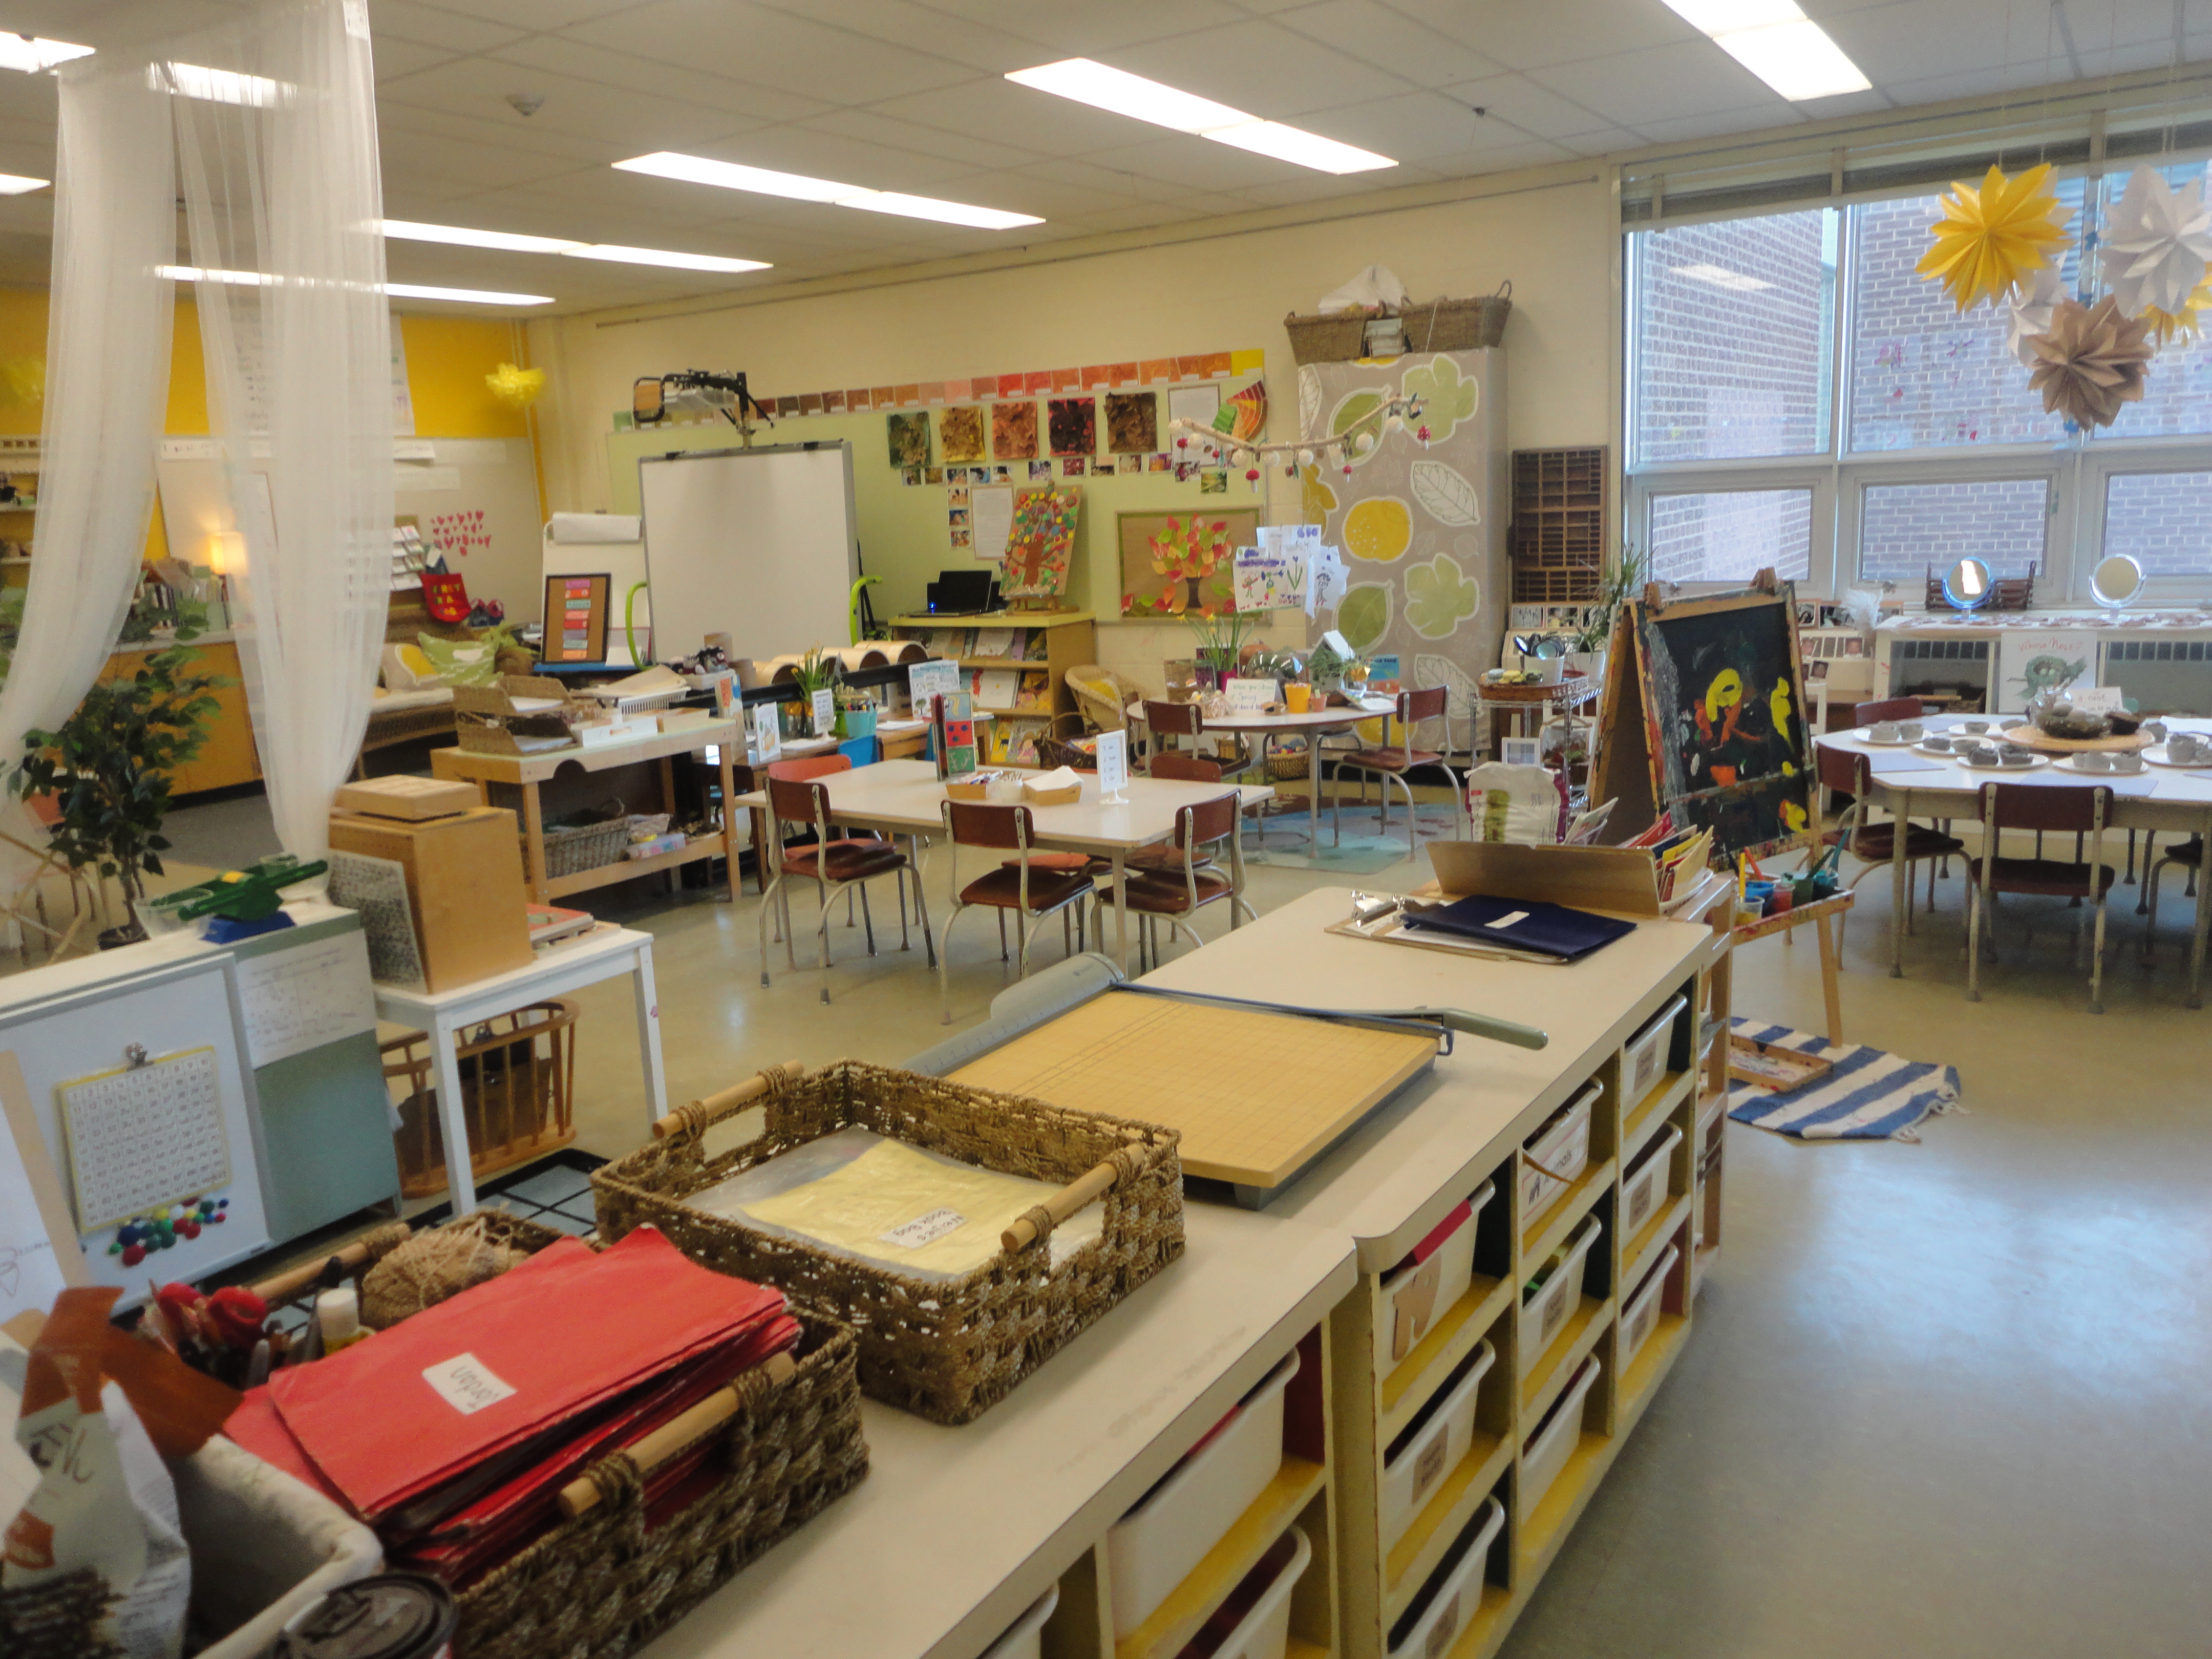
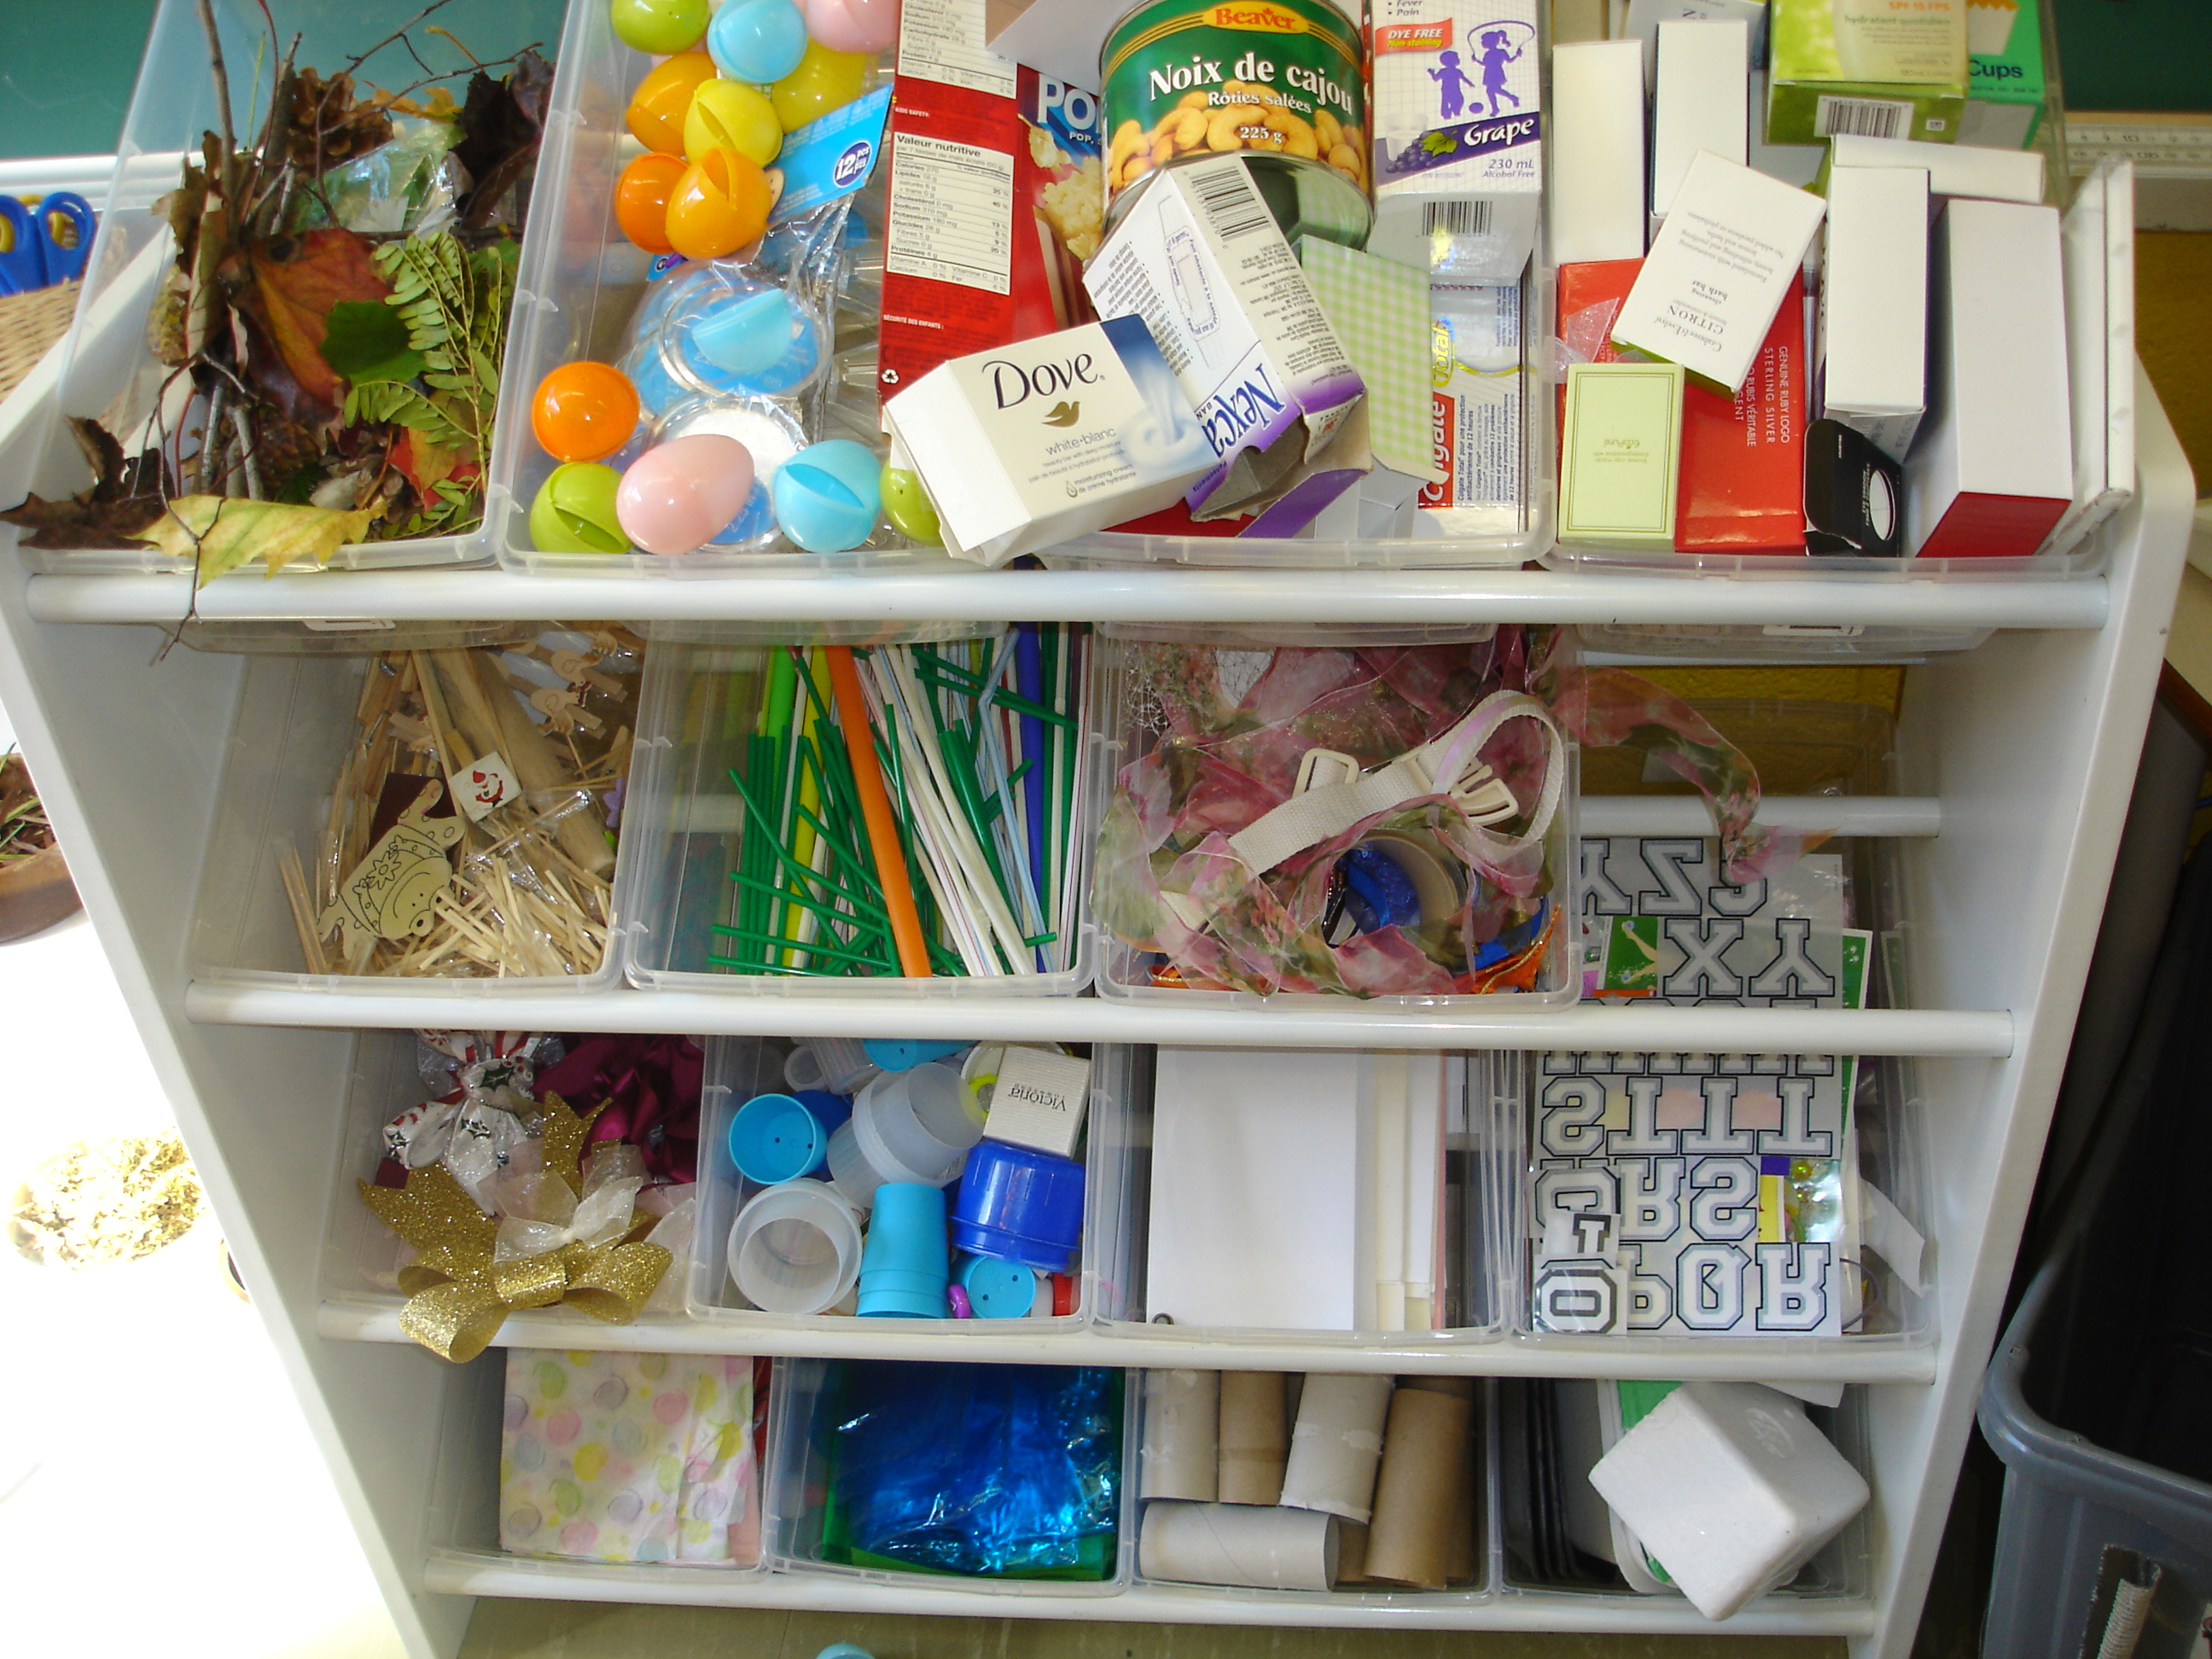
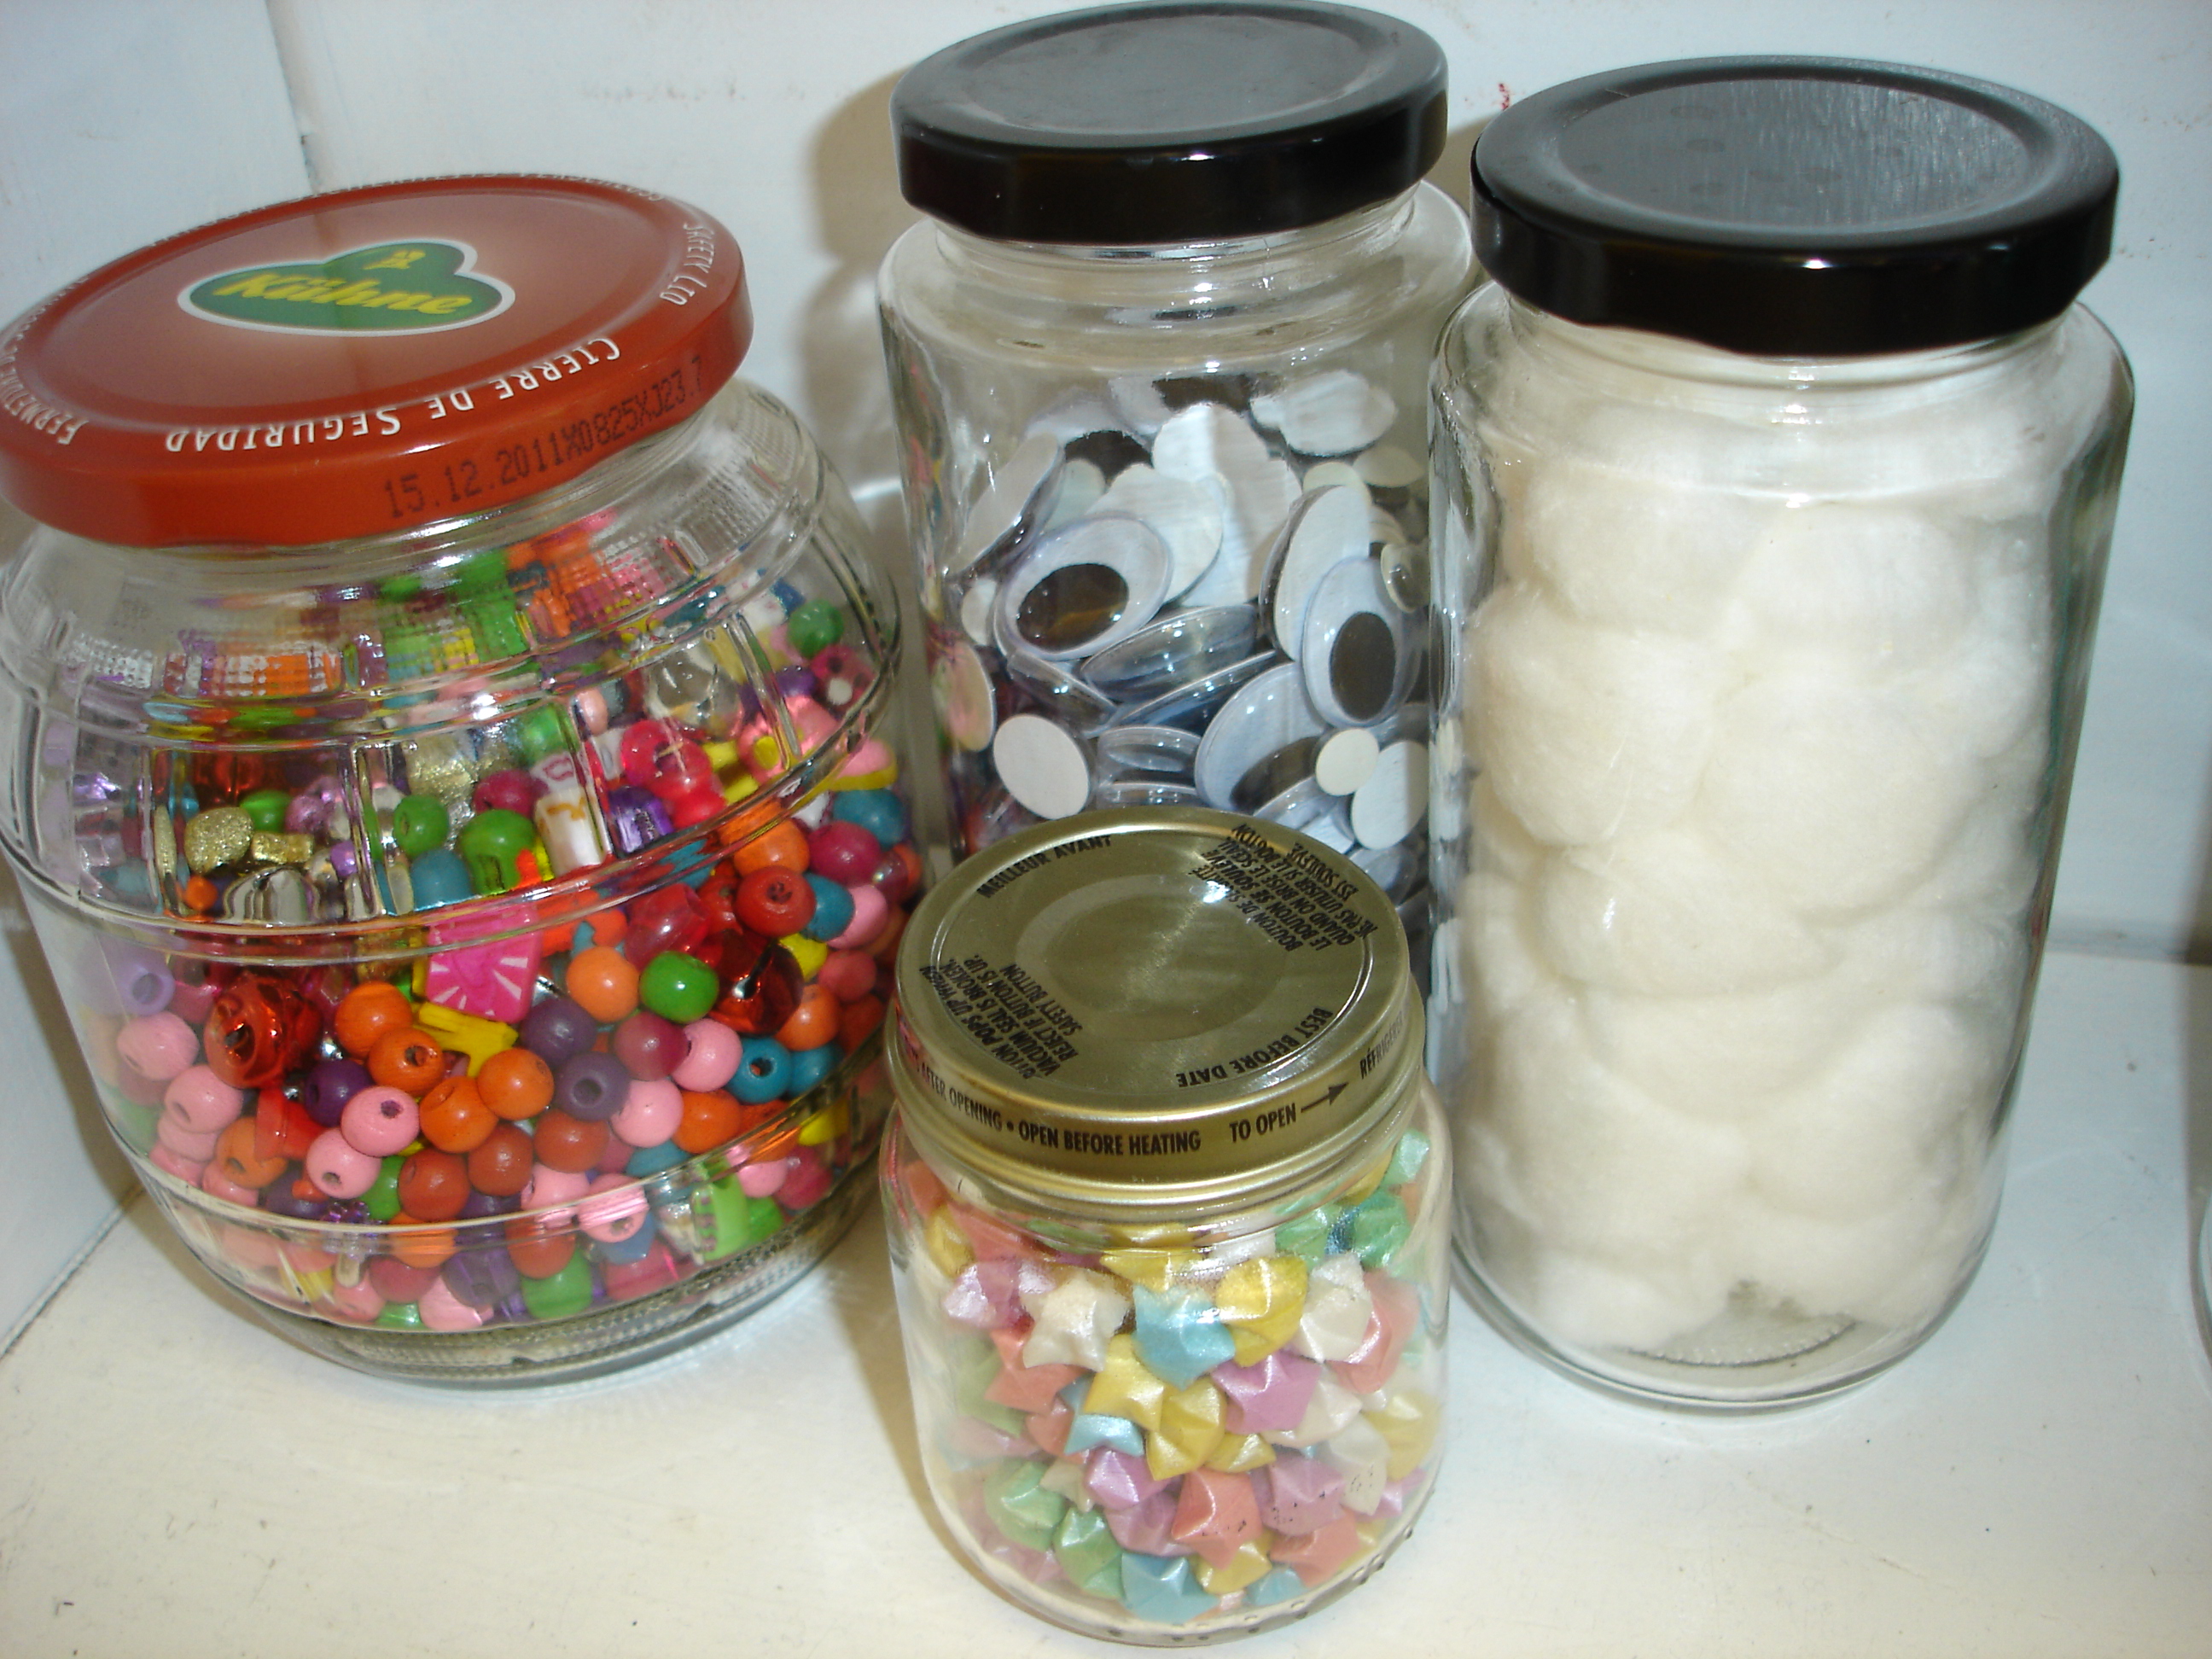
Some children thought we should put our stuff back in our bags and share as needed, but it was decided that it would be too hard to know what we had and besides, the idea was for everyone to put their stuff together. We decided the materials definitely needed to be sorted…but how? By colour? By size? When we thought about how we were going to use our stuff (at the Art Studio to make creations) the children decided it would be best to sort our stuff by type of material. After all, sometimes you might just need a straw or a button and you want to know exactly where to find it! We proceeded by making a list of categories on the SMART Board from the stuff that we could find: buttons, straws, paper, tissue, wooden things, metal things, caps, small boxes, beads, etc. We ended up with over 20 different kinds of materials! Finally, we sorted – adding materials to different containers that we had gathered at the carpet. Our Art Studio is now brimming with materials just waiting to be turned into beautiful creations!

Image

Image

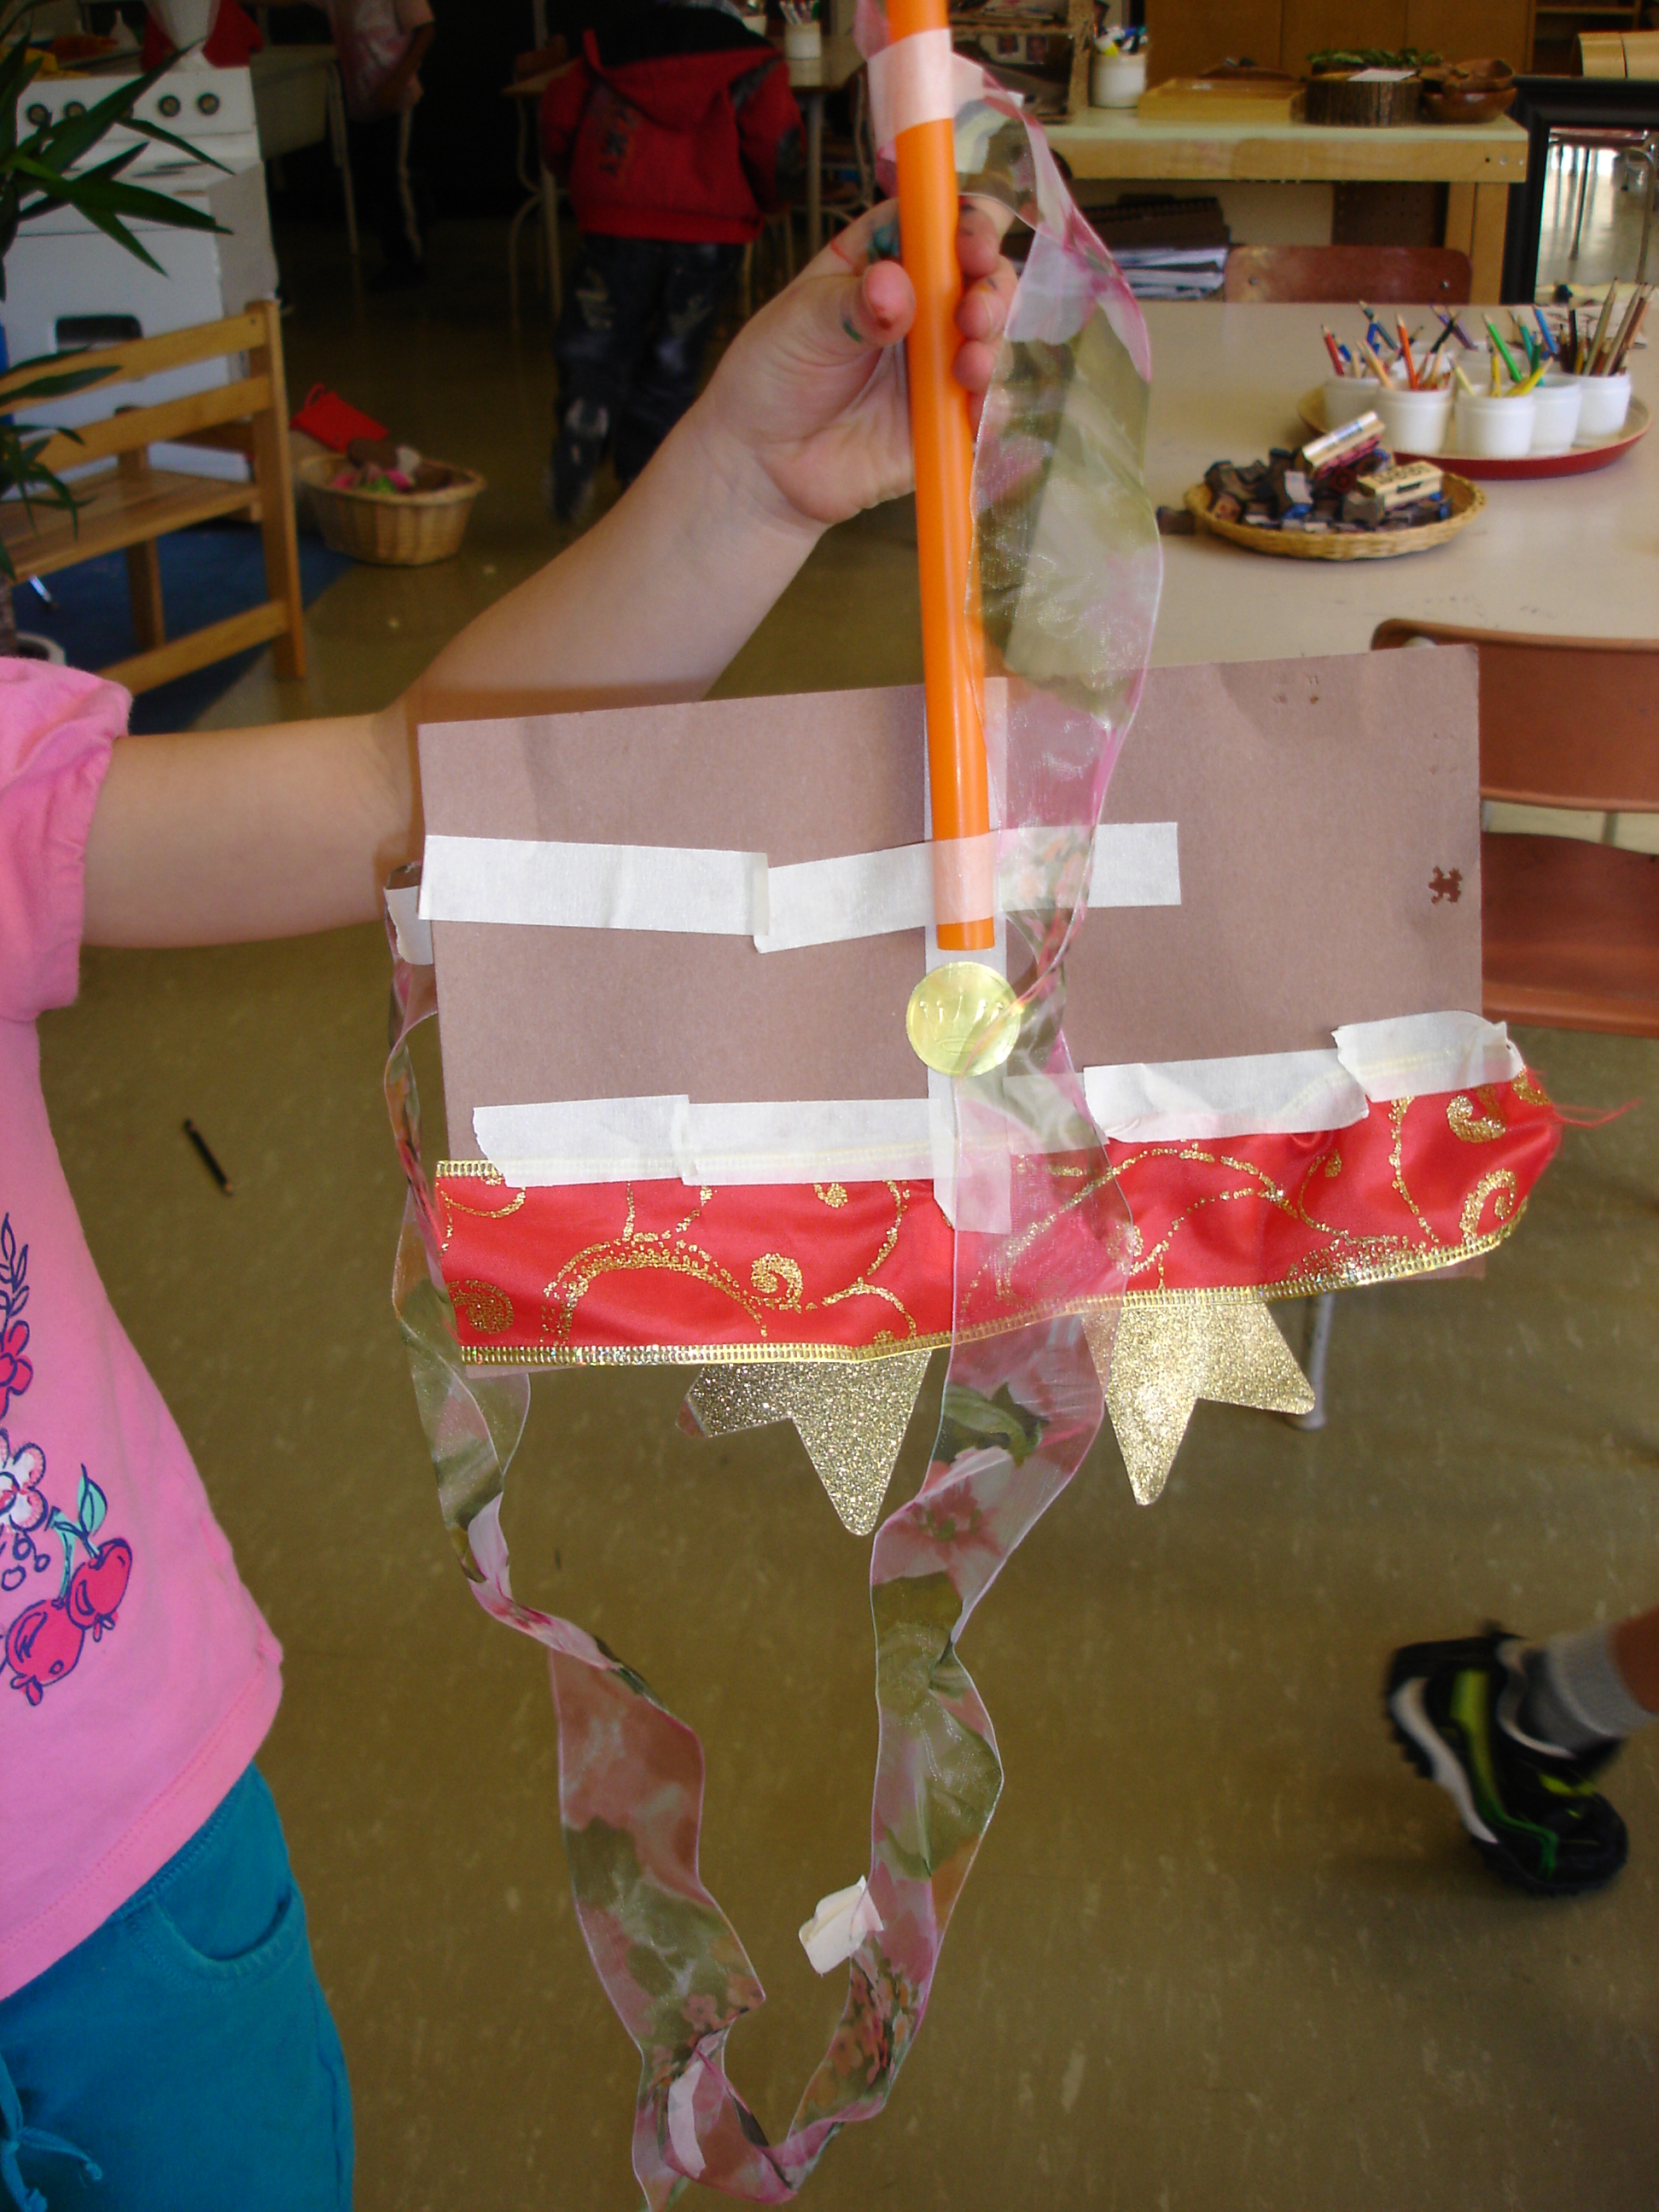
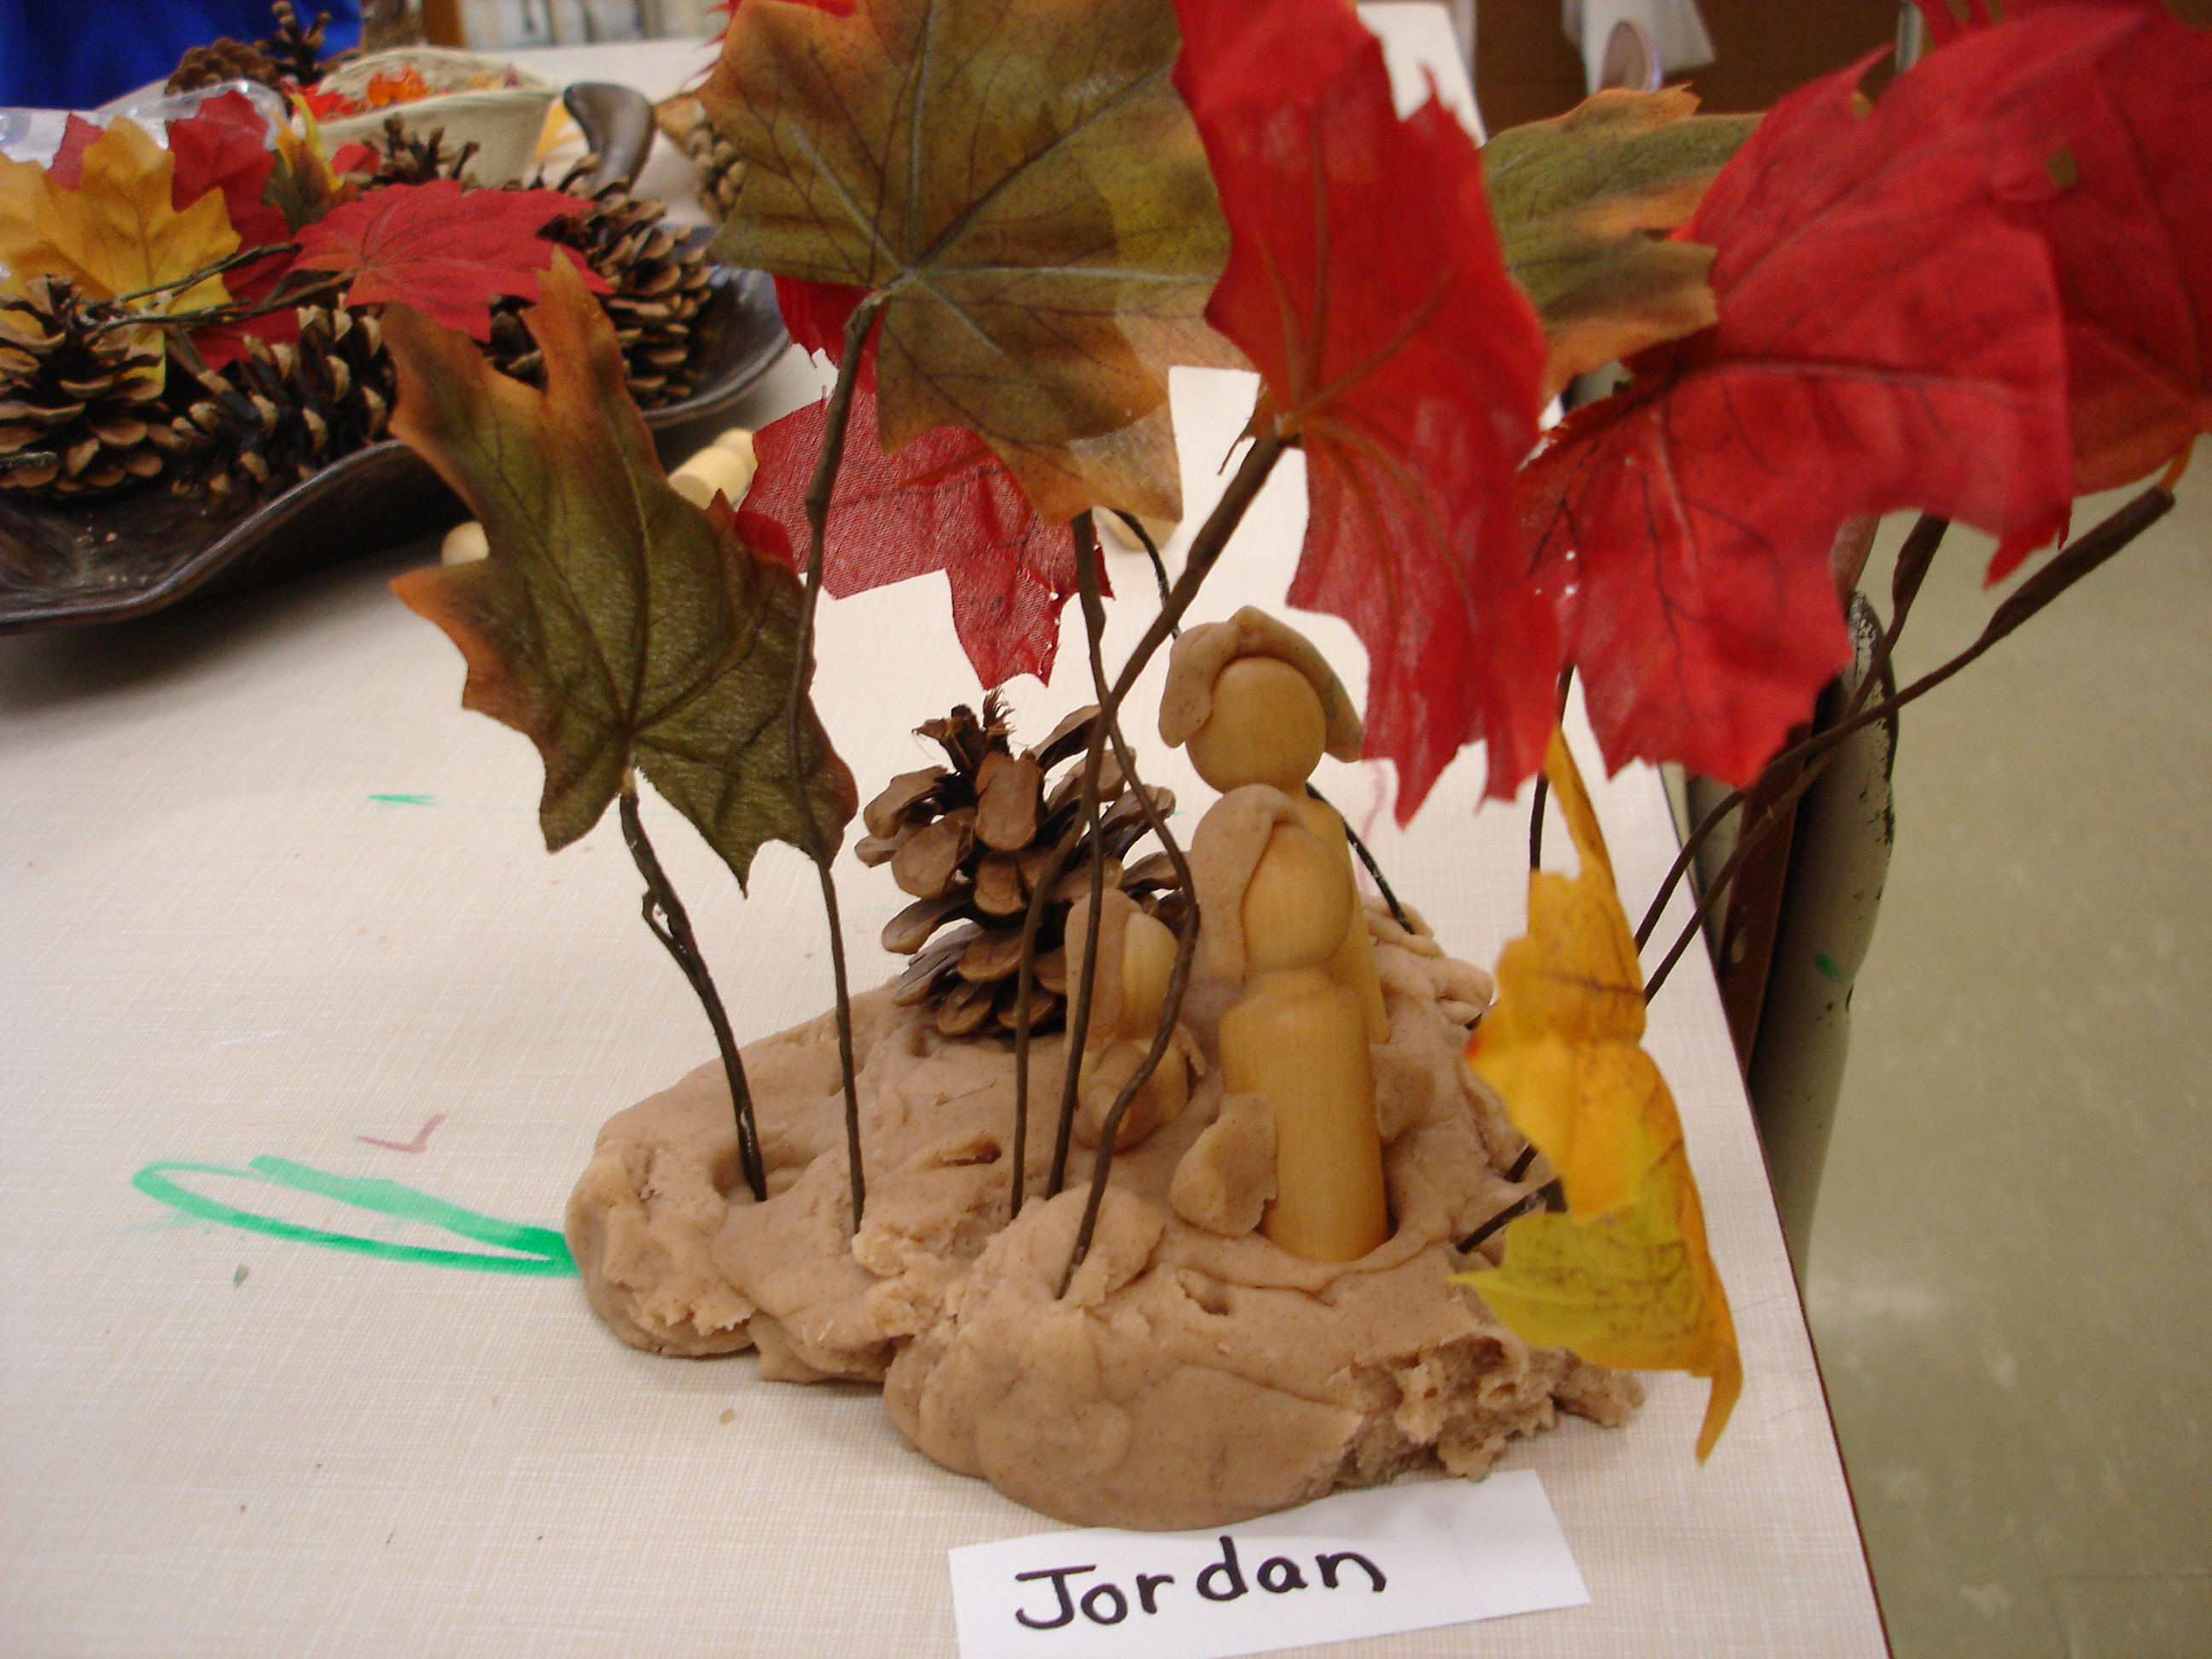
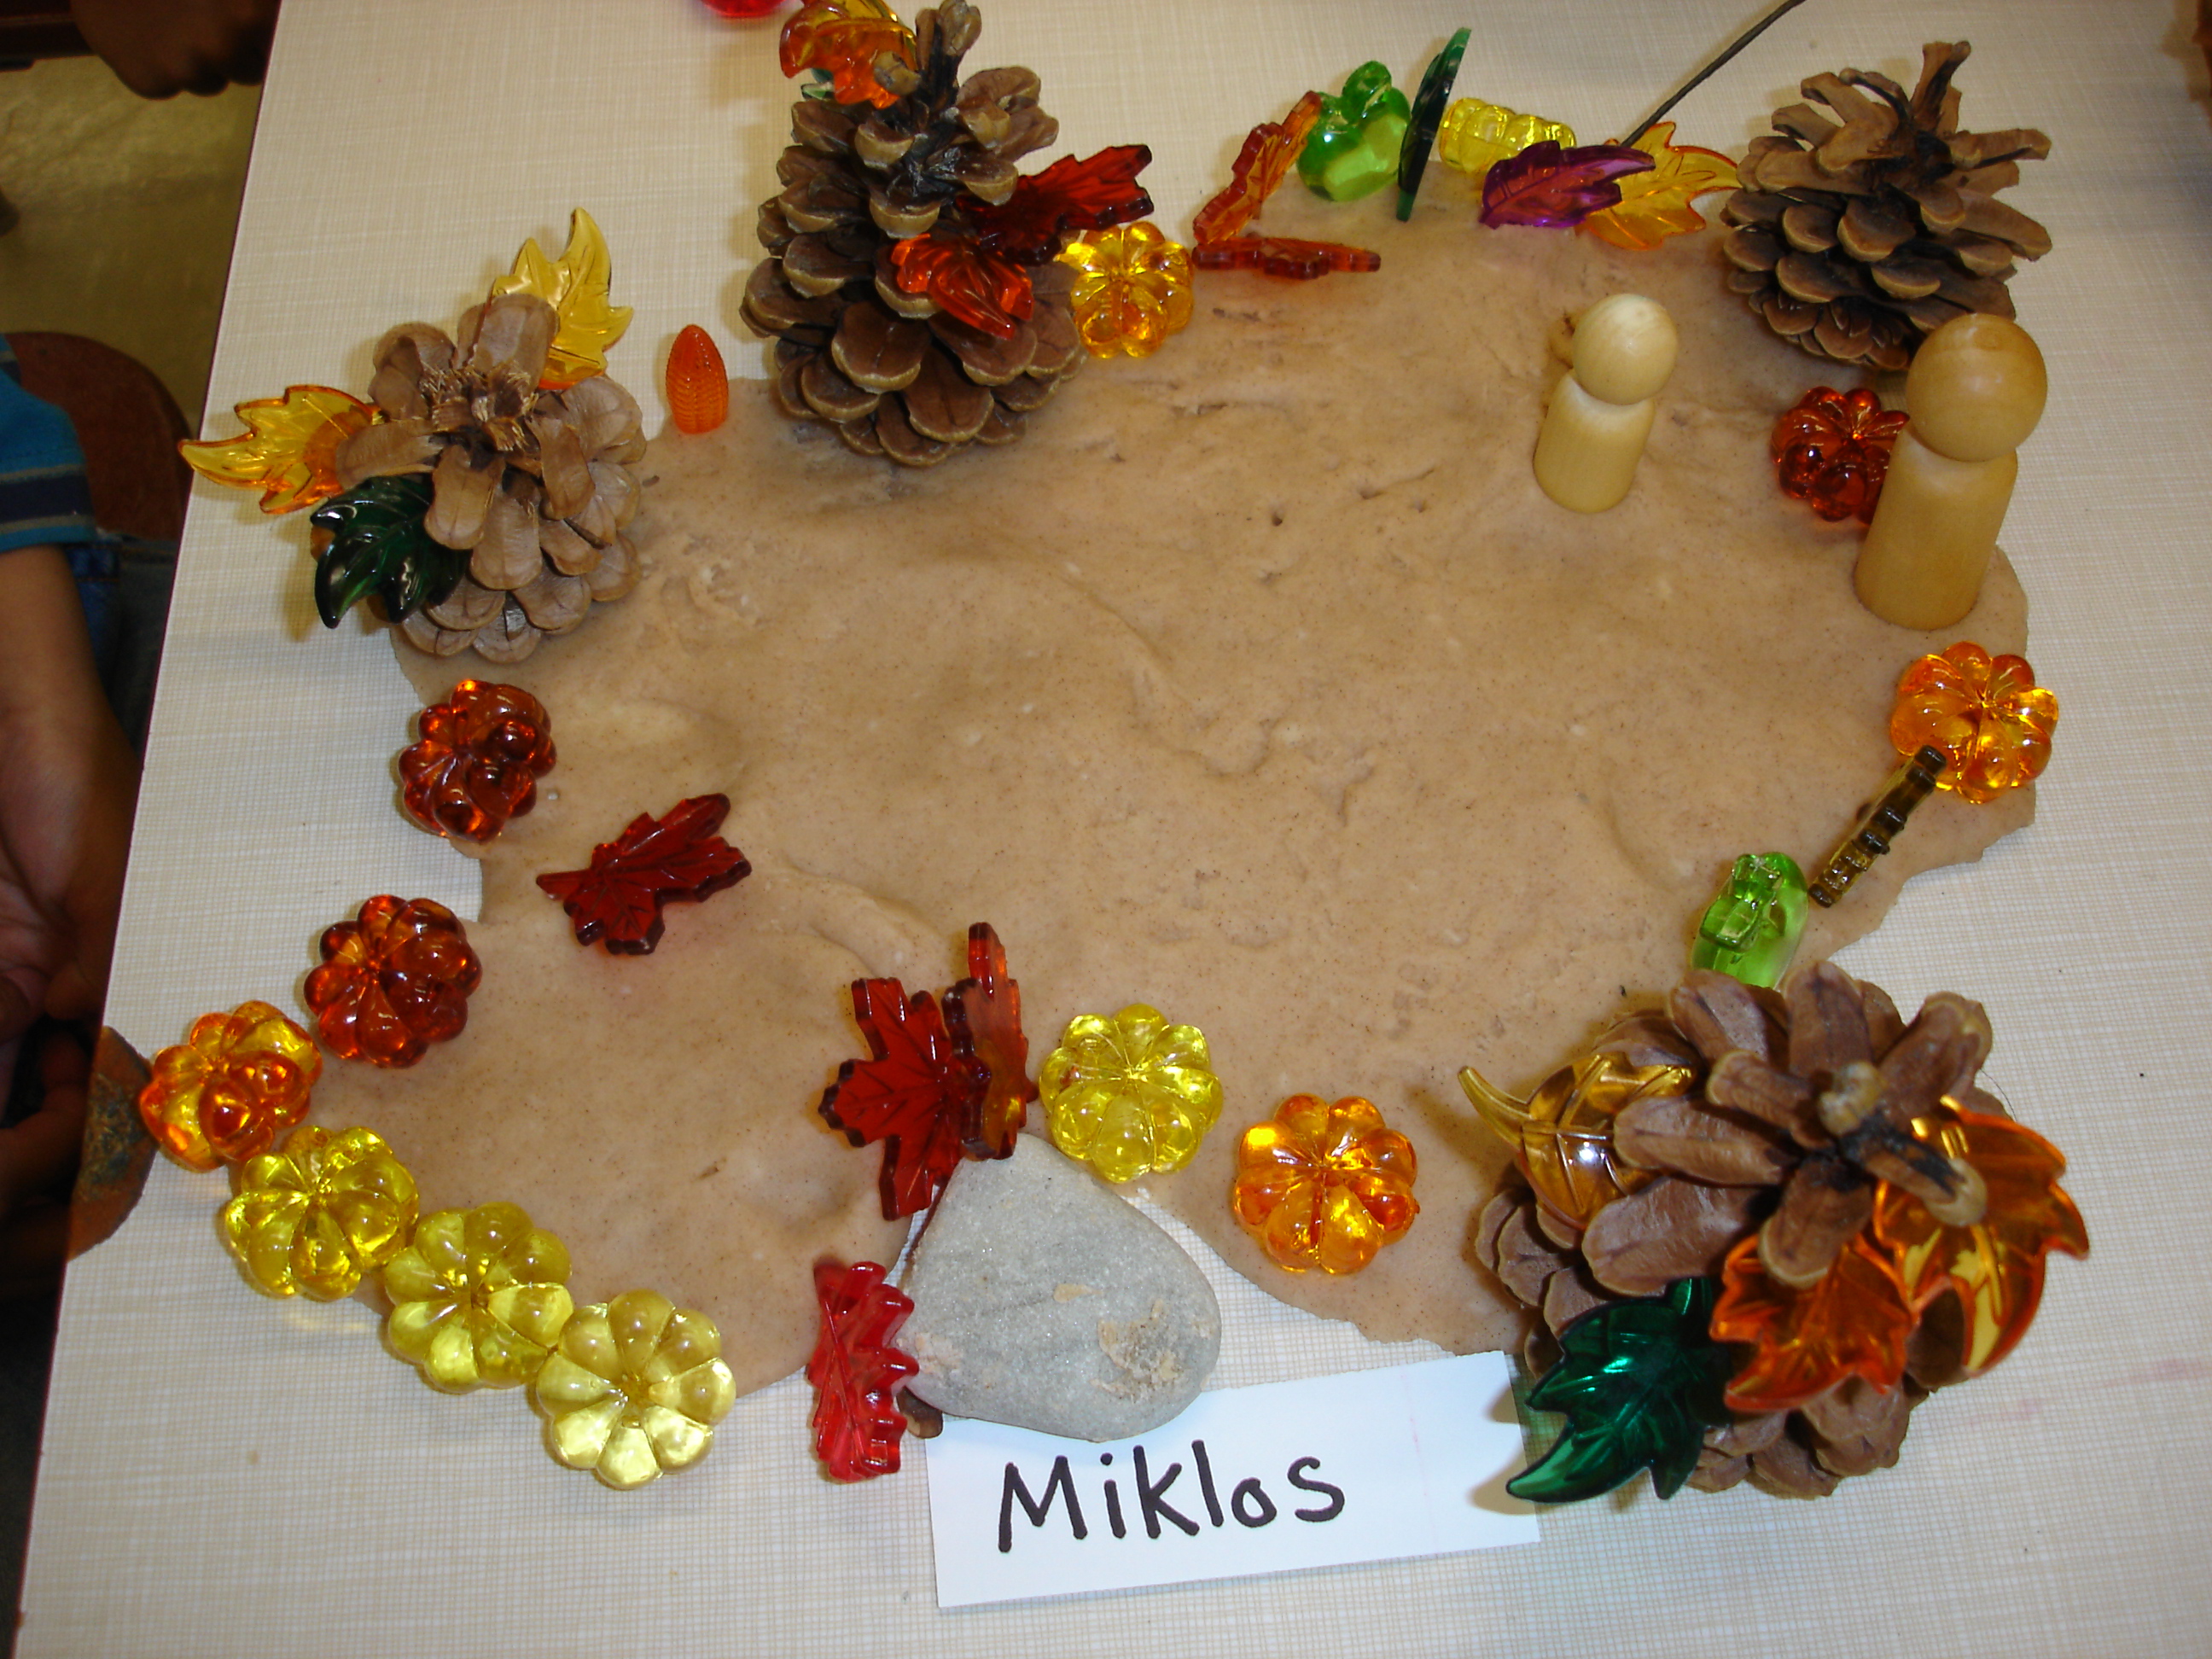
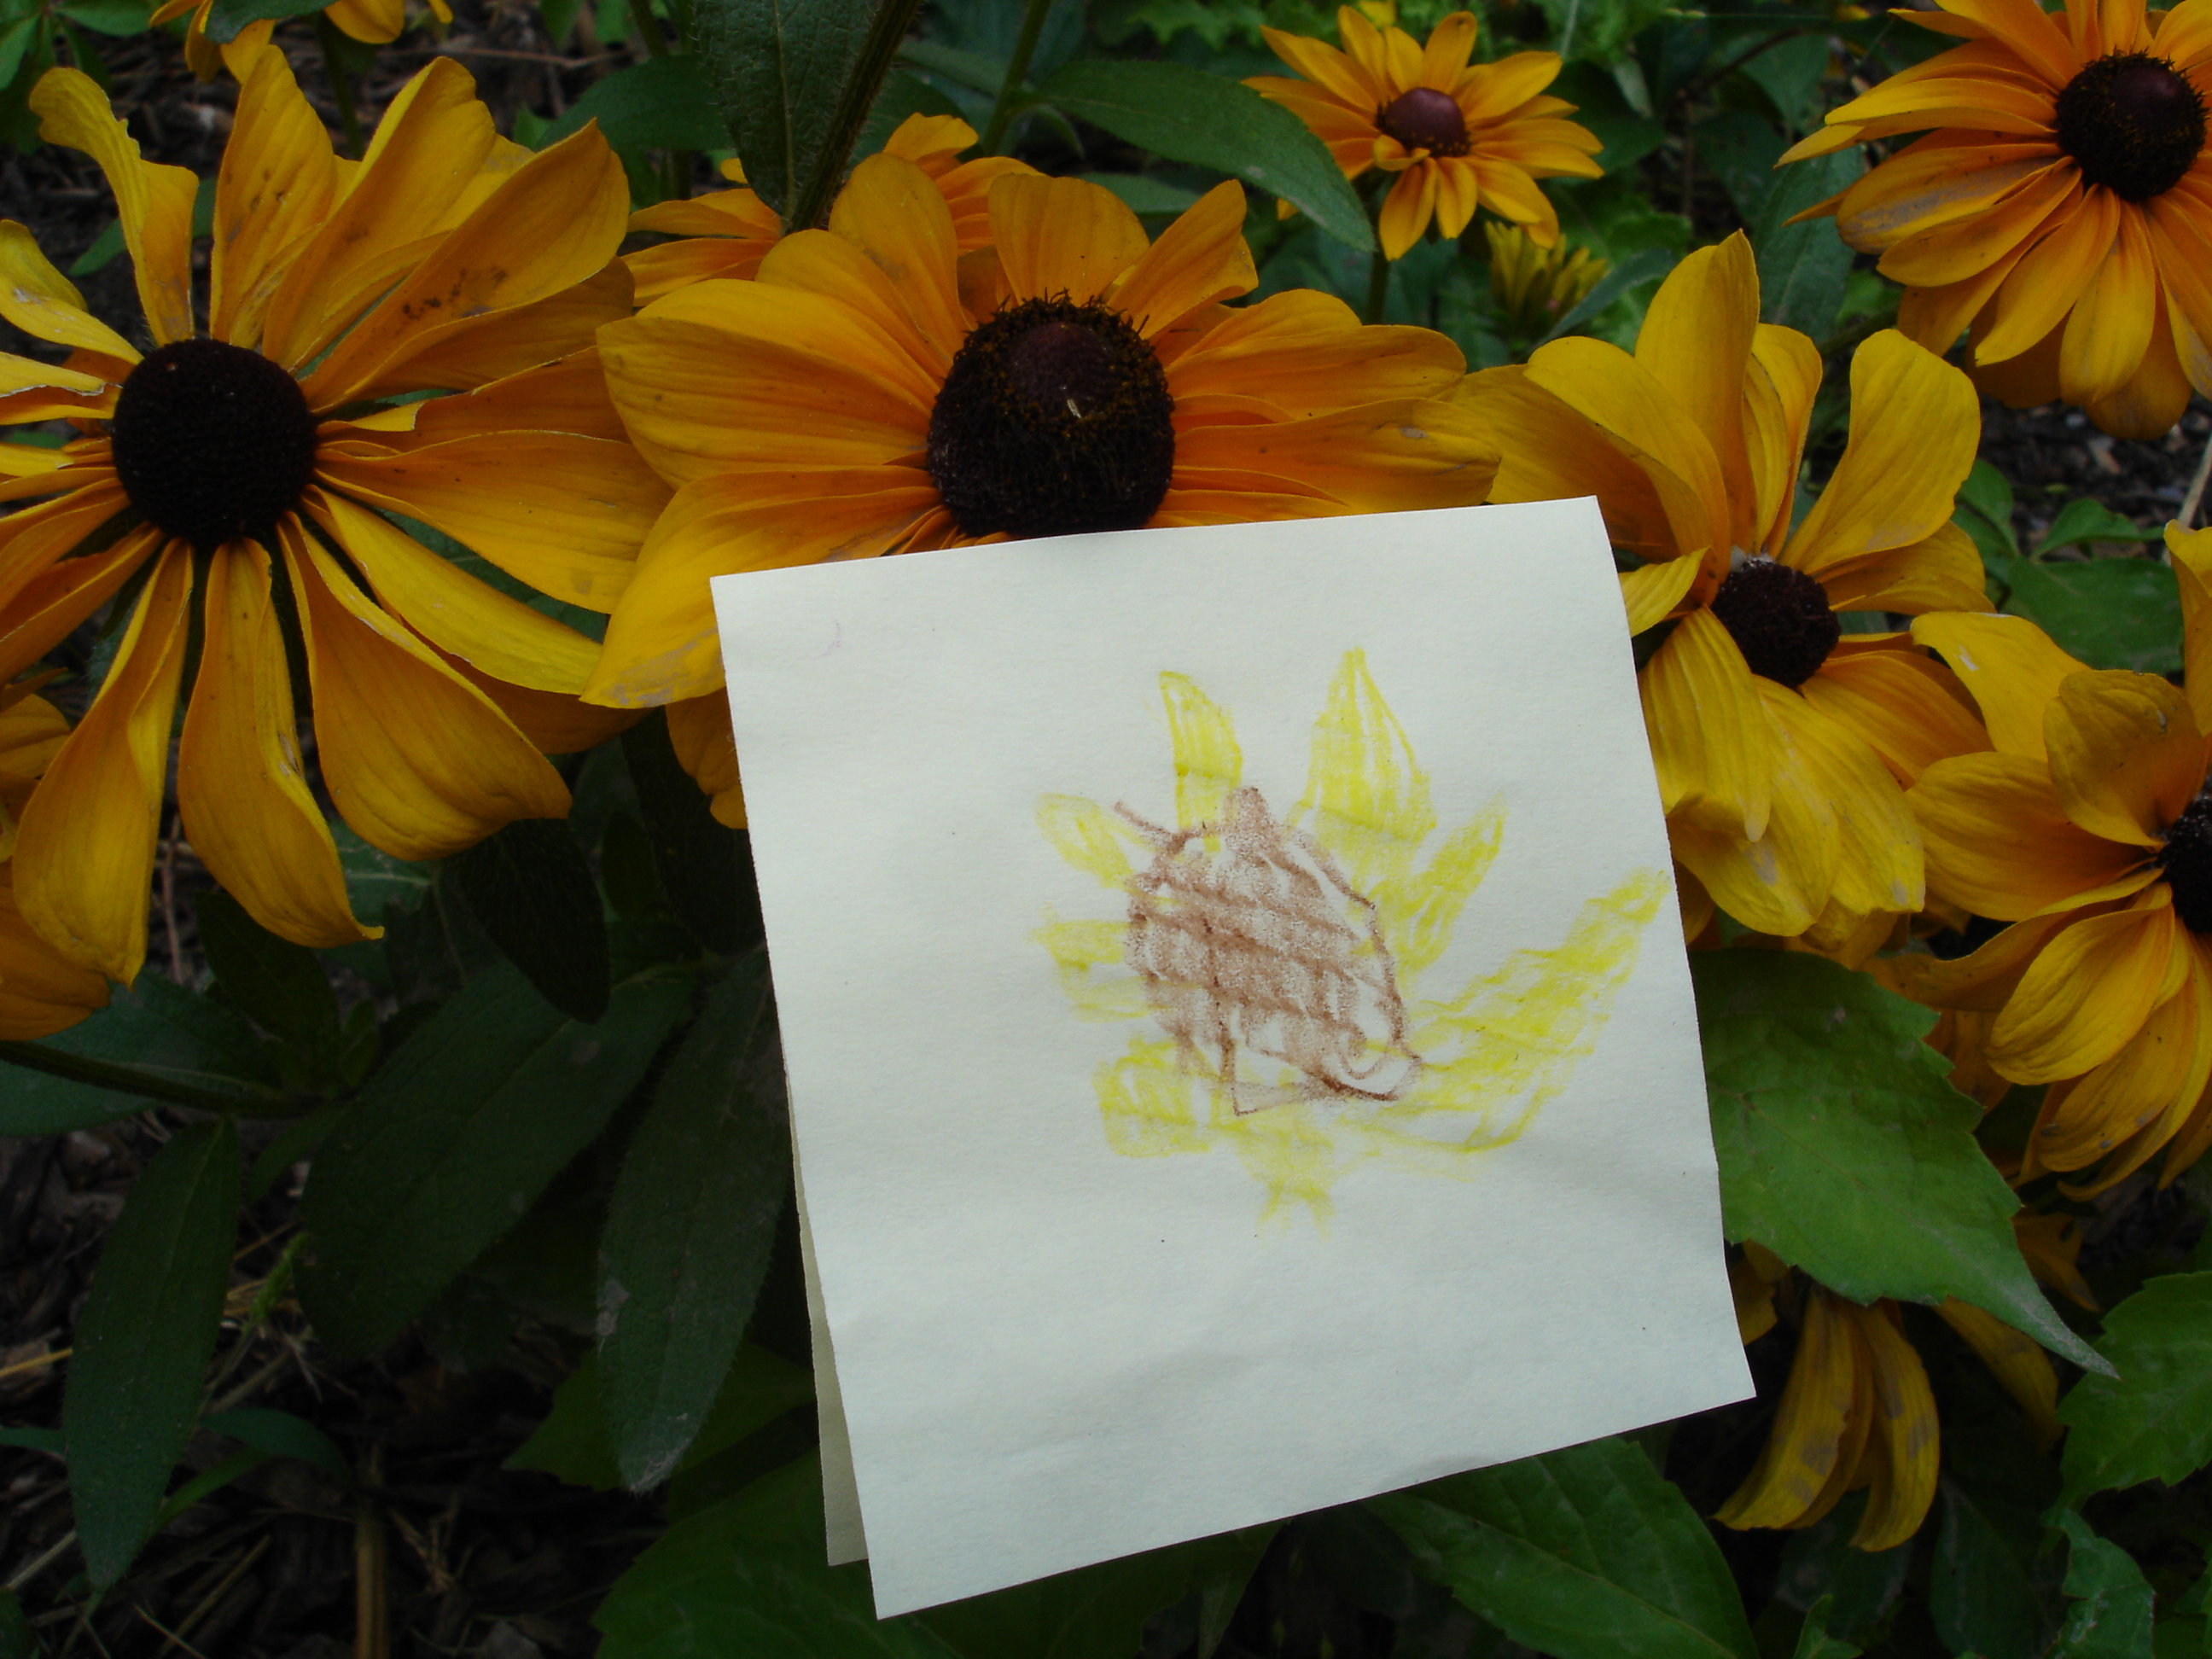
Here is the first creation that came out of our newly stocked Art Studio:

E: “I made a ‘Beautiful Maker’. It’s a machine that makes things beautiful.” 🙂

Image

In the Art Studio: Working with Wire

For anyone who is interested in adding more inquiry-based learning to their program but isn’t sure where to start, I highly recommend starting with Art. Art involves creativity, problem solving, making choices, discussion, and is generally open-ended. An excellent resource for dipping into art-based inquiry is: The Language of Art by Ann Pelo.

language of art

This week at the Art Studio we were working with wire. The goal was to work the wire into a sculpture of a tree. We have been doing a tree study and I was interested to see how the children might apply what they already know/have learned about trees while they created their sculptures. Wire is not an easy material to work with, save for the fact that it generally stays in the shape that you put it in, so I was also looking for the children to demonstrate some problem solving skills as they completed their pieces.

Here is the provocation I placed at the studio. I happened to have a small wire tree sculpture at home that my husband had received from his former student. The children were quite inspired by it.

photo

Here are some of the comments the children made during their wire exploration:

“I’m making my branches silly by twisting them up. It’s twirly swirly!”

“So my tree is kind of wiggly at the top because I saw some trees have branches like that.”

“I am twisting my wire all around so it can stay up. I had to twist the wires some more to help my tree stand.”

“My tree is dancing!”

“I did it! I got my tree to stand up!”

“Wire is good because it doesn’t break. I need some more wire down here because this part is a little loose.”

Most children wanted to create a tree that could stand on its own. This proved to be quite the challenge, but I was encouraged to see that the children really persevered at the task and were incredibly proud when they achieved their goal.

A sweet moment I was able to capture was between two boys who were working alongside each other at the table:

F: “This is so hard. I can’t do it.”

J: “You have to do it like this!” (modelling twisting the wire)

F: “No, I can’t even do it.”

J: “Look, I’ll show you. You just have to do this (twisting). See? Try again.”

F: “ugh…” (keeps working on it)

J: “Yeah! That’s it! Keep twisting it until it’s nice and strong!”

F: “Like this? Oh, I can do it now! I made a tree!”

Sometimes we all just need a little encouragement from our friends!

picstitchtrees

Writing With Worms

Image

A few weeks ago I posted about some of our discoveries in the outdoor classroom. One of the things that most captured the children’s attention at that time was a collection of worms. What was interesting was that the worms were wiggling and jiggling all over the place and as they did, the children began to comment on shapes and letters that they noticed:

“That worm looks like an e!” Image

“No, it’s a J!”

“Now it’s making a p!”

“The worms are making letters!”

With my camera handy, I was able to snap a few pictures of the worms in “letter formation” and our worm collecting group shared them with the class during sharing time. We talked about rotating the images to see new shapes and letters. The children wondered if the worms were trying to tell us something. This gave me an idea: writing with worms! I gathered up some pipe cleaners, printed out our worm pictures and created a provocation at the writing table: What letters can you make with worms? I even added some googly eyes to the pipe cleaners for a bit of whimsy (despite the fact that worms don’t actually have eyes…). I also placed some clipboards and writing paper, markers, and an alphabet chart at the table. Soon the centre was busy with children manipulating the “worms” into different letters and writing them down.

Image

Take a look at some examples of what the students created:

Image

Can you think of some ways to extend this provocation further? What other opportunities do you see for learning?

Autumn Playdough Provocations

Image

After finding some rather inspiring pins on Pinterest regarding creative ways to use playdough (see below for links) I decided to “spice up” (pun intended) my go-to playdough recipe. In my first attempt, I added a lovely cinnamon scent to the dough and gathered some fall-themed supplies such as leaves from the dollar store, wooden people, sticks, stones, and fall gems (clear pumpkins, leaves, and acorns). I put out the materials and let the children create whatever they wanted. This centre was constantly busy! The children ended up creating “fall scenes” and told wonderful stories about going on walks in the forest with their families, going camping, and even connecting to some songs/stories we have been reading such as “Going on a Bear Hunt.” Even students who are normally quite quiet during sharing time were eager to talk about what they had made. I was able to assess the children’s ability to talk about their own experiences, make connections, and demonstrate their understanding of fall changes. We shared the children’s work with the class by photographing it and posting it on the SMART Board or showing it on the iPad.

Image

Image

In my second attempt, I decided to jump on the “Pumpkin Spice” bandwagon that has been popping up everywhere lately by adding pumpkin pie spice to my playdough recipe. For this dough I also added some red and yellow food colouring to give the dough a light orange tint. My ECE partner and I noticed that the children had shown an interest in cooking at our classroom drama centre so for this provocation we included baking supplies such as muffin and cake tins, rolling pins, measuring cups, and cookie cutters. I also put out some harvest-themed paper plates. Just like the week before, this centre was constantly busy! The children were really drawn to the delicious scent of the dough and set to work making cookies, pies, and ice cream. I was able to observe many children planning “pumpkin parties” and negotiating roles, such as who would make which dessert for the event. When the treats were completed, their bakers walked around the room to “share” them with their classmates. It is interesting to reflect on how food can bring us together – I haven’t yet seen another activity in which the children are so keen to immediately involve others in what they have created.

Image

Have you found any other inspiring ways to use playdough in your classroom or home? If you decide to try either of these activities, I’d love to hear how they turn out!

Here is the base recipe that I use when making playdough. I use a cooked version because I like the texture of the dough and I find that it keeps extremely well. In each spiced version I added about a Tbsp of spice, but you can add as much or as little as you like. For a centre of 6 children, I usually triple the recipe below:

1 cup of flour
1/4 cup of salt
2 Tbsp cream of tartar
Food colouring
1 Tbsp cooking oil
1 cup of water

Heat the oil in a pot on the stove on medium low. Mix the flour, salt, and cream of tartar in a bowl. Add water and food colouring. Add the mixture to the pot with the warm oil and stir with a wooden spoon until it forms a ball in the middle of the pot. When the ball is no longer sticky looking, remove to a cutting board and let cool for a few minutes. Knead the dough on the board several times until the dough is smooth. Store in a plastic bag or air tight container.

Fall Forest Playdough Activity from Two Daloo: http://www.two-daloo.com/2013/09/09/invitation-to-play-fall-forest/

Spiced Playdough from Craftulate: http://craftulate.blogspot.com.au/2013/09/homemade-herb-and-spice-play-dough.html

Books that Inspire Young Authors

Image

Every once in a while I come across a book that is so delightfully magical I simply cannot wait to share it with my students. This week I have not one, but TWO such delightful books, based on similar ideas. The first is Press Here by Herve Tullet and the second is Tap the Magic Tree by Christie Matheson. As read-alouds, both books offer opportunities for student participation and are excellent resources for making predictions. In Press Here, the author commands the reader to tap on a single yellow dot in the middle of the page. When the page is turned…voila! A second yellow dot has appeared! The book continues in this vein, asking the reader to clap, blow, tip the book this way and that, until it ends where it started with one yellow dot. The first time I read this book was before lunch, and as the children lined up in the hall I head them exclaiming “You could write clap five times and draw five dots!” and “Yeah! And you can tap all the yellow dots and then make them blue!” They were writing their very own versions of the story! What an inspiring book for my young authors!

Tap the Magic Tree is essentially the same, except with an additional conceptual focus on the changes that occur across the seasons in one apple tree. This story tied in nicely to our Maple Tree Inquiry and discussions that have already been occurring about the fall changes in our community. Since the children were already thinking of ways to create their own versions of this story we set up a provocation at our classroom writing centre this week. What a busy centre this has been! Along with a copy of the book, our provocation included writing materials, newsprint for book pages, construction paper for a book cover, and a stapler. Several versions of Tap the Magic Tree have since appeared in our classroom and the children have been keen to have their classmates’ versions read to them during sharing time. What a wonderful opportunity this has been to create excitement around reading and writing in our classroom!

Image              Image

Do you have a book to recommend that helped inspire your young authors? I am always looking for the next great read-aloud!

Fostering partnerships between home and school…

One of the things that most inspires me about schools in Reggio Emilia is the connectivity they have to the families and the communities they serve. Something I am striving for this year is a stronger link between home and school. Some of the questions I have been pondering are: How do I make my students and their parents feel welcome in our learning space? How do I develop a learning partnership with my students’ families? How can I tap into the rich knowledge, skills, and experiences each family possesses?

Image

This is a picture of our classroom family wall – a dedicated spot in the room that holds photographs of the children and their families (and pictures of my family and our ECE’s family too!). As the photos have been brought in we have taken time each day during our sharing circle for the children to introduce and talk about their families. We’ve learned about brothers and sisters, moms and dads, grandmas, papas, opas, and bubbis (and even a few family pets!). Throughout our discussions, we’ve encouraged the children to think about what makes their families special. After sharing, I also photocopy each photo and use it for an interactive writing activity with each student which gets posted on our author’s wall. The children have been so excited to take turns sharing their families with us and can often be found gazing at the family photographs on our family wall during centre time.

Image

Another way I am trying to connect with parents this year is by sending out a weekly email which highlights some of the ideas/concepts/discussions that occurred in our class during the week. The email includes photographs which demonstrate the children’s thinking and learning. The hope is that some of the discussions we are having at school will be carried on at home.

Image

What are some ways you celebrate your students’ families and involve parents in your program?

Learning in the Outdoor Classroom

Image

It was a frosty 10 degrees on Monday morning and our schedule for the day included time in the outdoor classroom first period. I was a bit worried that the children would not be enthused about spending time in the chilly yard. For today’s lesson, I put together a special bin of magnifying glasses, mini clipboards, sticky notes and paper, crayons, and our class iPad. Before heading outside, I informed the children that today I had a question for them: “What do you notice in our Outdoor Classroom?” I showed them our special bin of tools for helping them with their noticing. Hands shot up when I asked who might require a magnifying glass. I distributed the materials to the students and we headed outdoors. (*I should mention that I only had about 6 magnifying glasses and 4 clipboards. I had enough paper and crayons for the whole class. In my experience, limiting materials encourages turn taking and sharing).

Image

Any worries I had about the children not being excited to be outdoors disappeared the minute we got outside. The children spread out all over the yard, crouching under bushes, turning over logs, and digging in the soil. Immediately they started recording their thinking and noticing on sticky notes and paper. Some children used the sticky notes to label what they found – placing them on top of flowers and rocks and mushrooms.

Image

Image

Image

When the period was done, we gathered up our materials and headed inside for a sharing circle. Once again I reiterated today’s question: “What did you notice in the Outdoor Classroom?” Seeing as it is only the beginning of the year, I was surprised by the children’s ability to listen to each other’s findings and ask questions. They were truly interested to see and hear about what their classmates discovered. The discussion gradually began to focus on a handful of worms that a group of boys had collected and brought inside with them. We wrapped up our sharing time by deciding as a class that our worms needed further investigation at our classroom Science and Nature Centre. Stay tuned for the interesting discoveries that emerged from our extended worm exploration indoors!

Image

Does your school have an area for outdoor exploration? How do you use the outdoor environment to enhance your Kindergarten program?

A new year, a new classroom!

Our classroom Art Studio - the hub of our classroom.

Our classroom Art Studio – the hub of our classroom.

Currently stocked with beach related natural materials from my summer adventures. A lot of students have been inspired to share their own summer beach experiences while visiting this centre.

The Science and Nature Centre. Currently stocked with beach related natural materials from my summer adventures. A lot of students have been inspired to share their own summer beach experiences while visiting this centre.

Where our students try their hand at playing teacher. Also a cozy spot to curl up with a book.

The Teacher Centre. Where our students try their hand at playing teacher. Also a cozy spot to curl up with a book.

A magical place to creatively experiment with water.

Buddha Boards! A magical place to creatively experiment with water.

Math Centre

Math materials have been chosen purposely to encourage counting and sorting.

Math materials have been chosen purposely to encourage counting and sorting.

Natural materials appear in the math centre too. The numbered blocks are coasters I found at Winners!

Natural materials appear in the math centre too. The numbered blocks are coasters I found at Winners!

Labeled bins contain building materials for our Math Science Investigations building program.

Math Centre. Labeled bins contain building materials for our Math Science Investigations building program.

An important centre at the beginning of the year. The familiar homey objects here often create a cozy atmosphere in the classroom.

The Drama/House Centre. An important centre at the beginning of the year. The familiar homey objects here help to create a cozy atmosphere in the classroom.

House Centre

We chose to put out familiar sand tools and continue our extension of summer experiences with sand castle molds. All the materials are placed on a mat so children know where to put them when they are finished.

The Sand Centre. We chose to put out familiar sand tools and continue our extension of summer experiences with sand castle molds. All the materials are placed on a mat so children know where to put them when they are finished.

I opted for a large variety of materials here - scoops, cups of various shapes and sizes, squirters and pumps as well as whimsical objects like boats and rubber duckies.

The Water Centre. I opted for a large variety of materials here – scoops, cups of various shapes and sizes, squirters and pumps as well as whimsical objects like boats and rubber duckies.

Playdough Centre

Big Blocks

Small Building Centre

Writing Centre

Meeting Area

Teacher Area

No More Teacher Desk!

*Update: I get a lot of requests for wide-angle shots of my classroom which show what it looks like mid-year (after the children’s learning has taken over!). Here are a few pictures from the middle of the year so you can get a feel for the actual set up and space in our room:

DSC03265 DSC03263 DSC03264


Reflections and preparations…

The summer break always brings with it a sense of rest and renewal. One of the things I like to do over the summer is reflect on where I am in my teaching practice by asking myself some of the following questions:
What are some things I was successful at last year?
In what area(s) did I have the most growth? How did I implement changes successfully?
What do I think my students will take away from our learning together? What do I want them to remember?
In what areas do I still need to grow? How am I going to get my practice where I want it to be in these areas?

I am already thinking about changes I want to make come September and have started reading some new resources to help me prepare for my new learning. After teaching FDK in a shared space I will finally be teaching in my own classroom and am excited about the changes and opportunities this will provide.

What are some of the questions you are thinking about over the break?