This month we have been inspired by renowned Canadian author and illustrator Barbara Reid. Barbara Reid has worked on some of my class’s favourite read-alouds: Picture a Tree, Perfect Snow, and Subway Mouse. When reading, we often discuss how an artist may have created their illustrations. My students were very interested in how Barbara was able to achieve such realistic and detailed pictures using Plasticine.
Lucky for us, Barbara Reid has created a series of tutorial videos which you can find on YouTube (links below). In her videos, Barbara talks about how she goes about creating her artworks: from the planning stage (researching, sketching a picture), to creating a background, to adding fine details and textures to her work.
Video: Making Plasticine Pictures with Barbara Reid Part 1
Video: Making Plasticine Pictures with Barbara Reid Part 2
Video: Making Plasticine Pictures with Barbara Reid Part 3
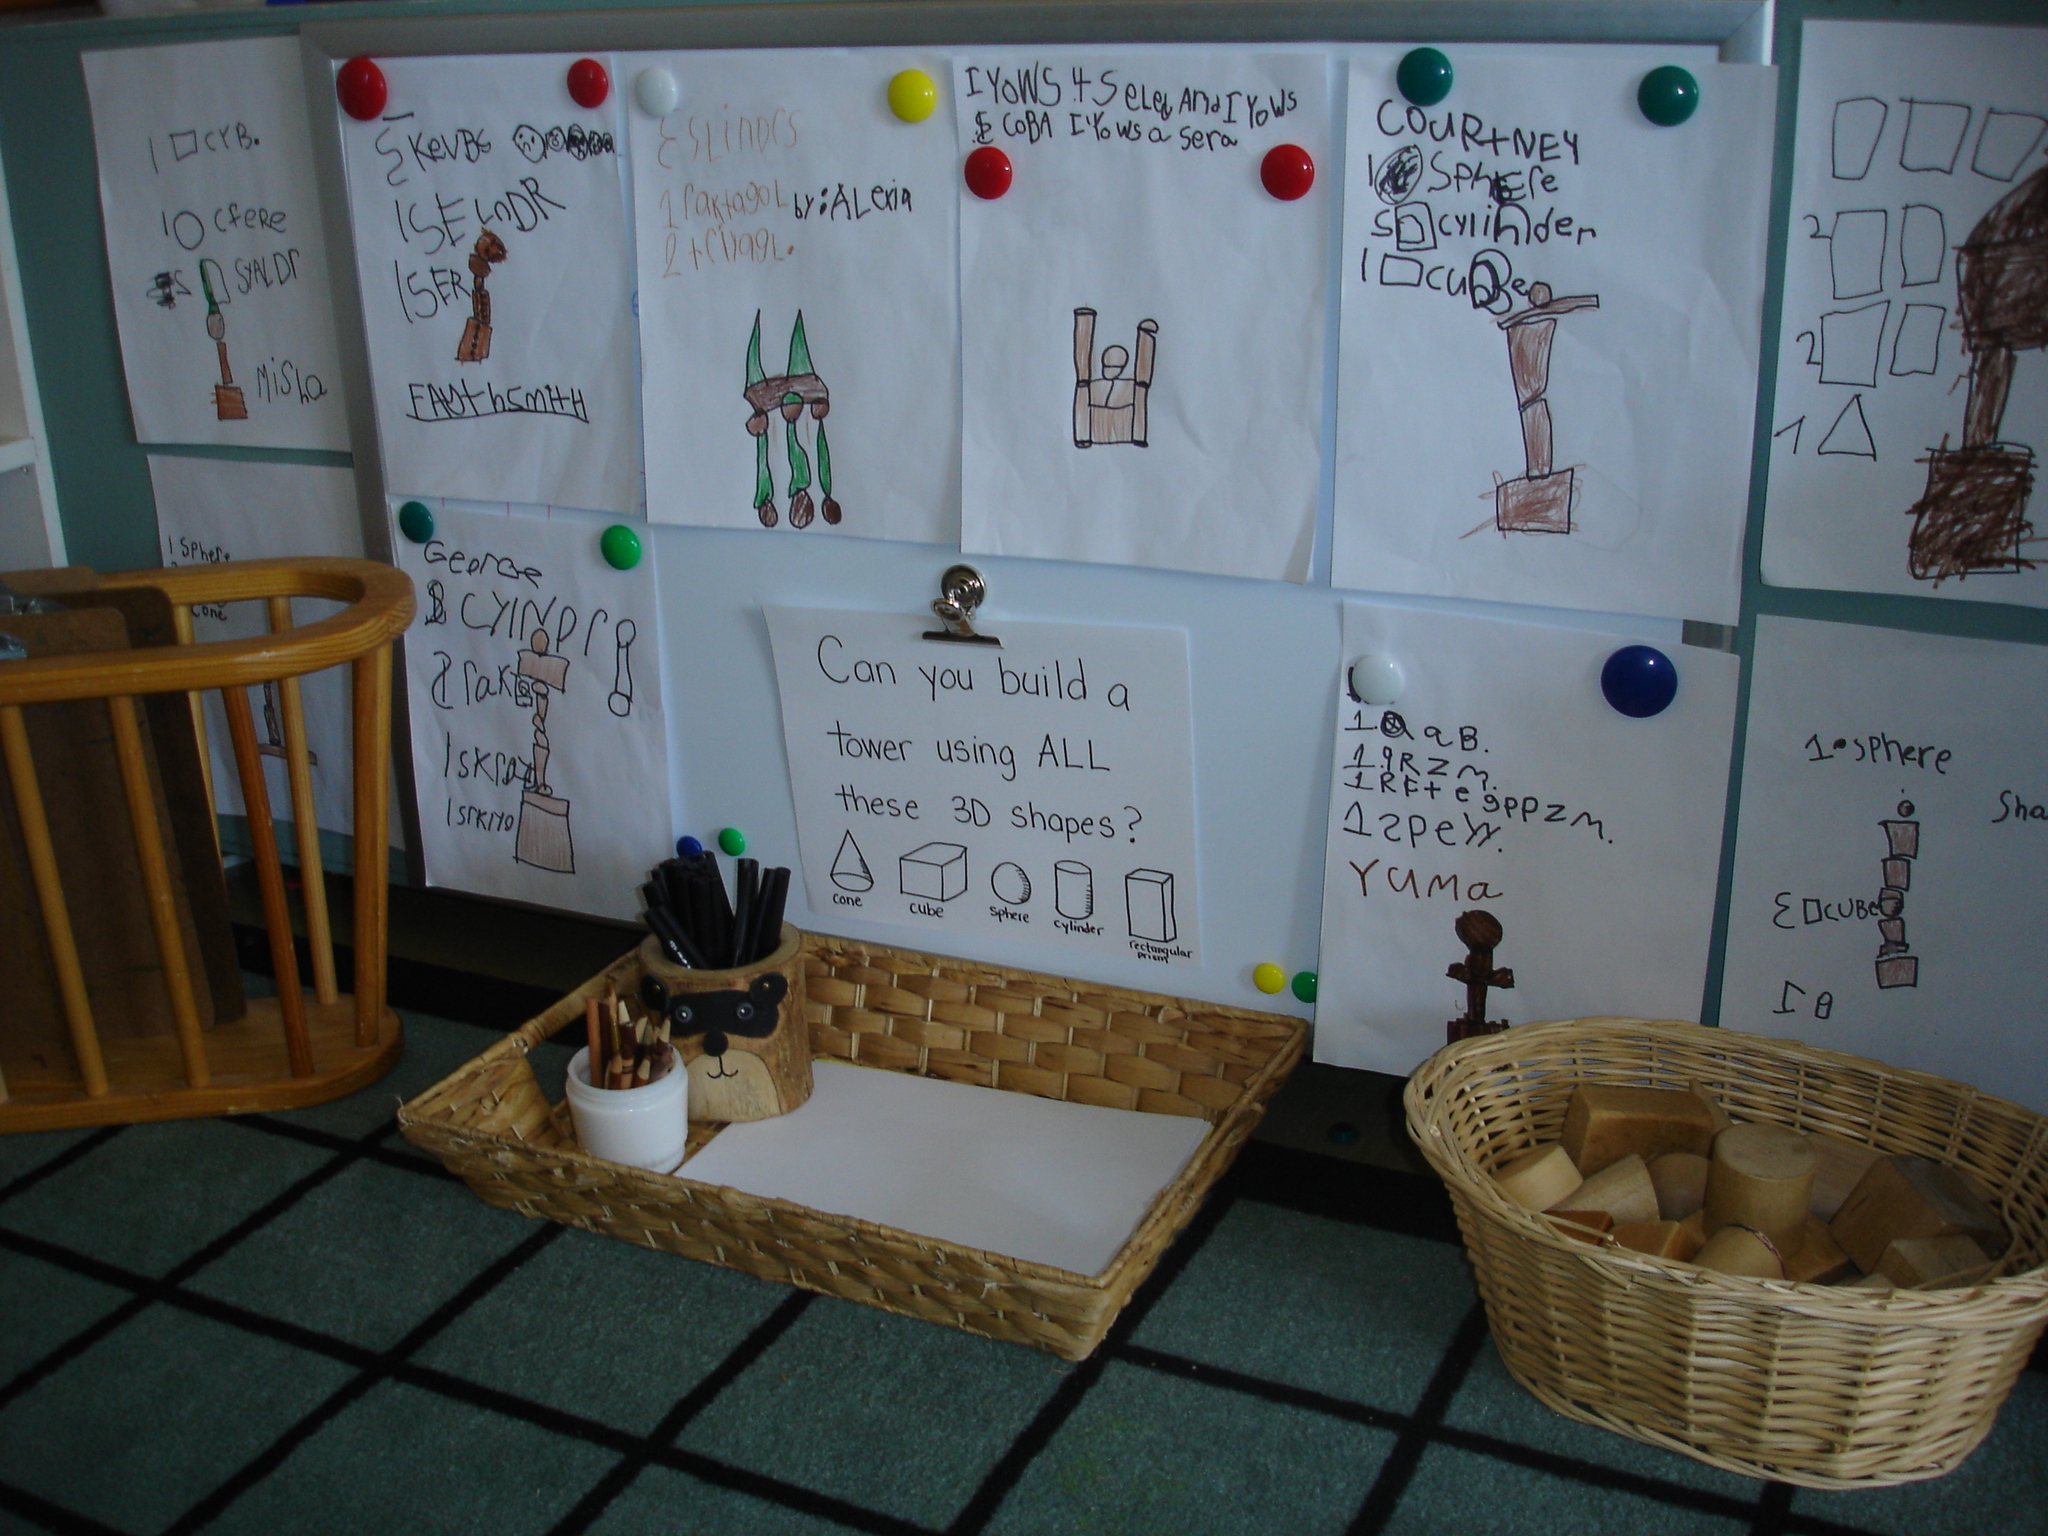
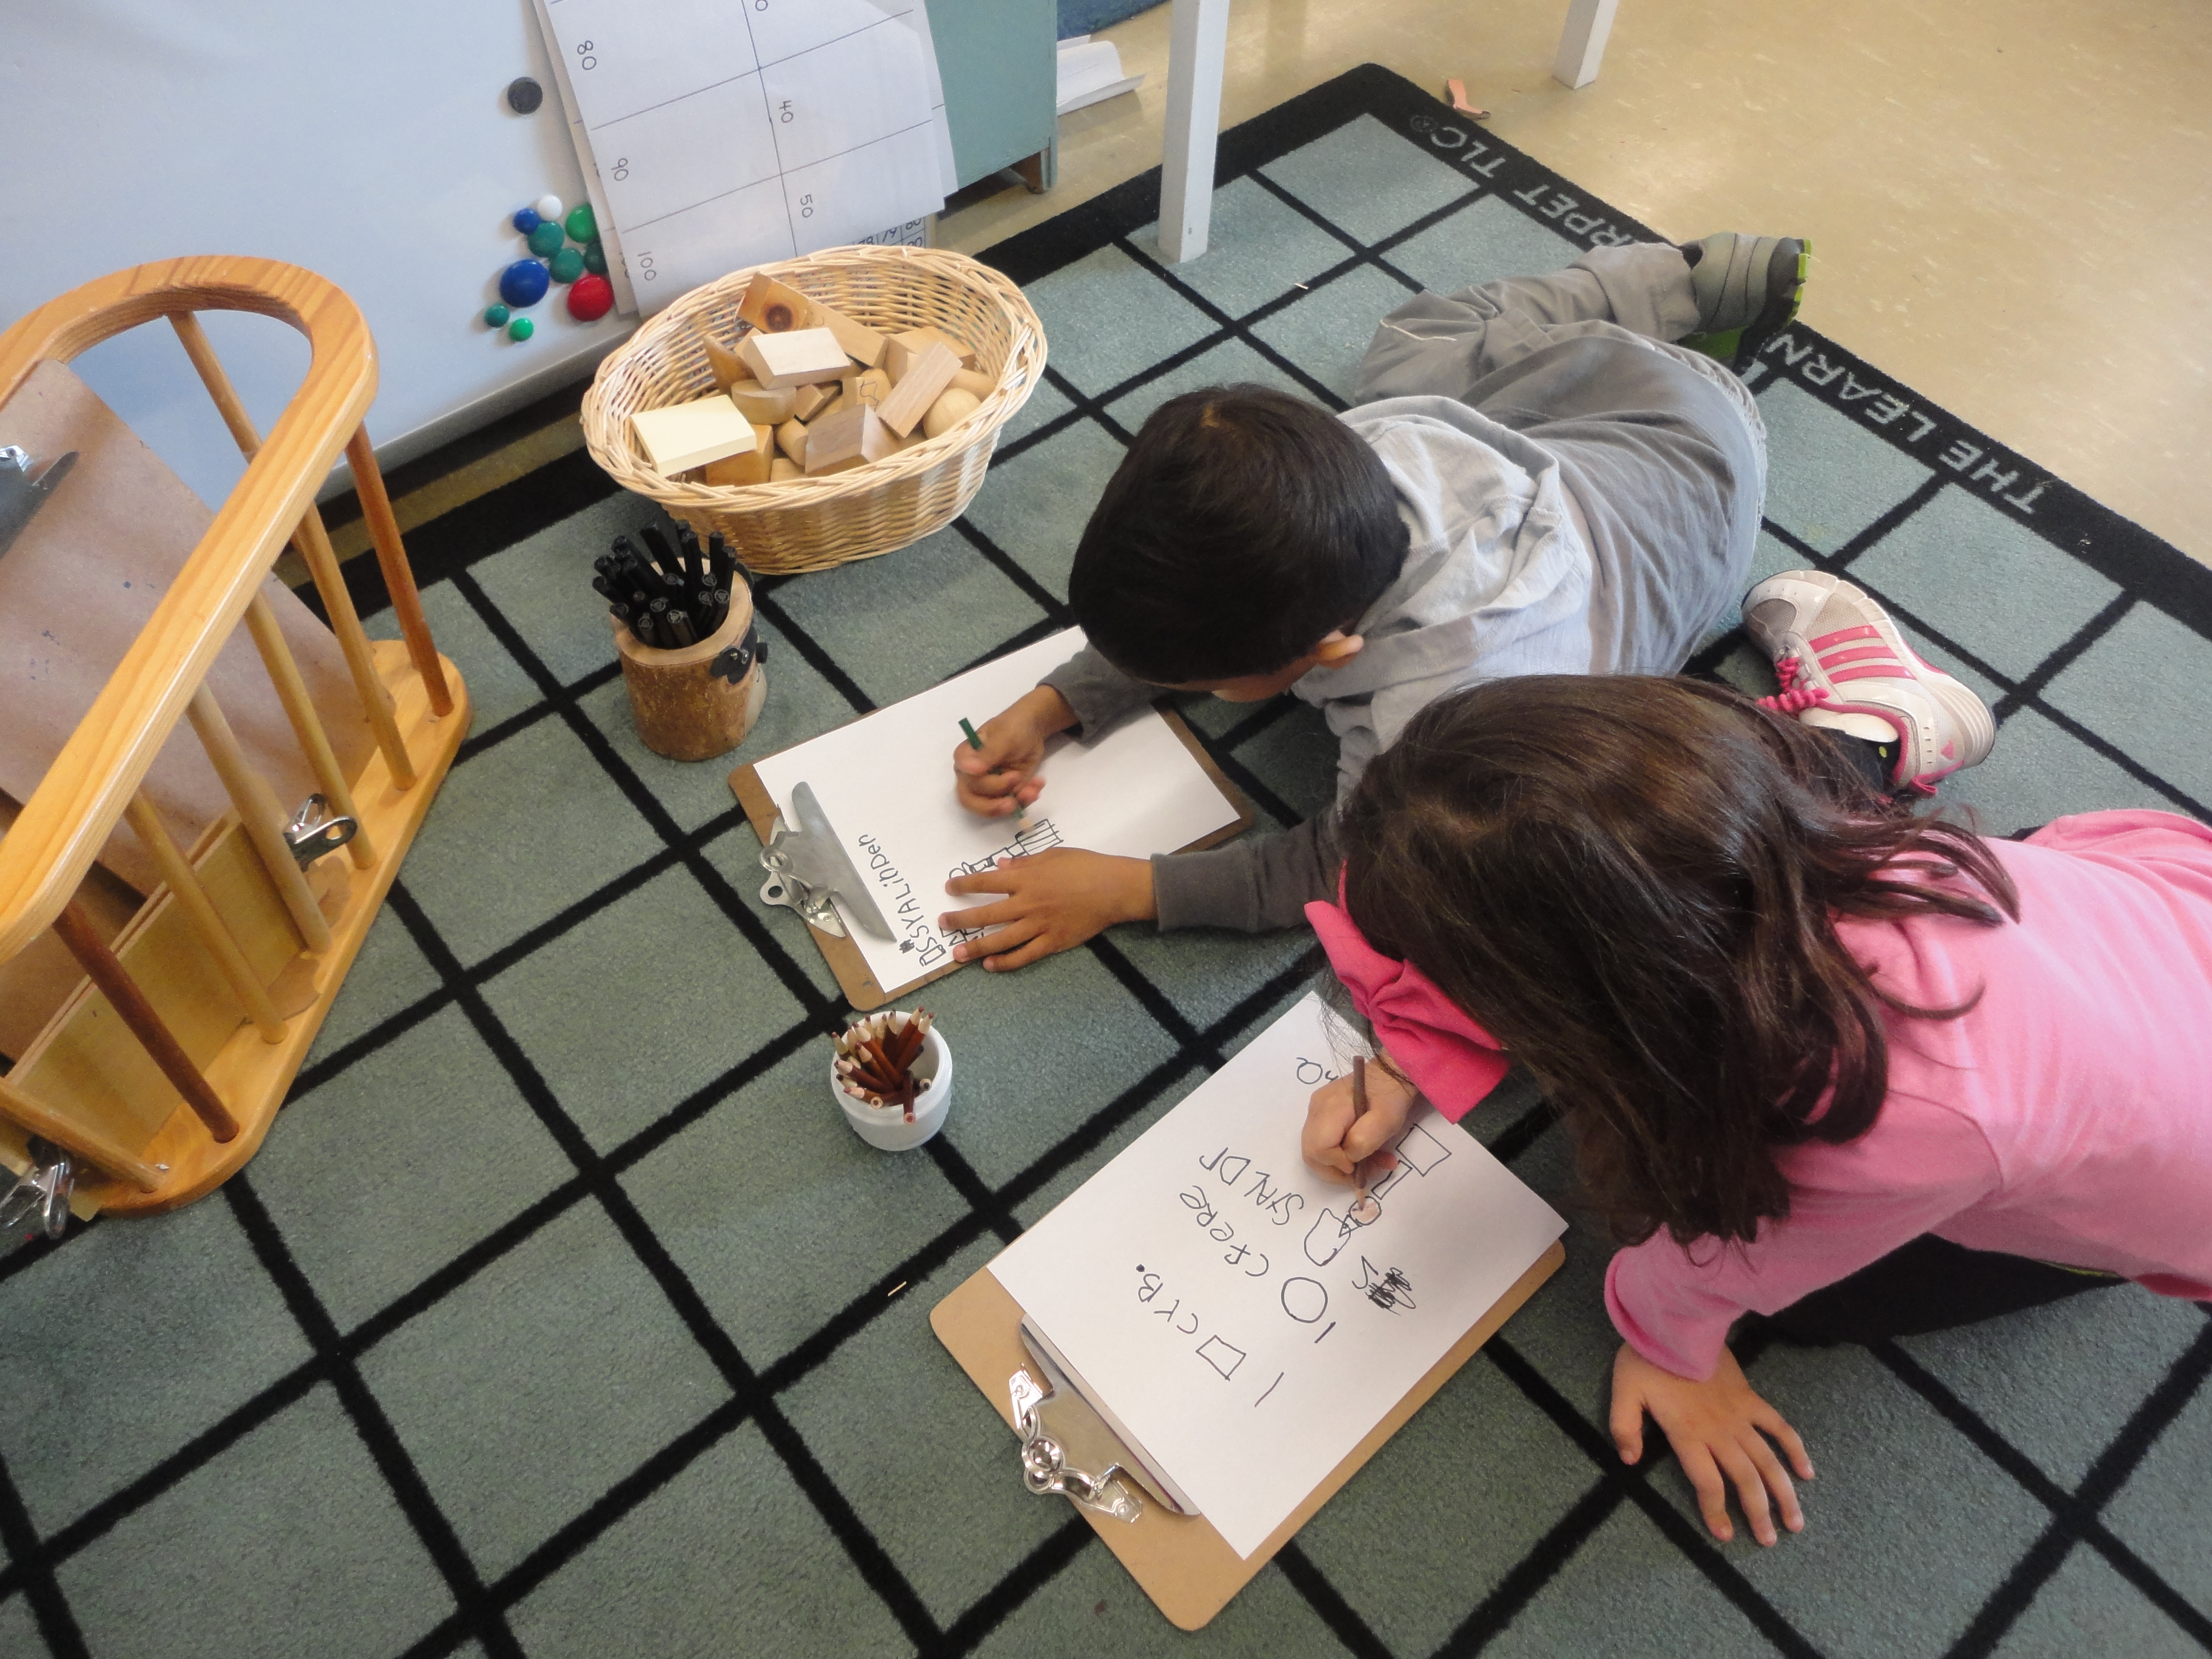
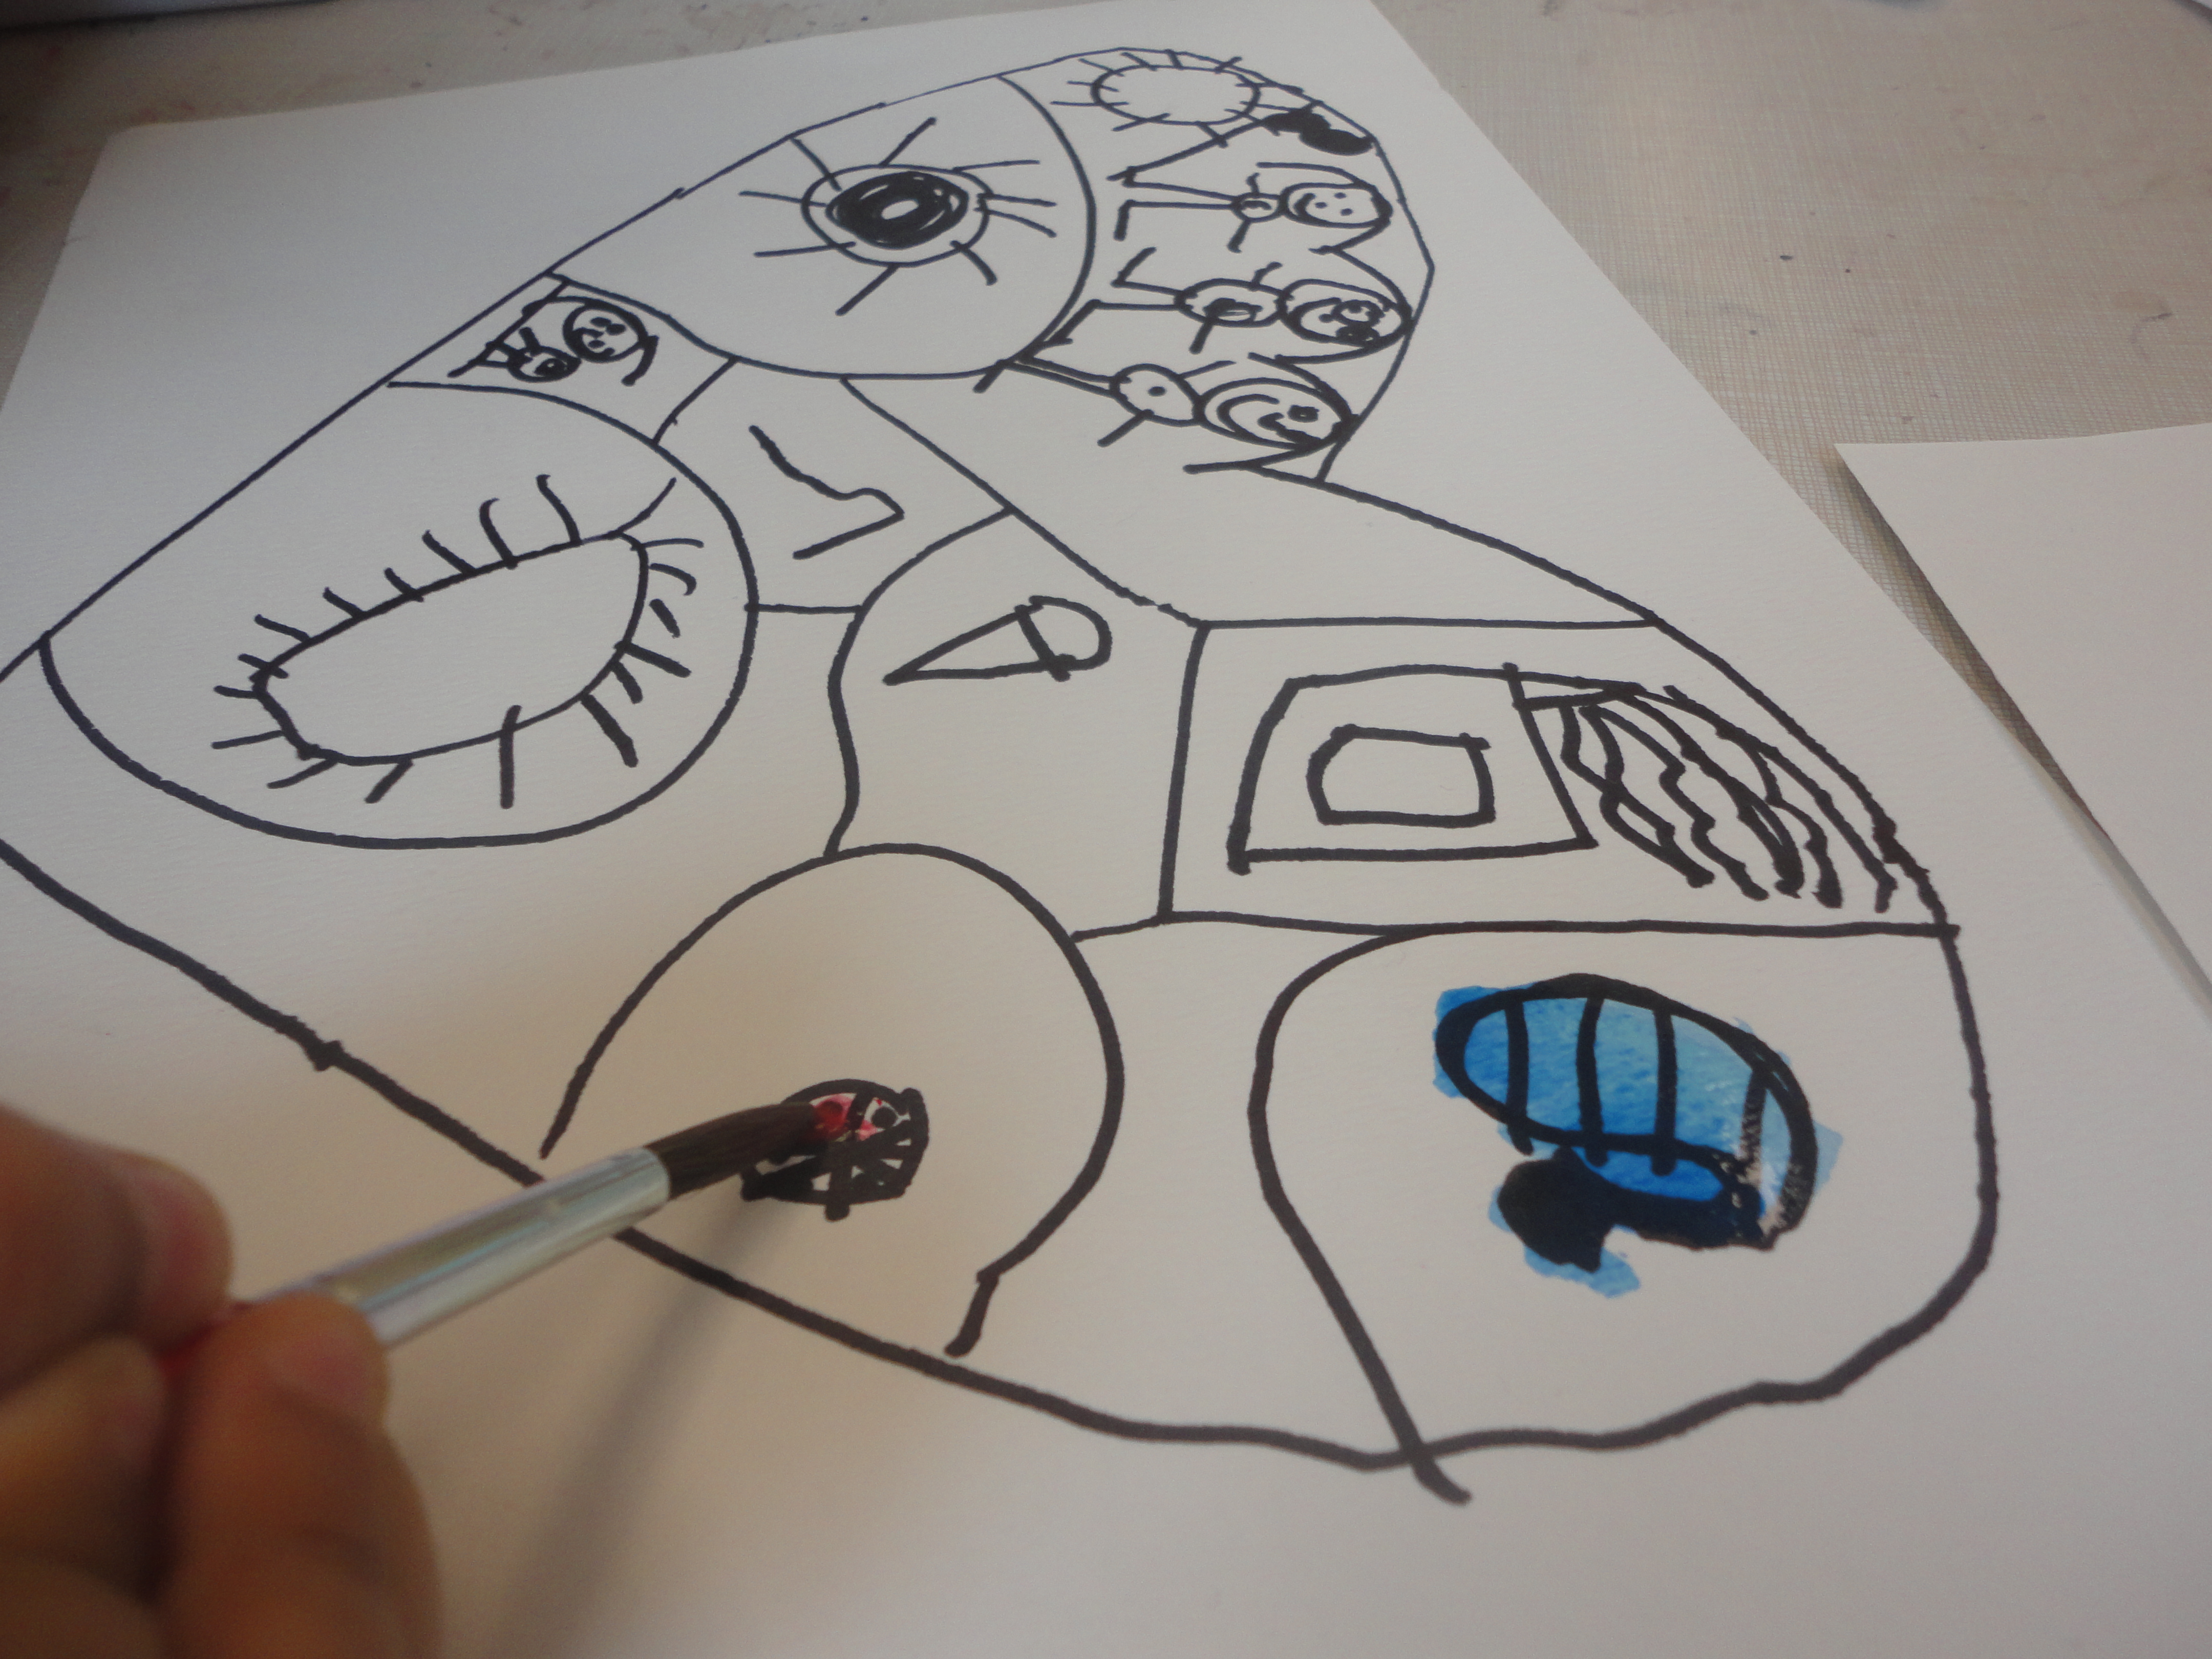
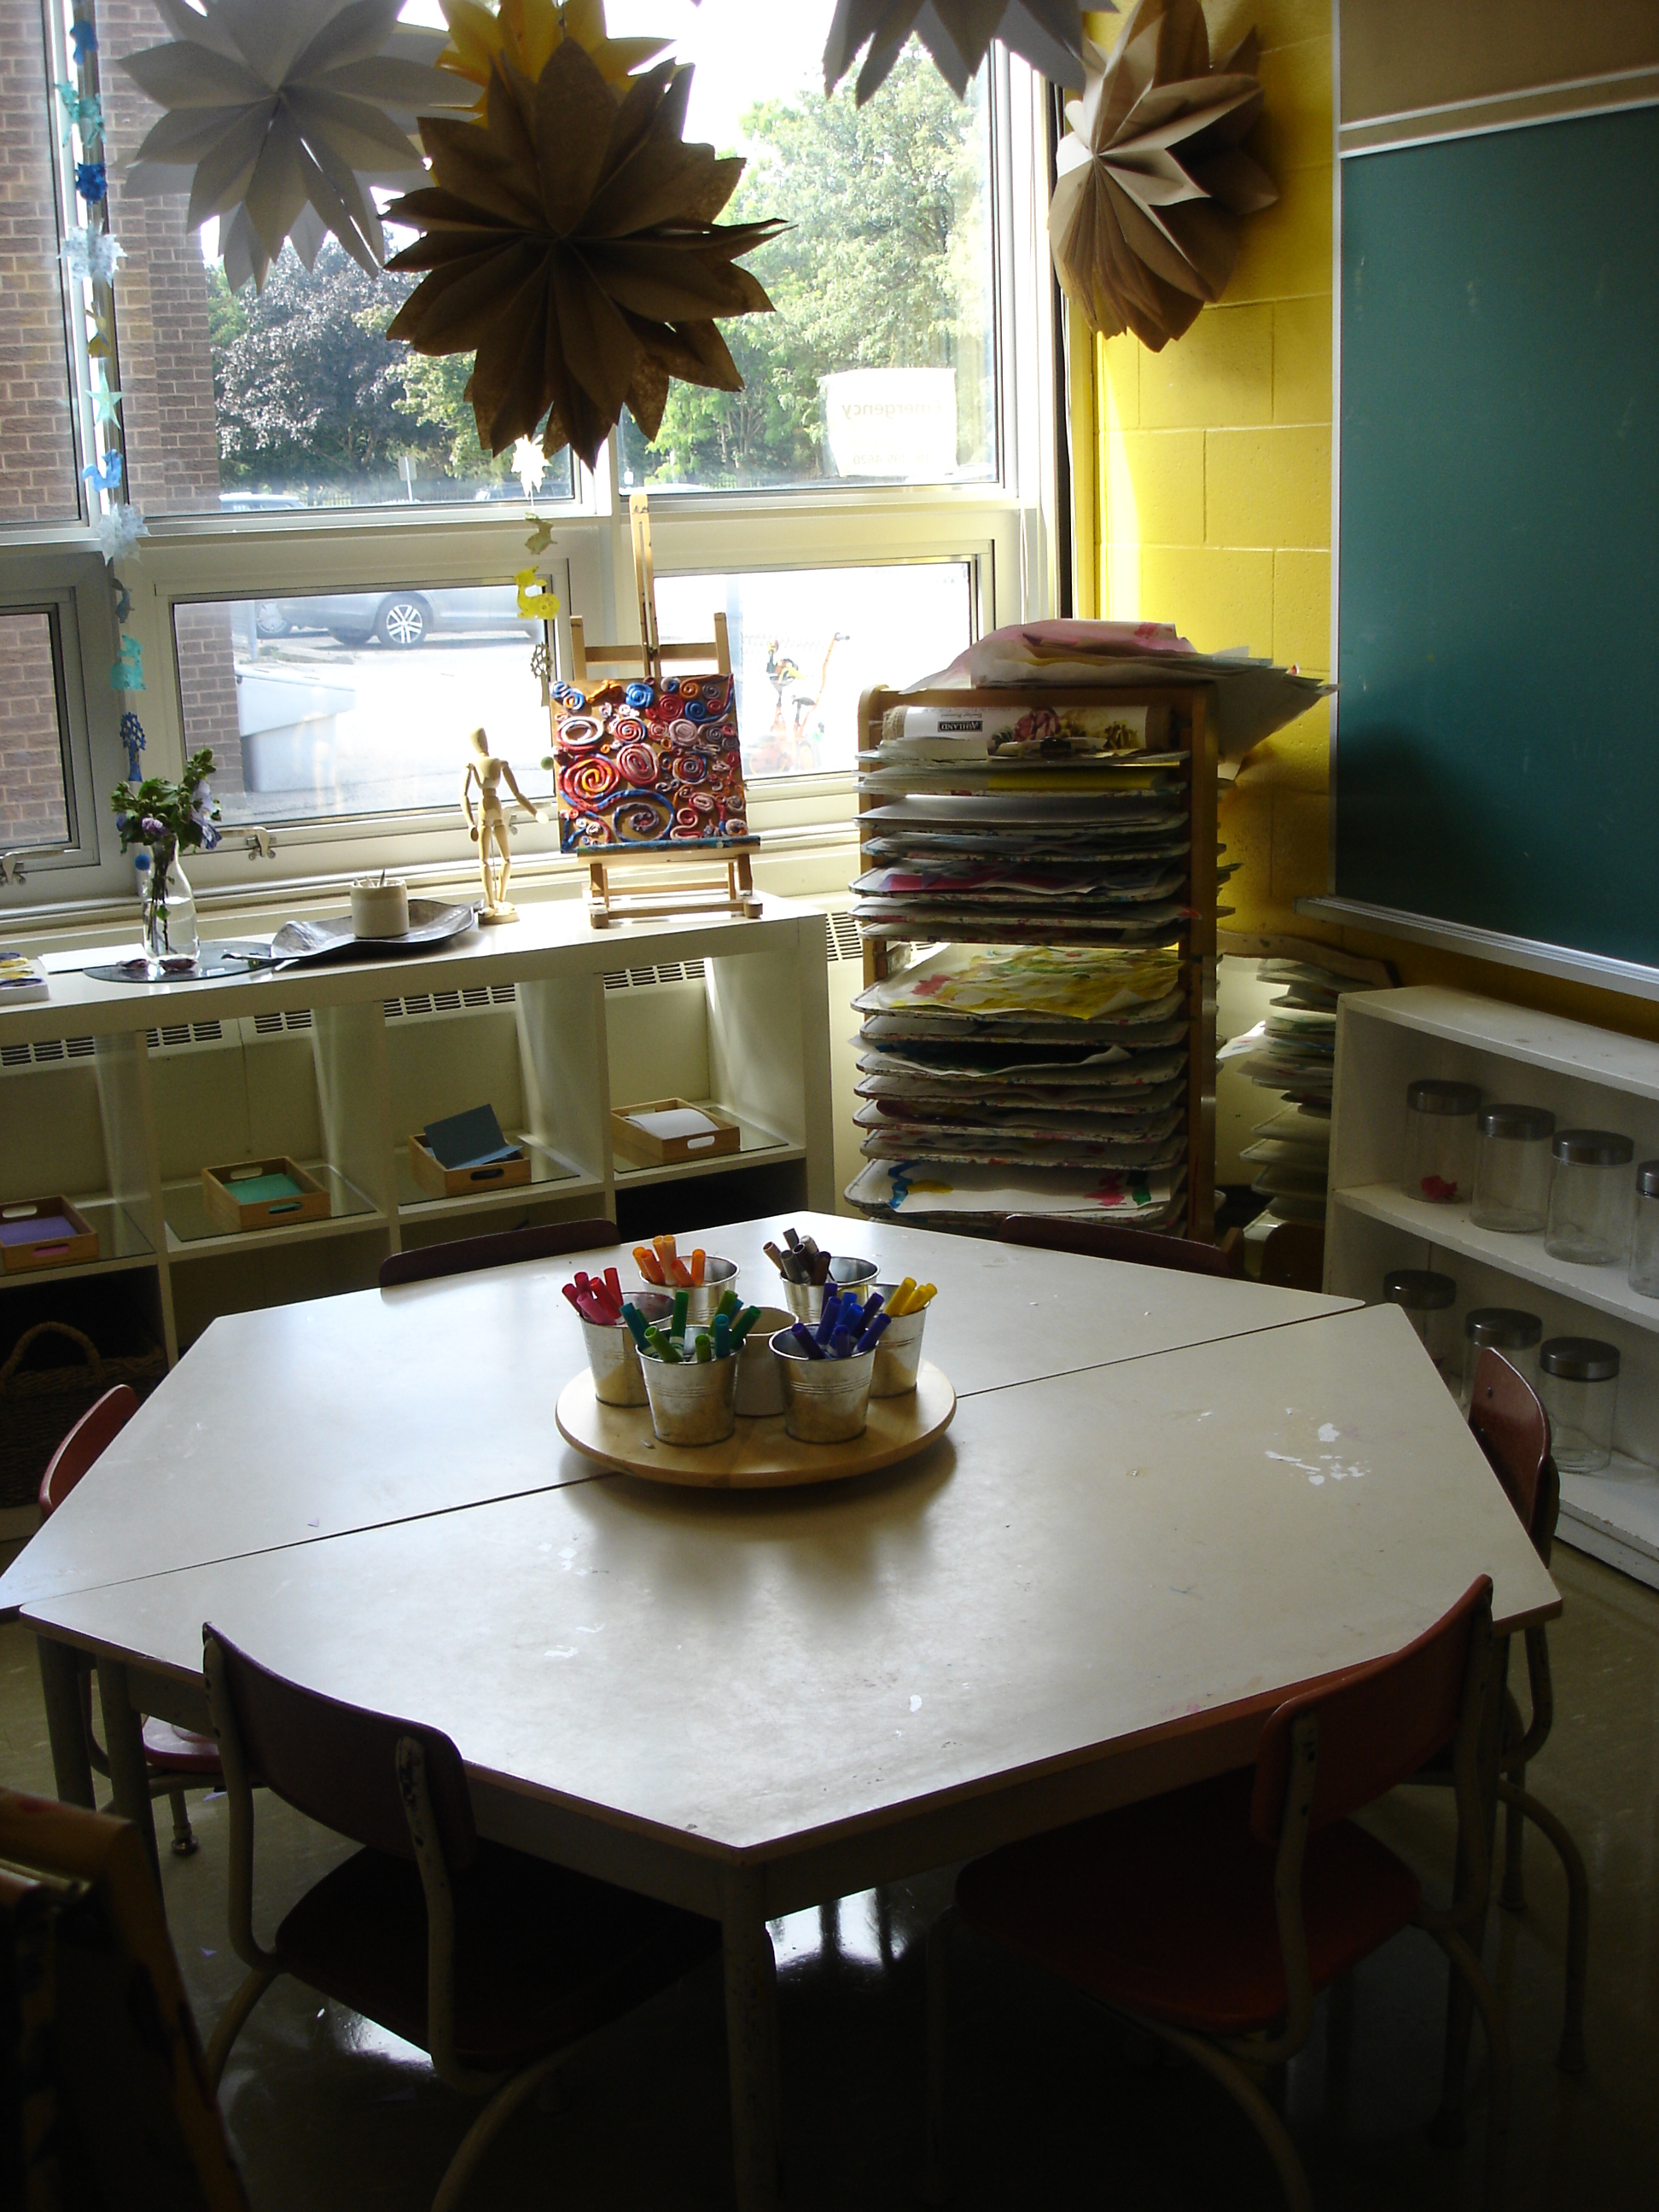
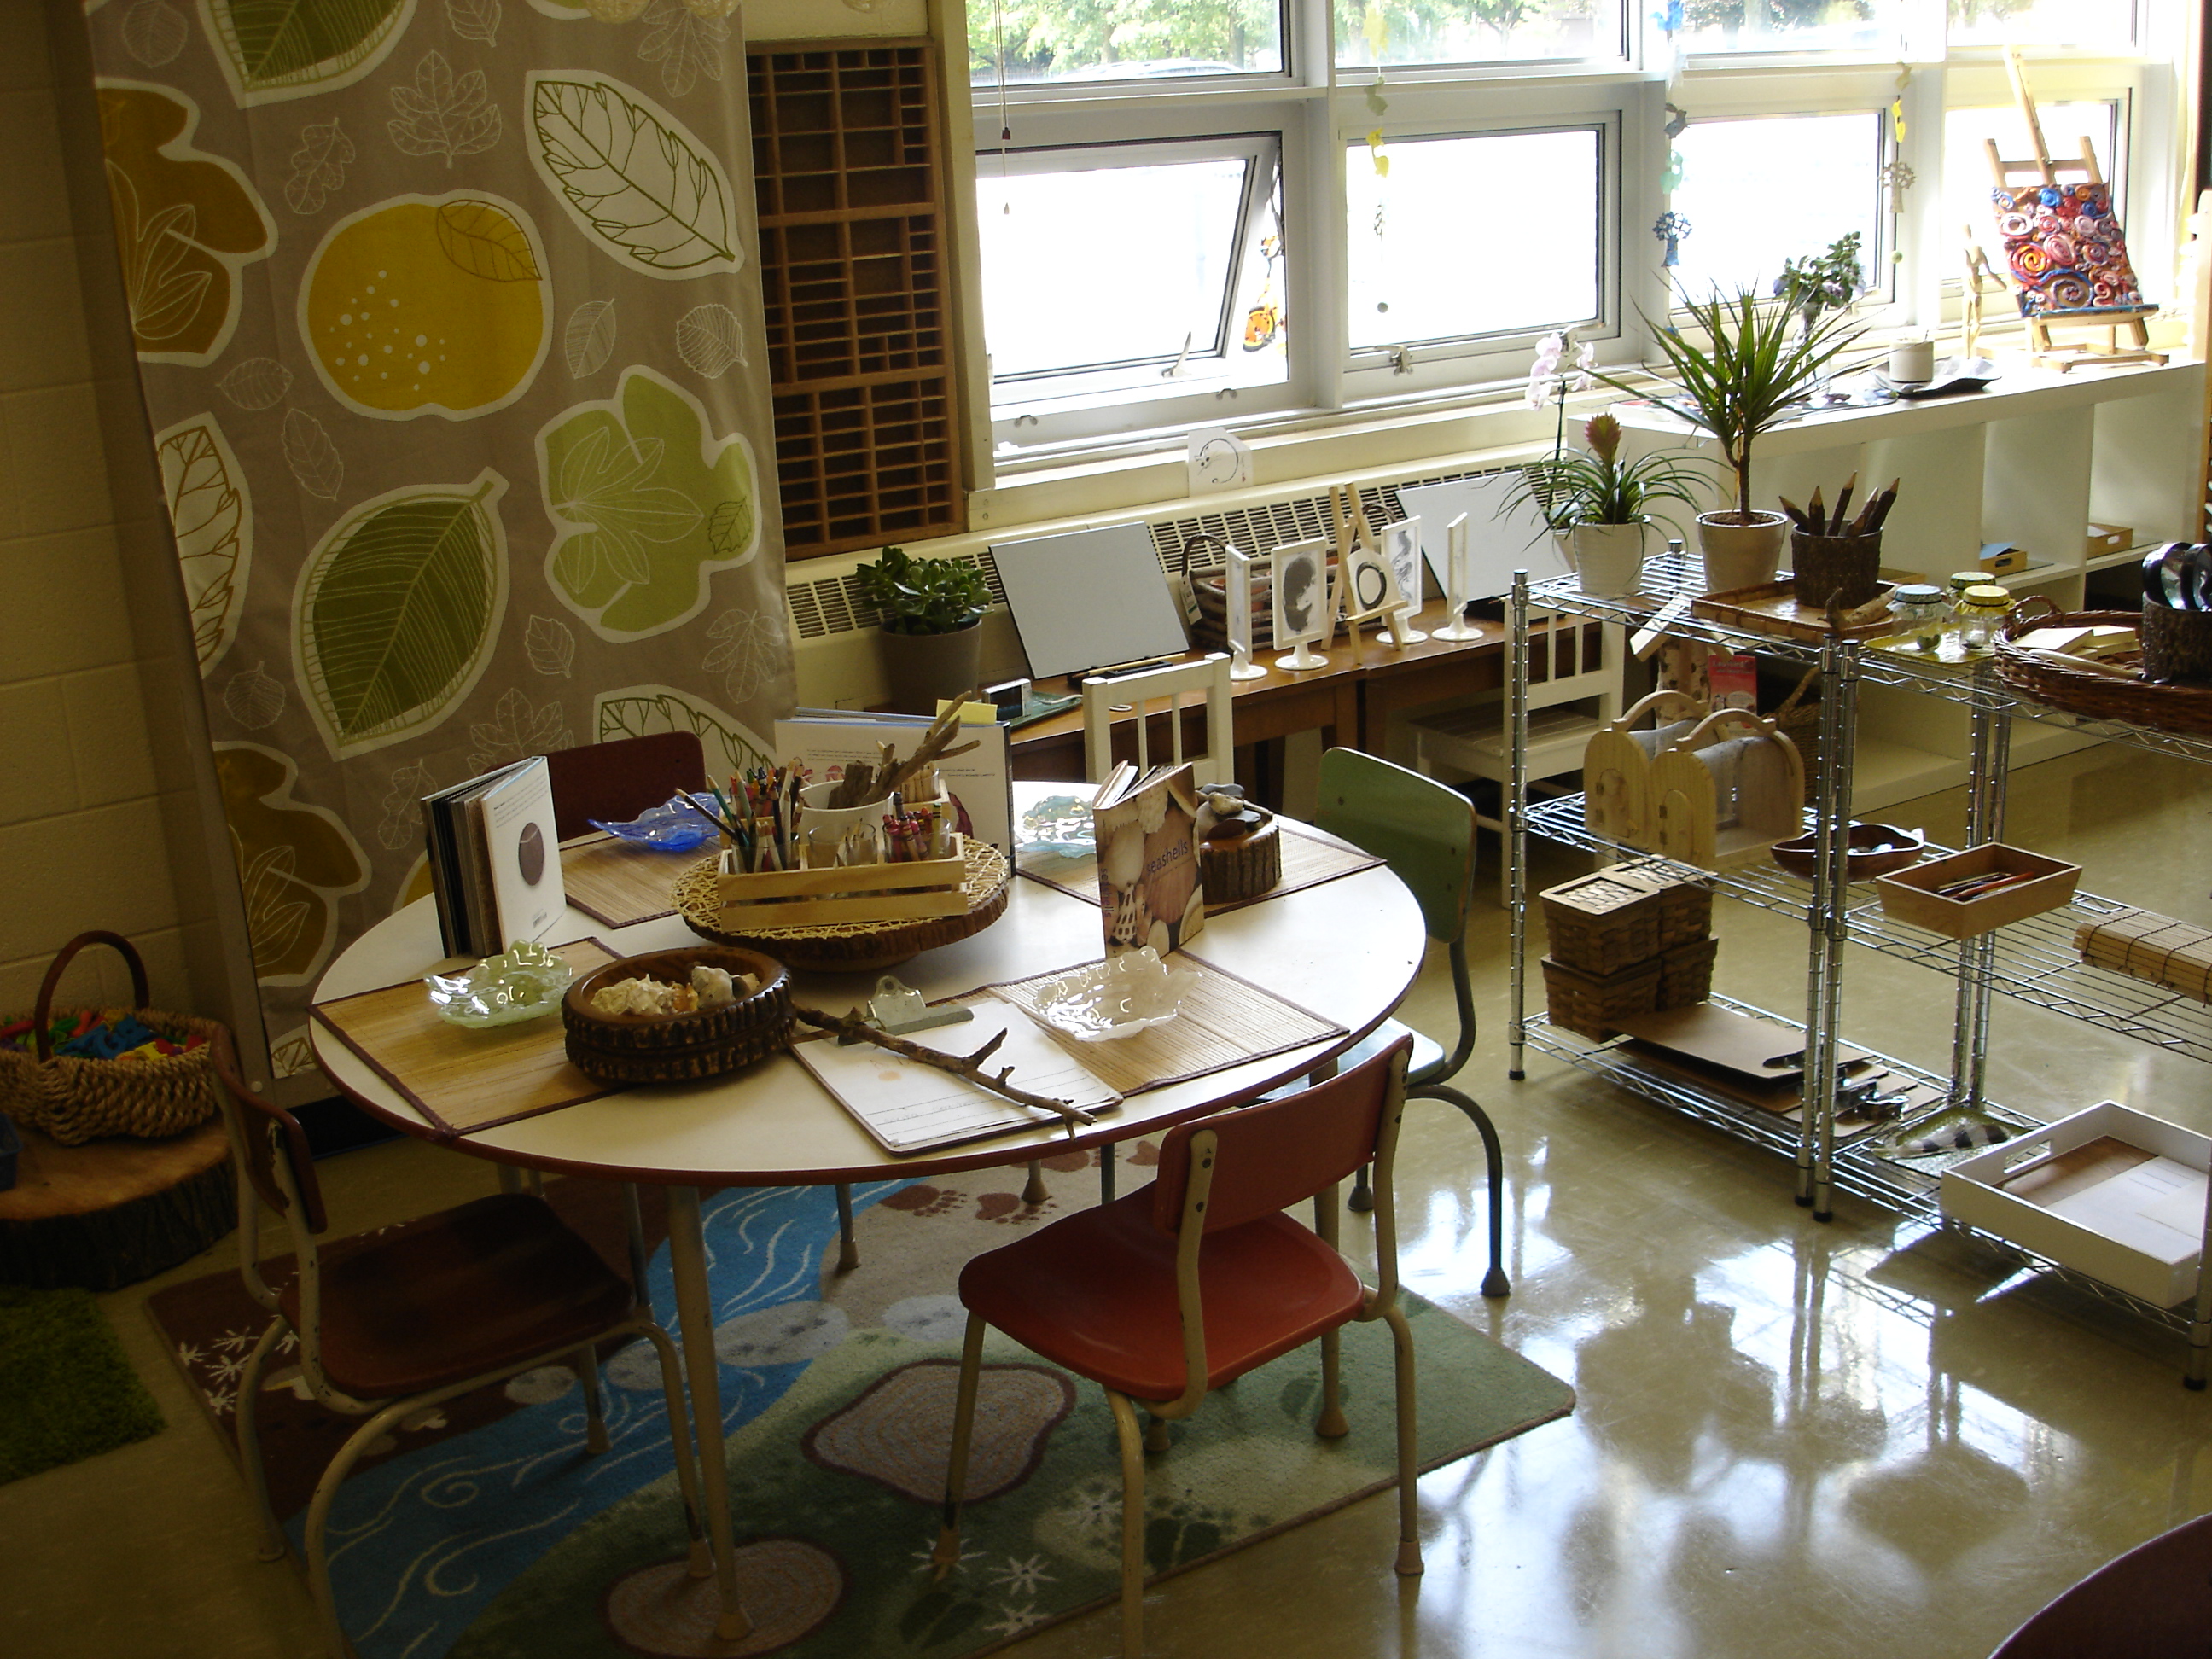
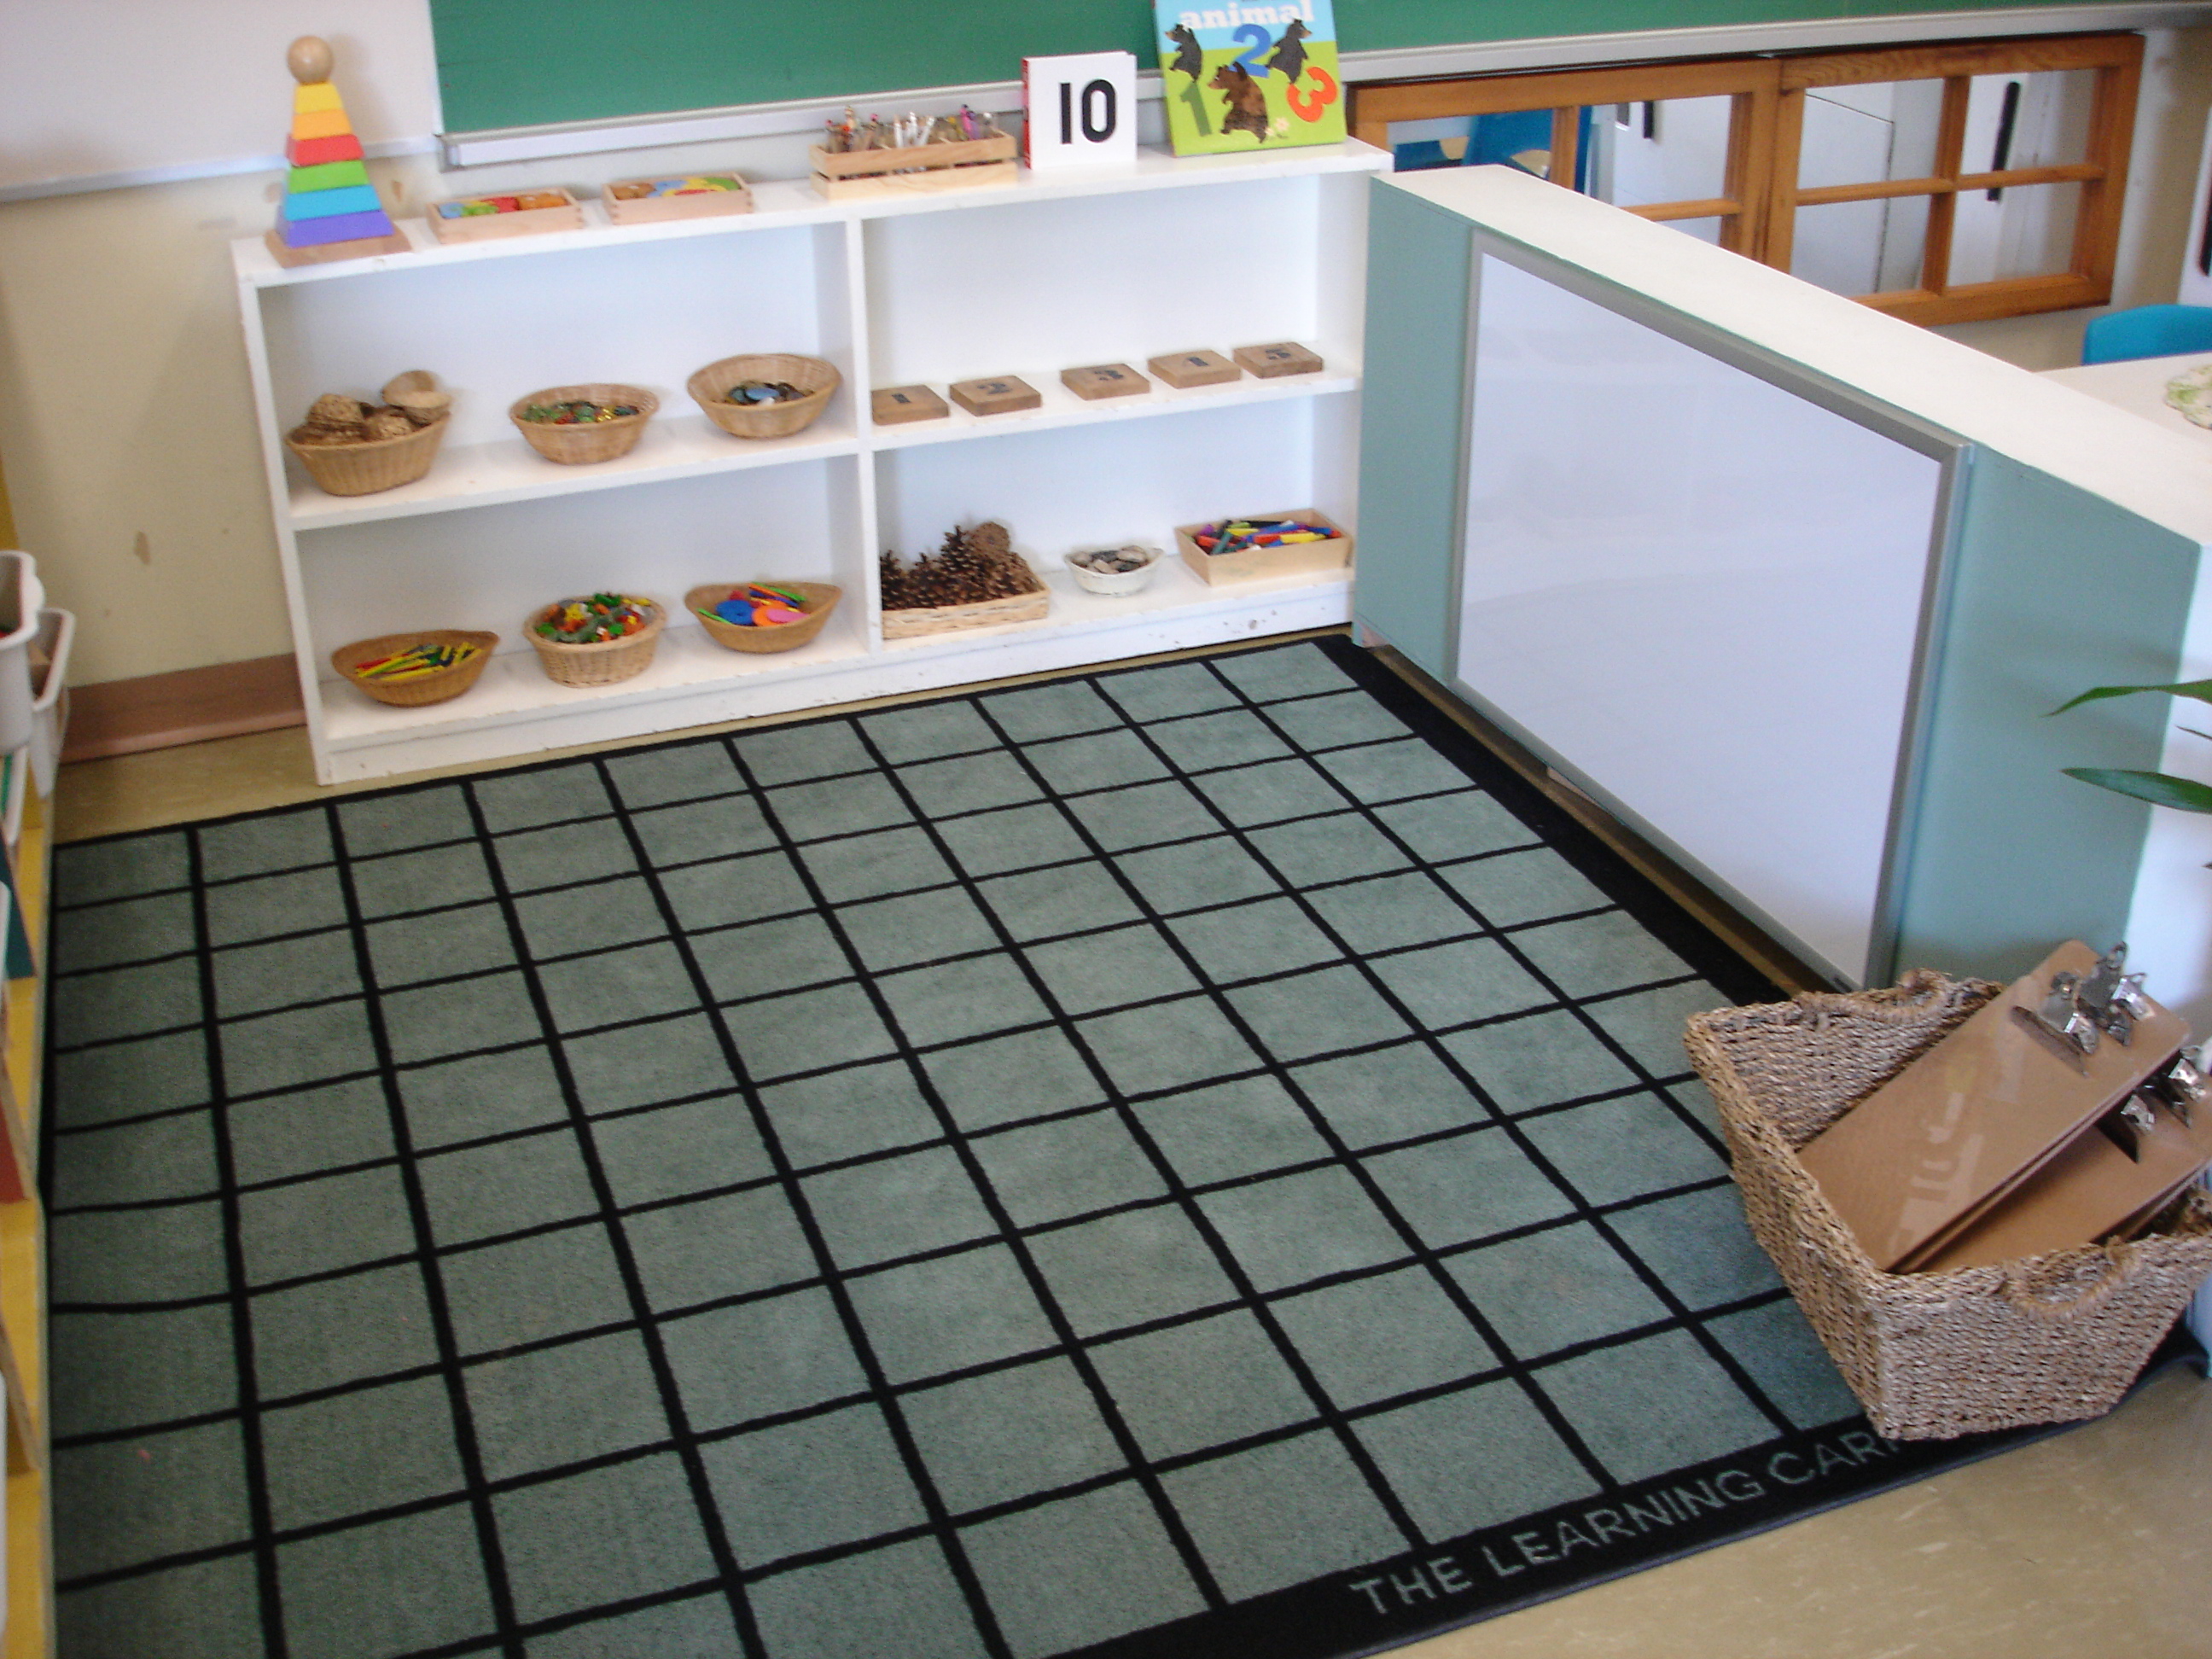
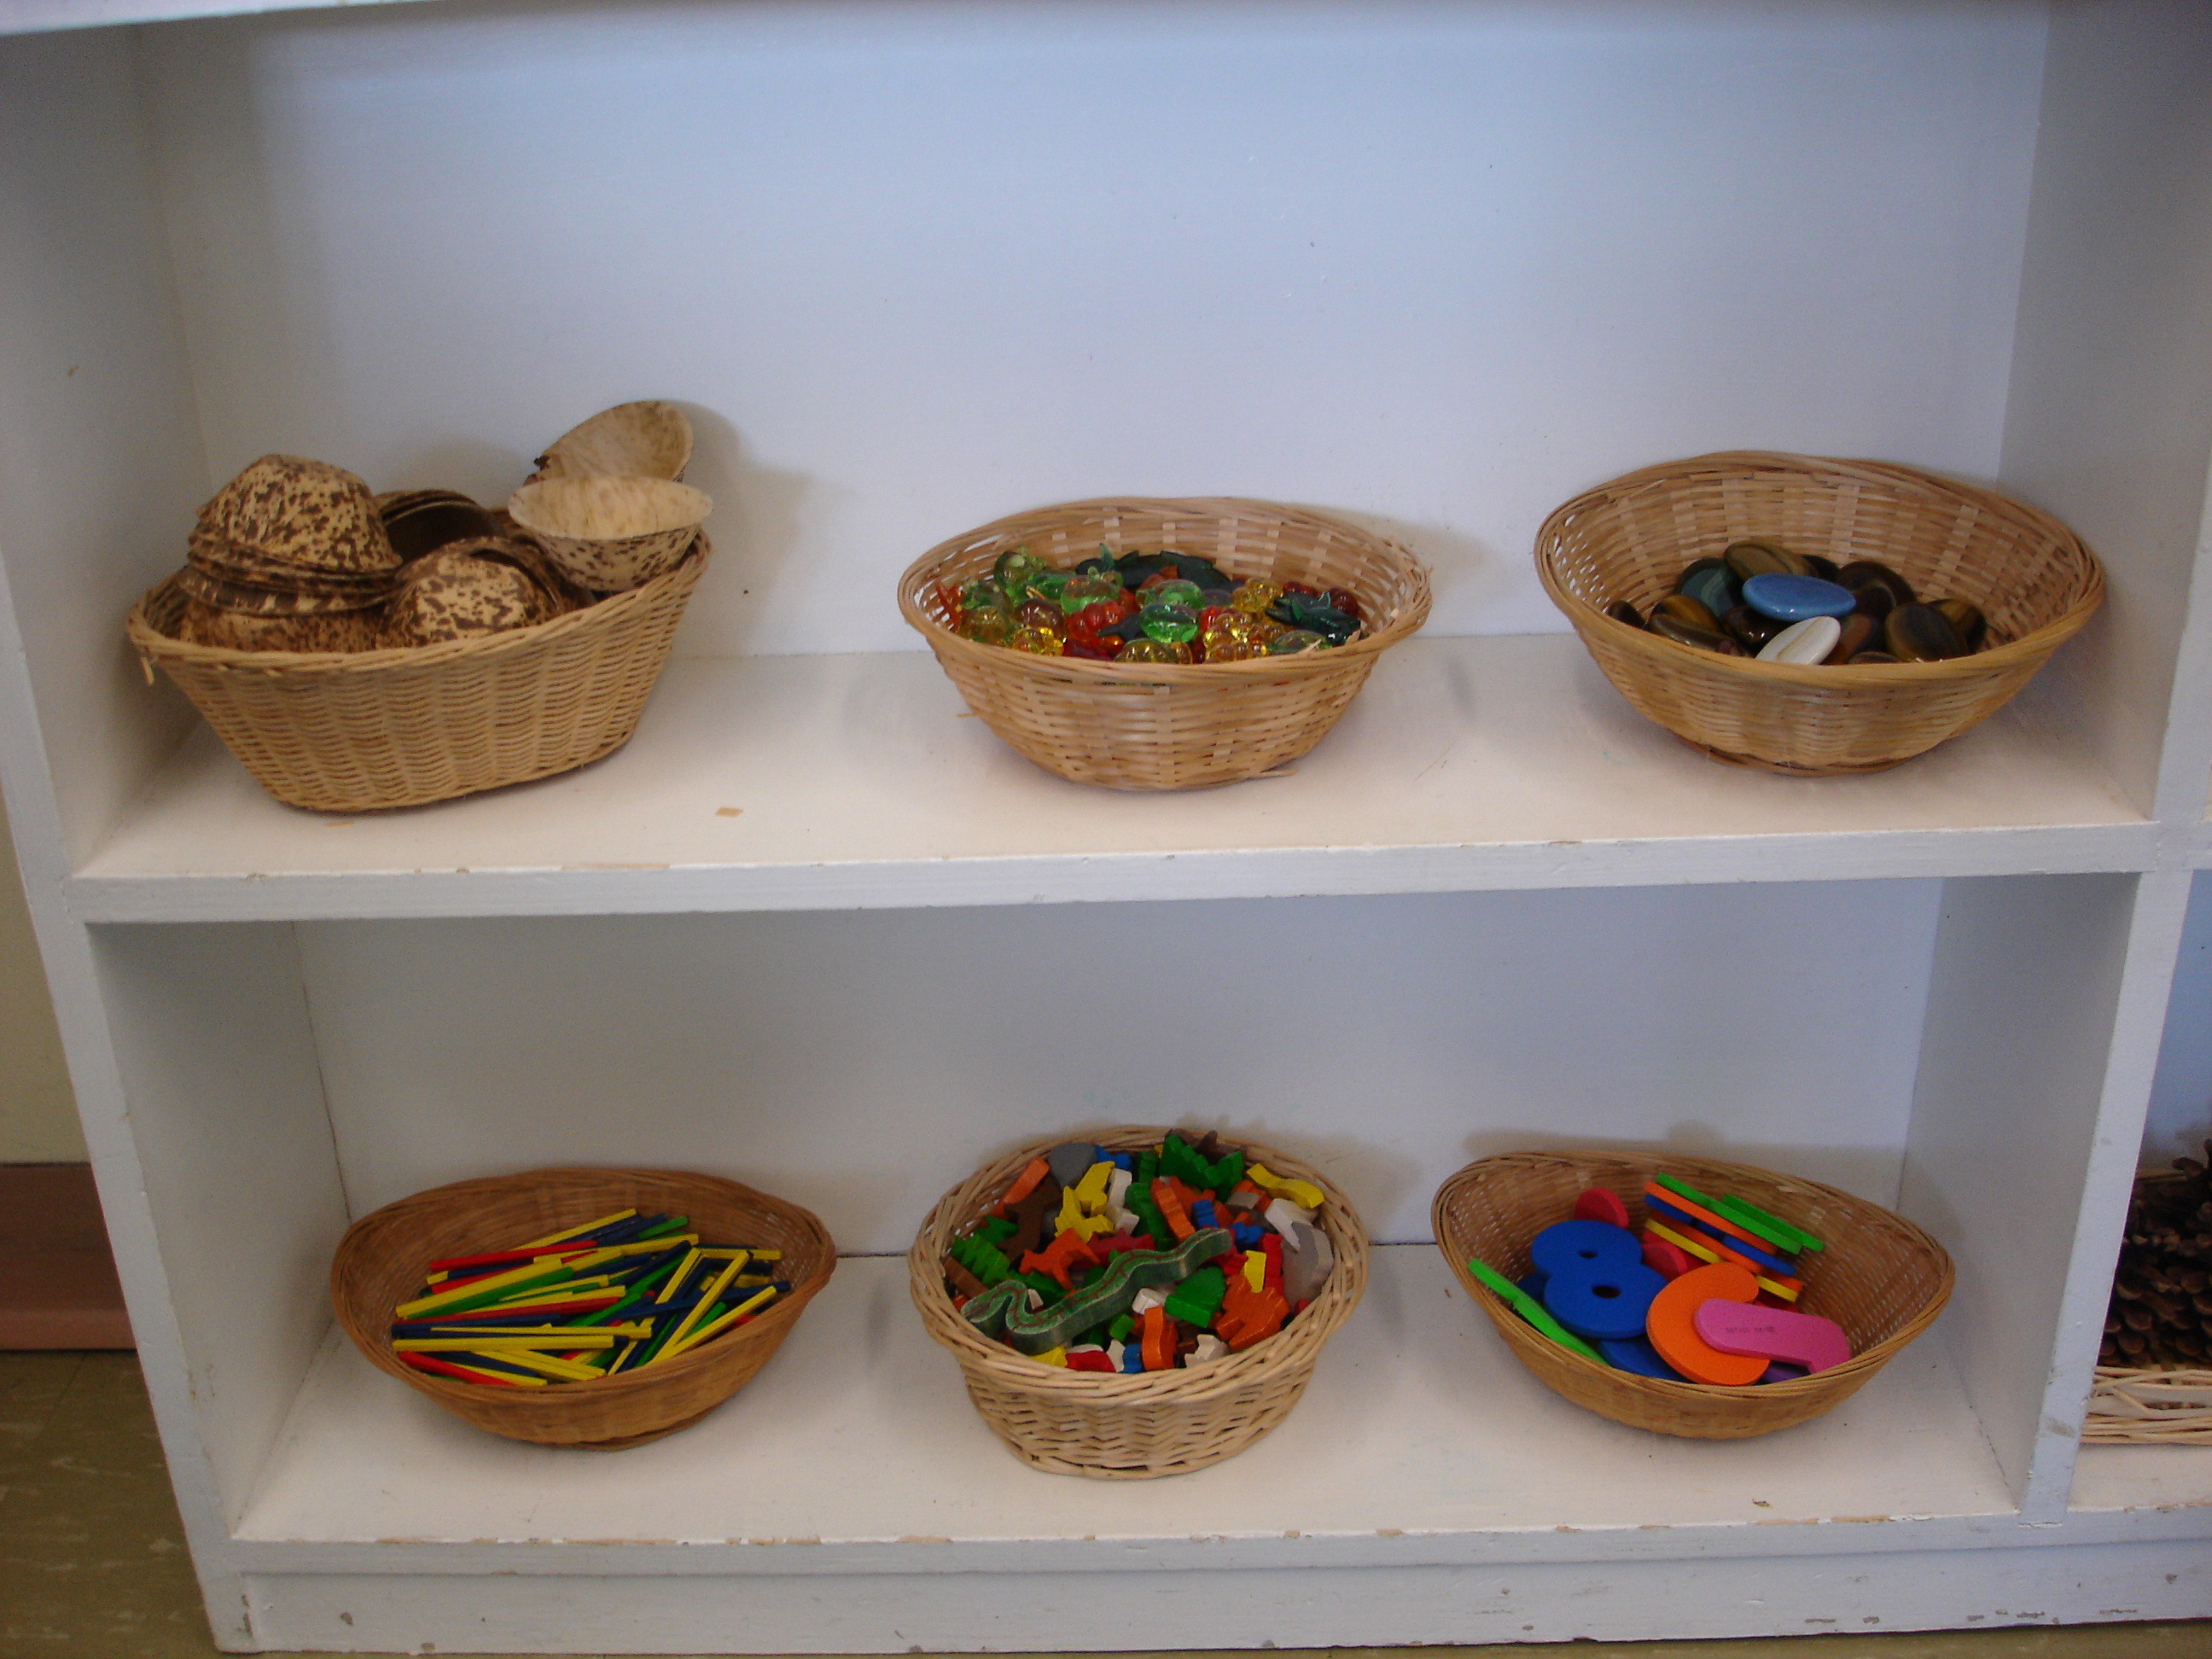
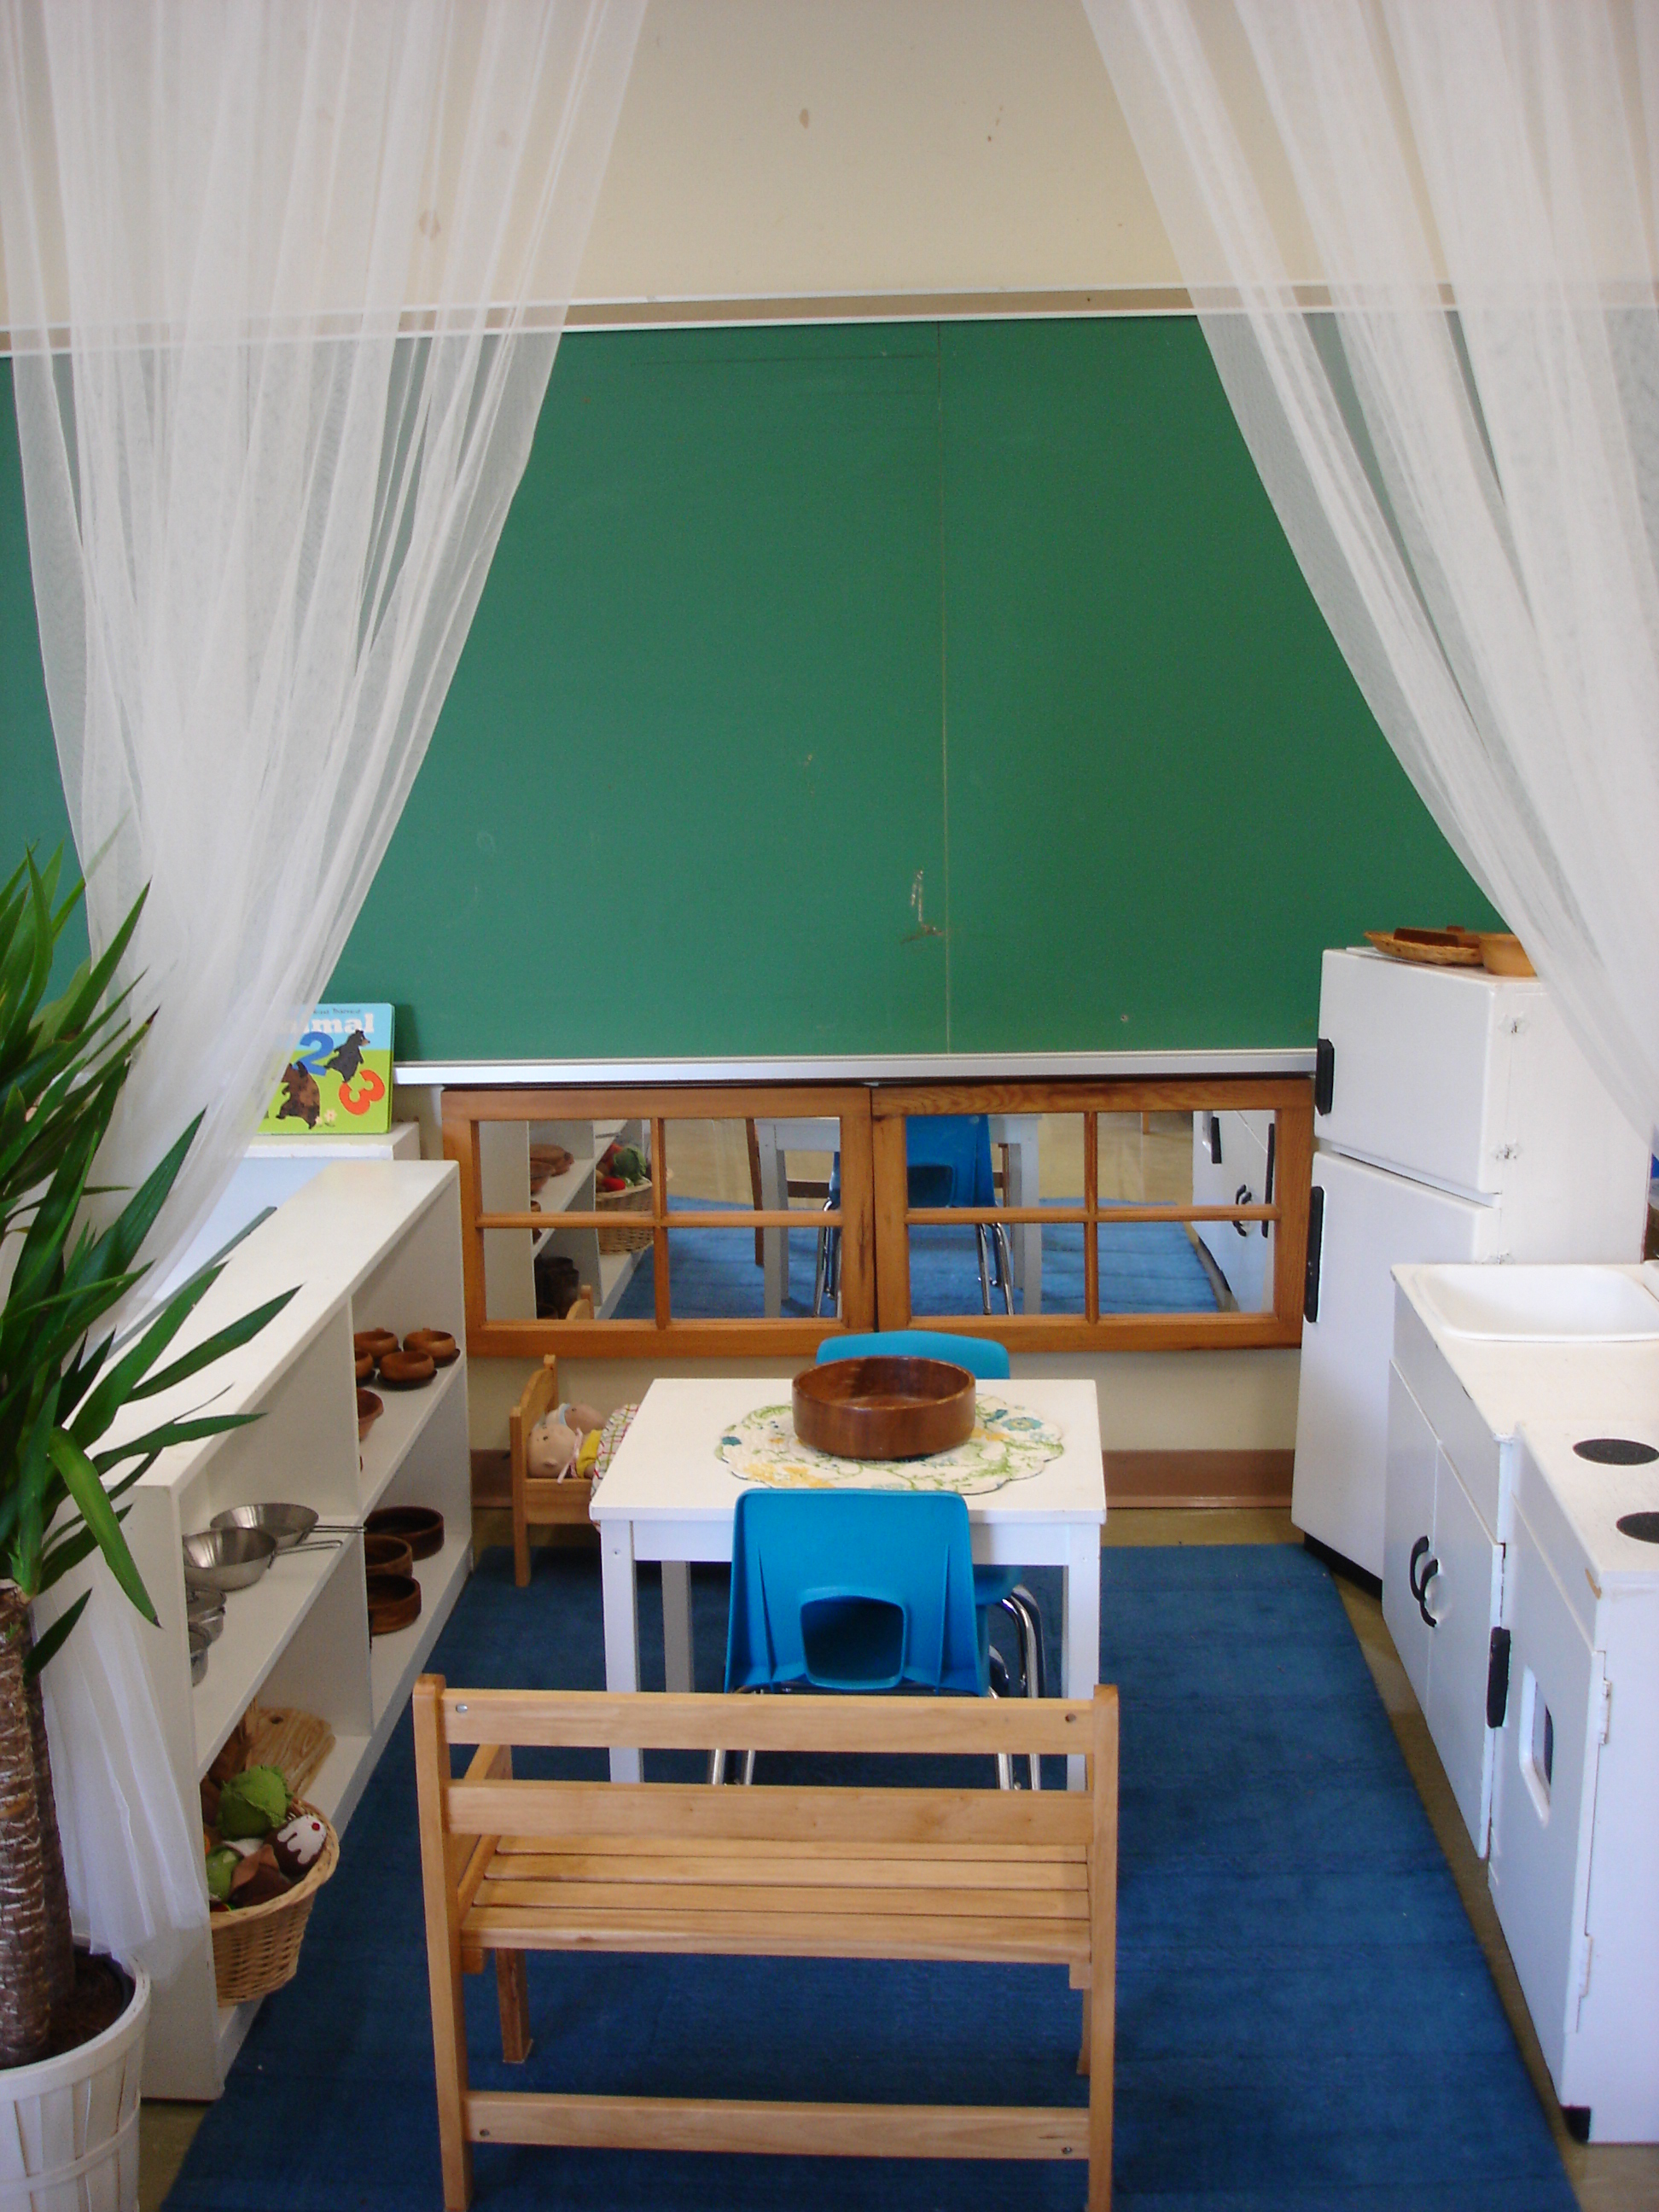
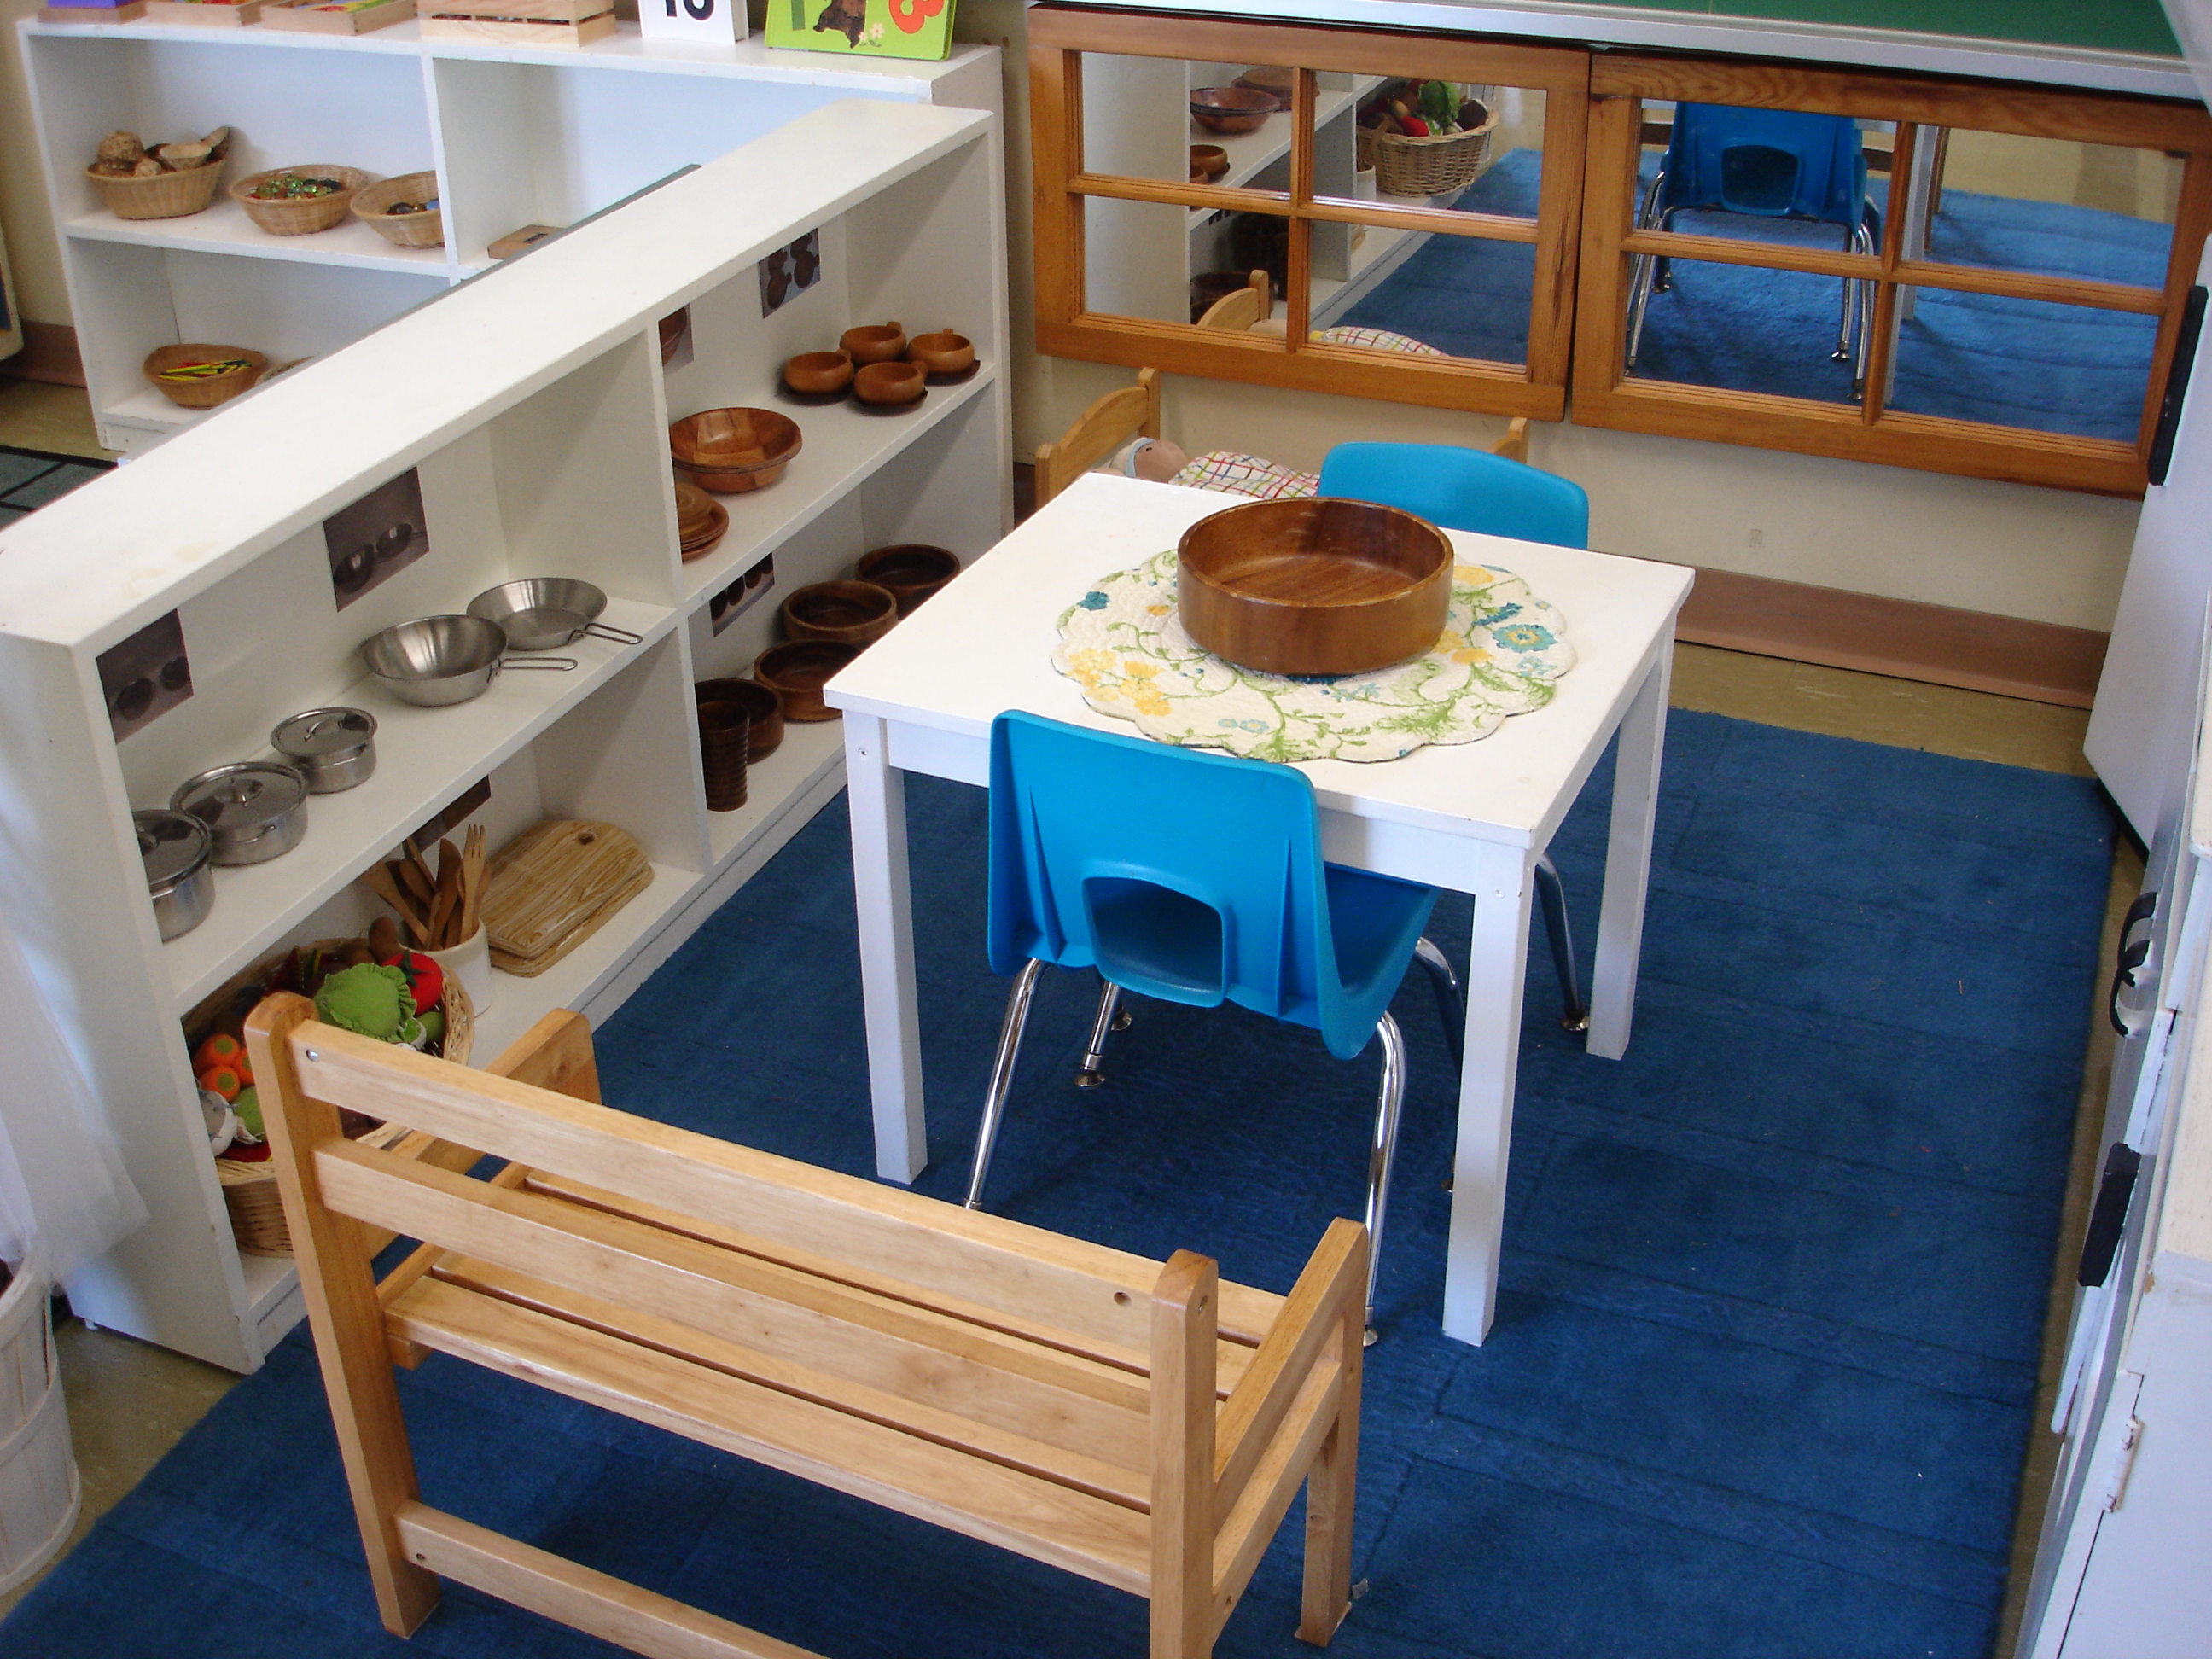
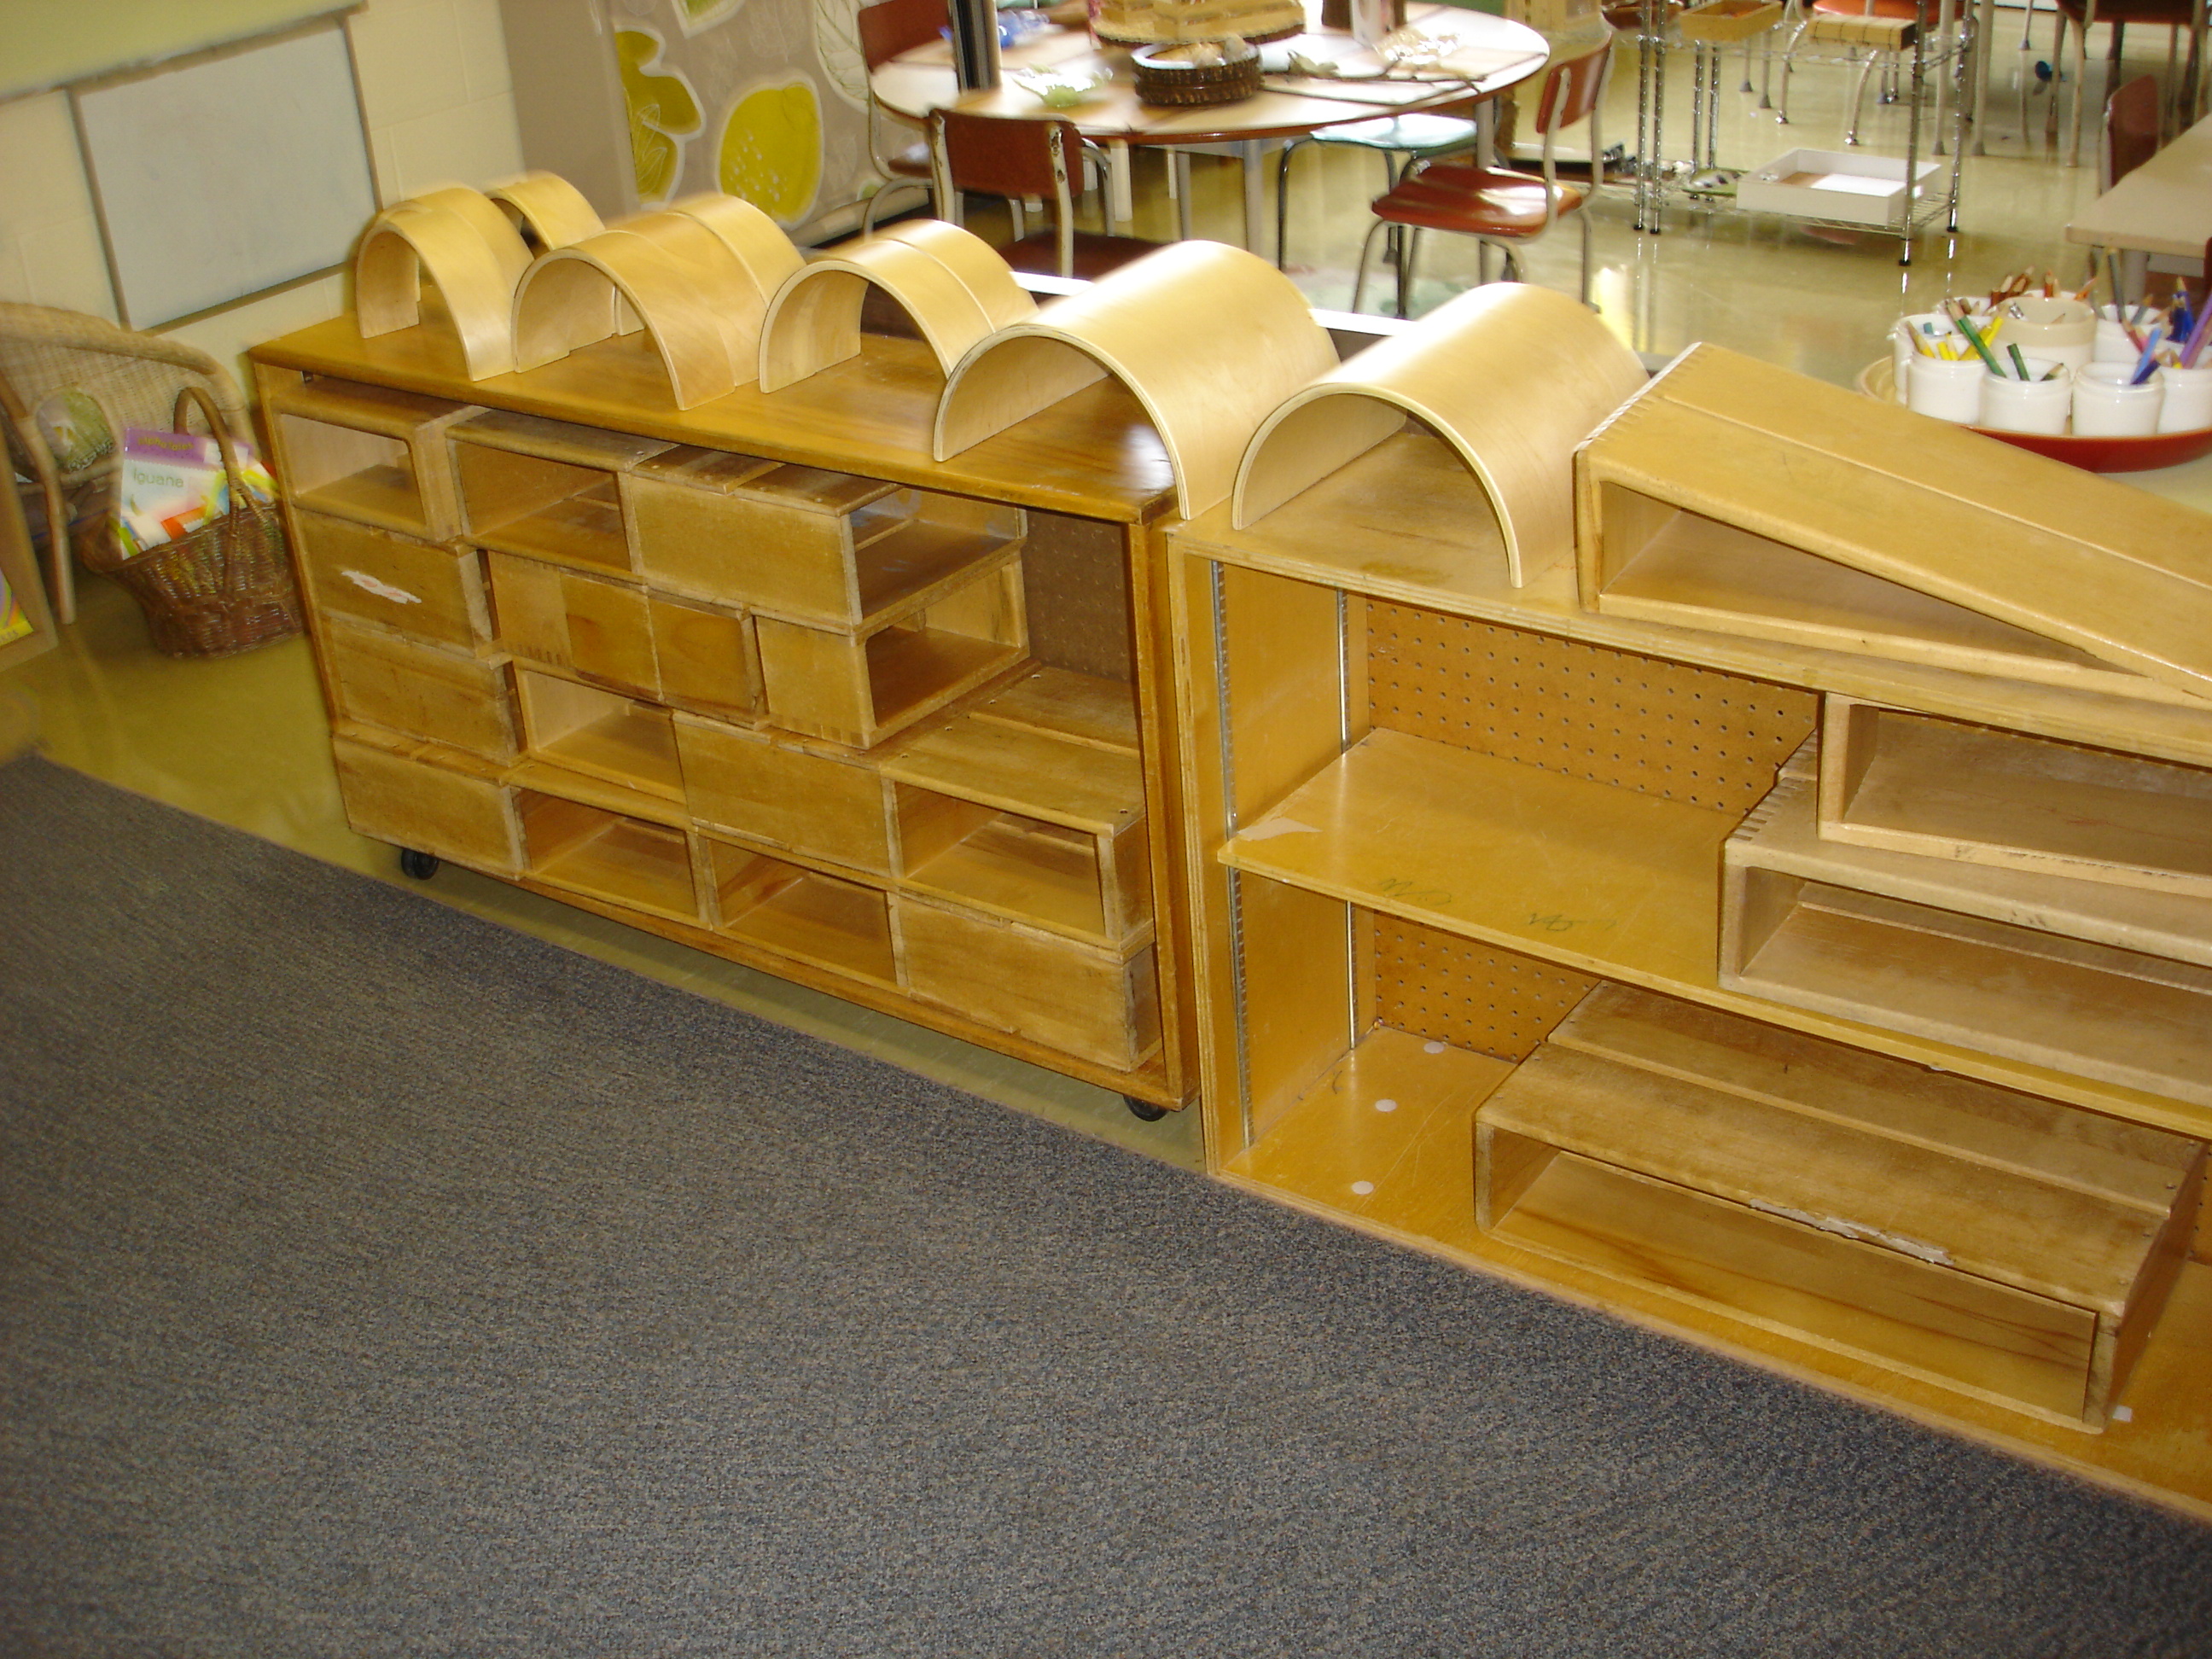
For this project, I cut our Plasticine into very small pieces so it would be easy for the children to manipulate (and because a little goes a long way!). I arranged the pieces in small containers by colour. I also included some of Barbara Reid’s books and a non-fiction book about Barbara Reid herself. We also had dry cloths for wiping our hands (as Barbara suggested) and some tools for adding texture. For the planning process, the children had pieces of cardstock and pencils for sketching. We made our Plasticine pictures on small canvas boards I found at the dollar store. The children were extremely excited to do their work with “real artist materials.” For me, it is very important to give the children beautiful and authentic art materials to use and work with. Their art is more than deserving of quality materials and in my experience, they seem to take their art more seriously when they perceive materials to be “special.” For this project, the strength of the canvas boards was an added advantage, as it made it easier for the children to spread the Plasticine.

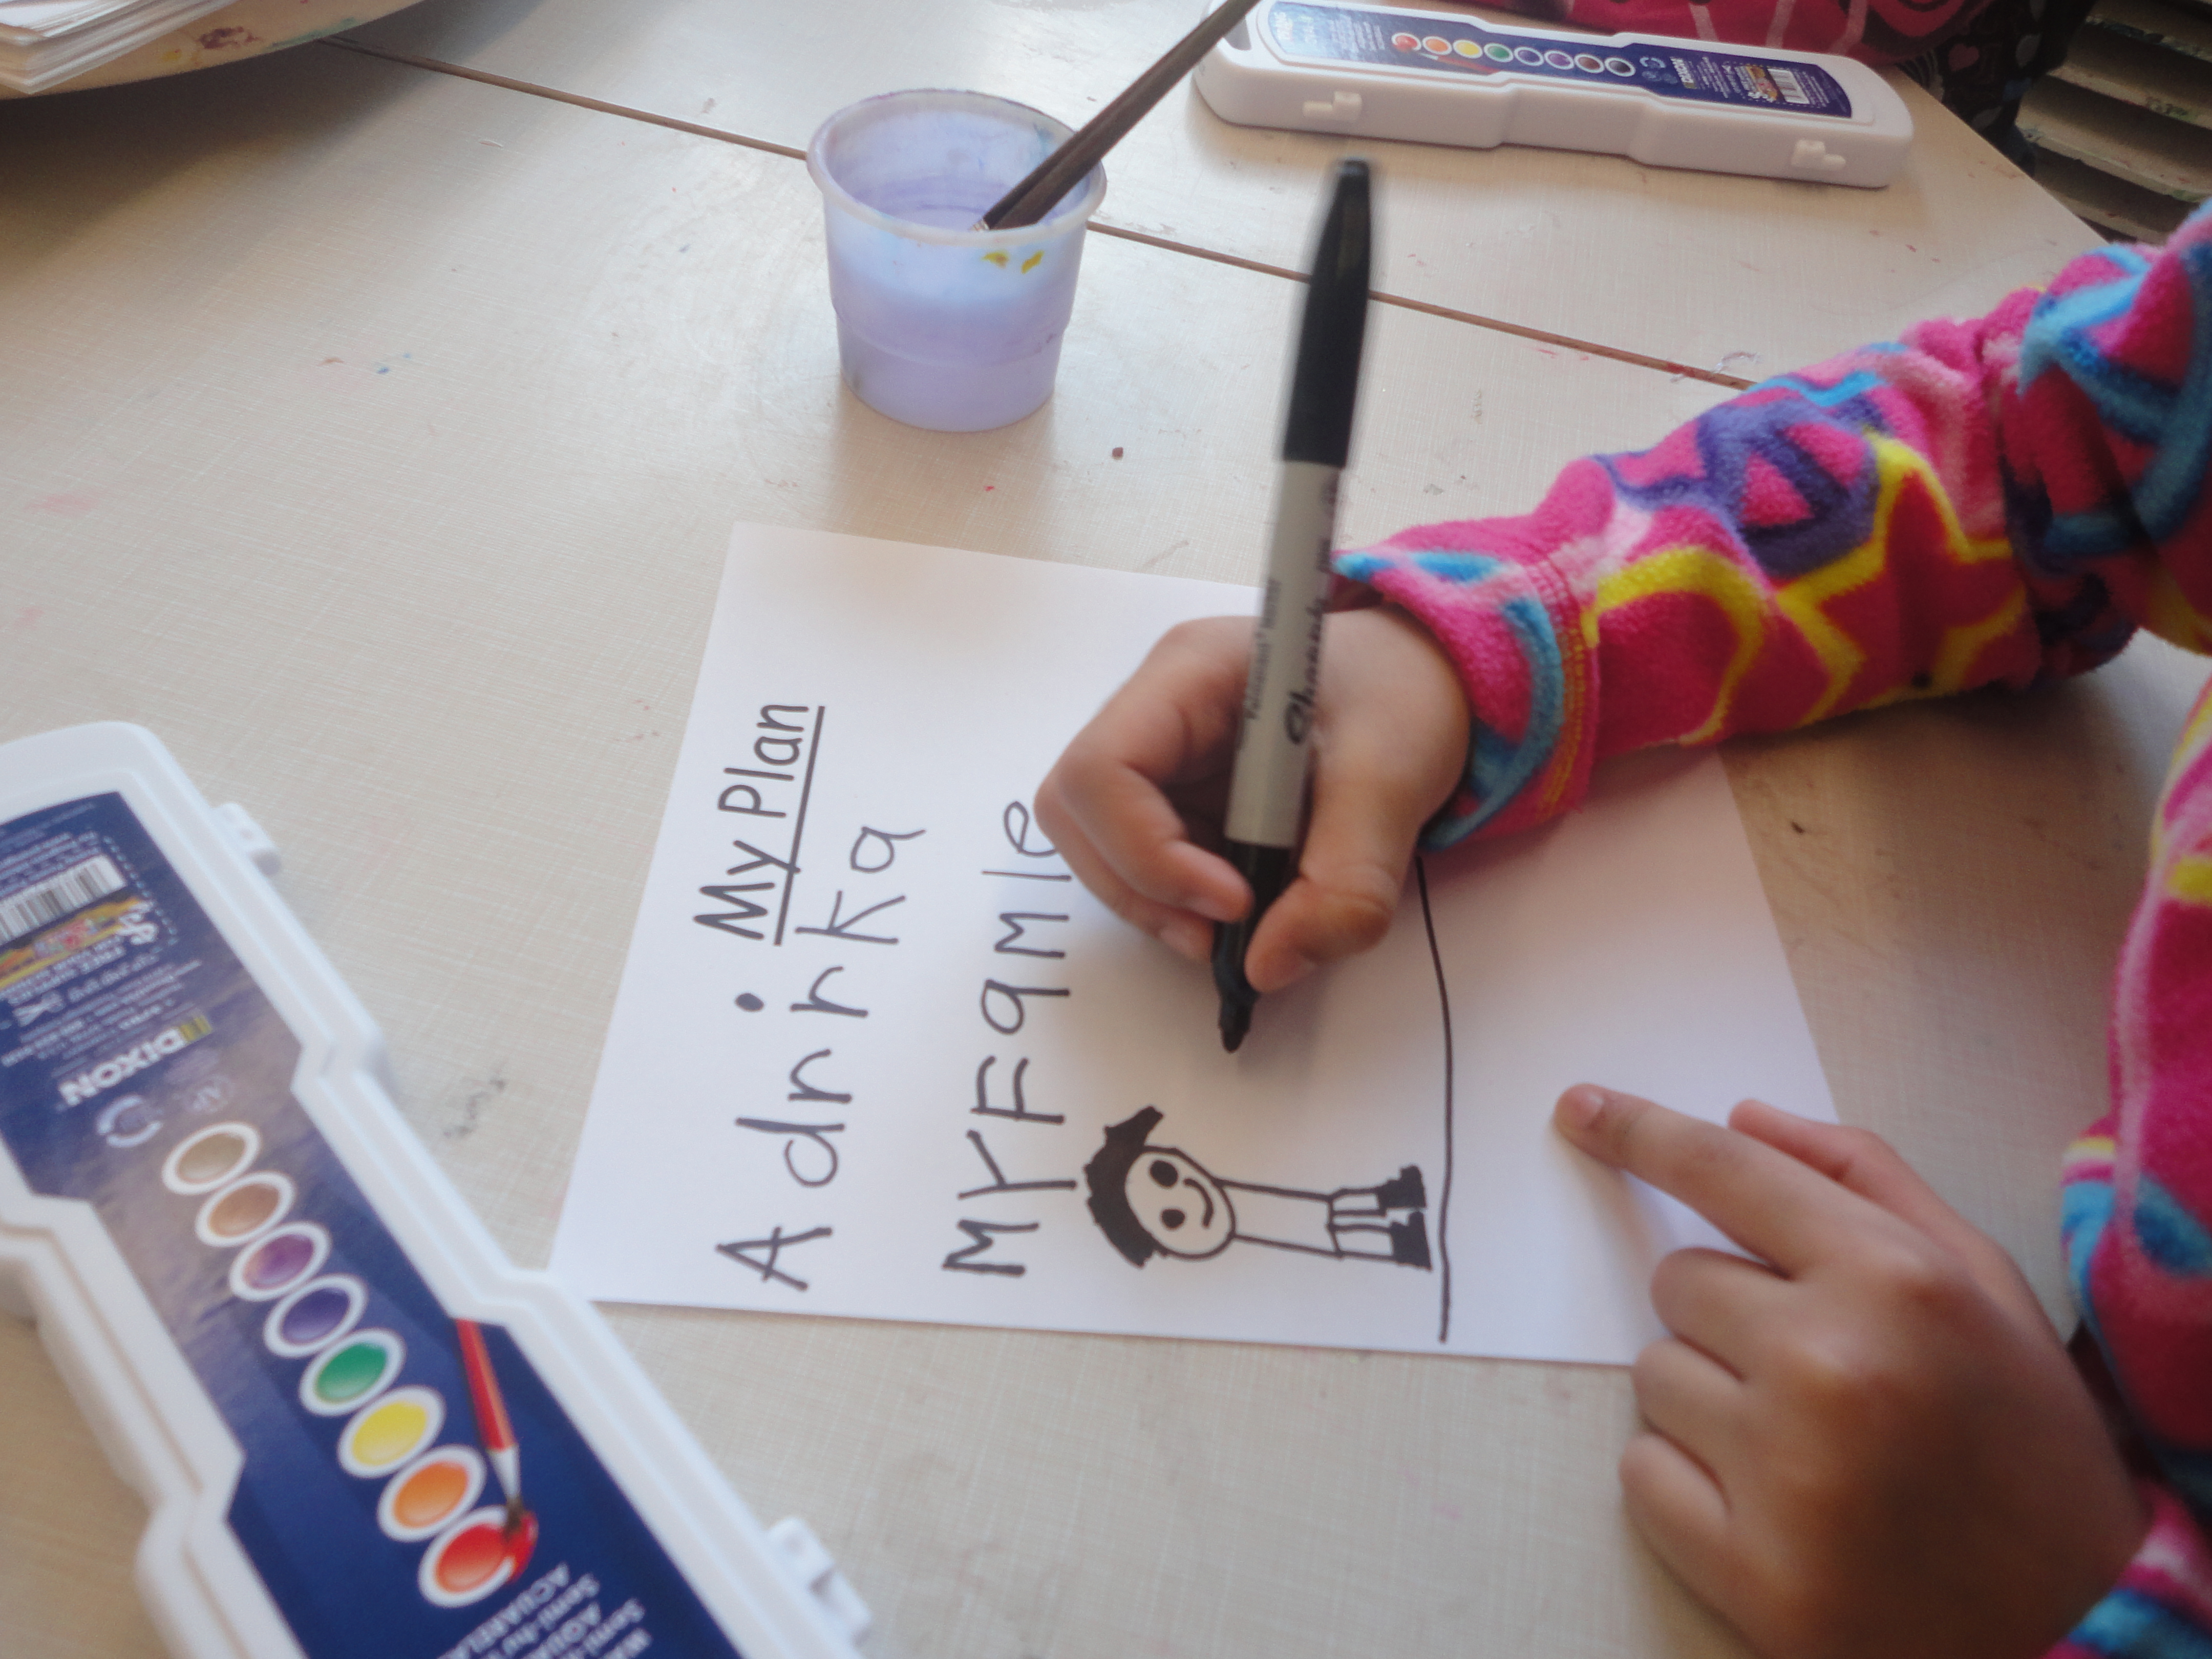
During the planning process, I really didn’t meddle too much in what the children were sketching or wanting to create, thinking the children would figure out on their own what was going to work and what wasn’t. For example, the first group of children who visited the studio realized that creating people with Plasticine was a big challenge, and advised their classmates accordingly during reflection time. Spreading the Plasticine was also a challenge for some (and a great fine motor muscle workout!). Some children took a few sessions to complete their backgrounds, pausing and coming back later to give their fingers a rest. Other children wanted to persevere and complete their backgrounds so they could get to adding their flowers or bugs or animals. If you’re wondering how long it took the children to complete their pictures, it varied between one session (about half an hour) to a few days, depending on each child.

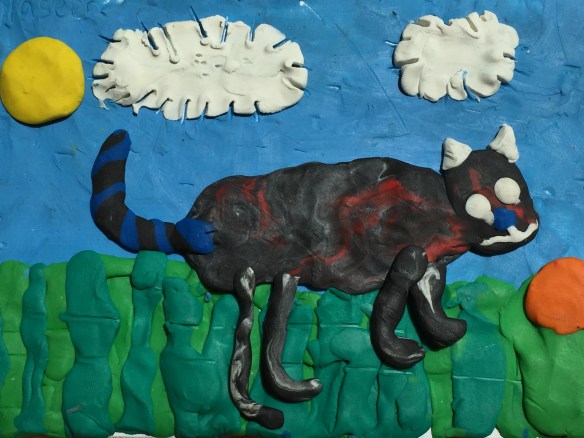
Y.A.: “I want to make a picture of a cat.”

A.J. spreads the Plasticine to make a sky. “I’m mixing the colours. A little bit of dark blue and a little bit of light blue.”

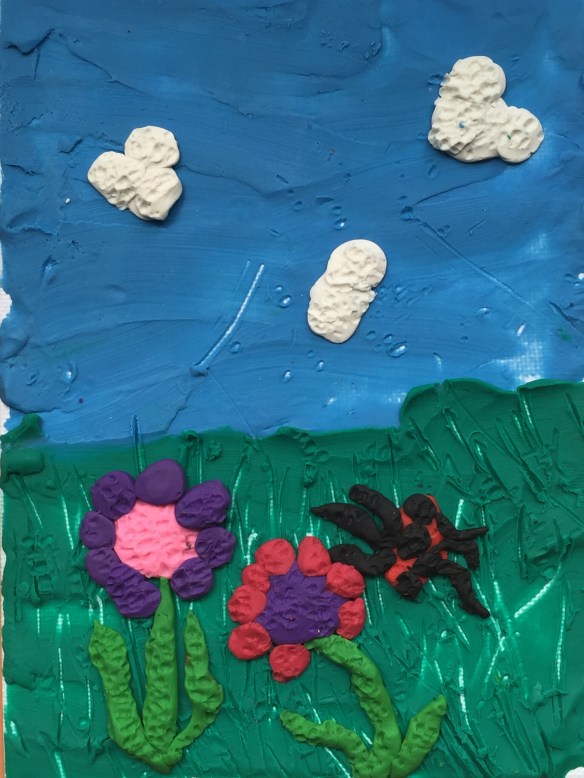
Y.A.: “I’m making my grass like Barbara Reid. I’m rolling snakes and making them flat like grass. I’m doing a pattern: light green, dark green, light green, dark green…”
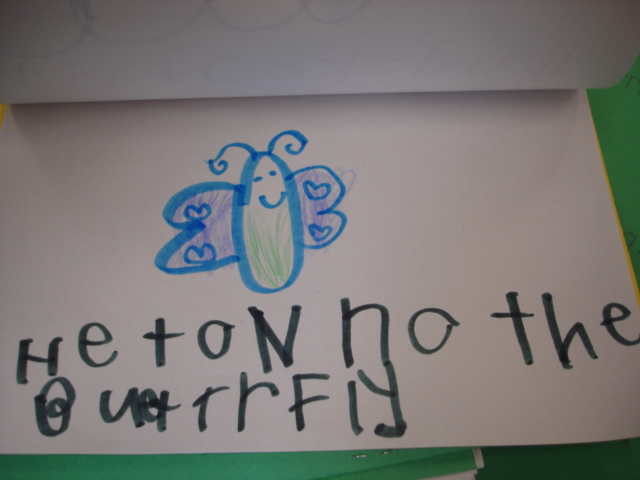
R.A.: “I’m making a little mousey like Barbara Reid. It’s just like The Subway Mouse.”
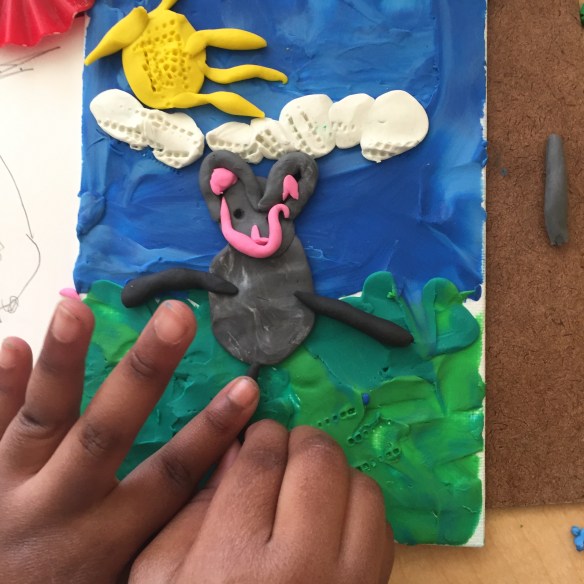
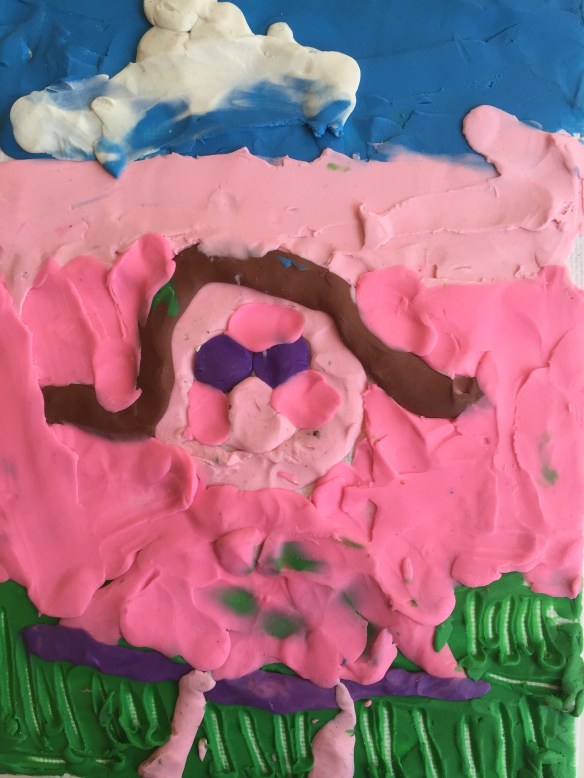
Here are some of the children’s completed art works. I have them displayed on a low chalkboard ledge in our classroom and the children can often be found admiring them!

S.C. “I made a rainbow and a little girl is camping in the tent.”


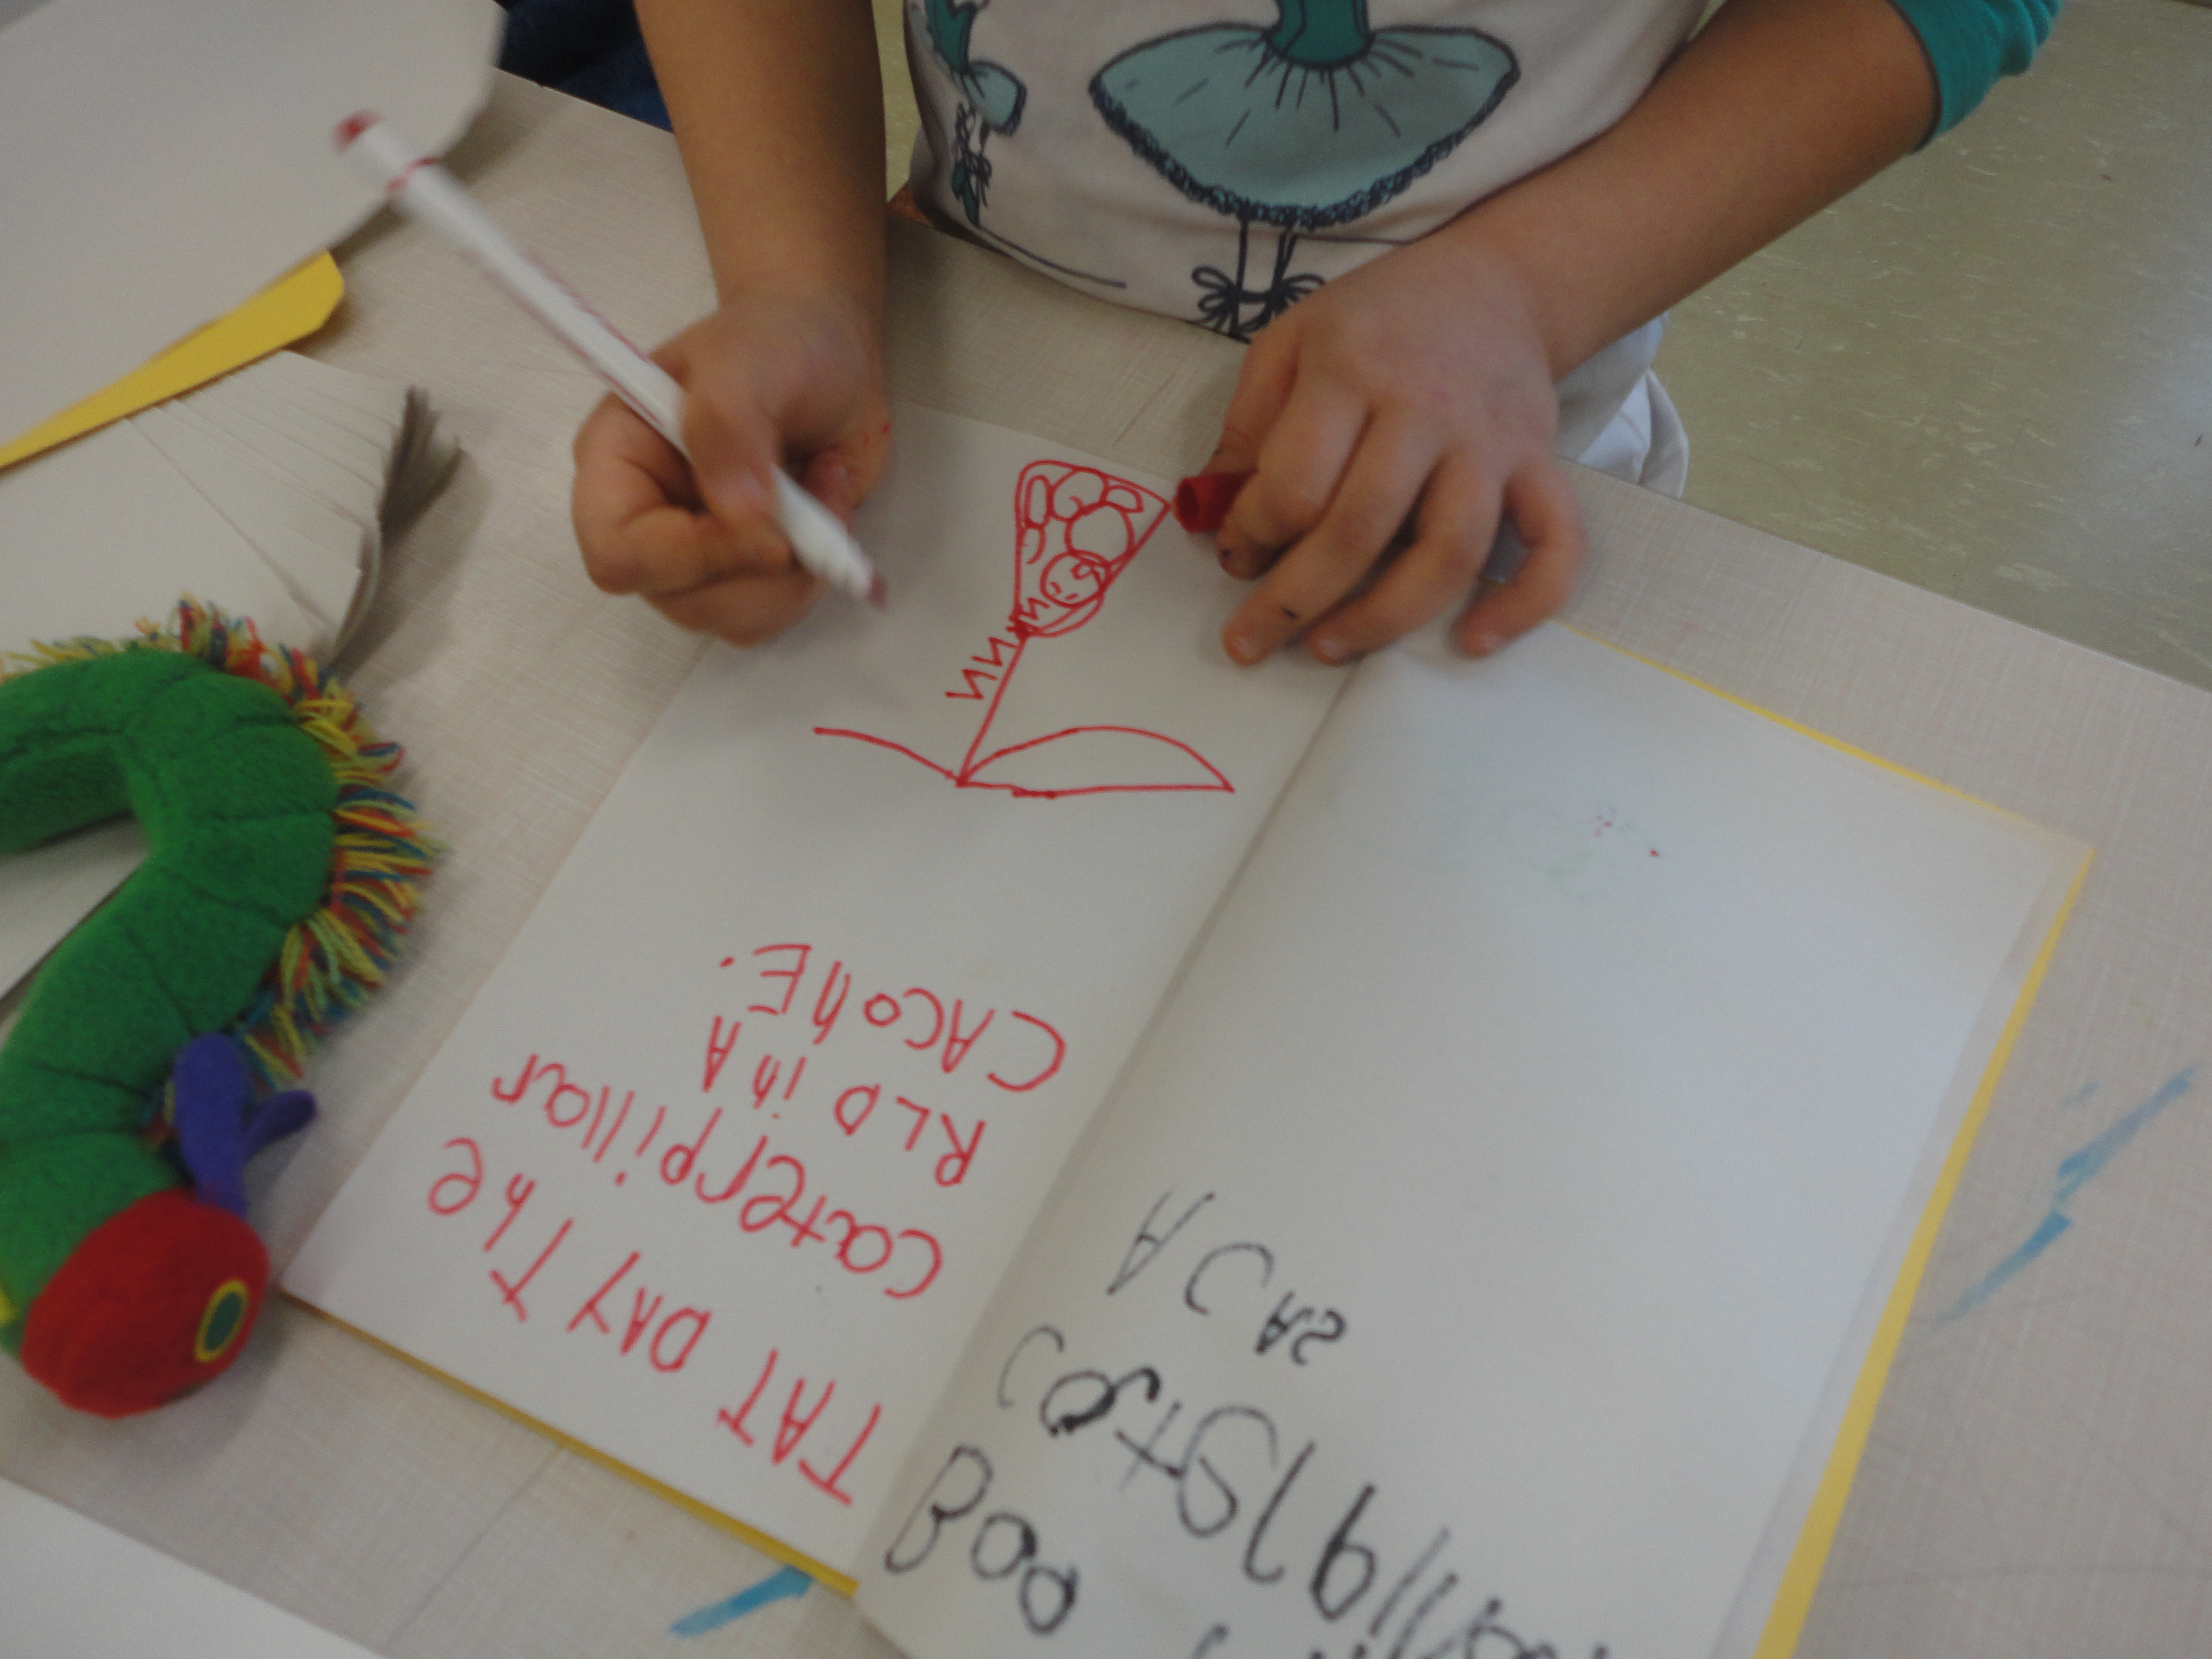
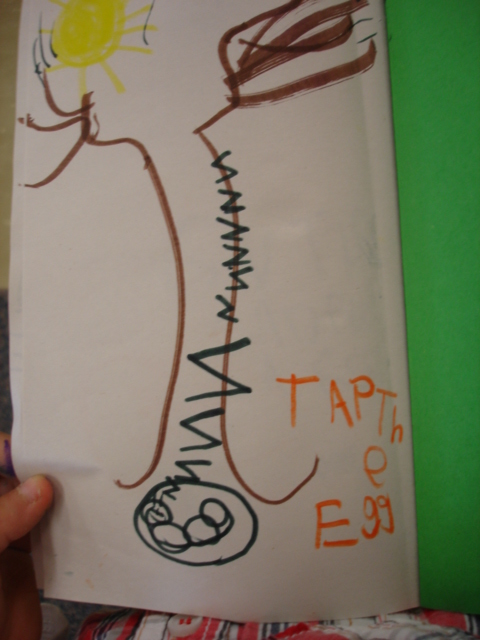
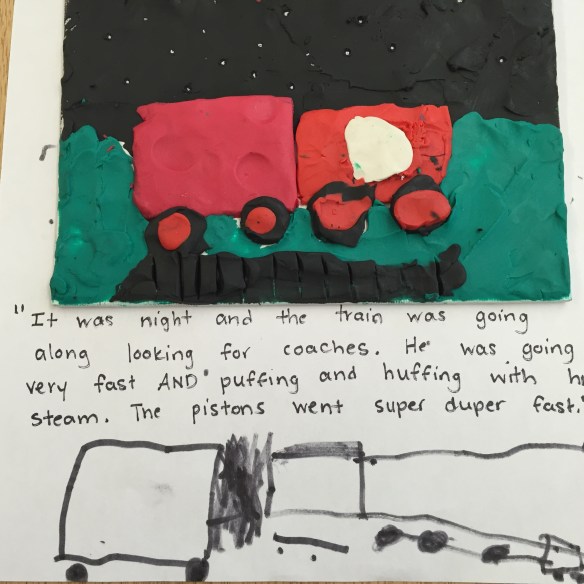
Honestly, the children were SO proud of their completed art works. They loved showing them off during reflection time and talking about the process they used to make them. During one reflection session, we started talking about how Barbara Reid gets her Plasticine pictures in the pages of her books. One student remembered that Barbara’s husband photographs her art for her so the pictures can be used as illustrations. One student suggested that we take photographs of our work and use the pictures to make a book by writing our own stories. I loved that the children were inspired to create their own stories, so we set up a story-writing invitation.
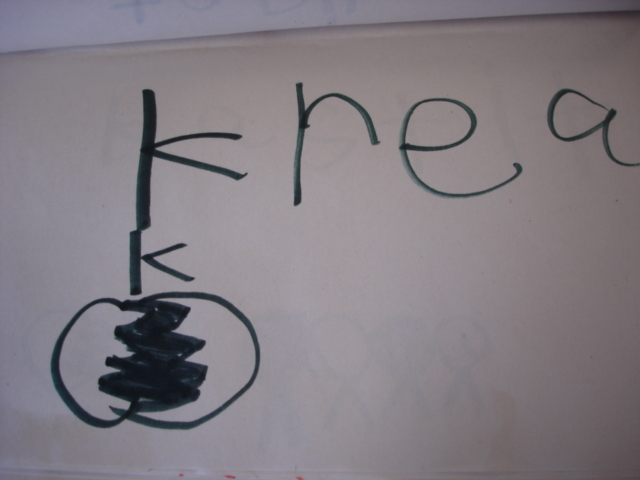
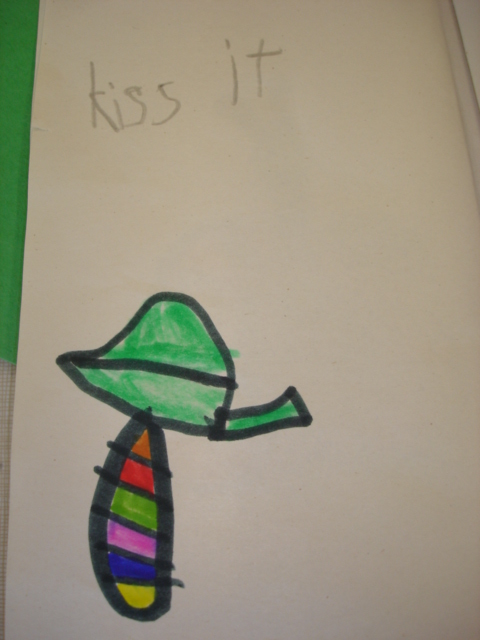
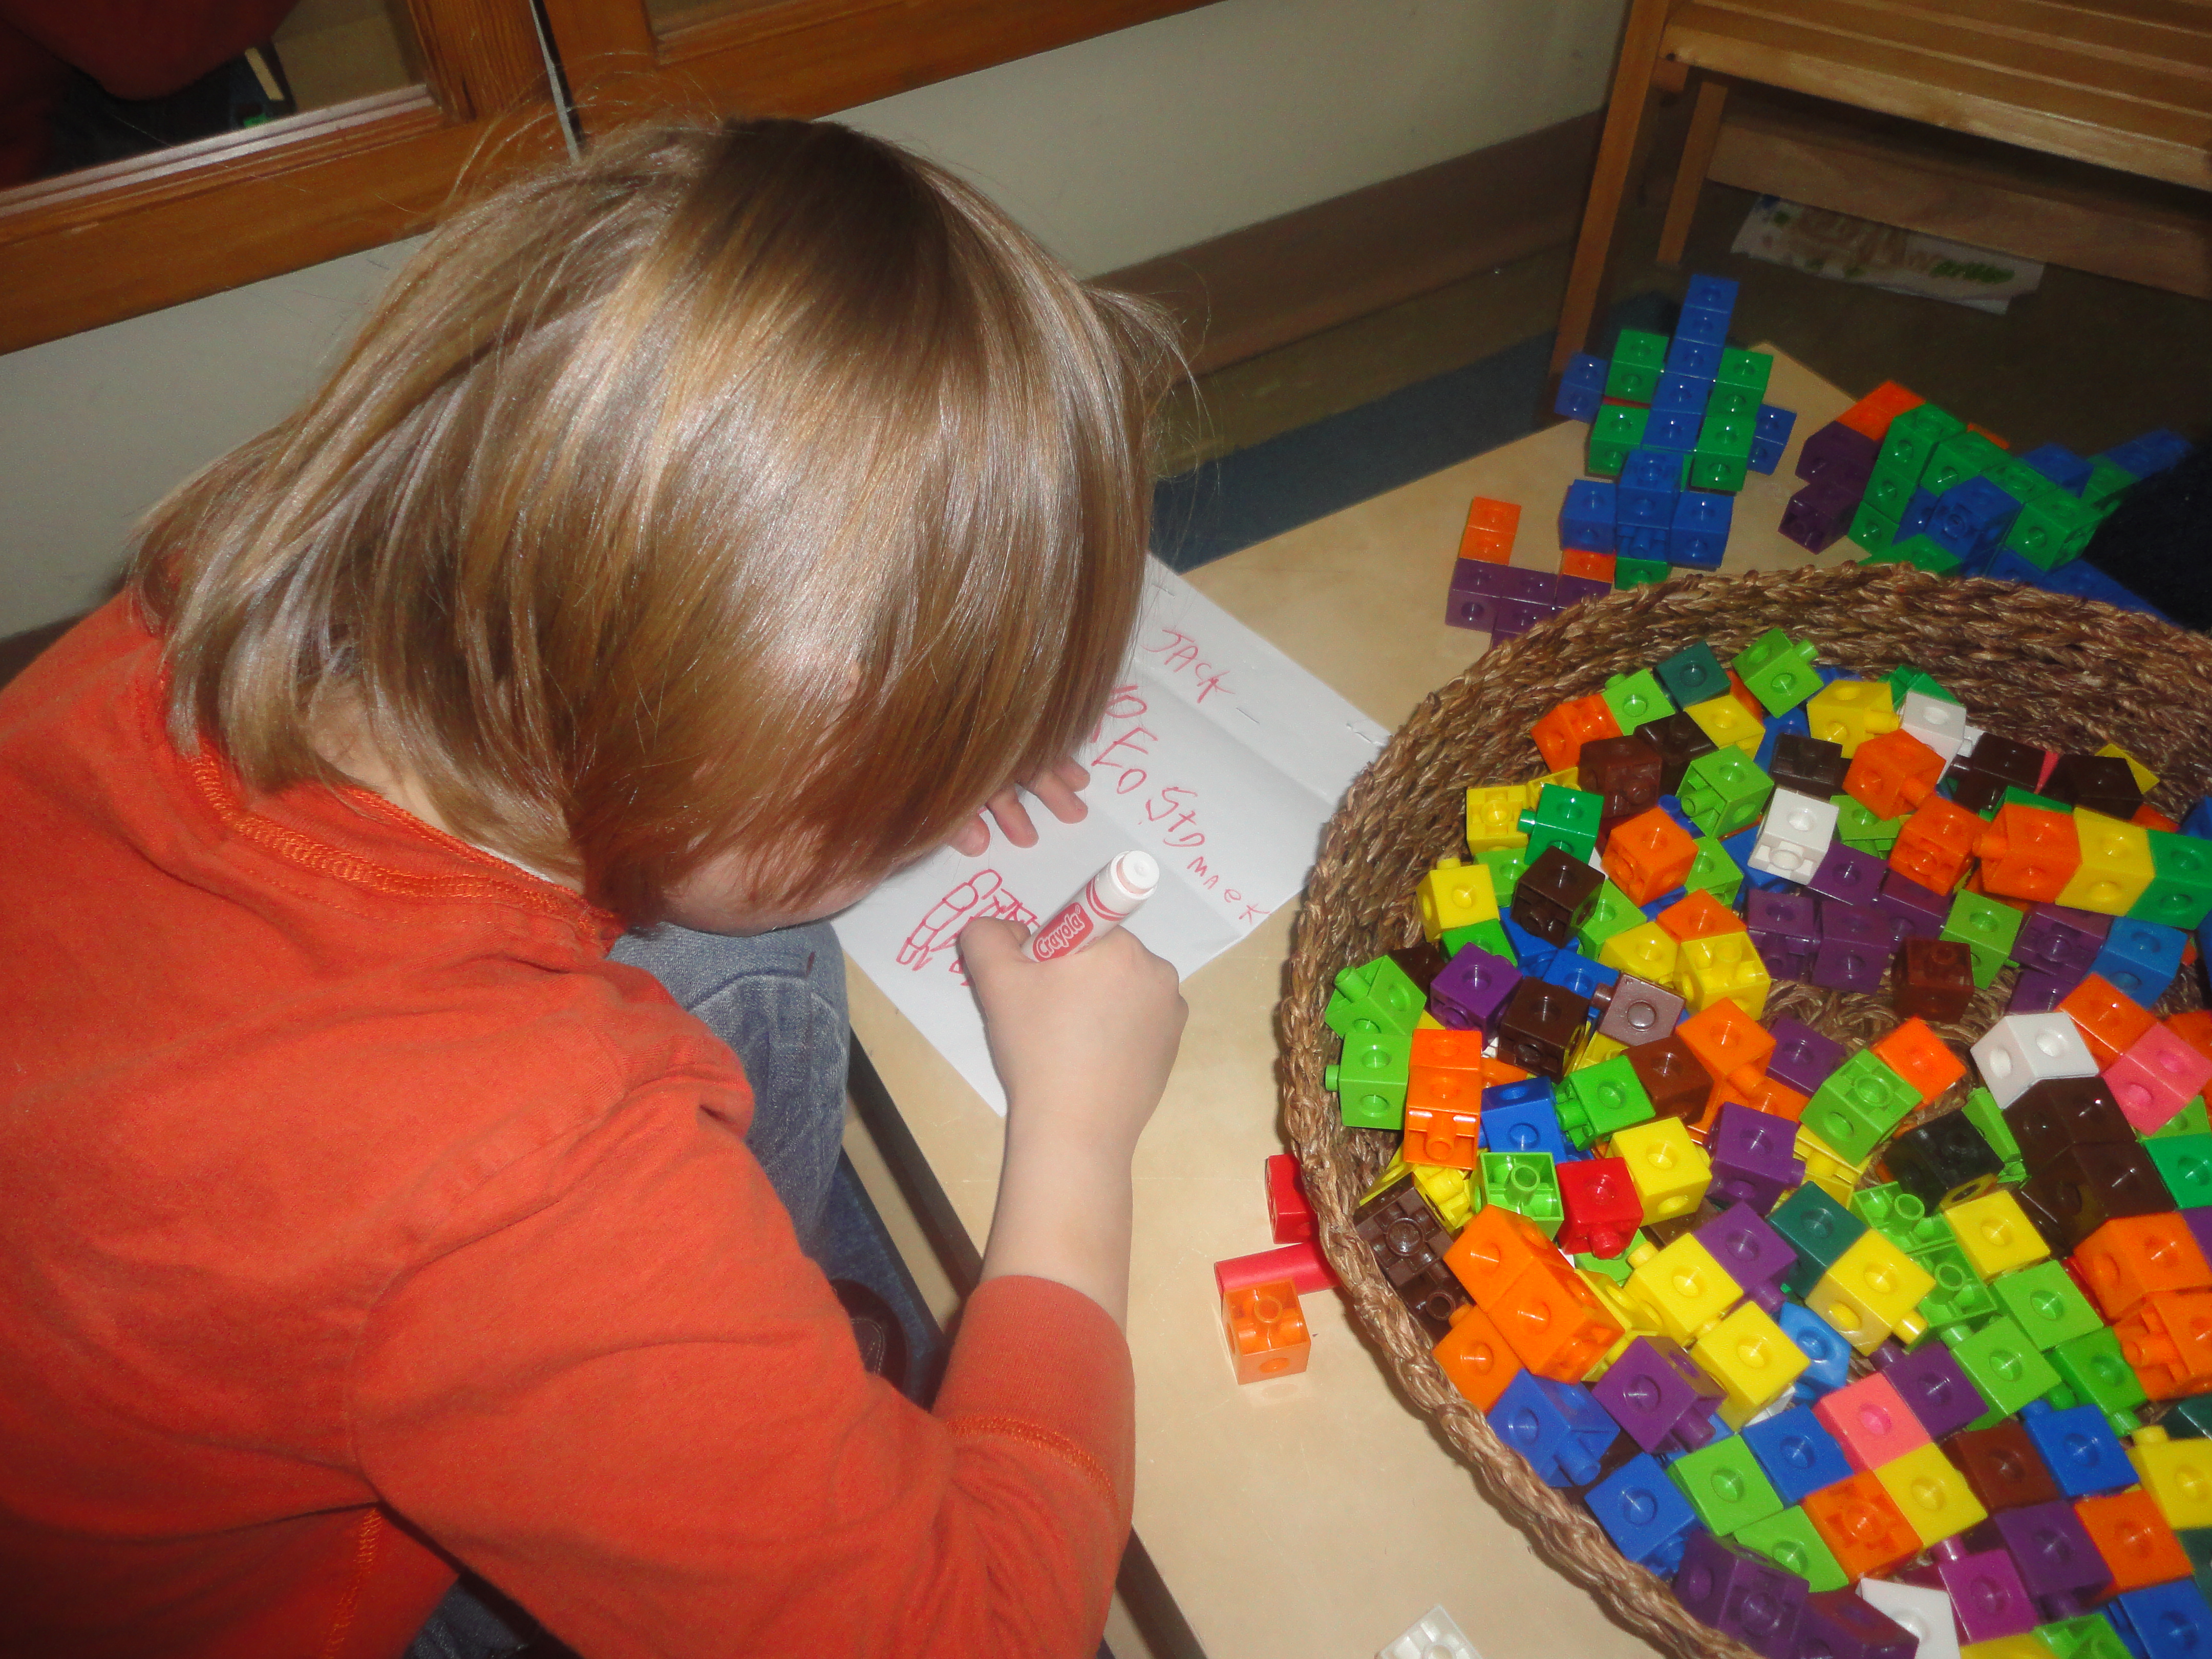
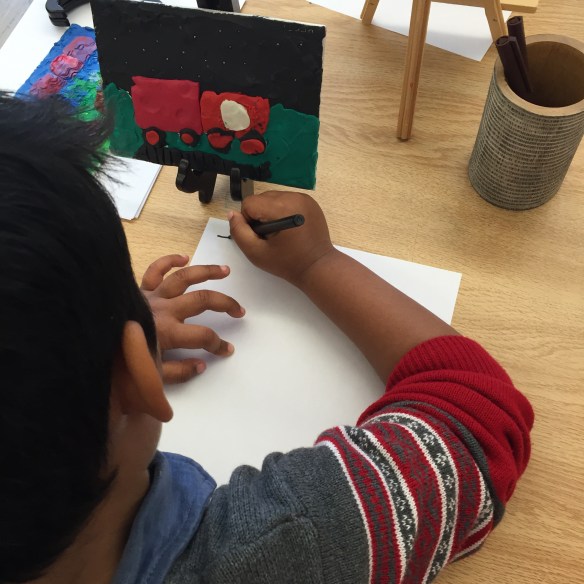
At the writing table, I gave the children some mini easels to place their art on. I put out plain paper and some black pens. The children could choose to write about their own work or a classmate’s work that inspired them. This proved to be a popular invitation! Some children returned each day to write a new story! We loved listening to each other’s stories during reflection time – some children’s stories were so popular, the class asked them to read it aloud more than once.
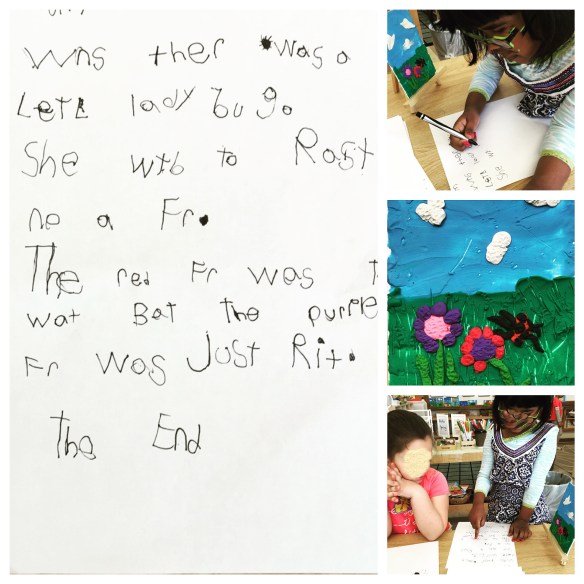
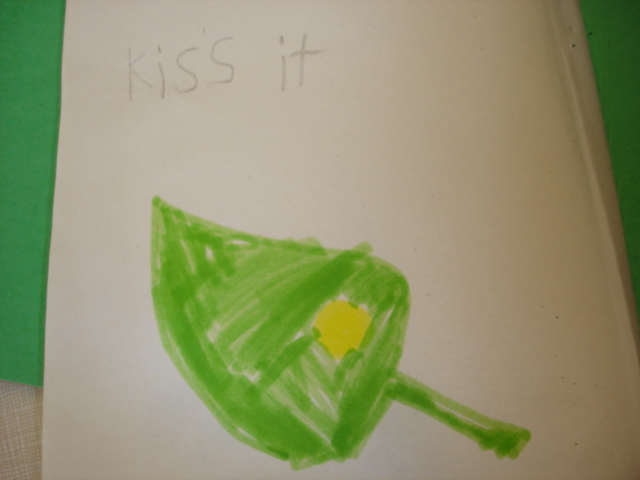
E.H. “Once there was a little ladybug. She wanted to rest on a flower. The red flower was wet but the purple flower was just right. The End.”
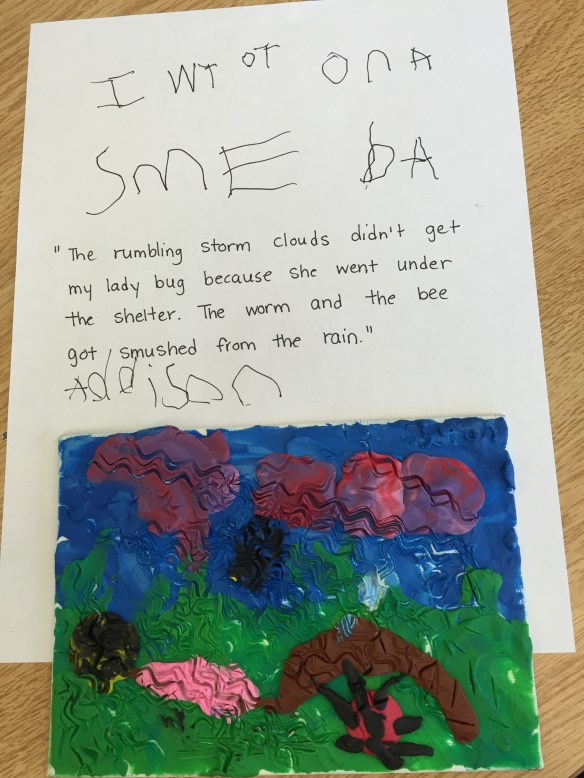
“I went out on a stormy day.”
We are still in the midst of our story writing. I was interested to see the emergence of a narrative voice in the children’s work and am curious about exploring this further with the class. Stay tuned!