Well, here in Toronto this week we got an early blast of winter with 5 cm of snow. It was perfect snow for packing and sculpting too – which meant lots of opportunities for making snow creatures! So, in honor of our first snow of the season, I thought I’d share a wonderful playdough activity that provides many opportunities for language and literacy skills.
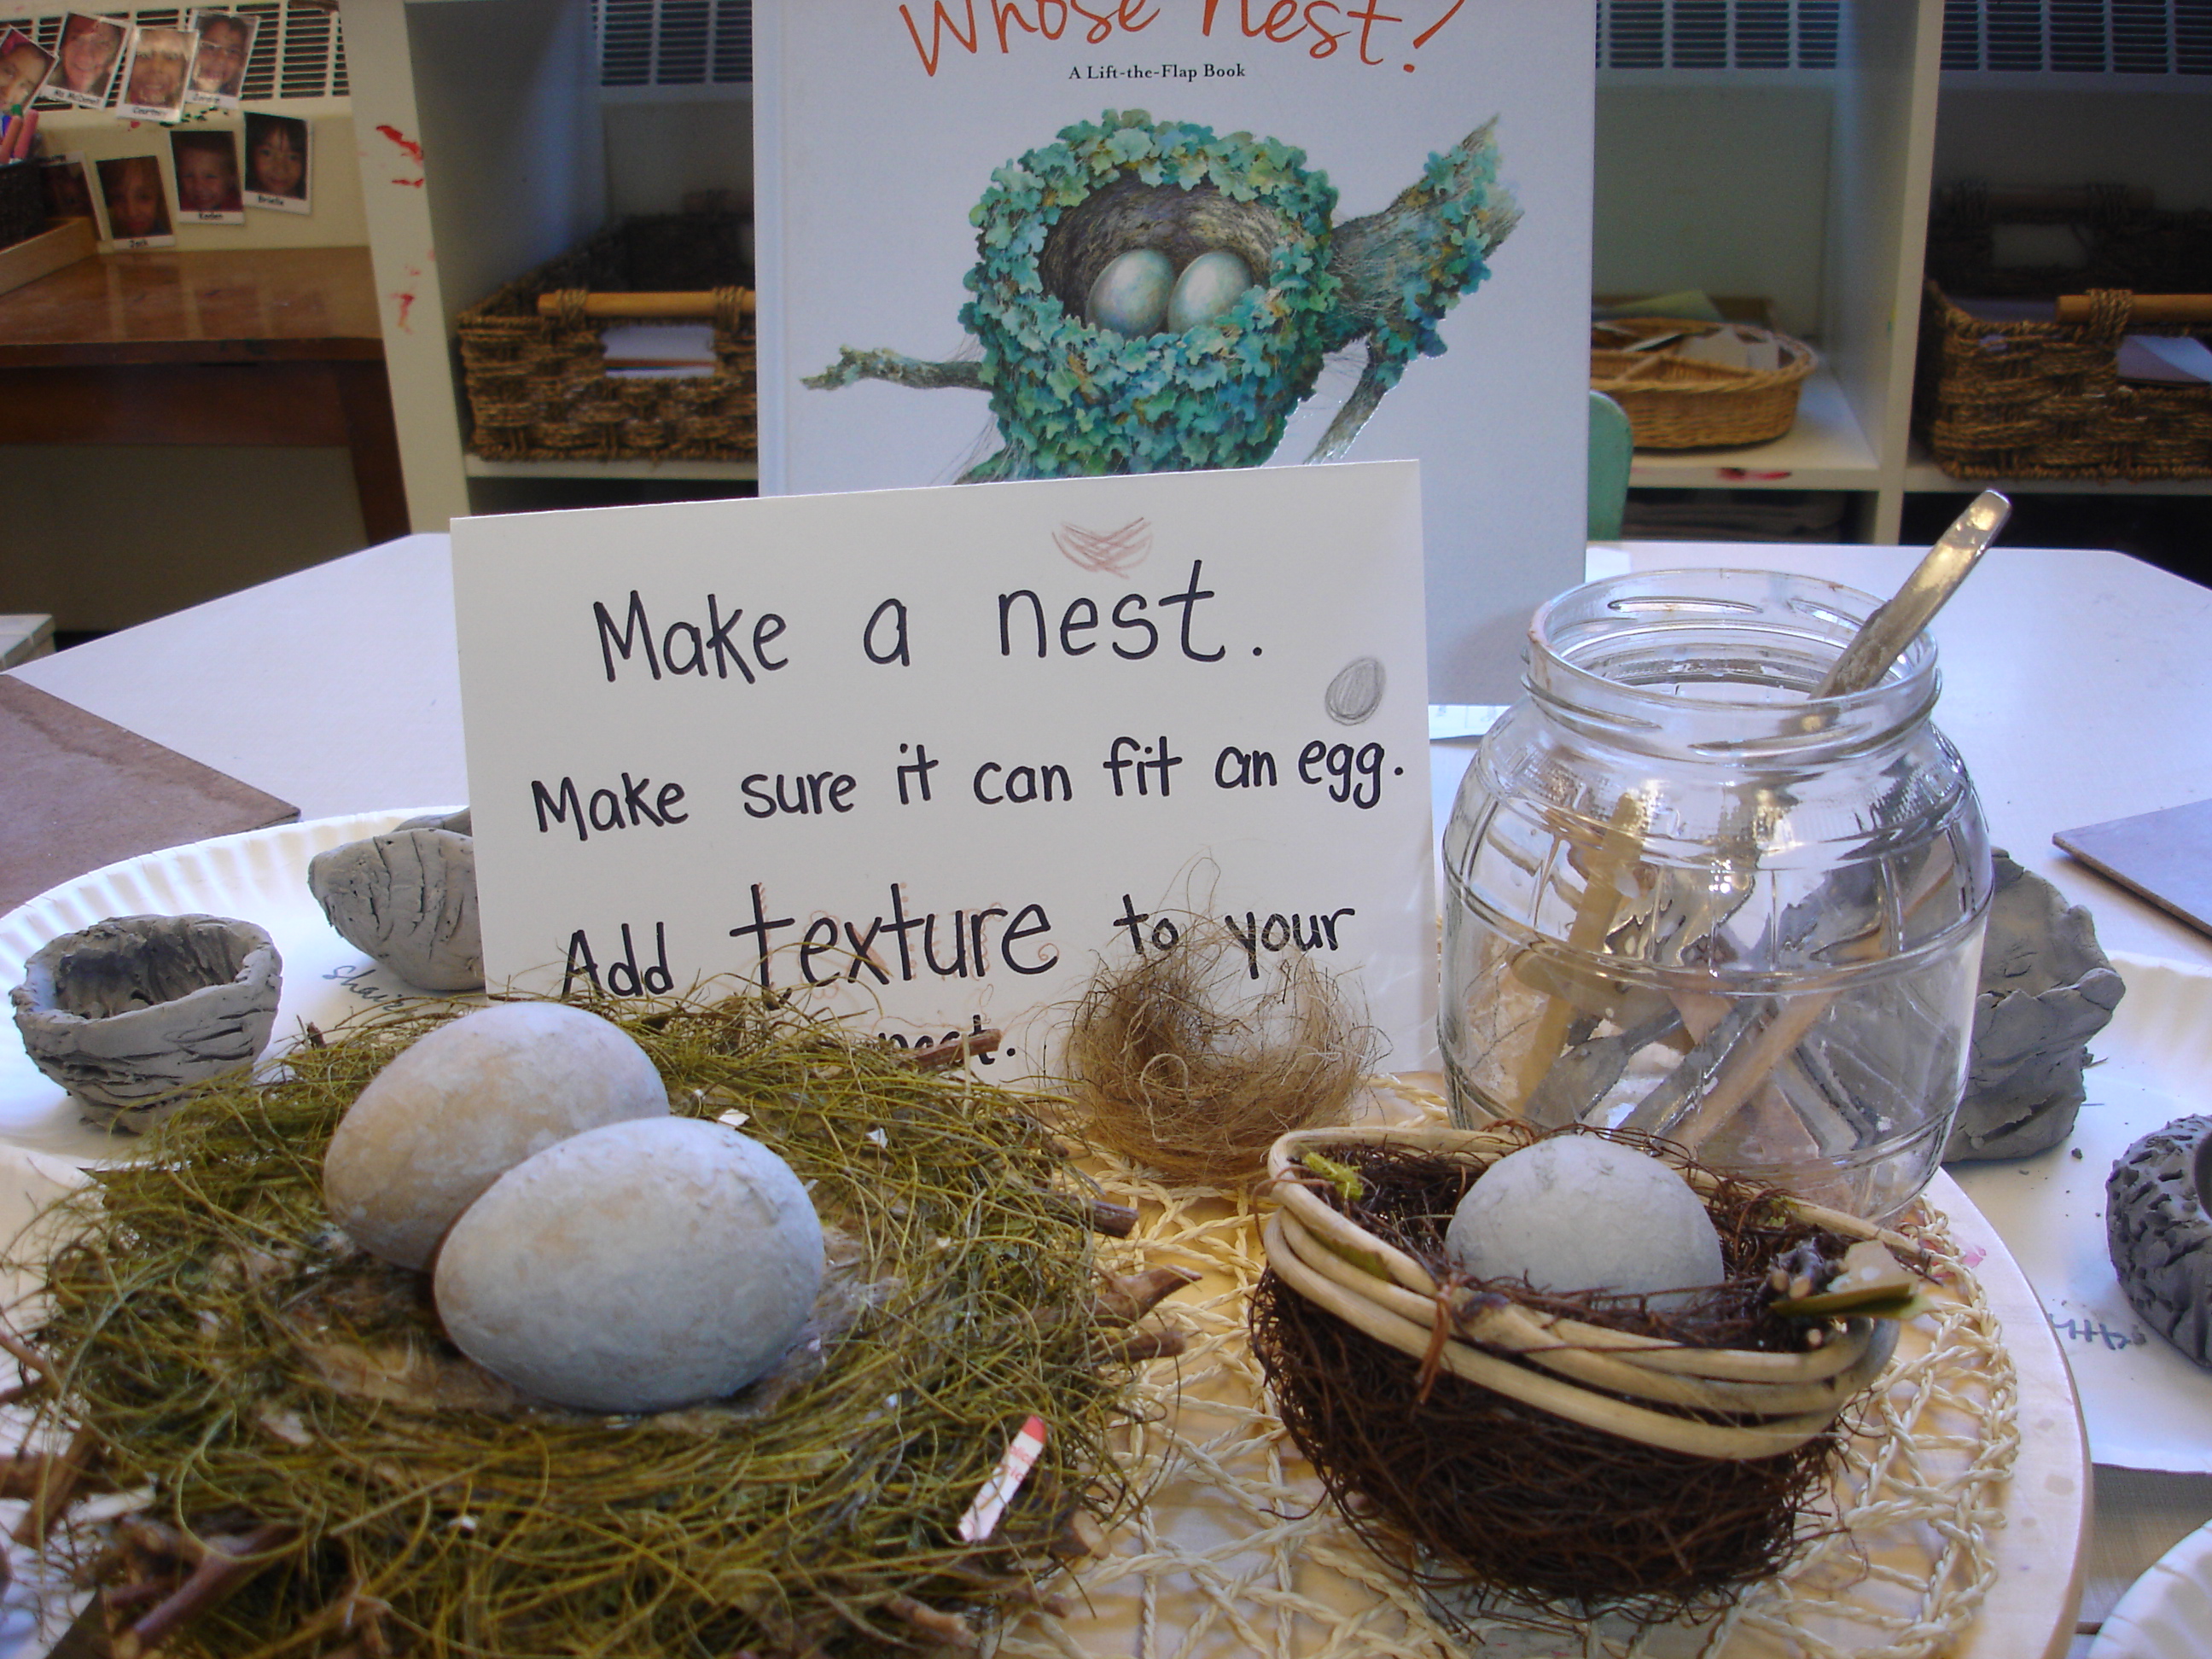
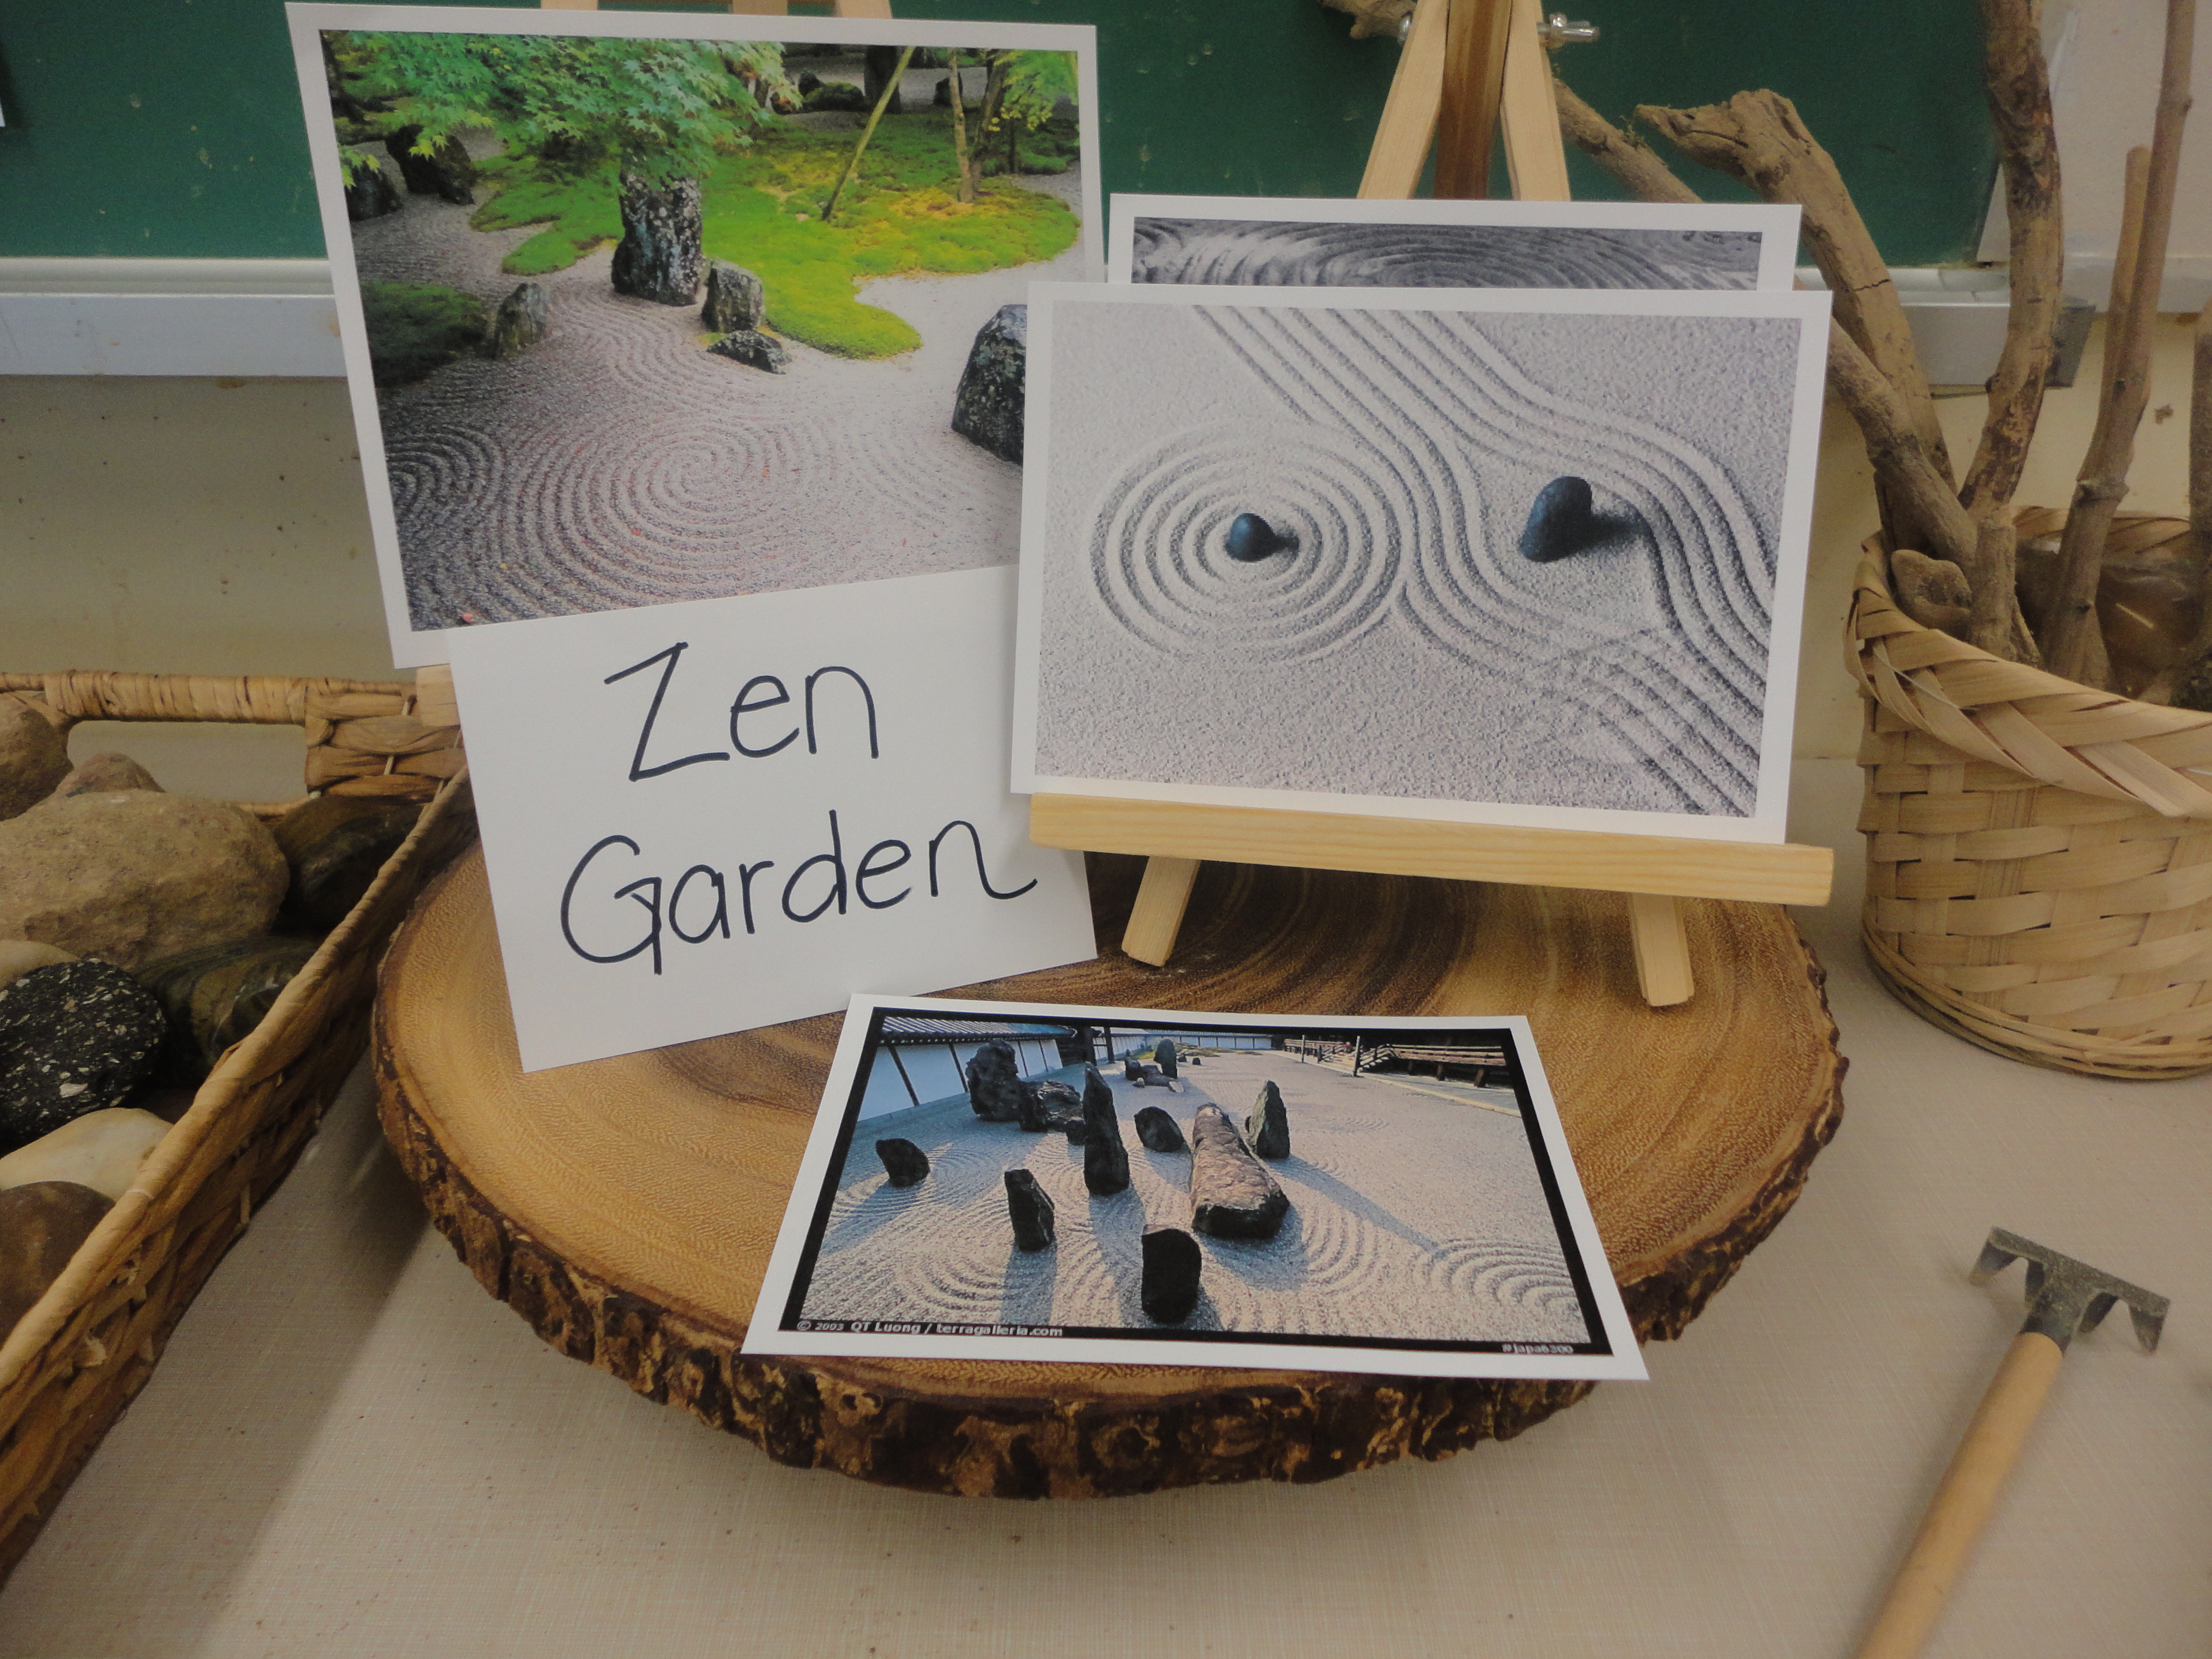
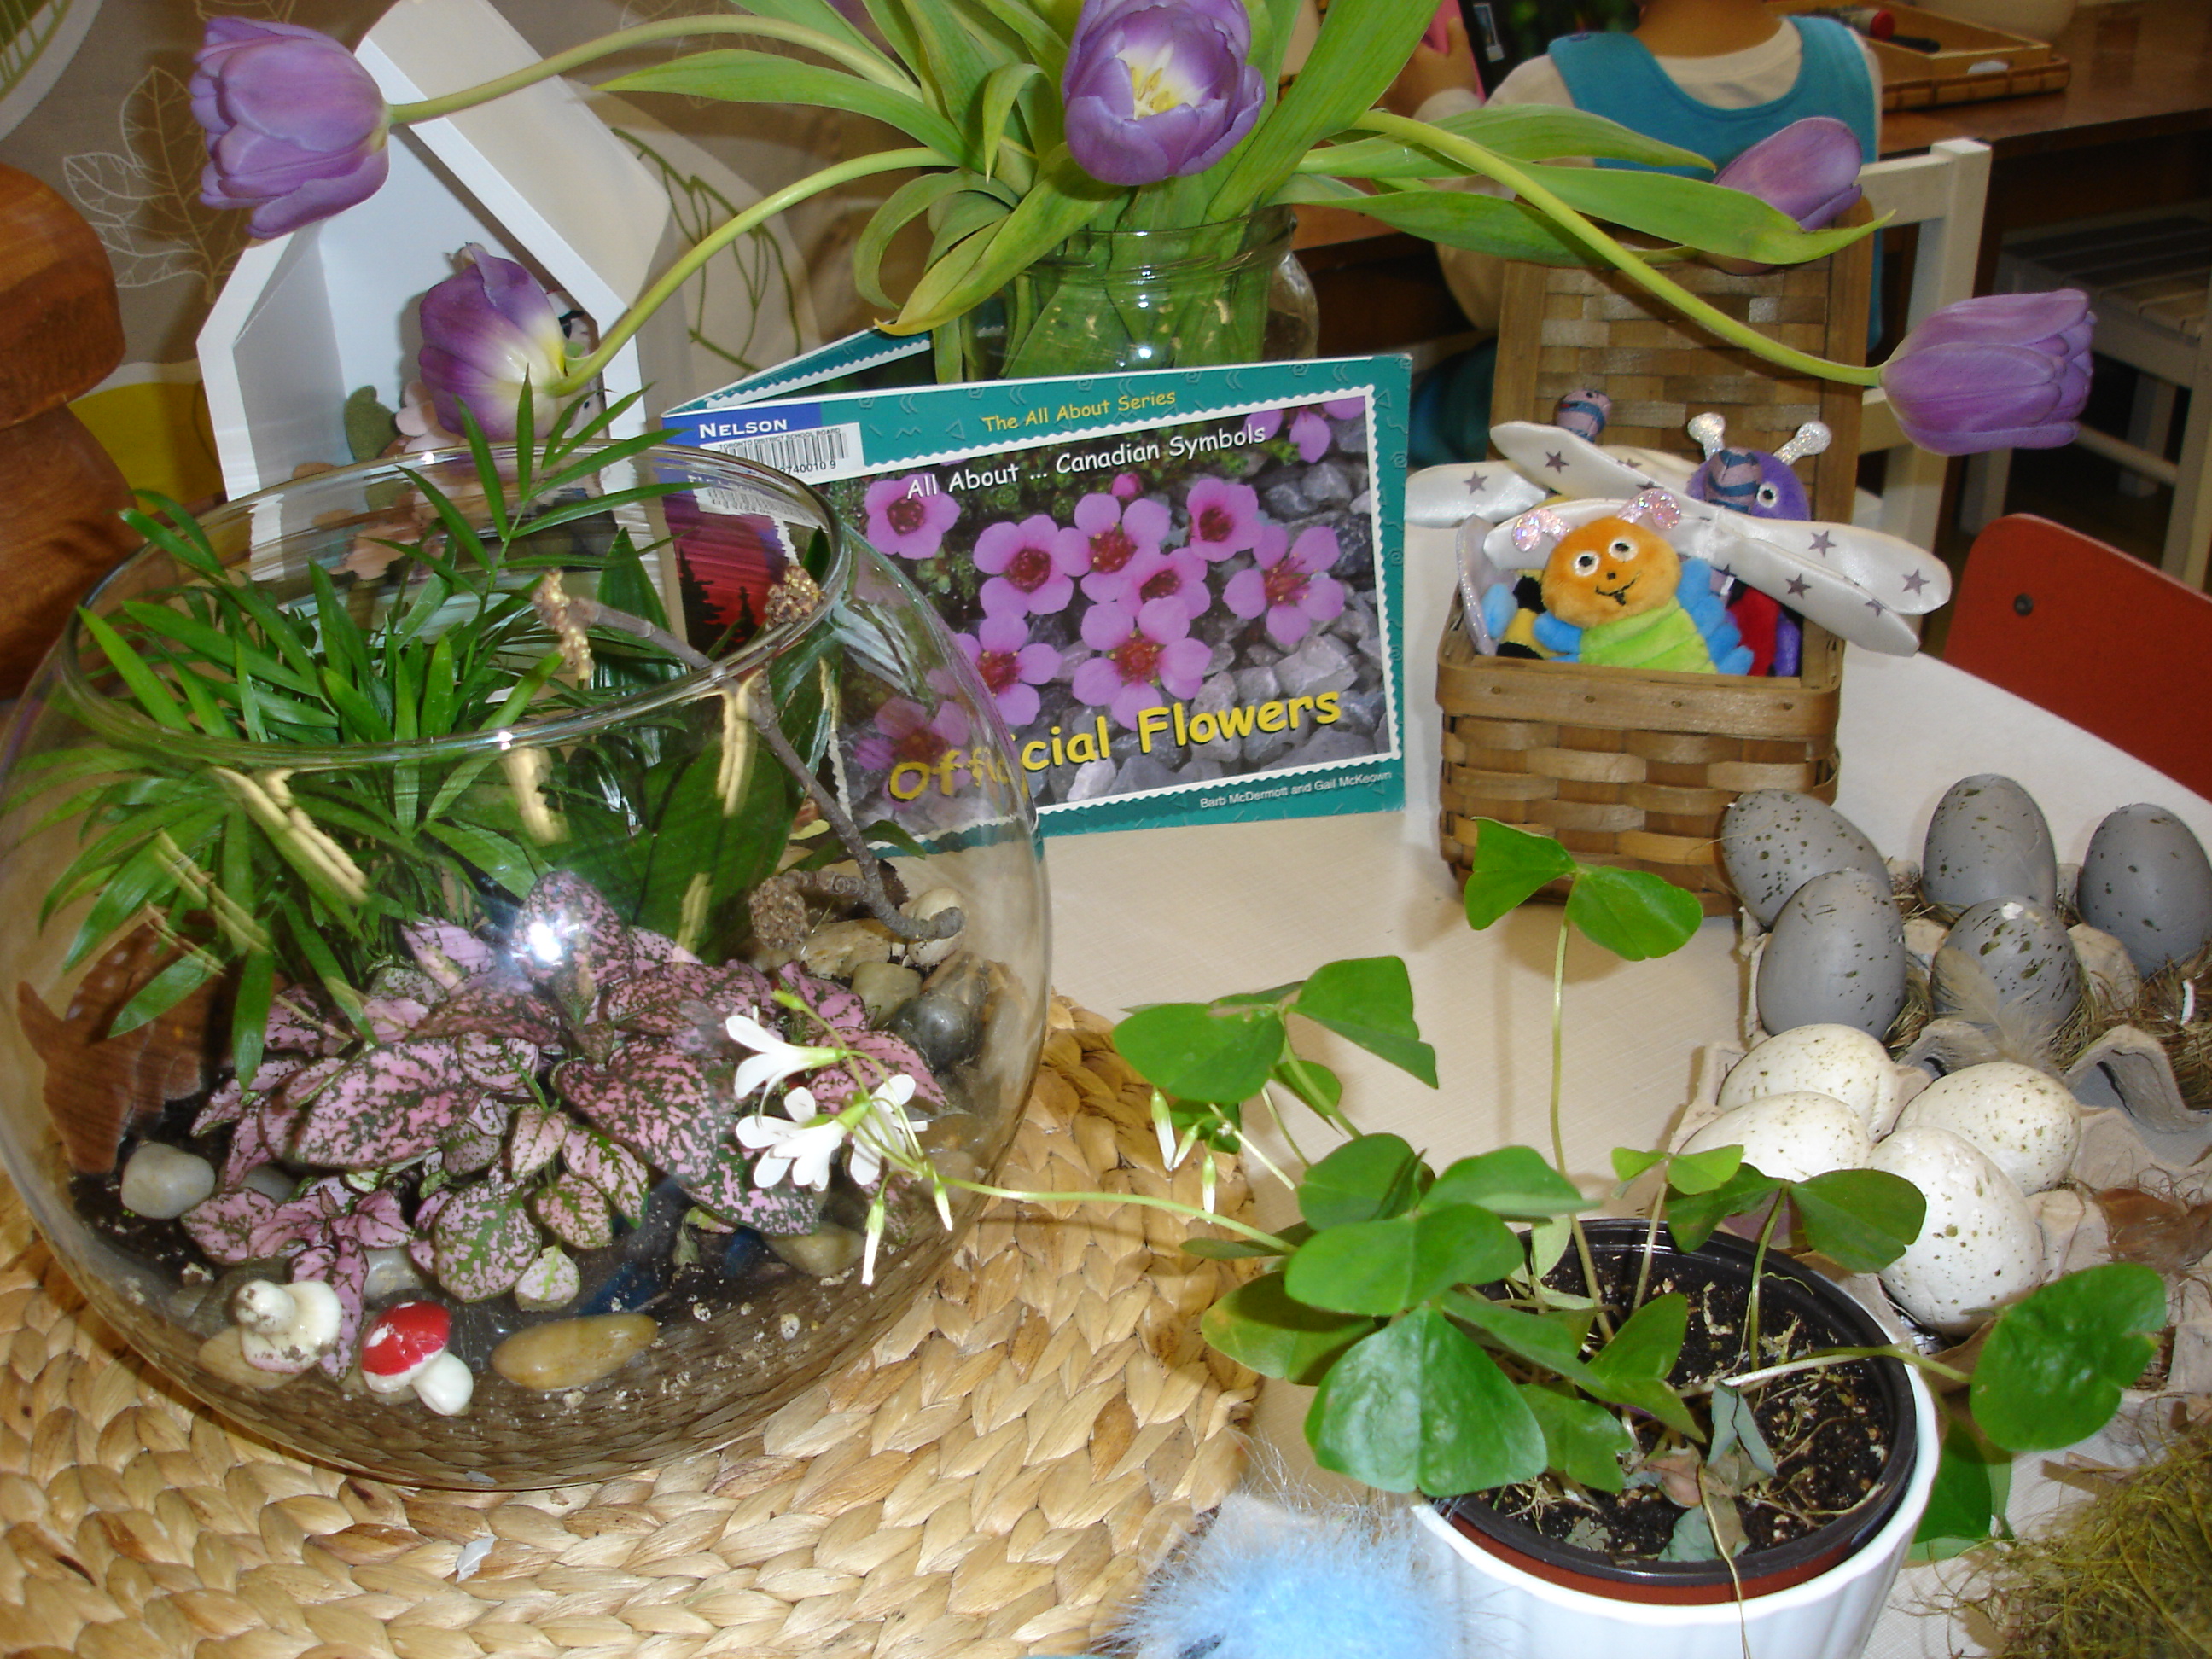
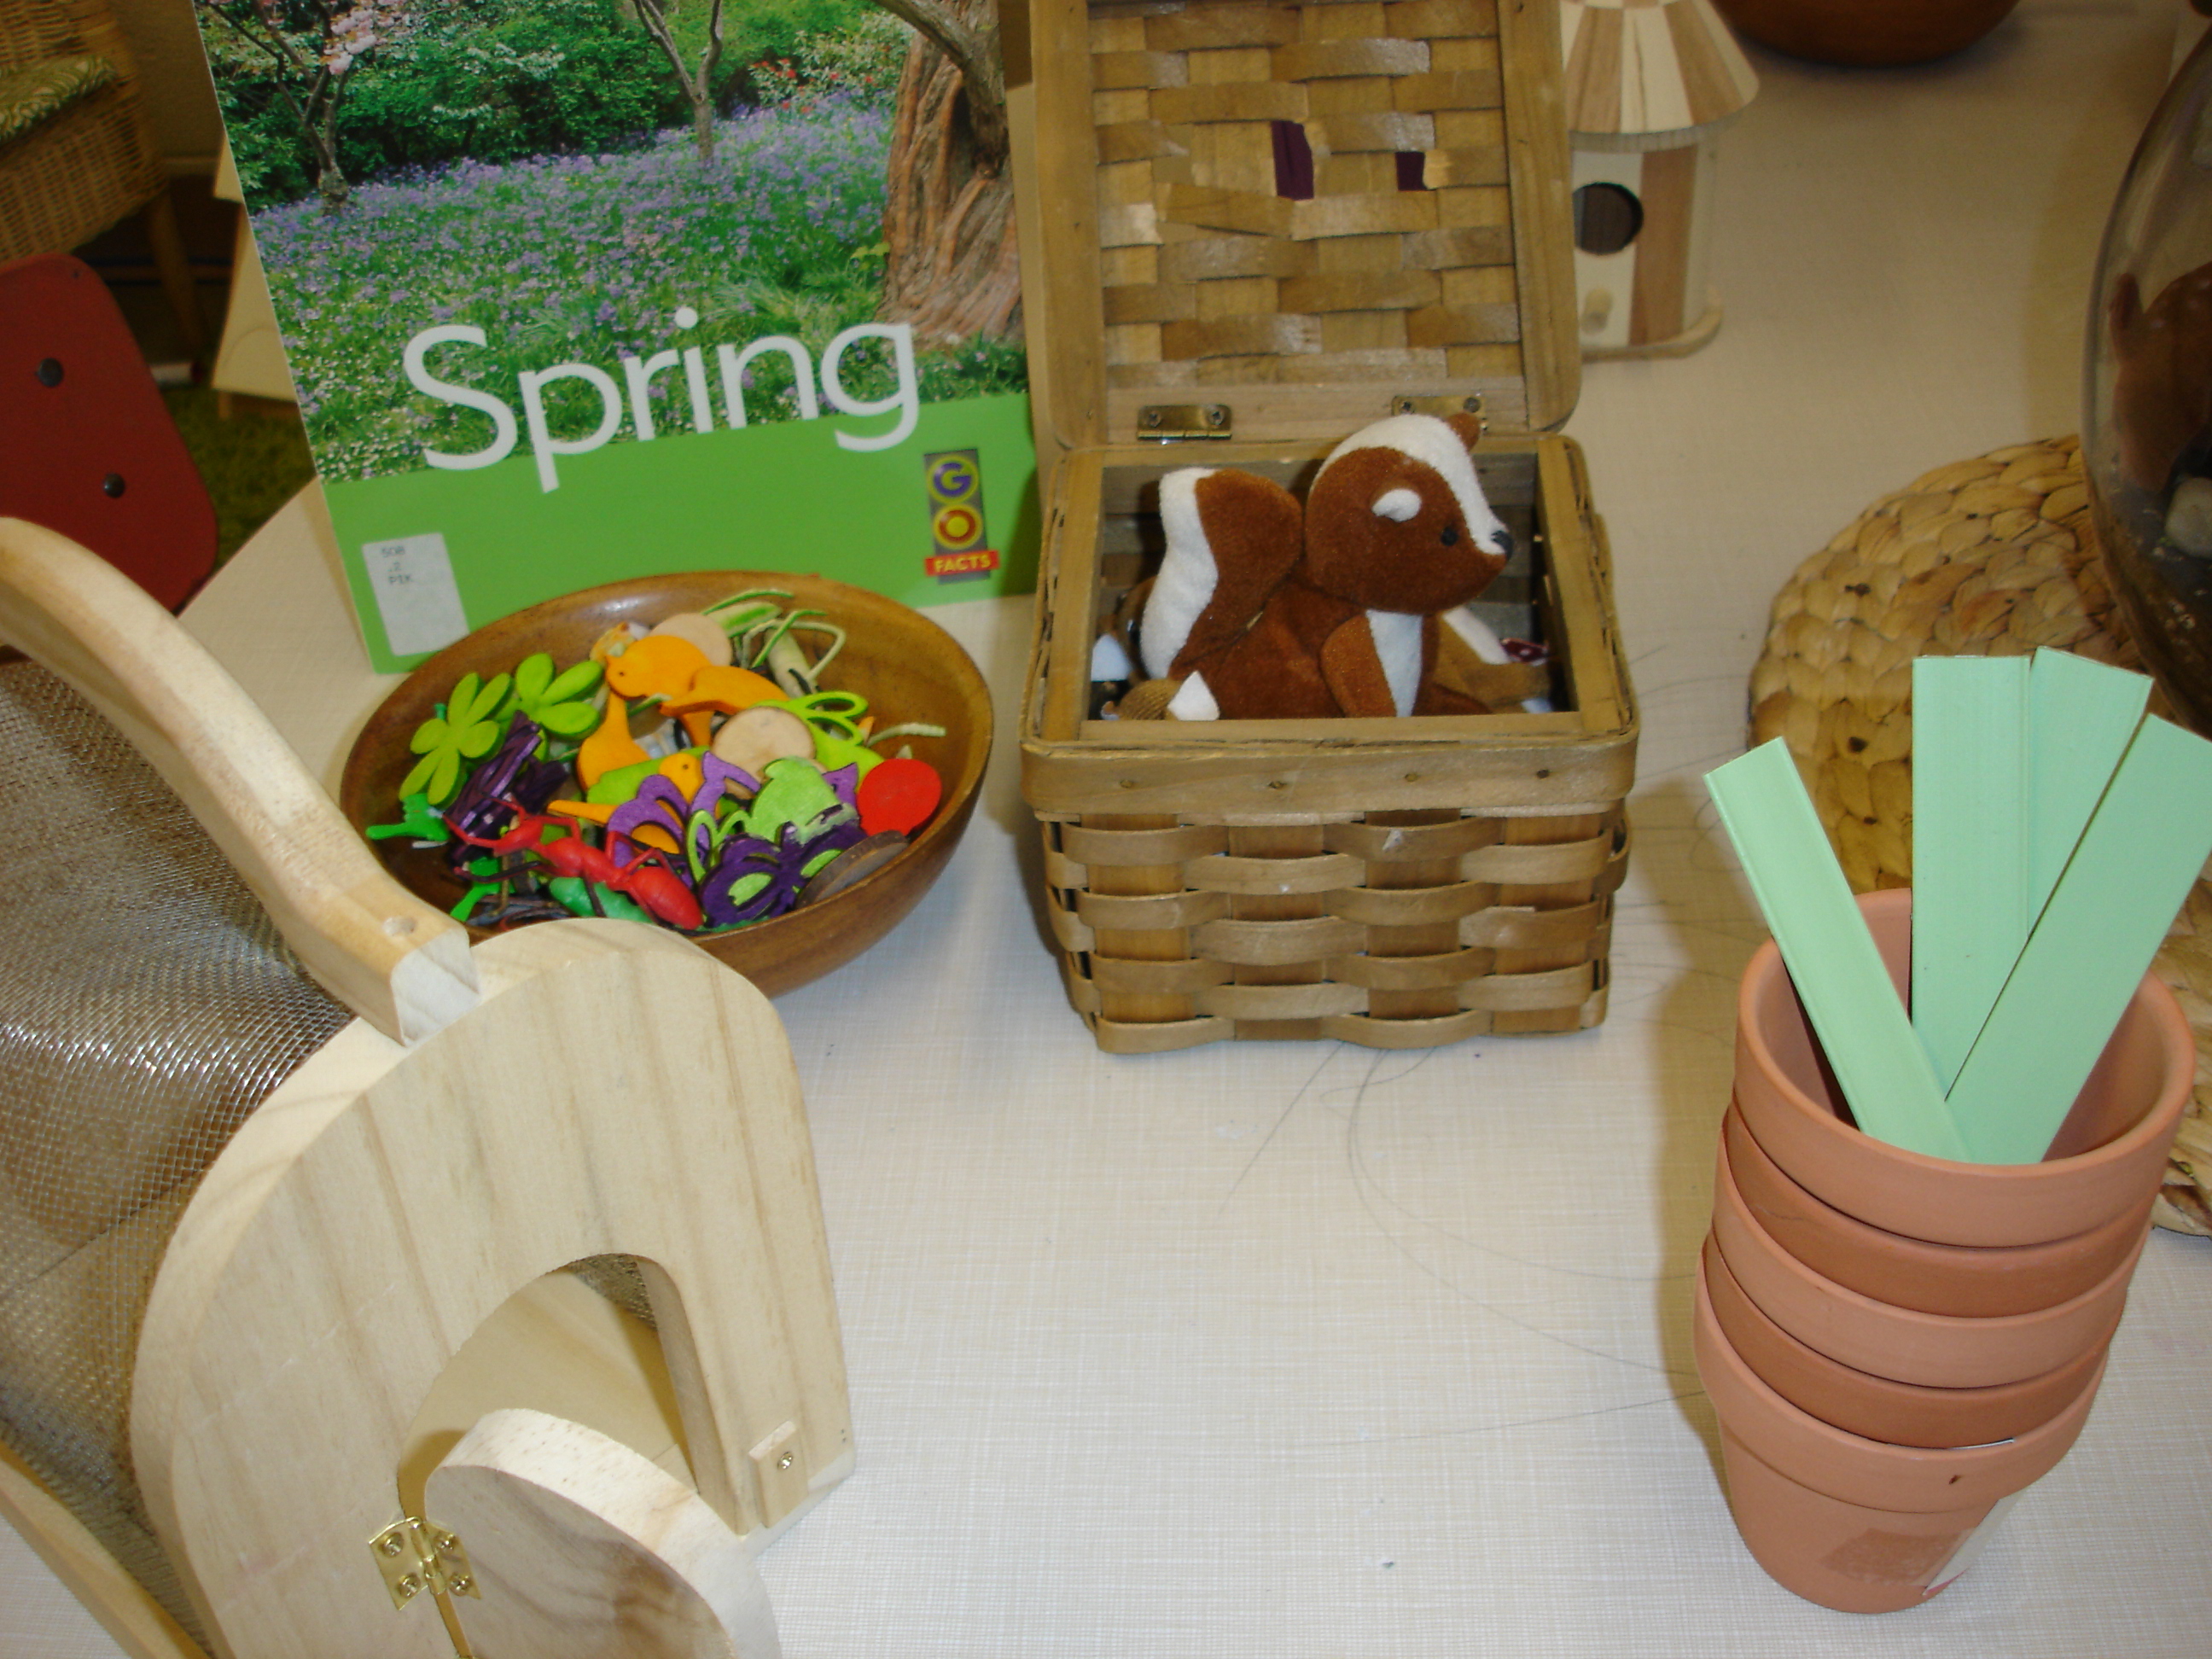
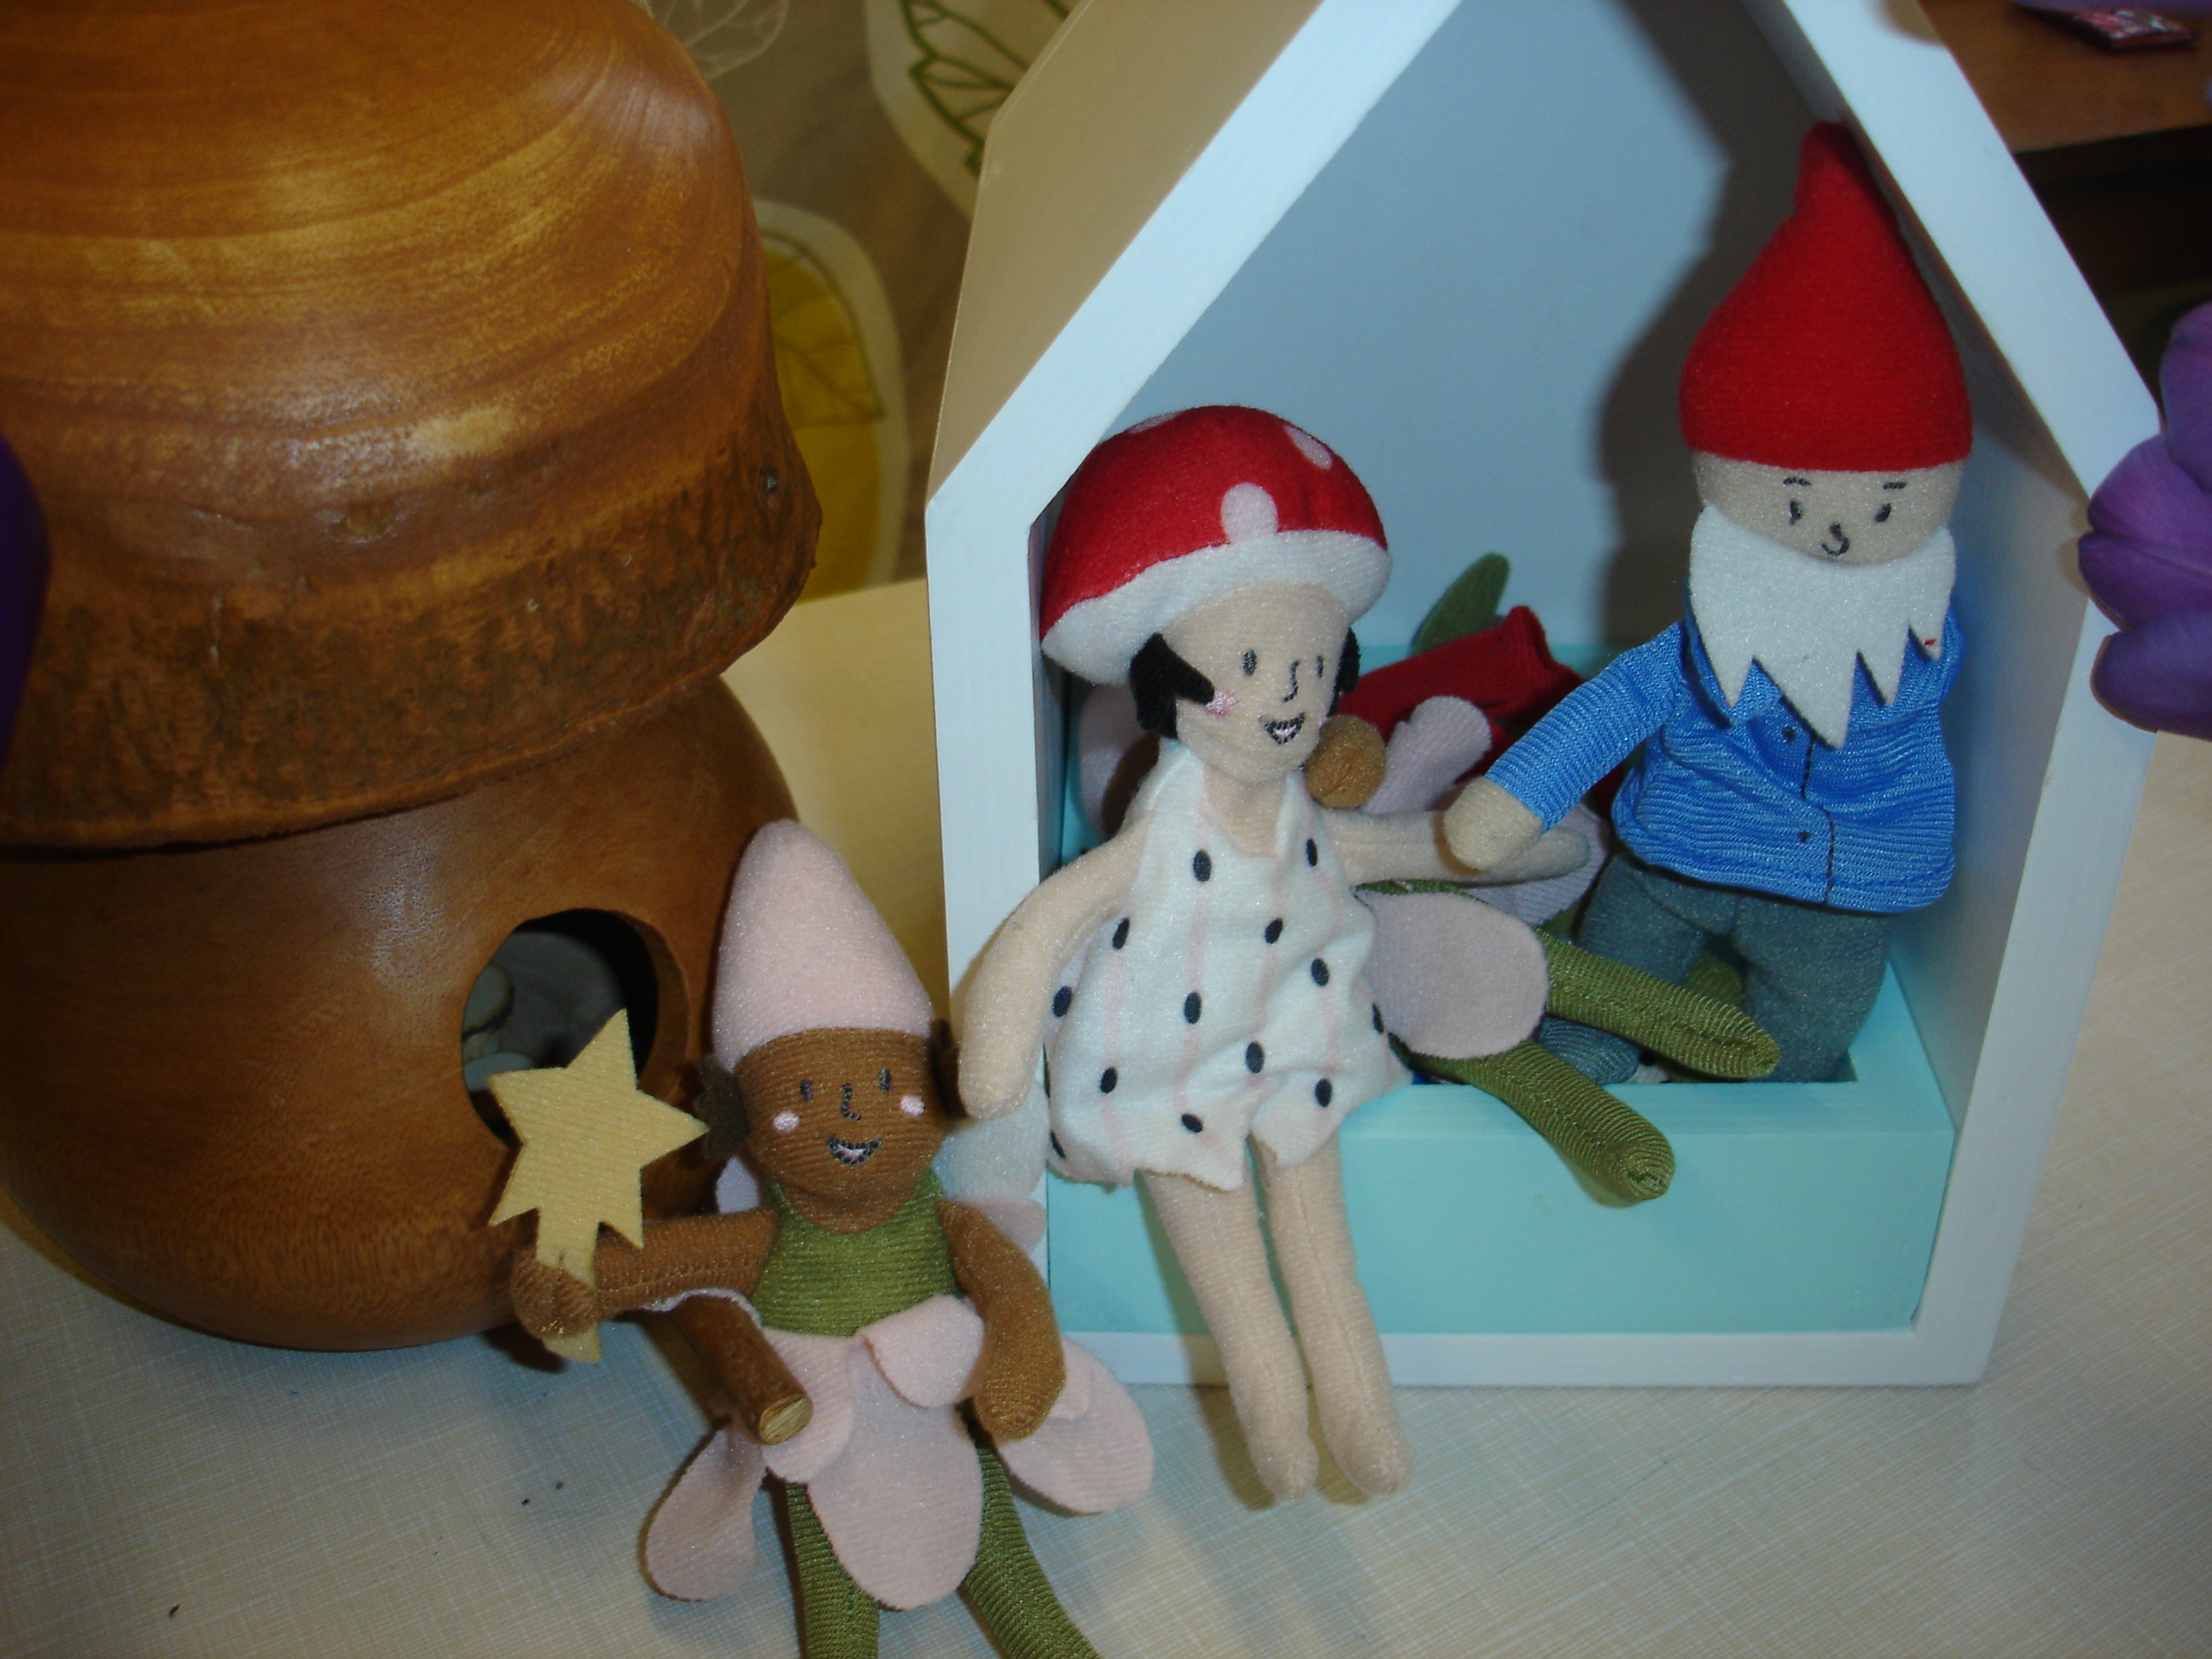
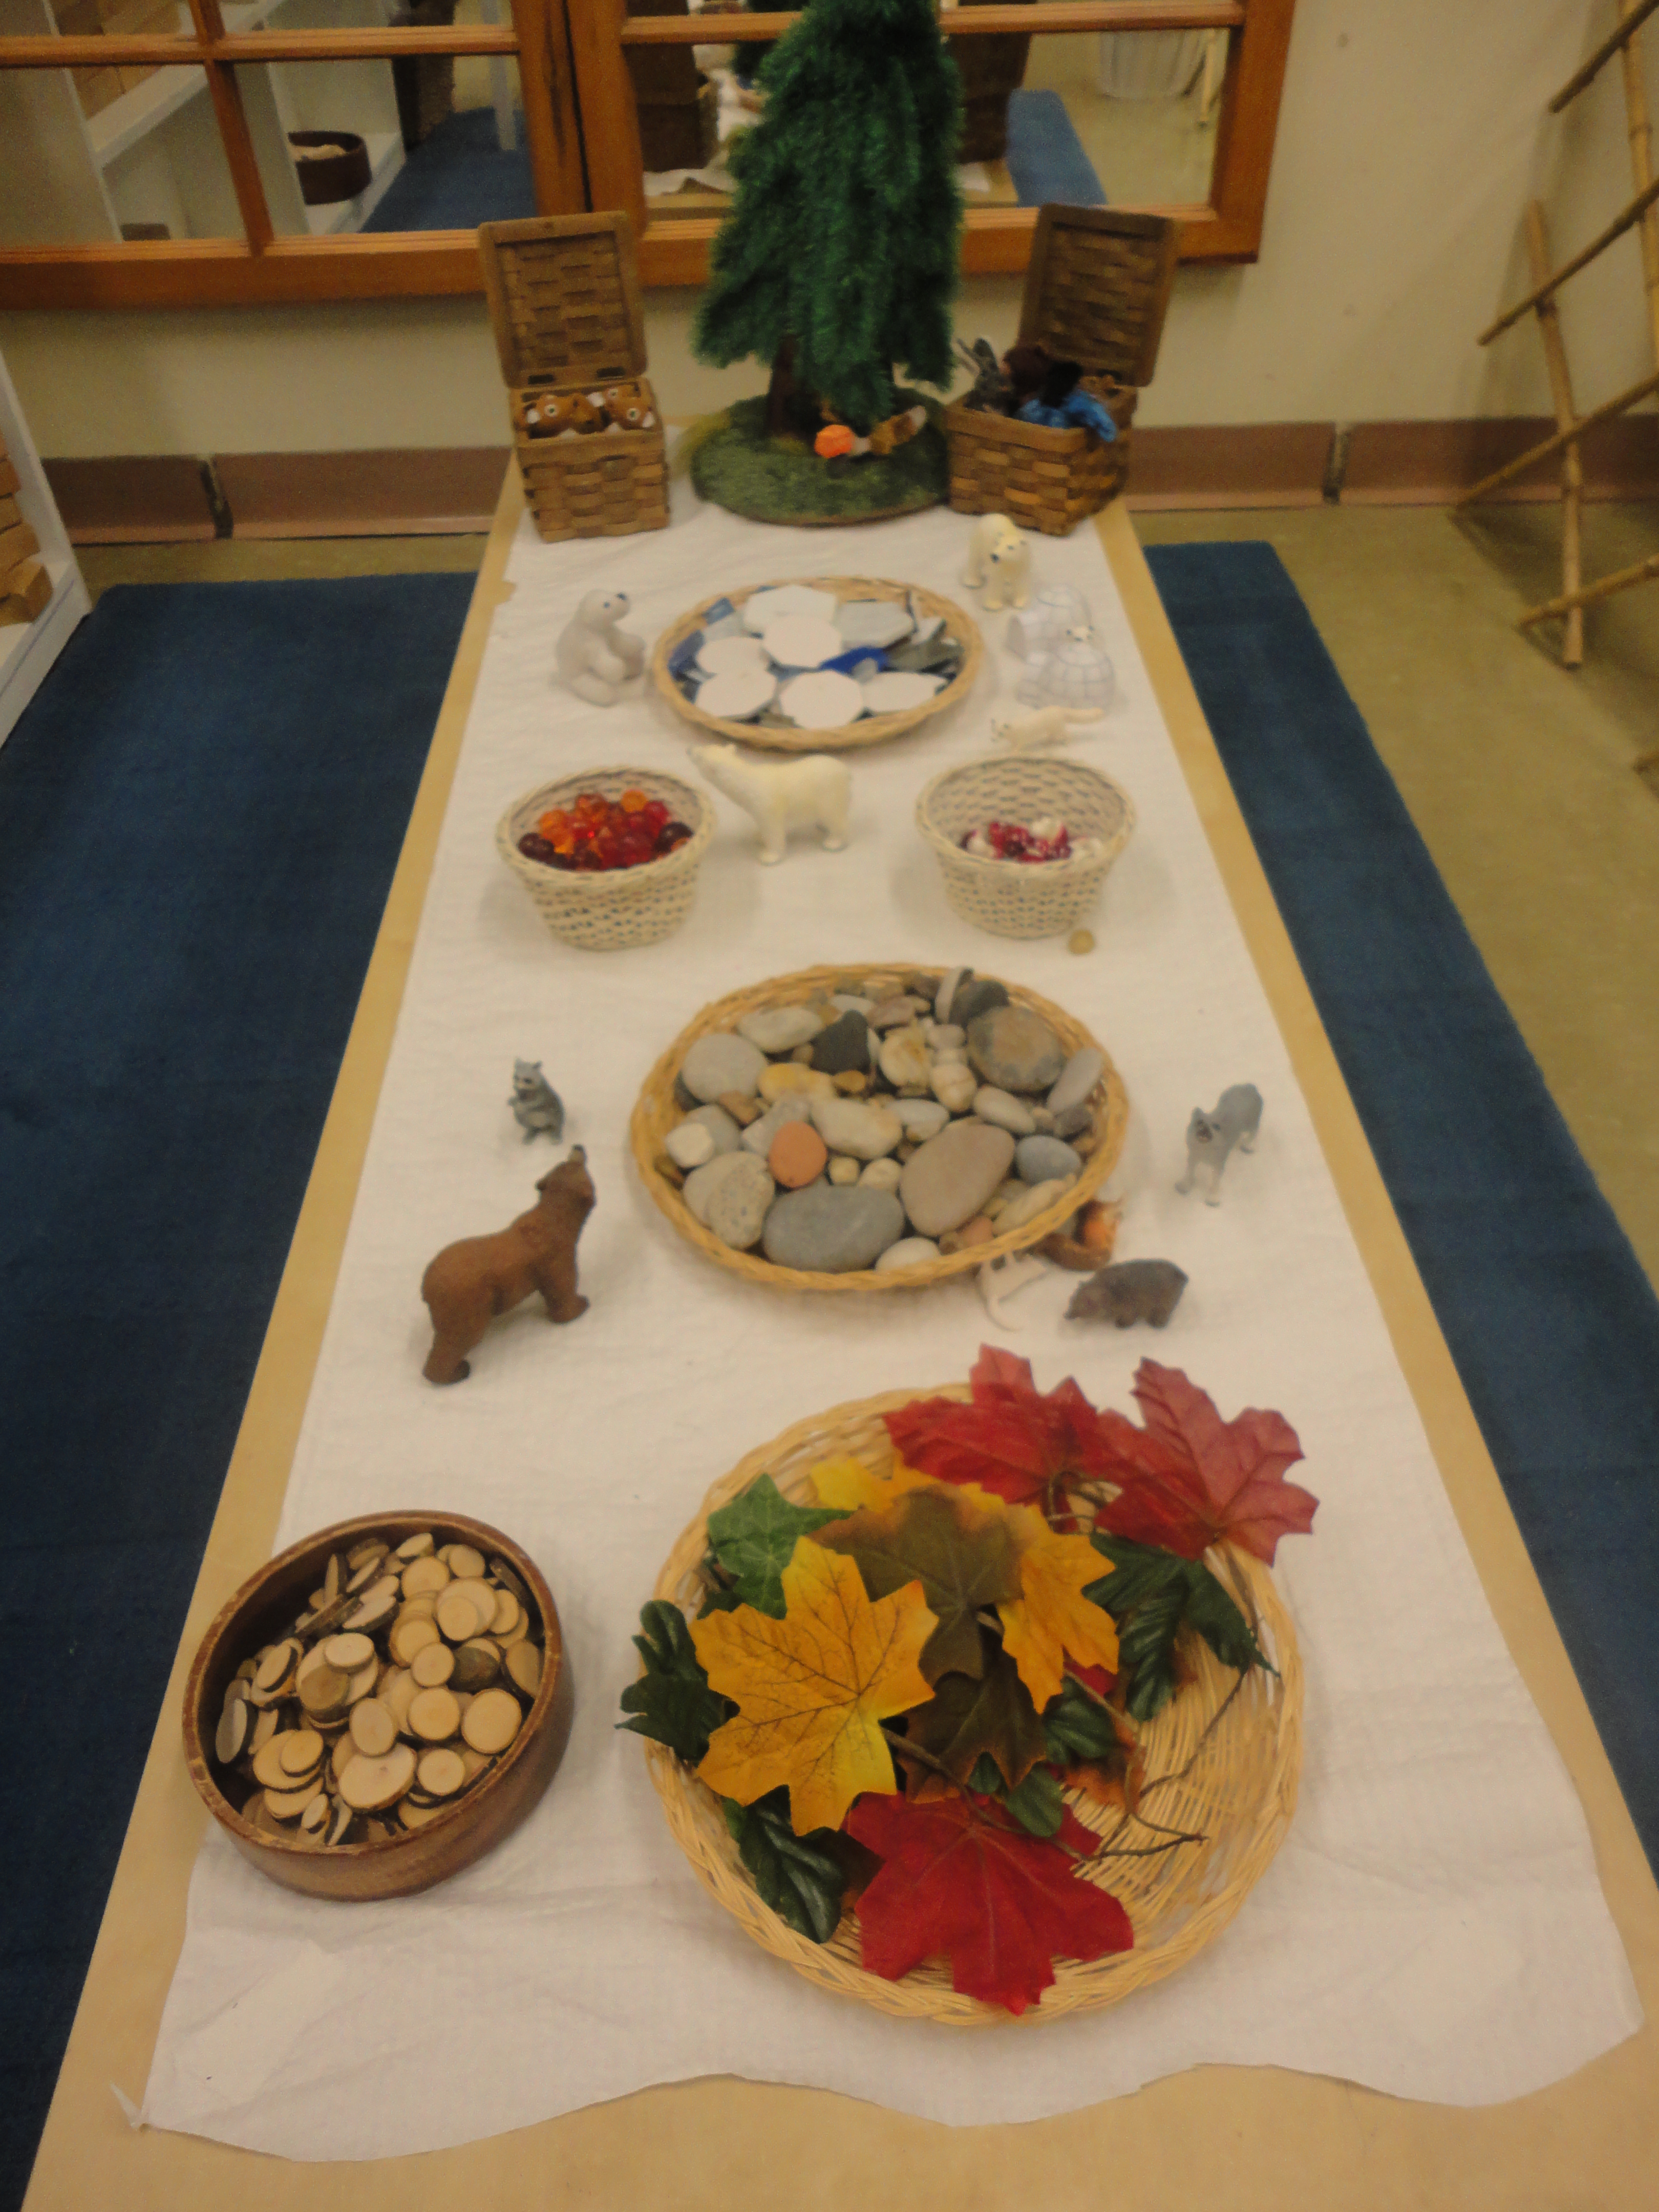
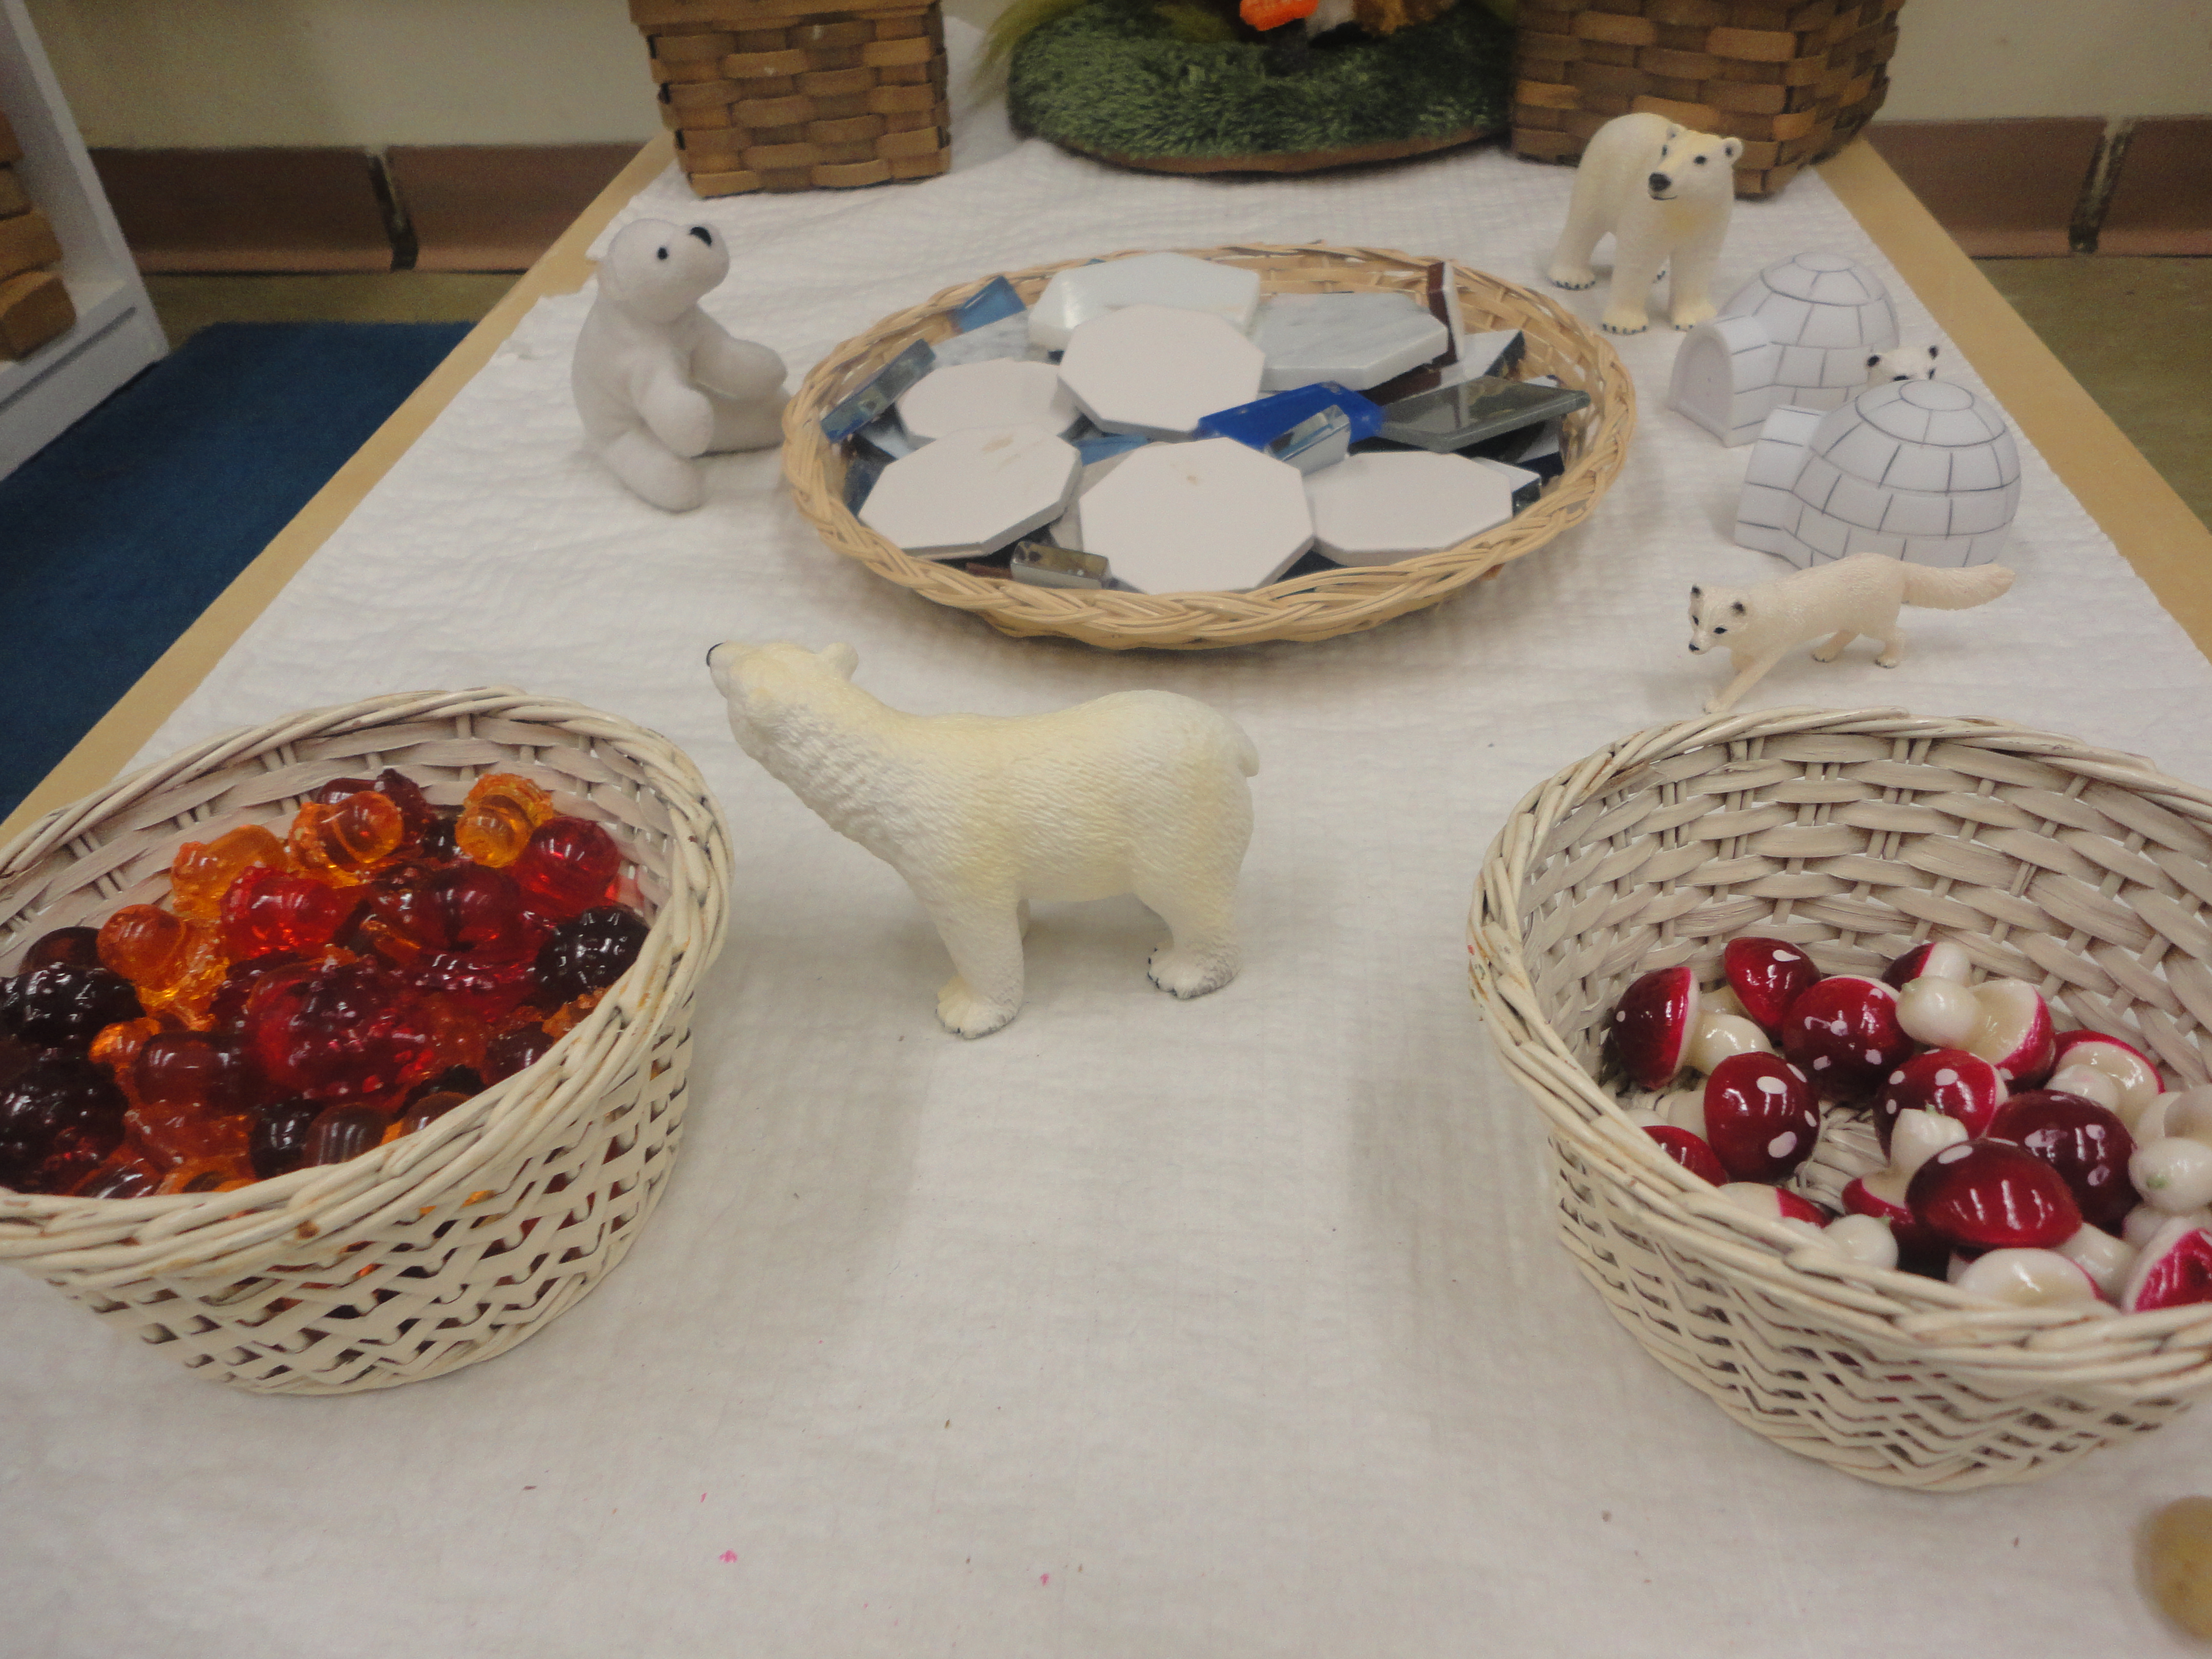
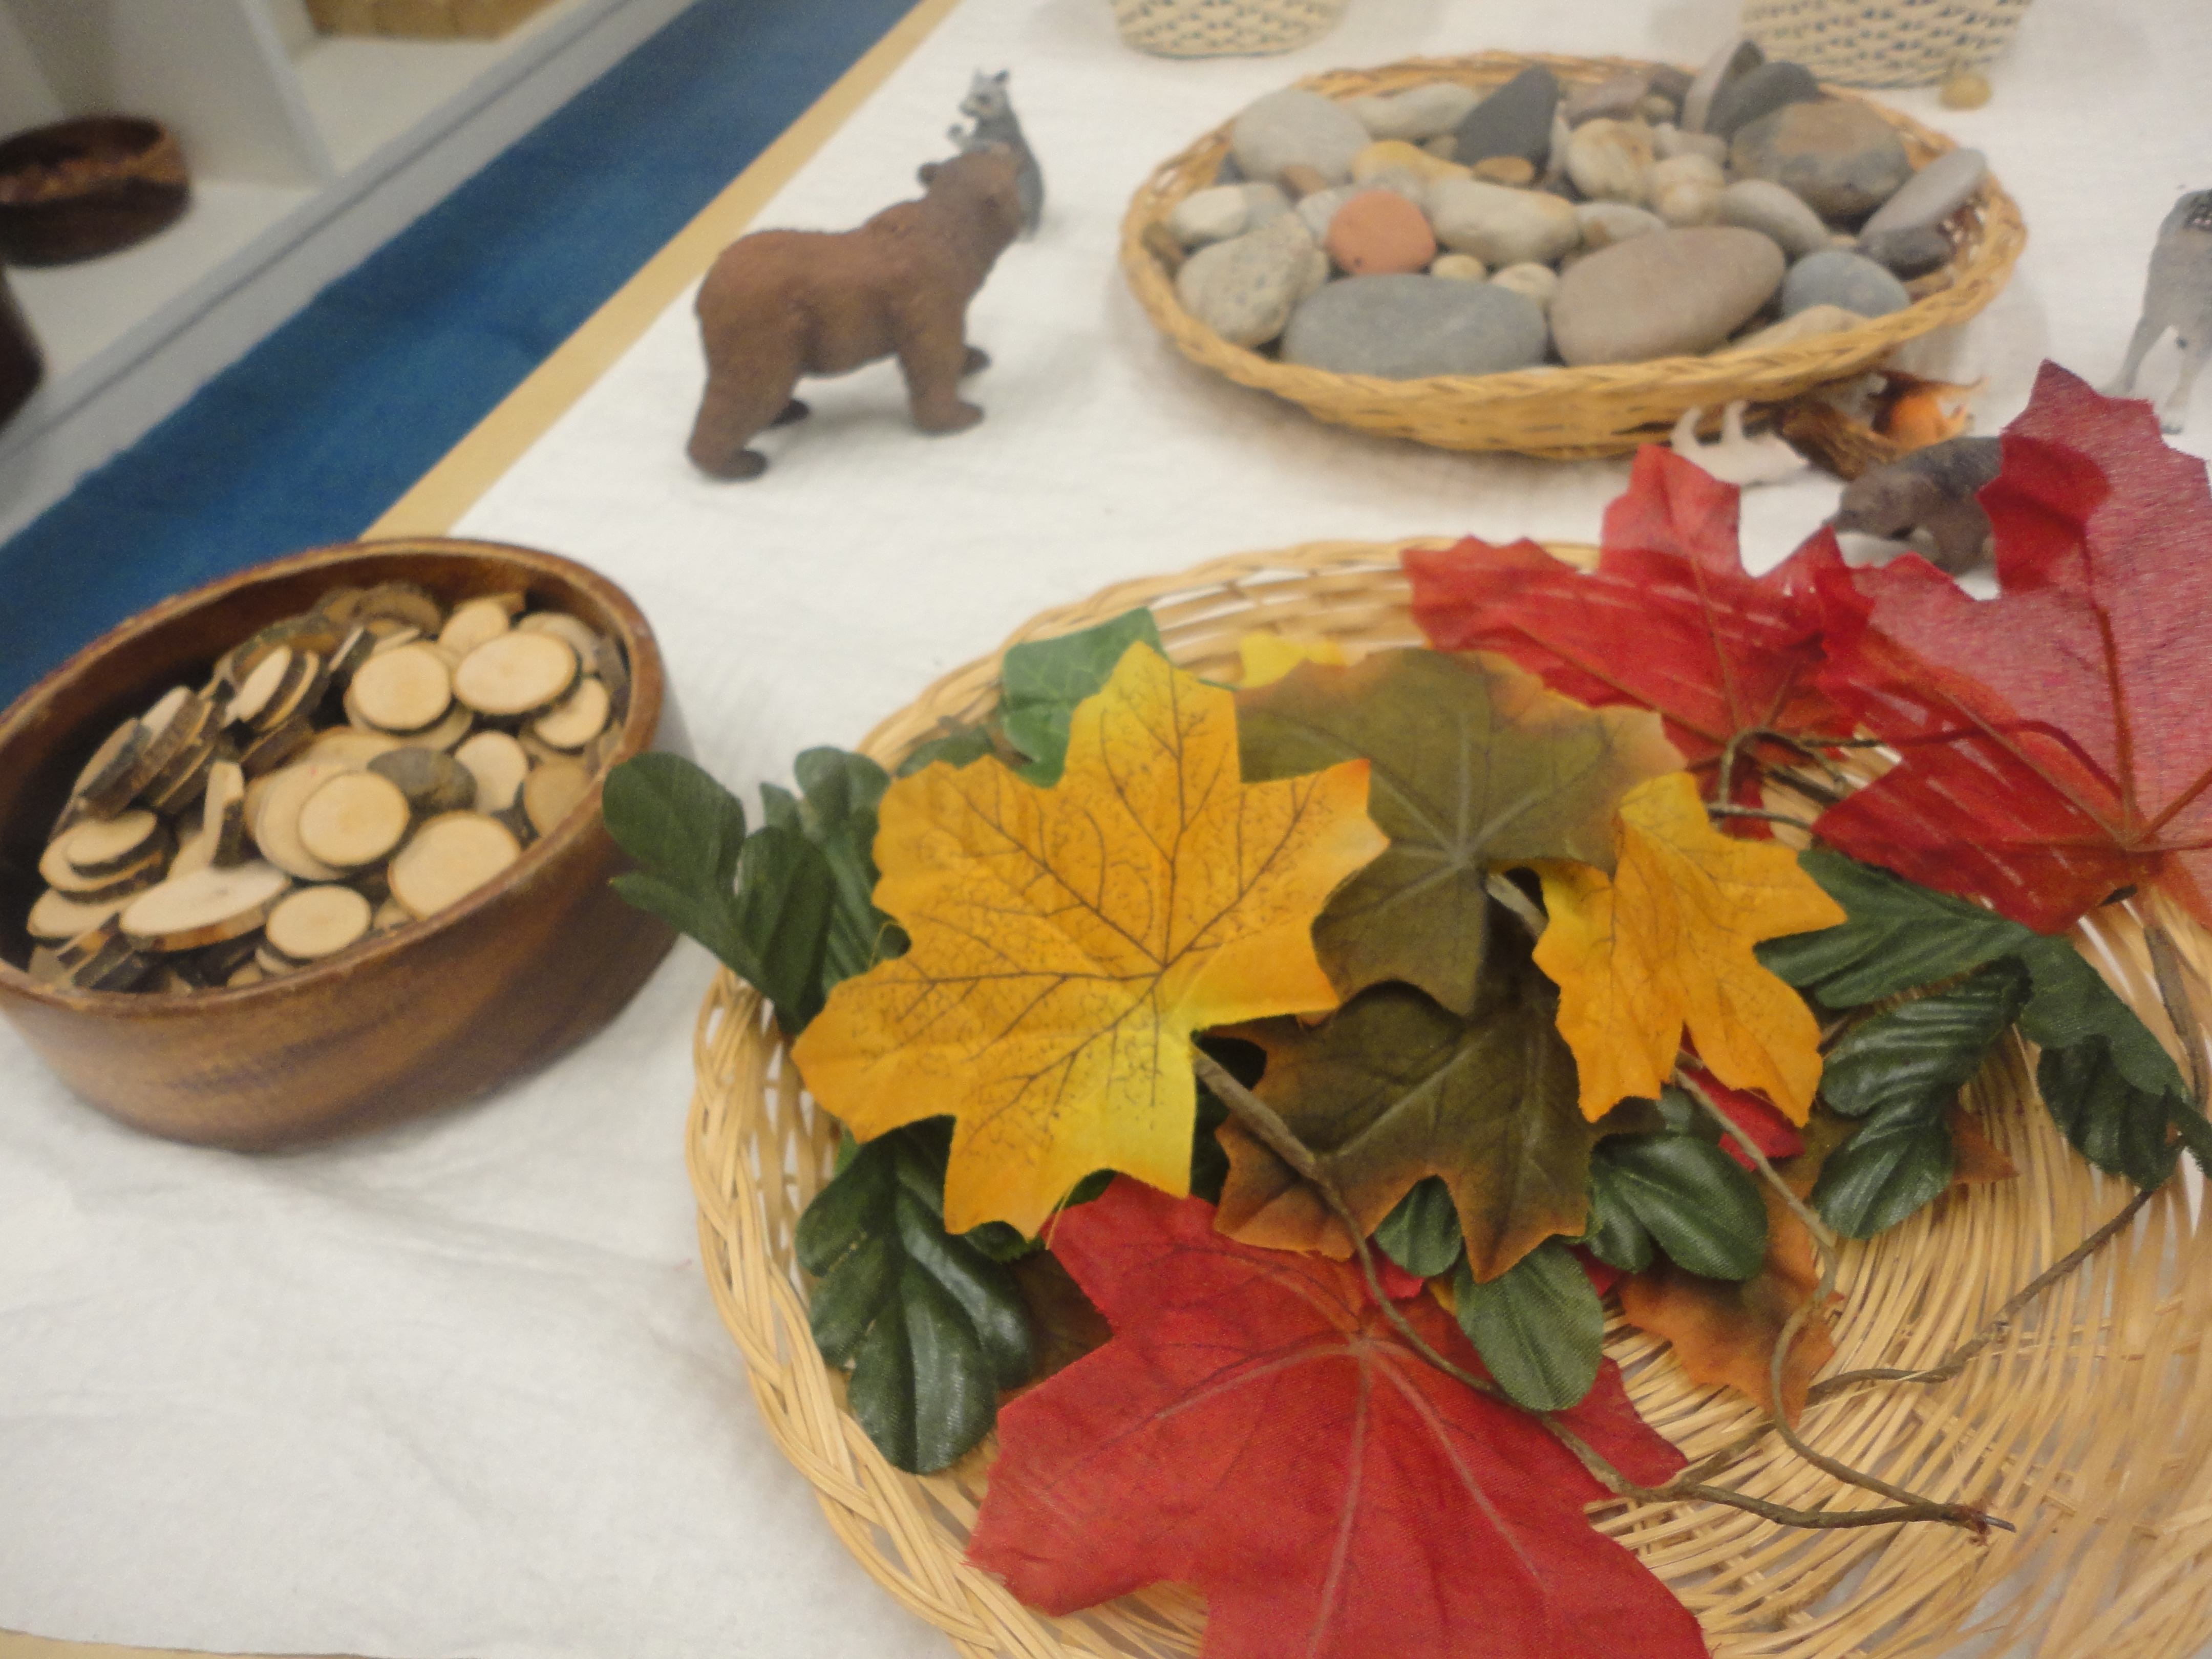
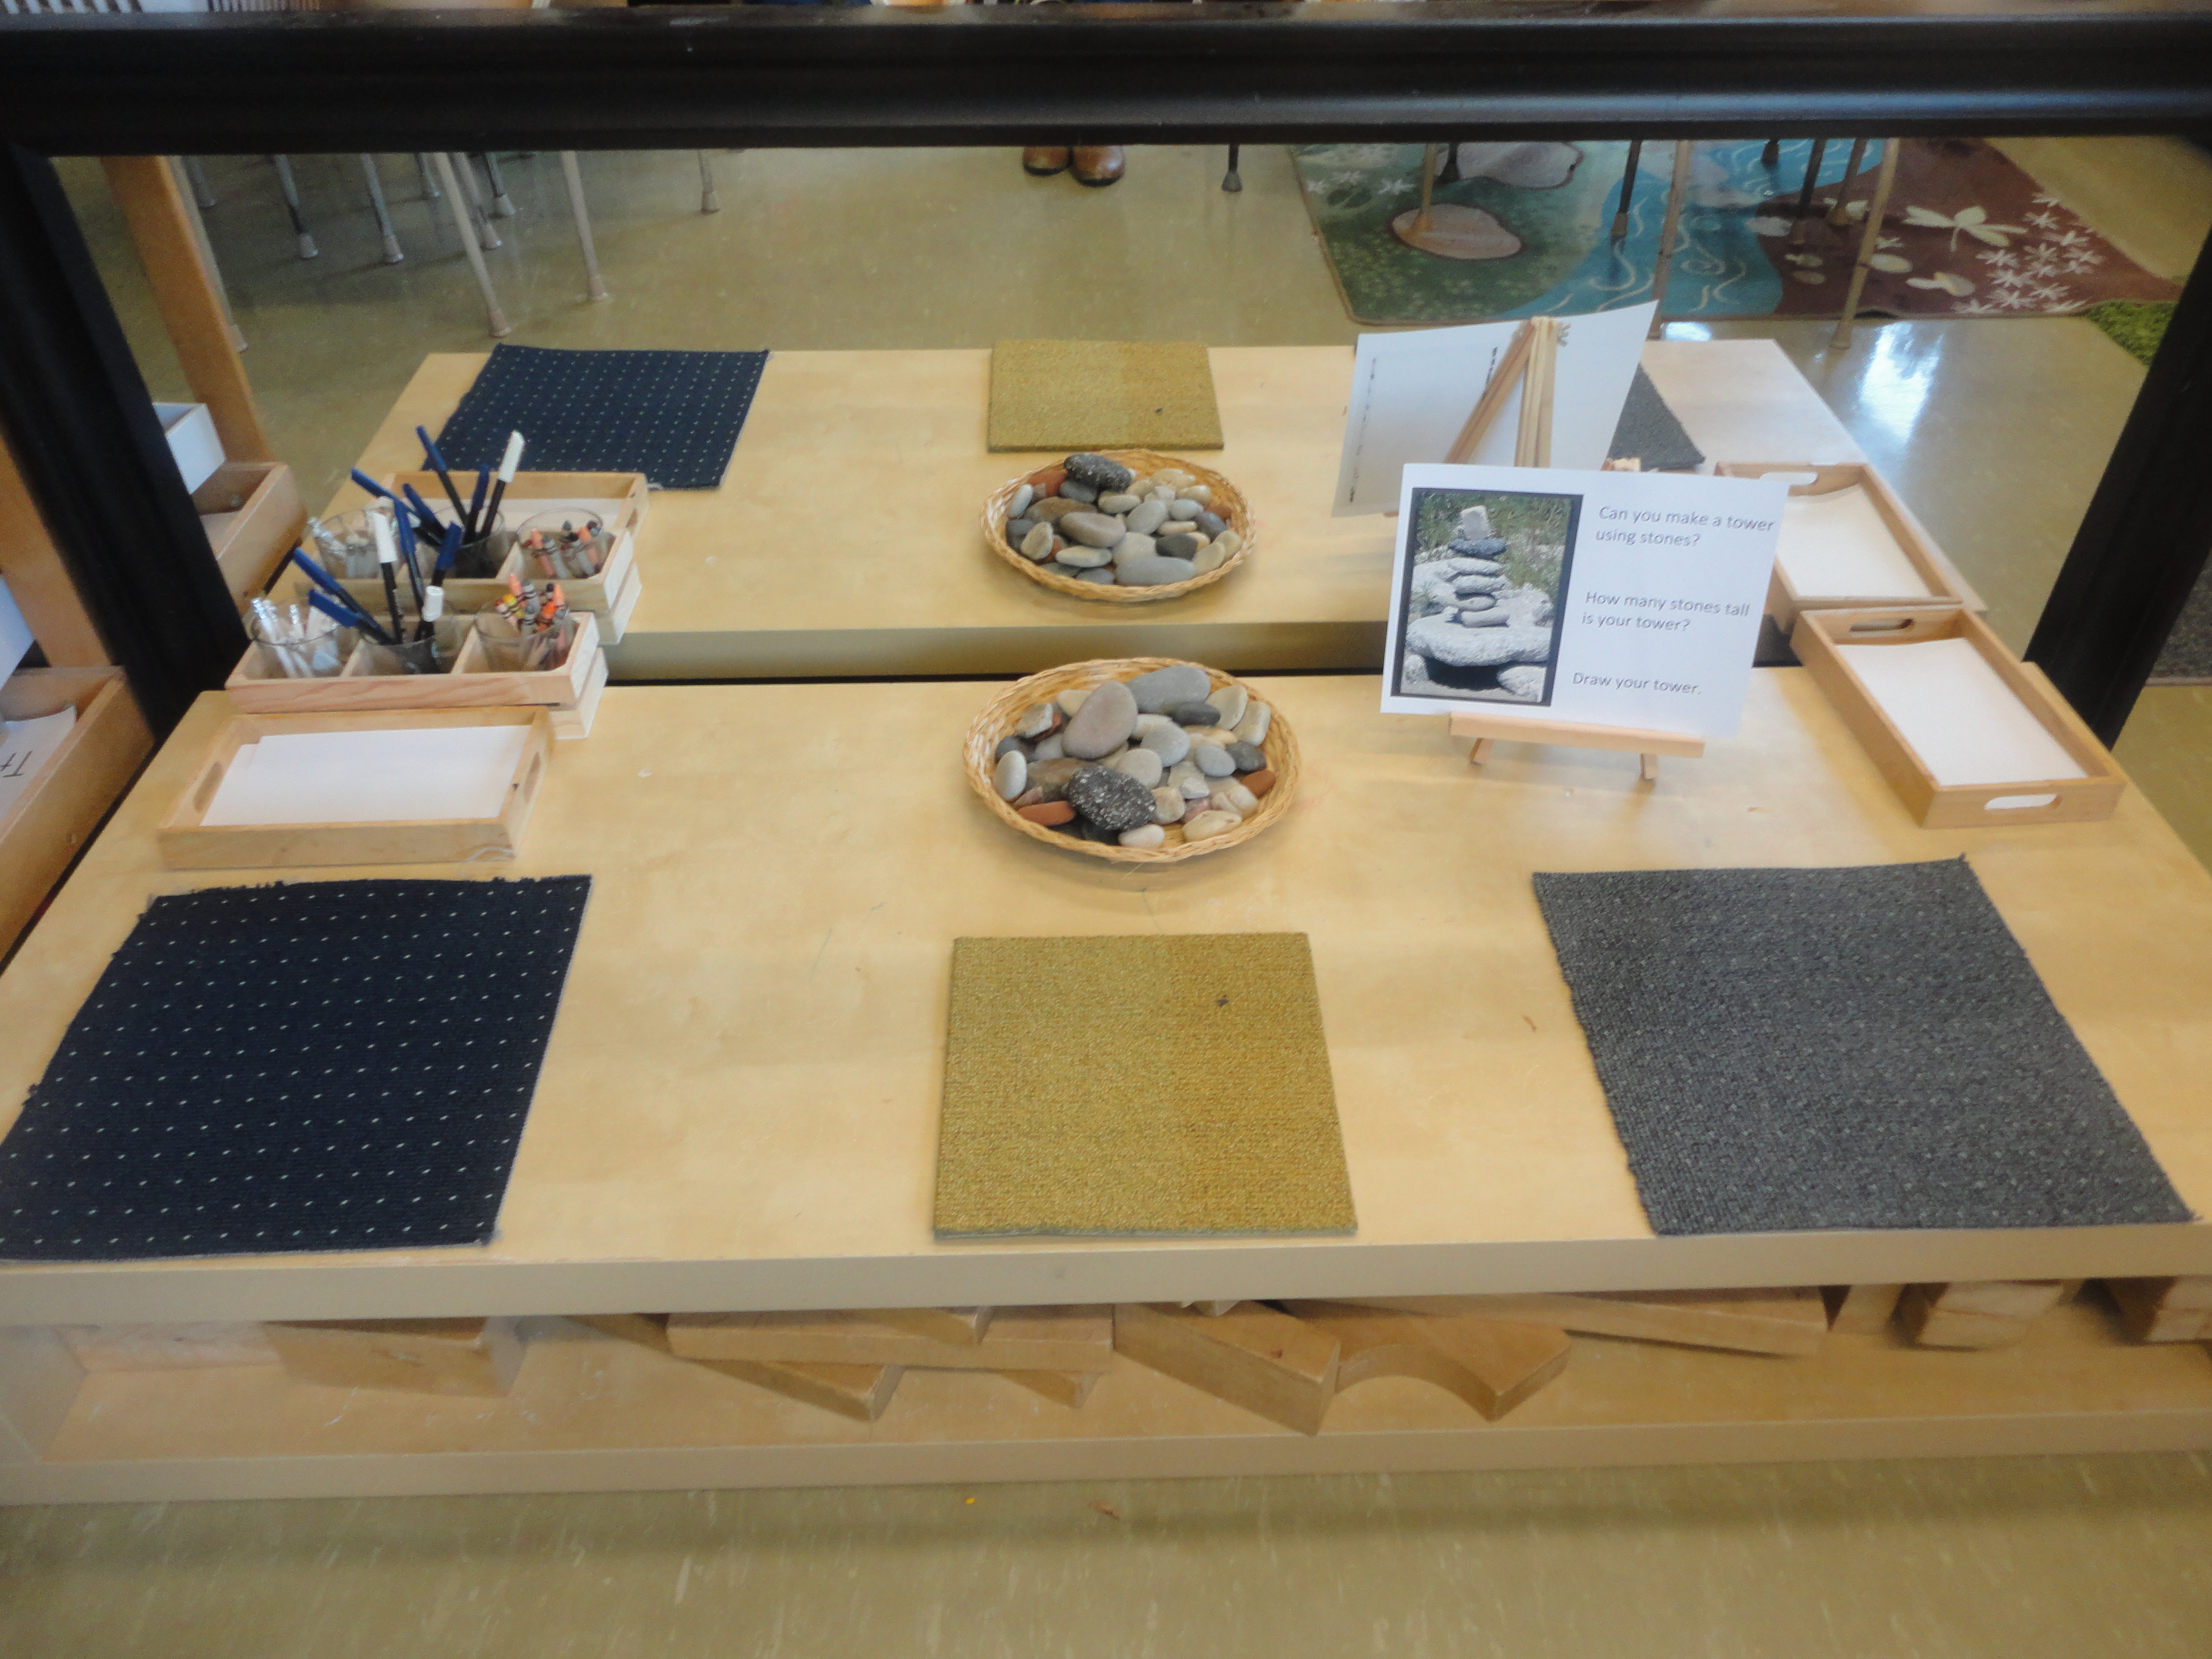
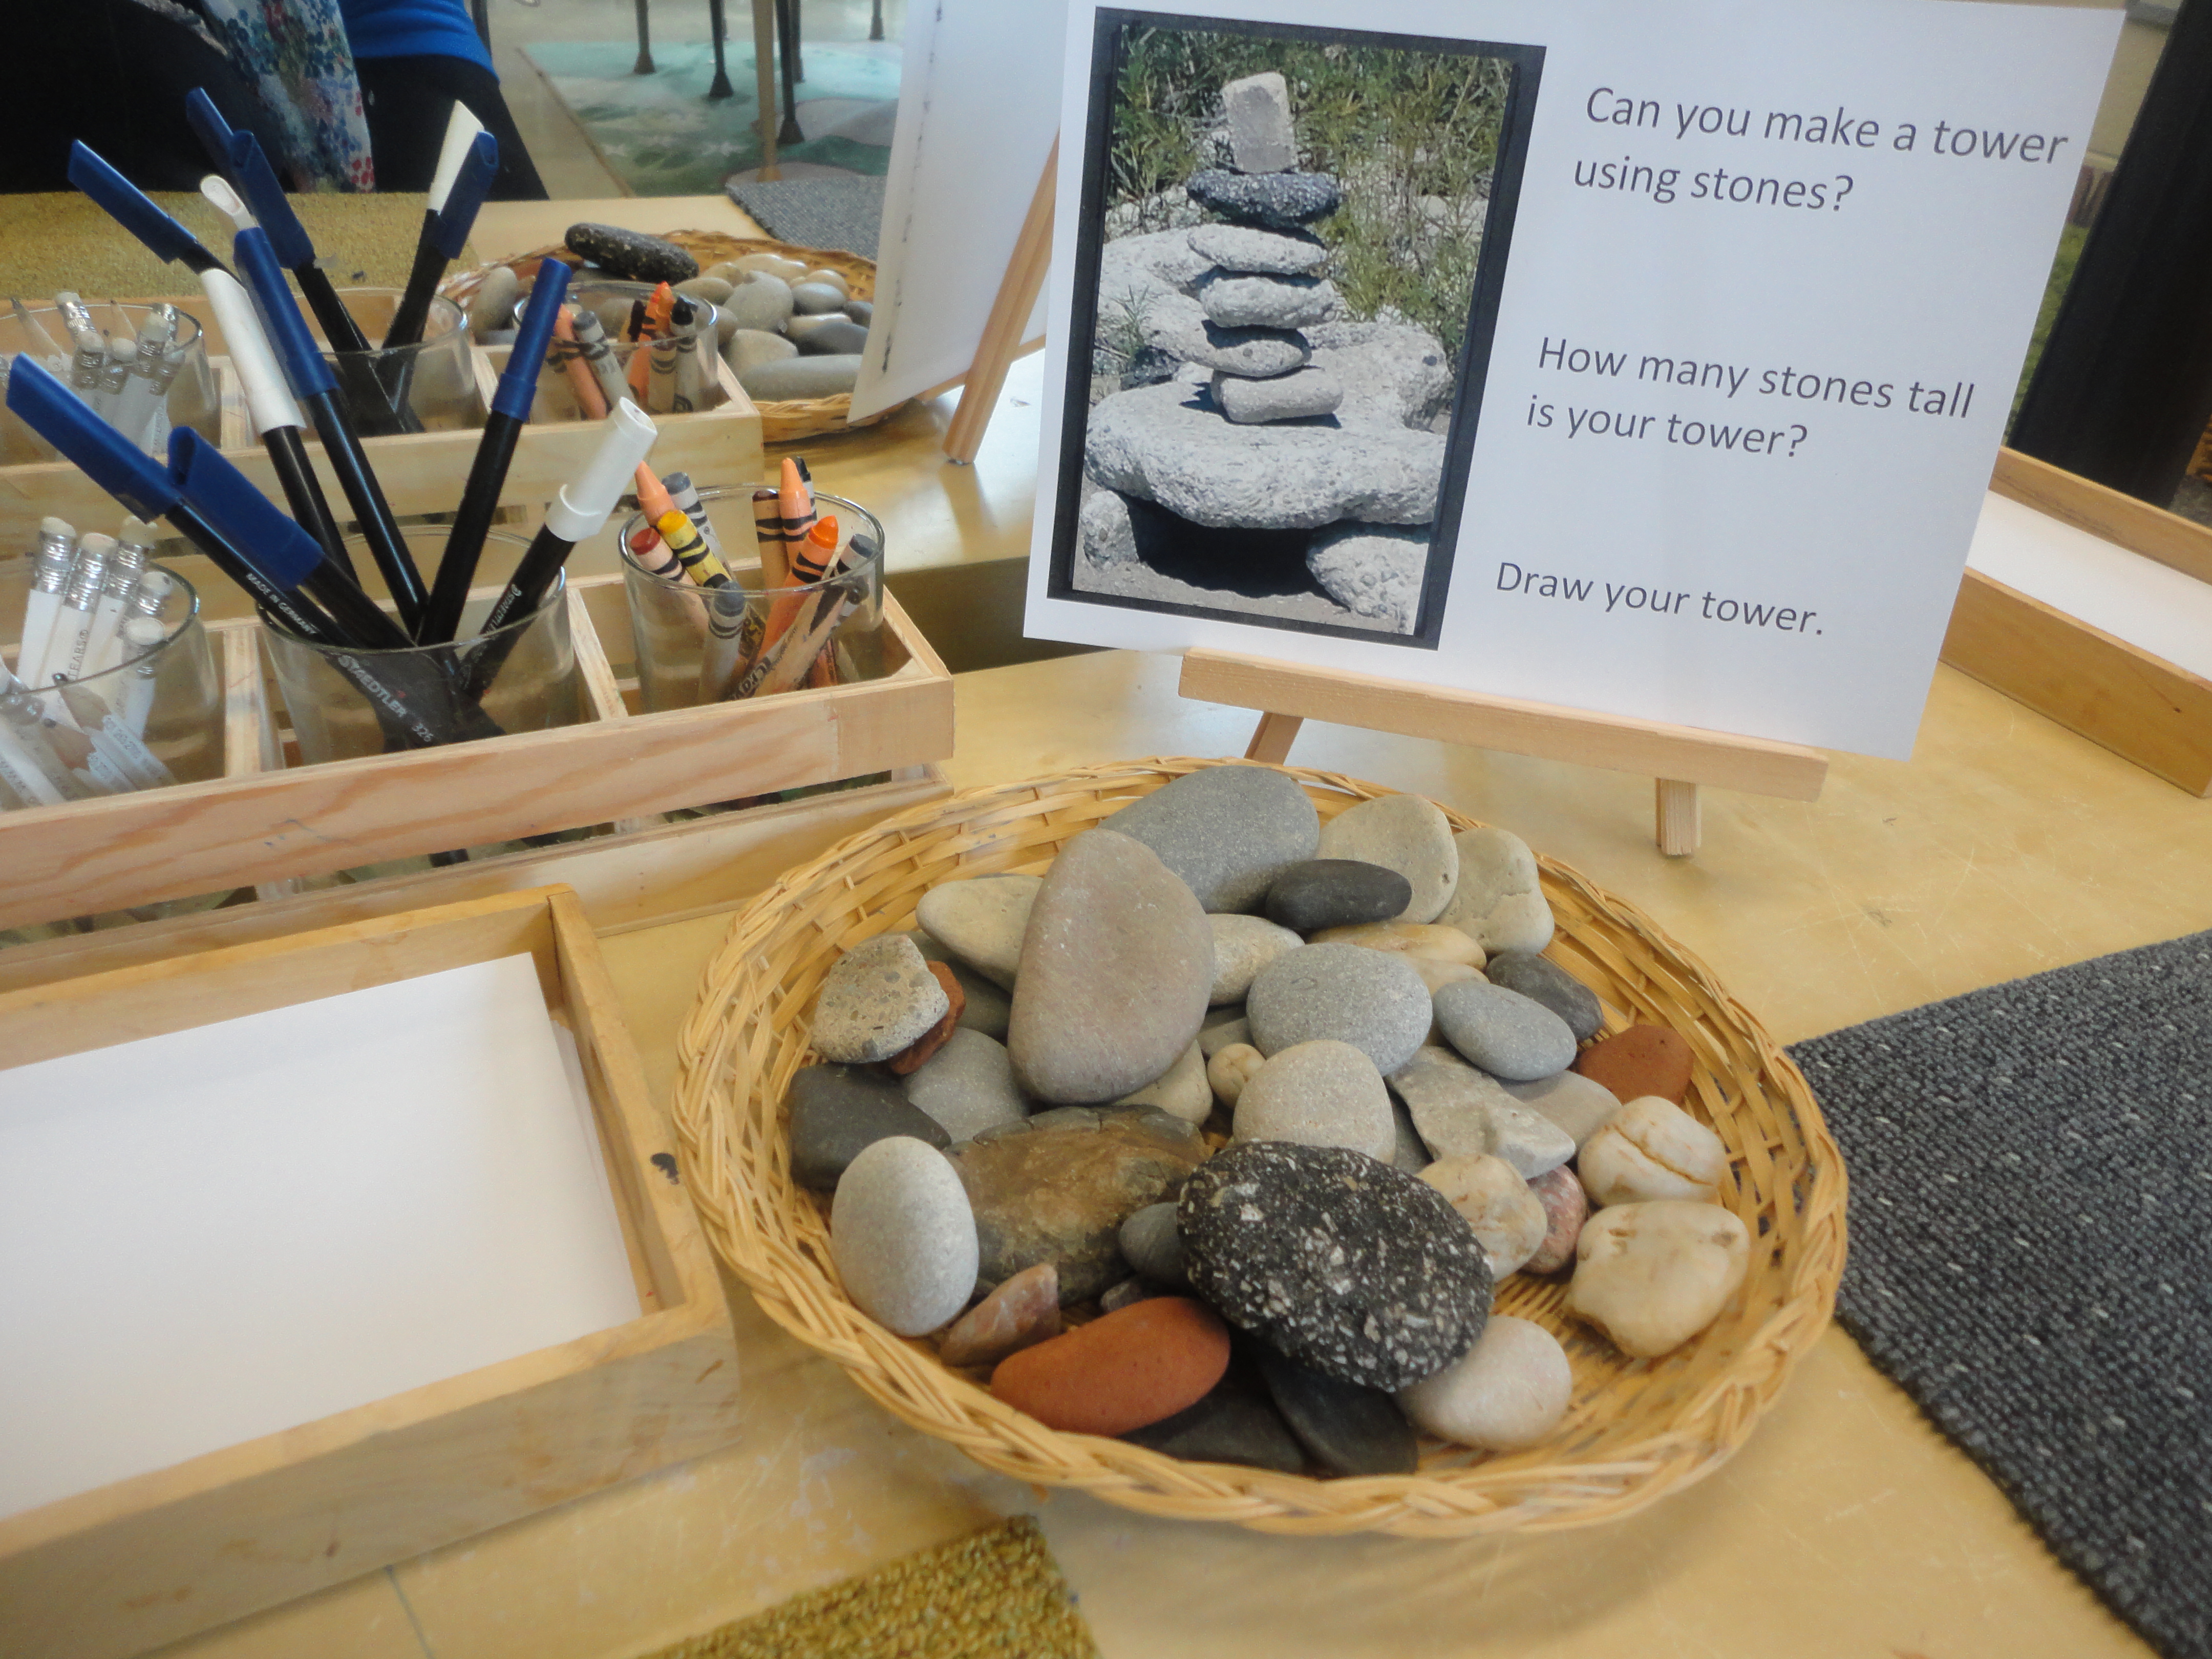
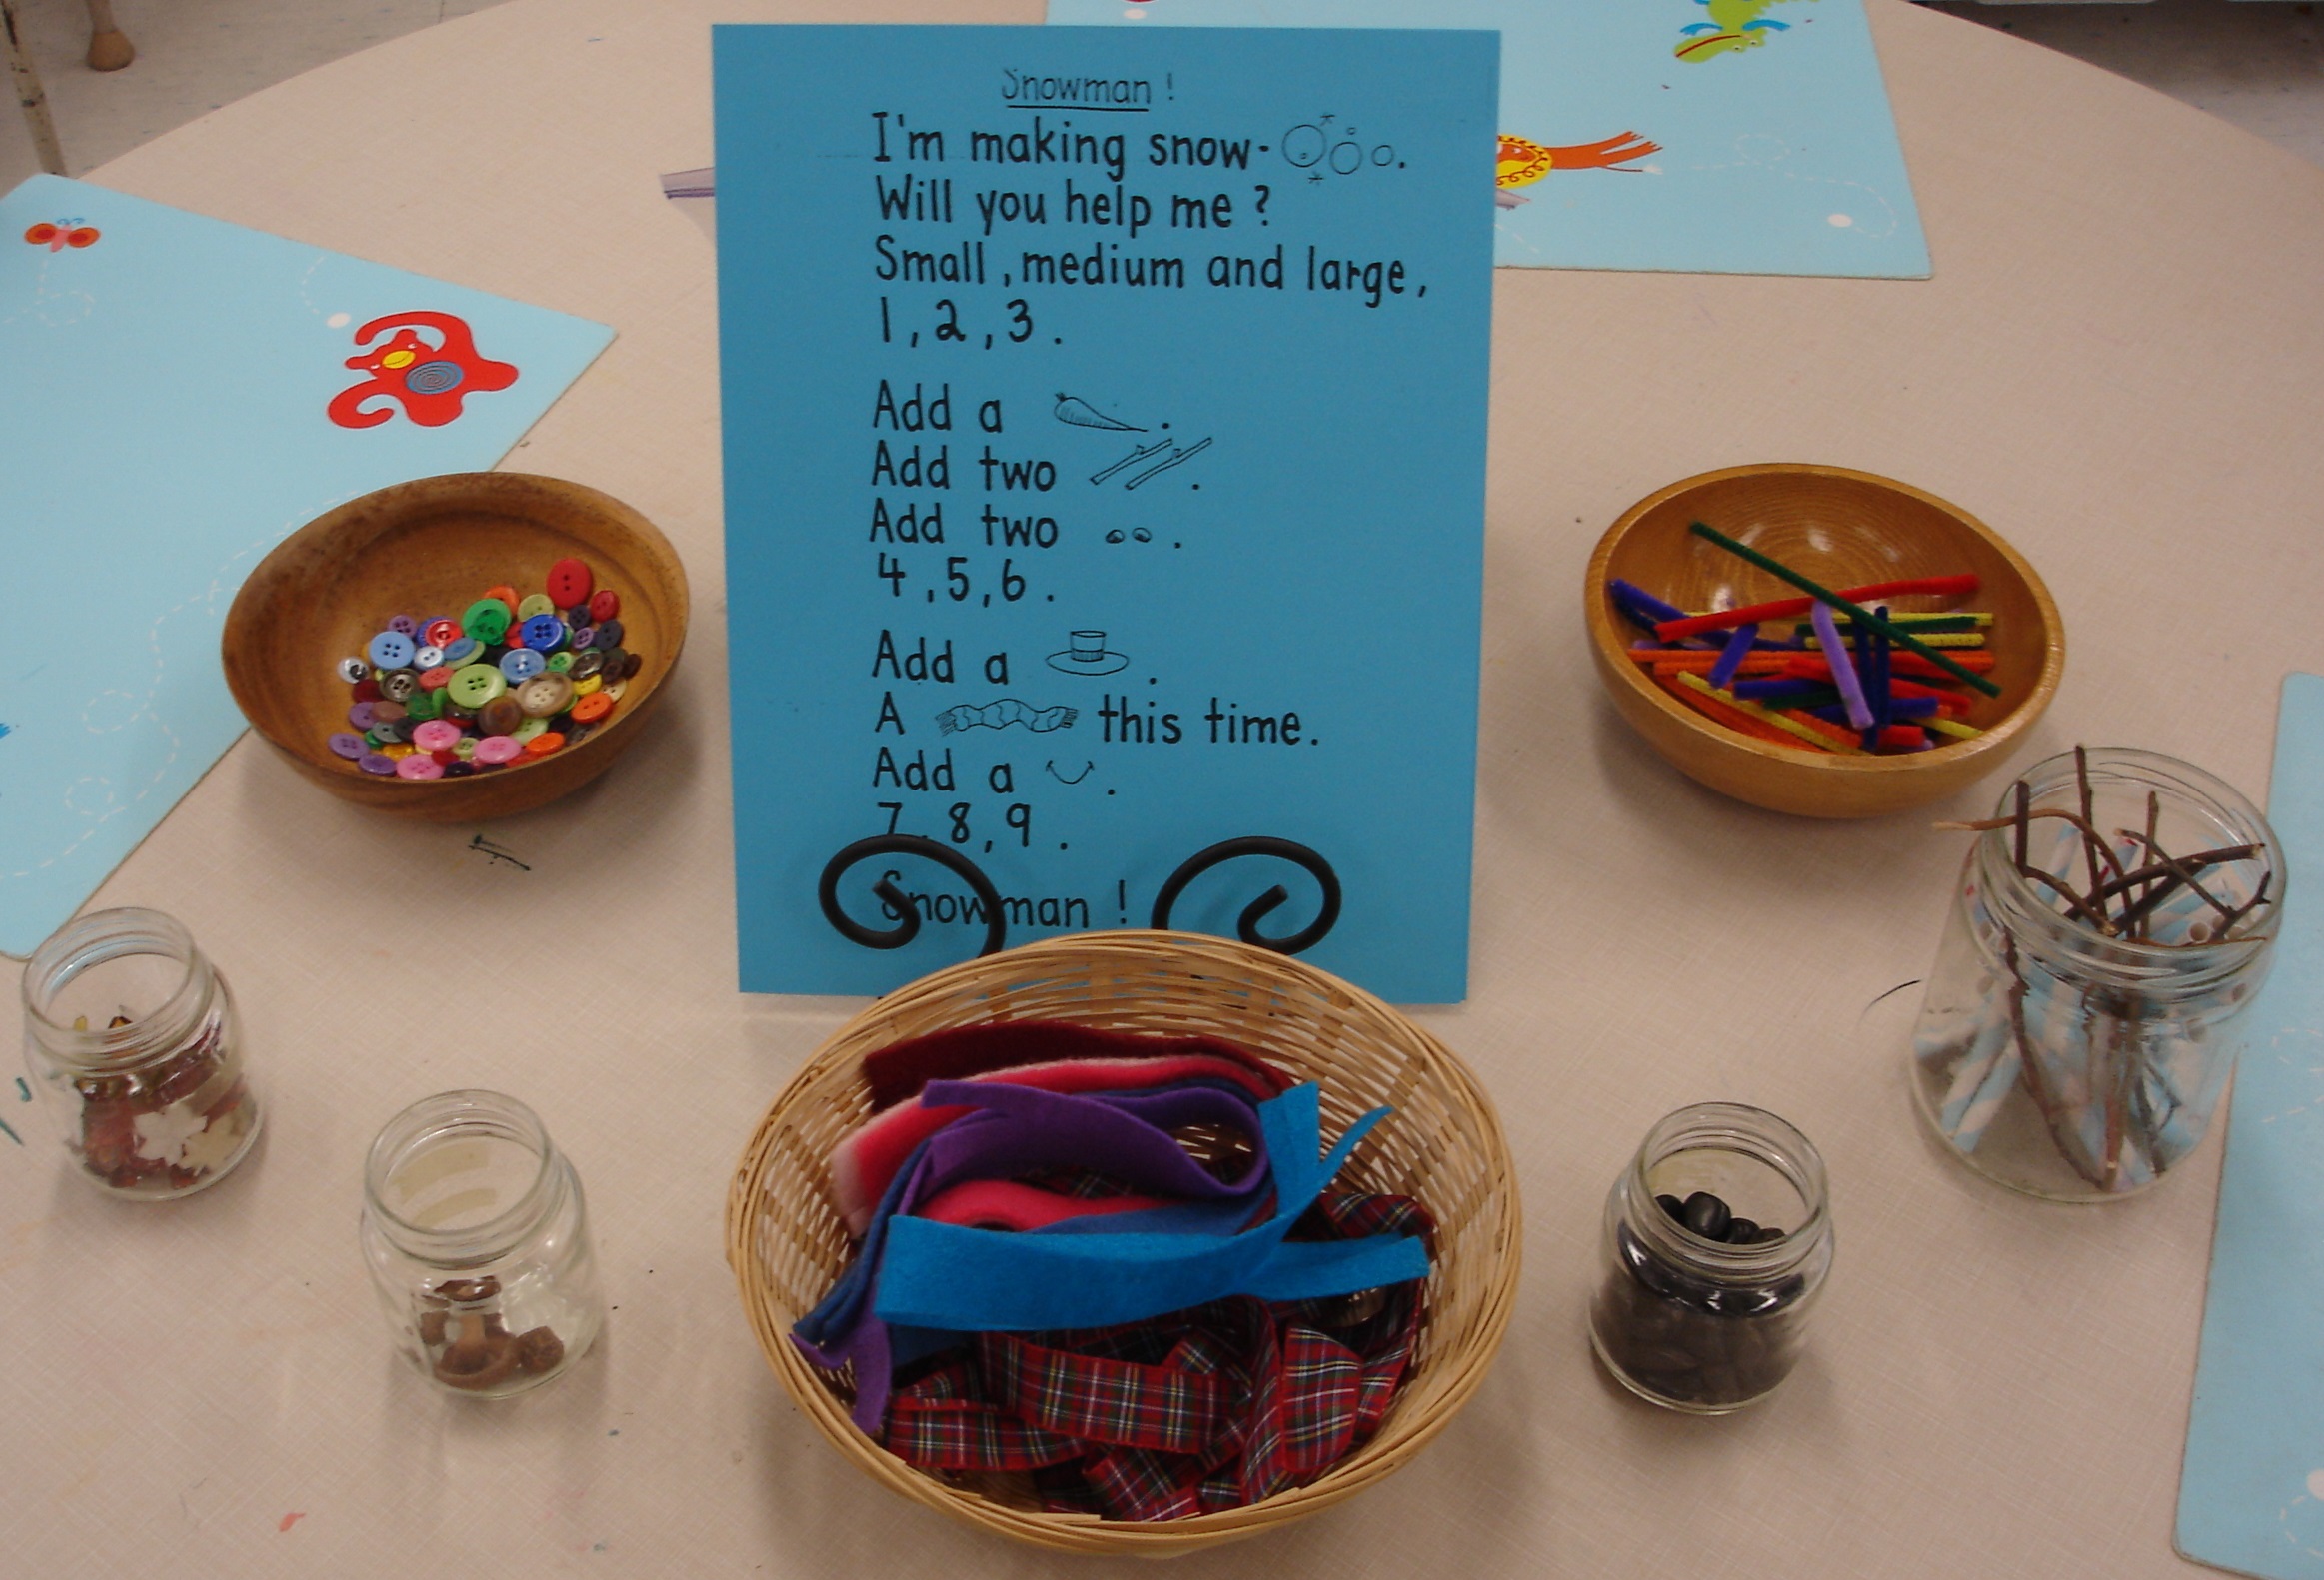
This activity begins with a poem (which we explored as a class during Shared Reading time) and a provocation at the playdough table. Here is the set-up:
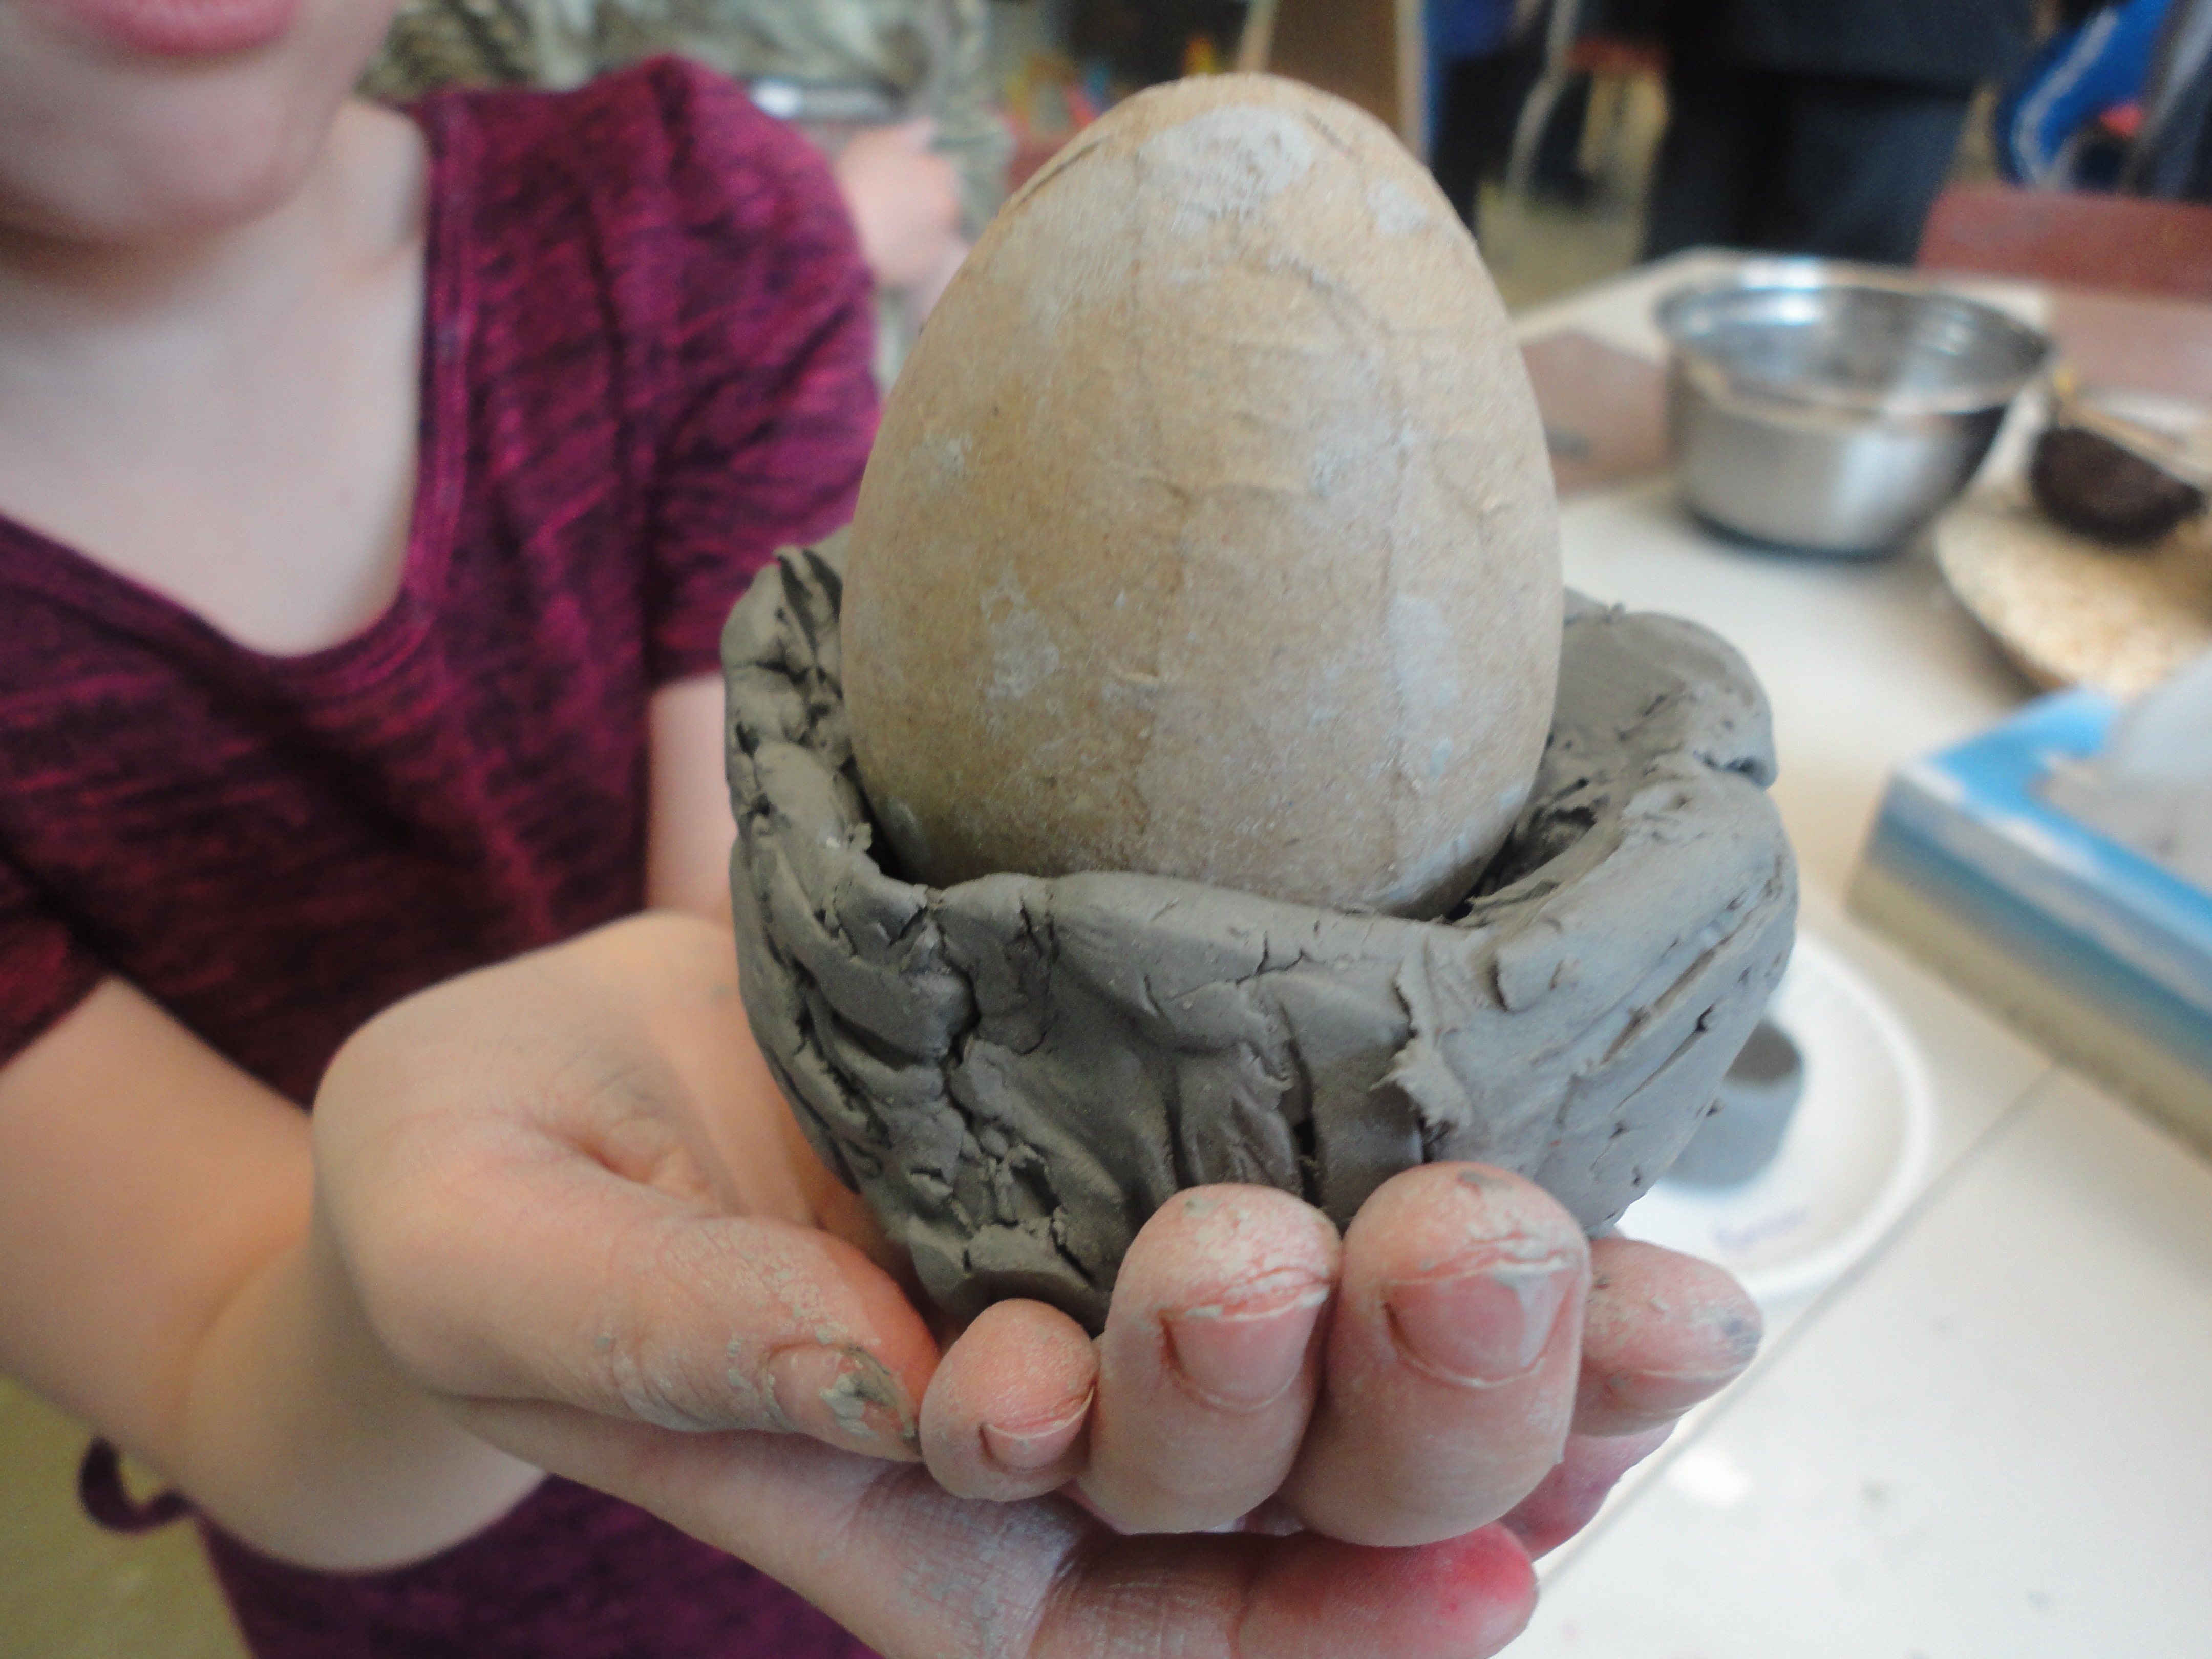
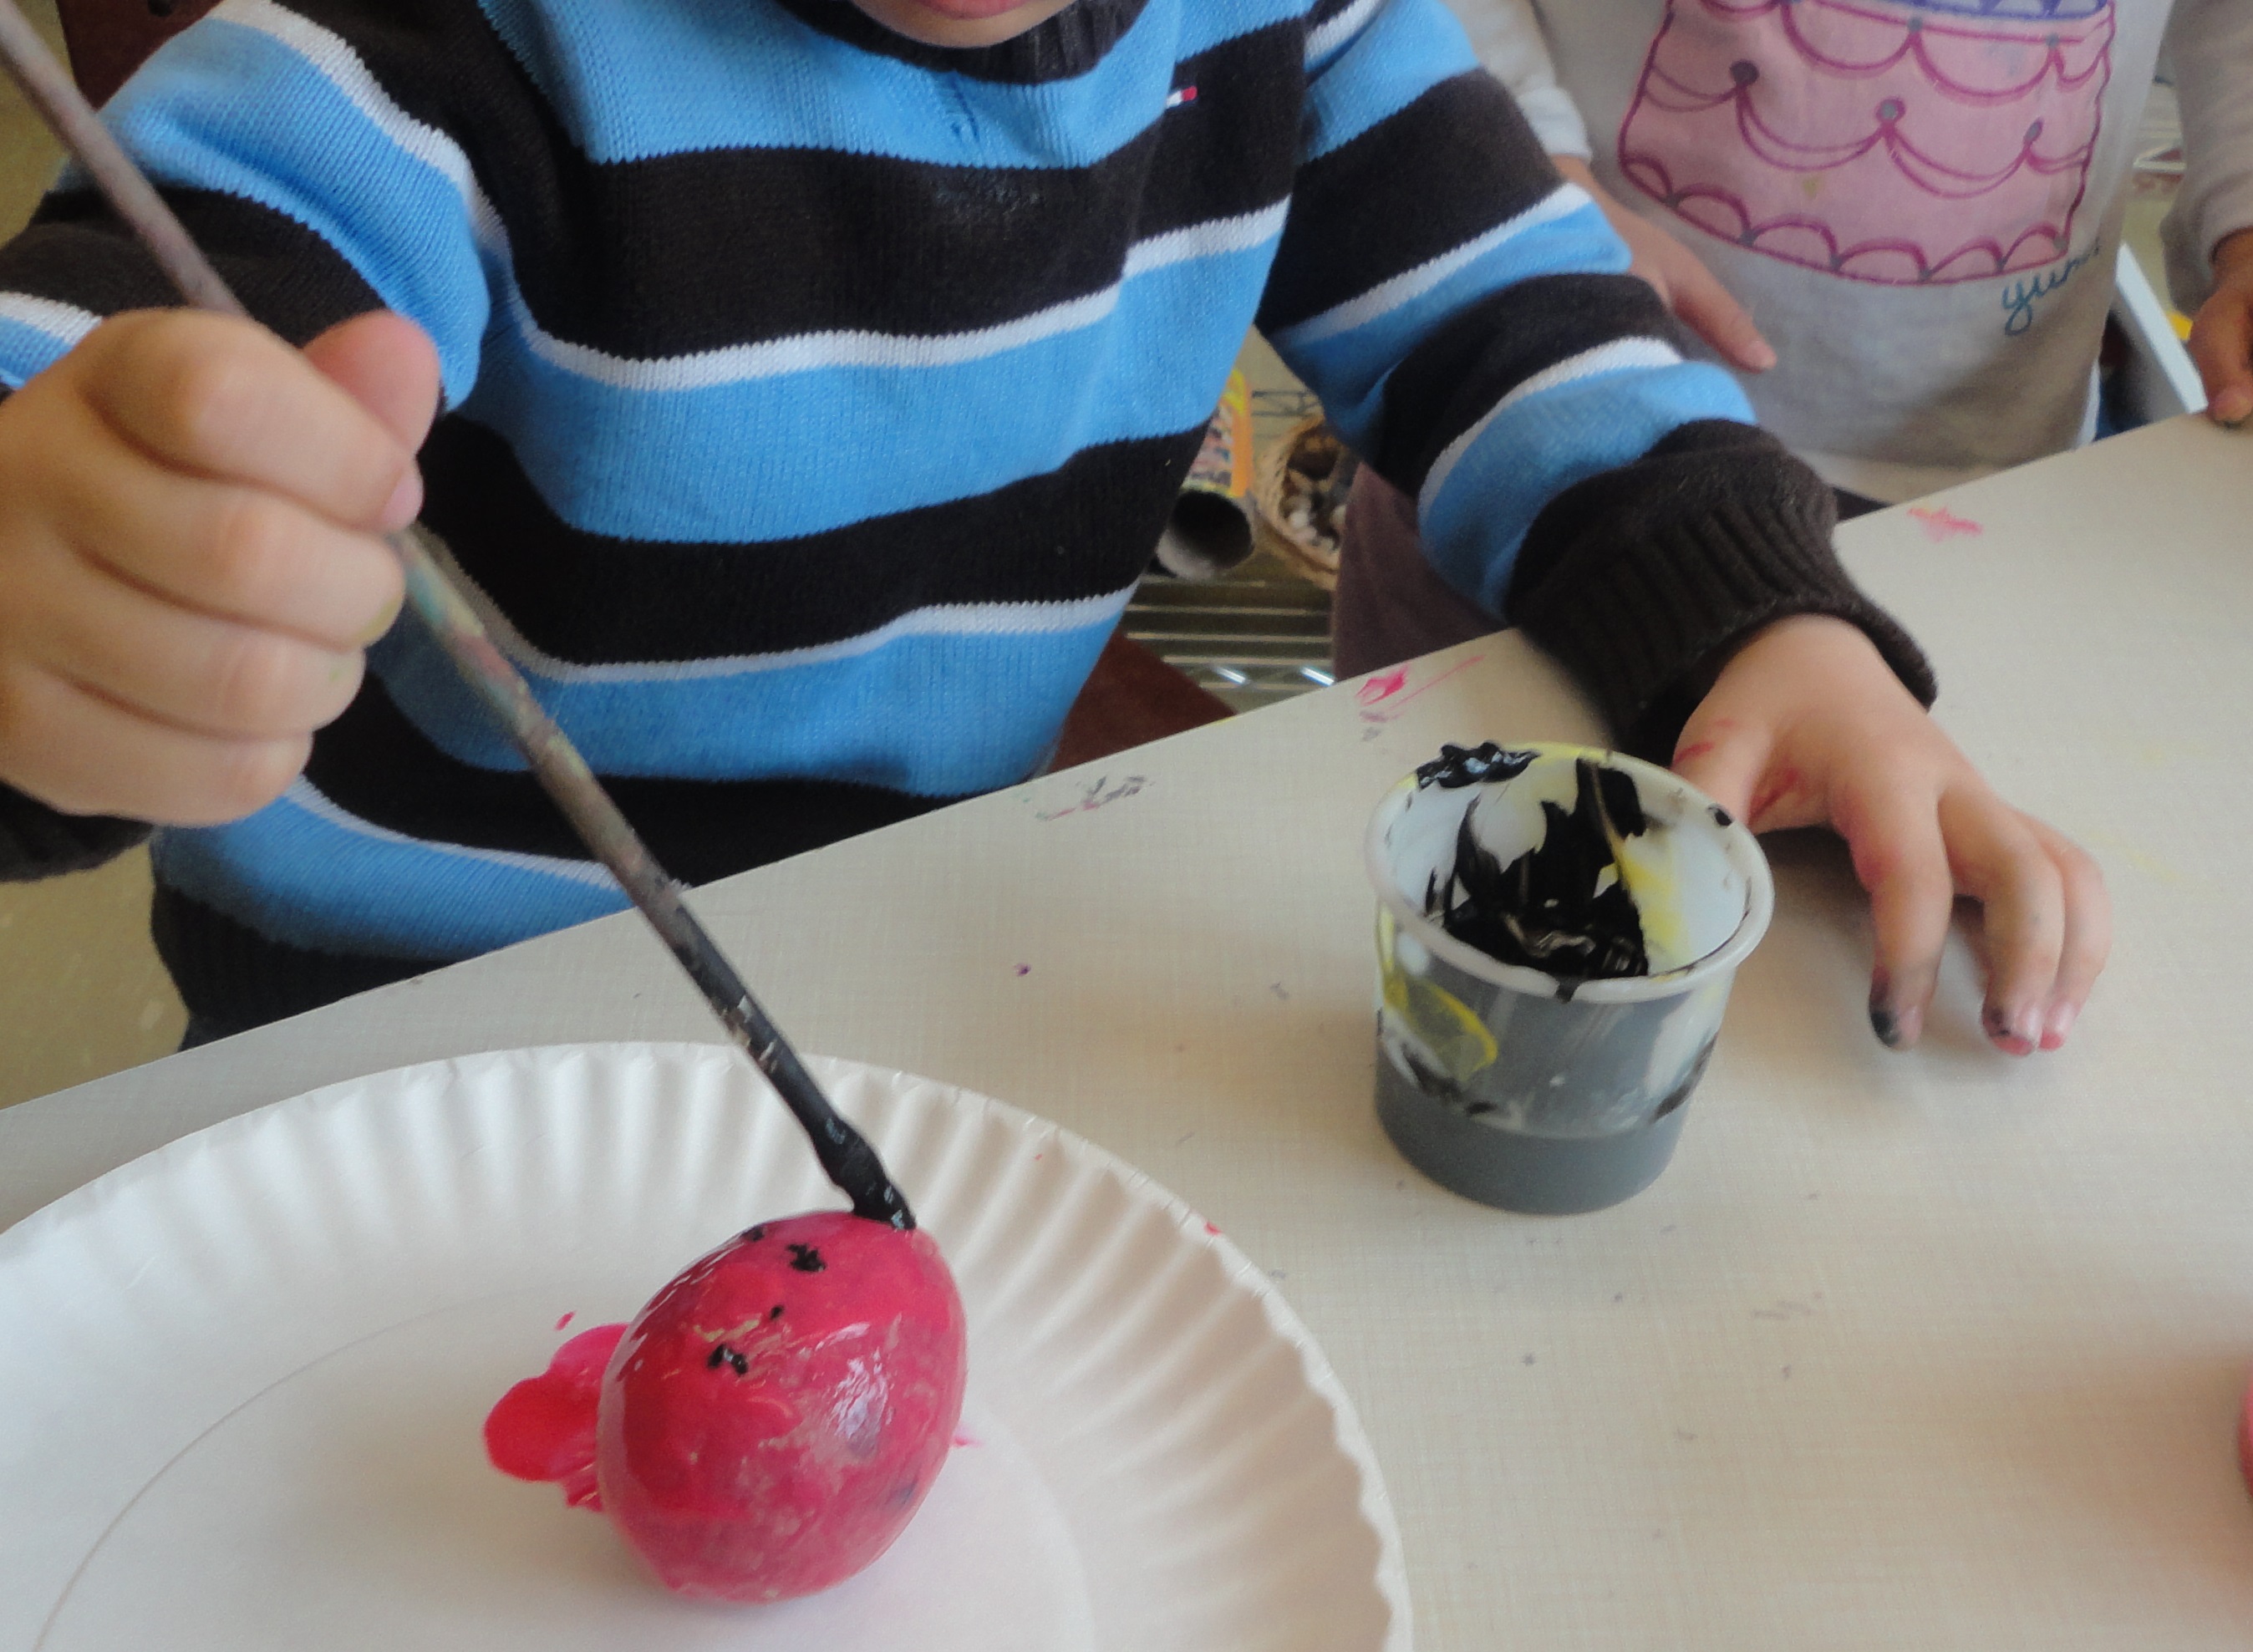
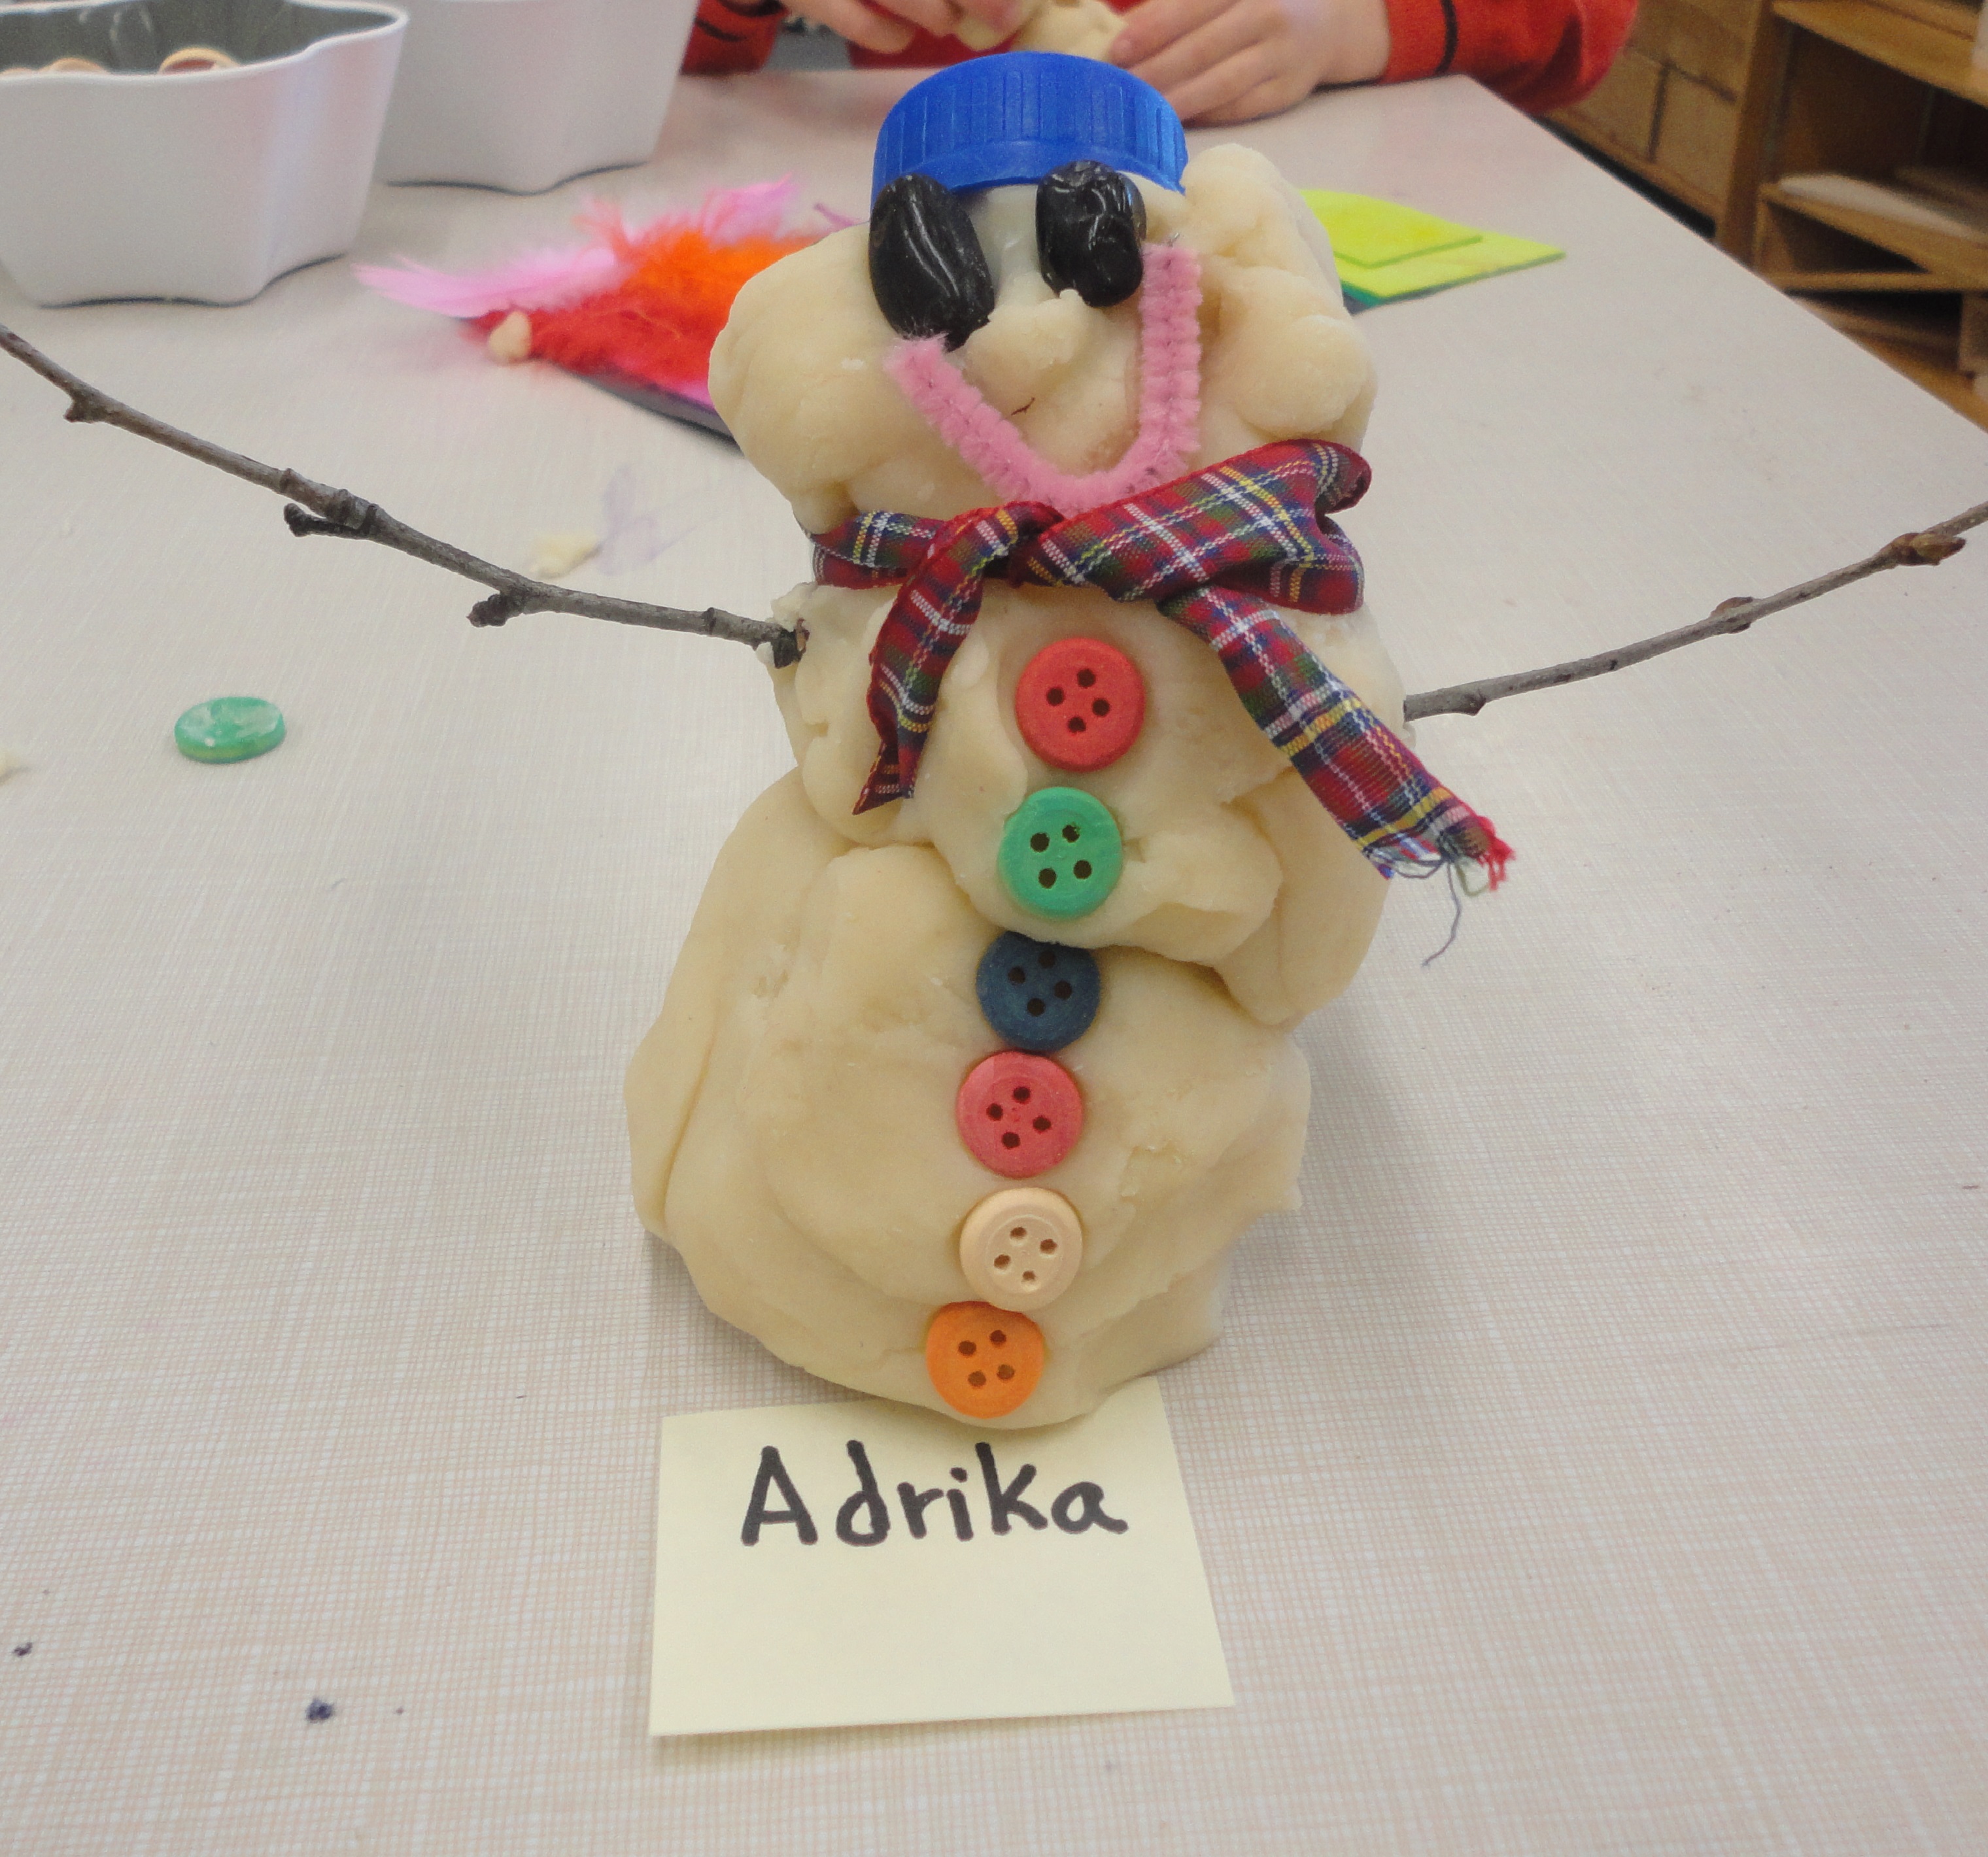
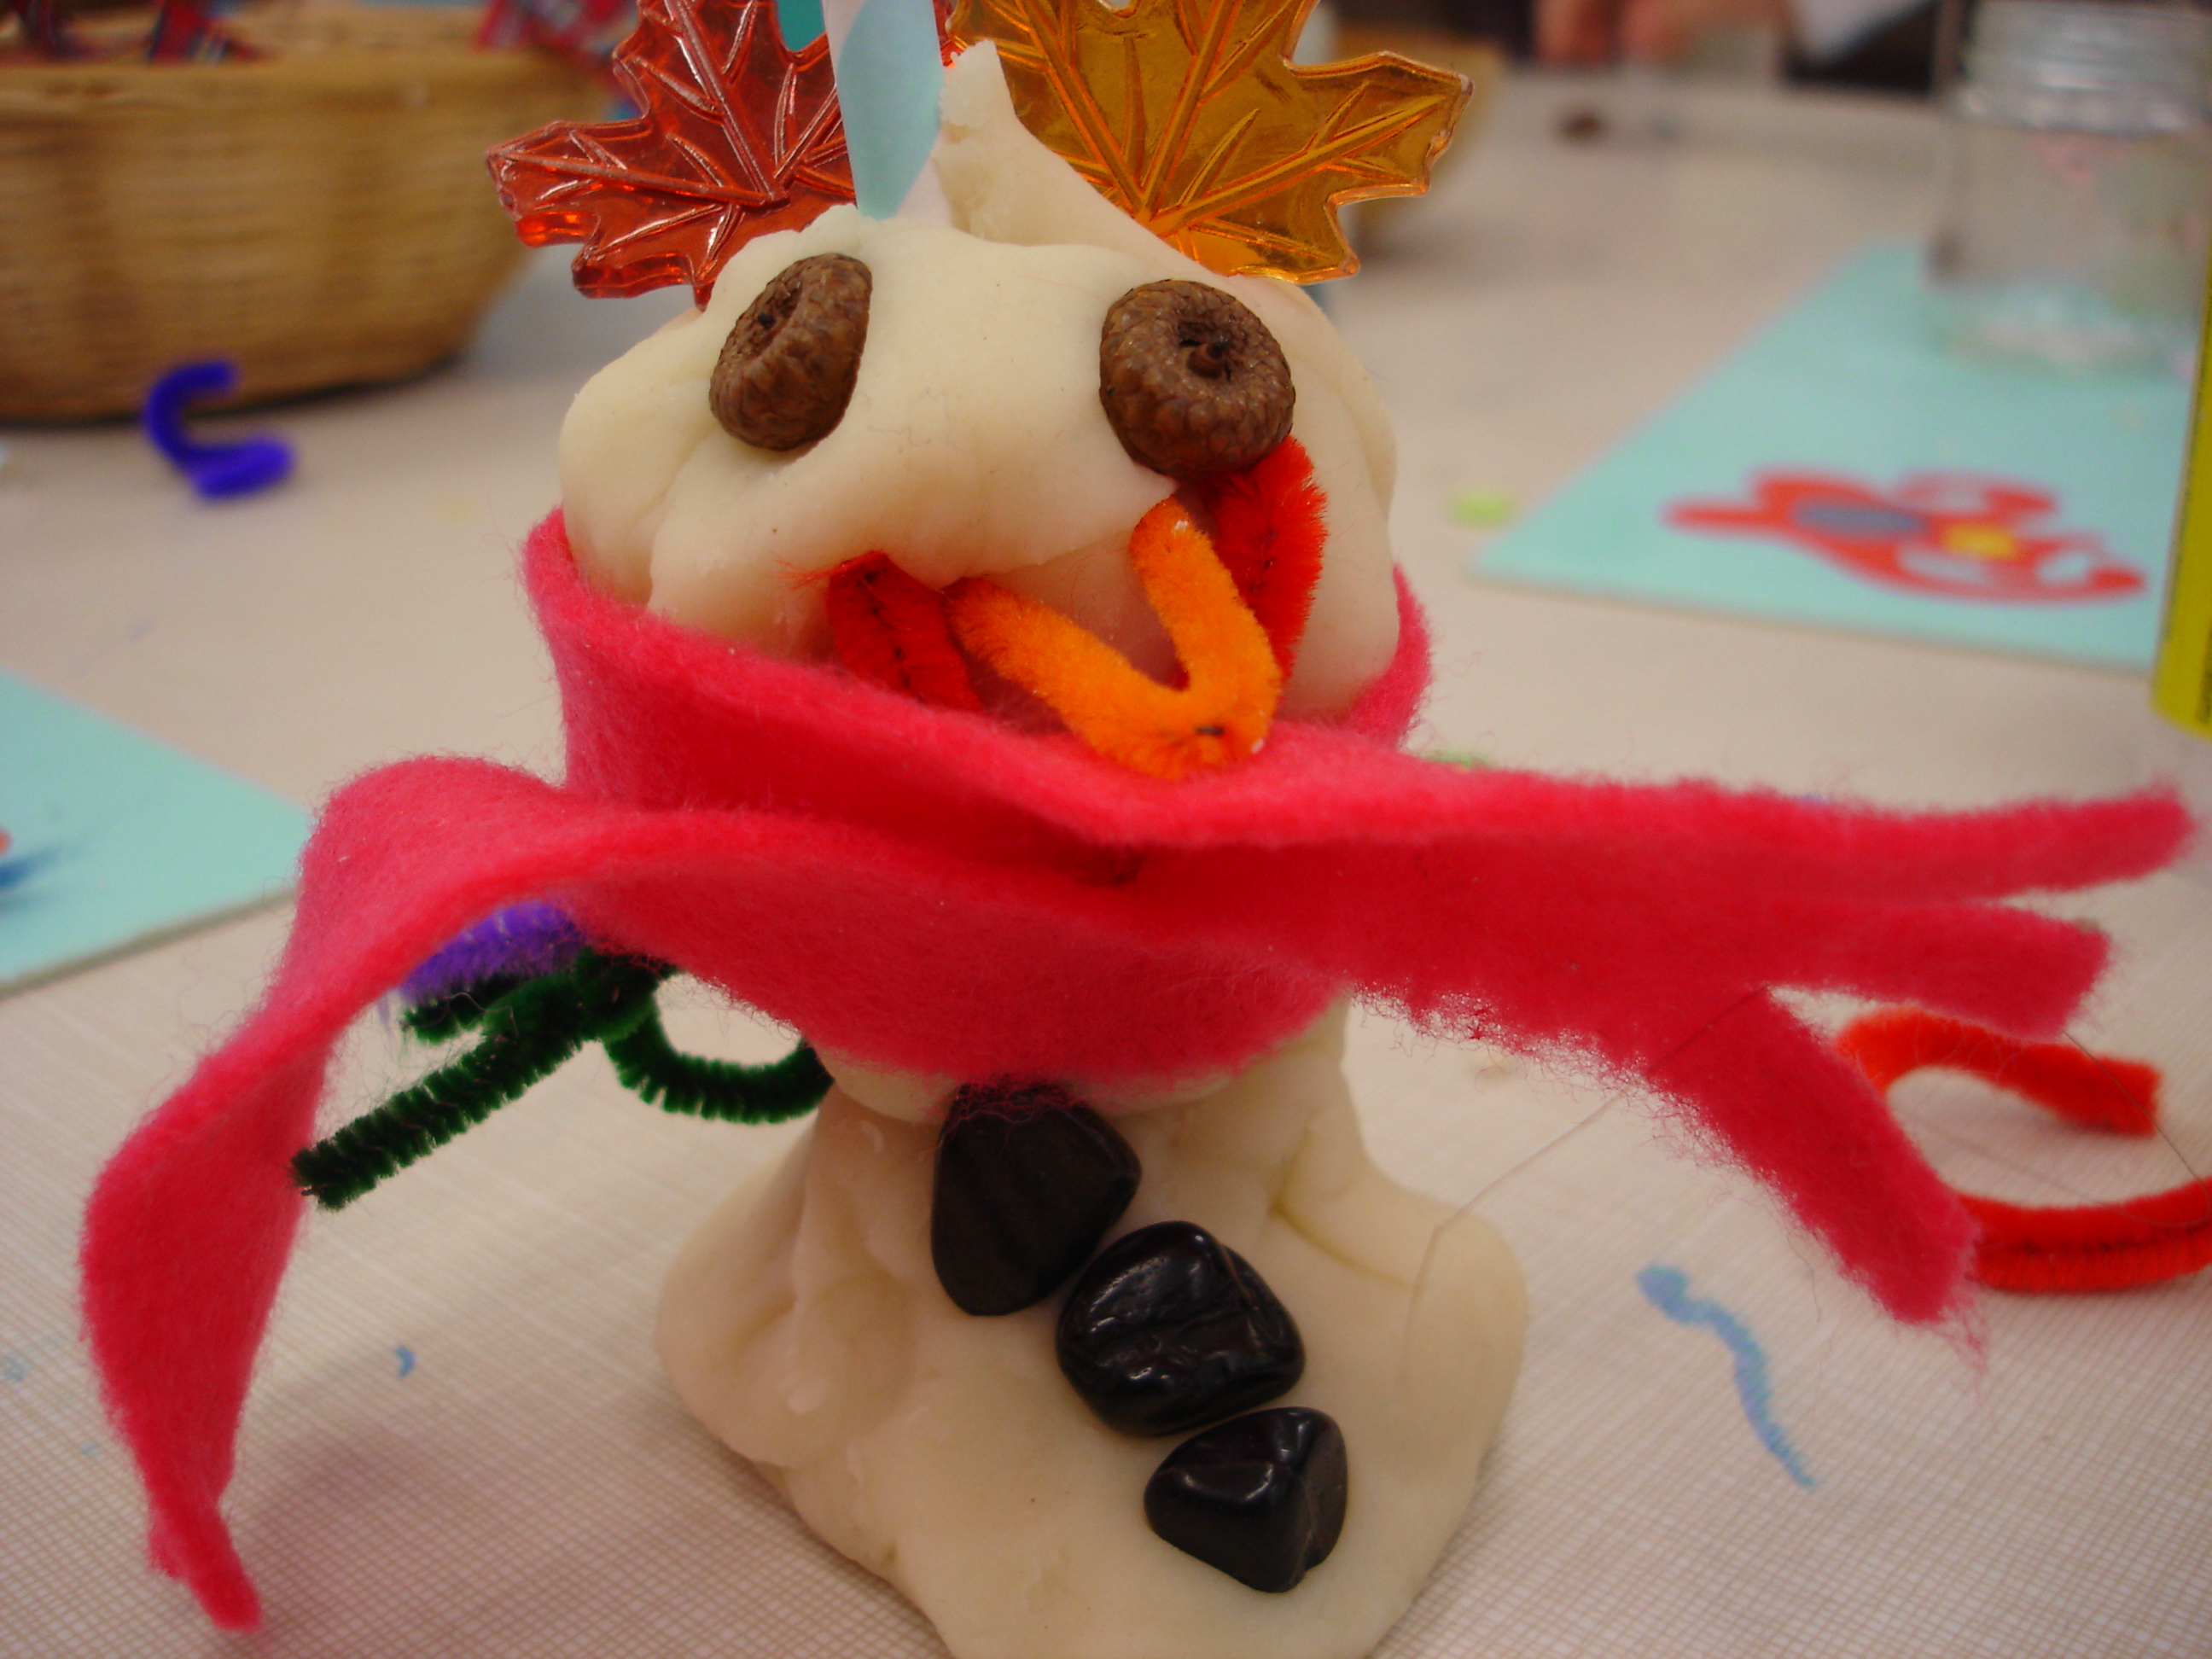
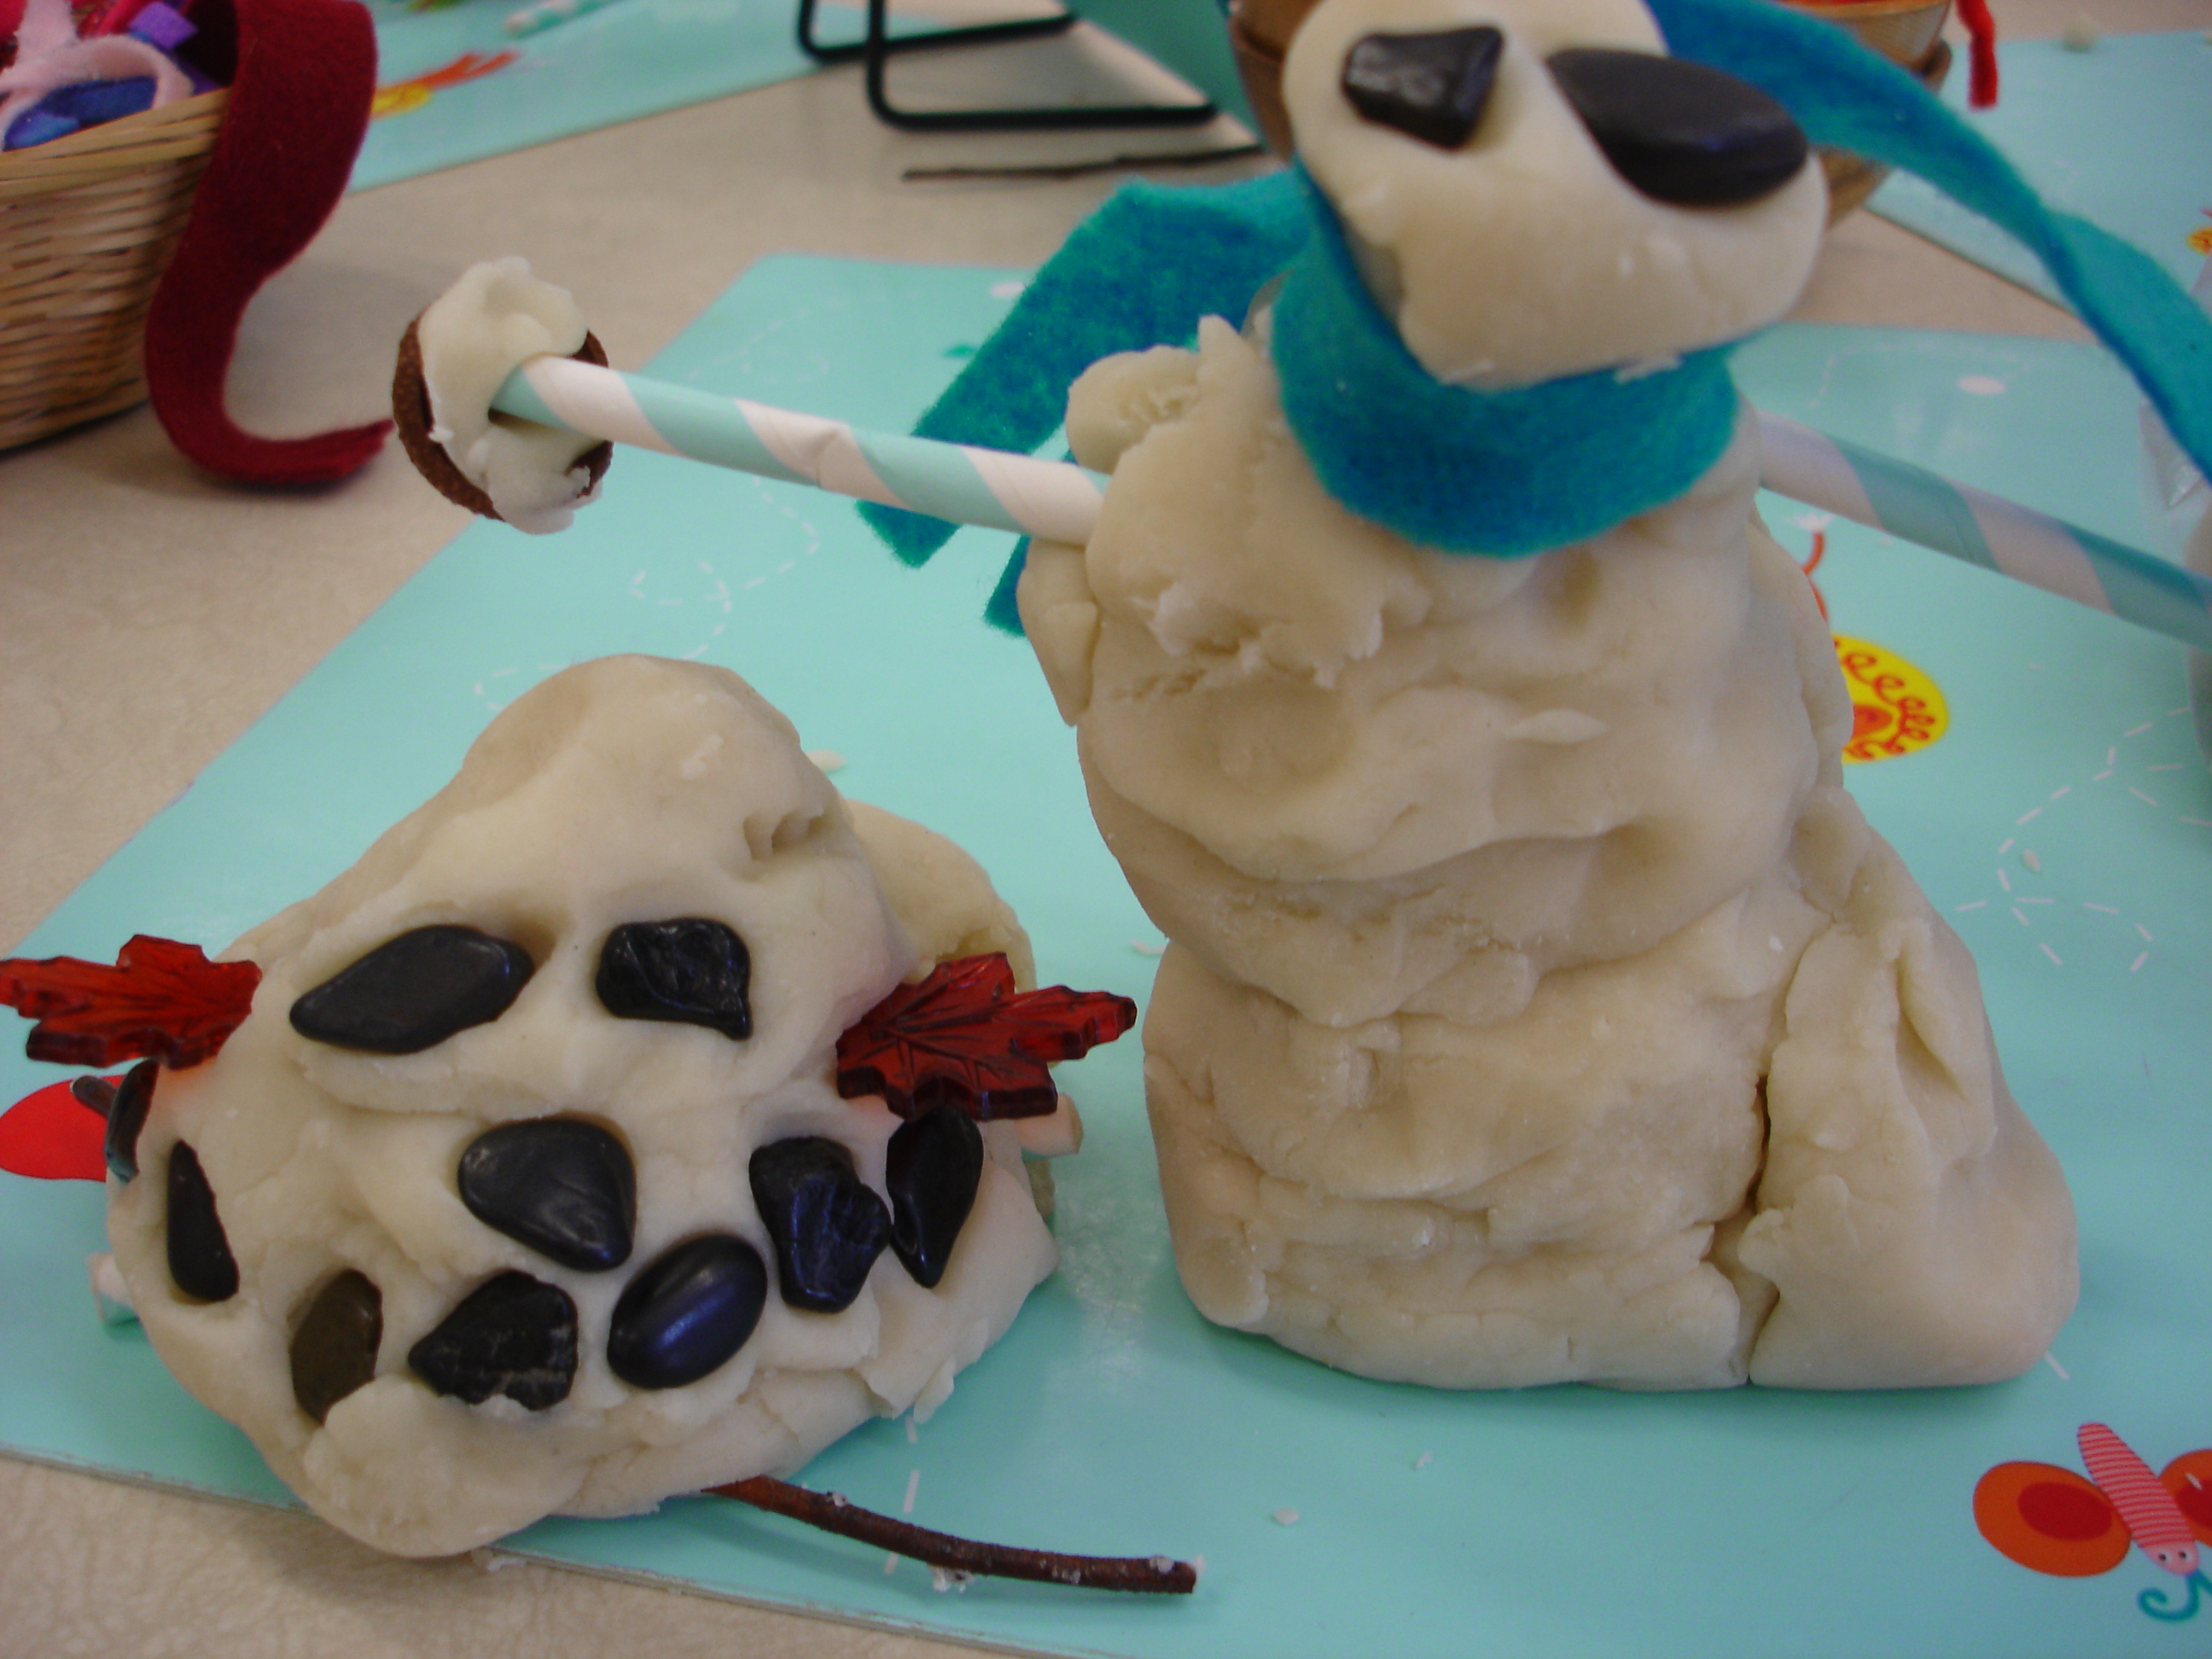
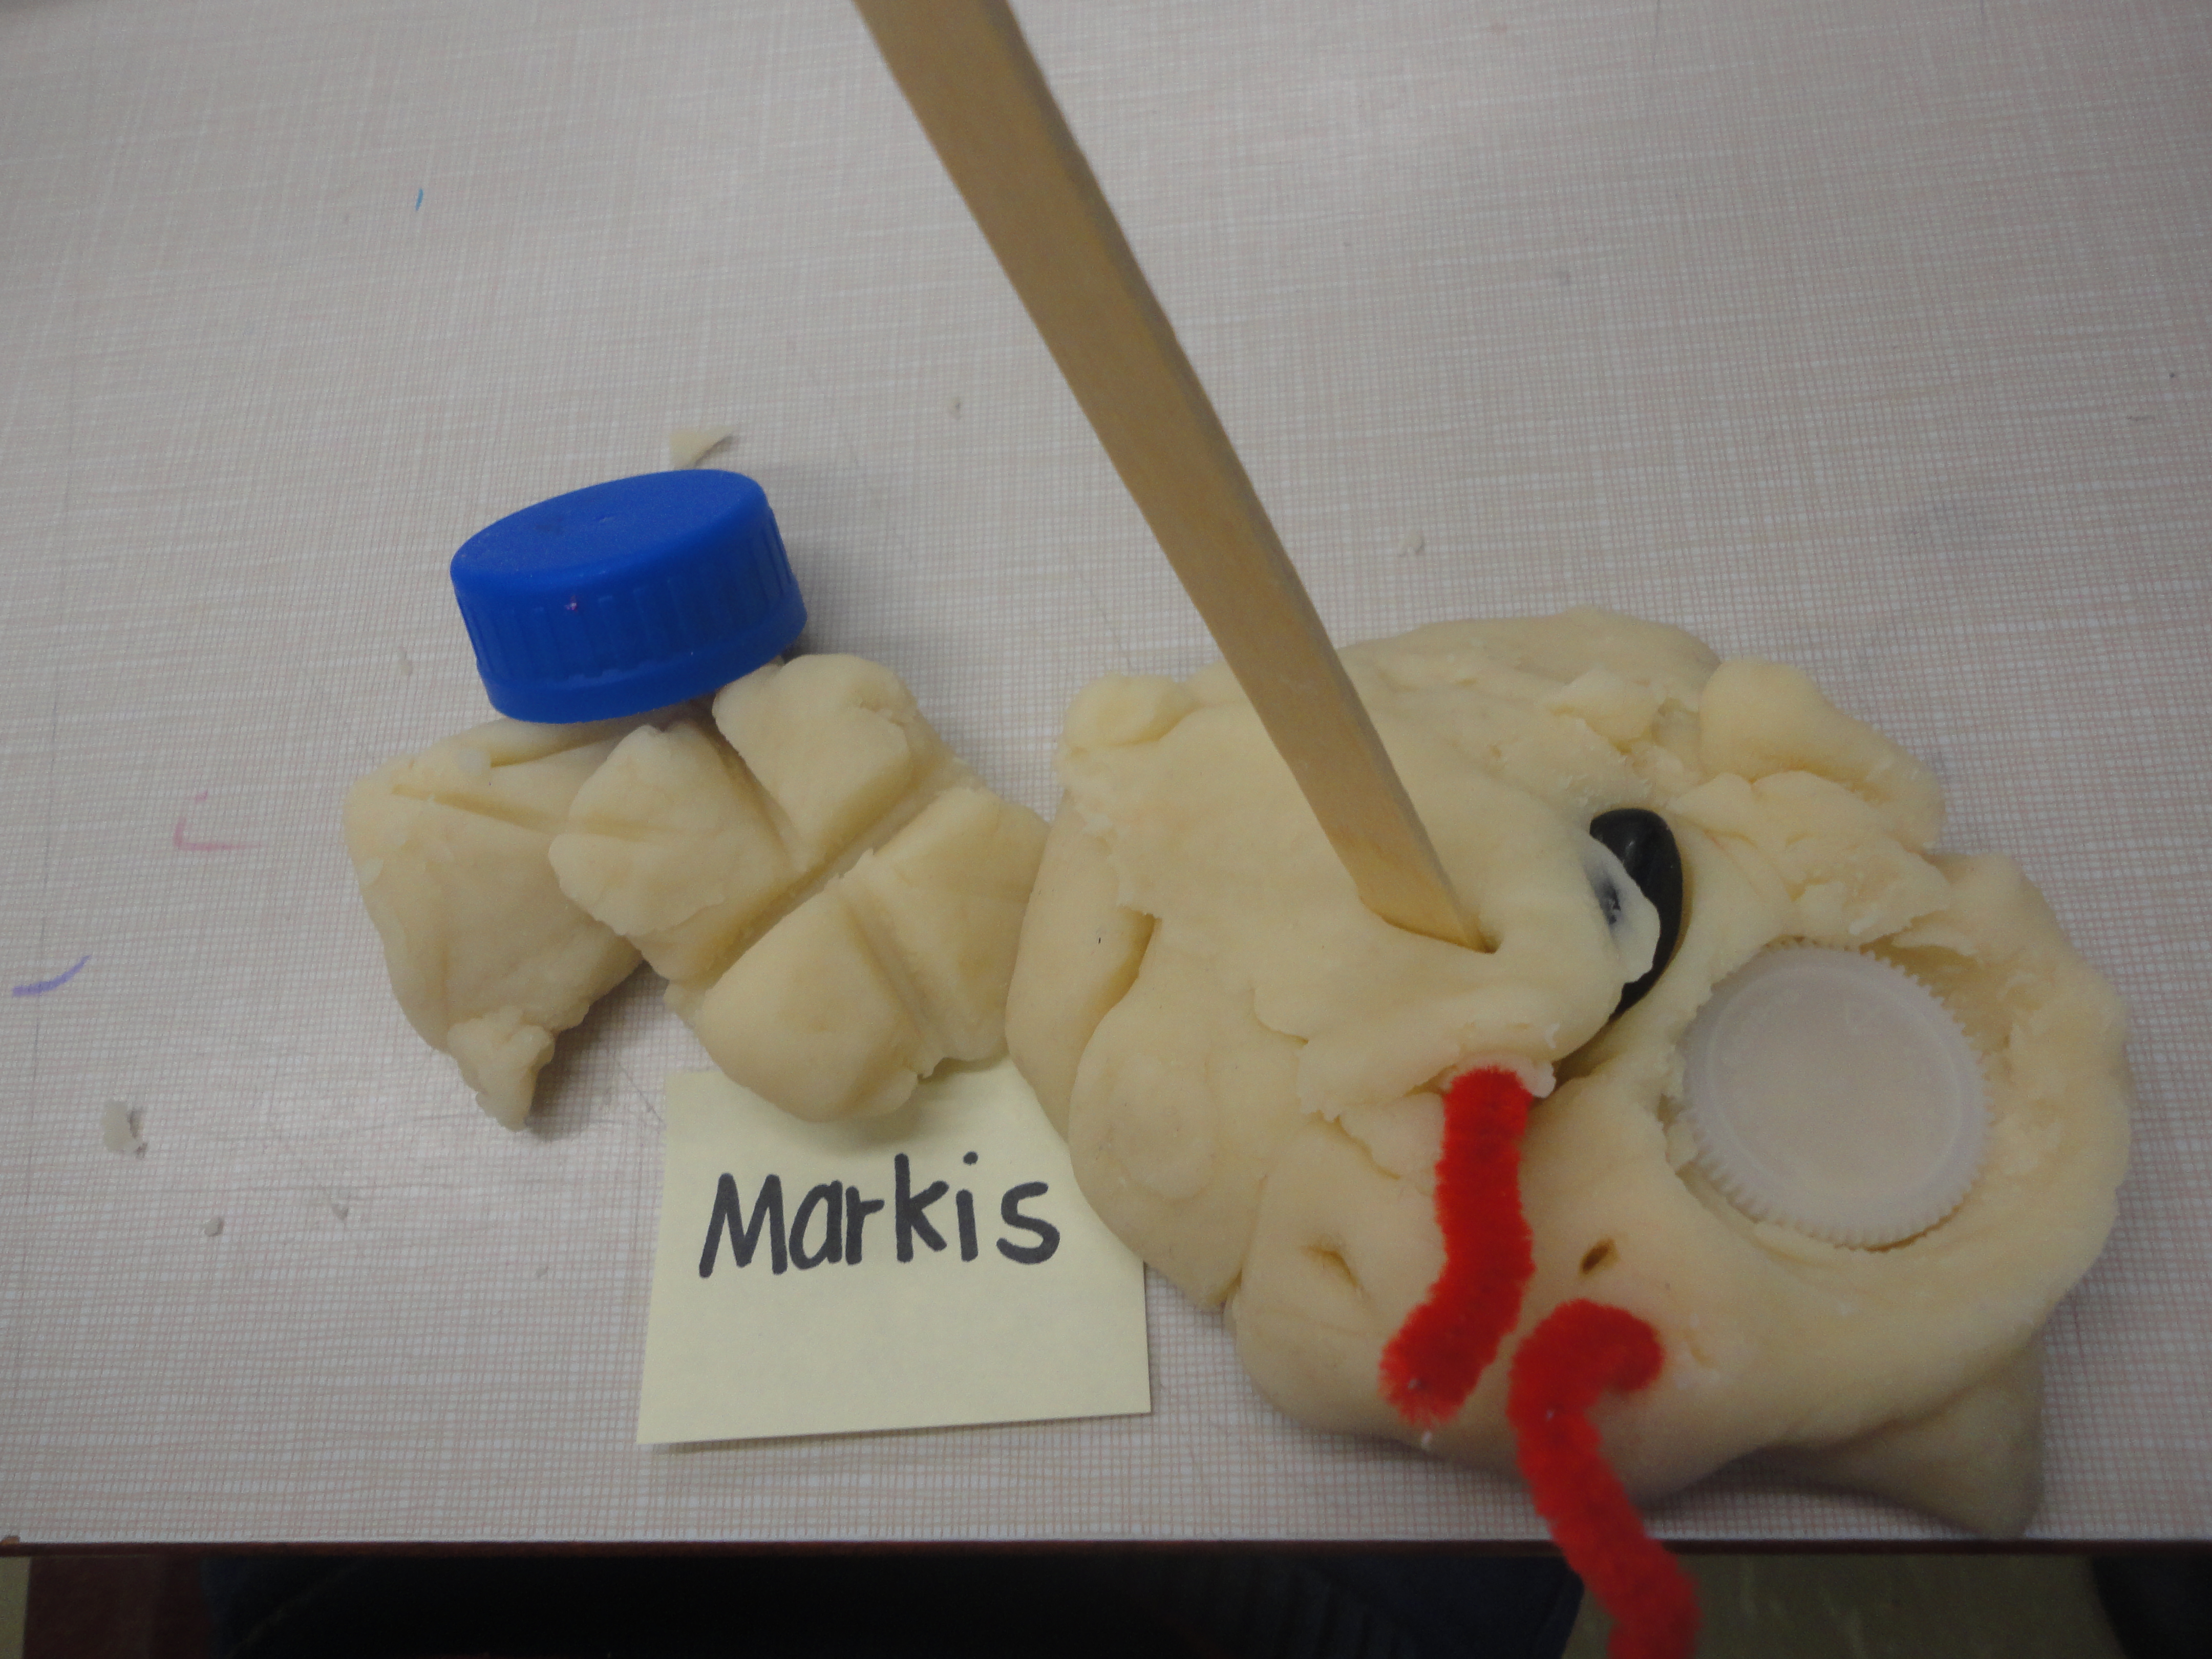
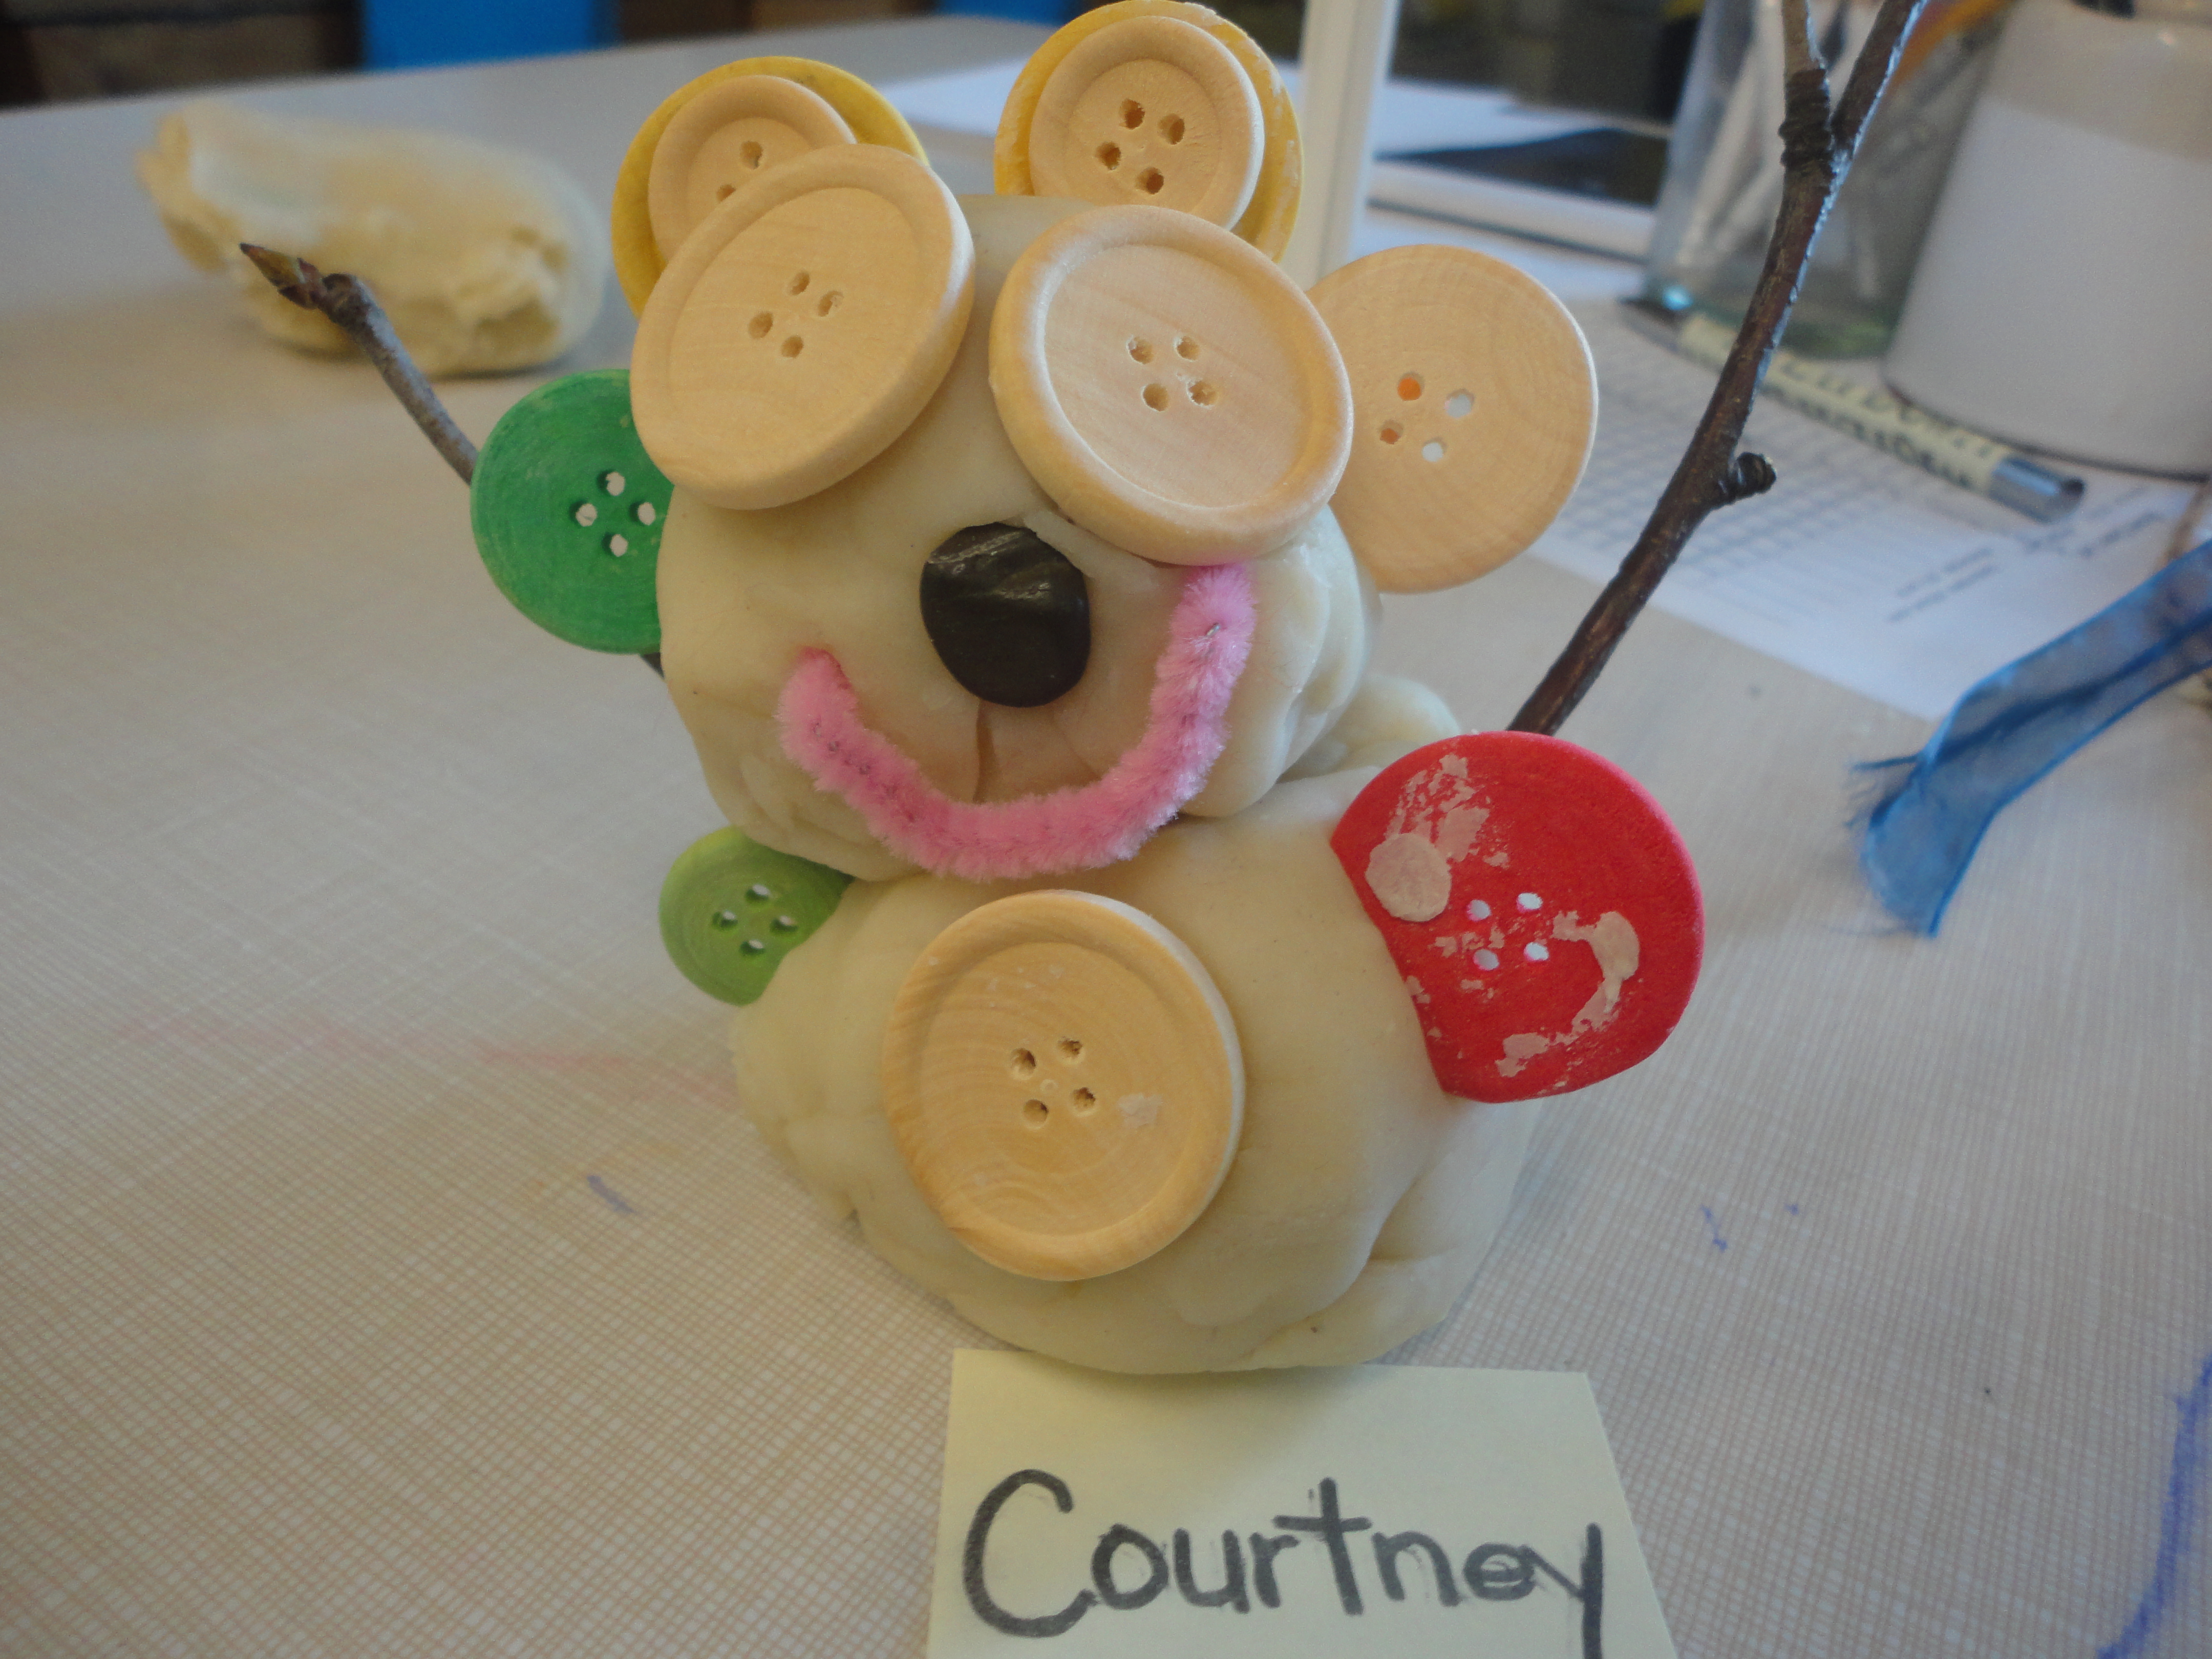
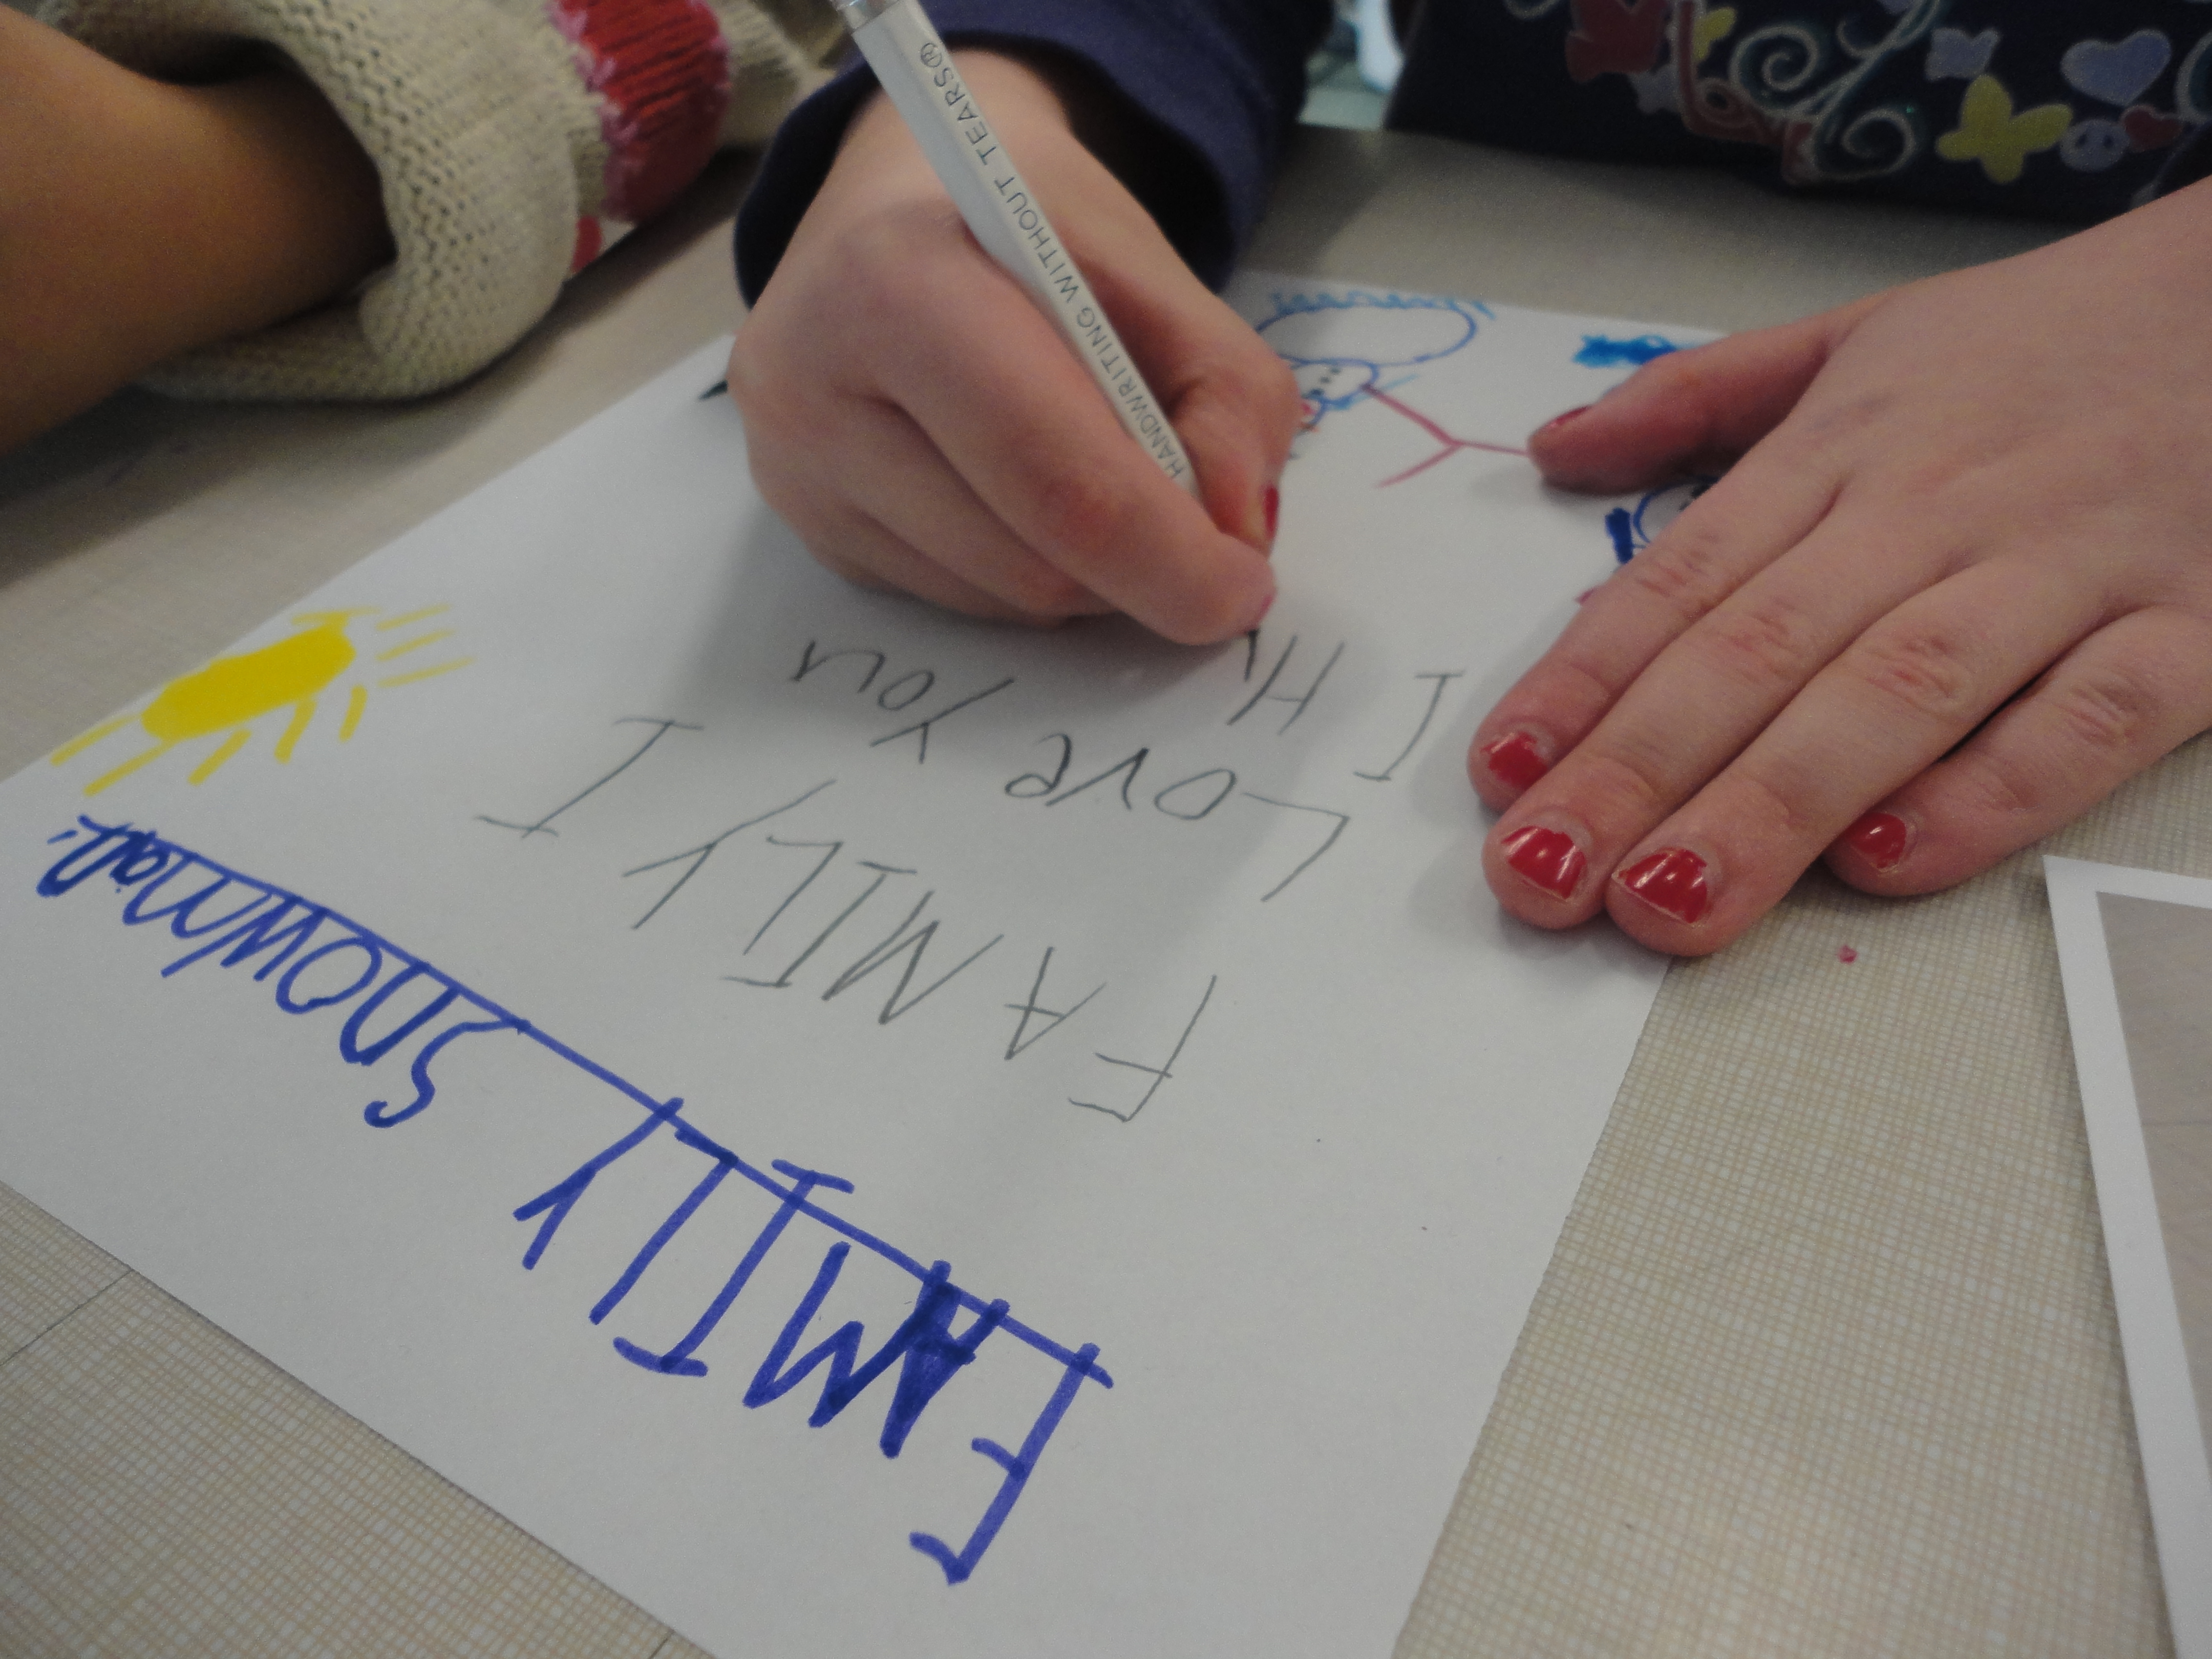
The children were encouraged to construct and decorate their own snowman/snow creature. While they worked, the children talked about their experiences in the snow and were encouraged to describe their creations. Each snowman was photographed (in fact, most children were keen to snap the picture themselves!).
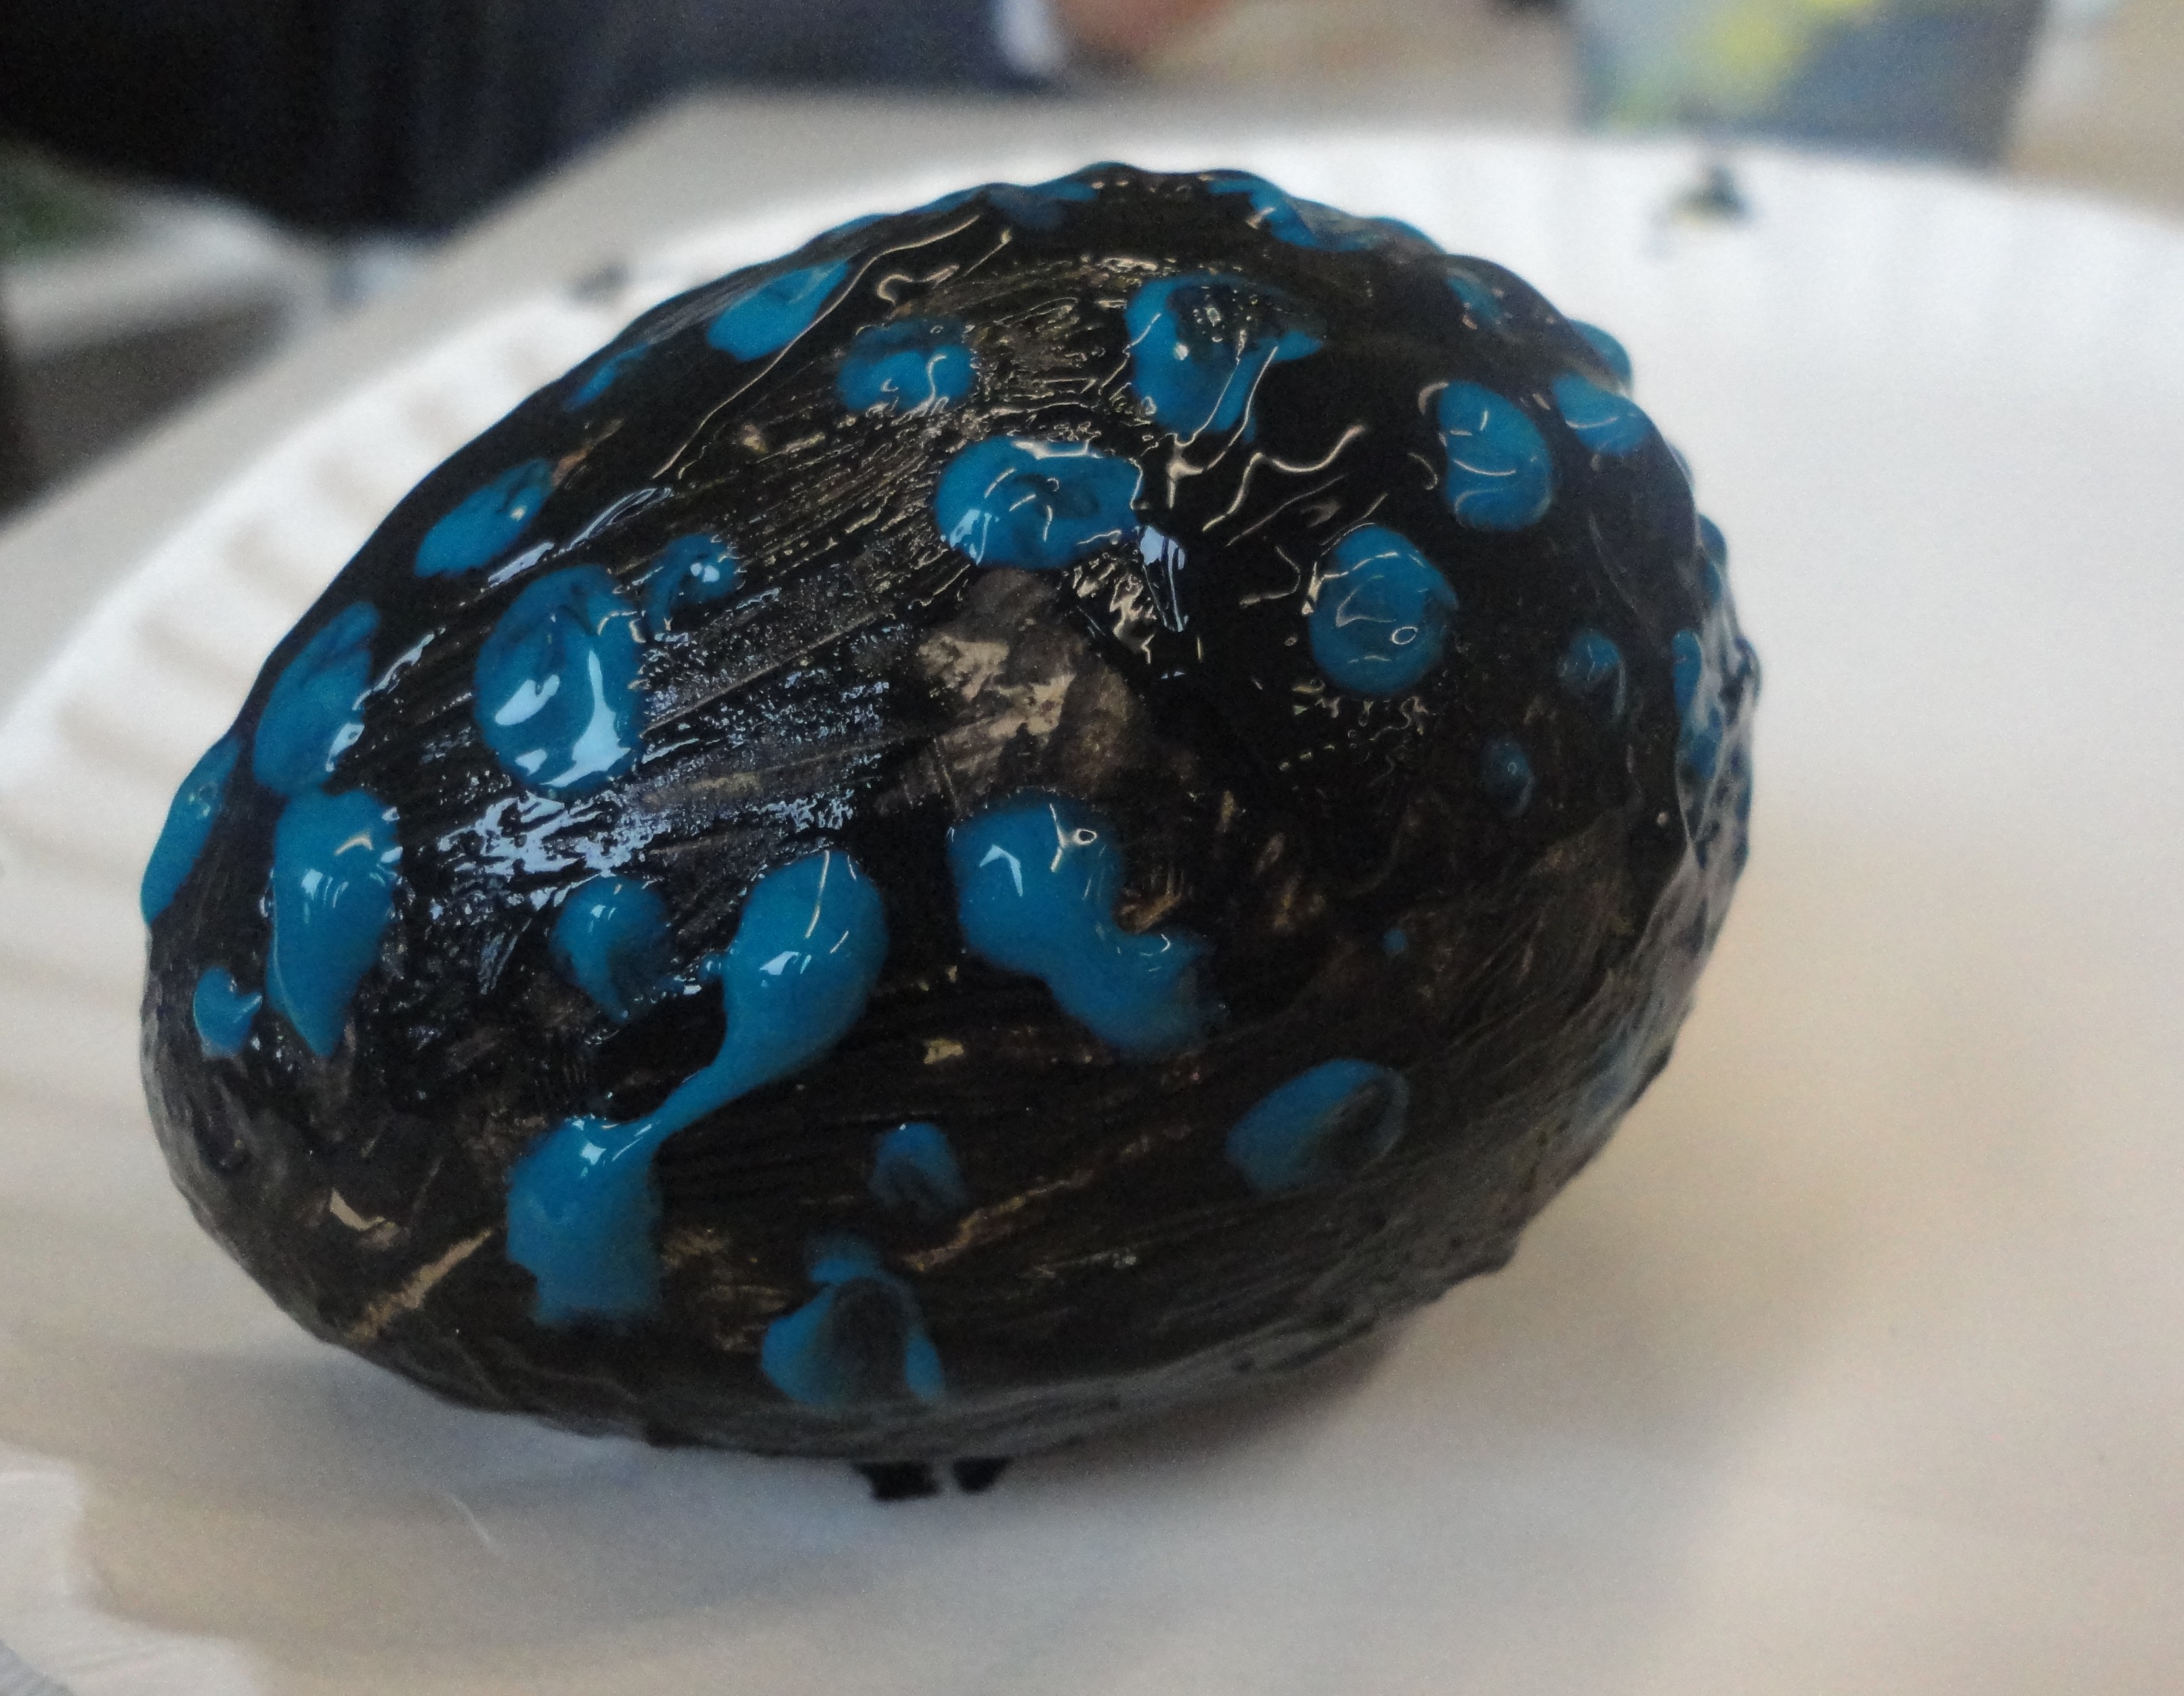
Here are some of our snowmen:
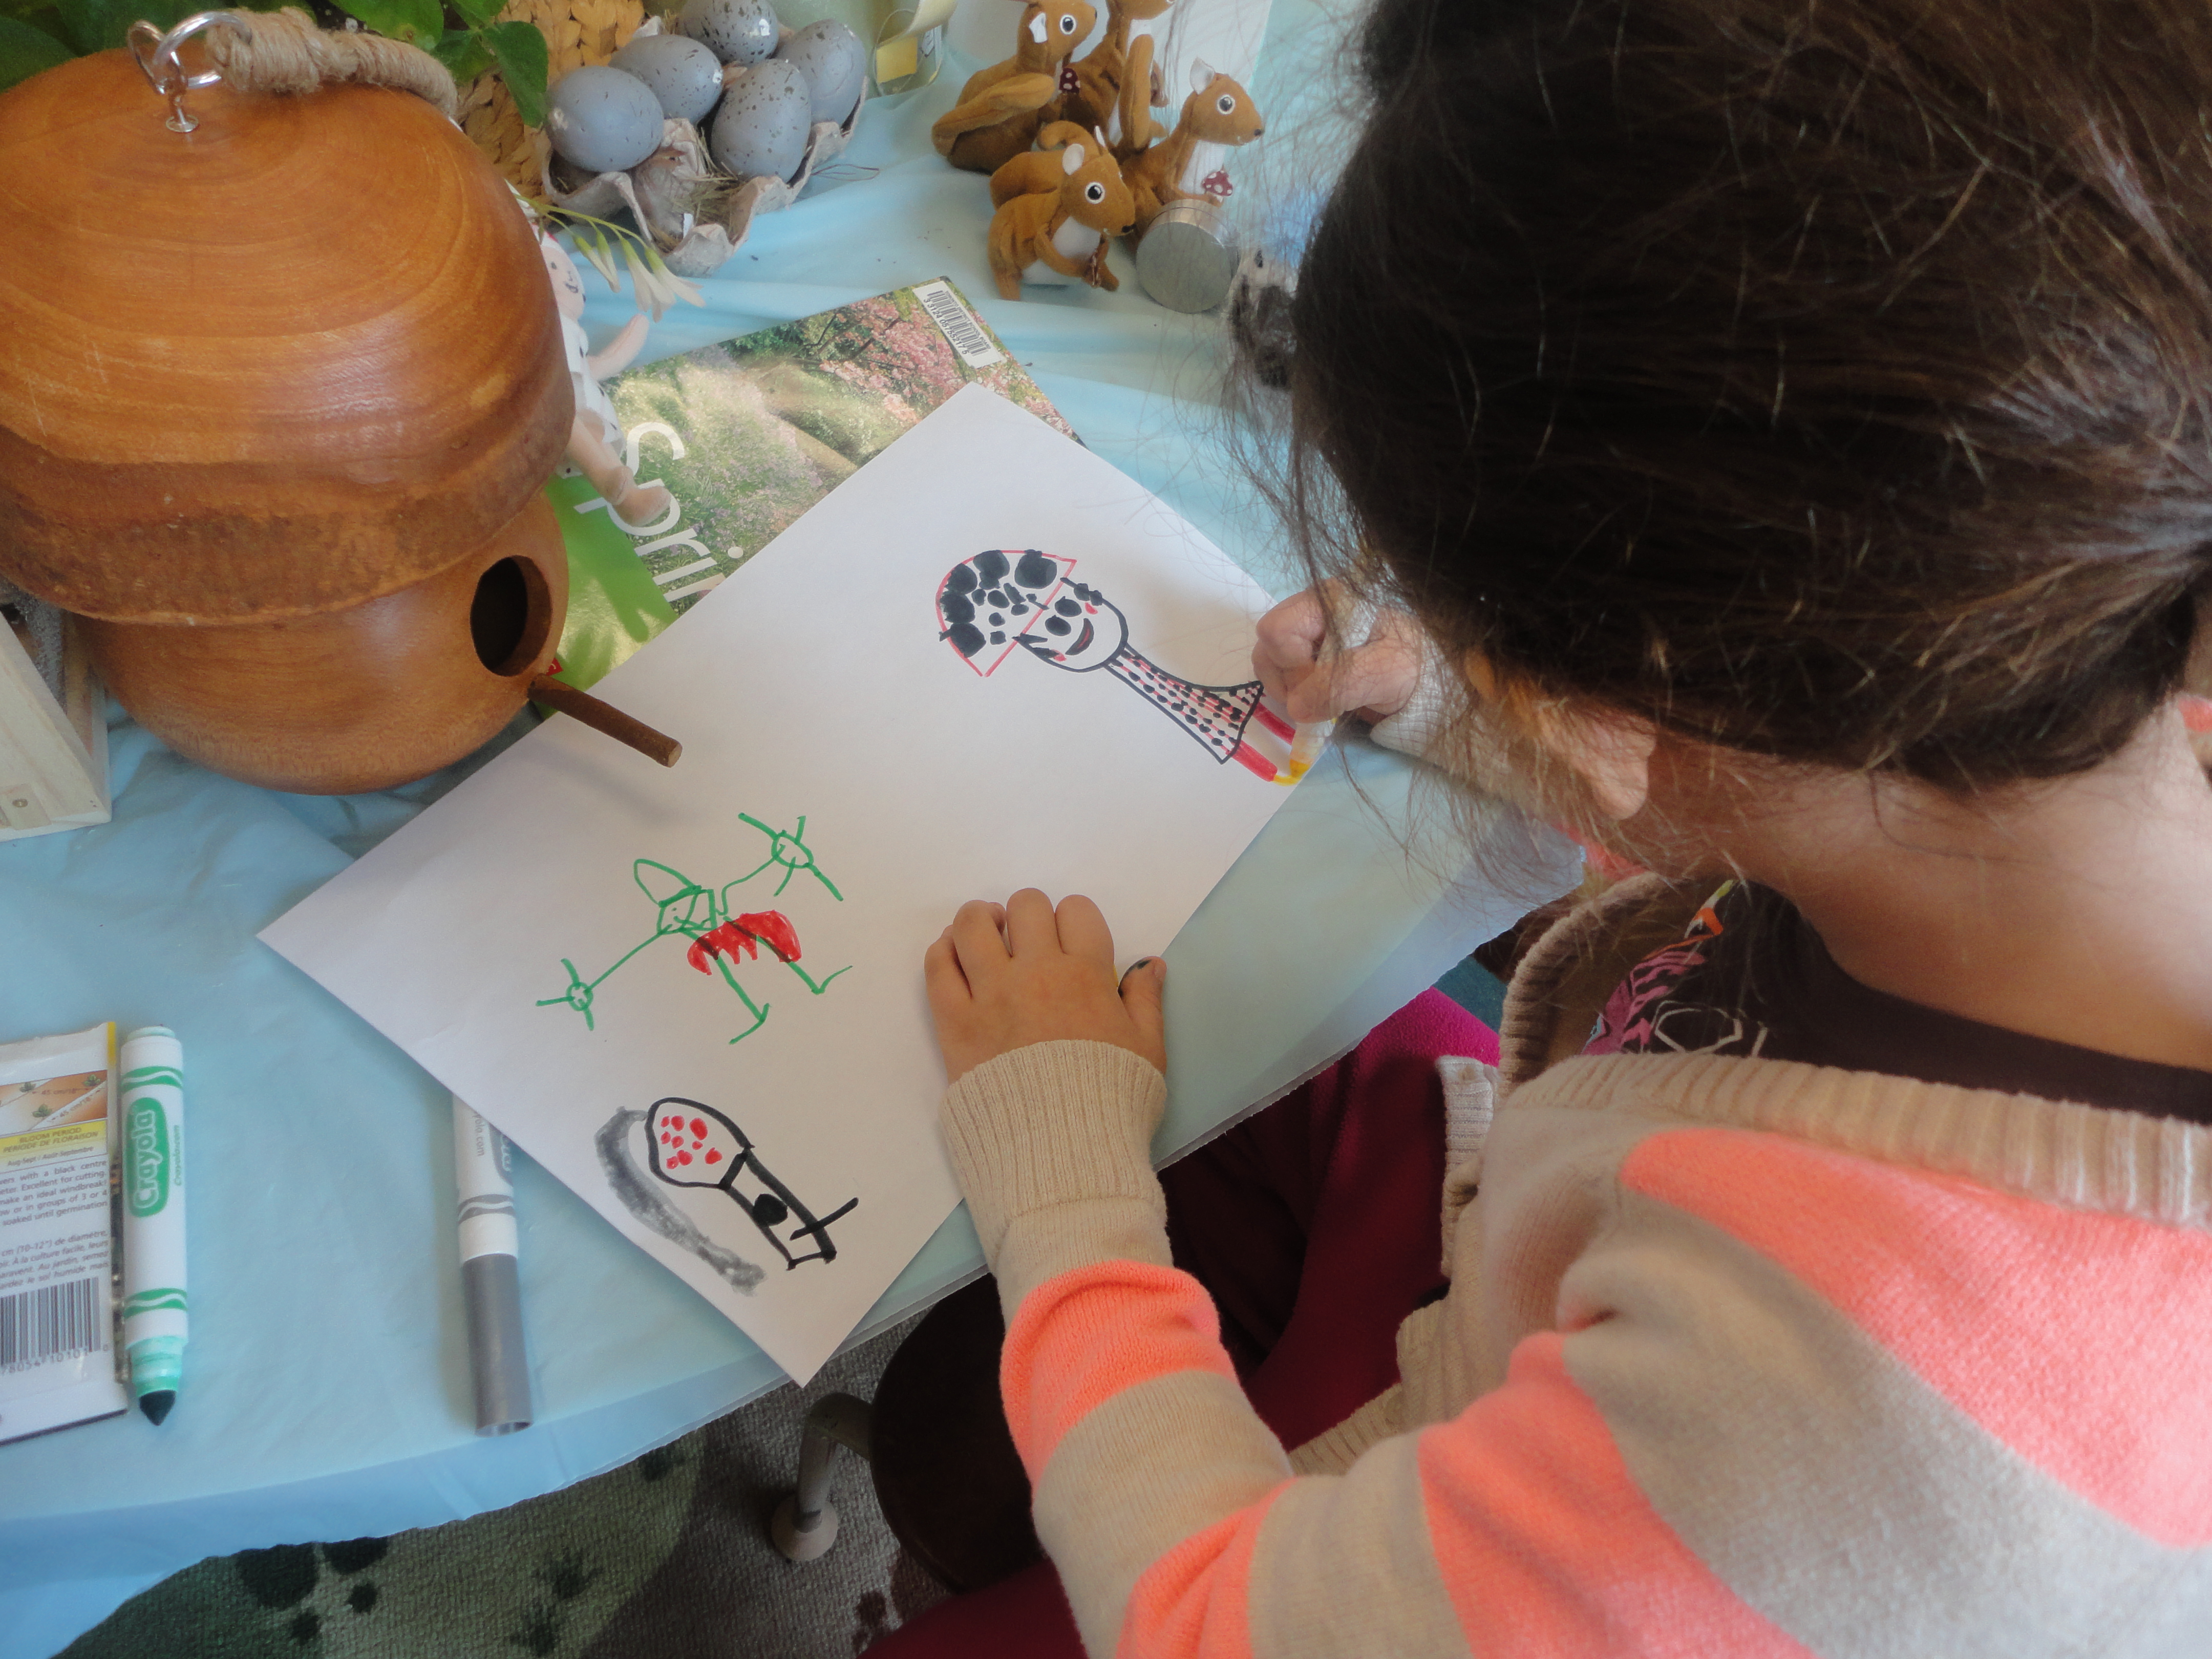
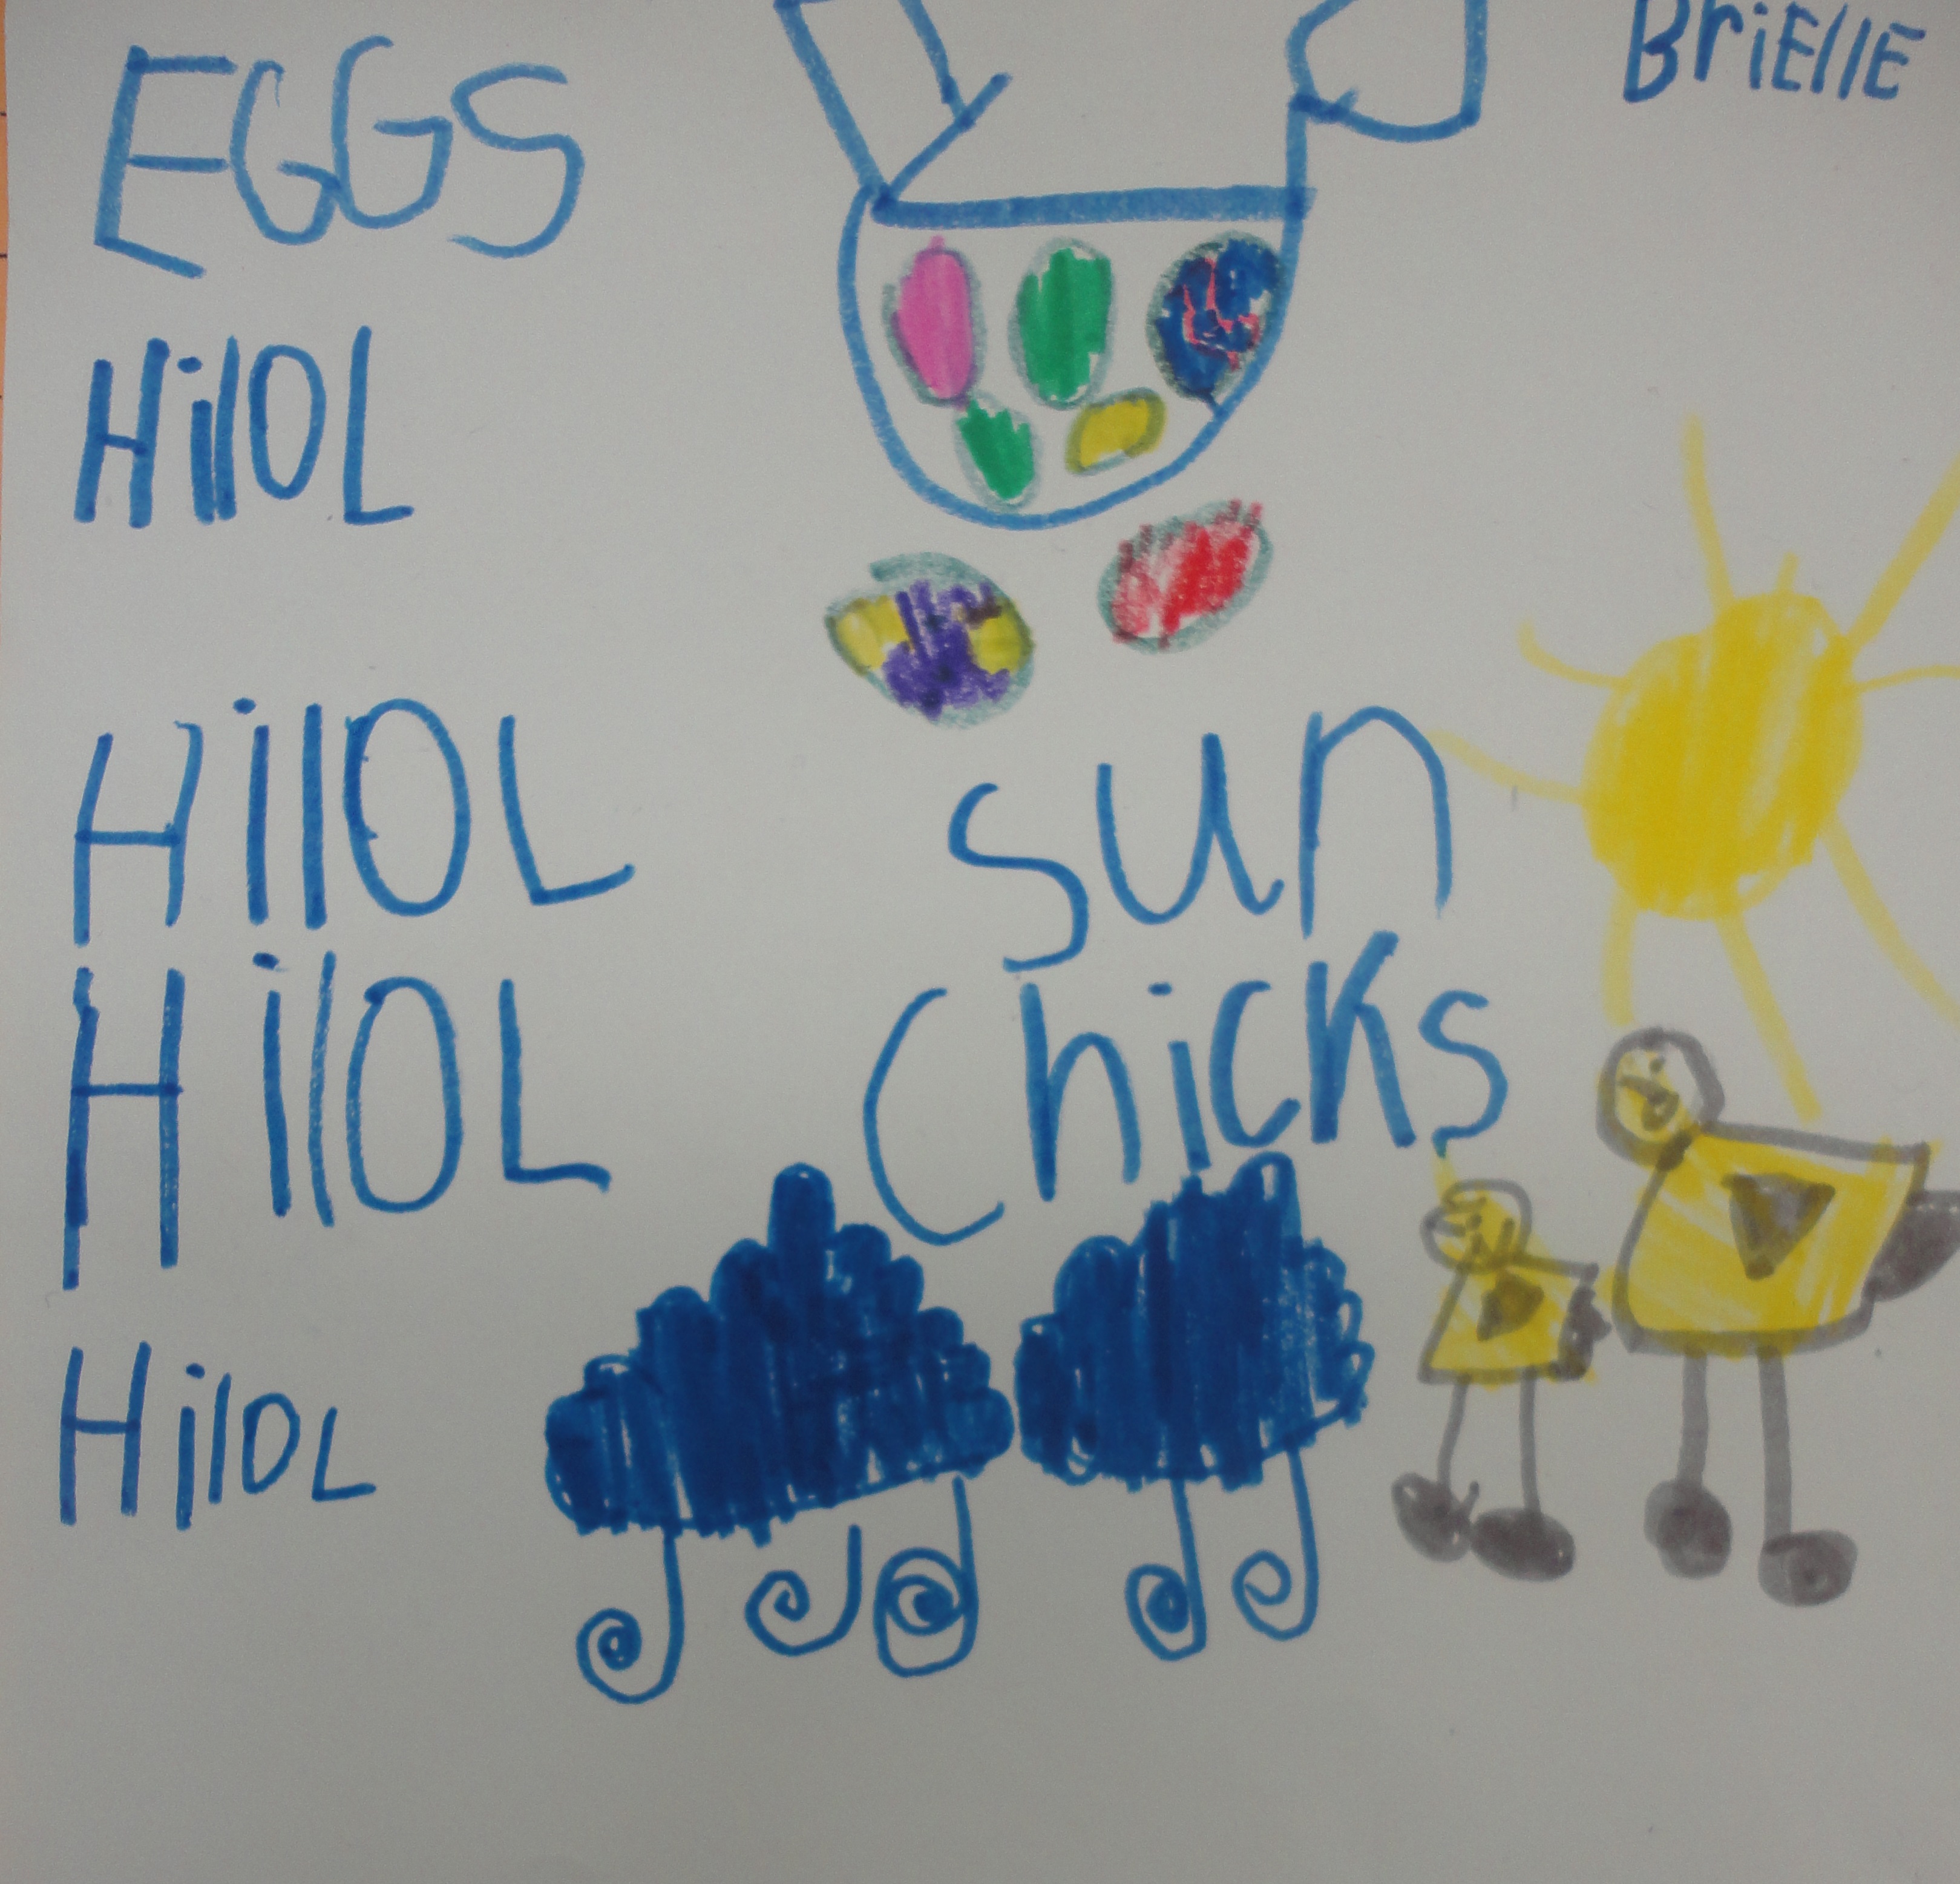
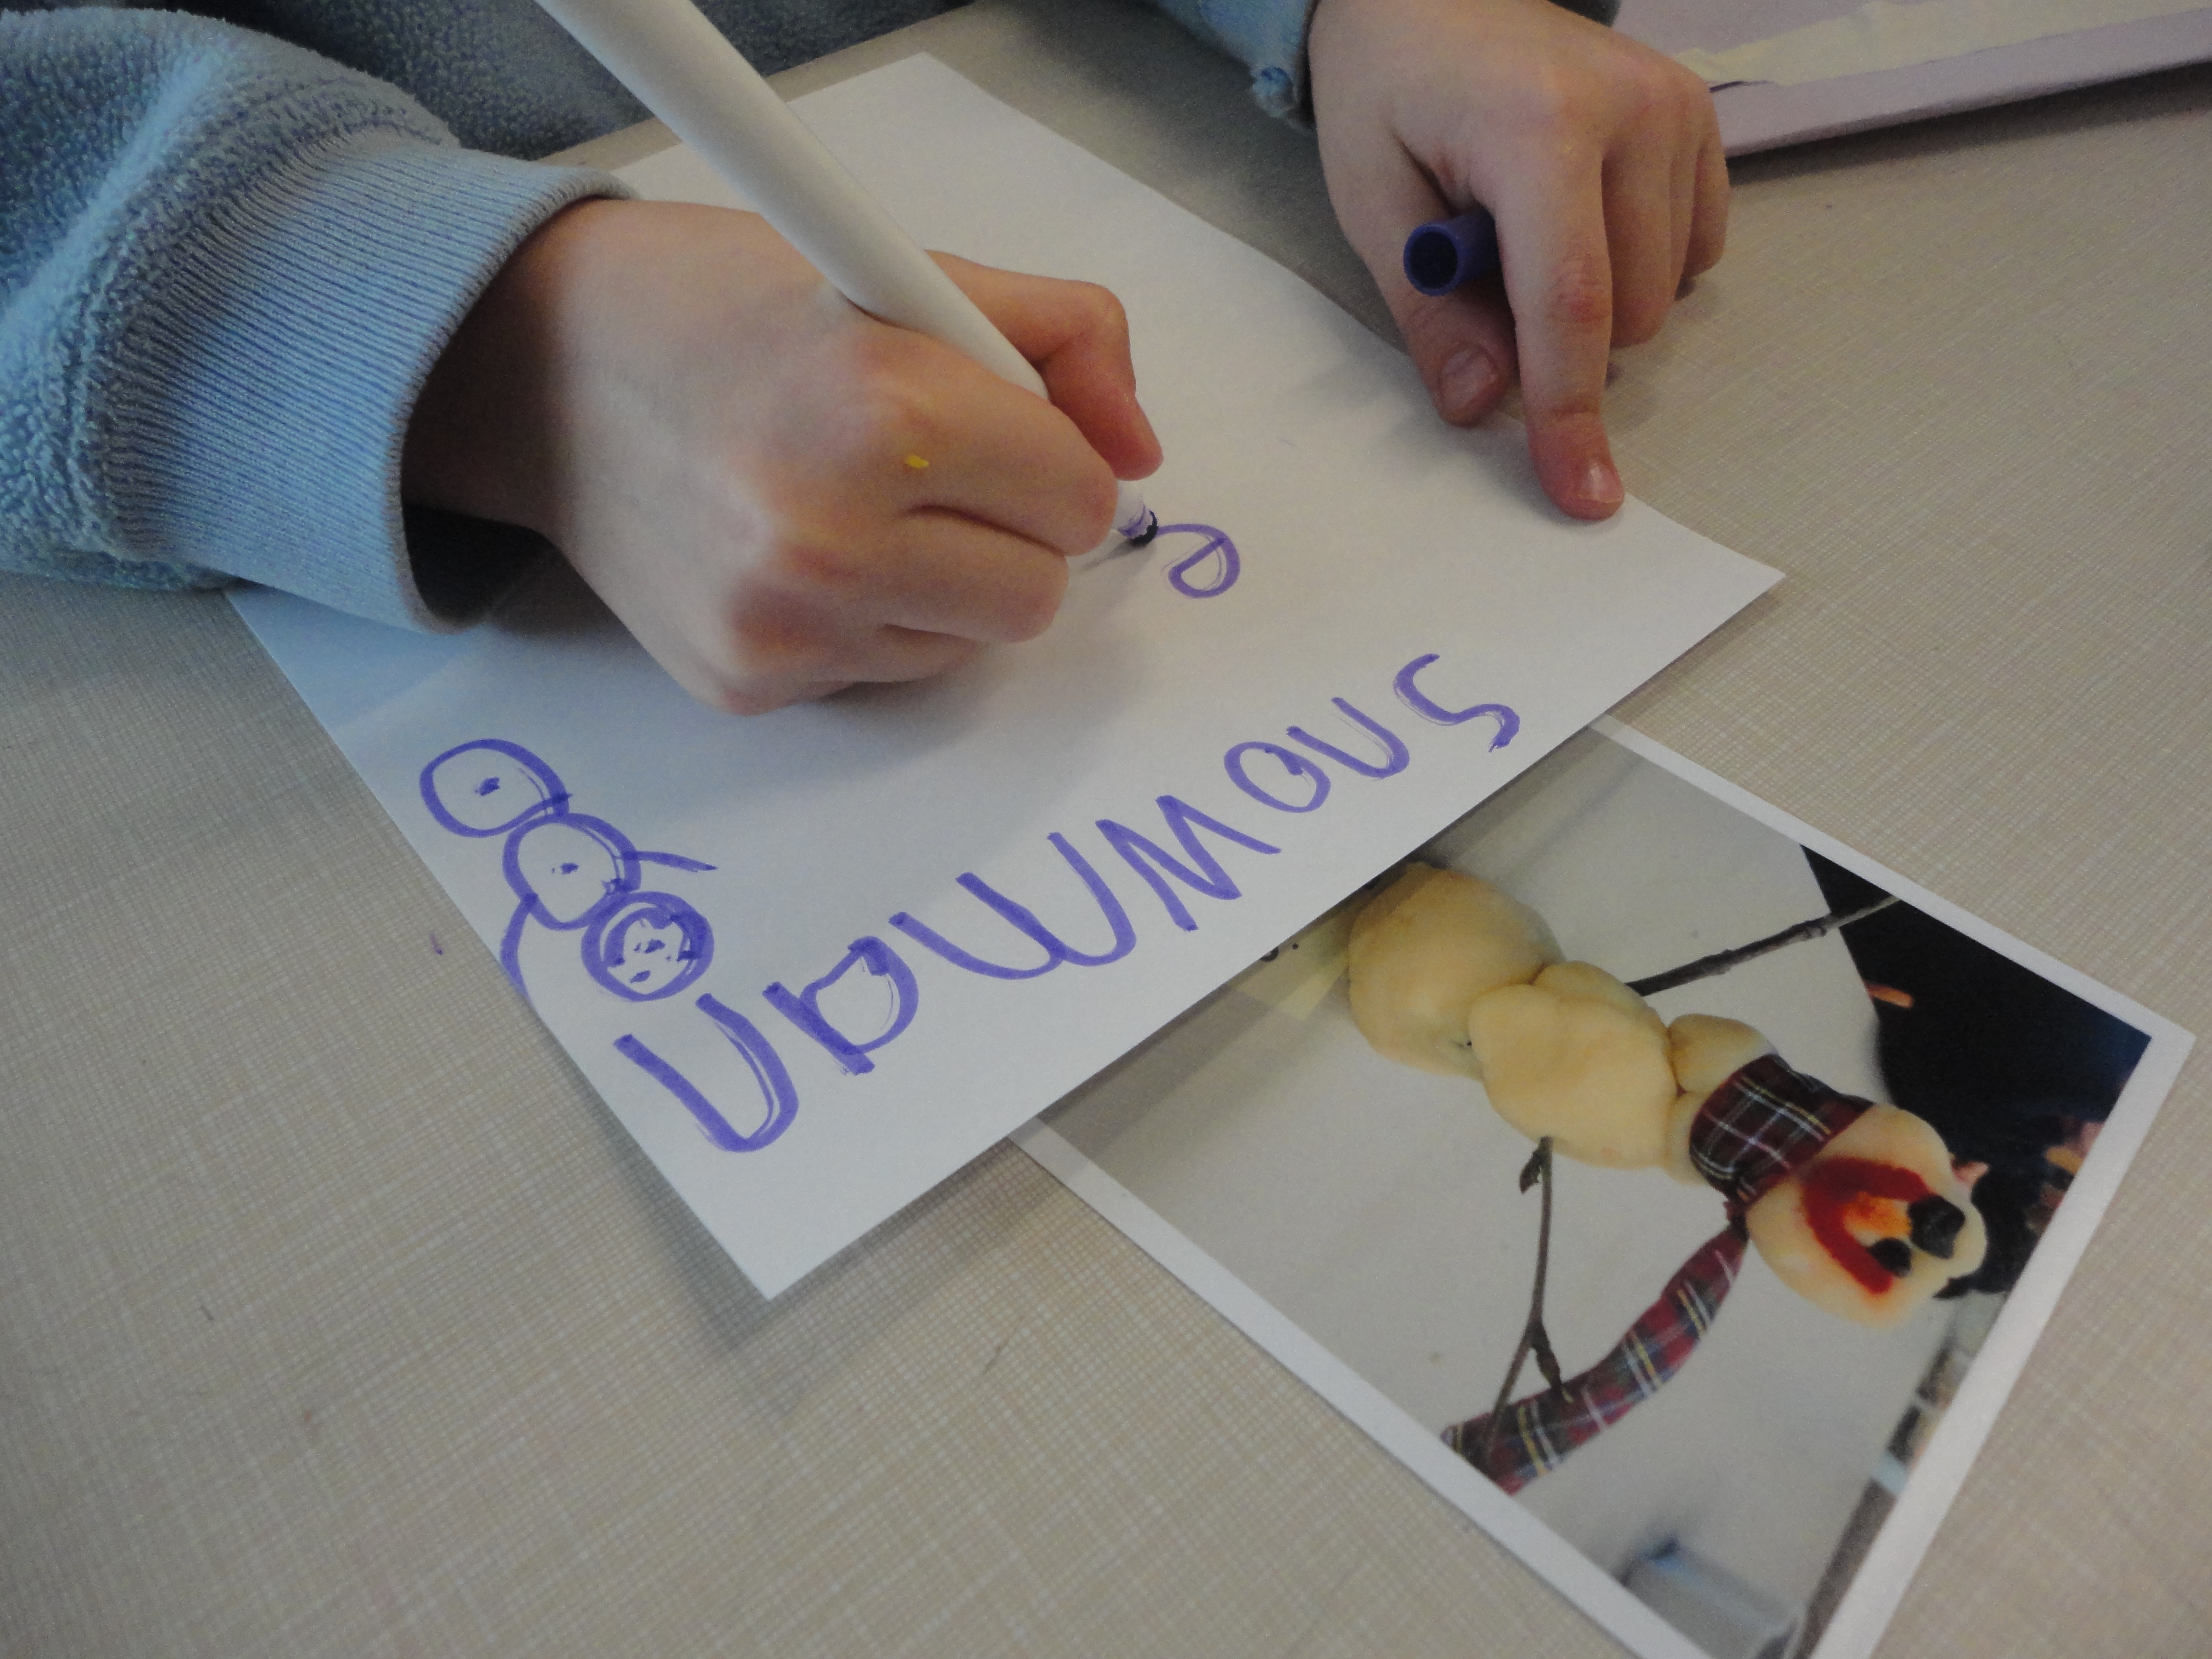
The photos of the children’s snowmen were printed and added to the writing table where the children were encouraged to write poems about them.
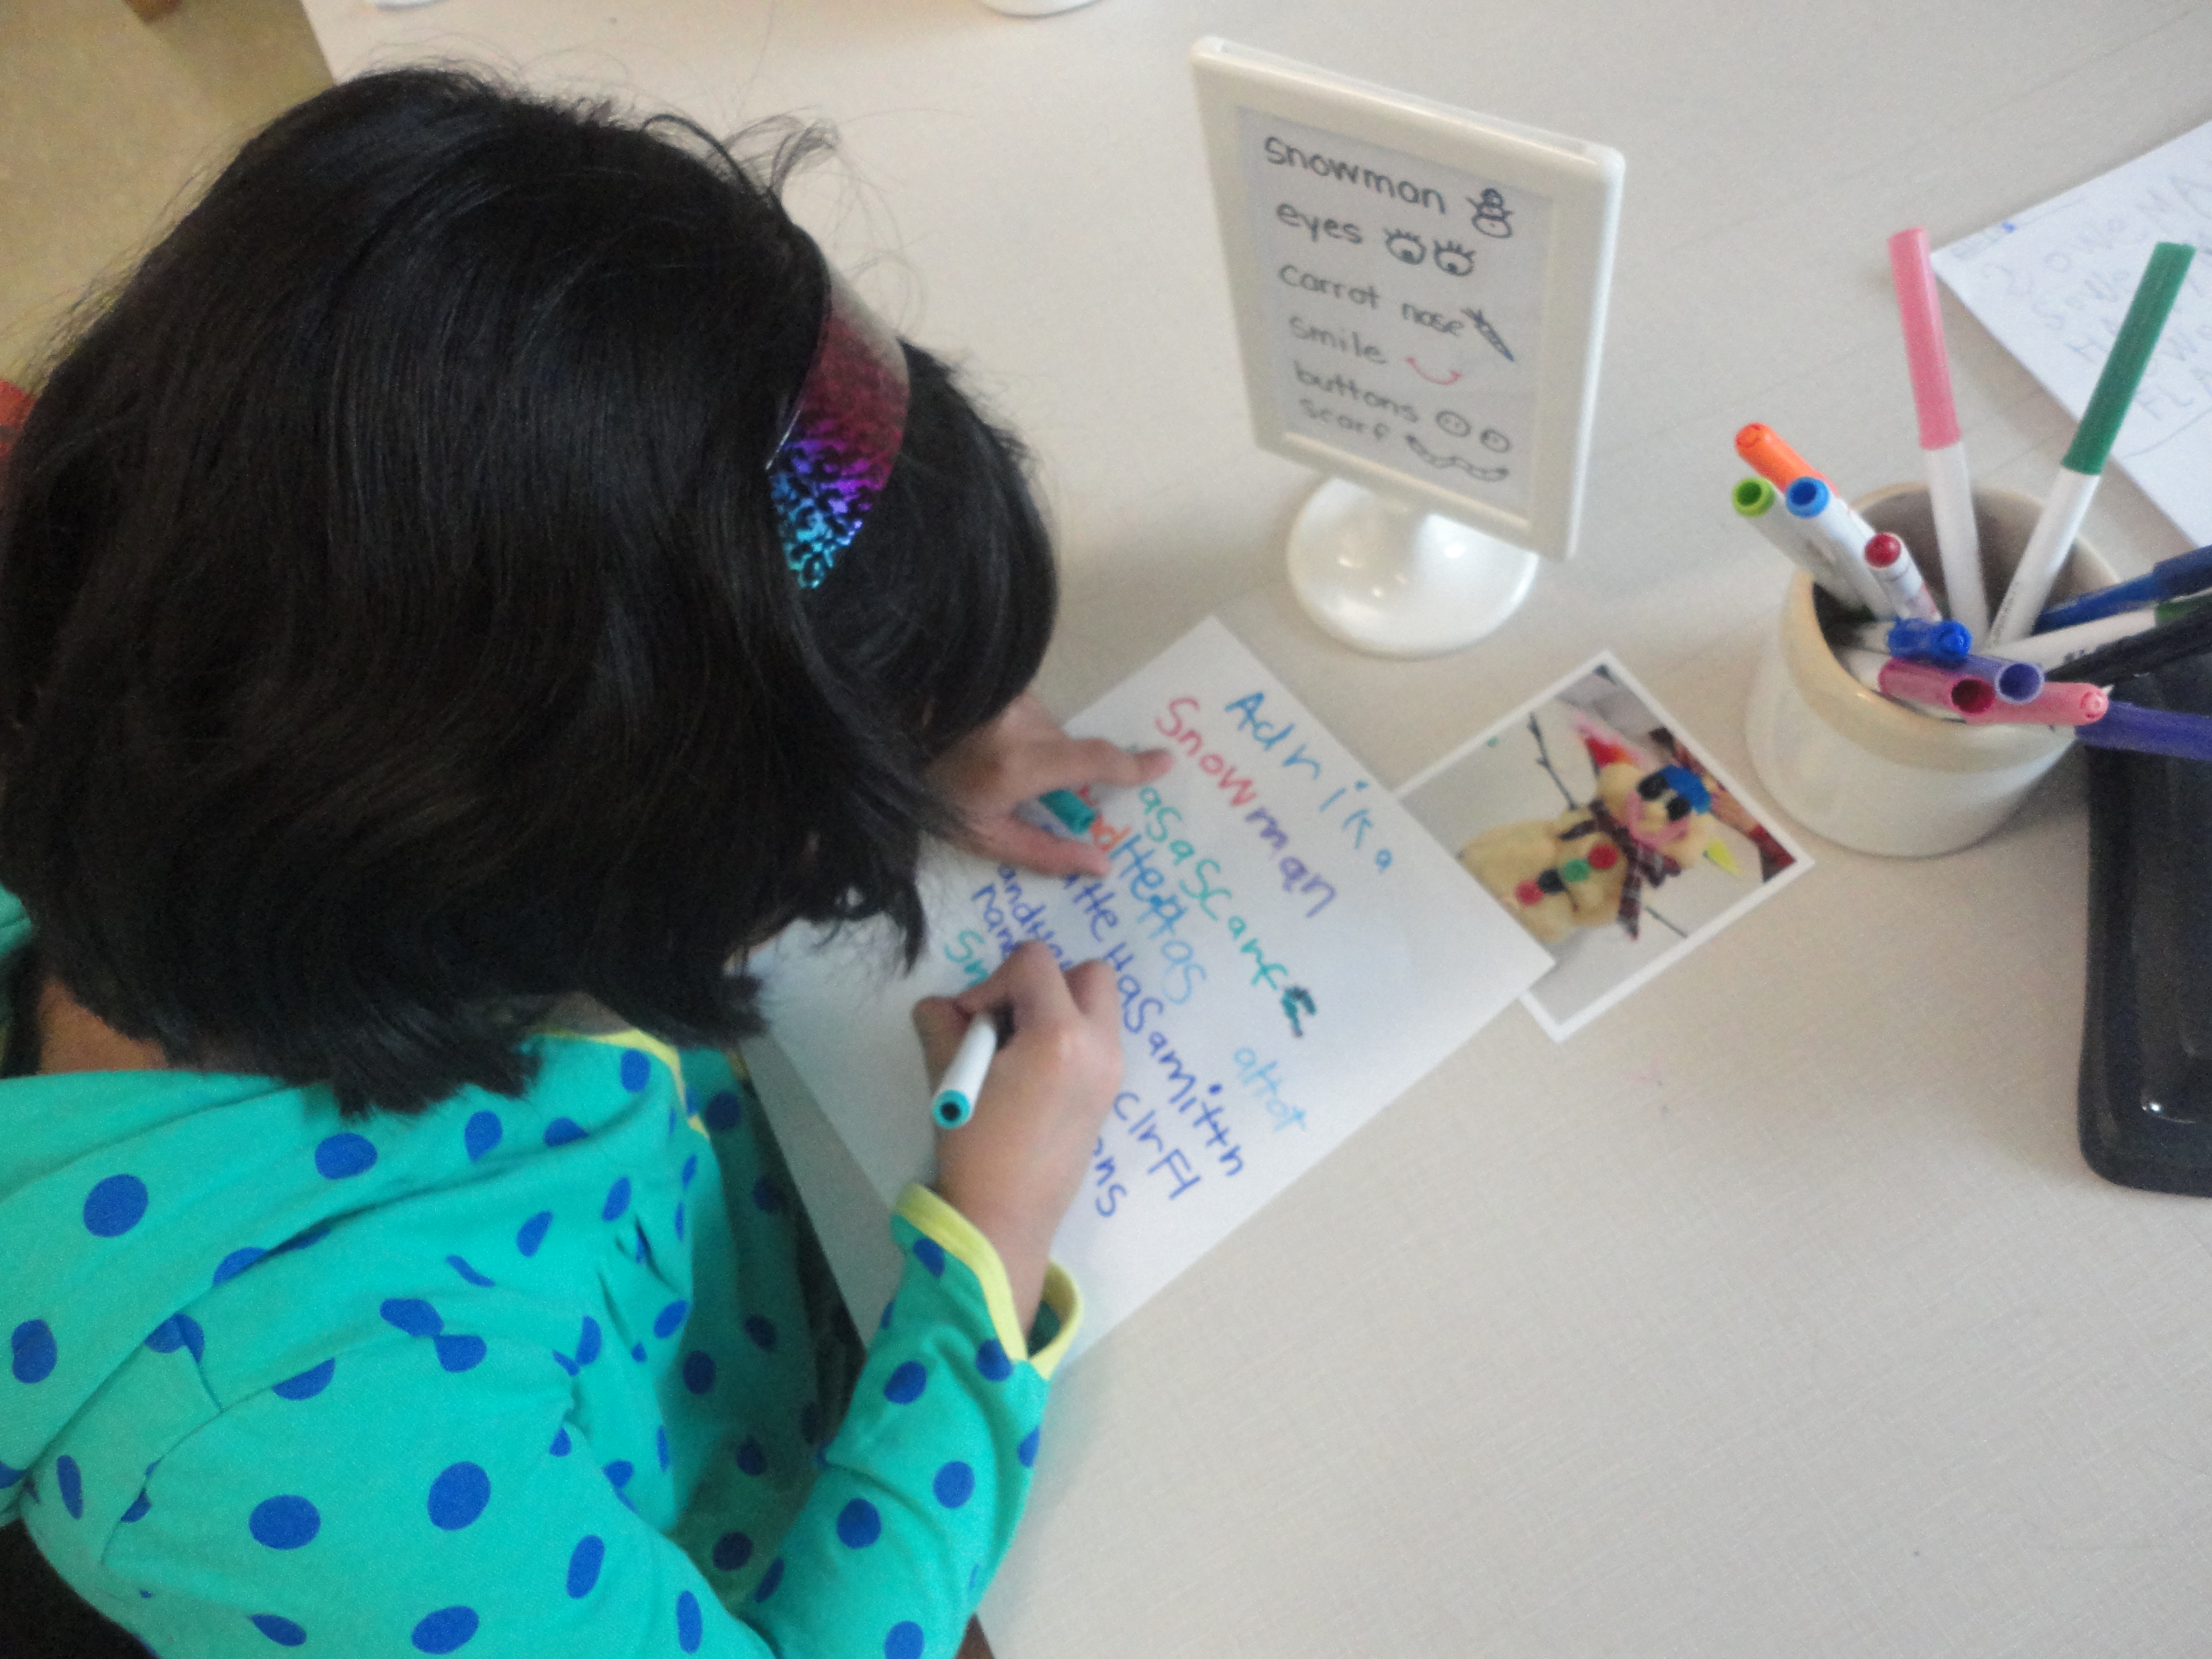
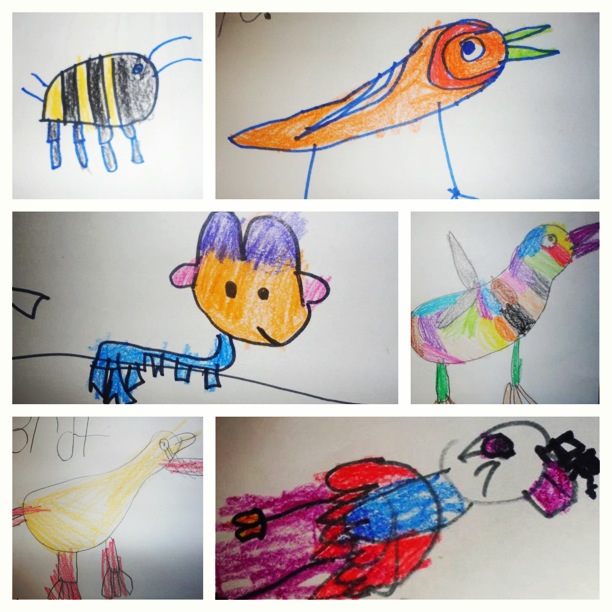
Here are some samples of what the children created:
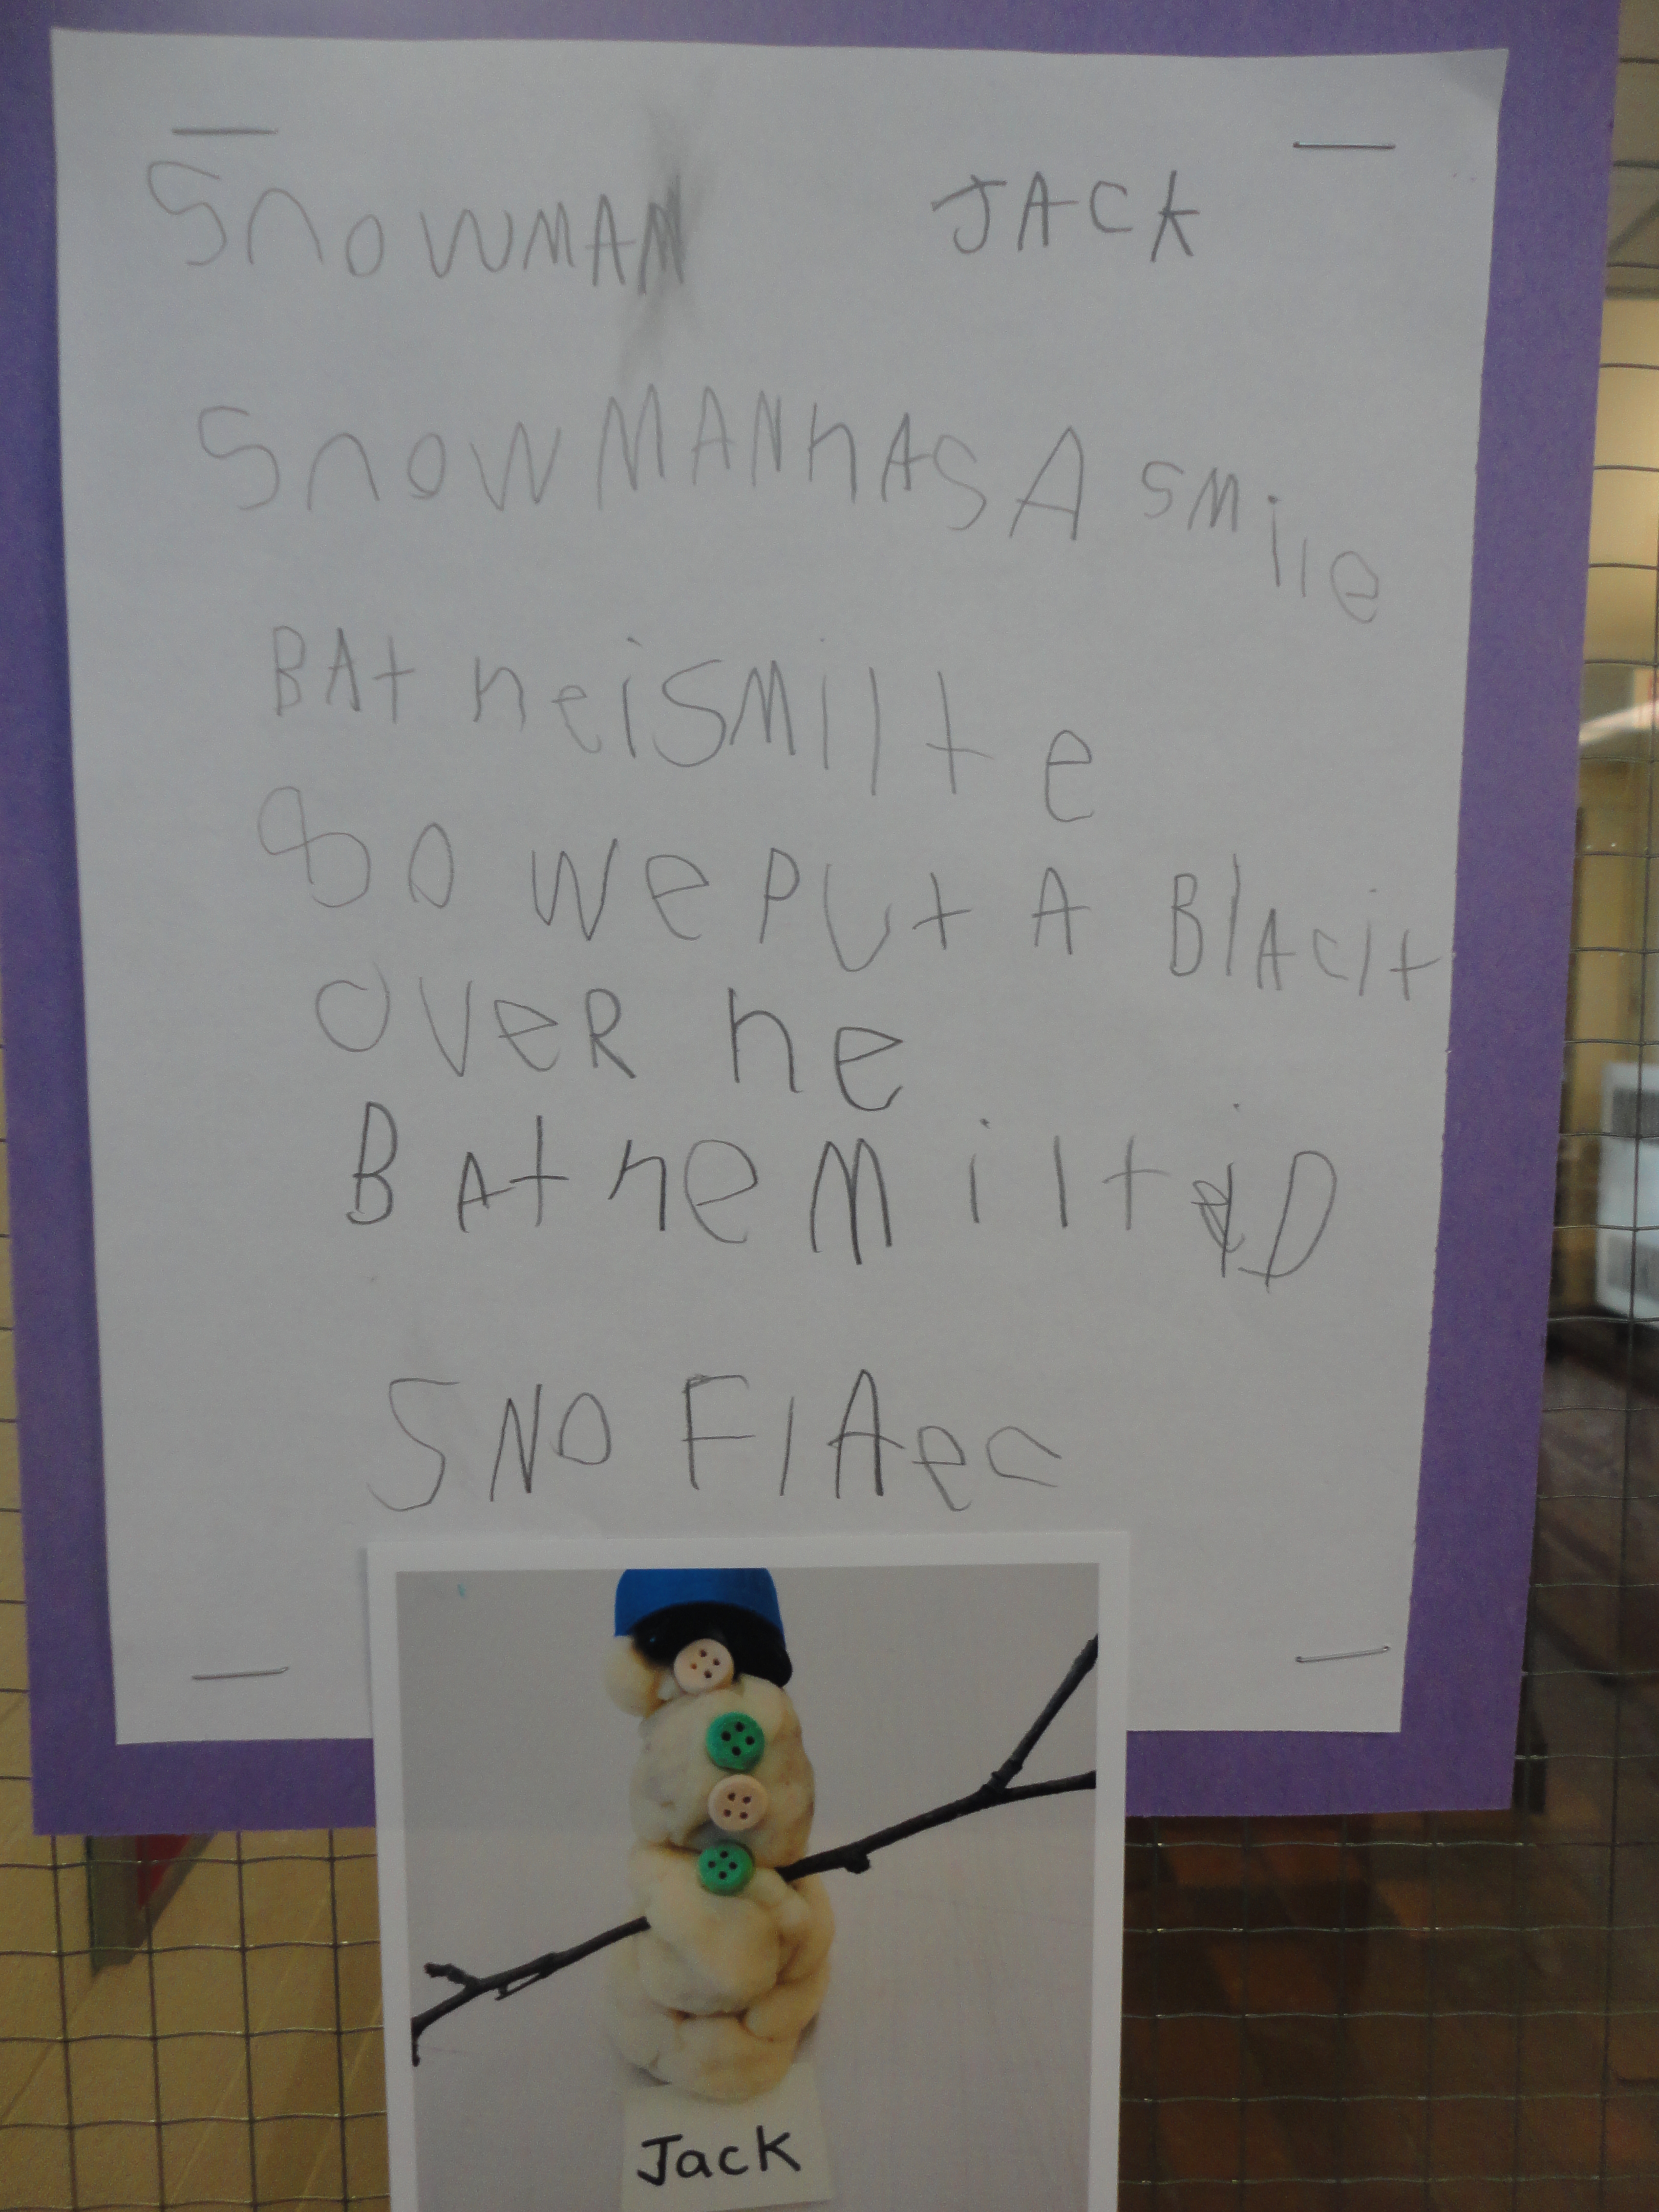
Snowman
Snowman has a smile
But he is meltie
So we put a blanket over him
But he melted
Snowflakes
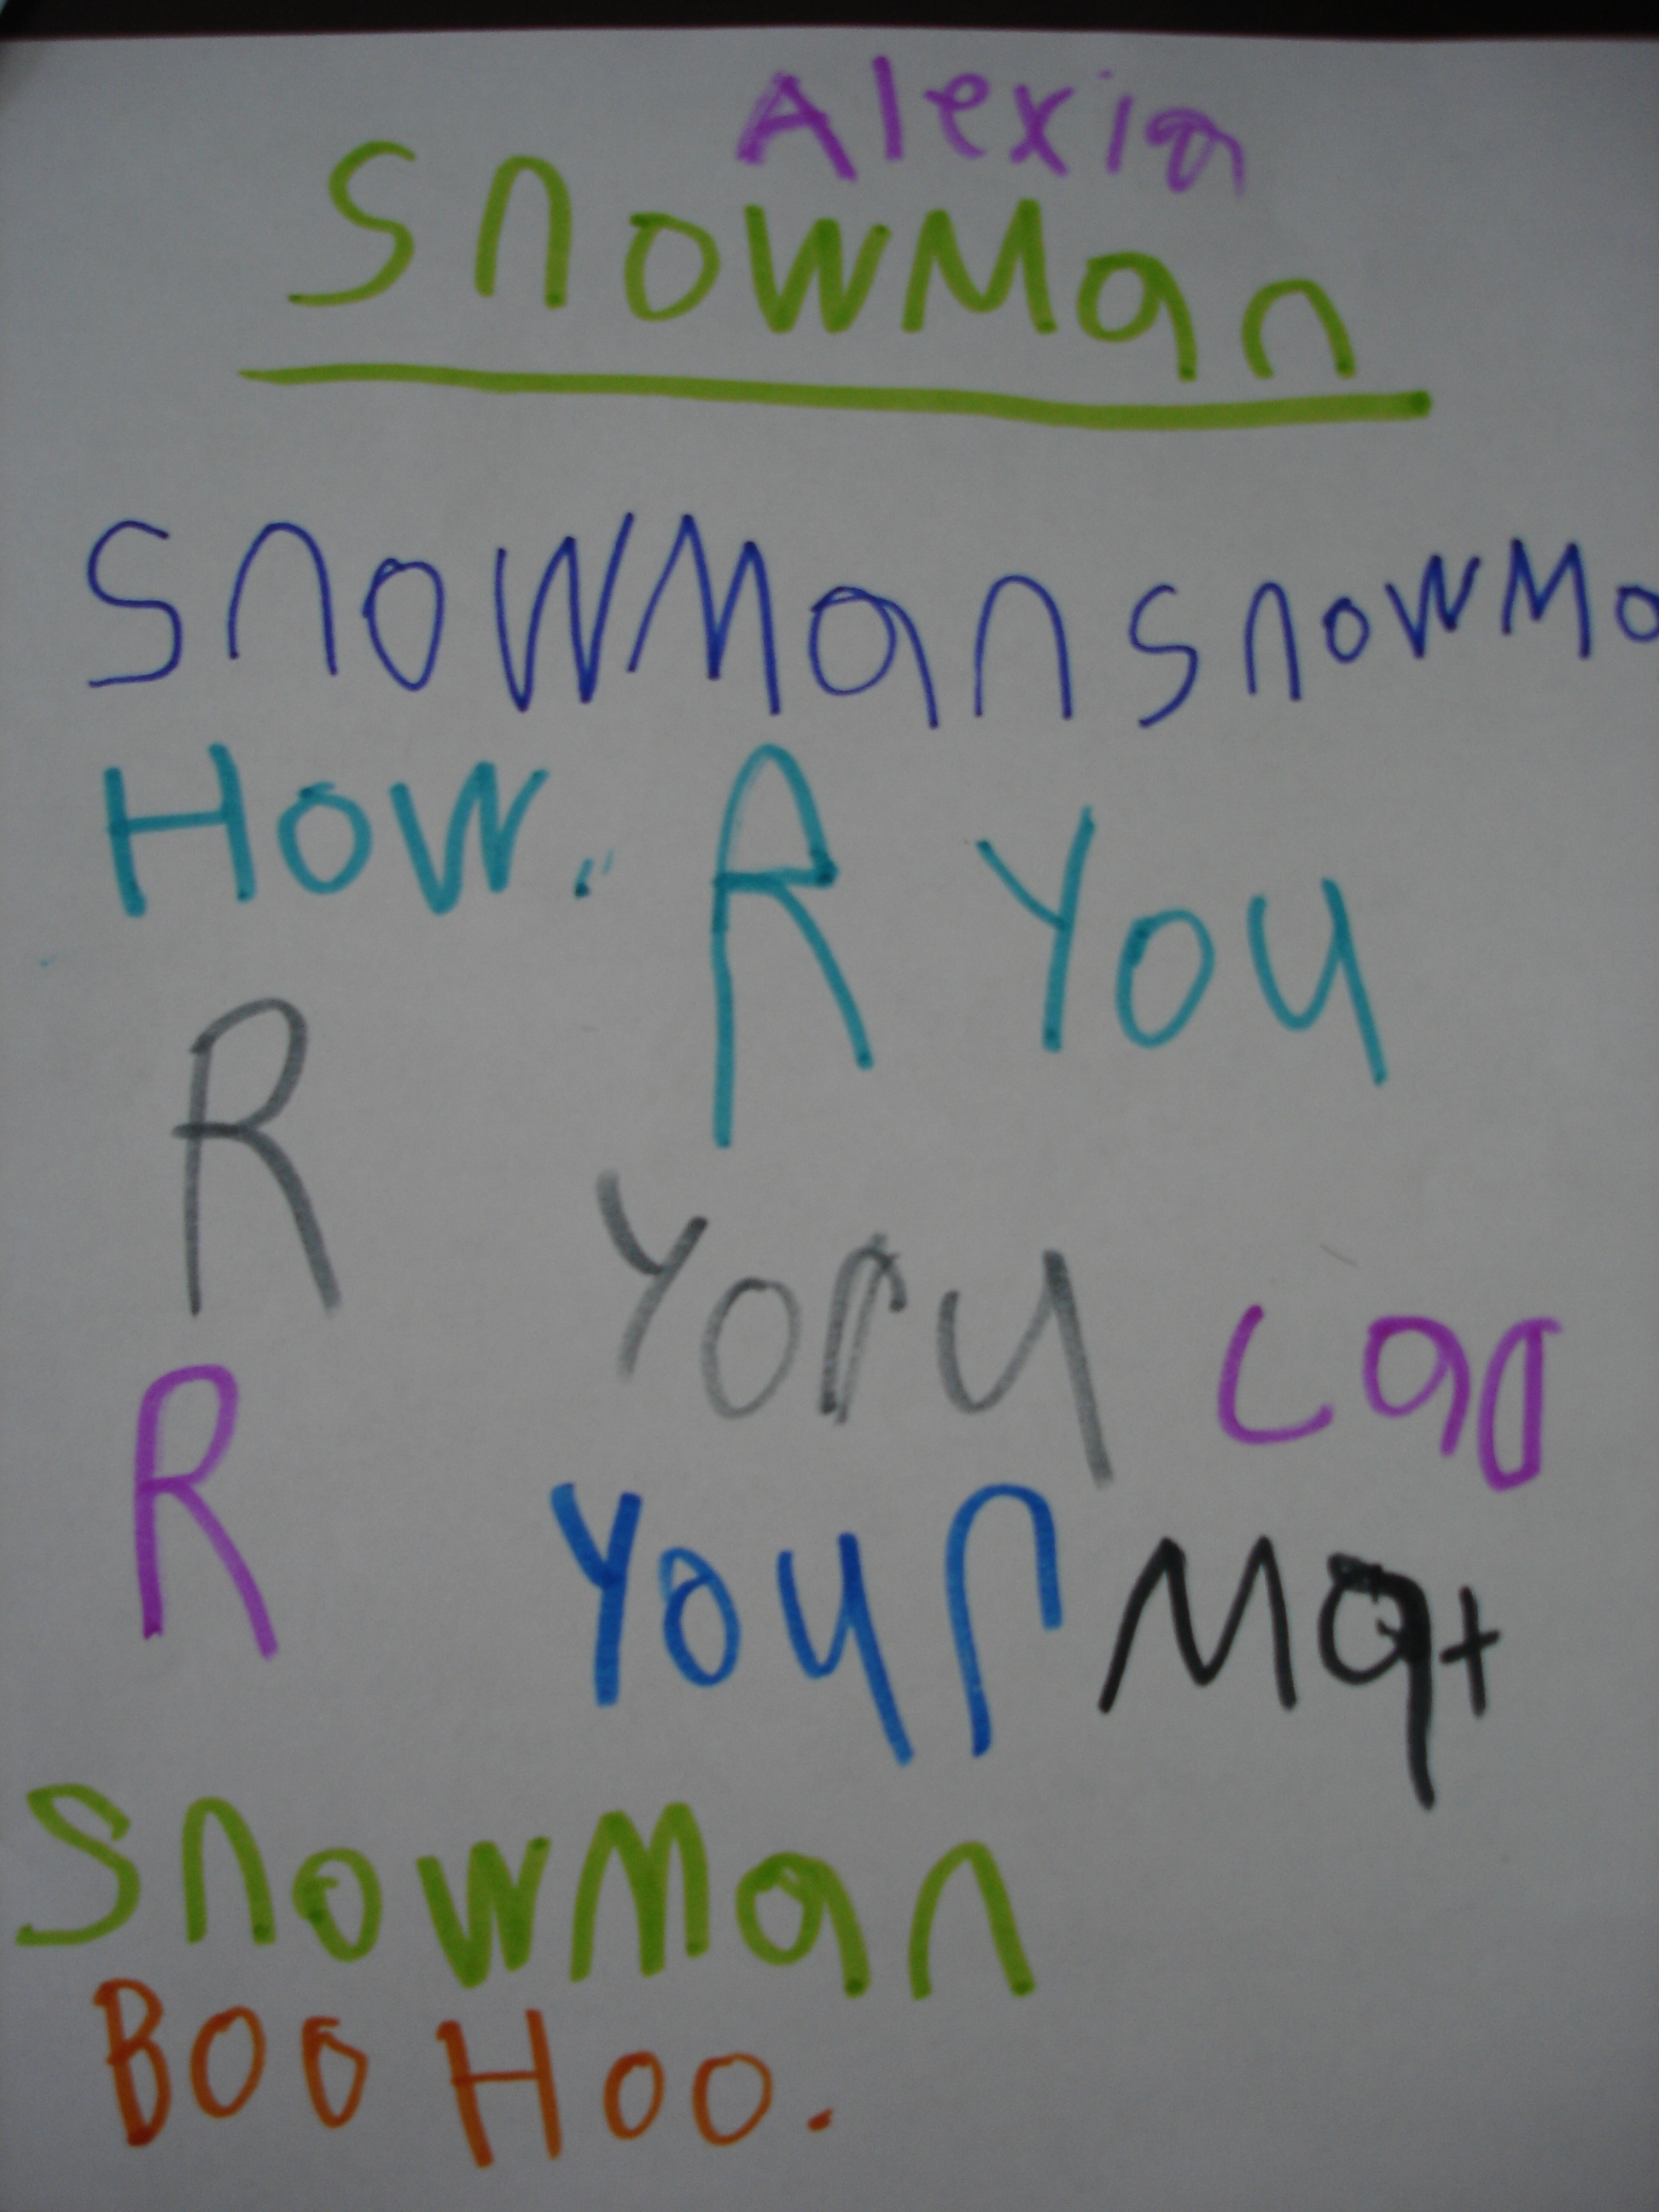
Snowman
Snowman, snowman
How are you?
Are you cold?
Are you meltie?
Snowman
Boo Hoo.
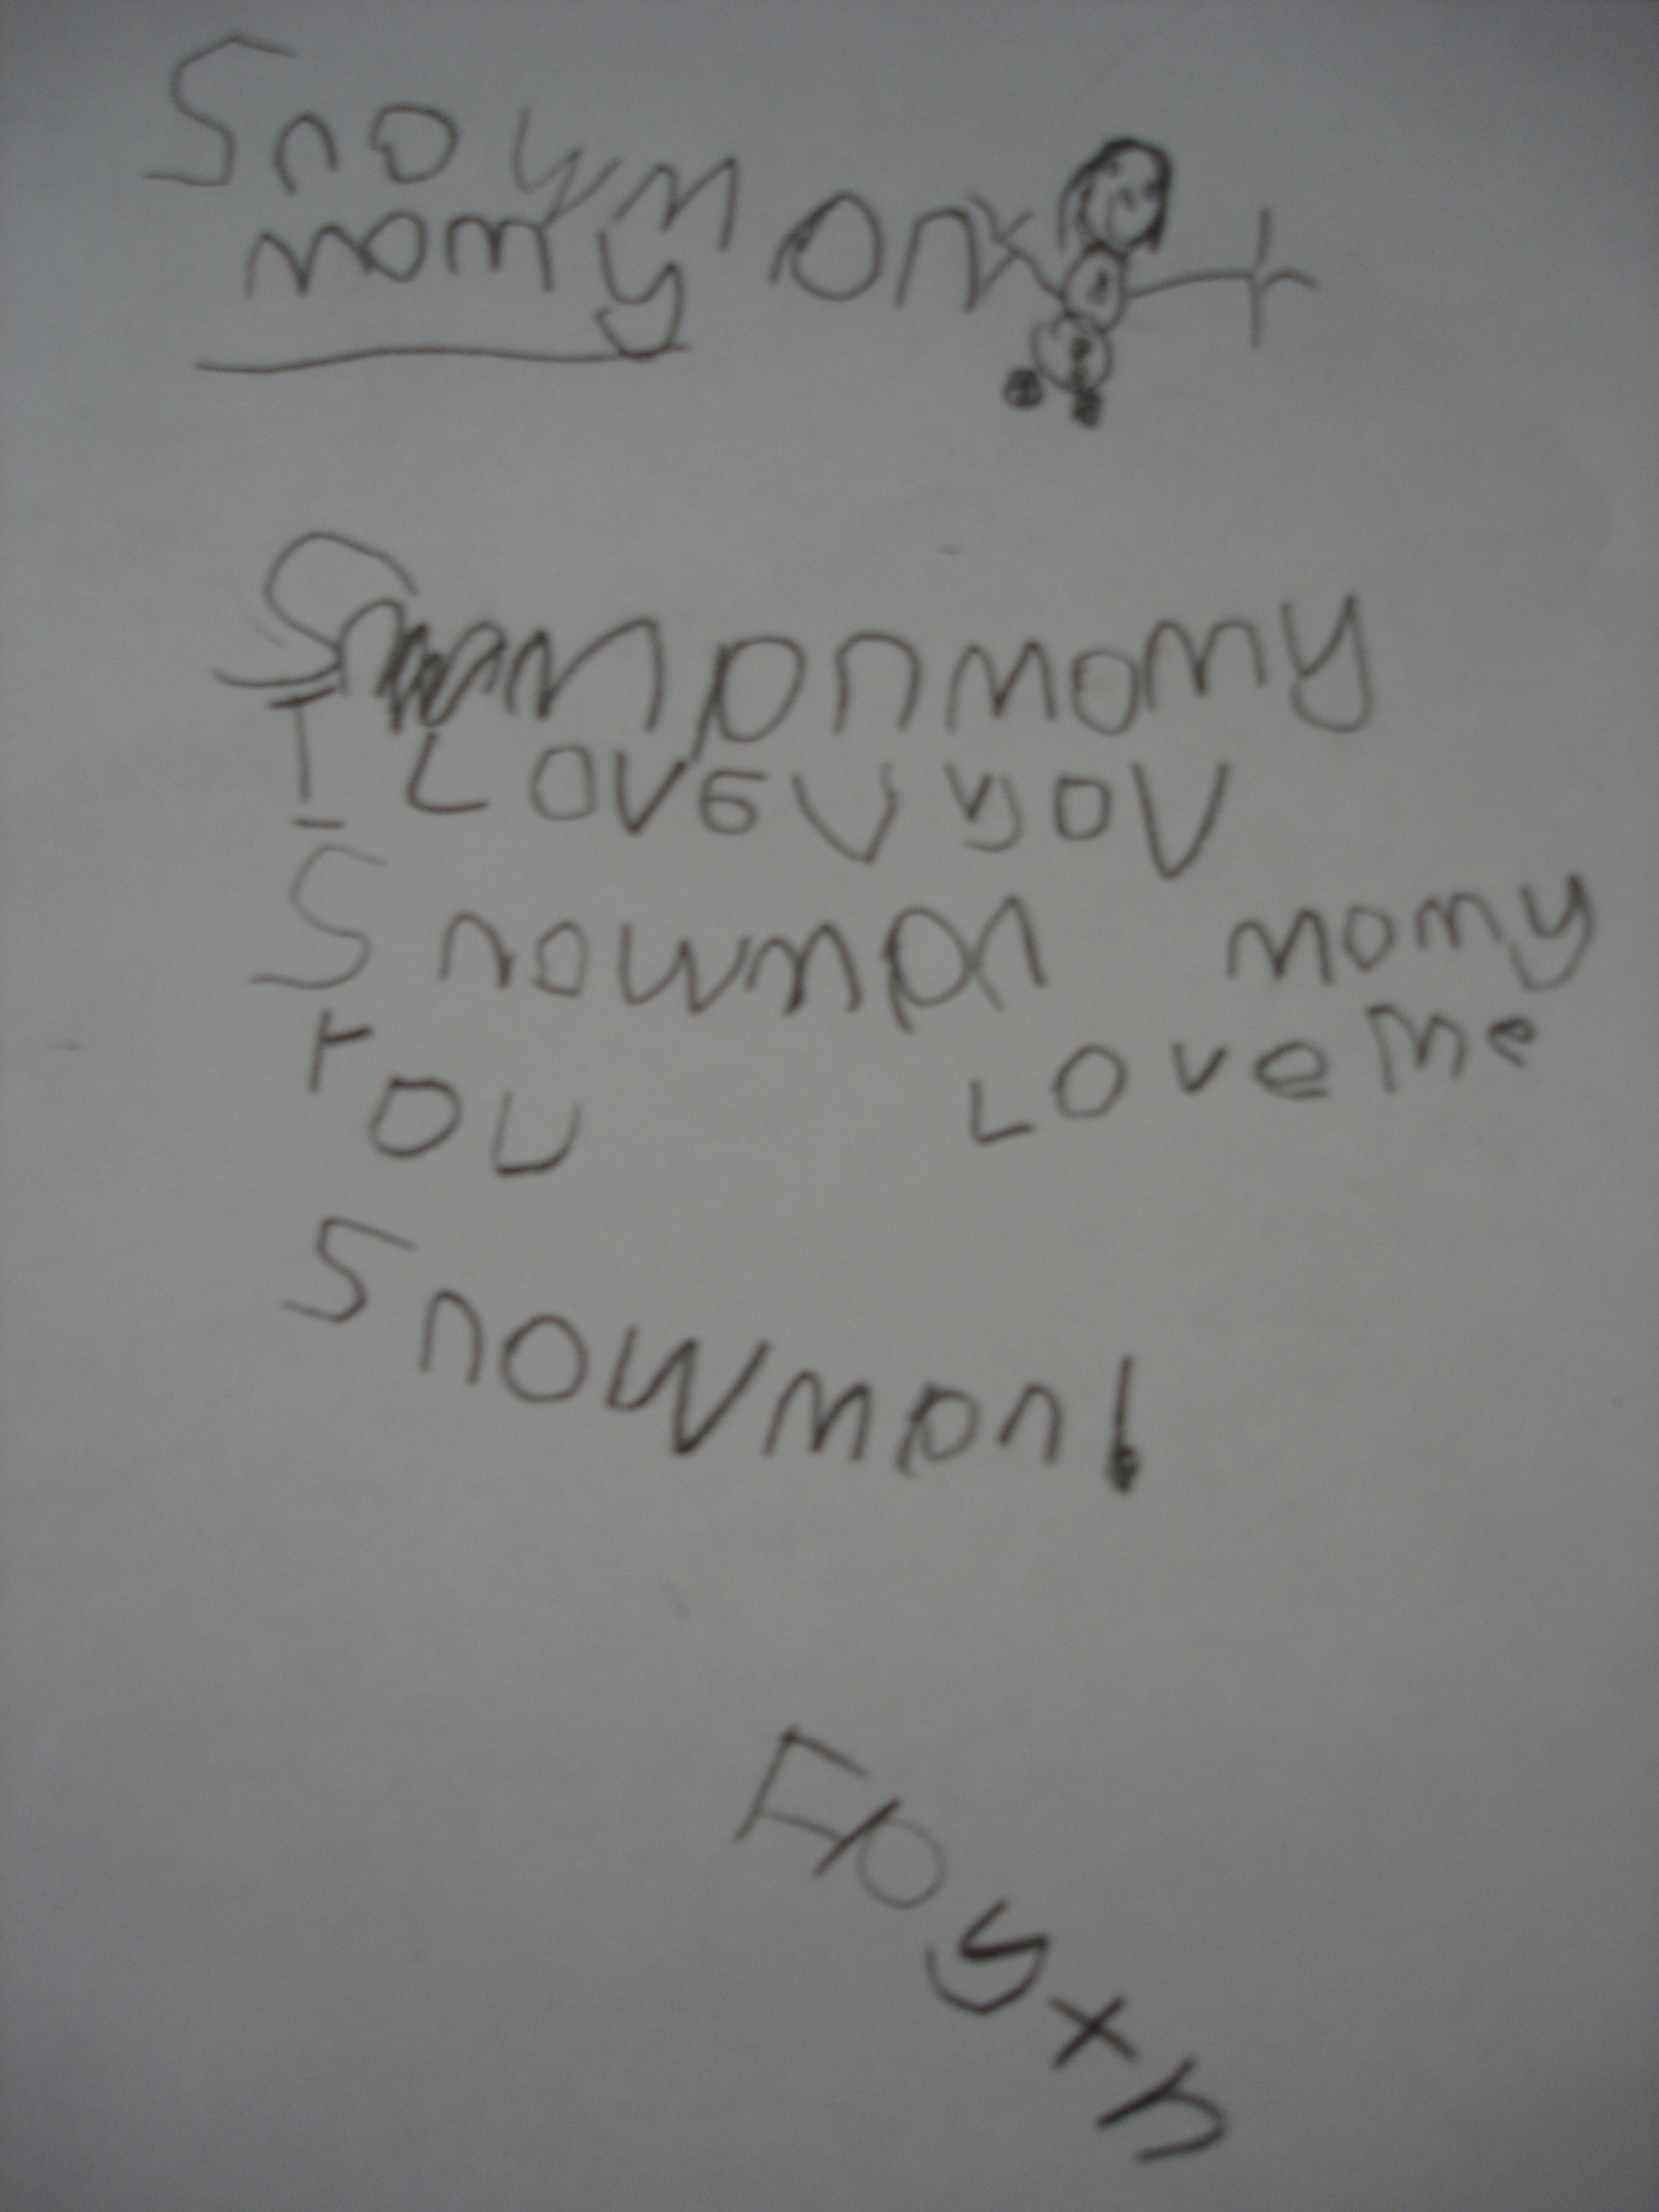
Snowman Mommy
Snowman mommy
I love you.
Snowman mommy,
You love me.
Snowman!
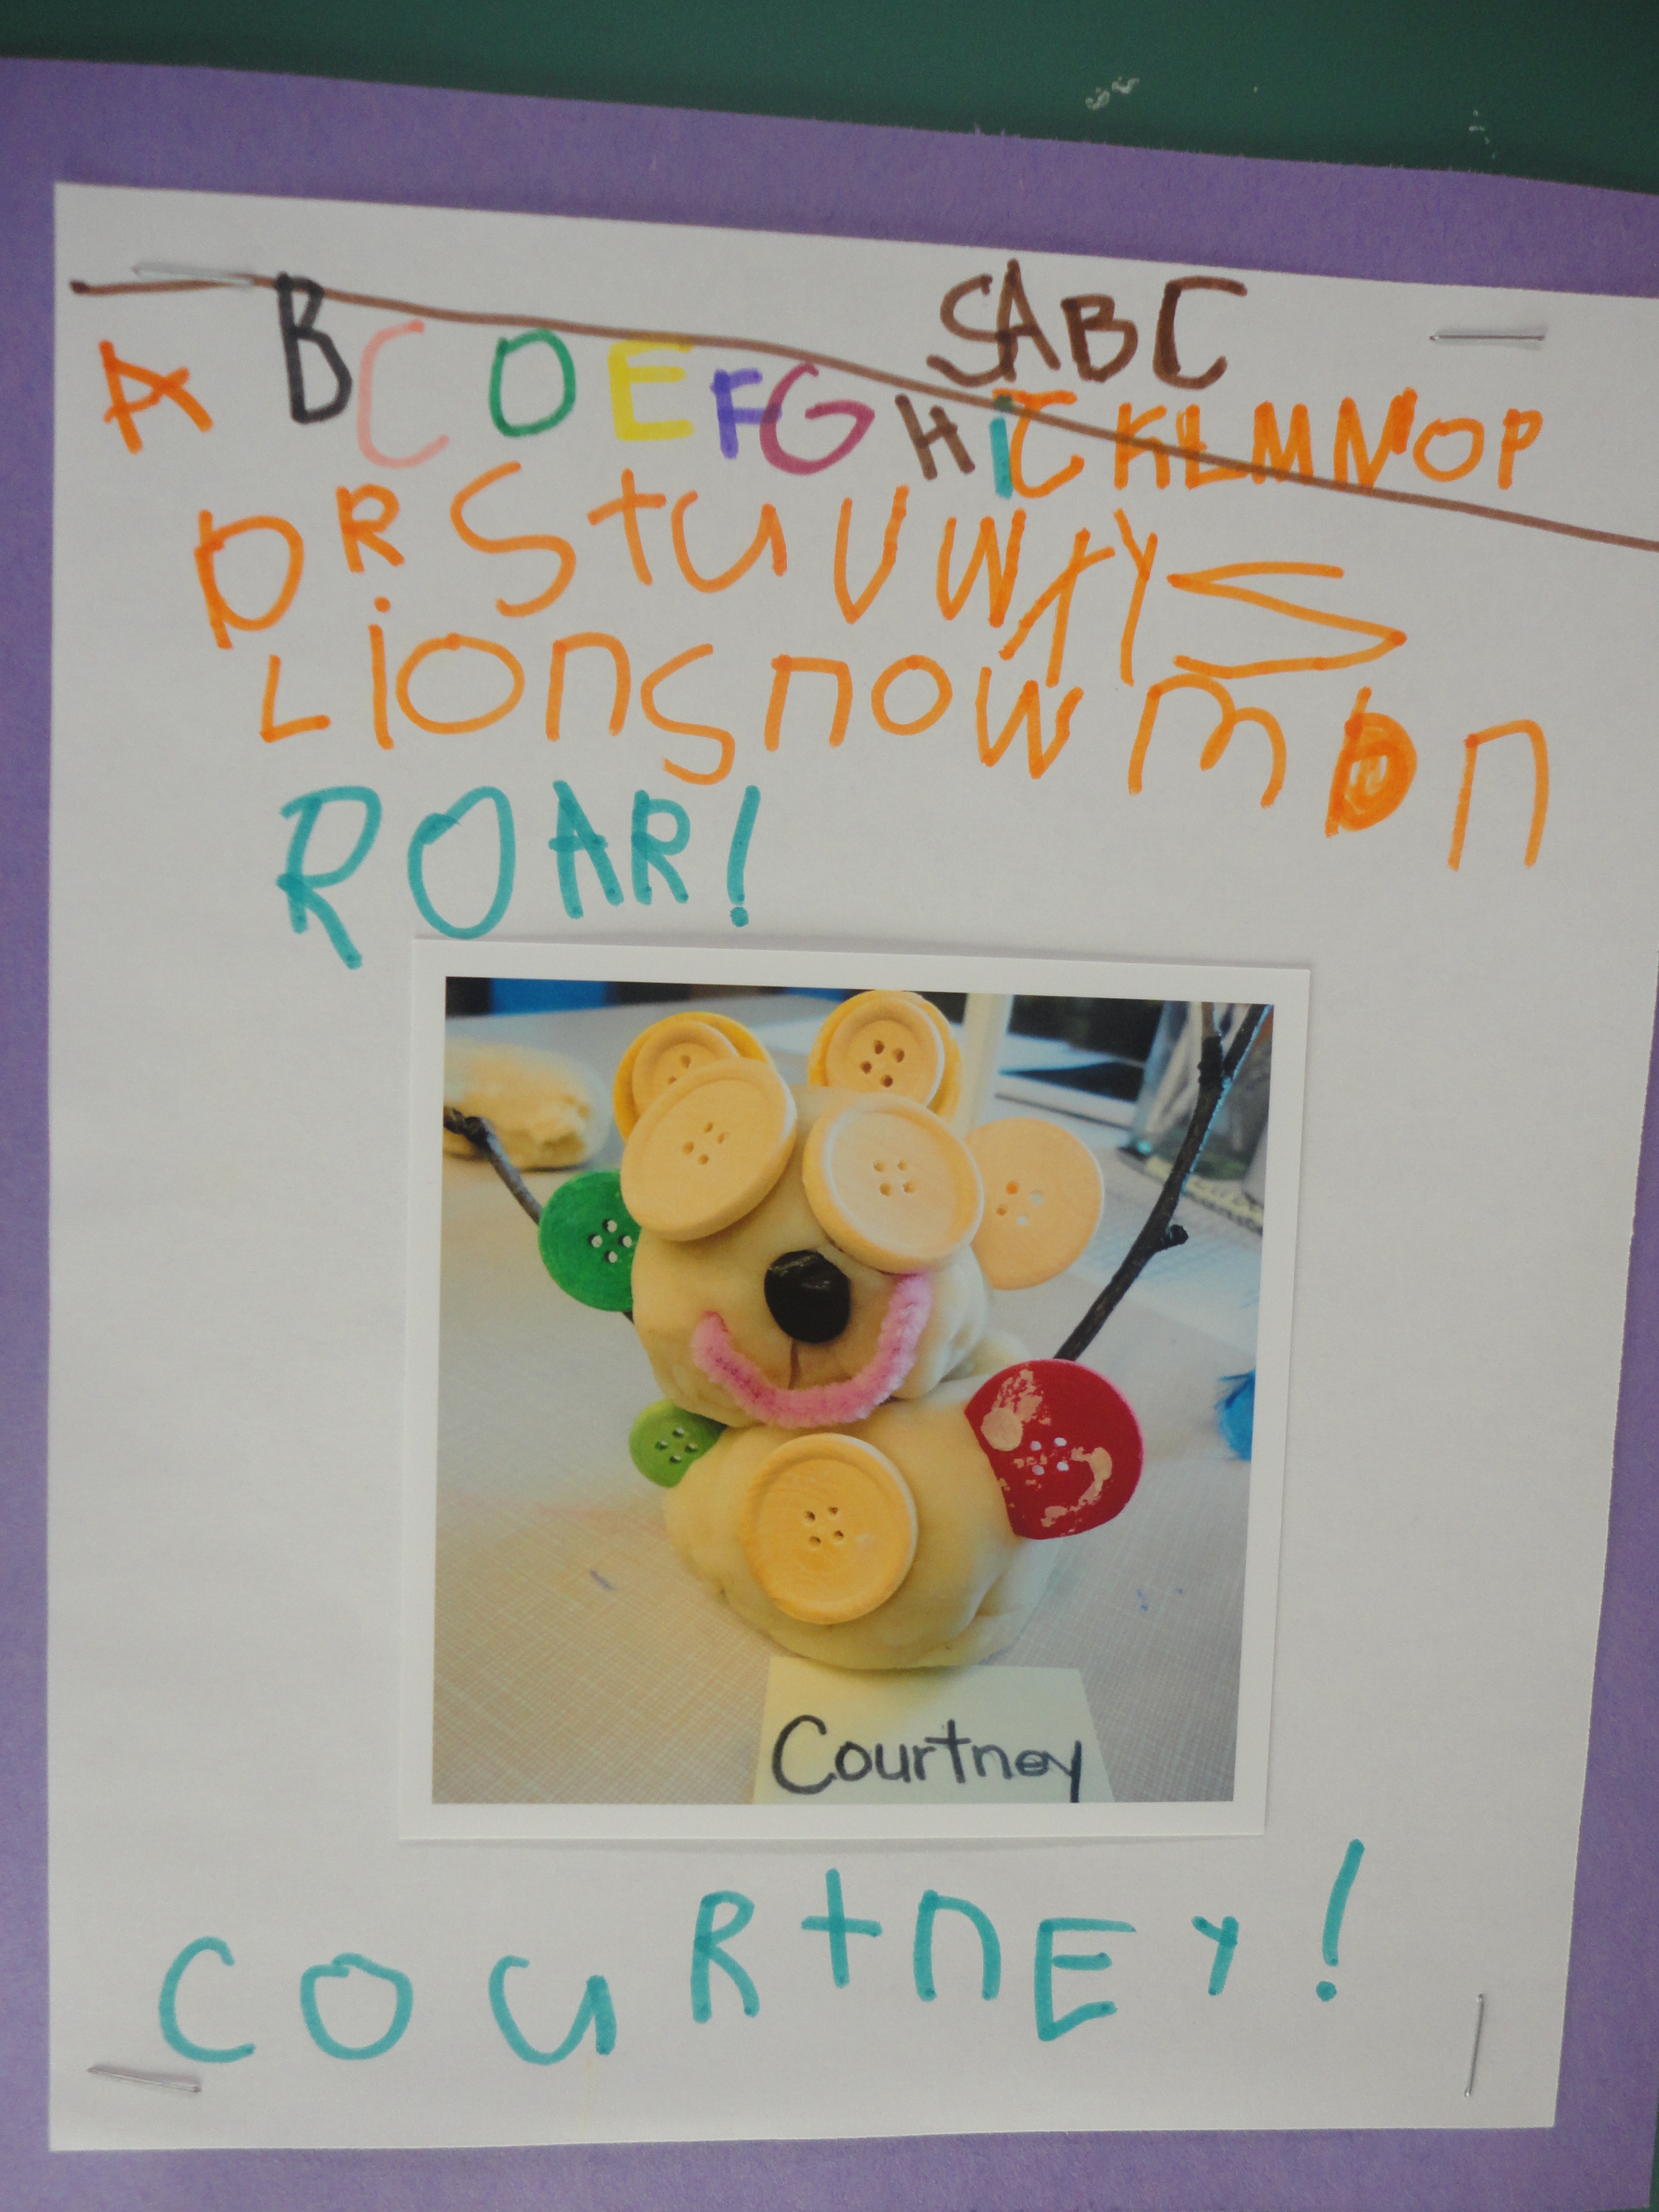
ABC Snowman
A B C D E F G H I J K L M N O P
Q R S T U V W X Y Z
Lion snowman
Roar!
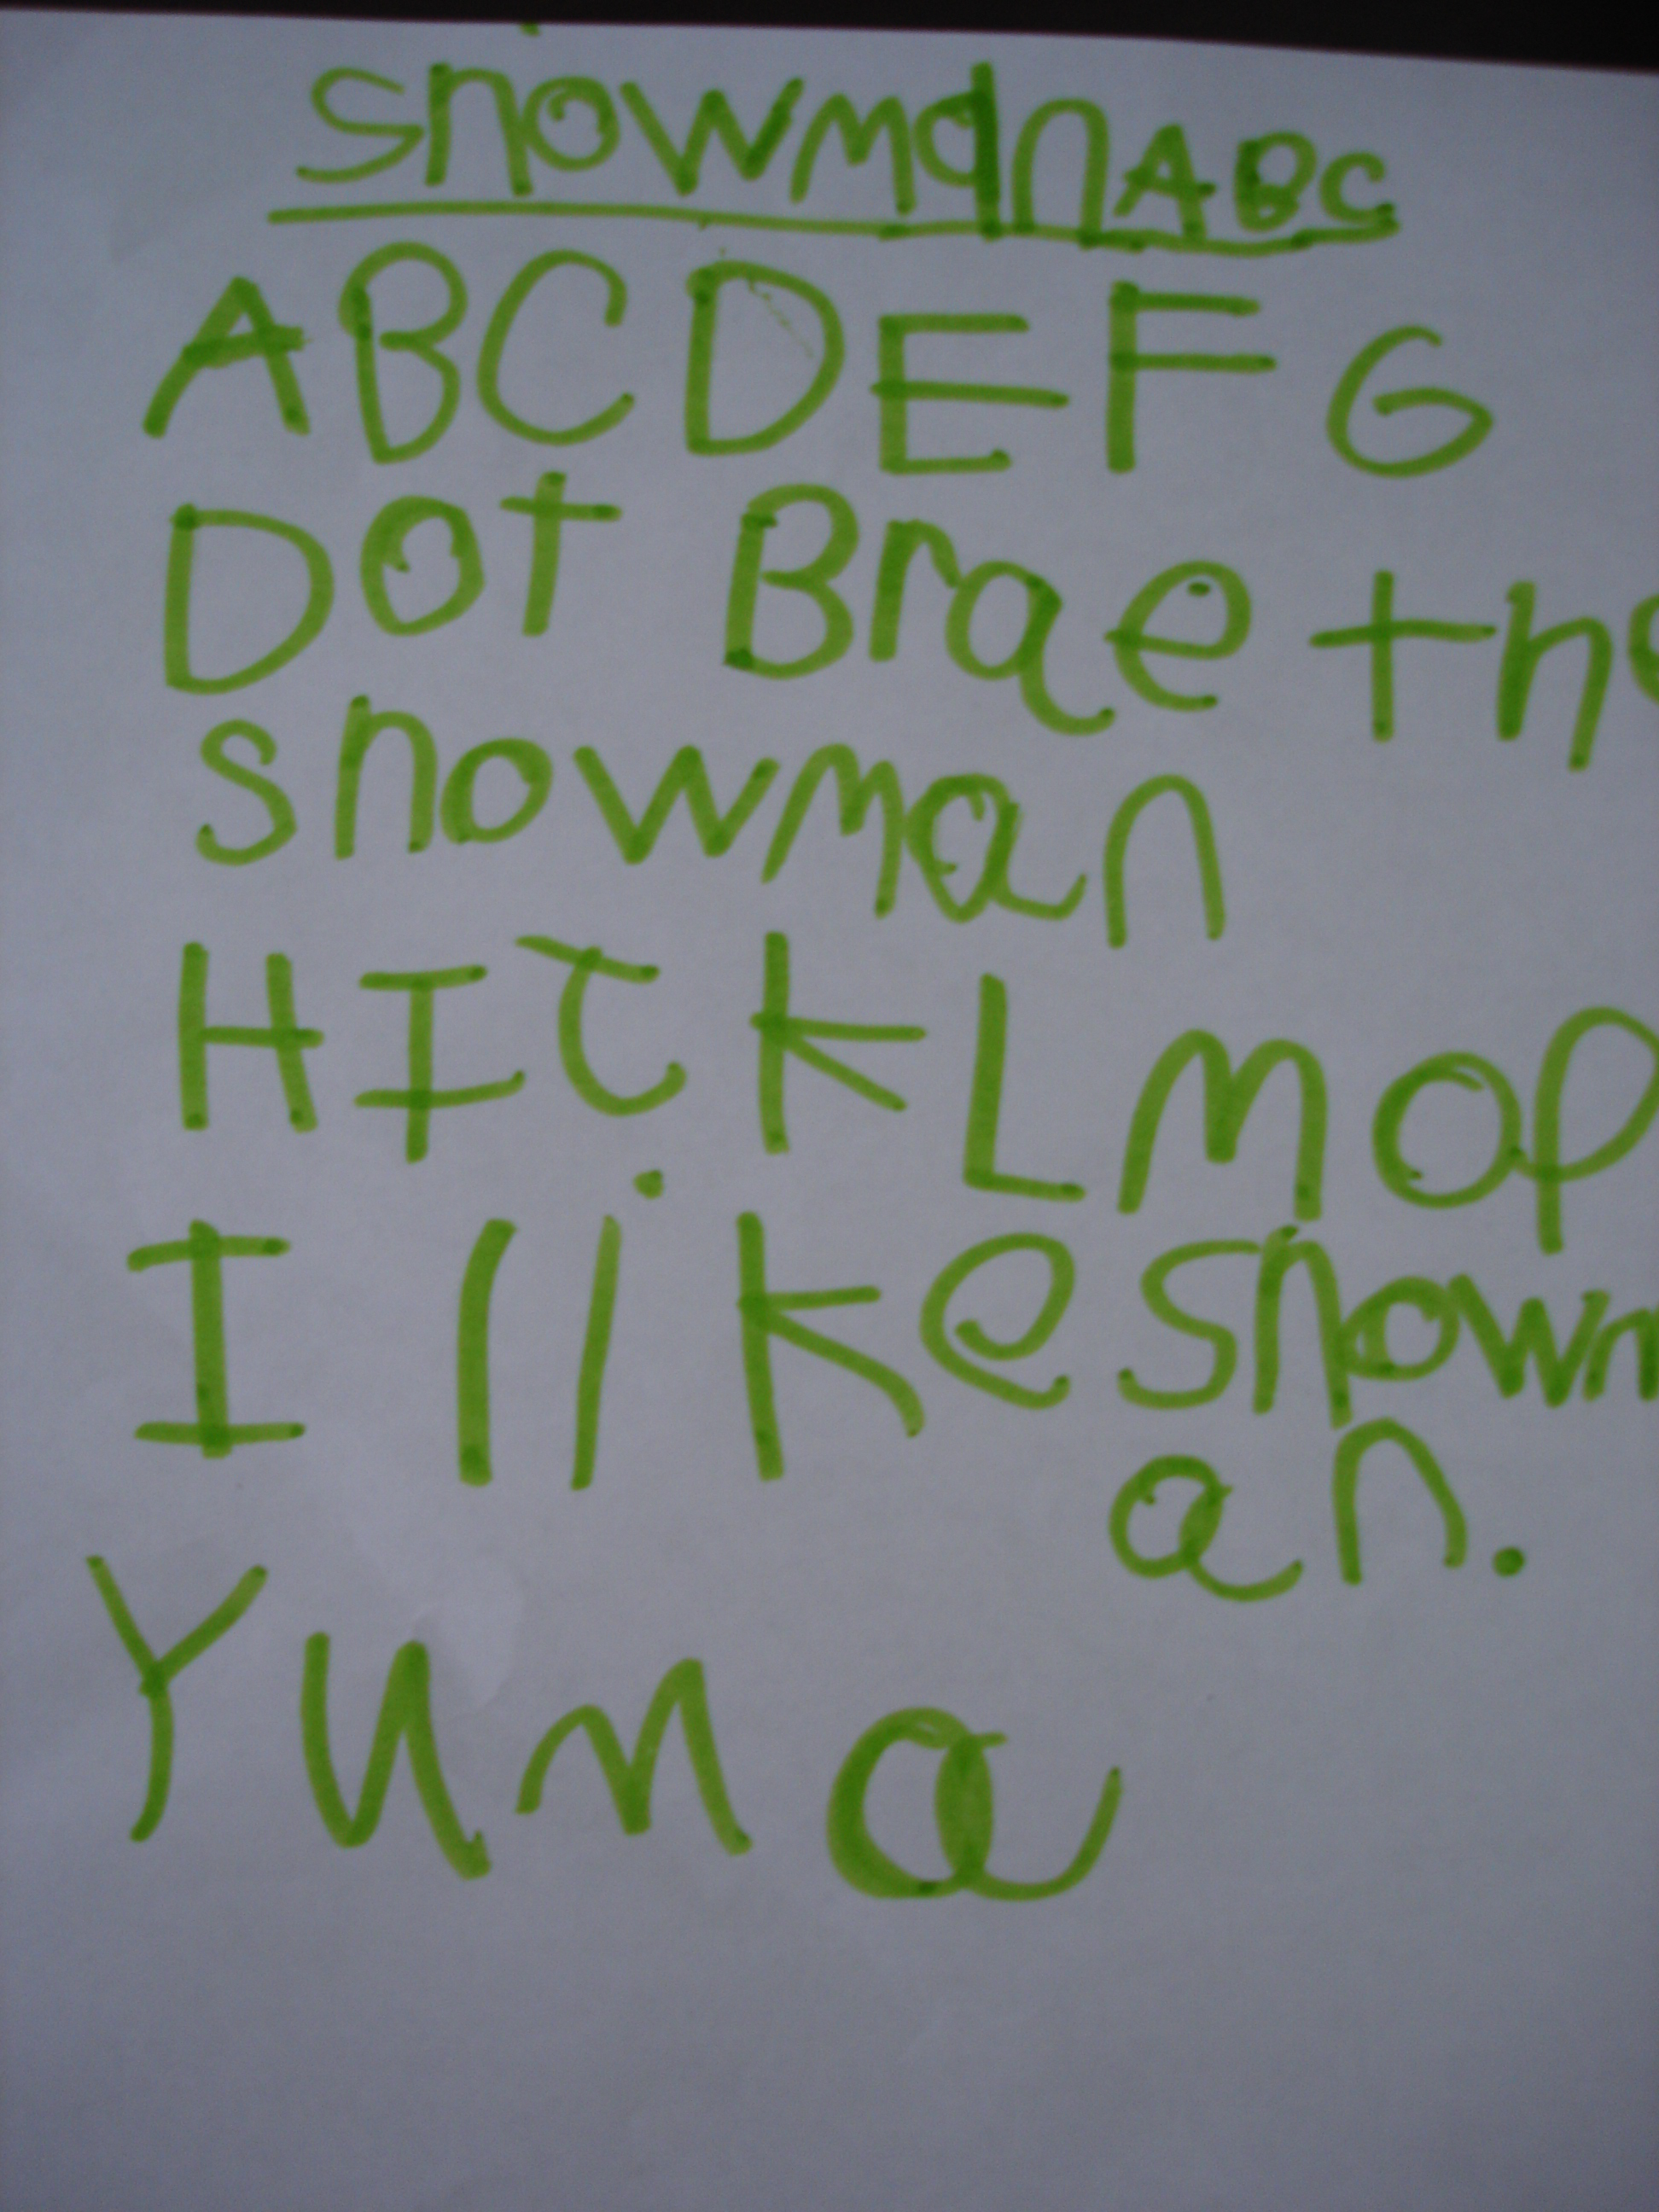
Snowman ABC
A B C D E F G
Don’t break the snowman.
H I J K L M N O P
I like snowman.
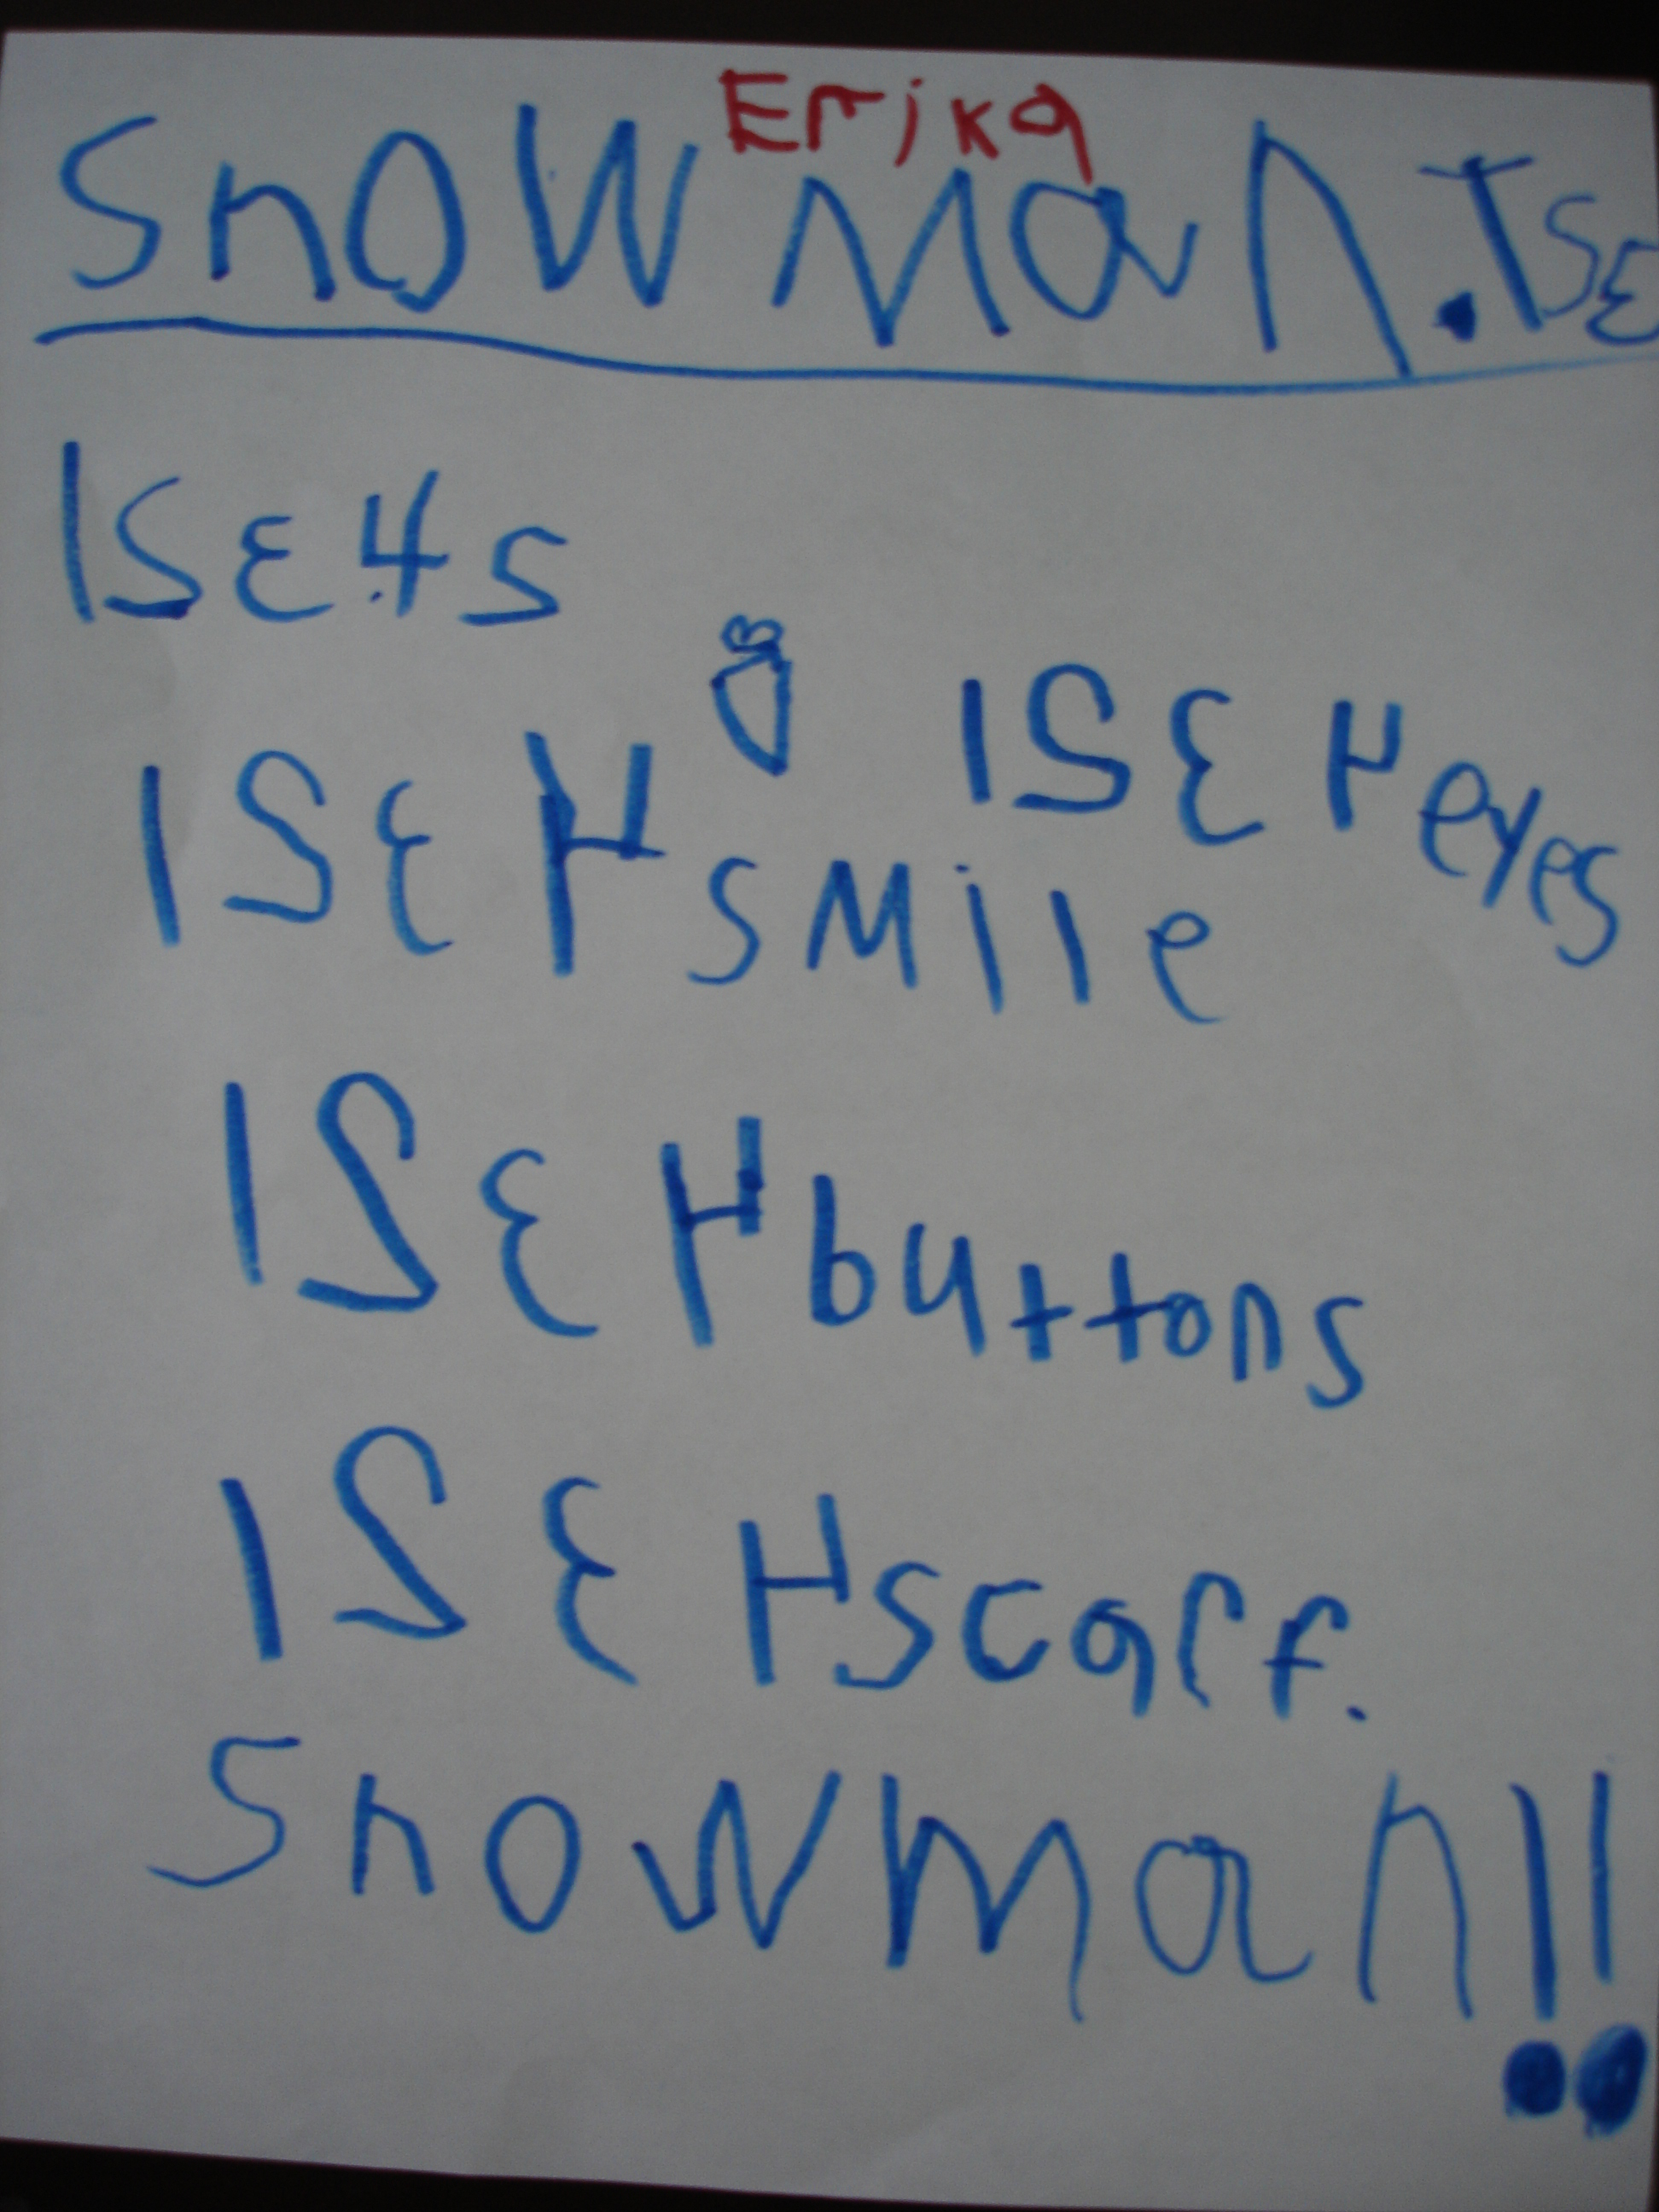
Snowman 1 2 3 4
1 2 3 4 carrot
1 2 3 4 eyes
1 2 3 4 smile
1 2 3 4 buttons
1 2 3 4 scarf
Snowman!!
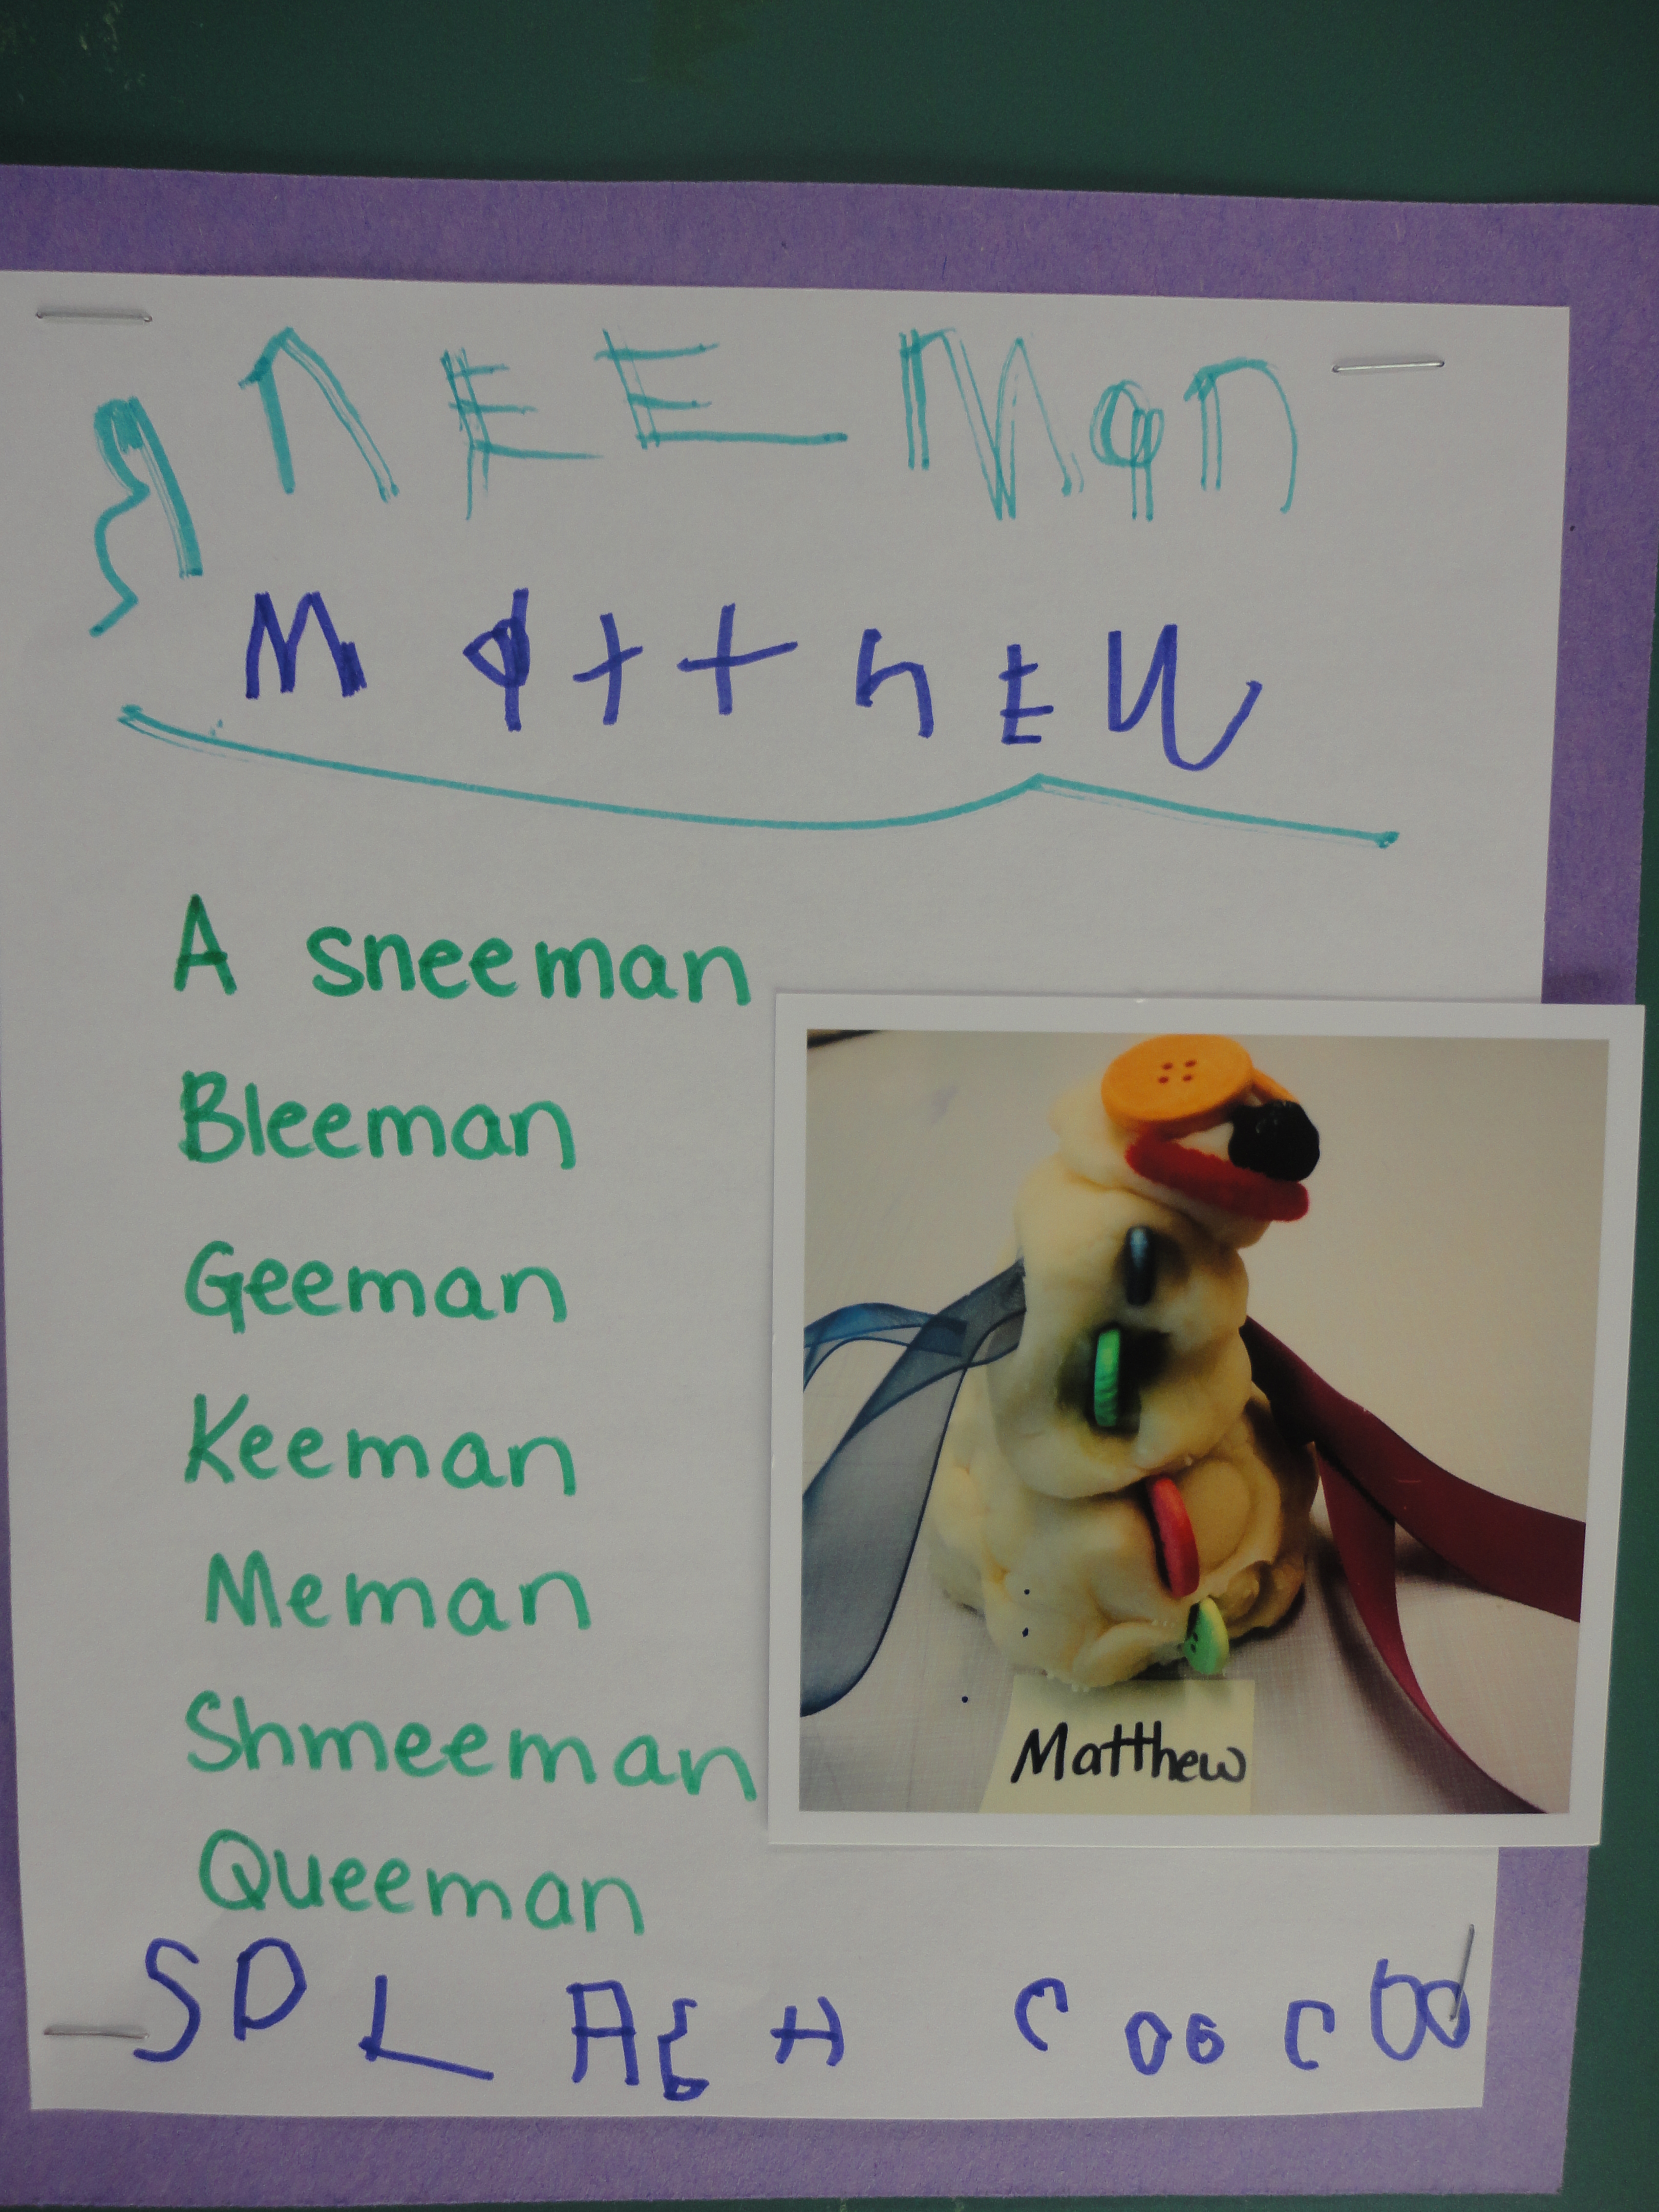
This student had some very creative words of his own to add to his poem! He was hesitant to write the words on his own so I scribed them for him, but encouraged him to write the title and special ending words “Splash! Coocoo!” on his own.
We were so impressed with the children’s creativity and enthusiasm throughout this project! Each day, we dedicated some of our class reflection time to listening to each other’s poems. Here are some things we did to help the students achieve success with this activity:
*The topic developed out of the children’s own interests in making snow creatures outside.
*The poem we read helped the children understand/think about the process of making a snowman and served as a model for the type of writing we wanted the children to attempt (poetry).
*We talked about the features that made the snowman poem interesting and fun for us to read. There was a particular emphasis on the ending of the poem and how it was an exciting finish.
*The children had an opportunity for hands-on exploration with materials. The conversations we had while making the playdough snowmen lay the foundation for our poetry writing.
*We wrote several poems together as a class (modelling) prior to students attempting to write their own poems.
*All students were encouraged to write a poem regardless of their level of skill in writing.
*All children were celebrated for their creativity and success.