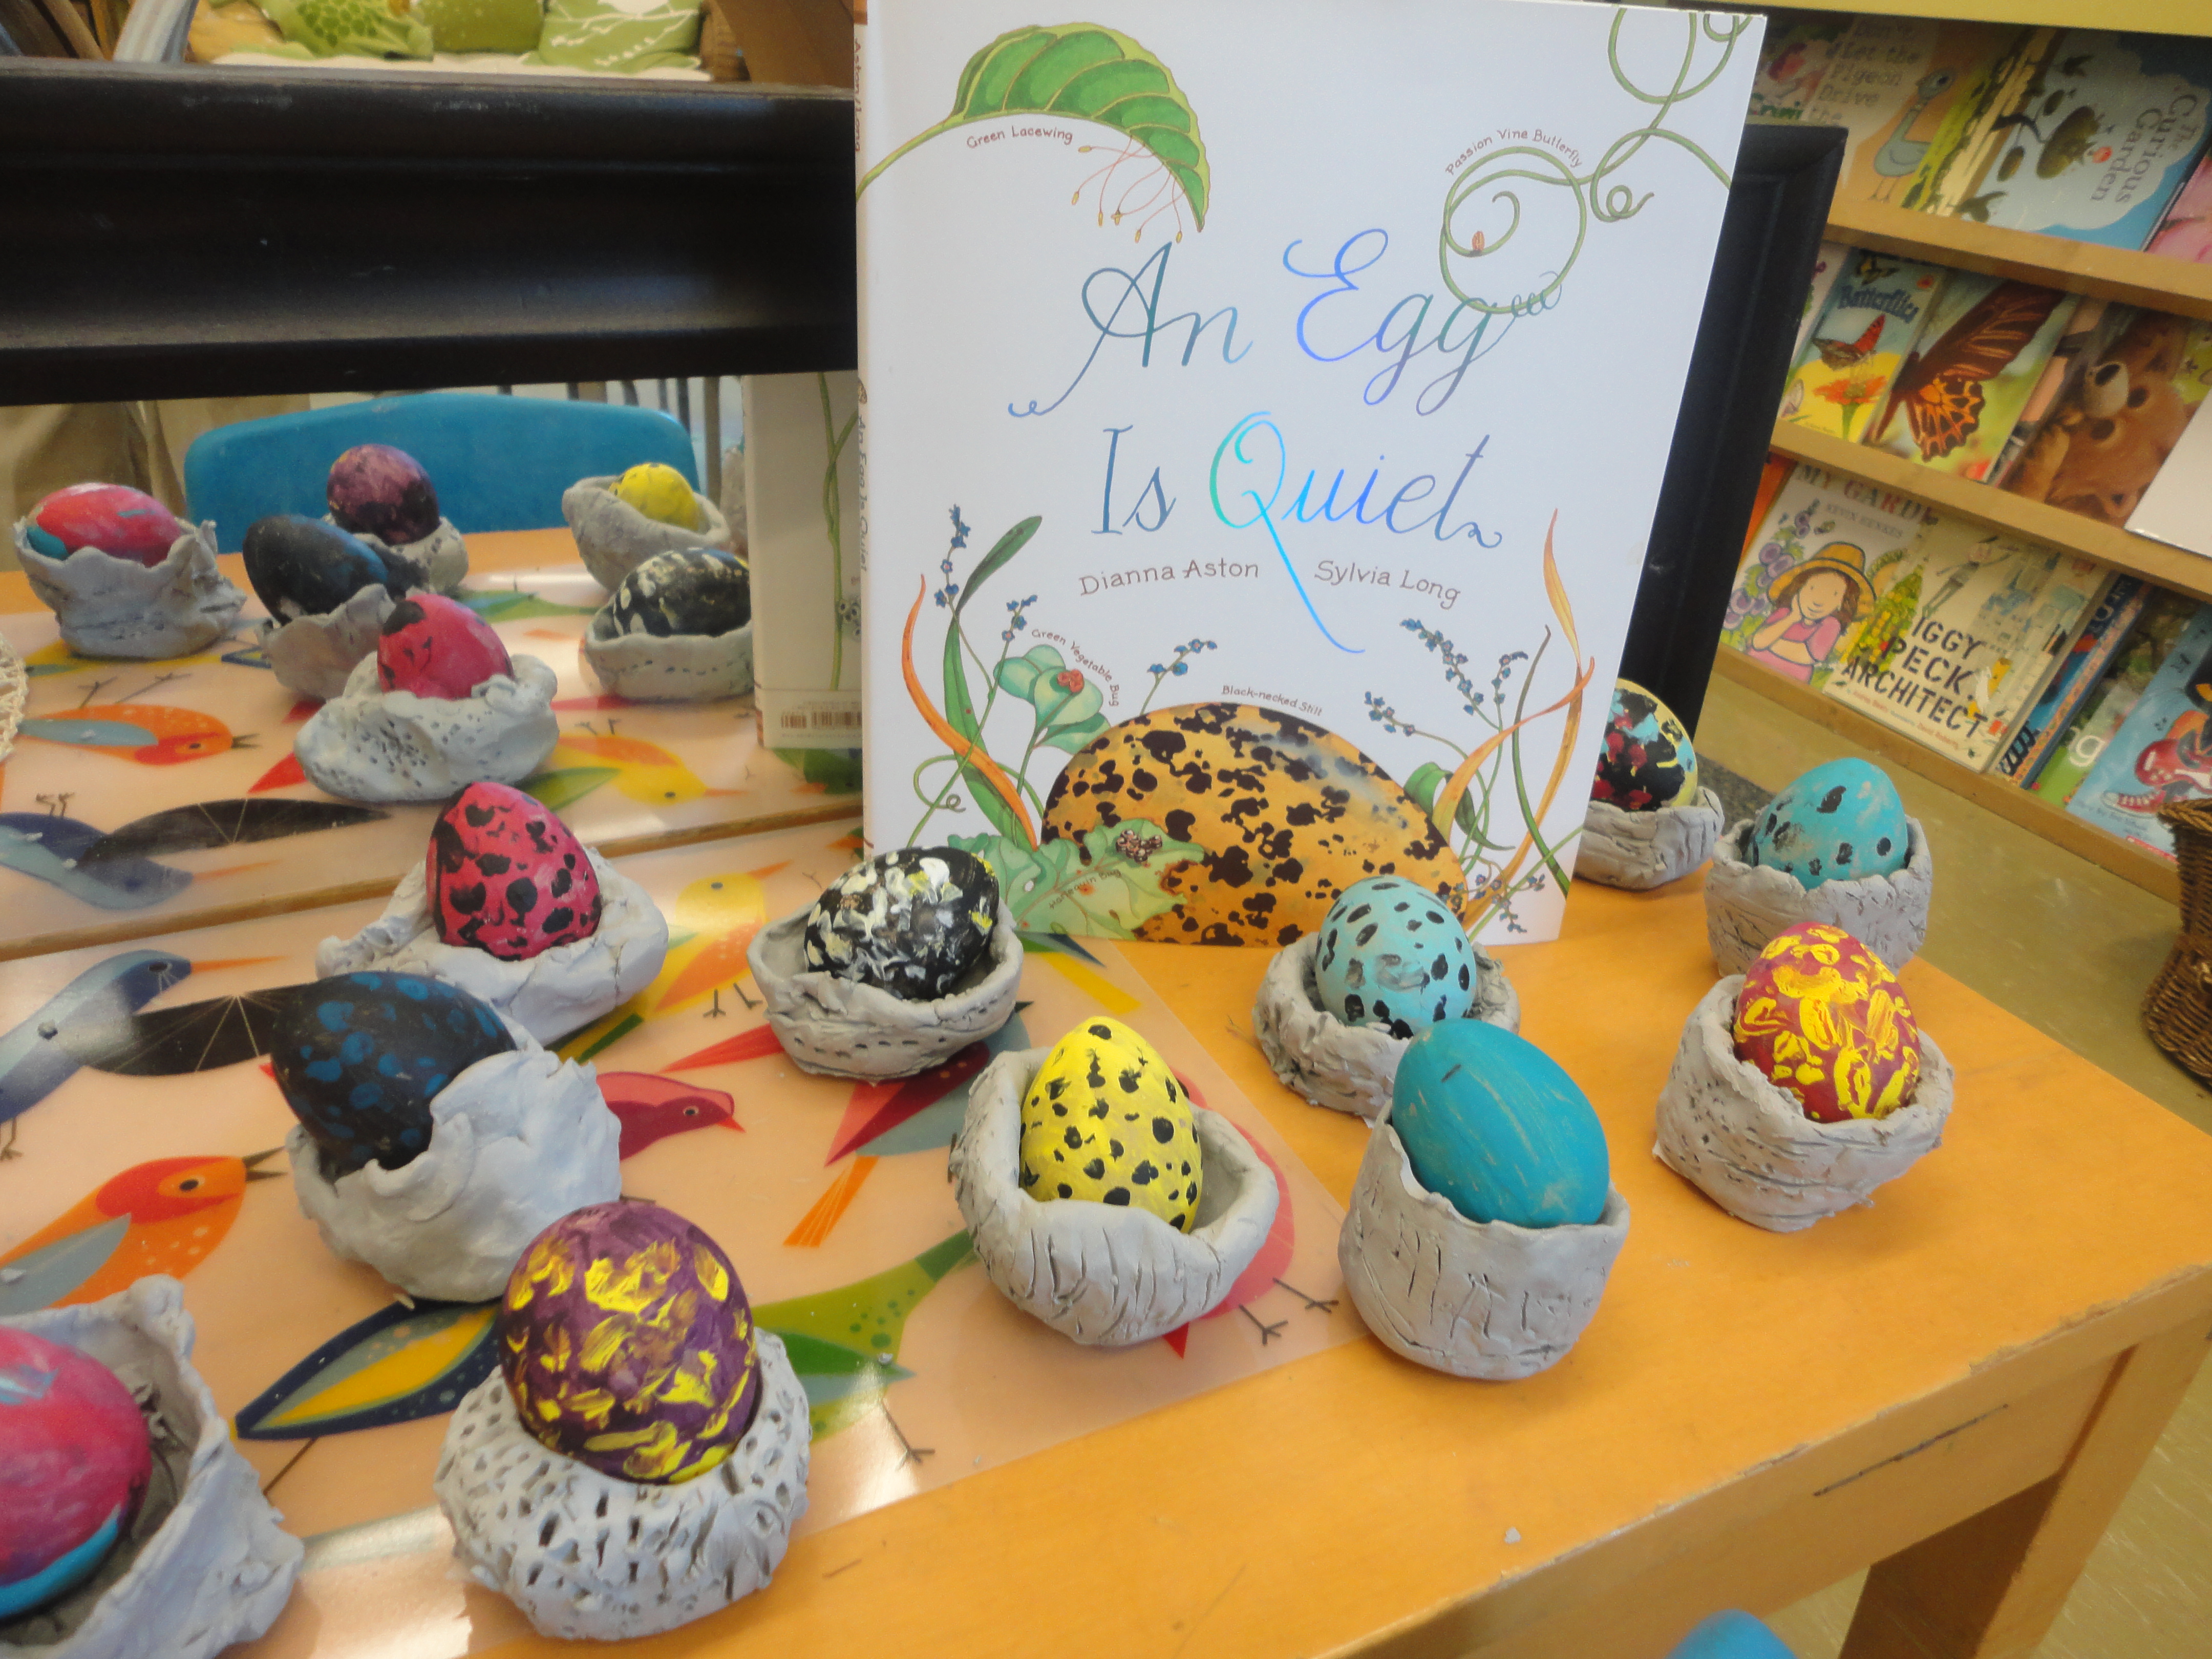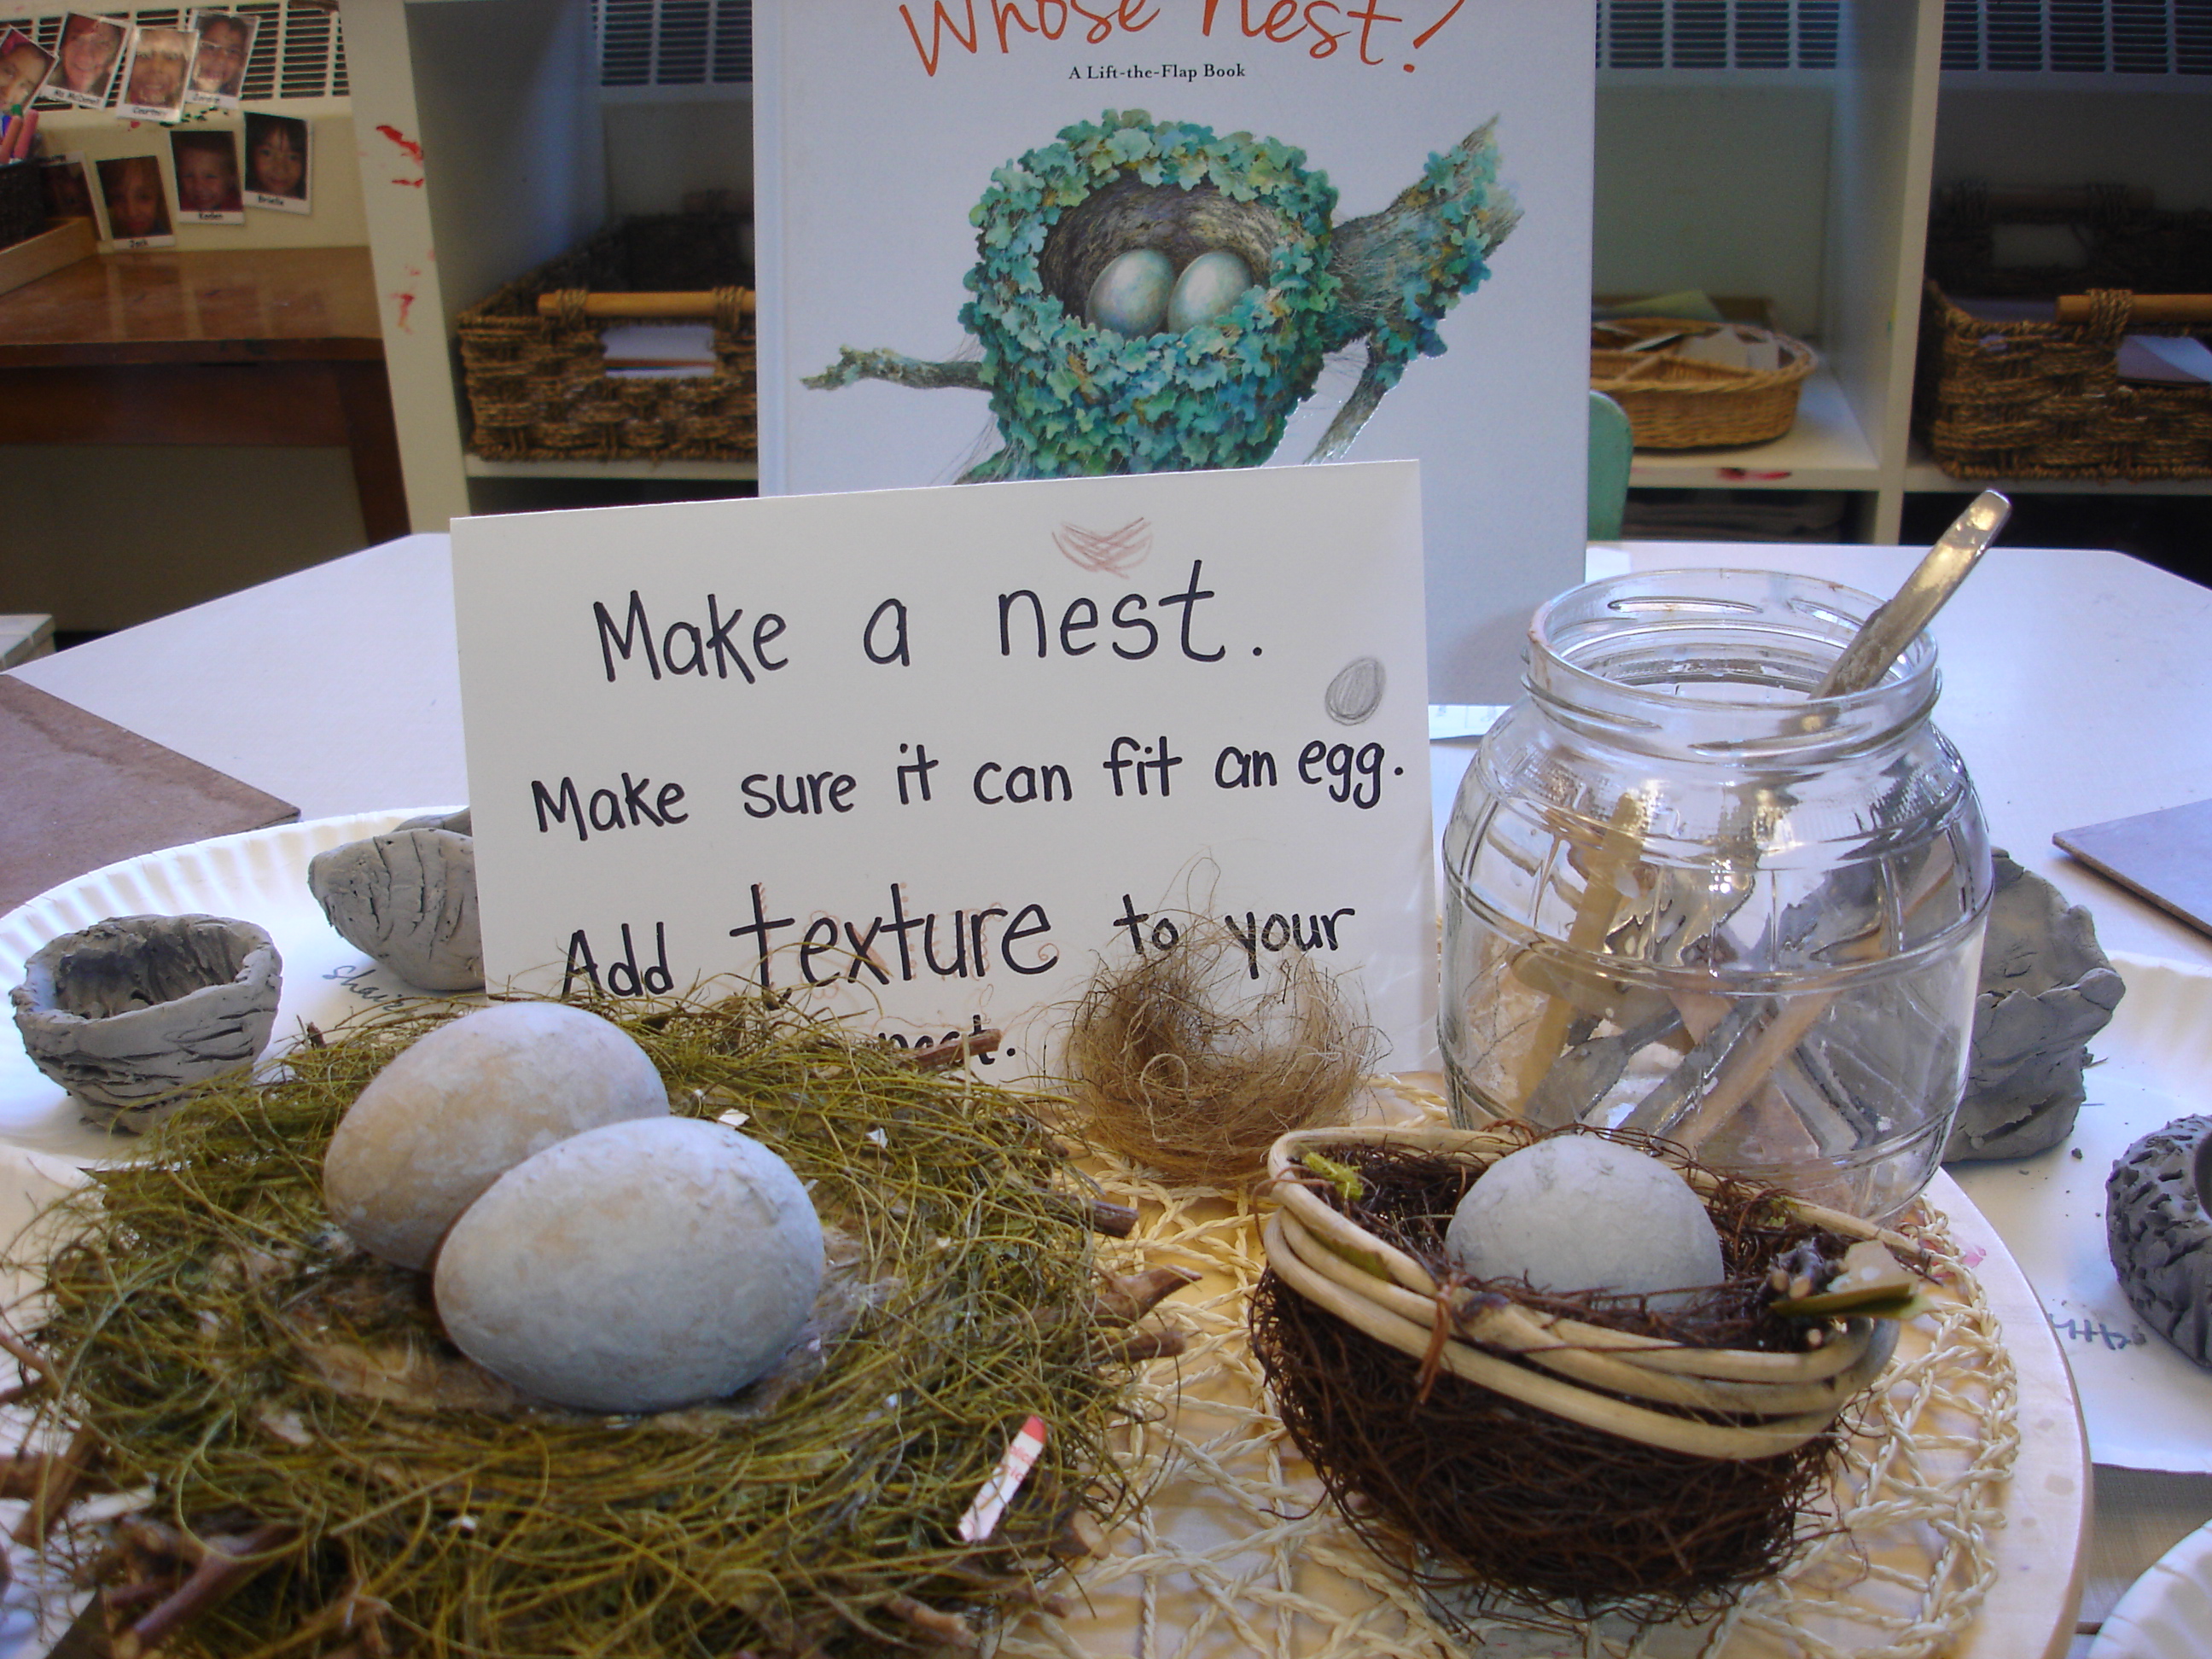
An emergent curriculum is one that is guided by the children’s interests. I get a lot of questions about what this looks like in Kindergarten. In particular, many educators often express a fear that an emergent curriculum will be random, unorganized, and not tied to the curriculum, which is everything it is not! So today, I thought I’d share an example of how you can incorporate the children’s interests into your weekly planning.
When my partner and I sit down to plan, we have the curriculum goals in mind that we want to address – the challenge is coming up with creative and interesting provocations or activities that will be inviting to our students. The easiest way to do that is to fuse our curriculum goals with the children’s interests. When you spend time listening to your students – really listening – you will find the things they talk about to be a source of great inspiration!
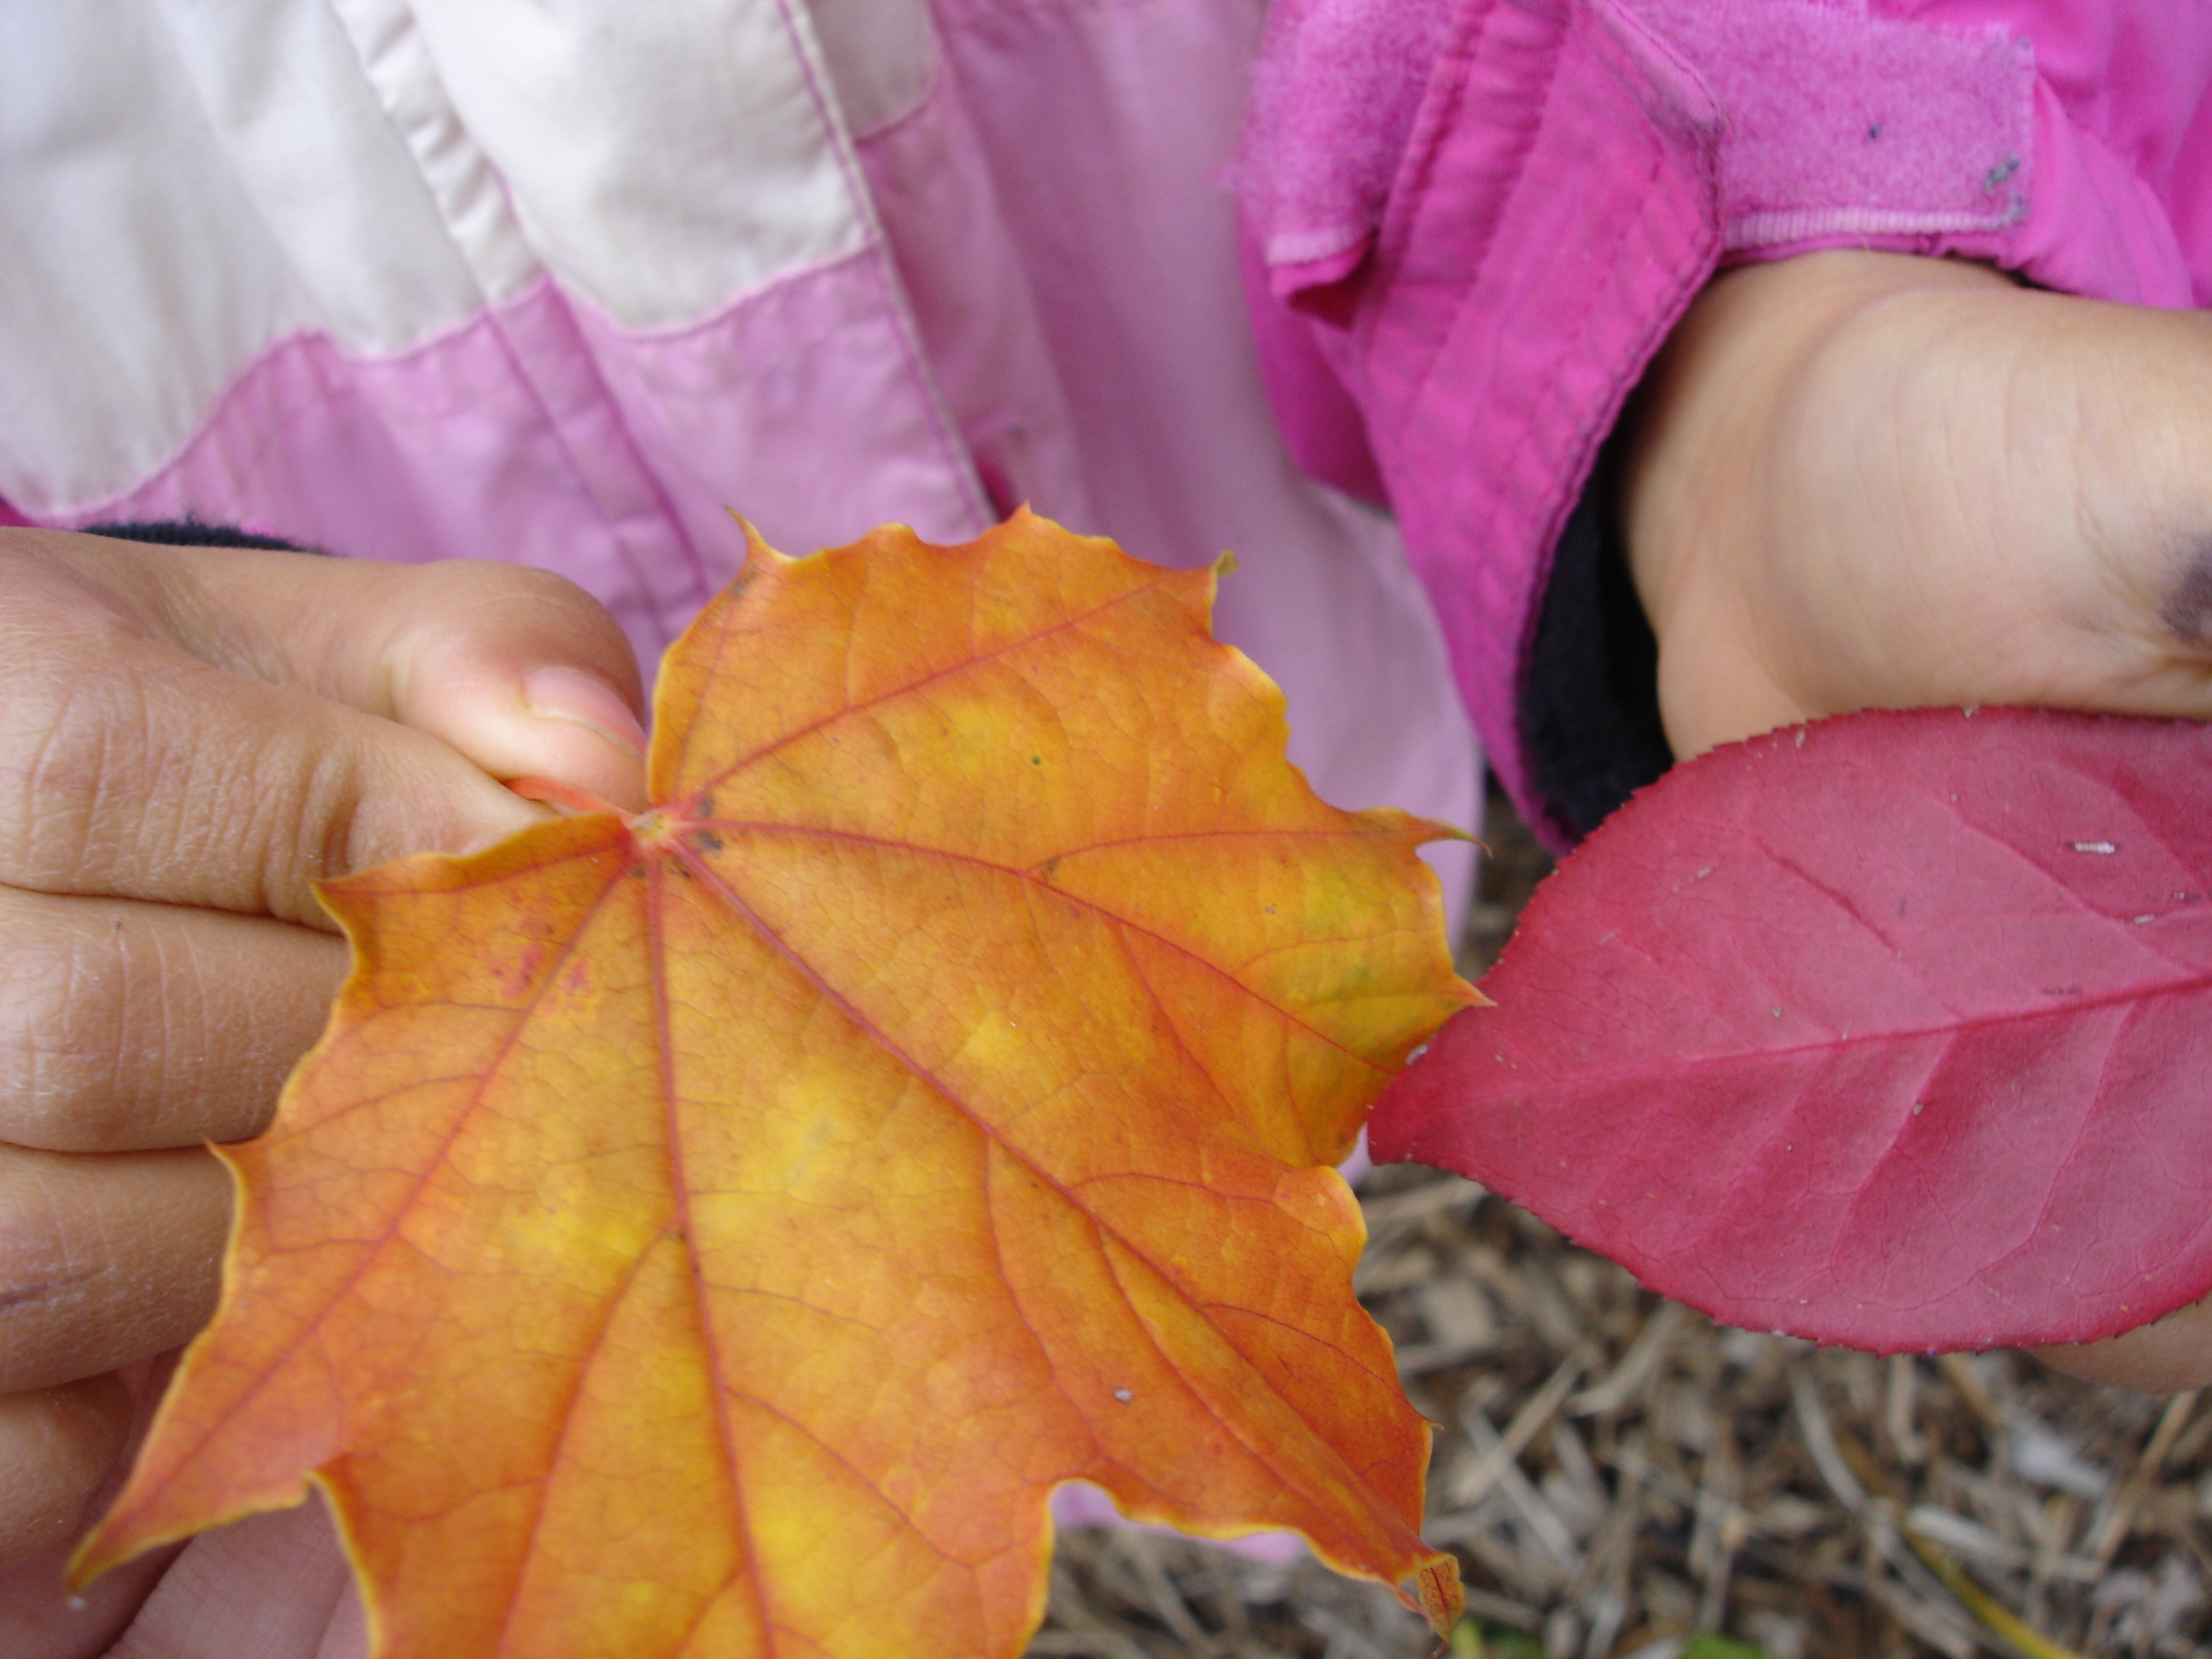
At this time of year, Halloween is a big source of conversation and excitement amongst my students, and really, it’s not hard to see why. Dressing up? Free candy? No wonder the kids are so excited!
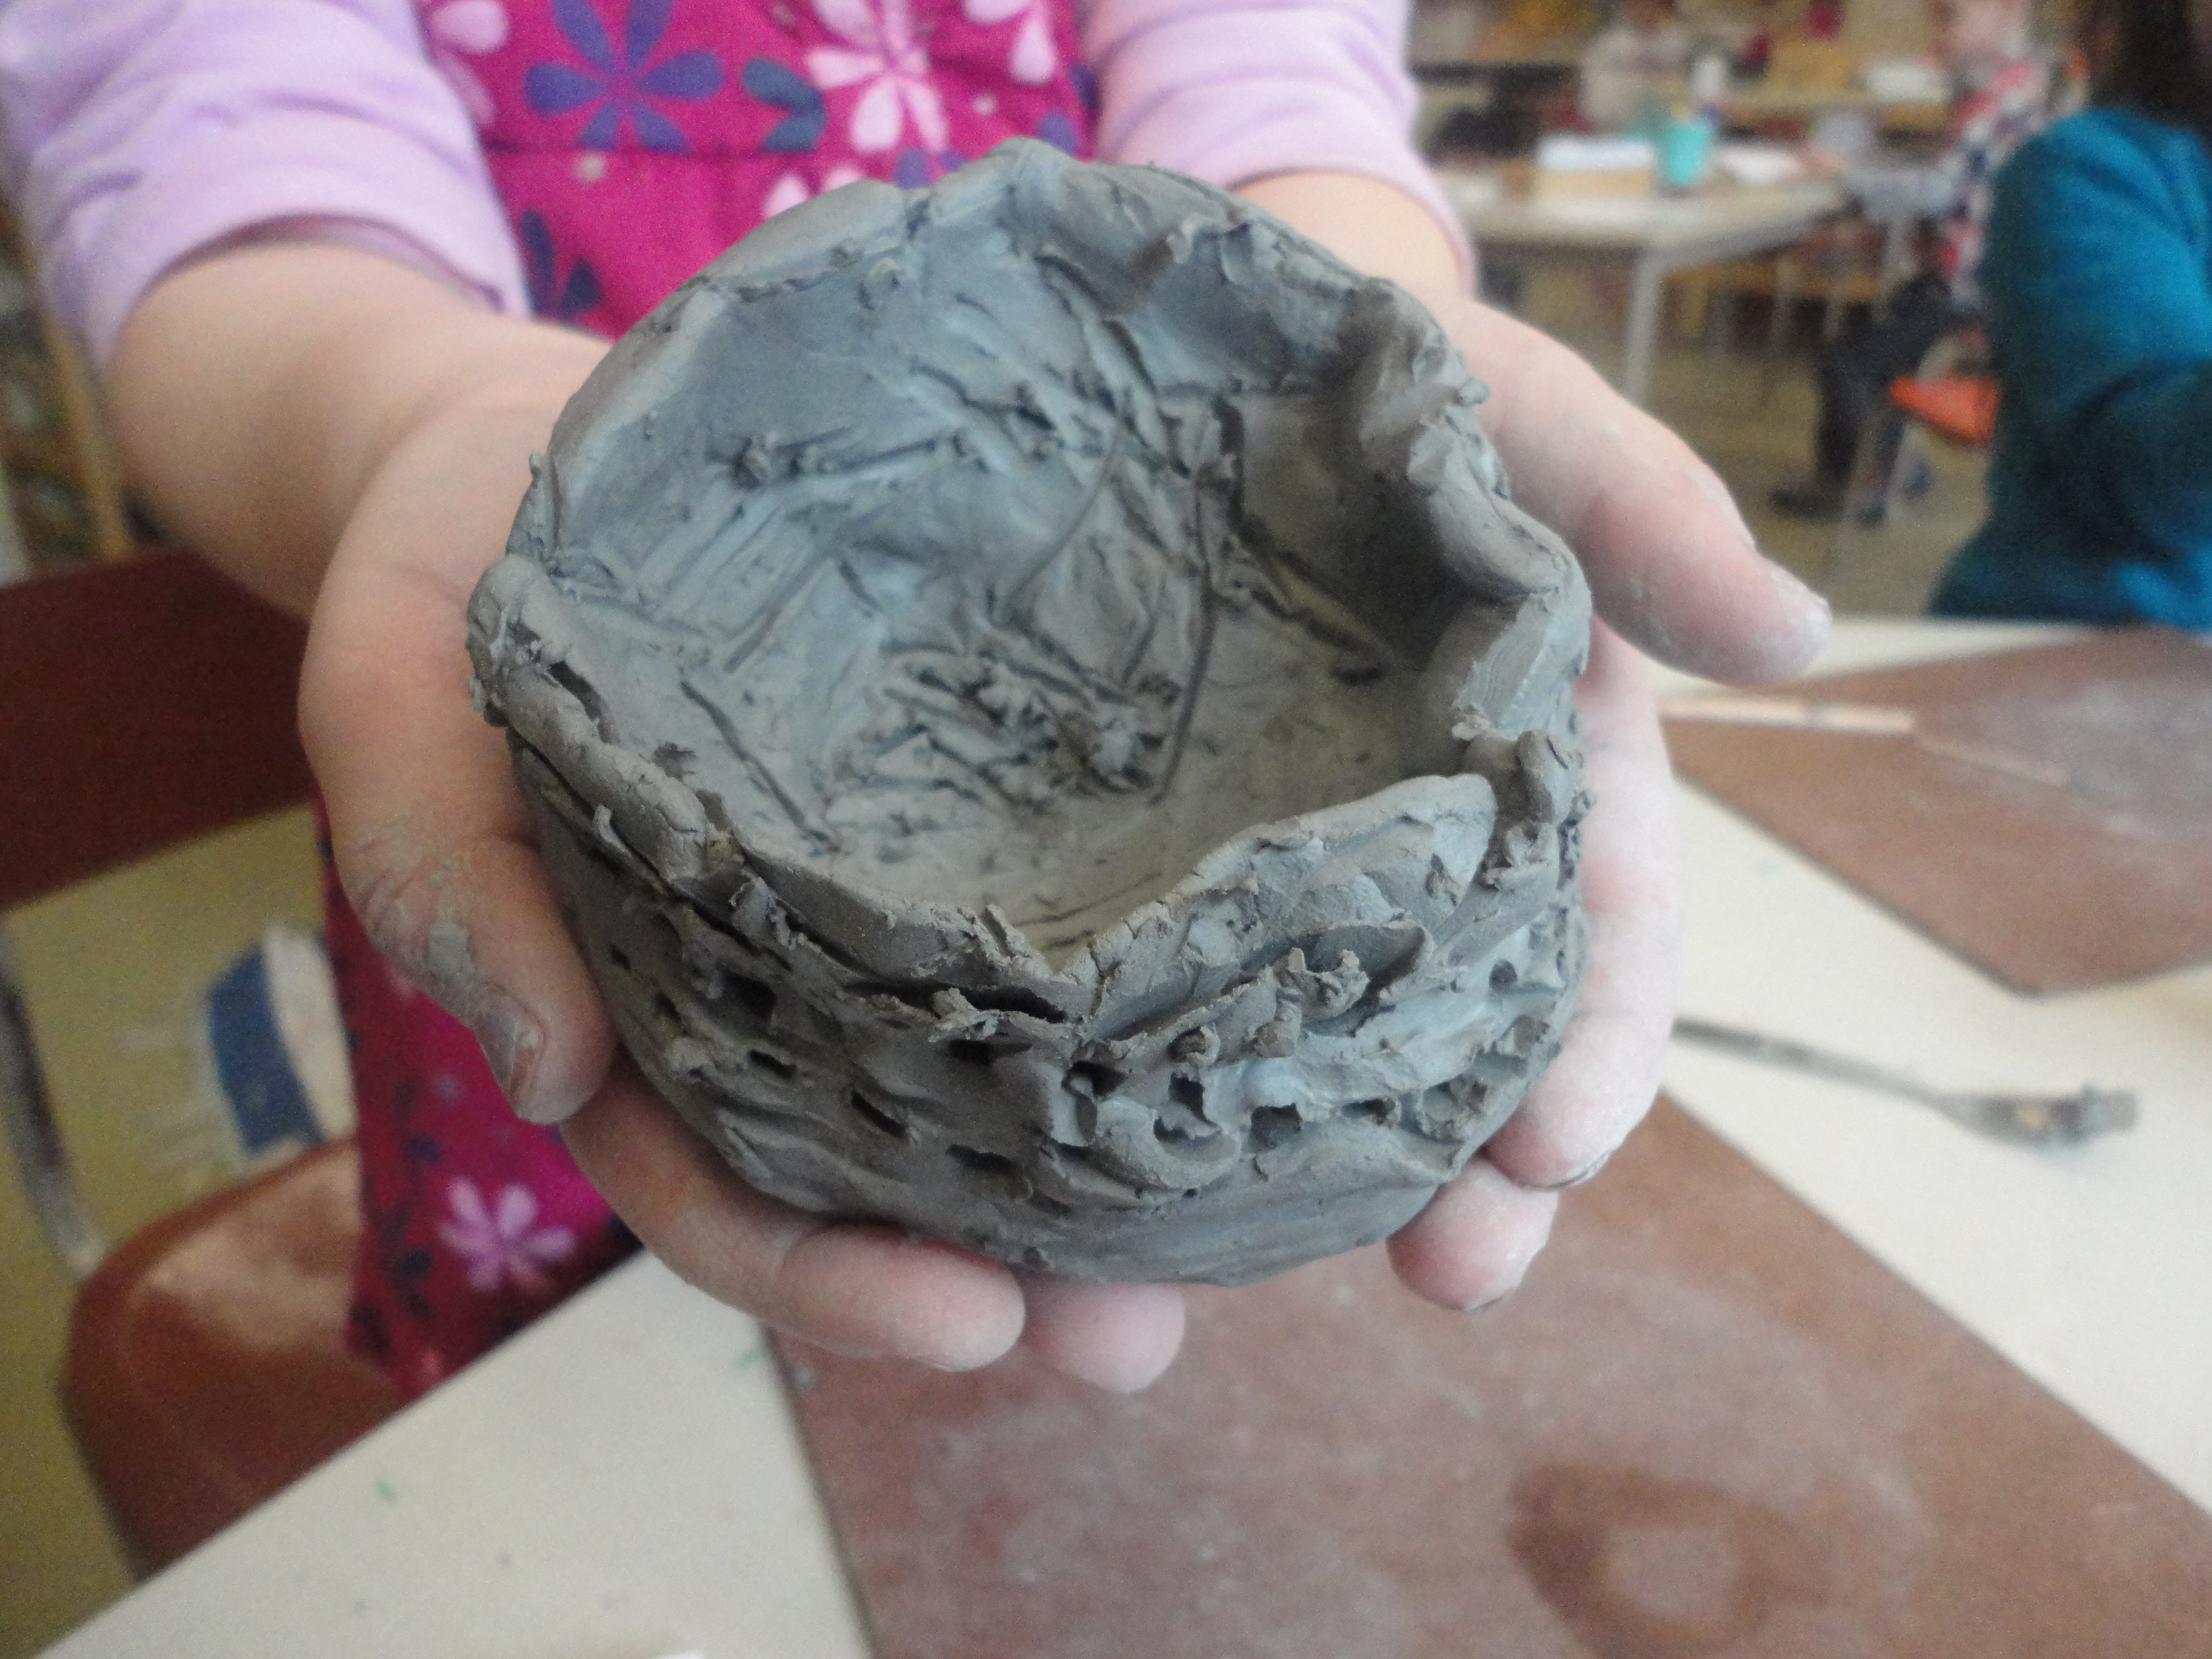
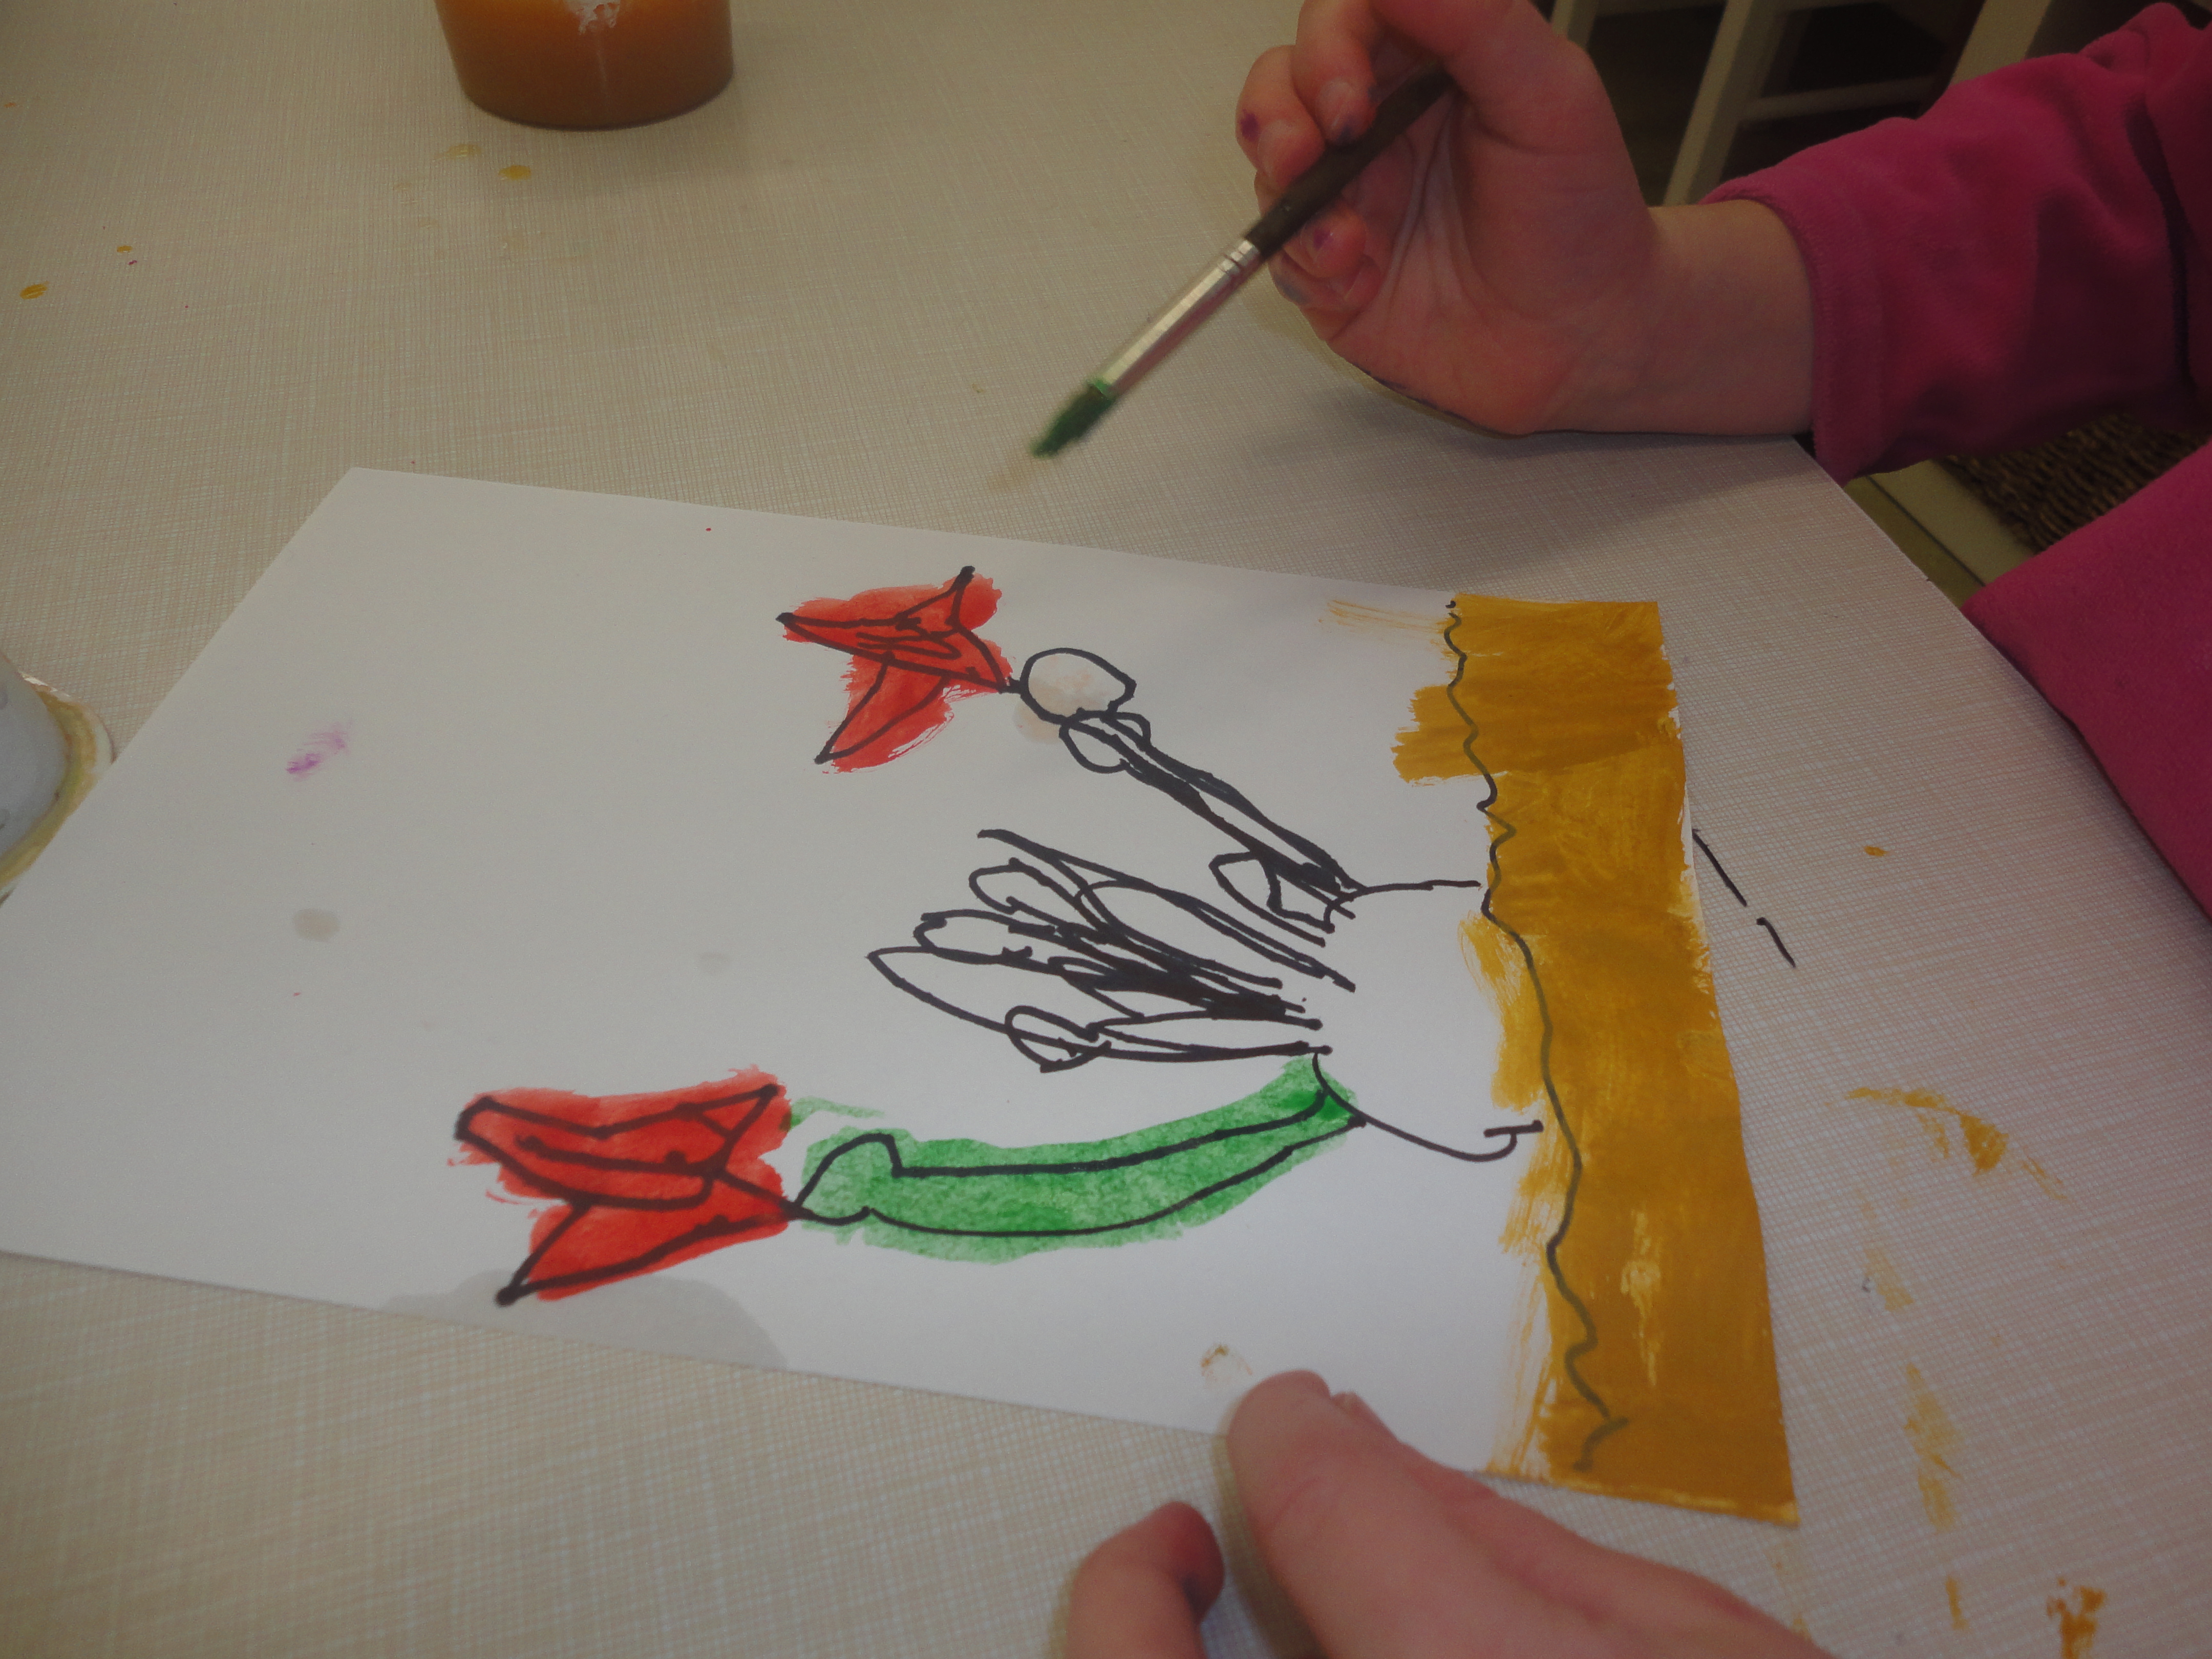
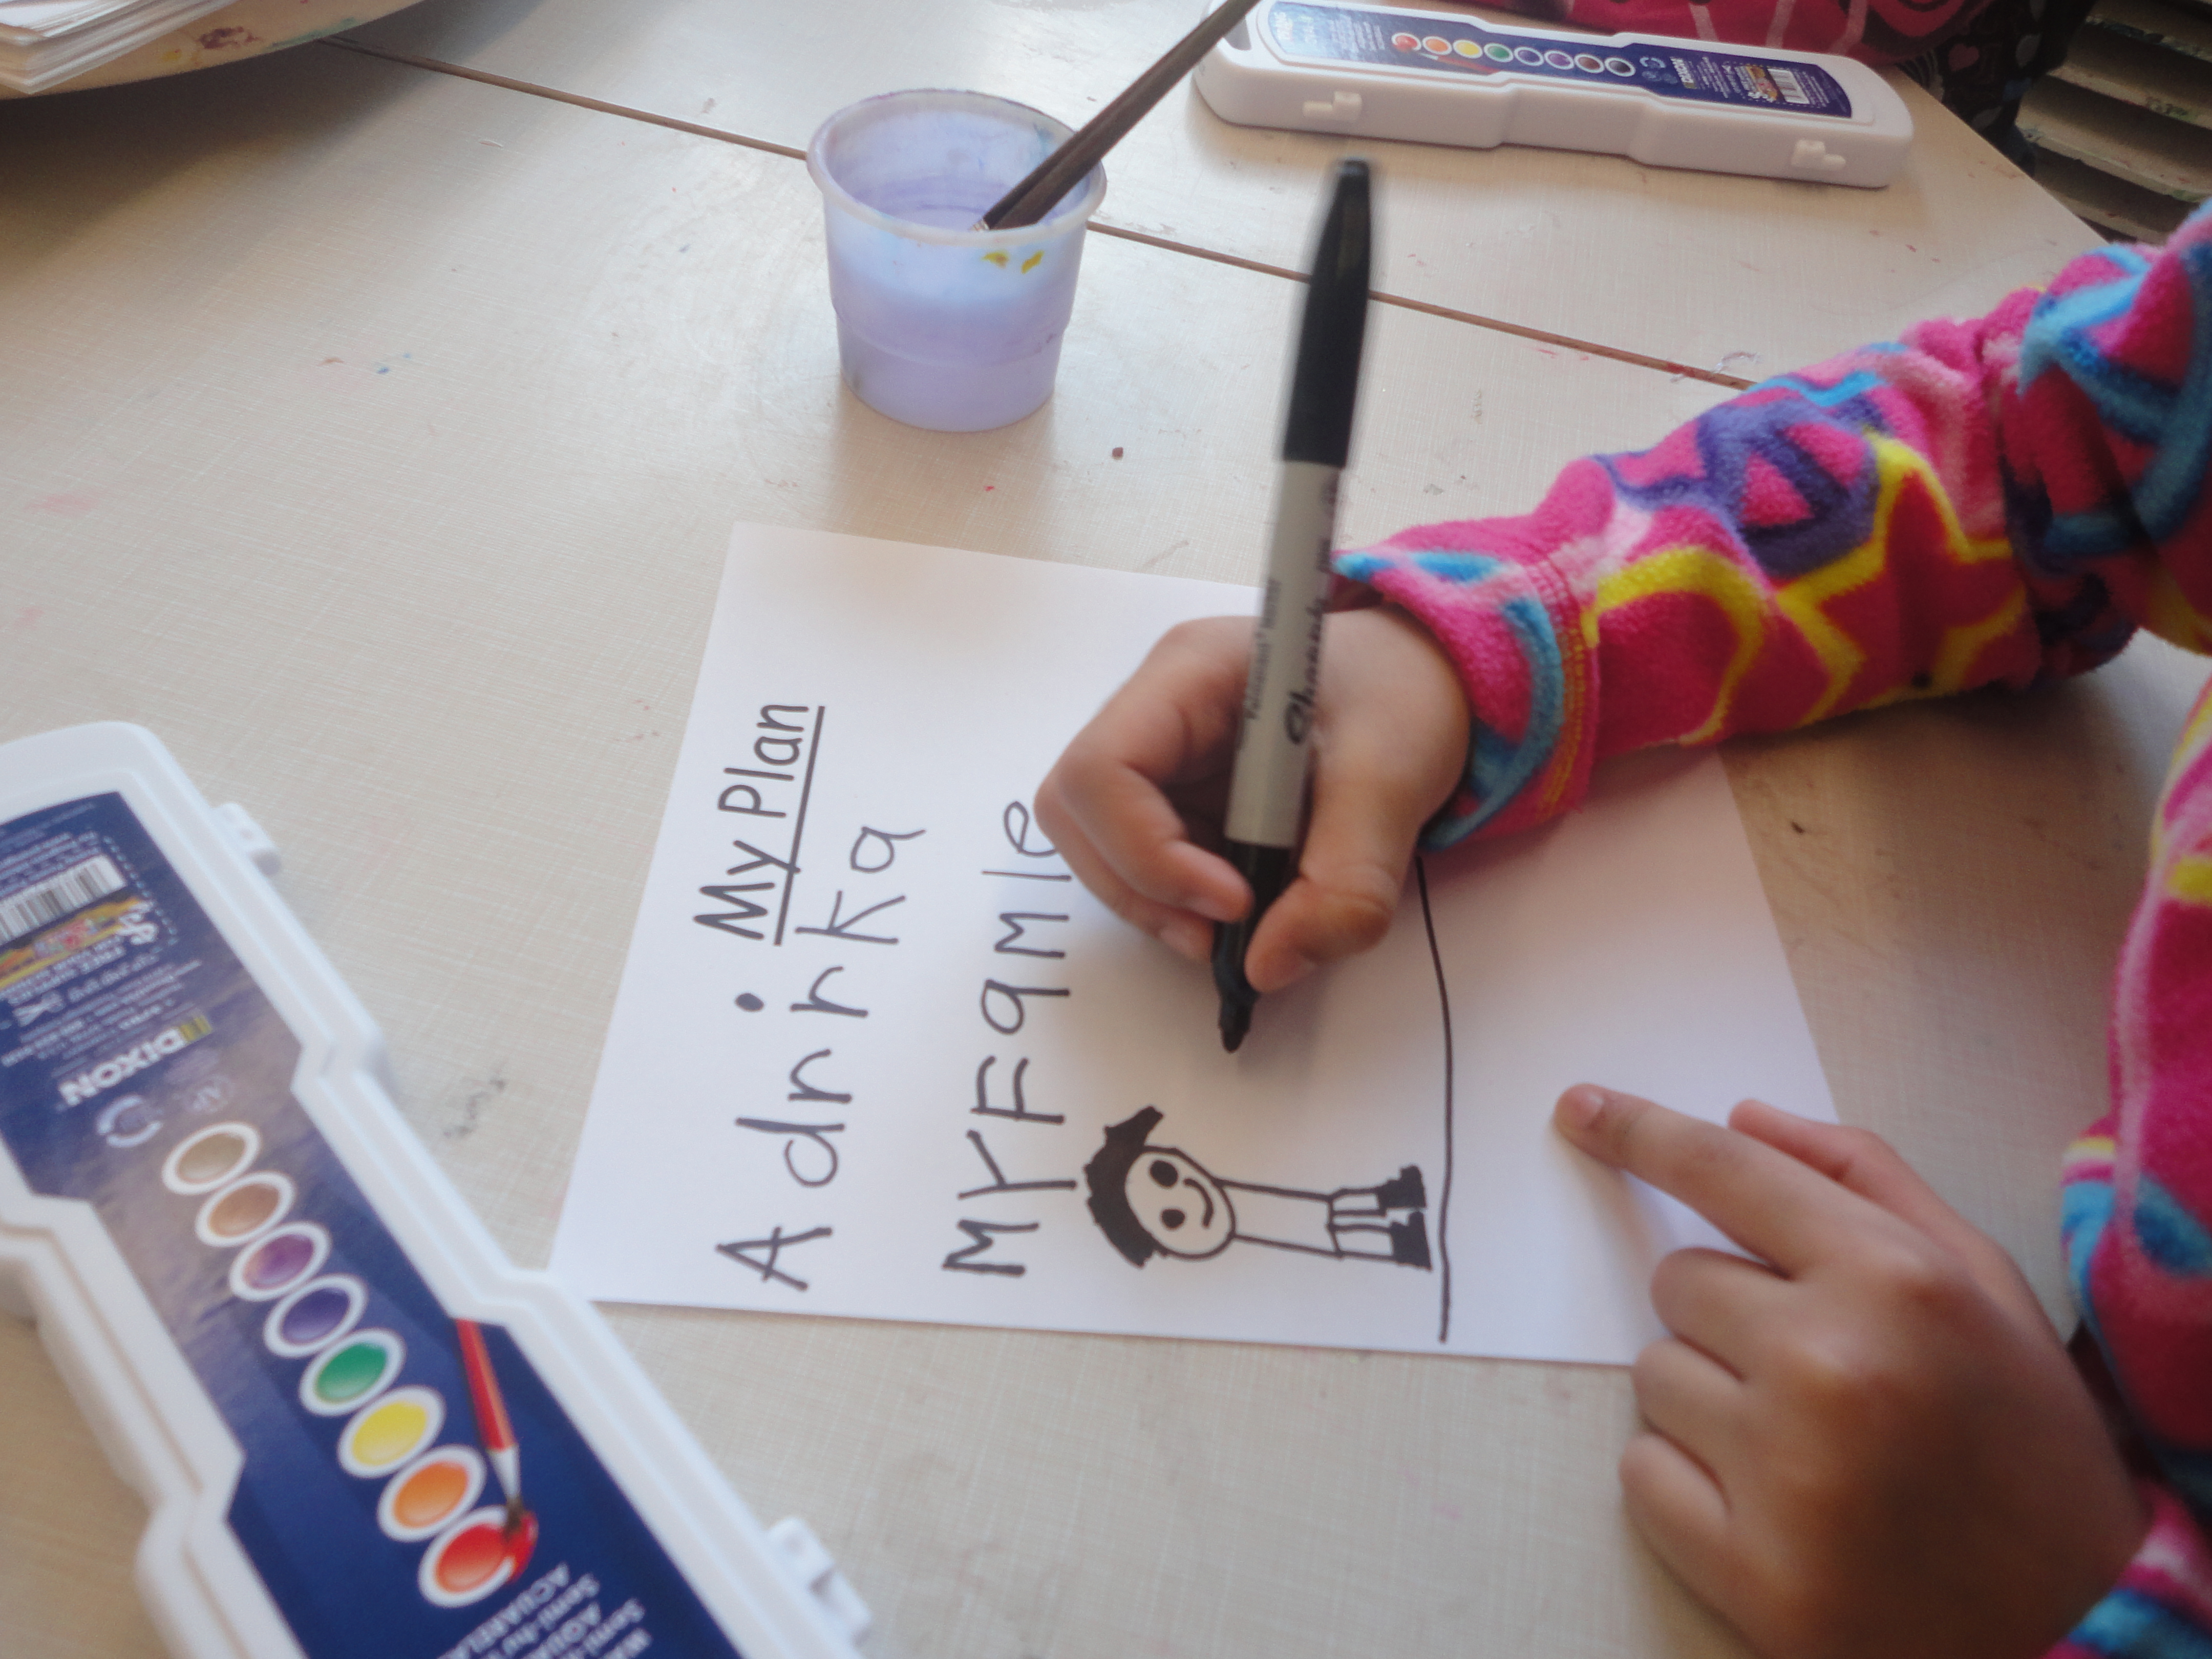
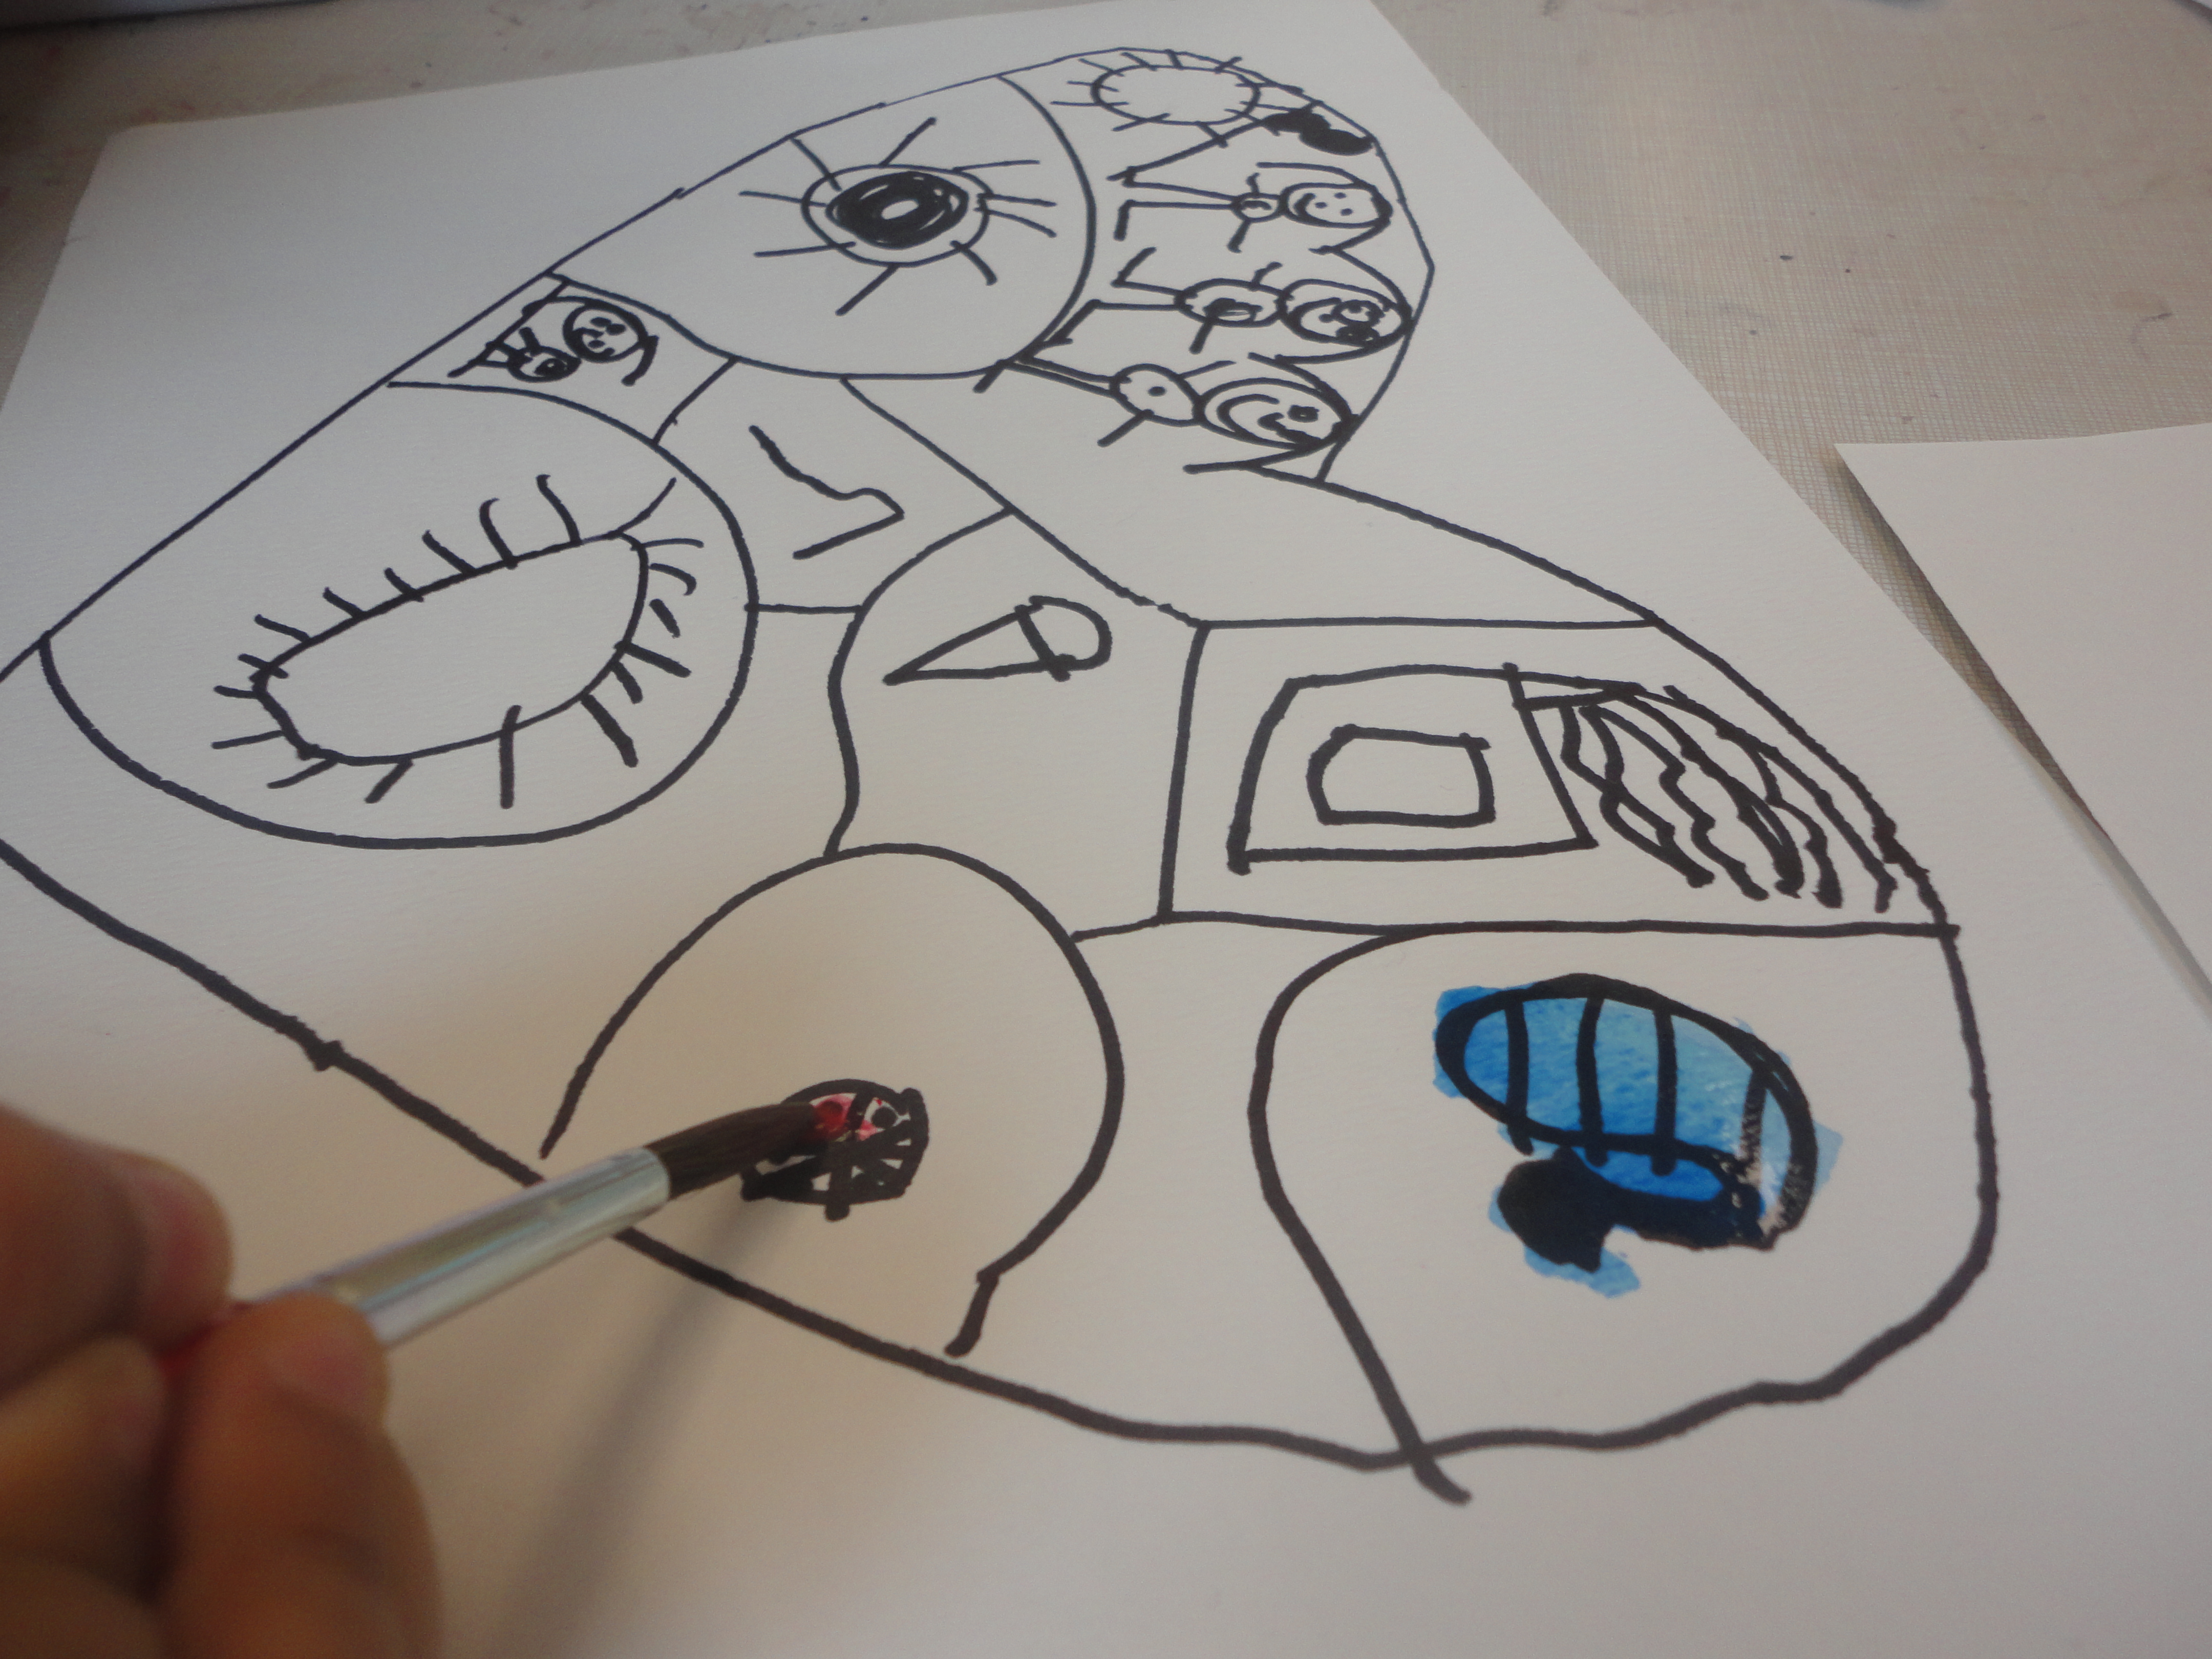
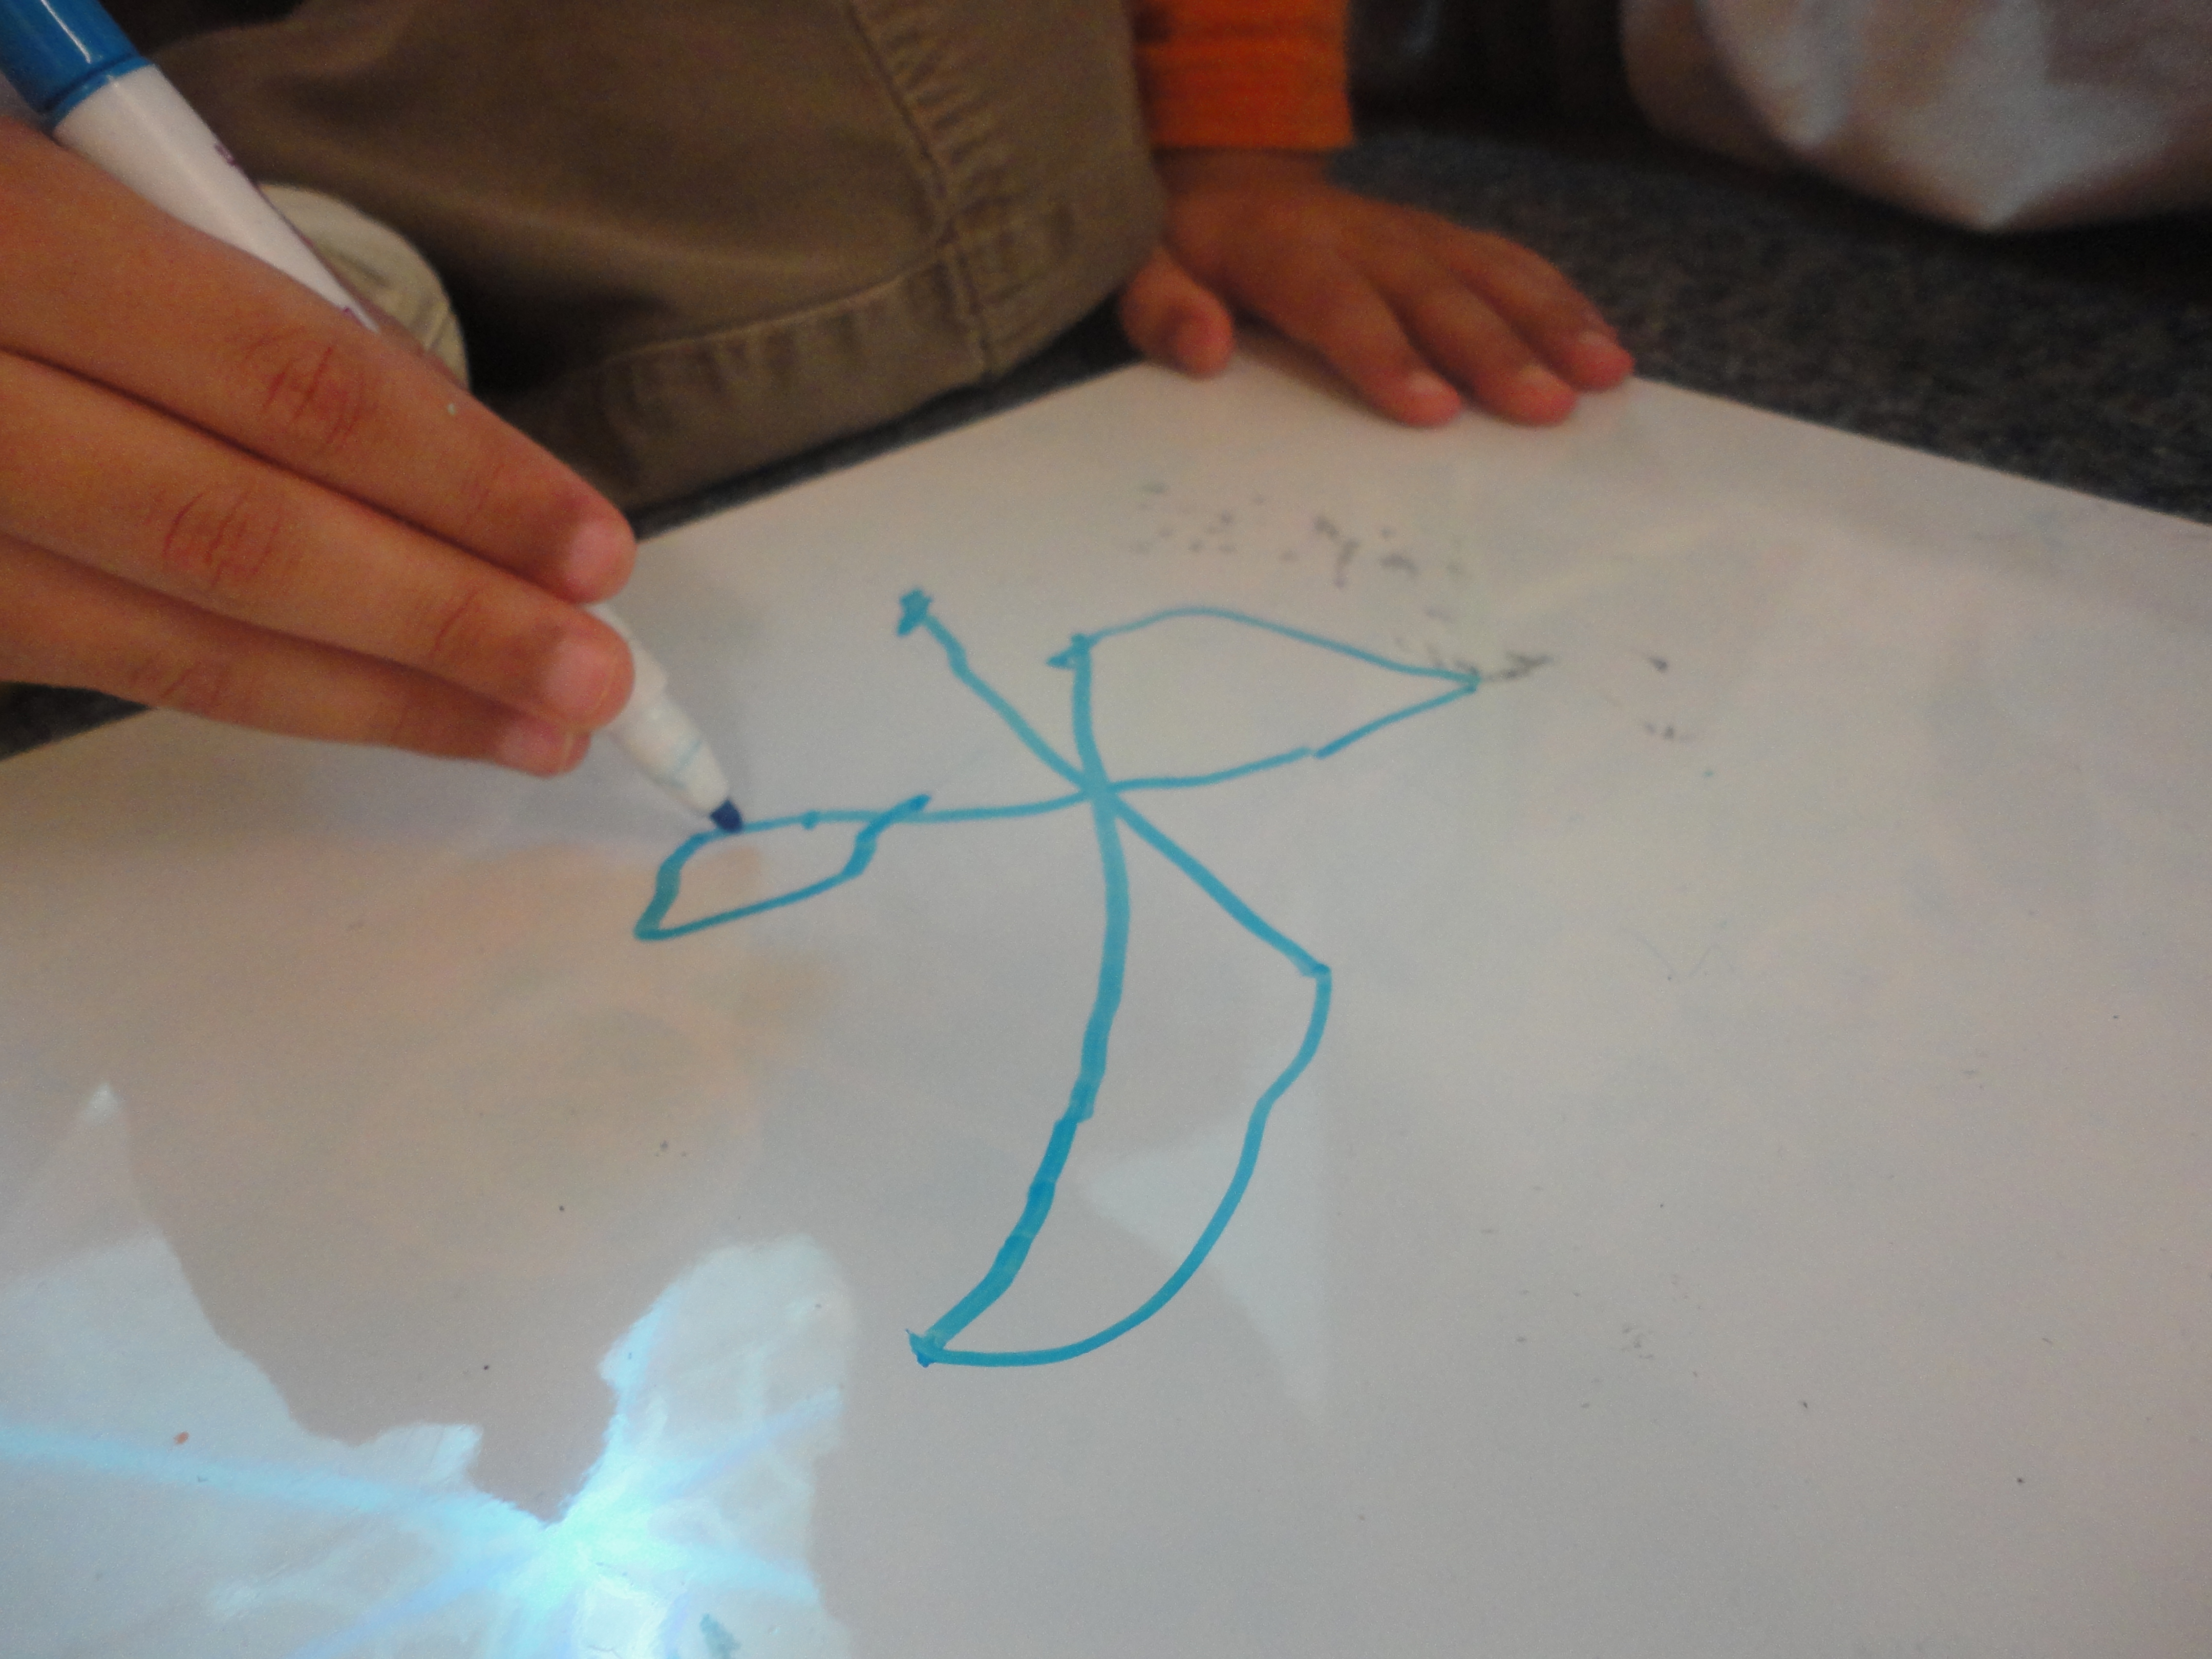
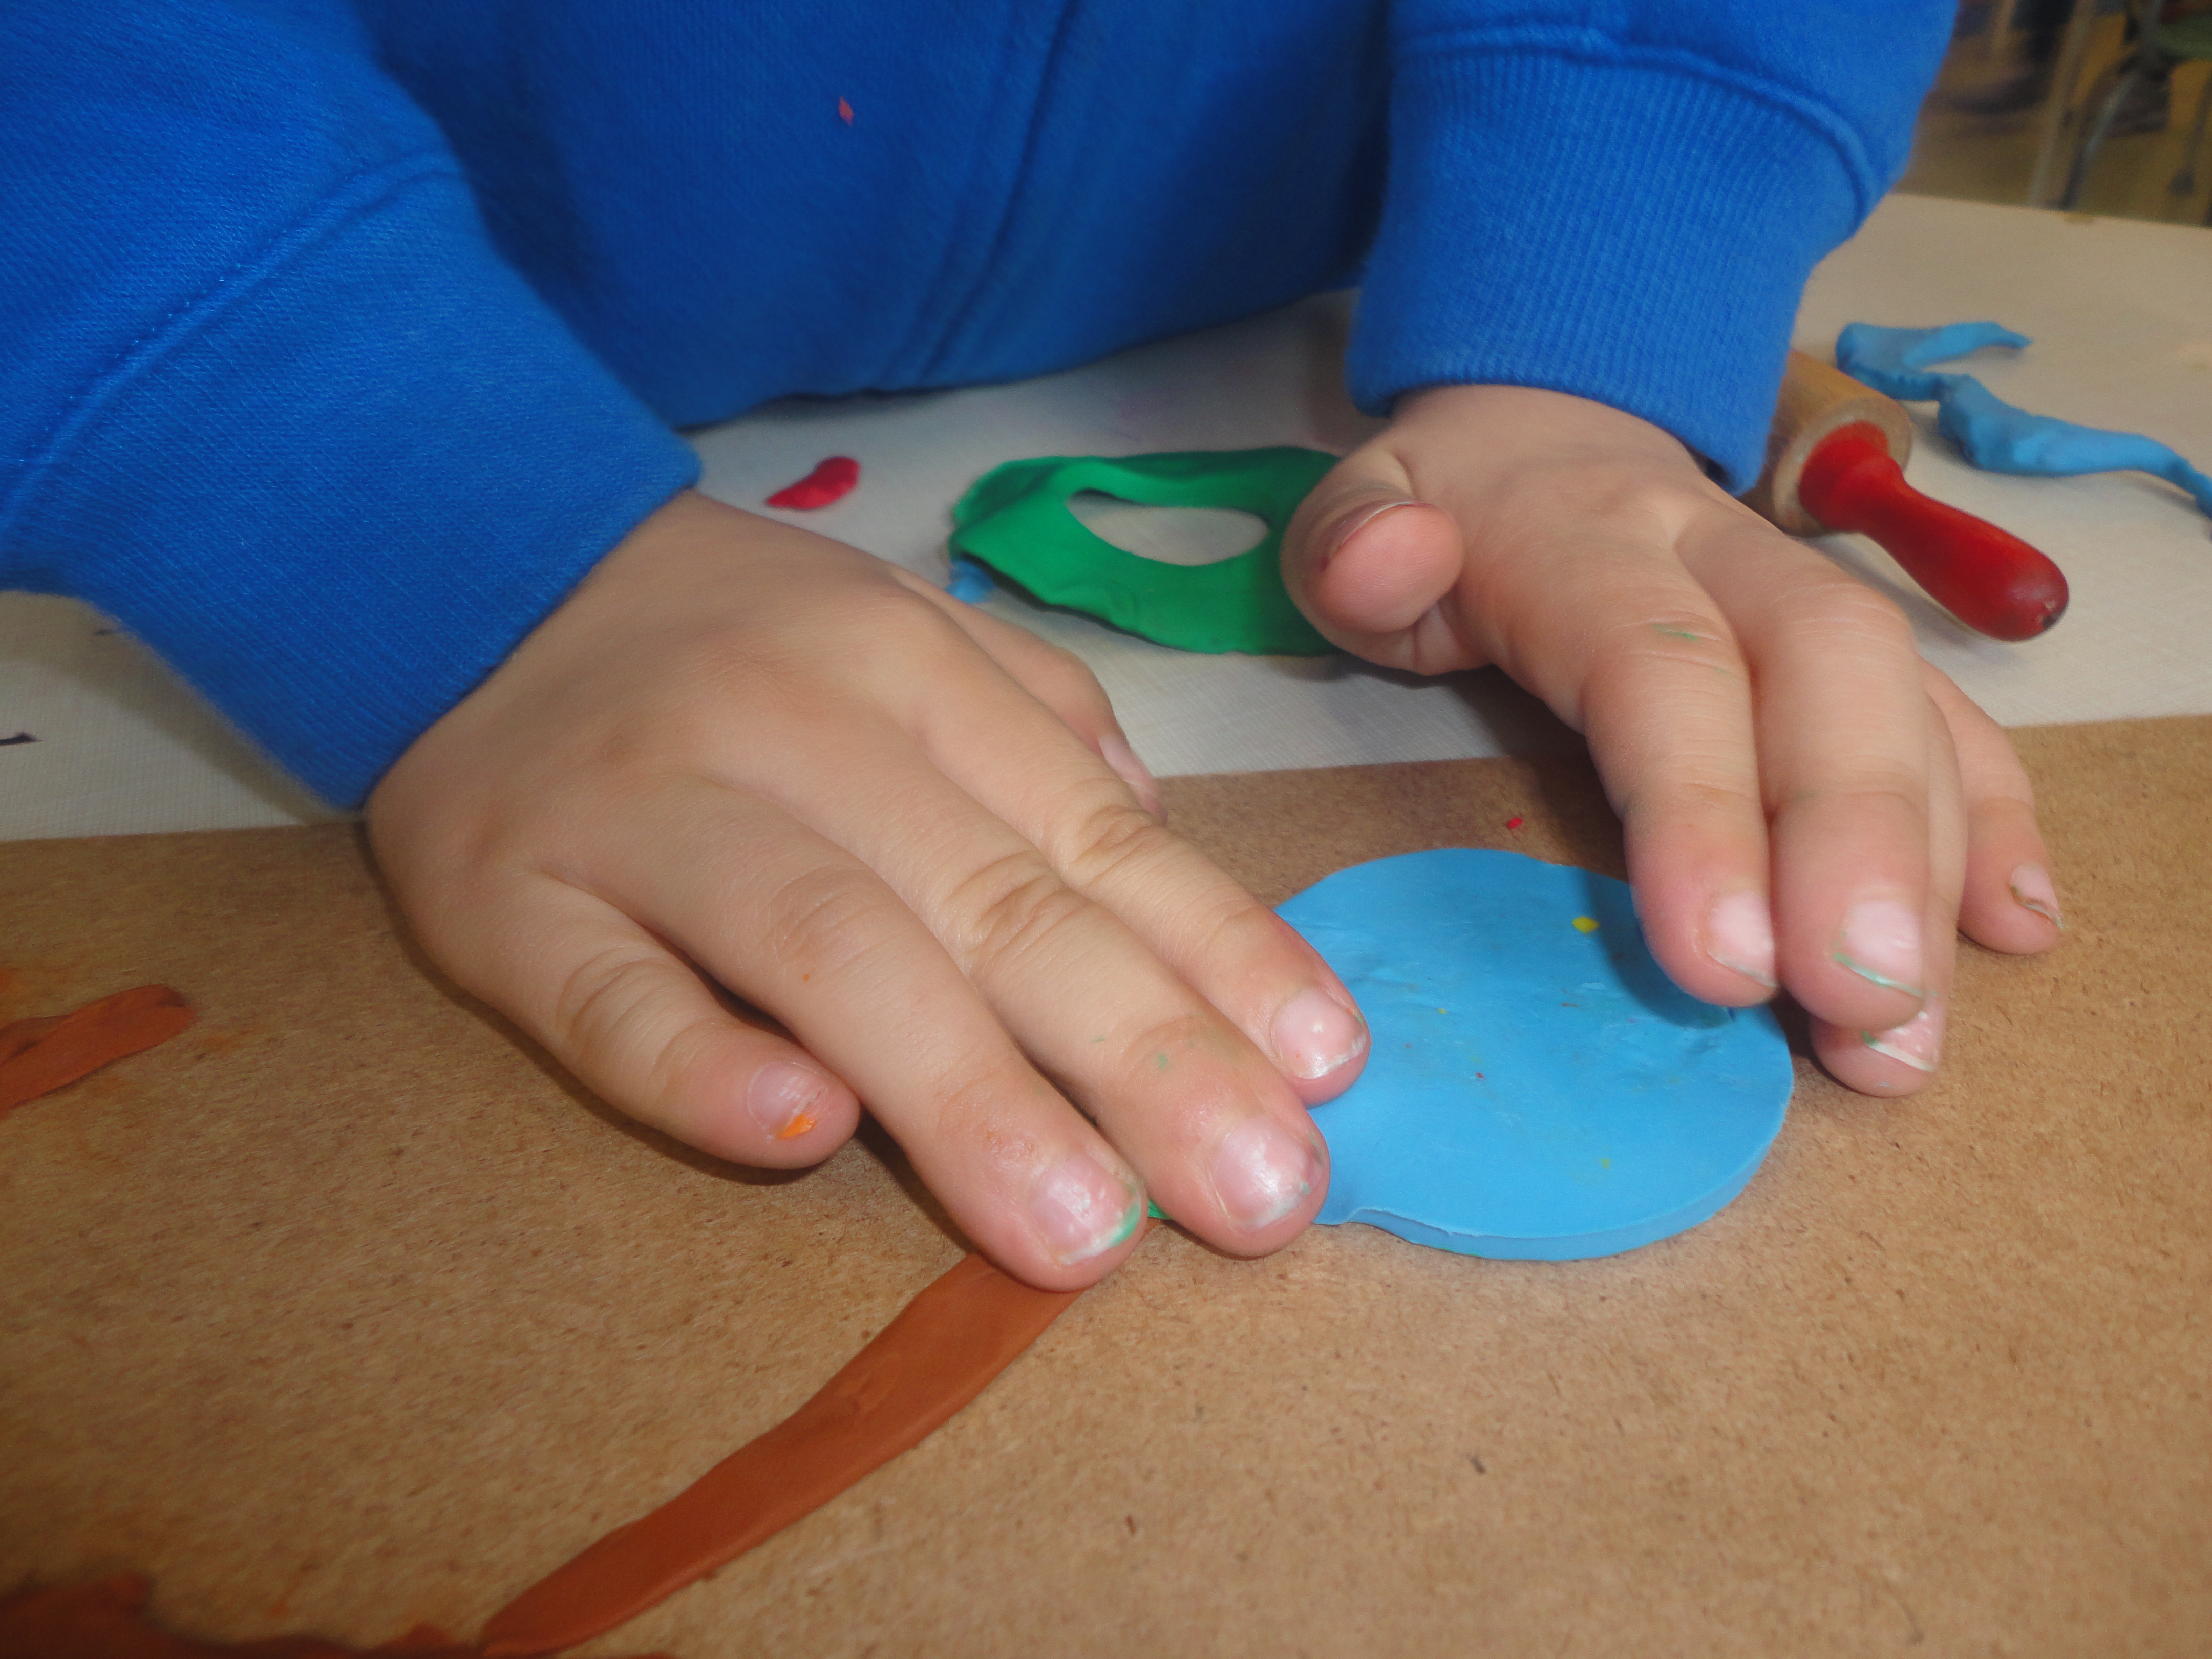
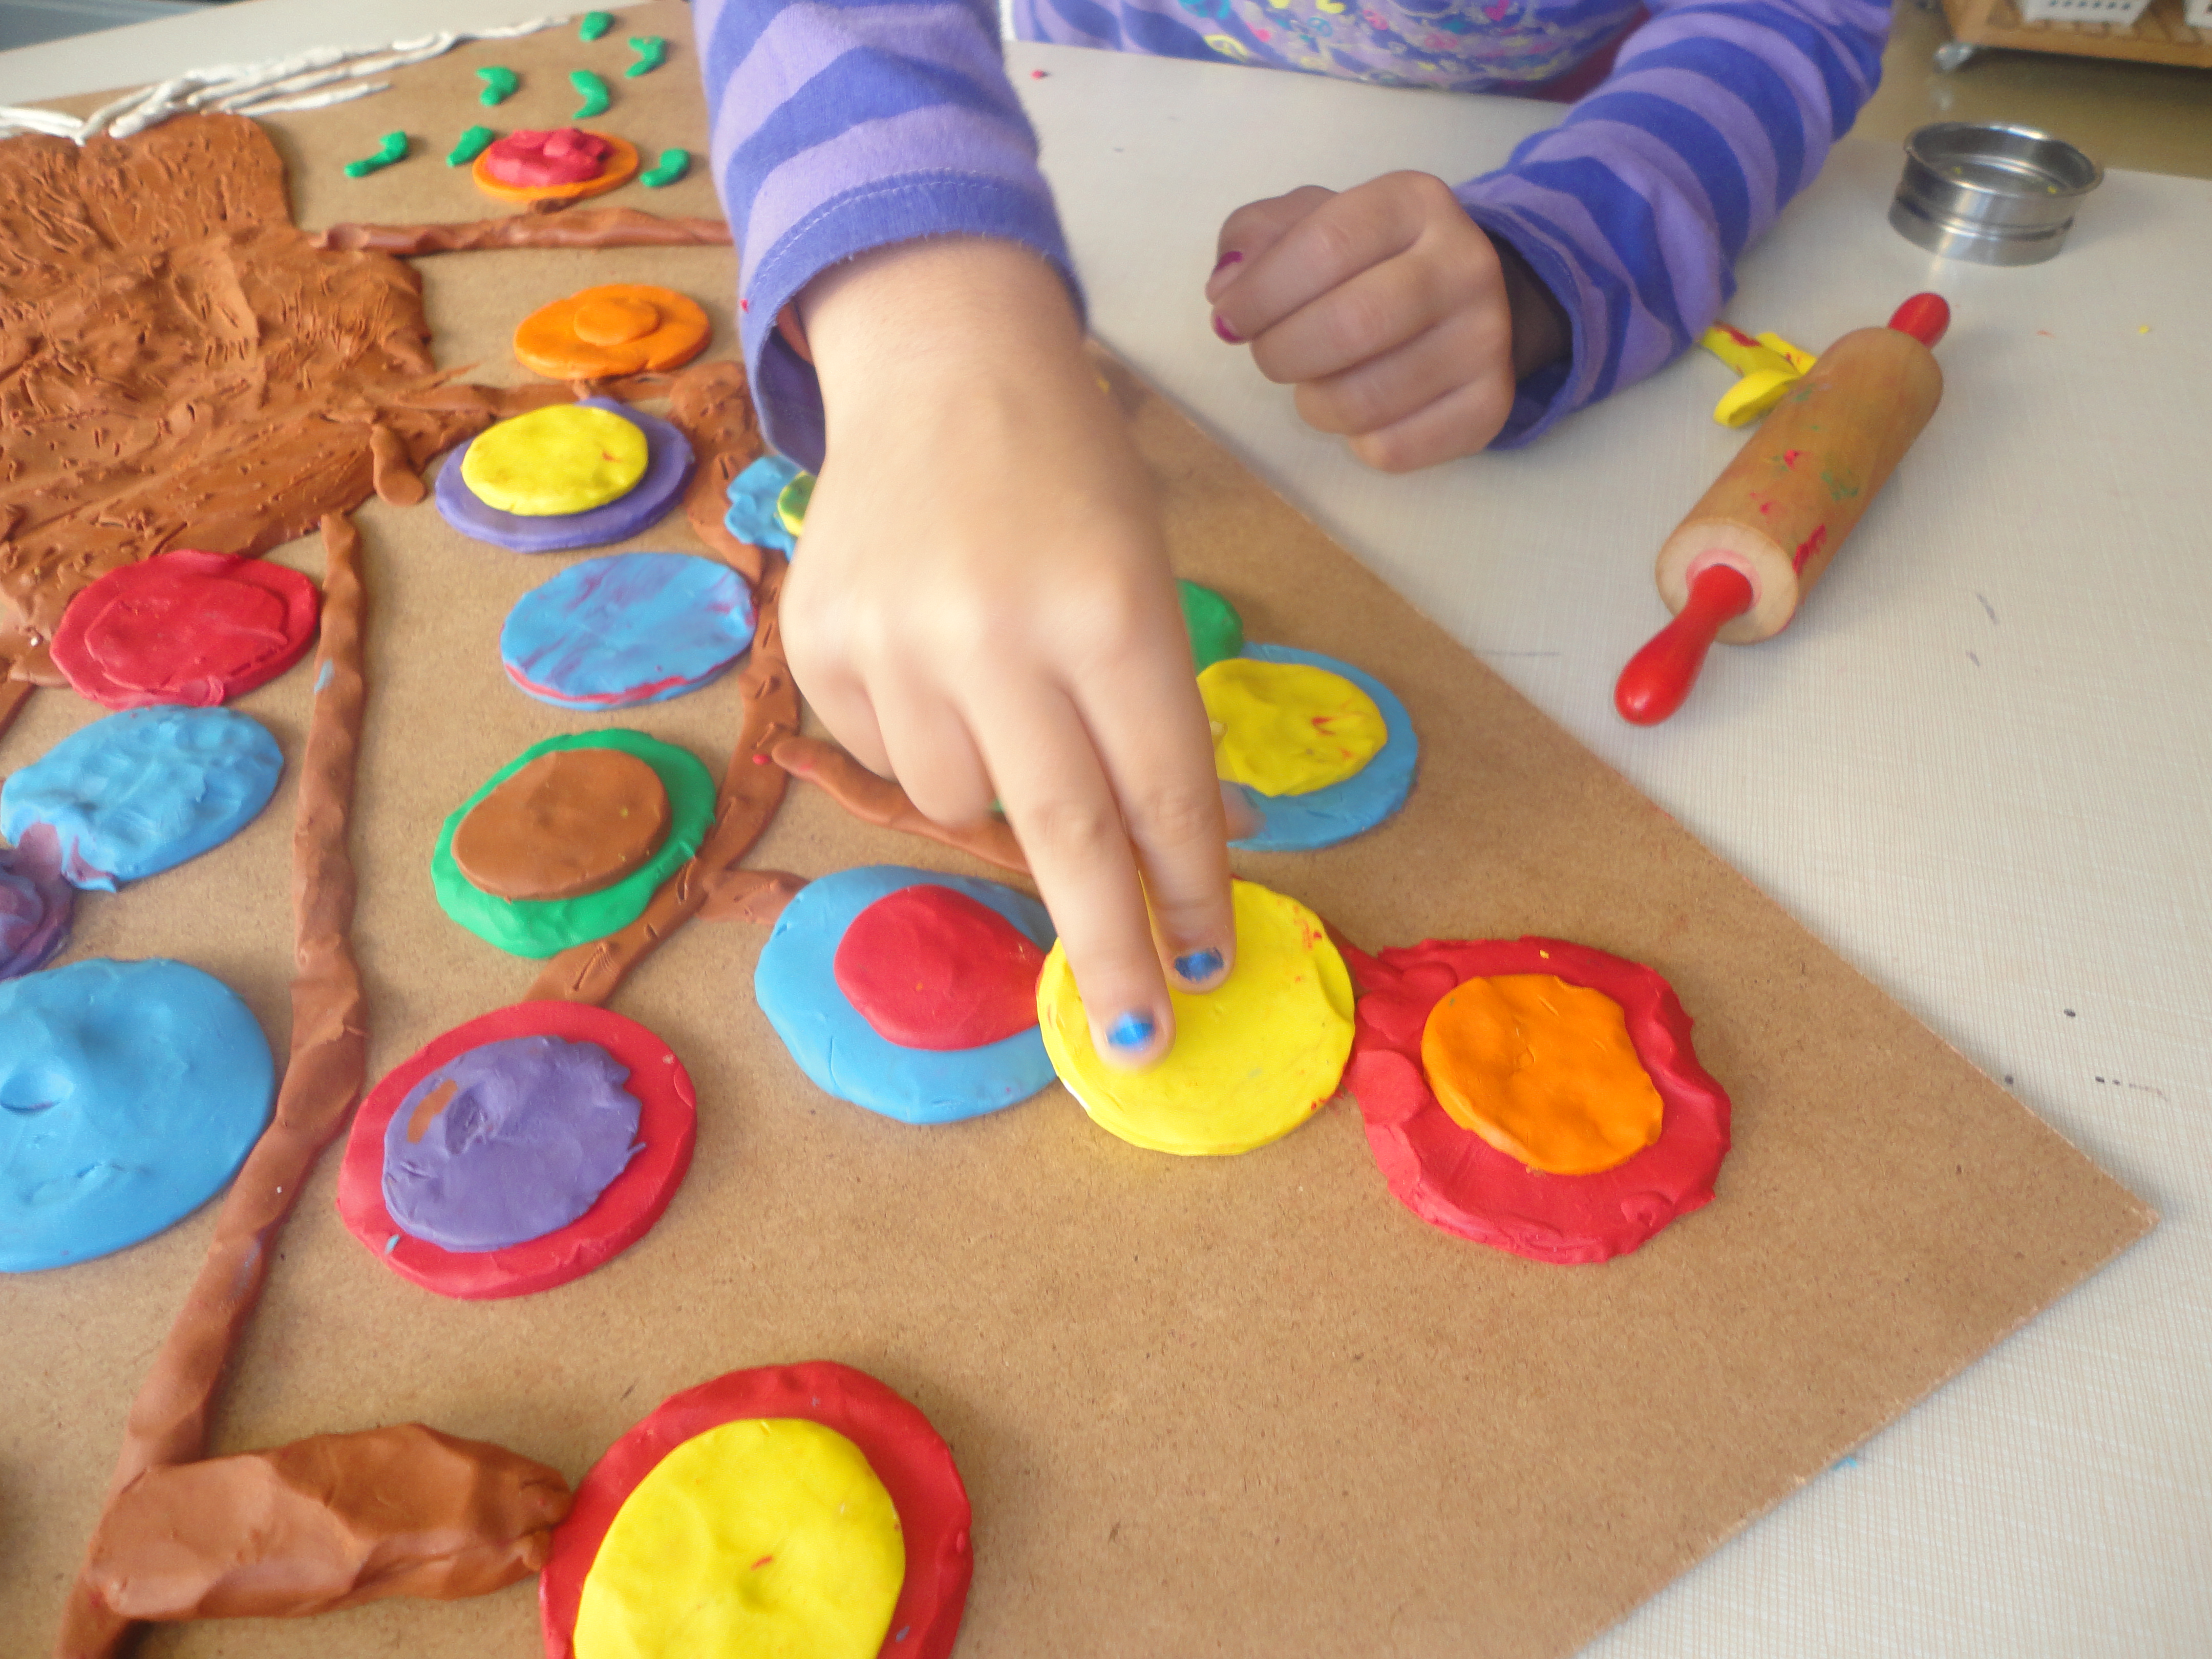
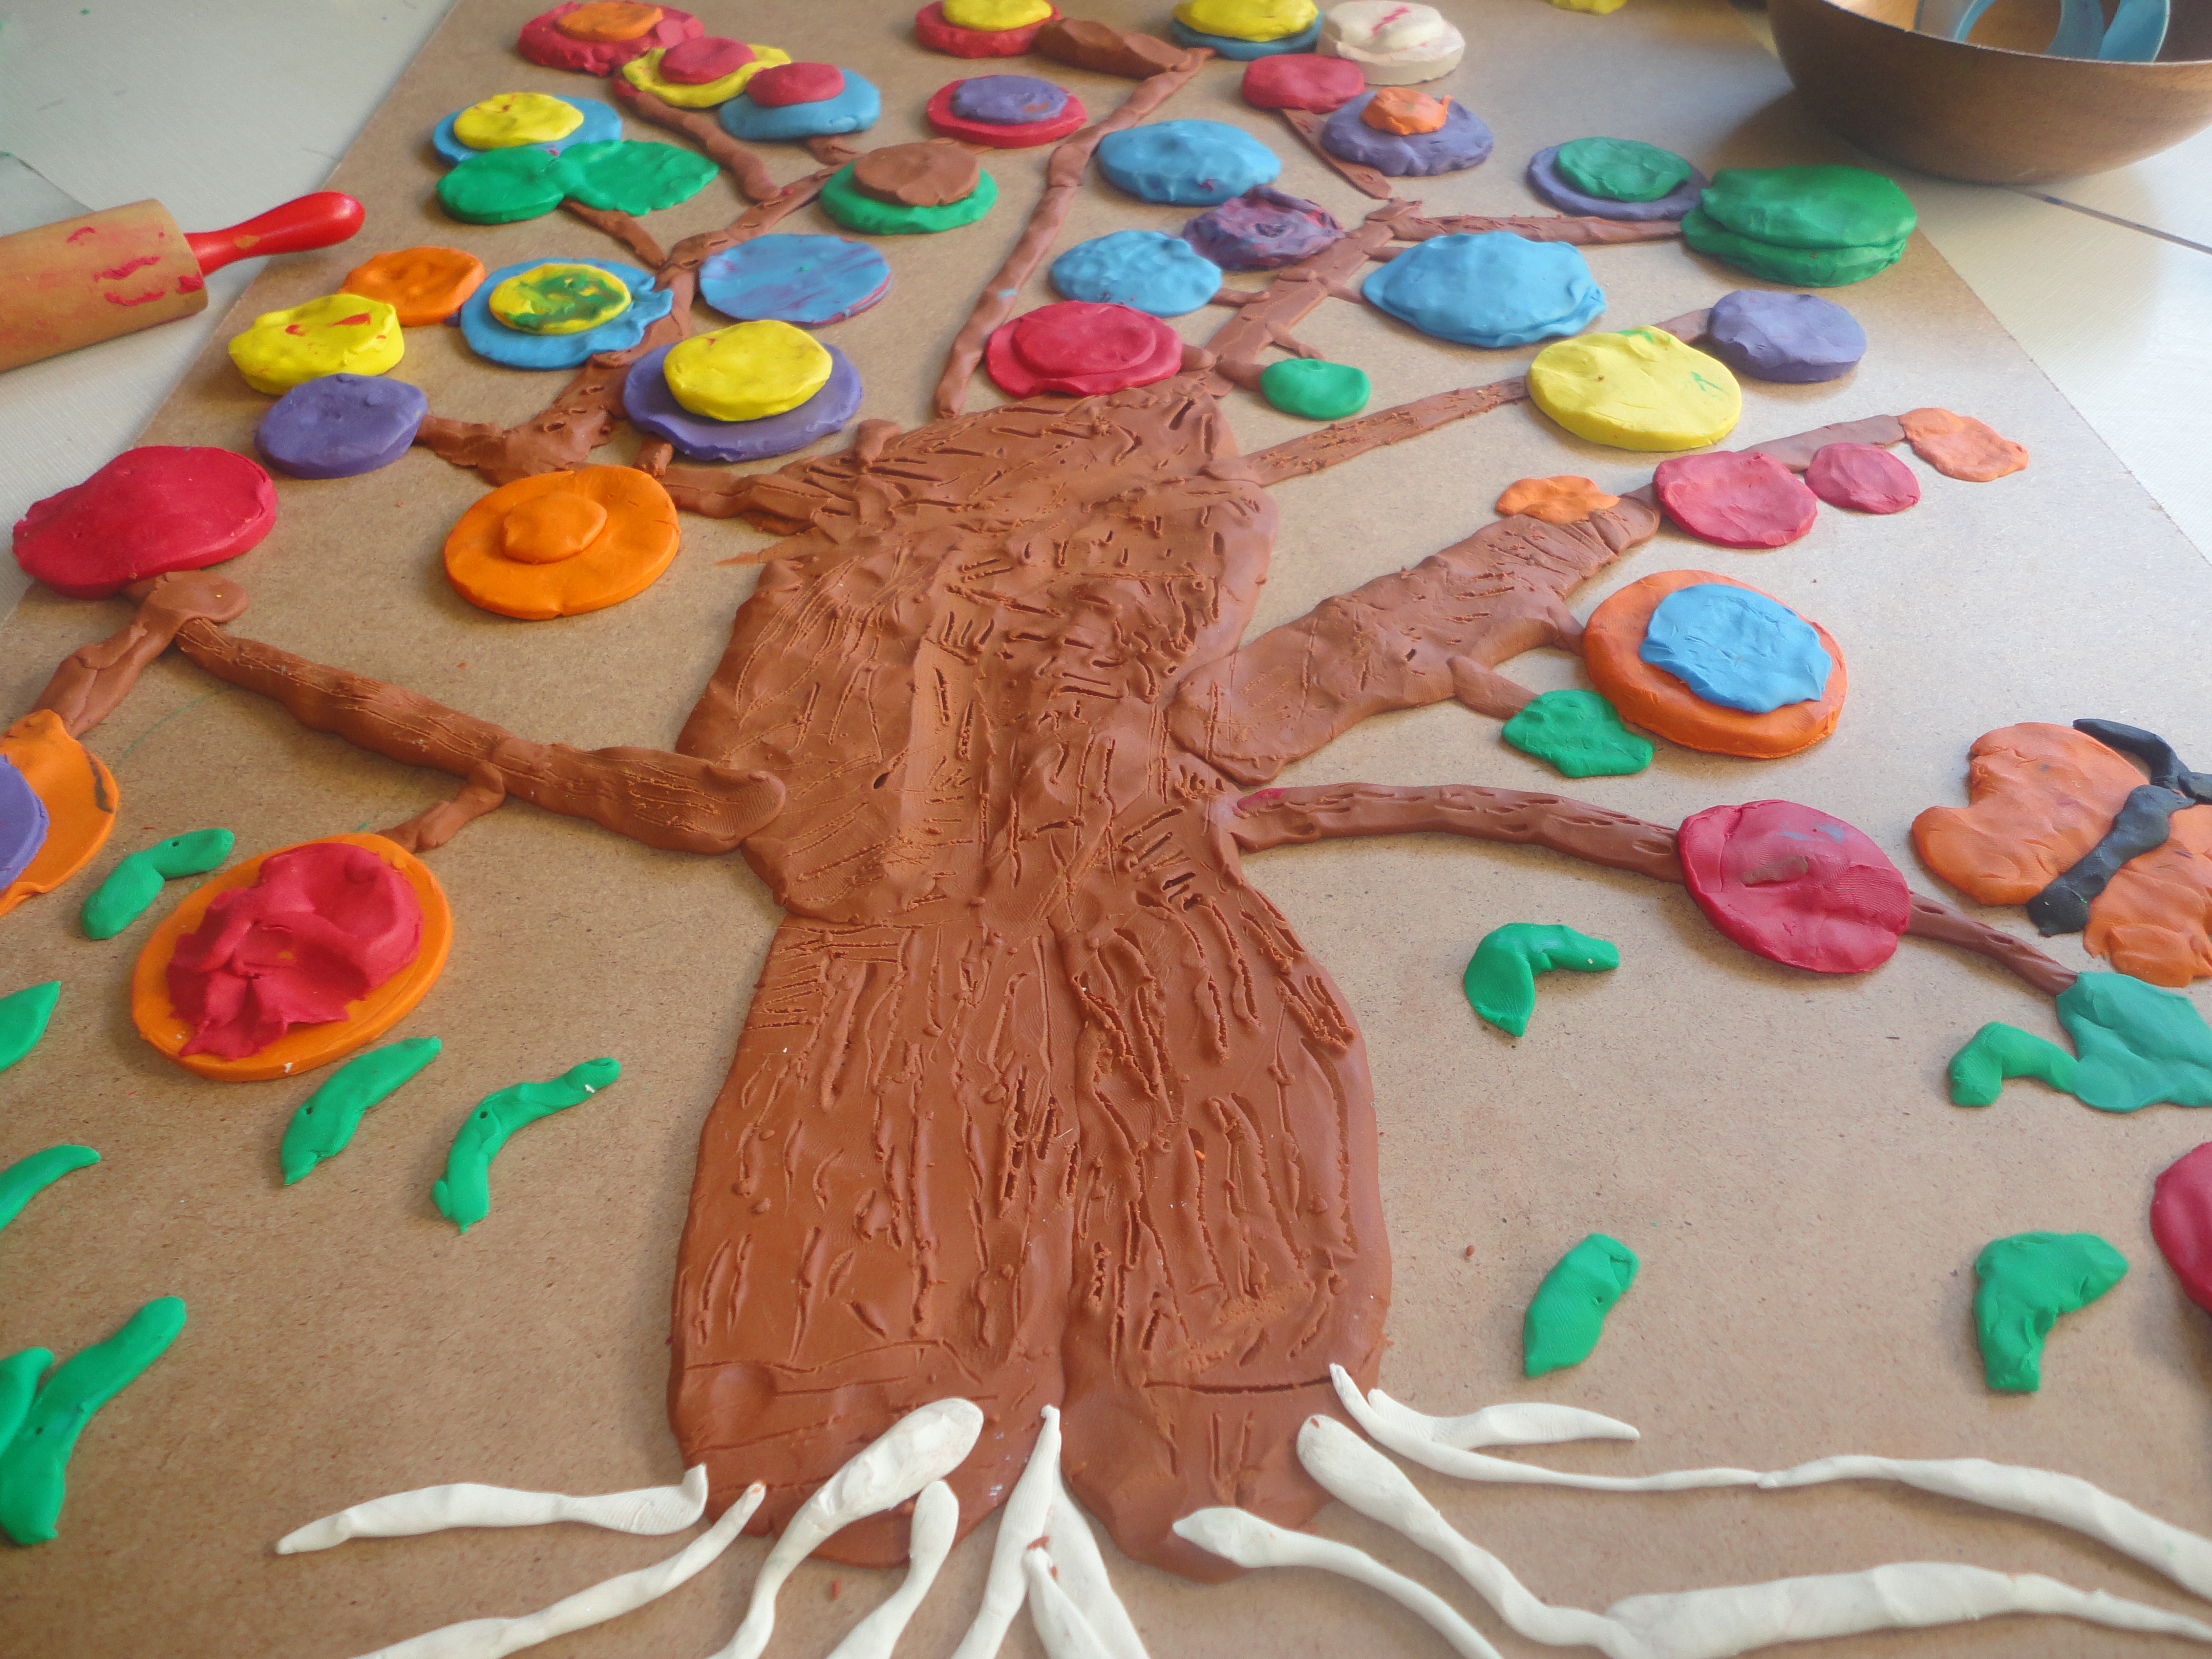
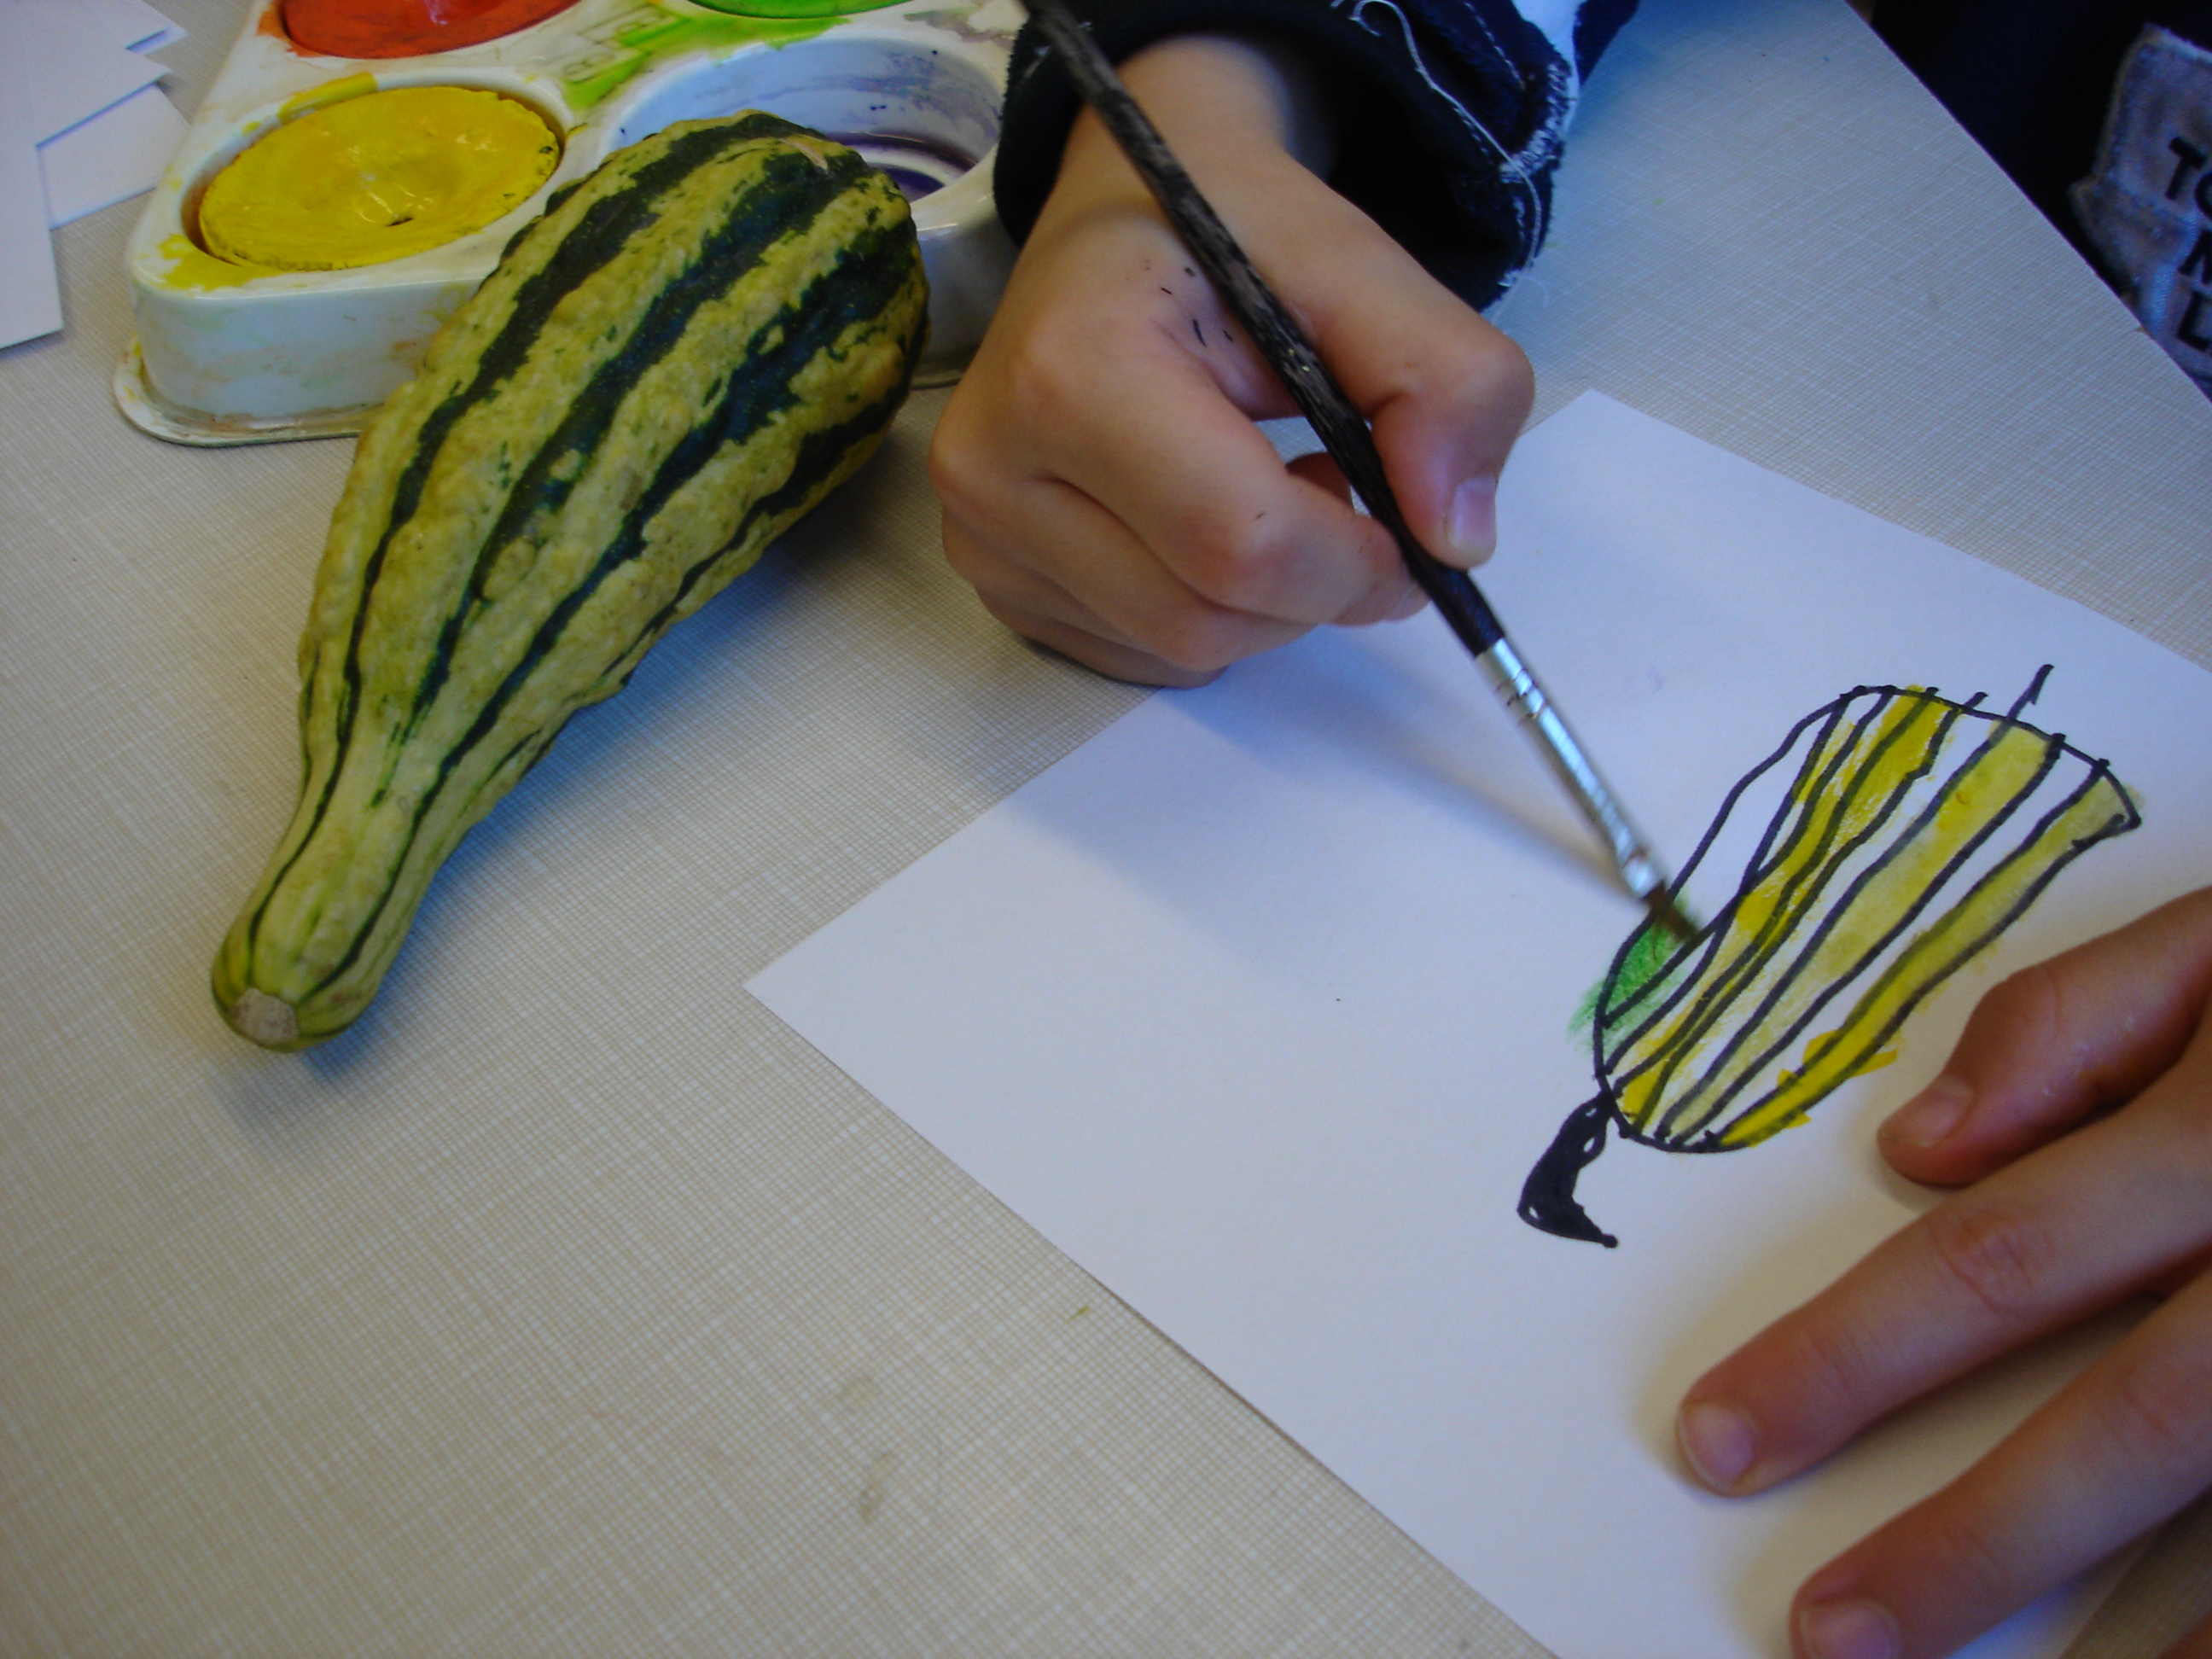
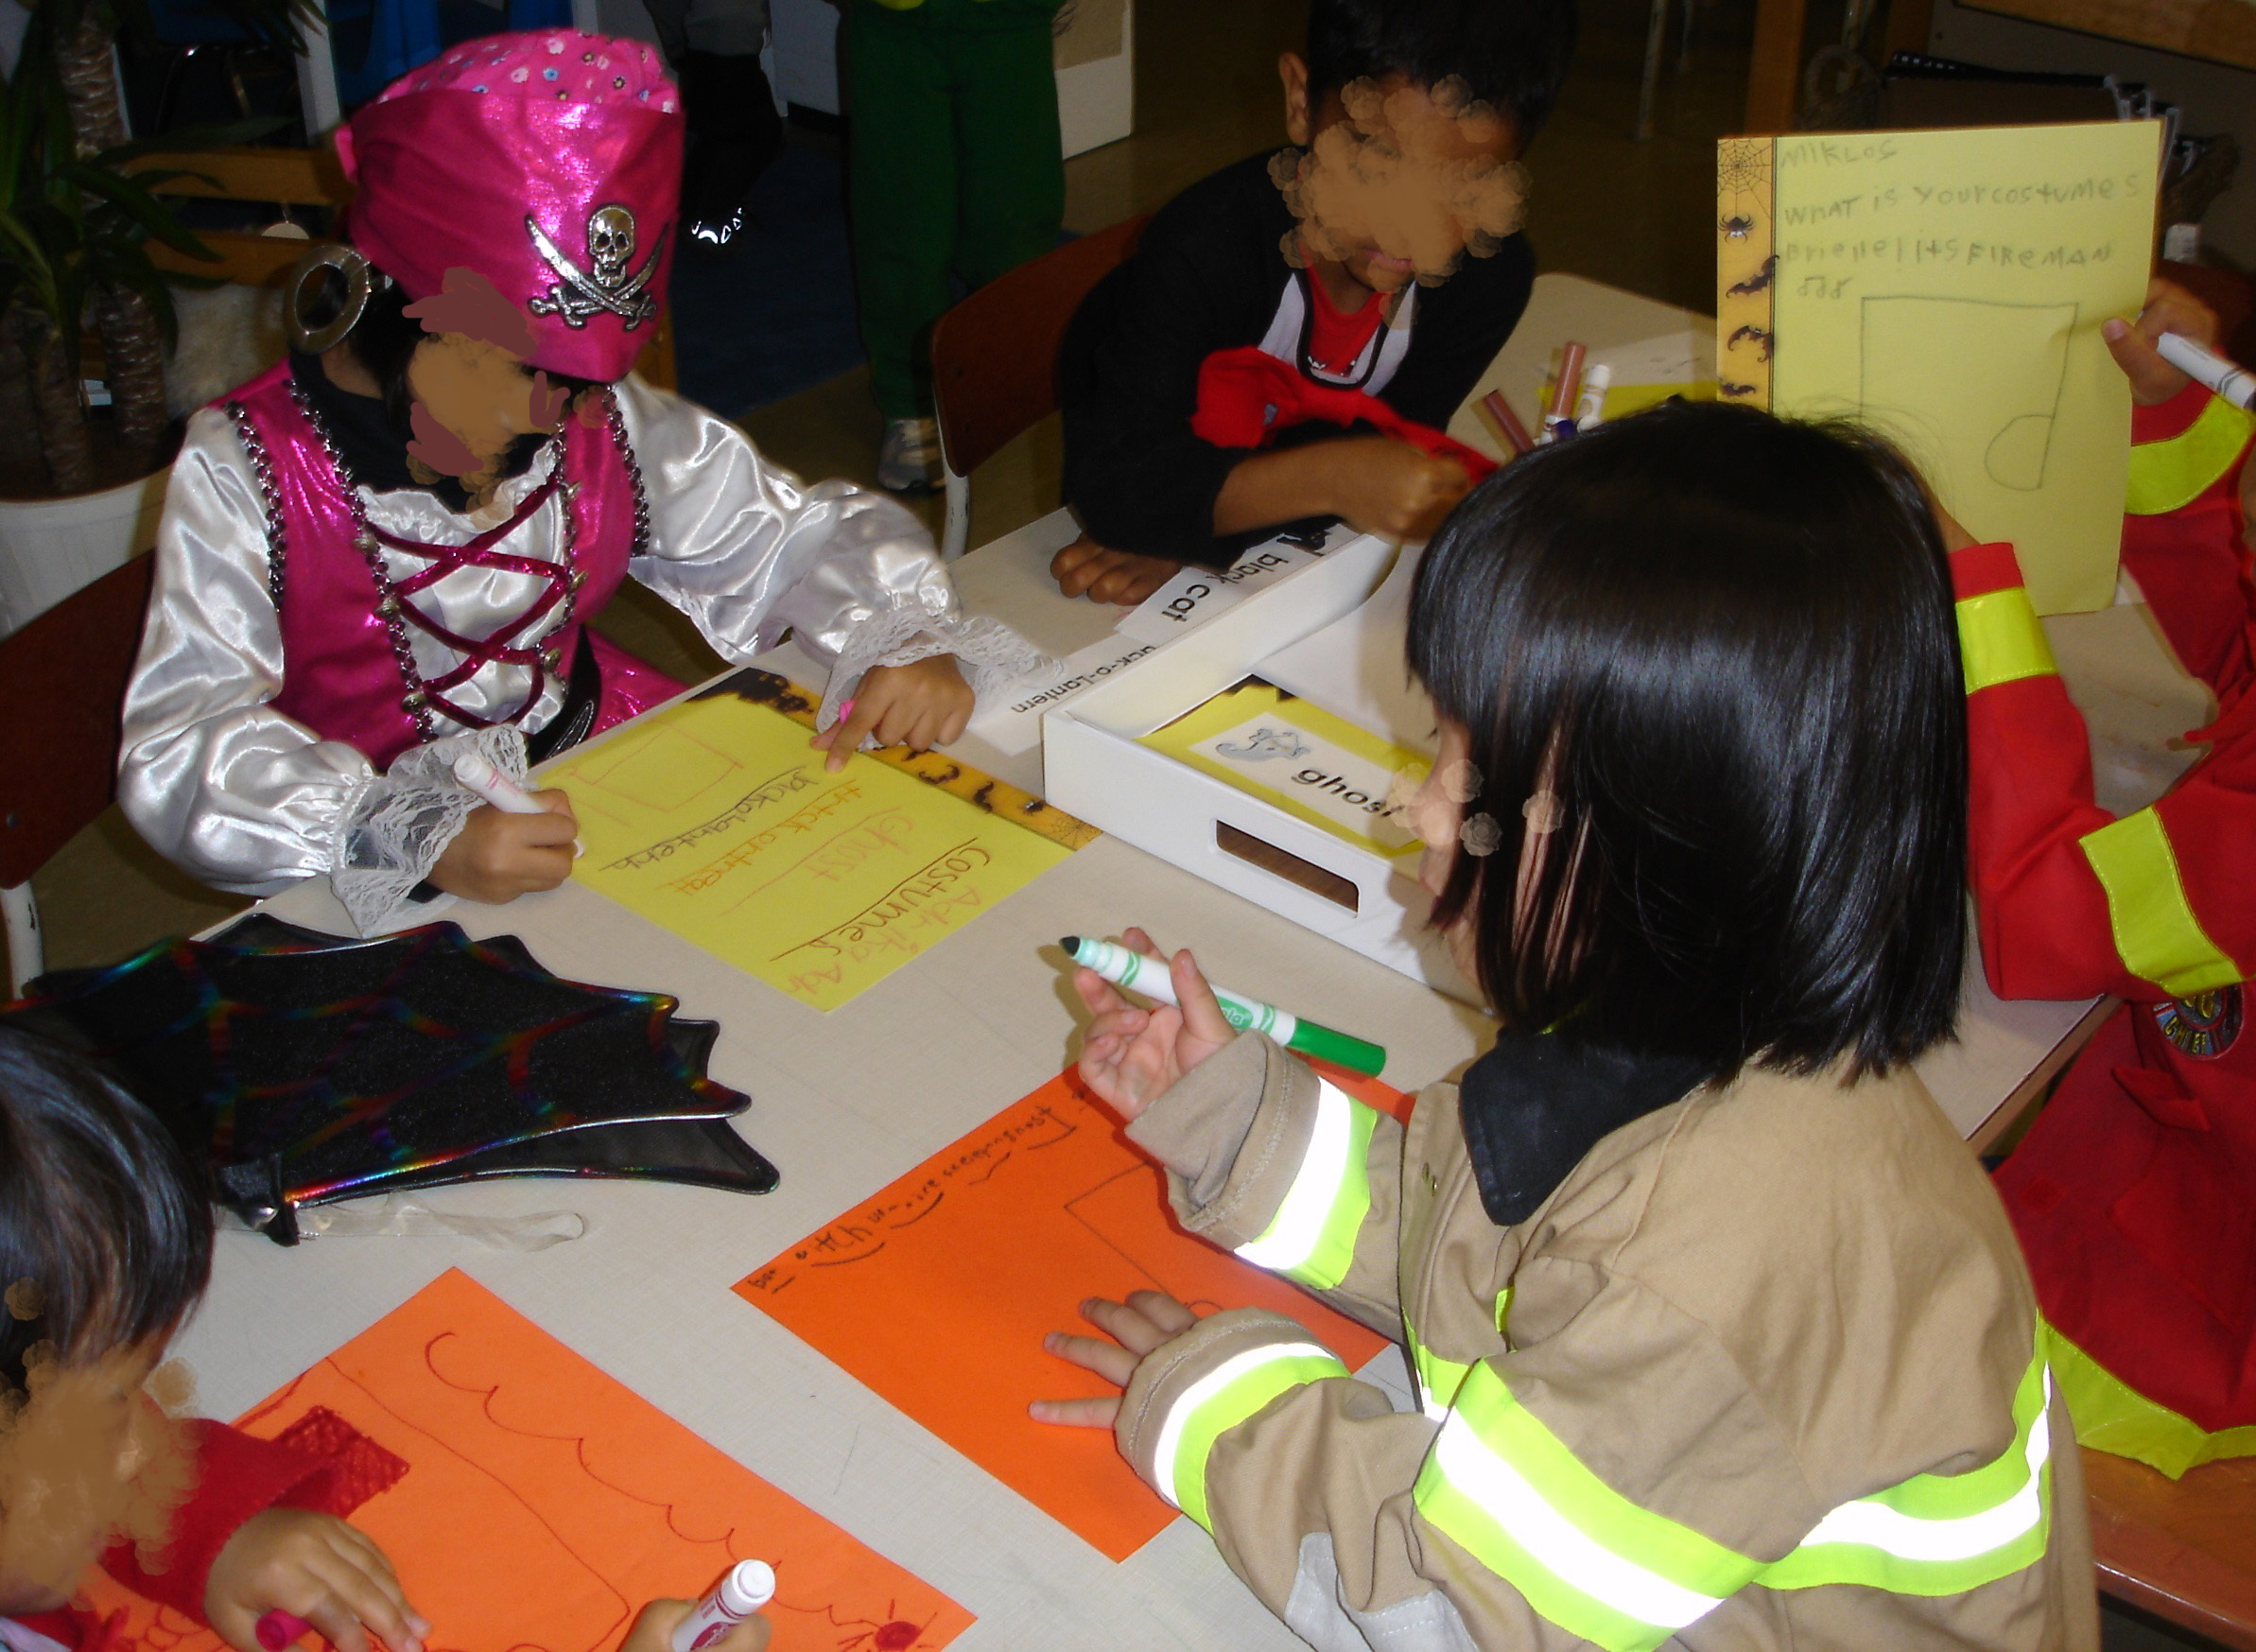
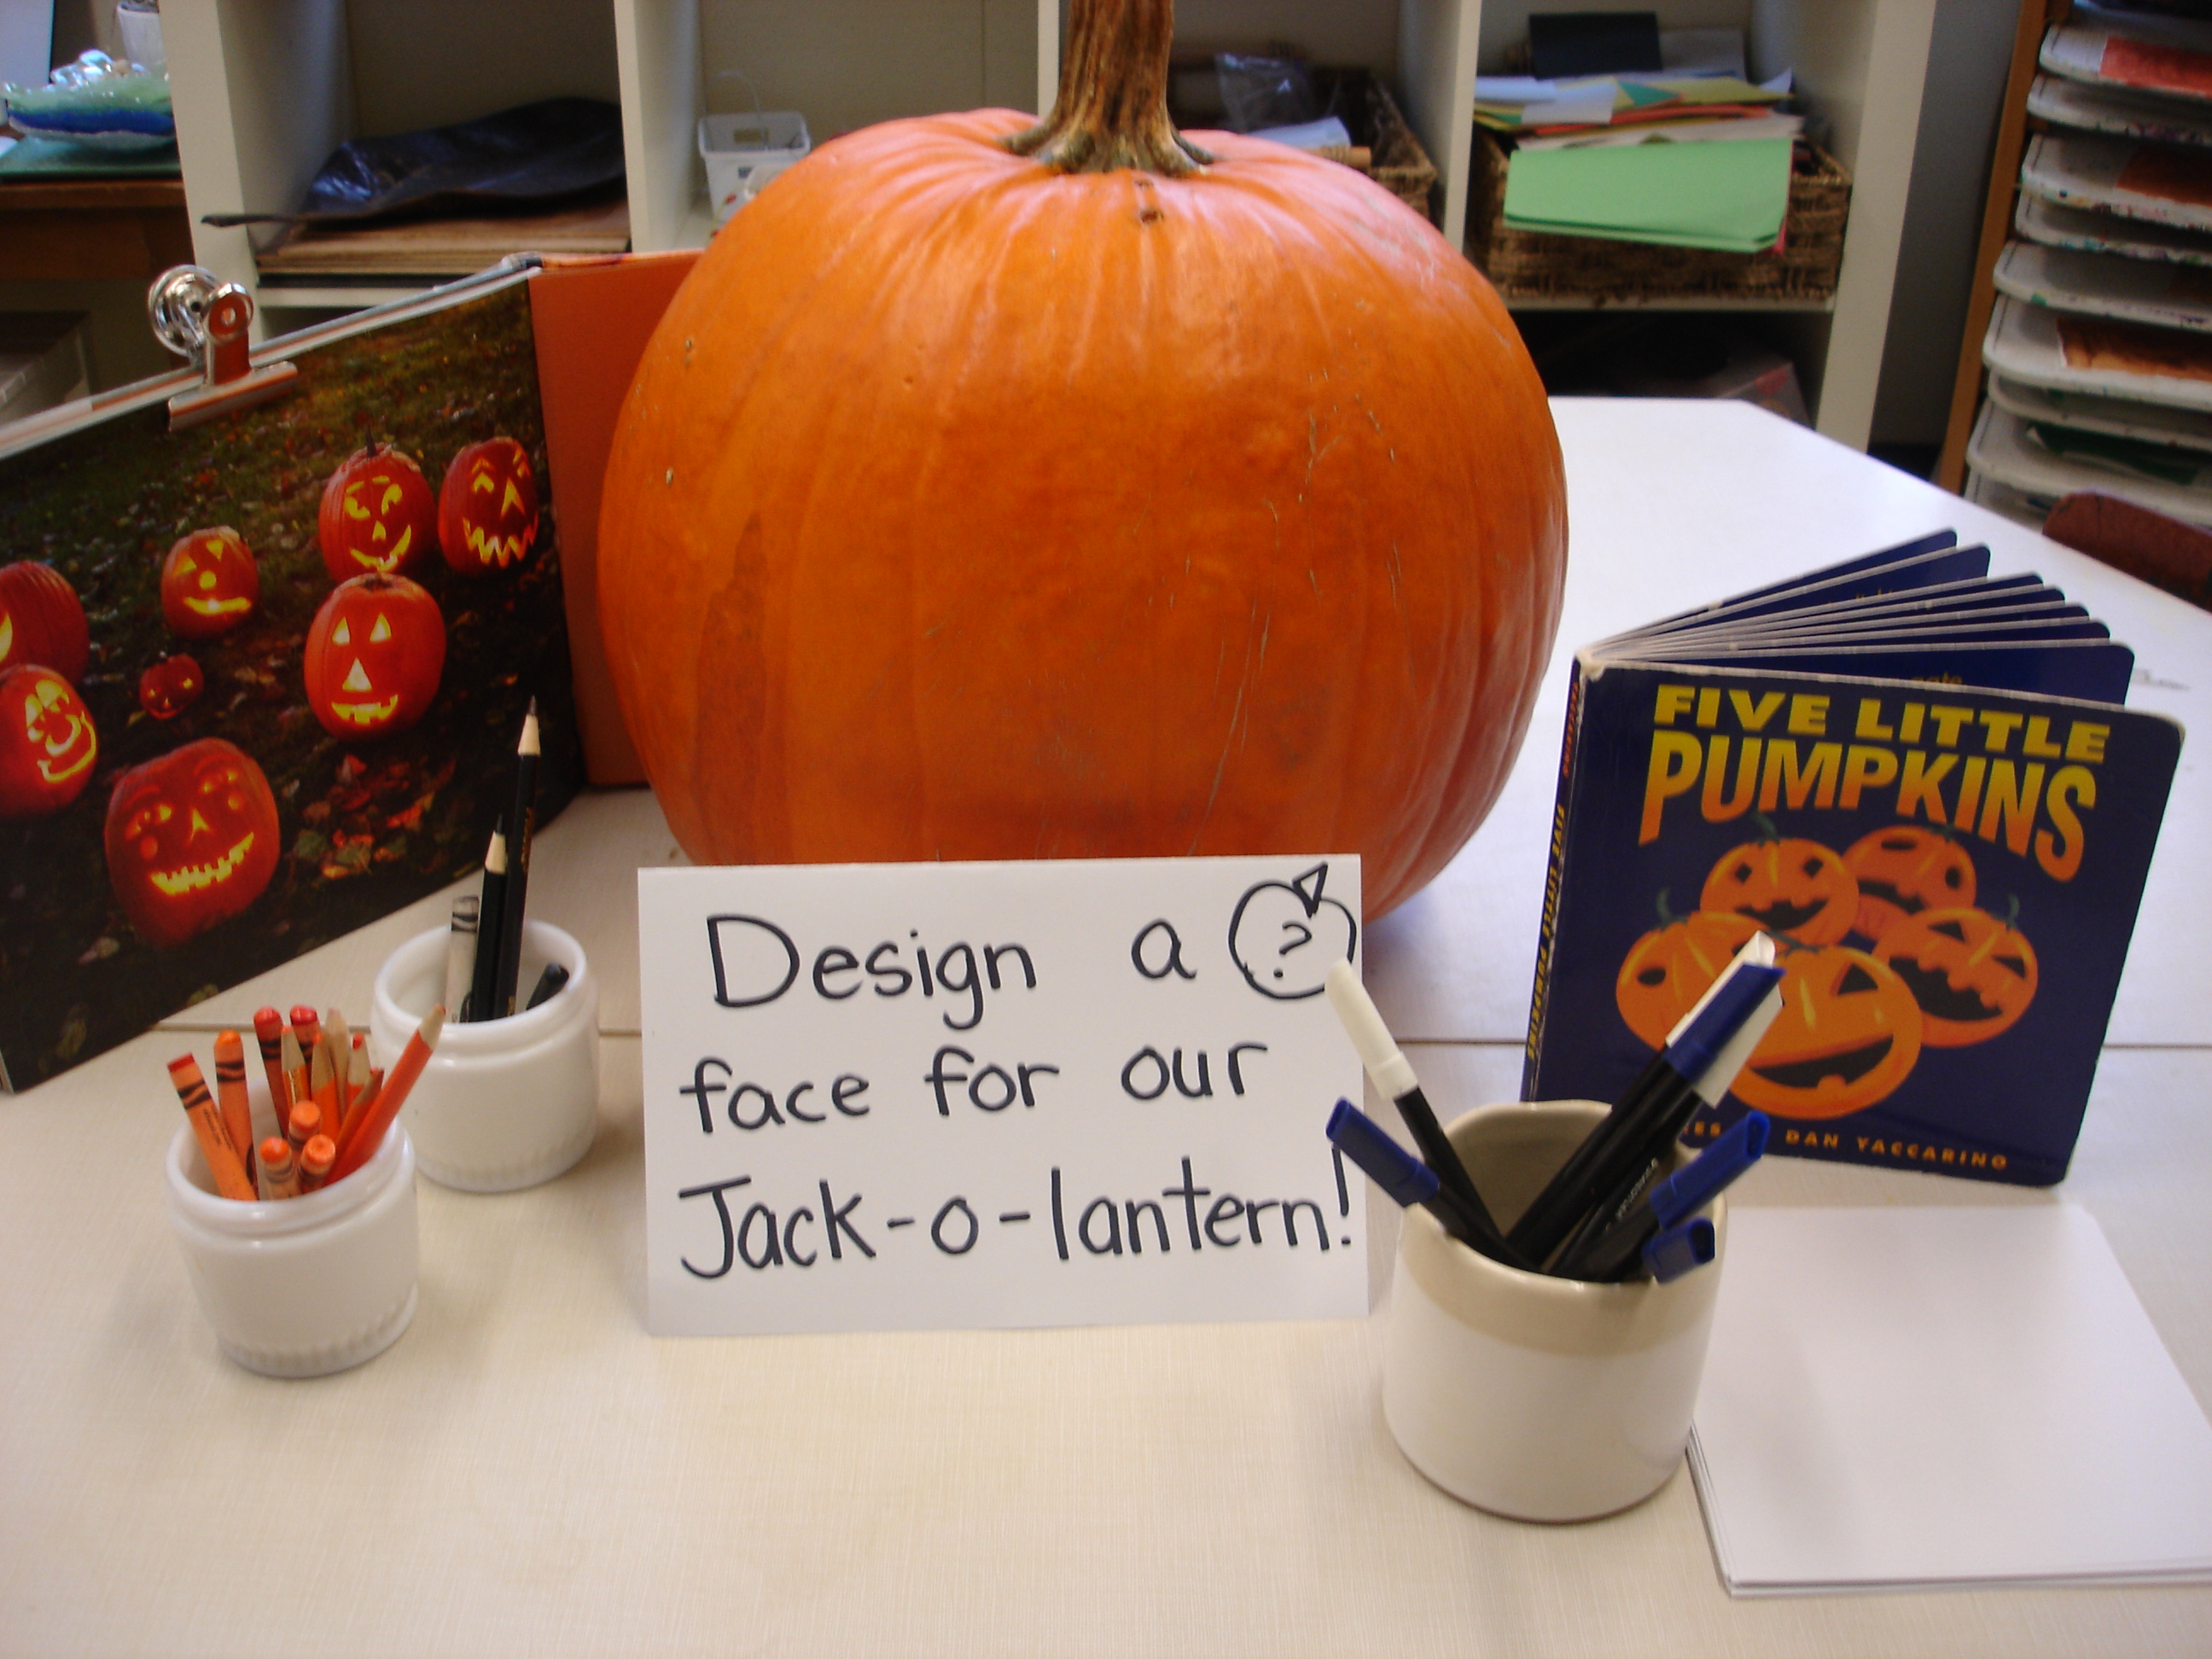
An exciting event like Halloween is a great opportunity to inspire children to try activities they might not normally try simply by putting a Halloween twist on them. An example I can share is a provocation we created at the Art Studio last year that asked the children to design a face for our Jack-o-Lantern. Even my most reluctant artists were eager to try their hand at creating a spooky masterpiece! What a great opportunity for the children to talk about their preferences, past experiences with celebrations, and future plans. Here is a picture of the provocation:

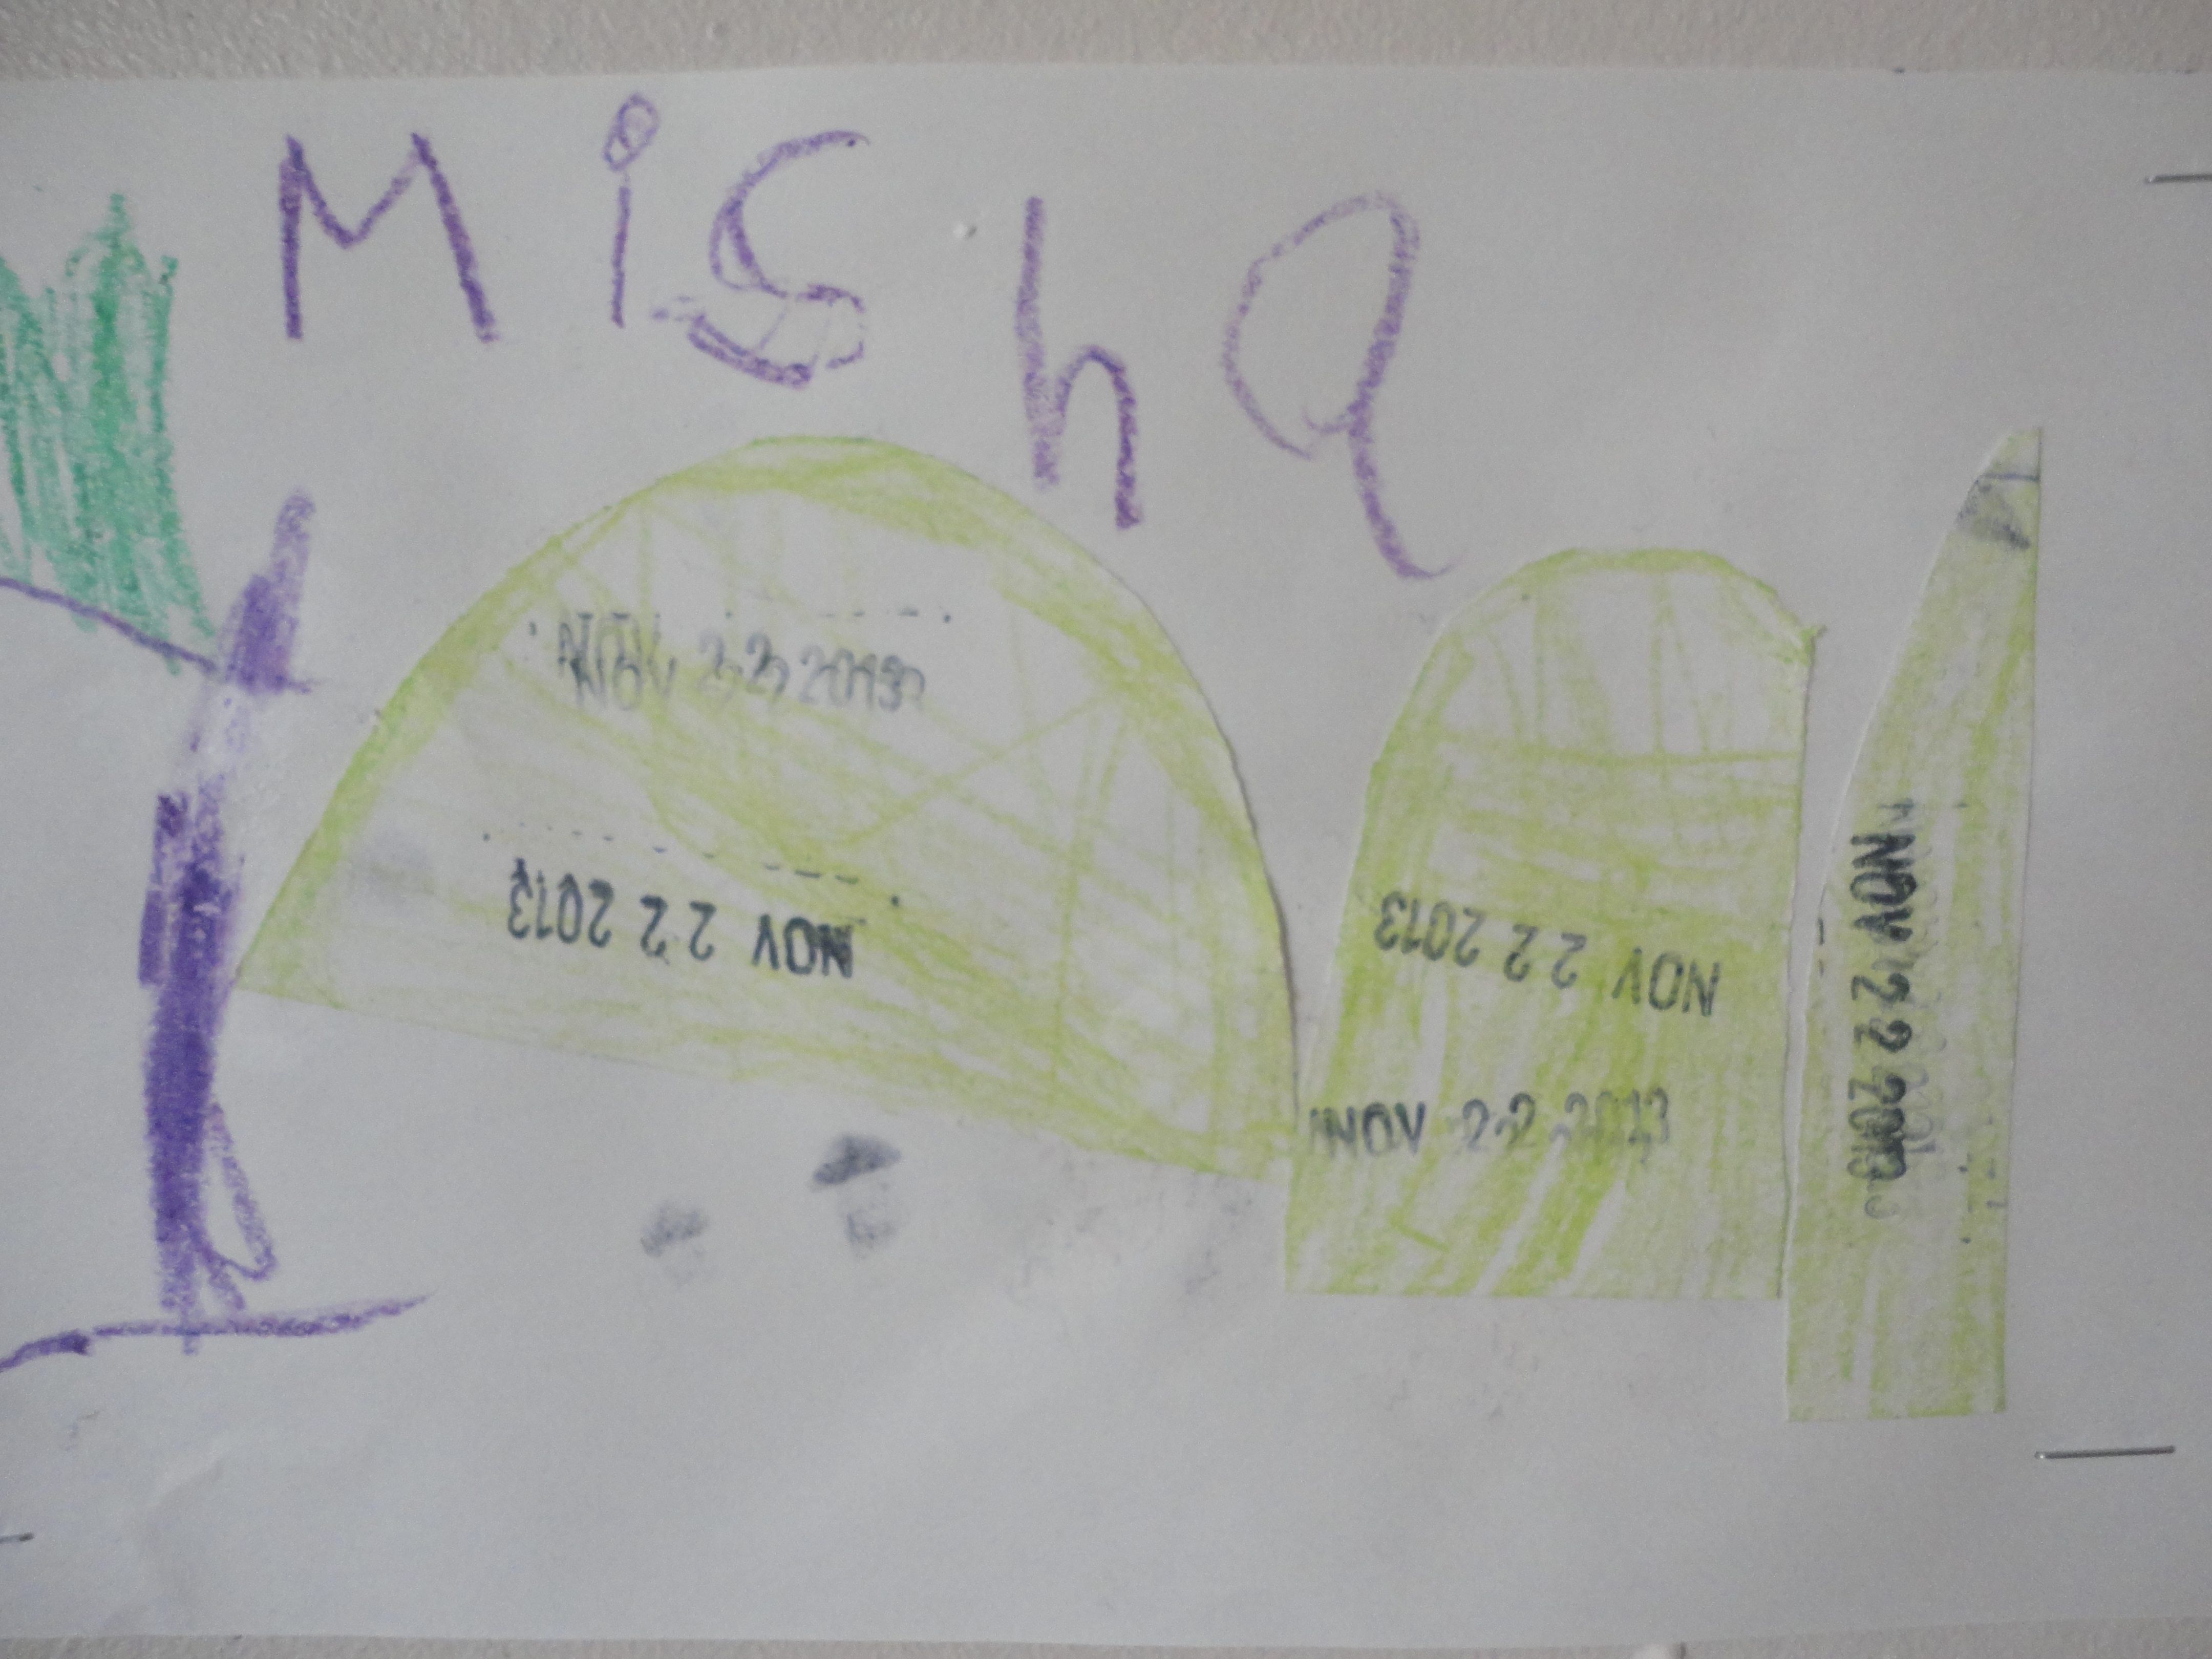
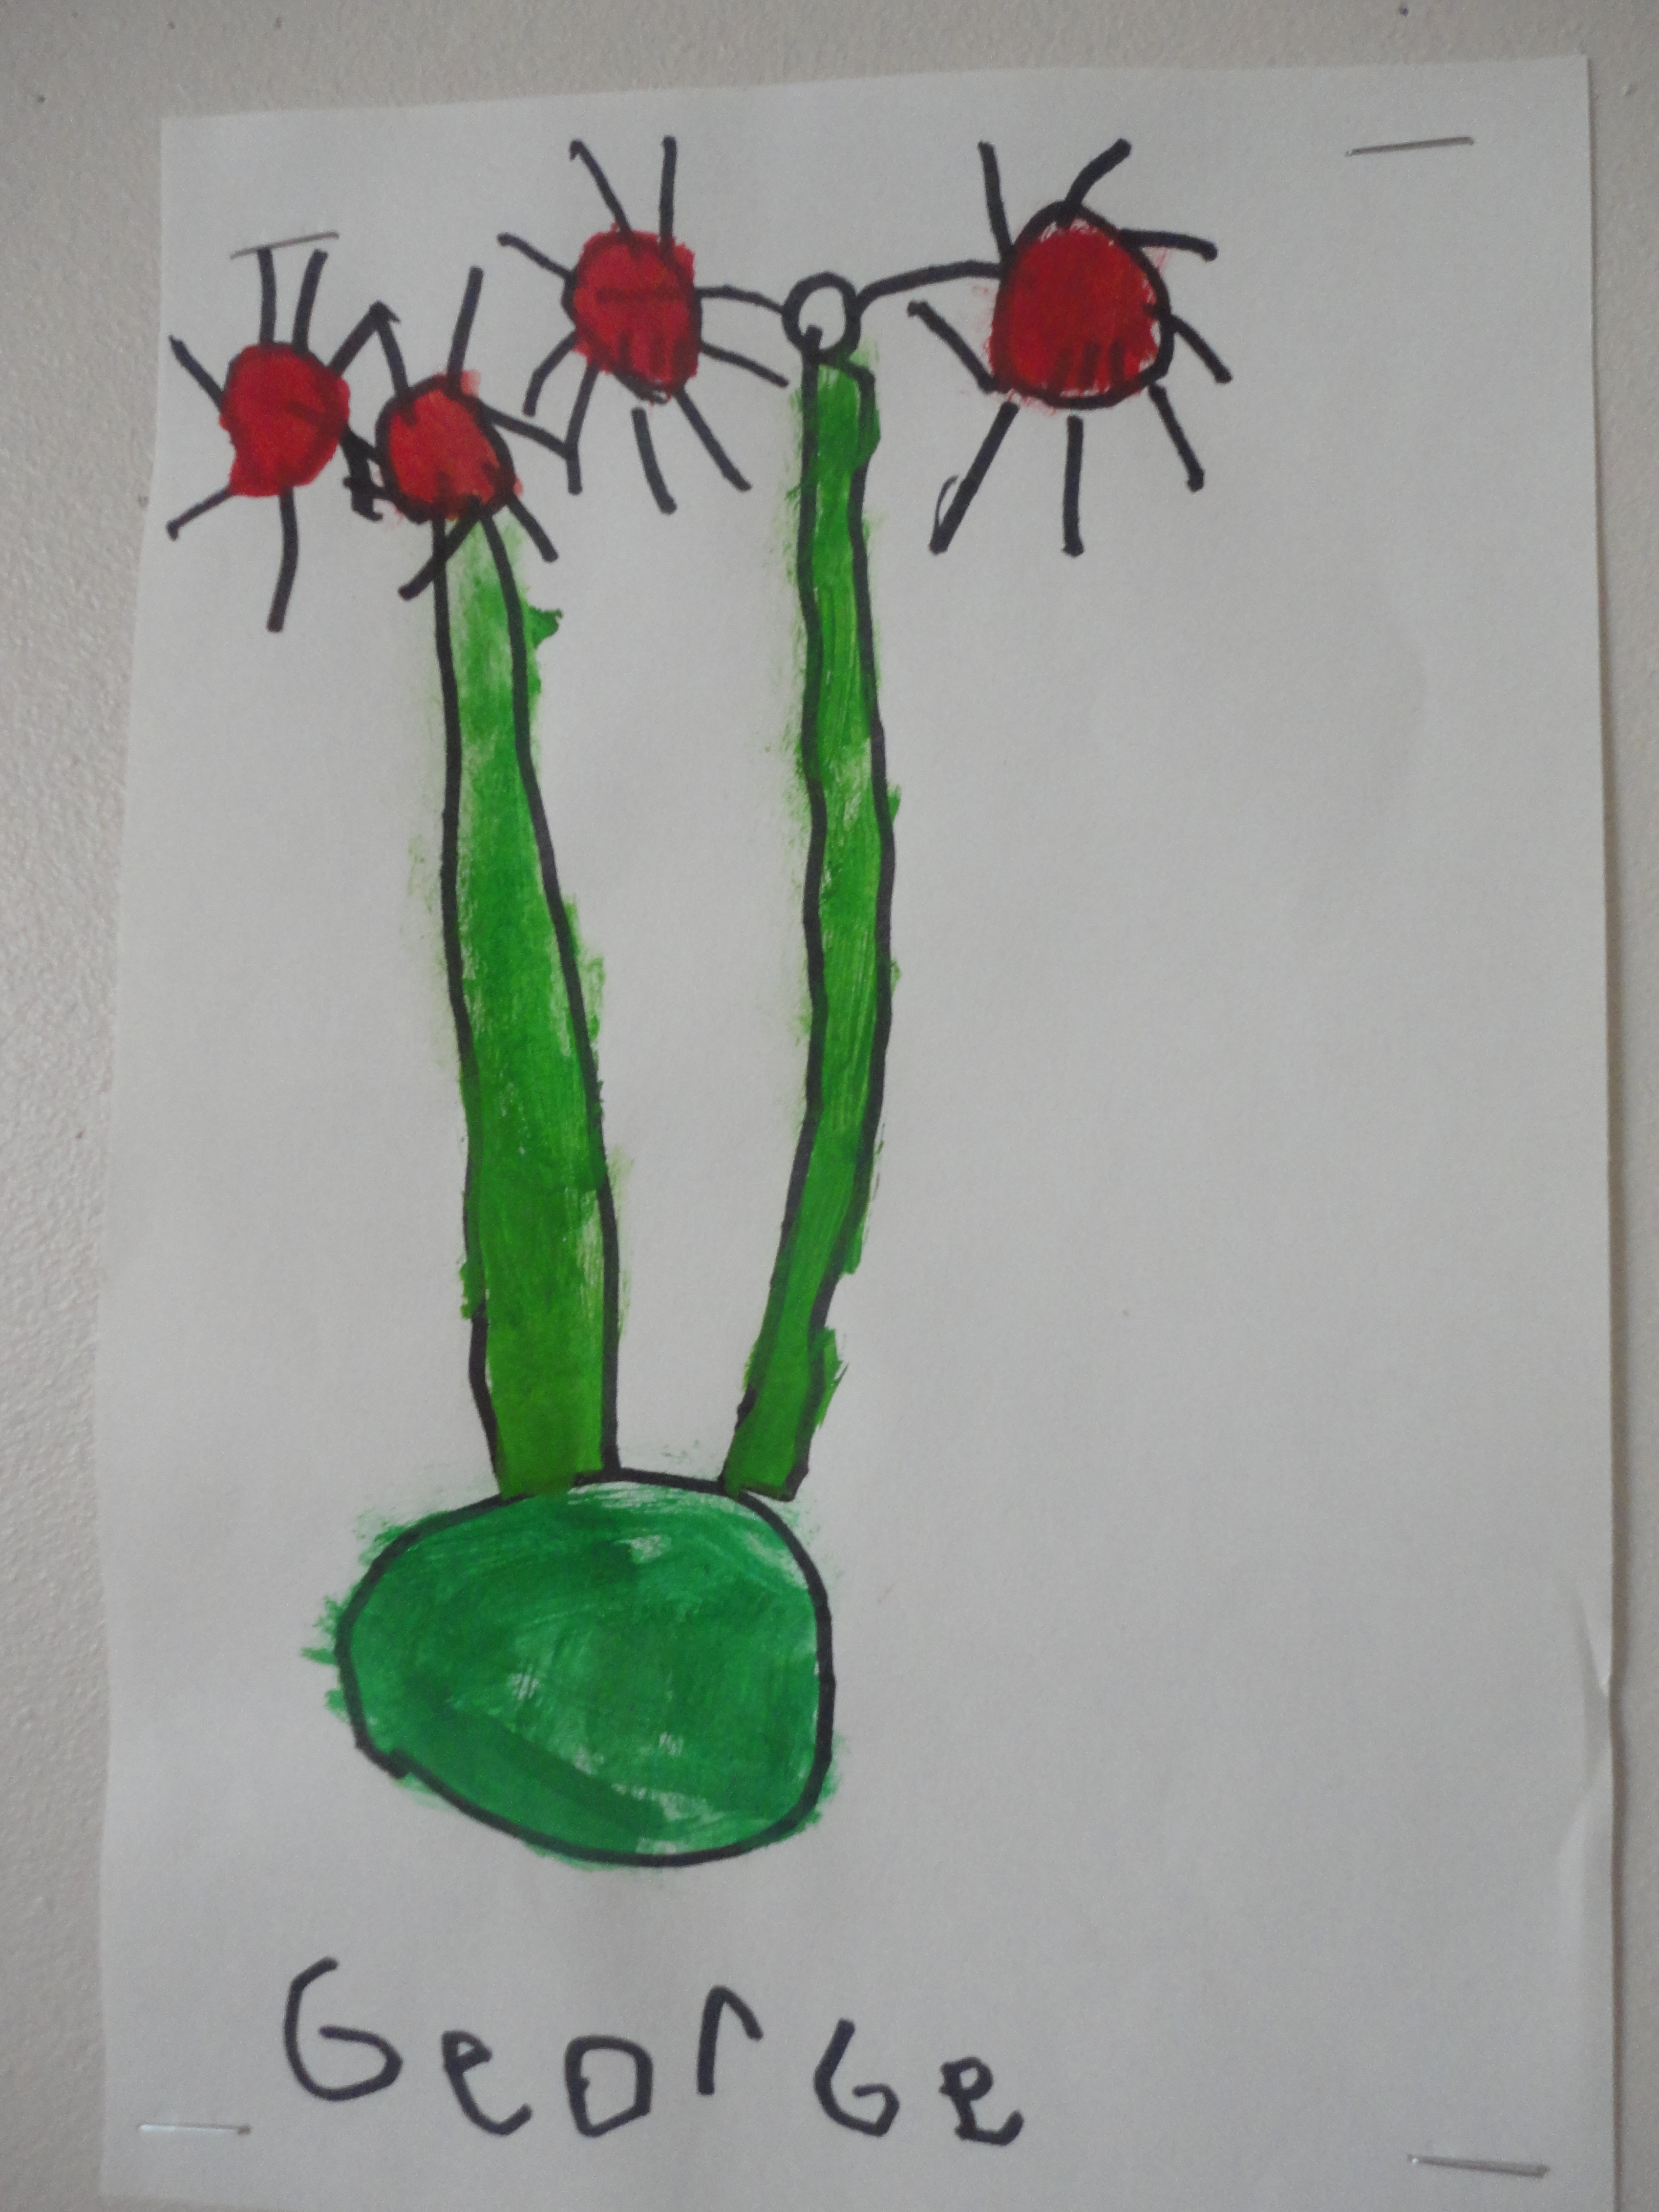
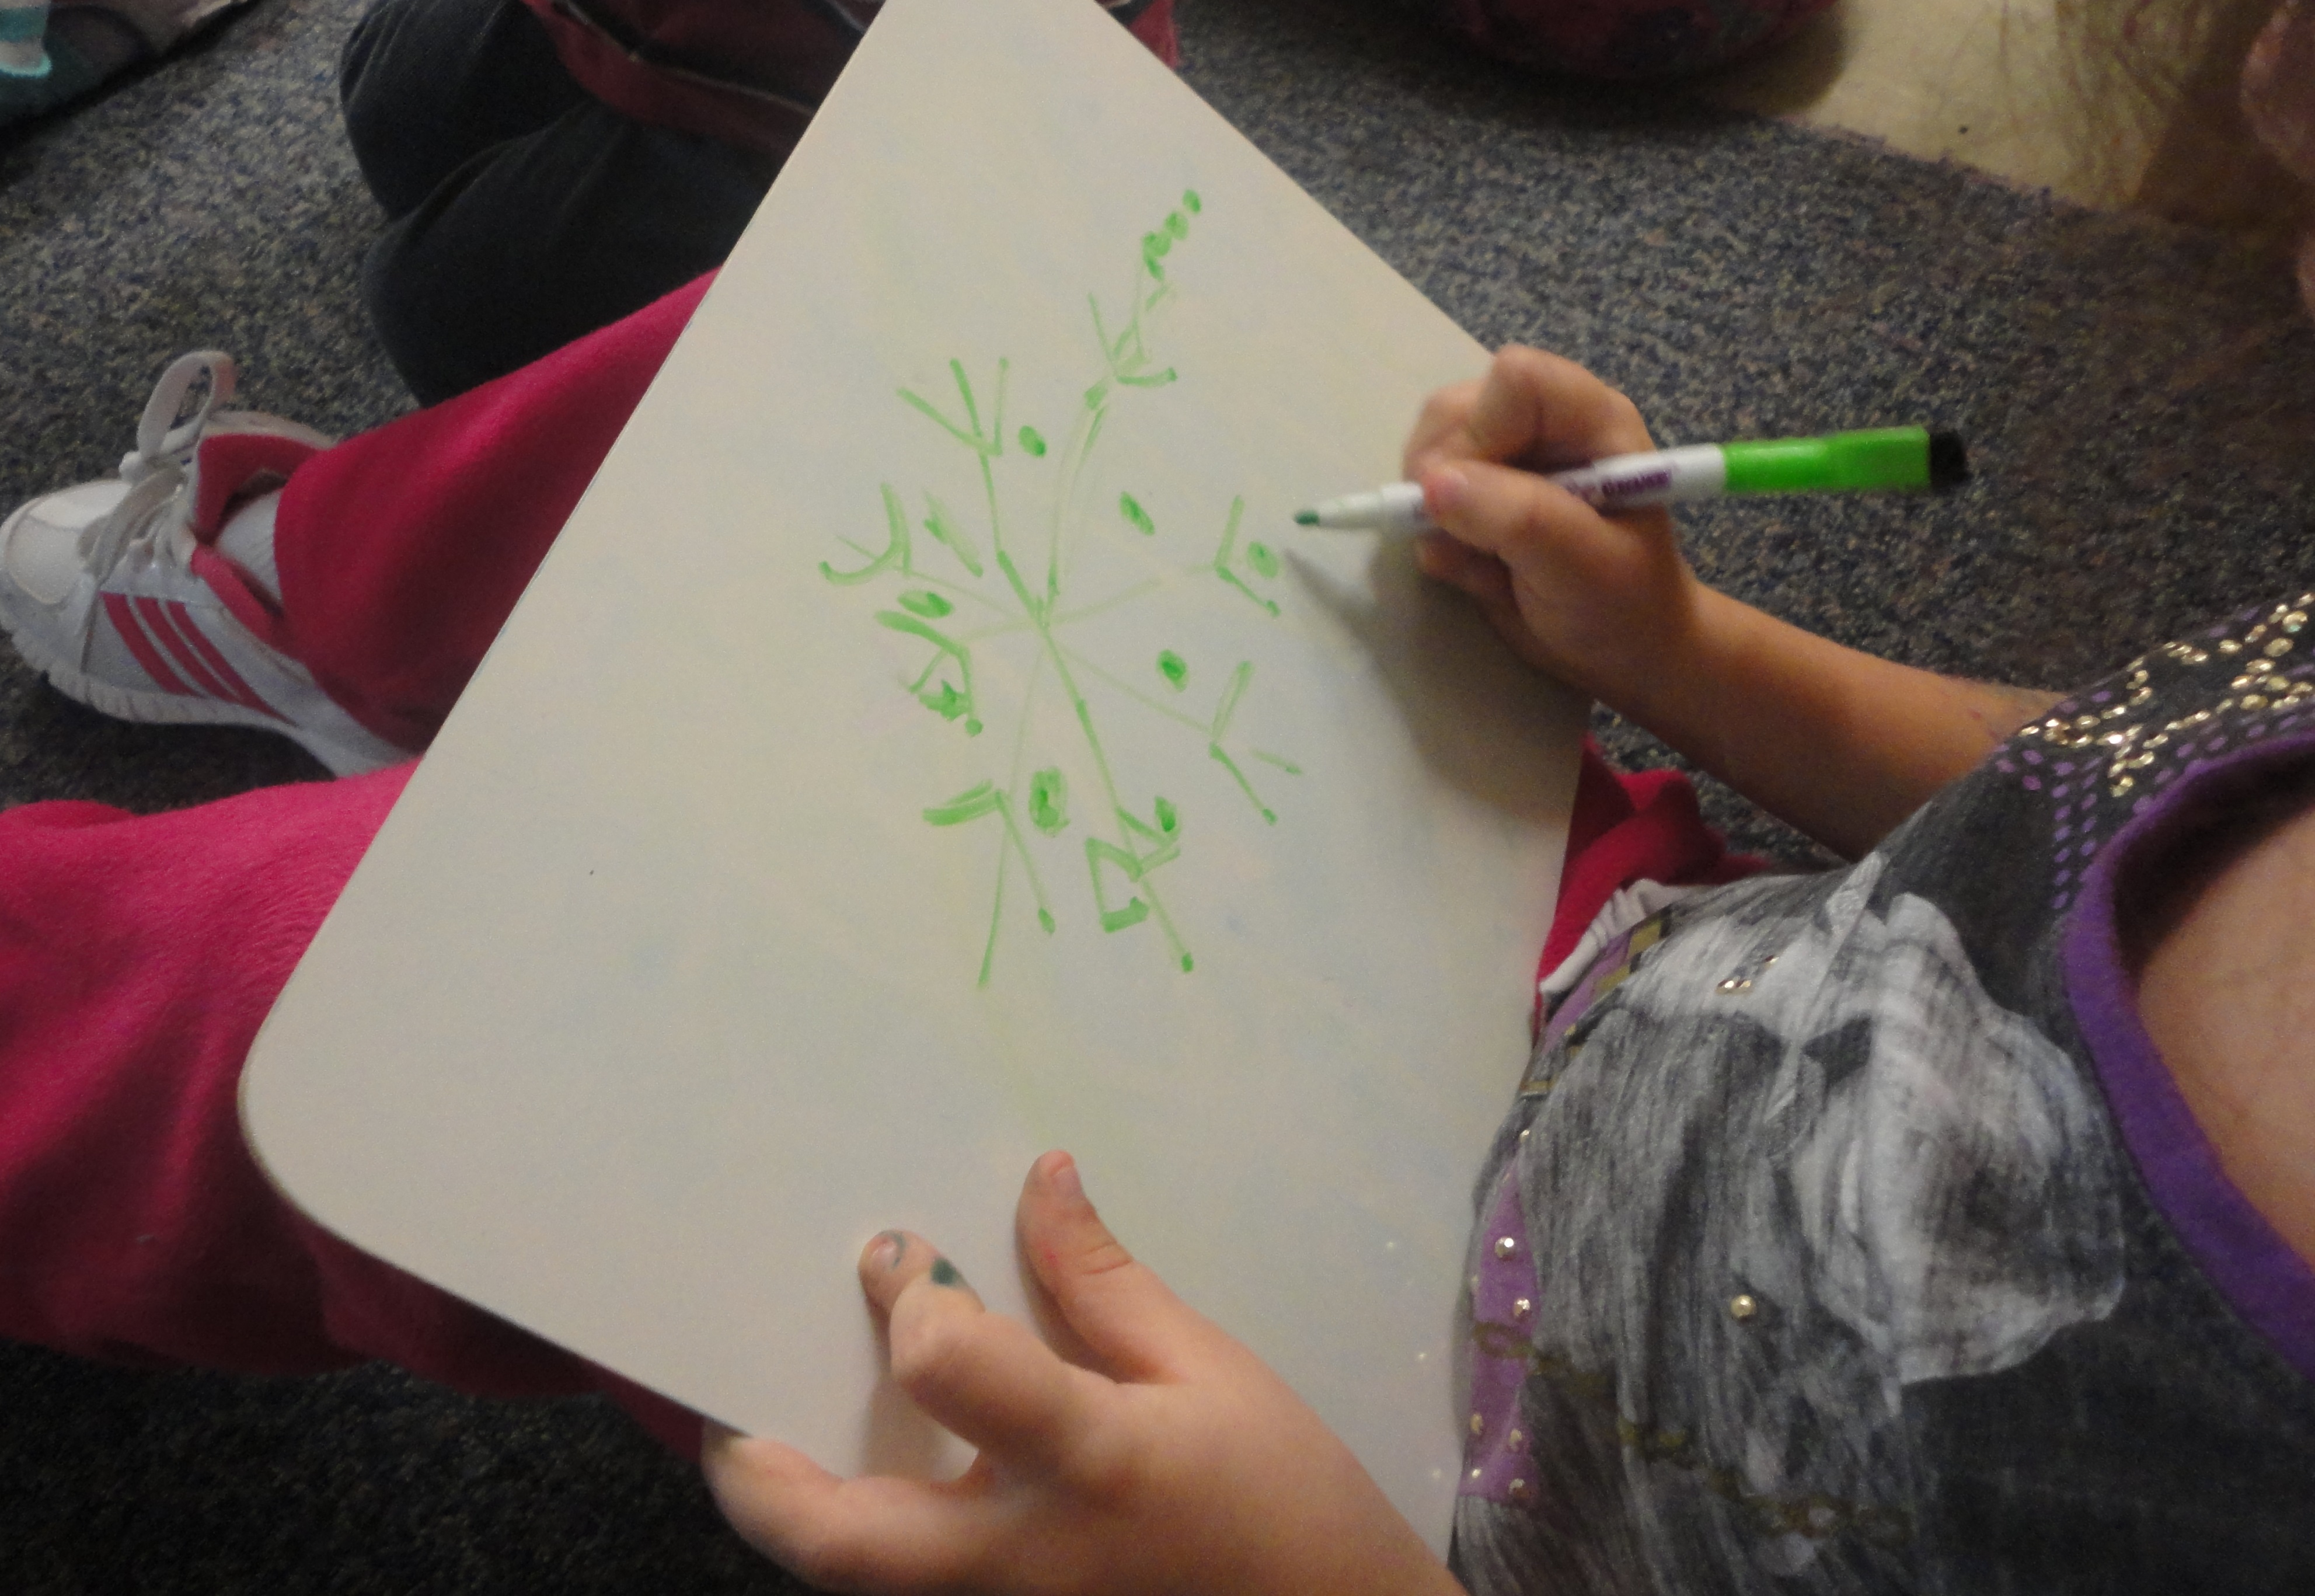
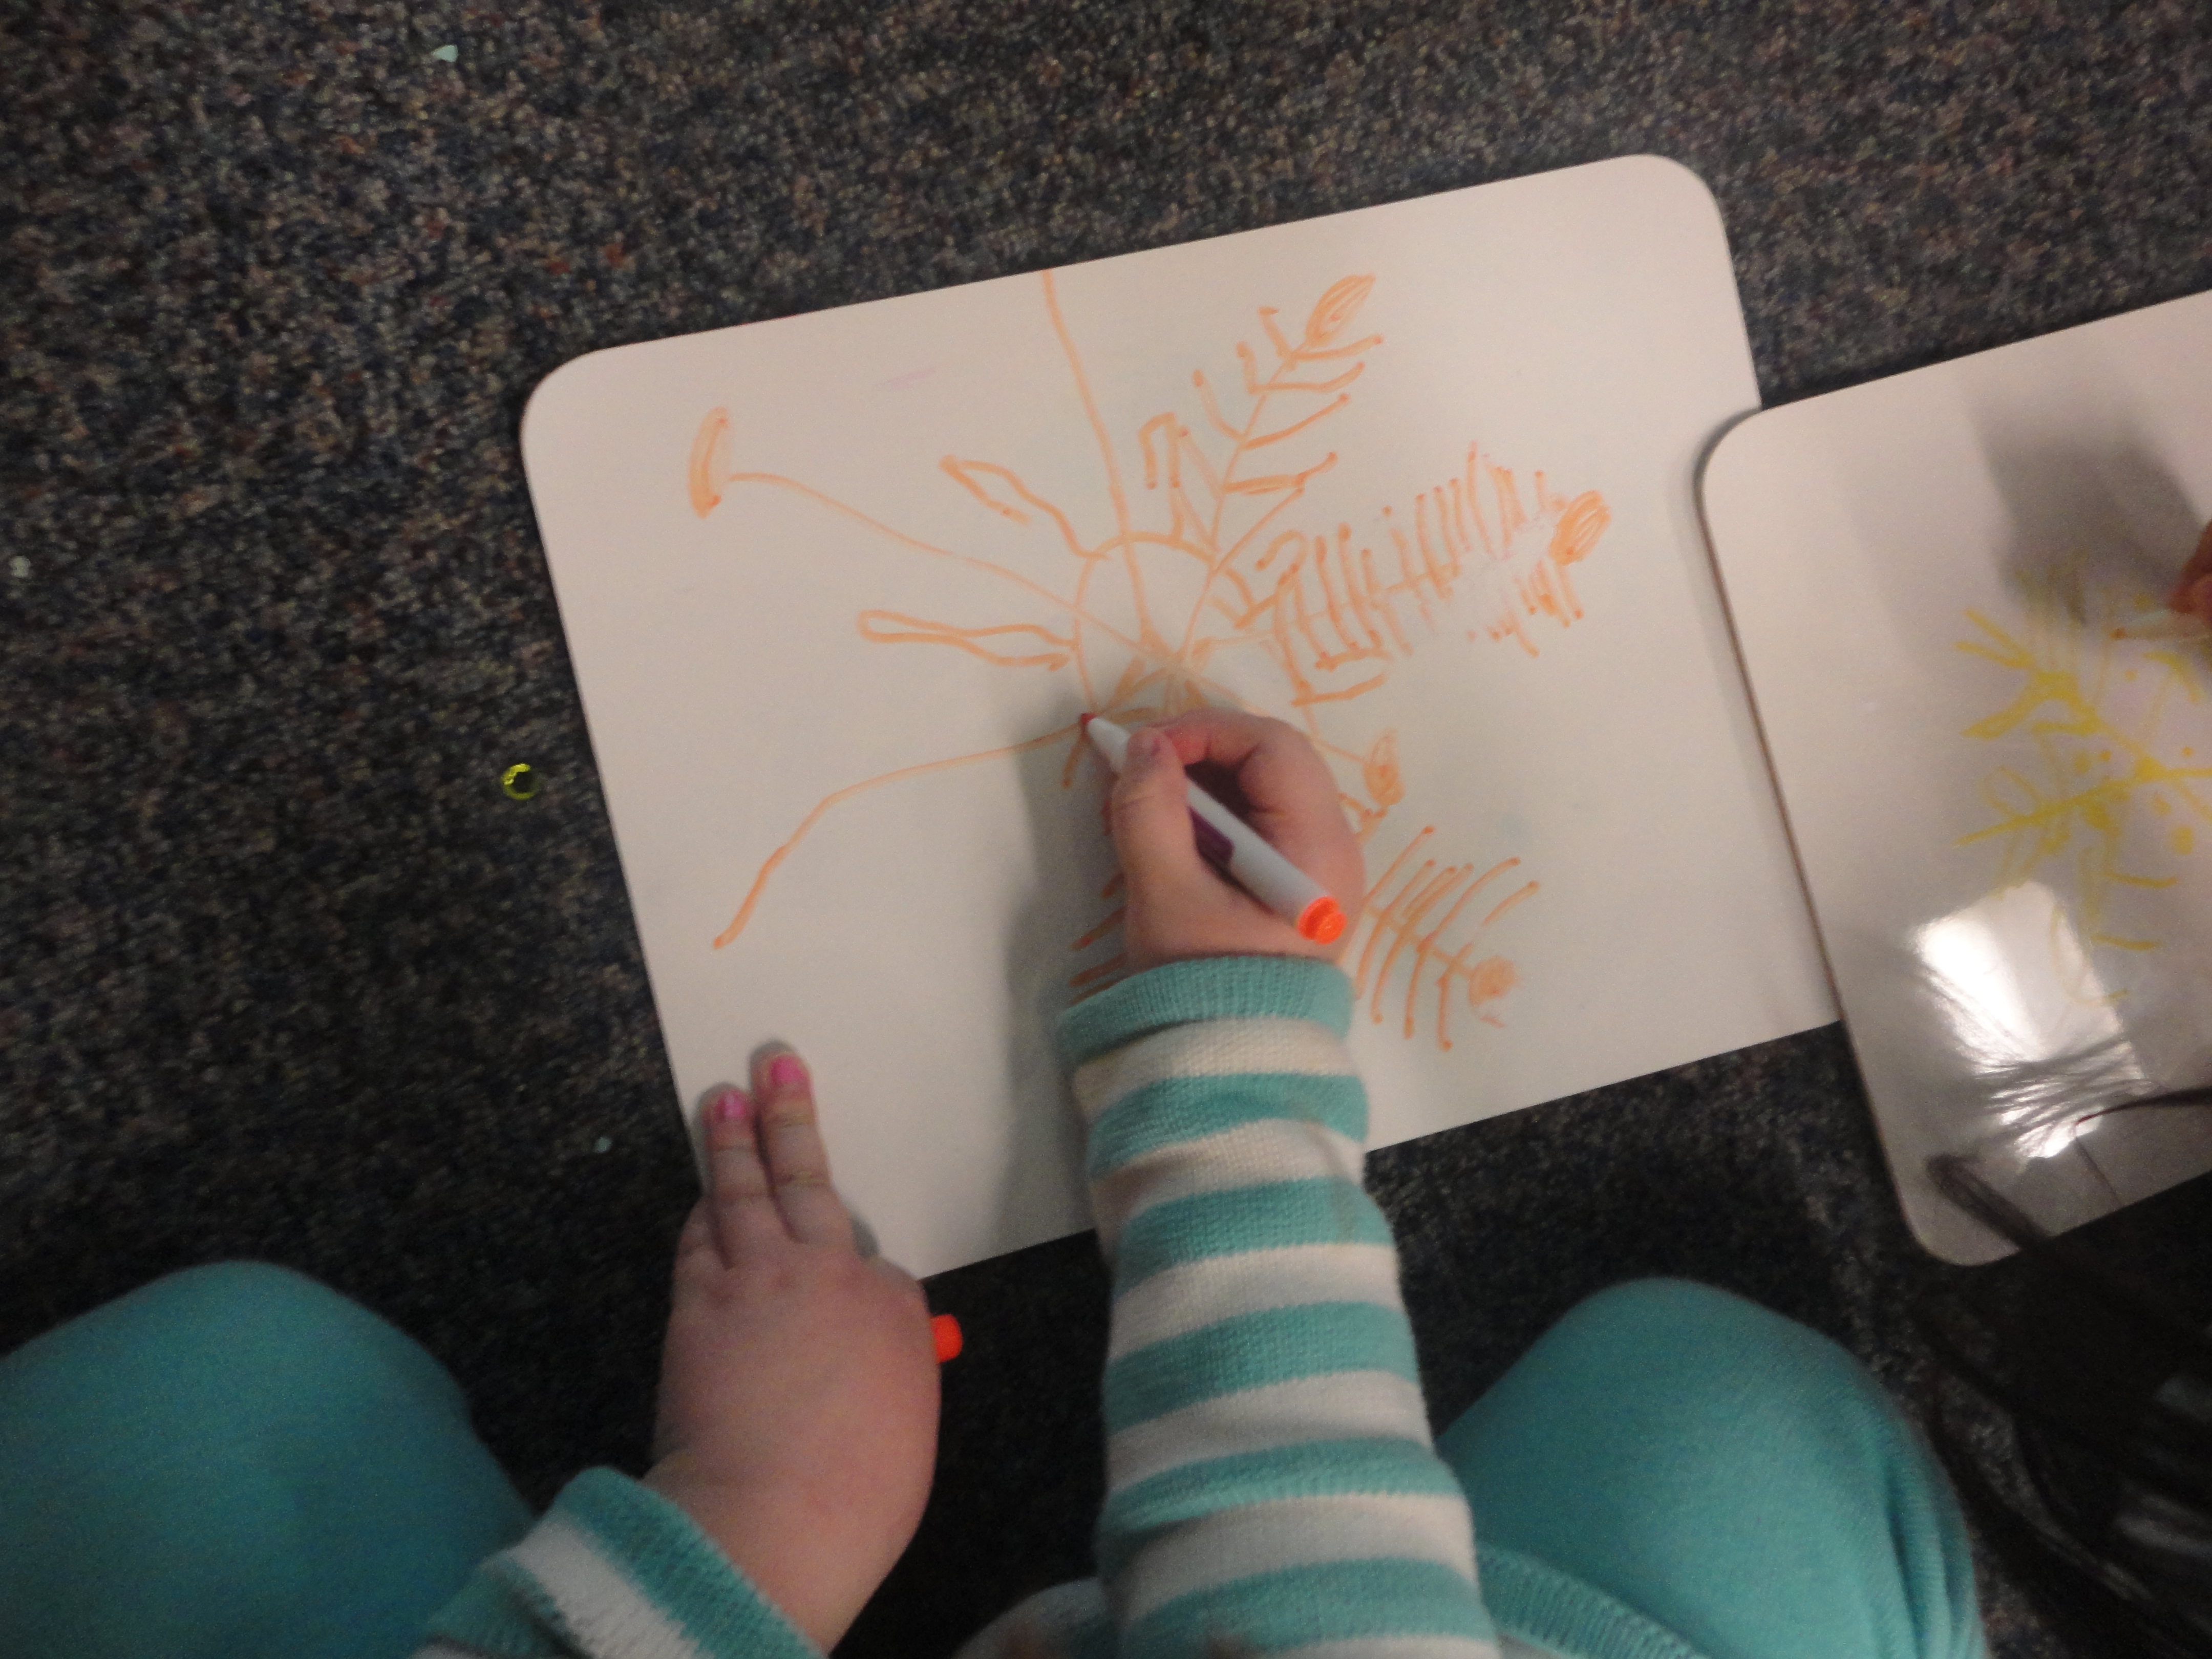
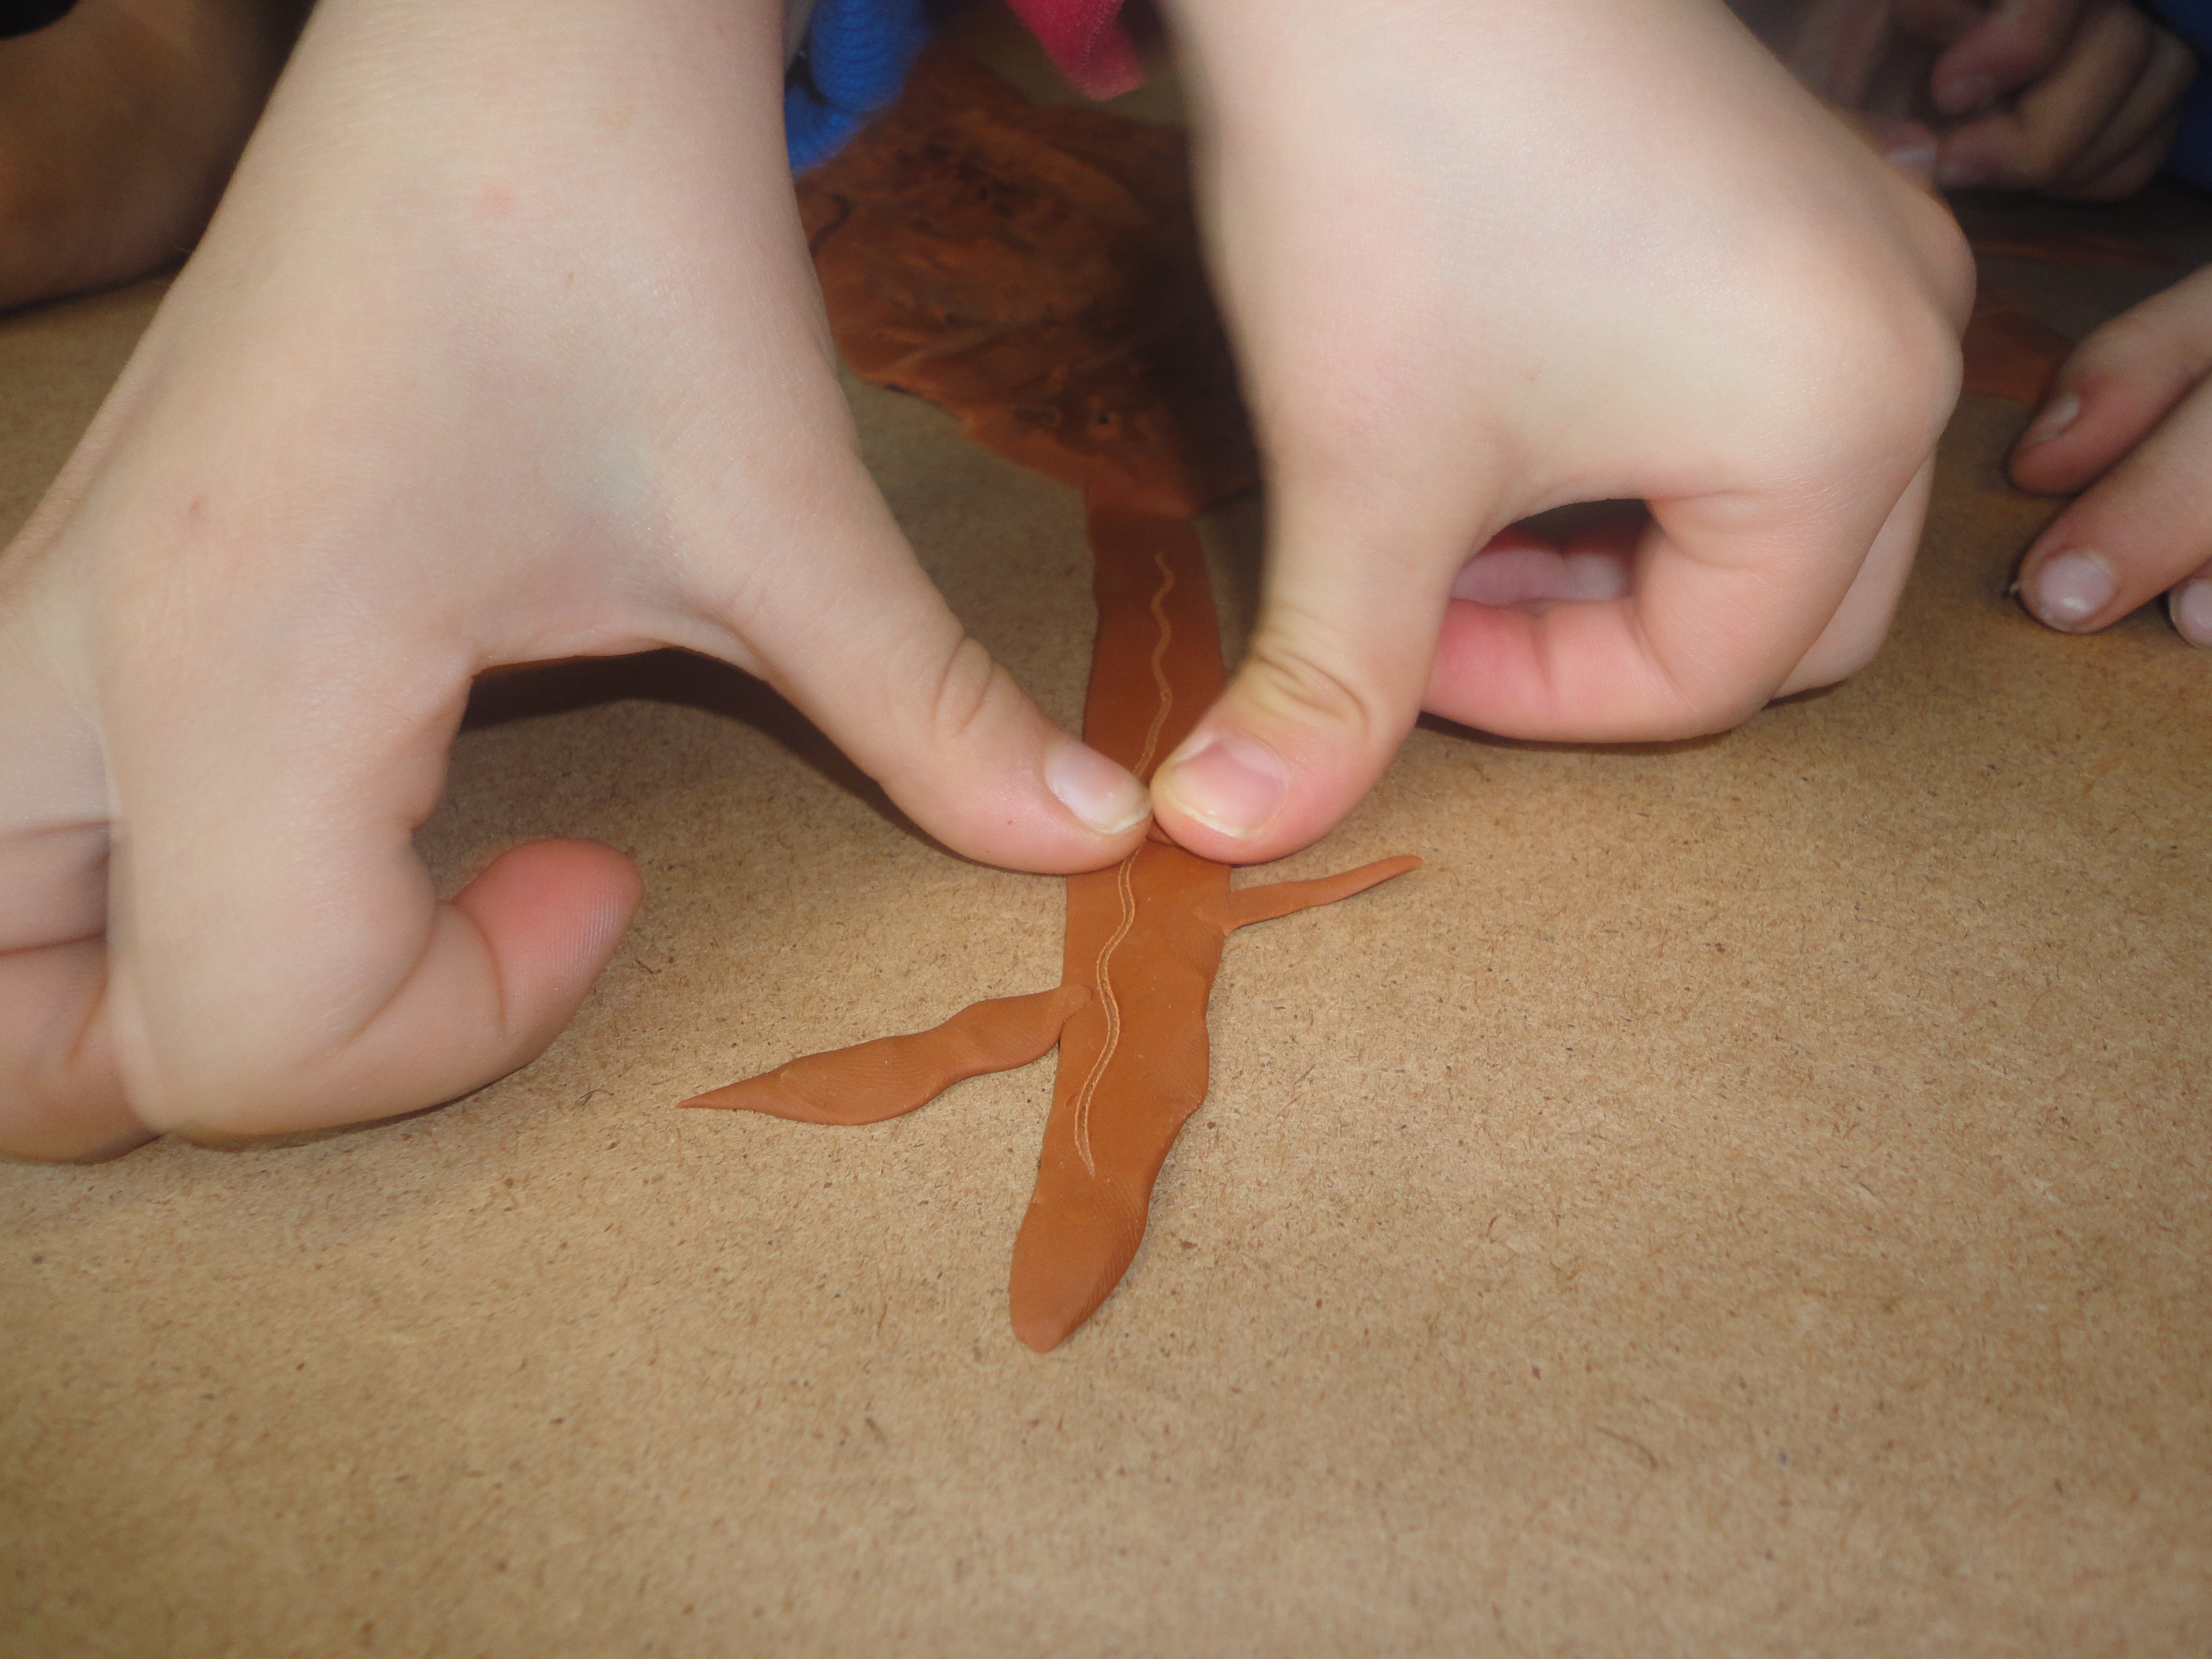
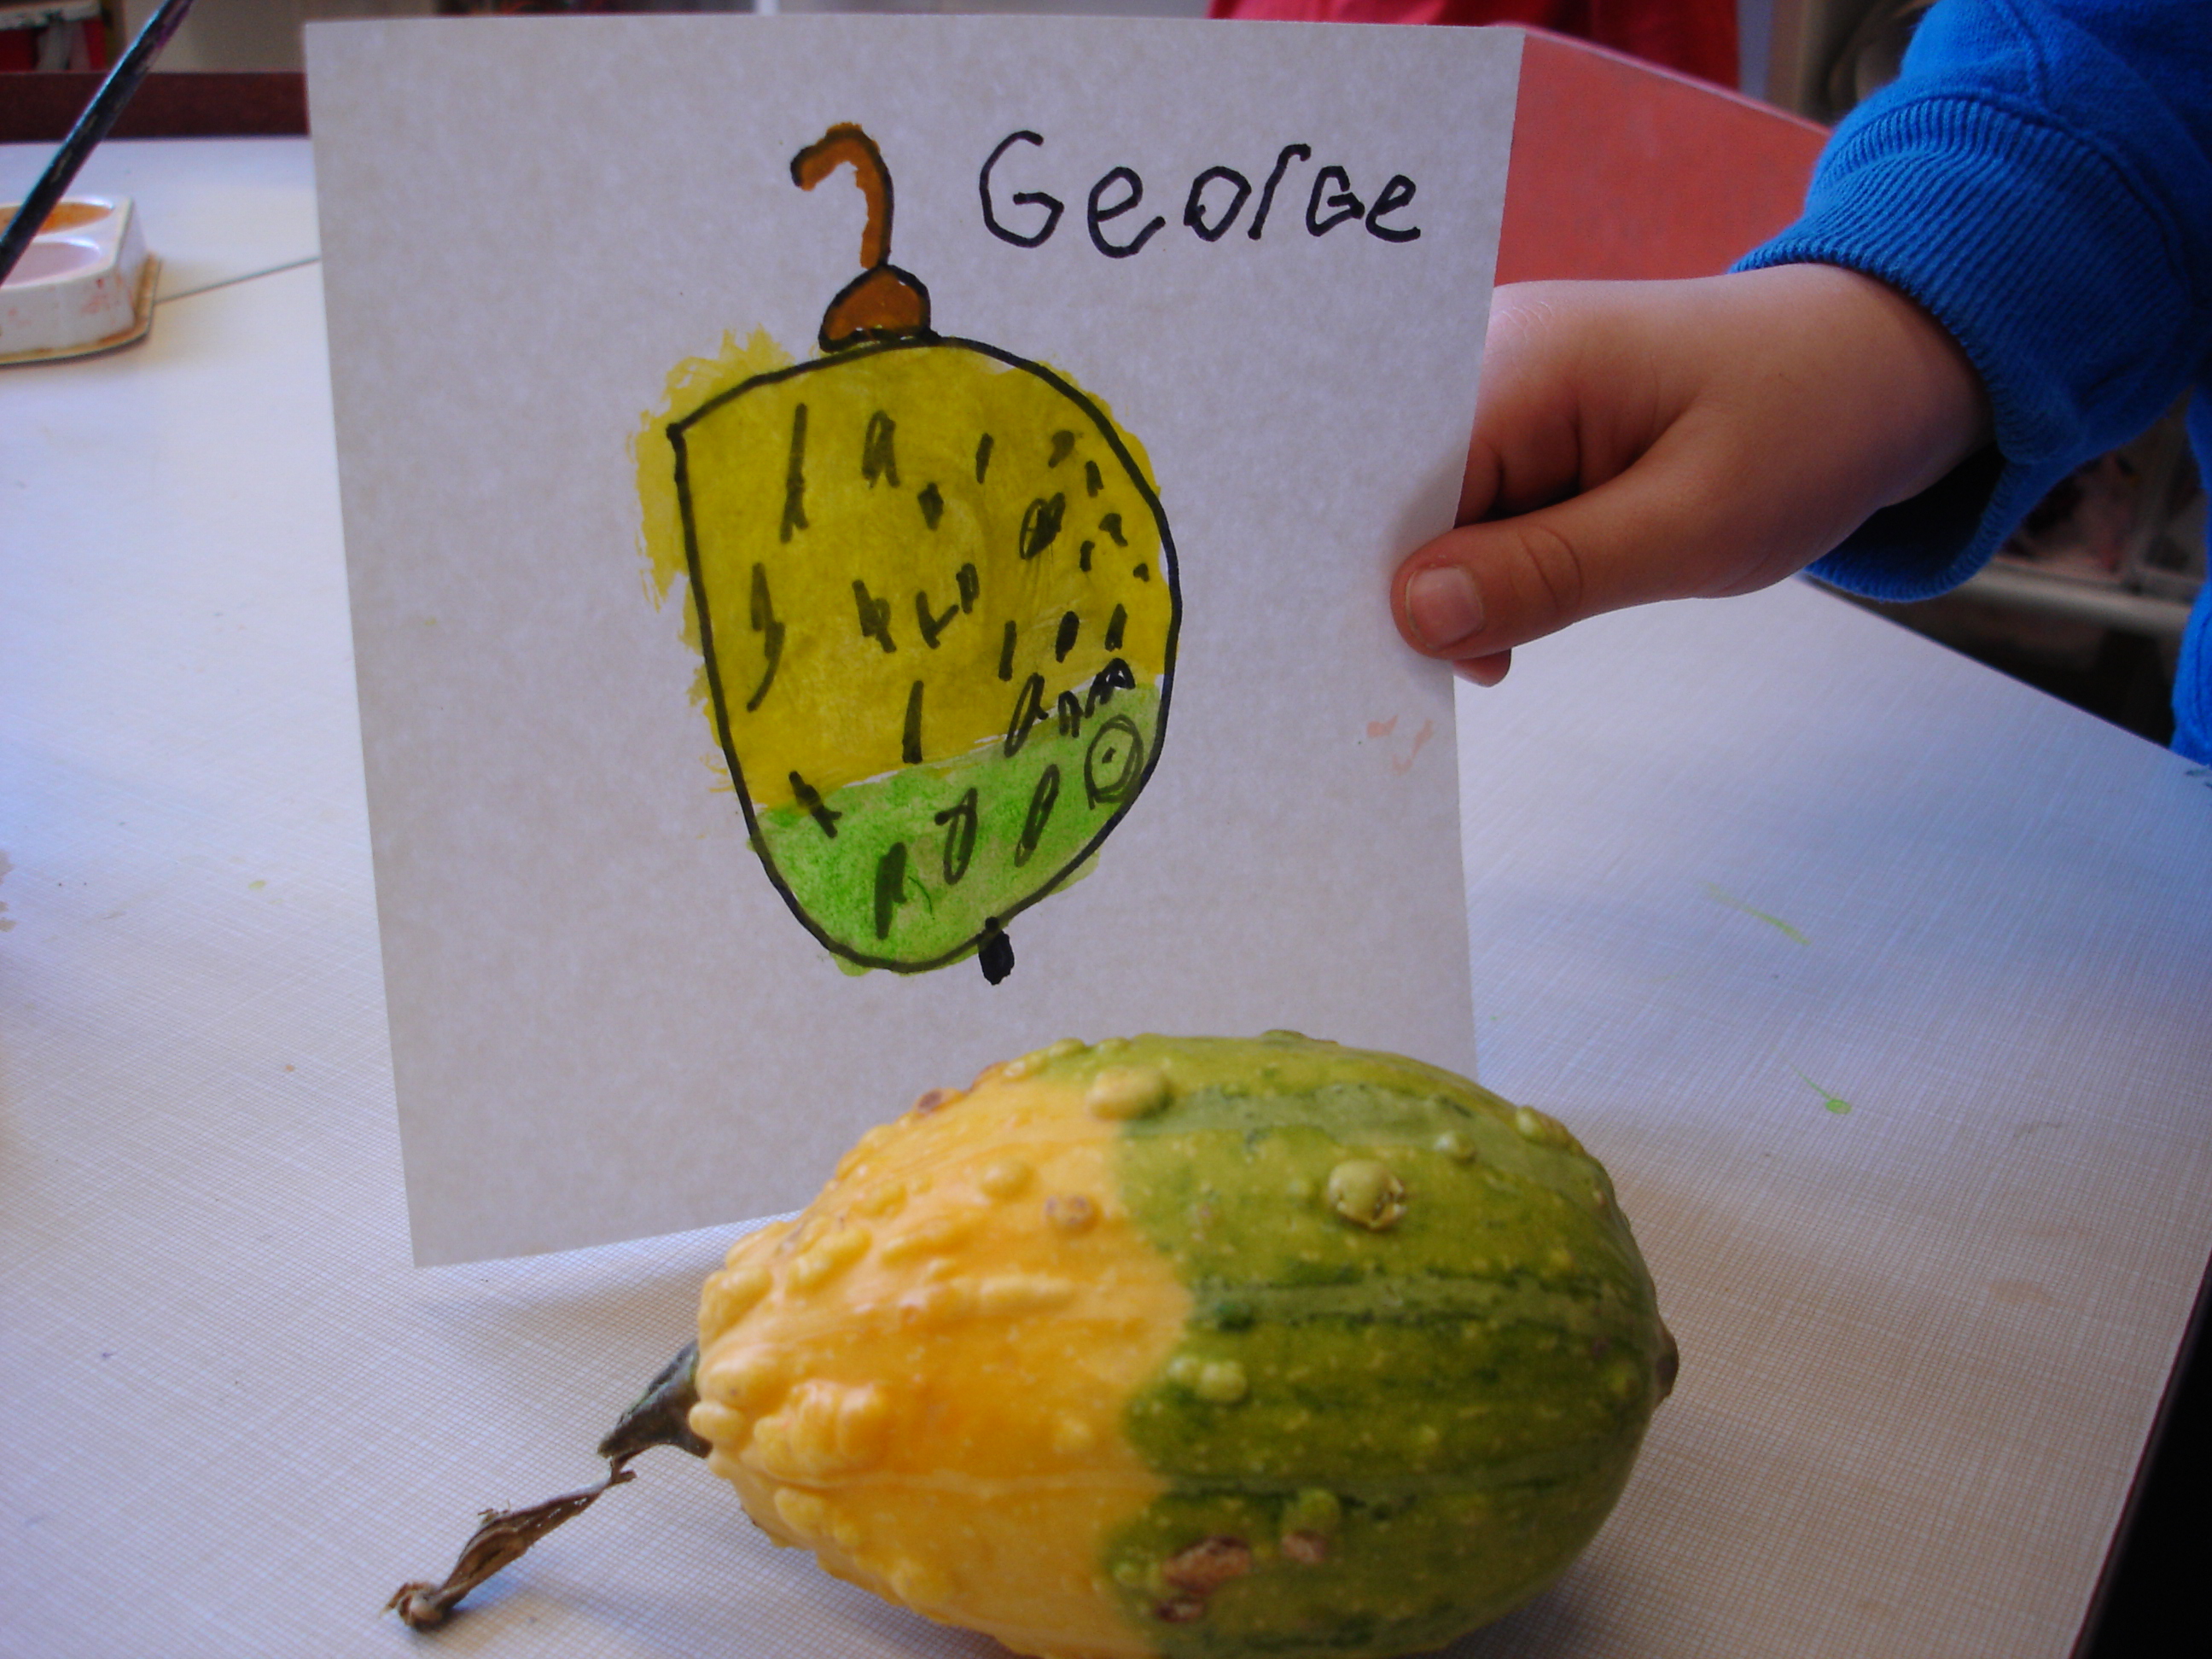
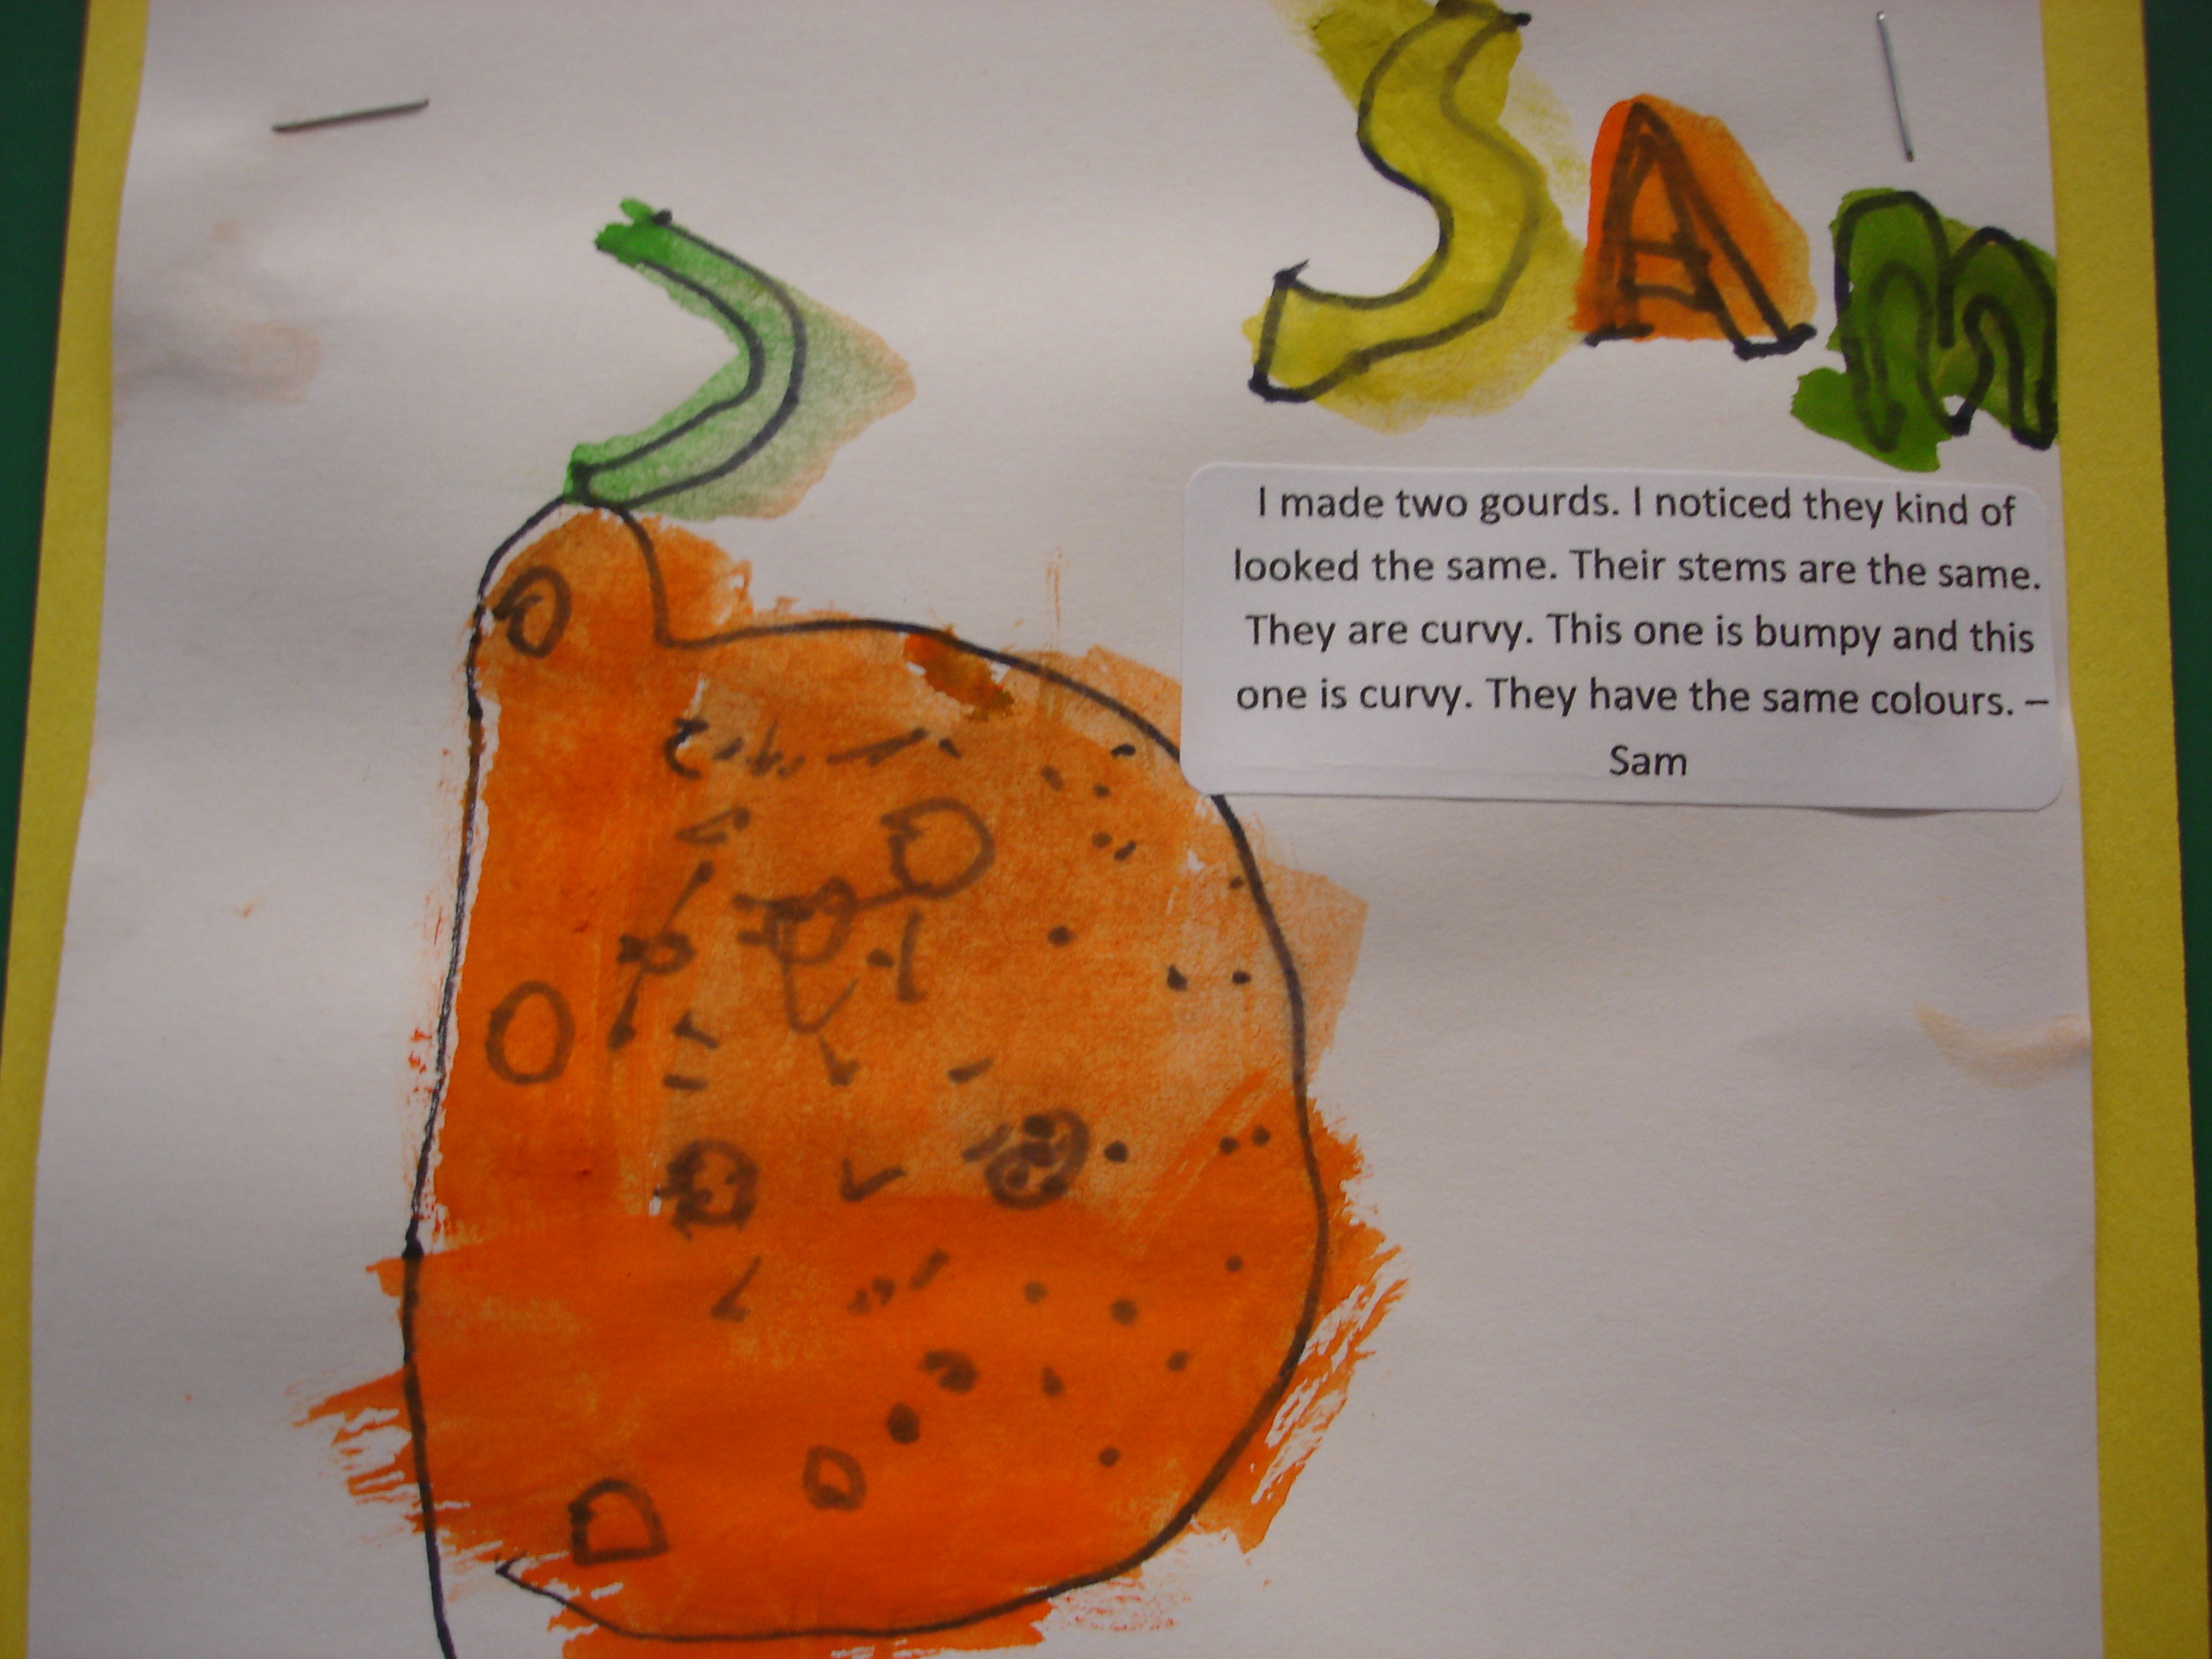
Often, we set up such experiences for the children and they take on a life of their own or go in a direction we didn’t initially expect. In this case, our fine motor and language activity developed into a mathematical discussion after one student who visited this centre created two options for our Jack-O-Lantern: one happy, and one spooky. You can see he also added the words “YES” and “NO” to his design.
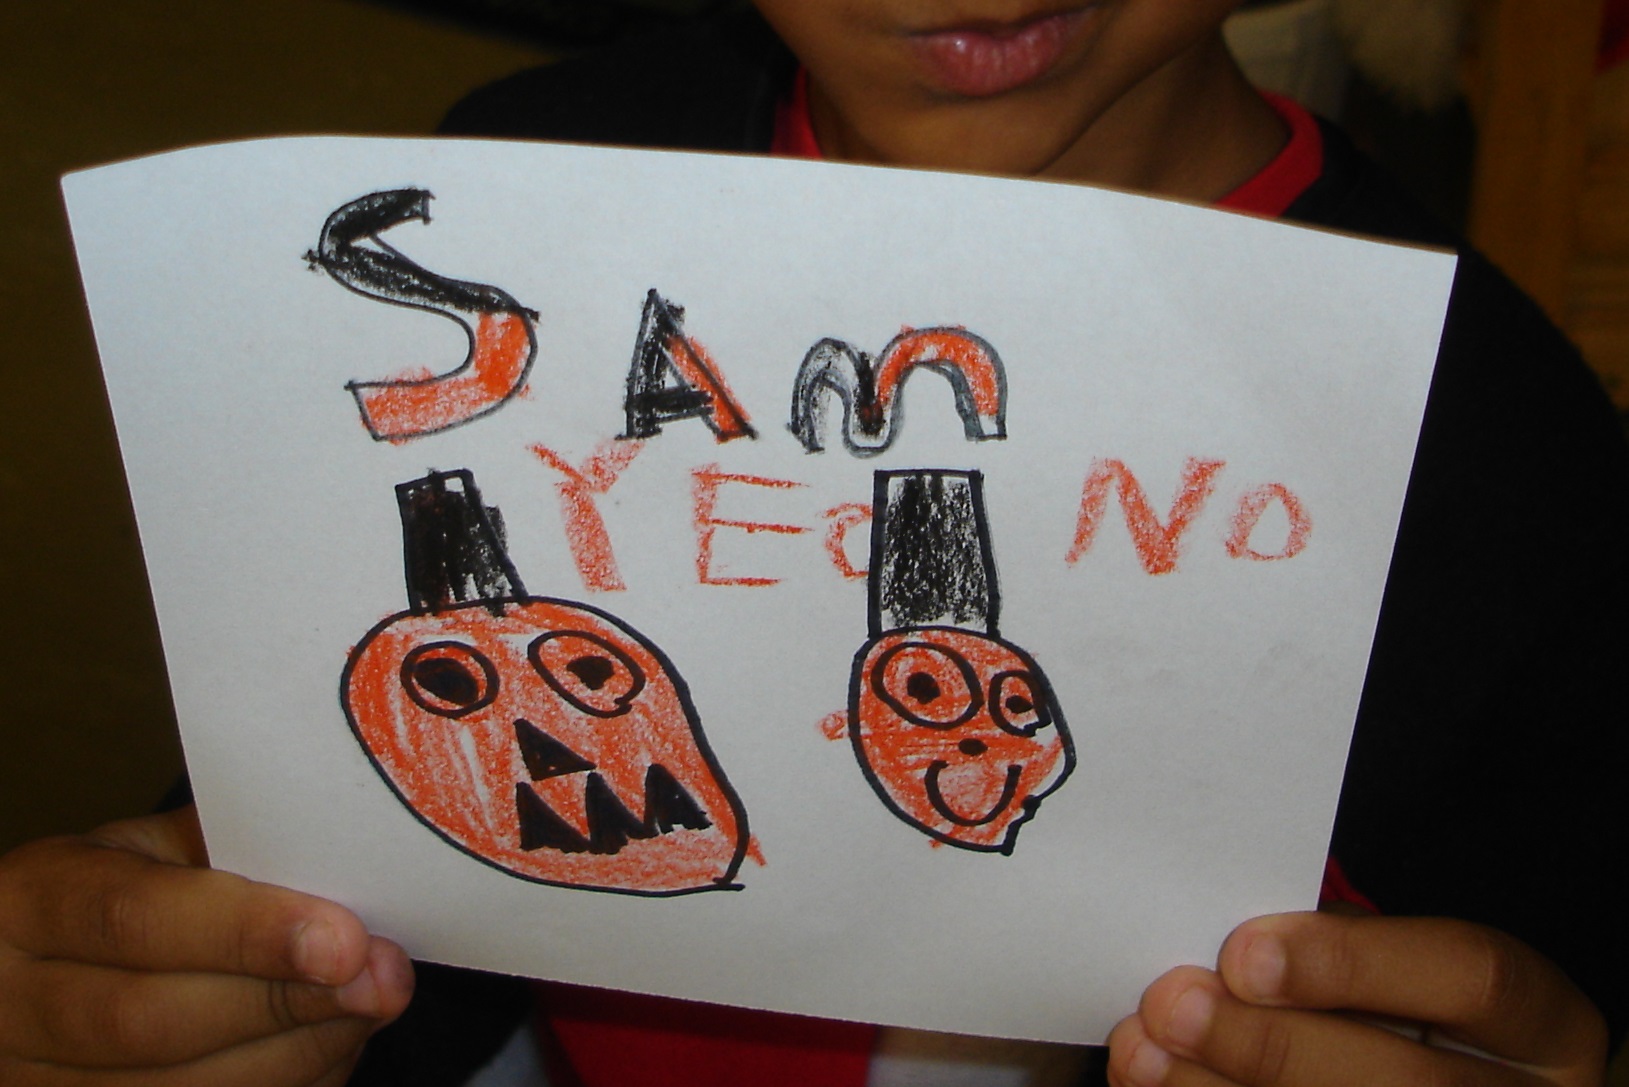
“I’m making a survey…so we can vote to see if we make a scary face or a happy face.”
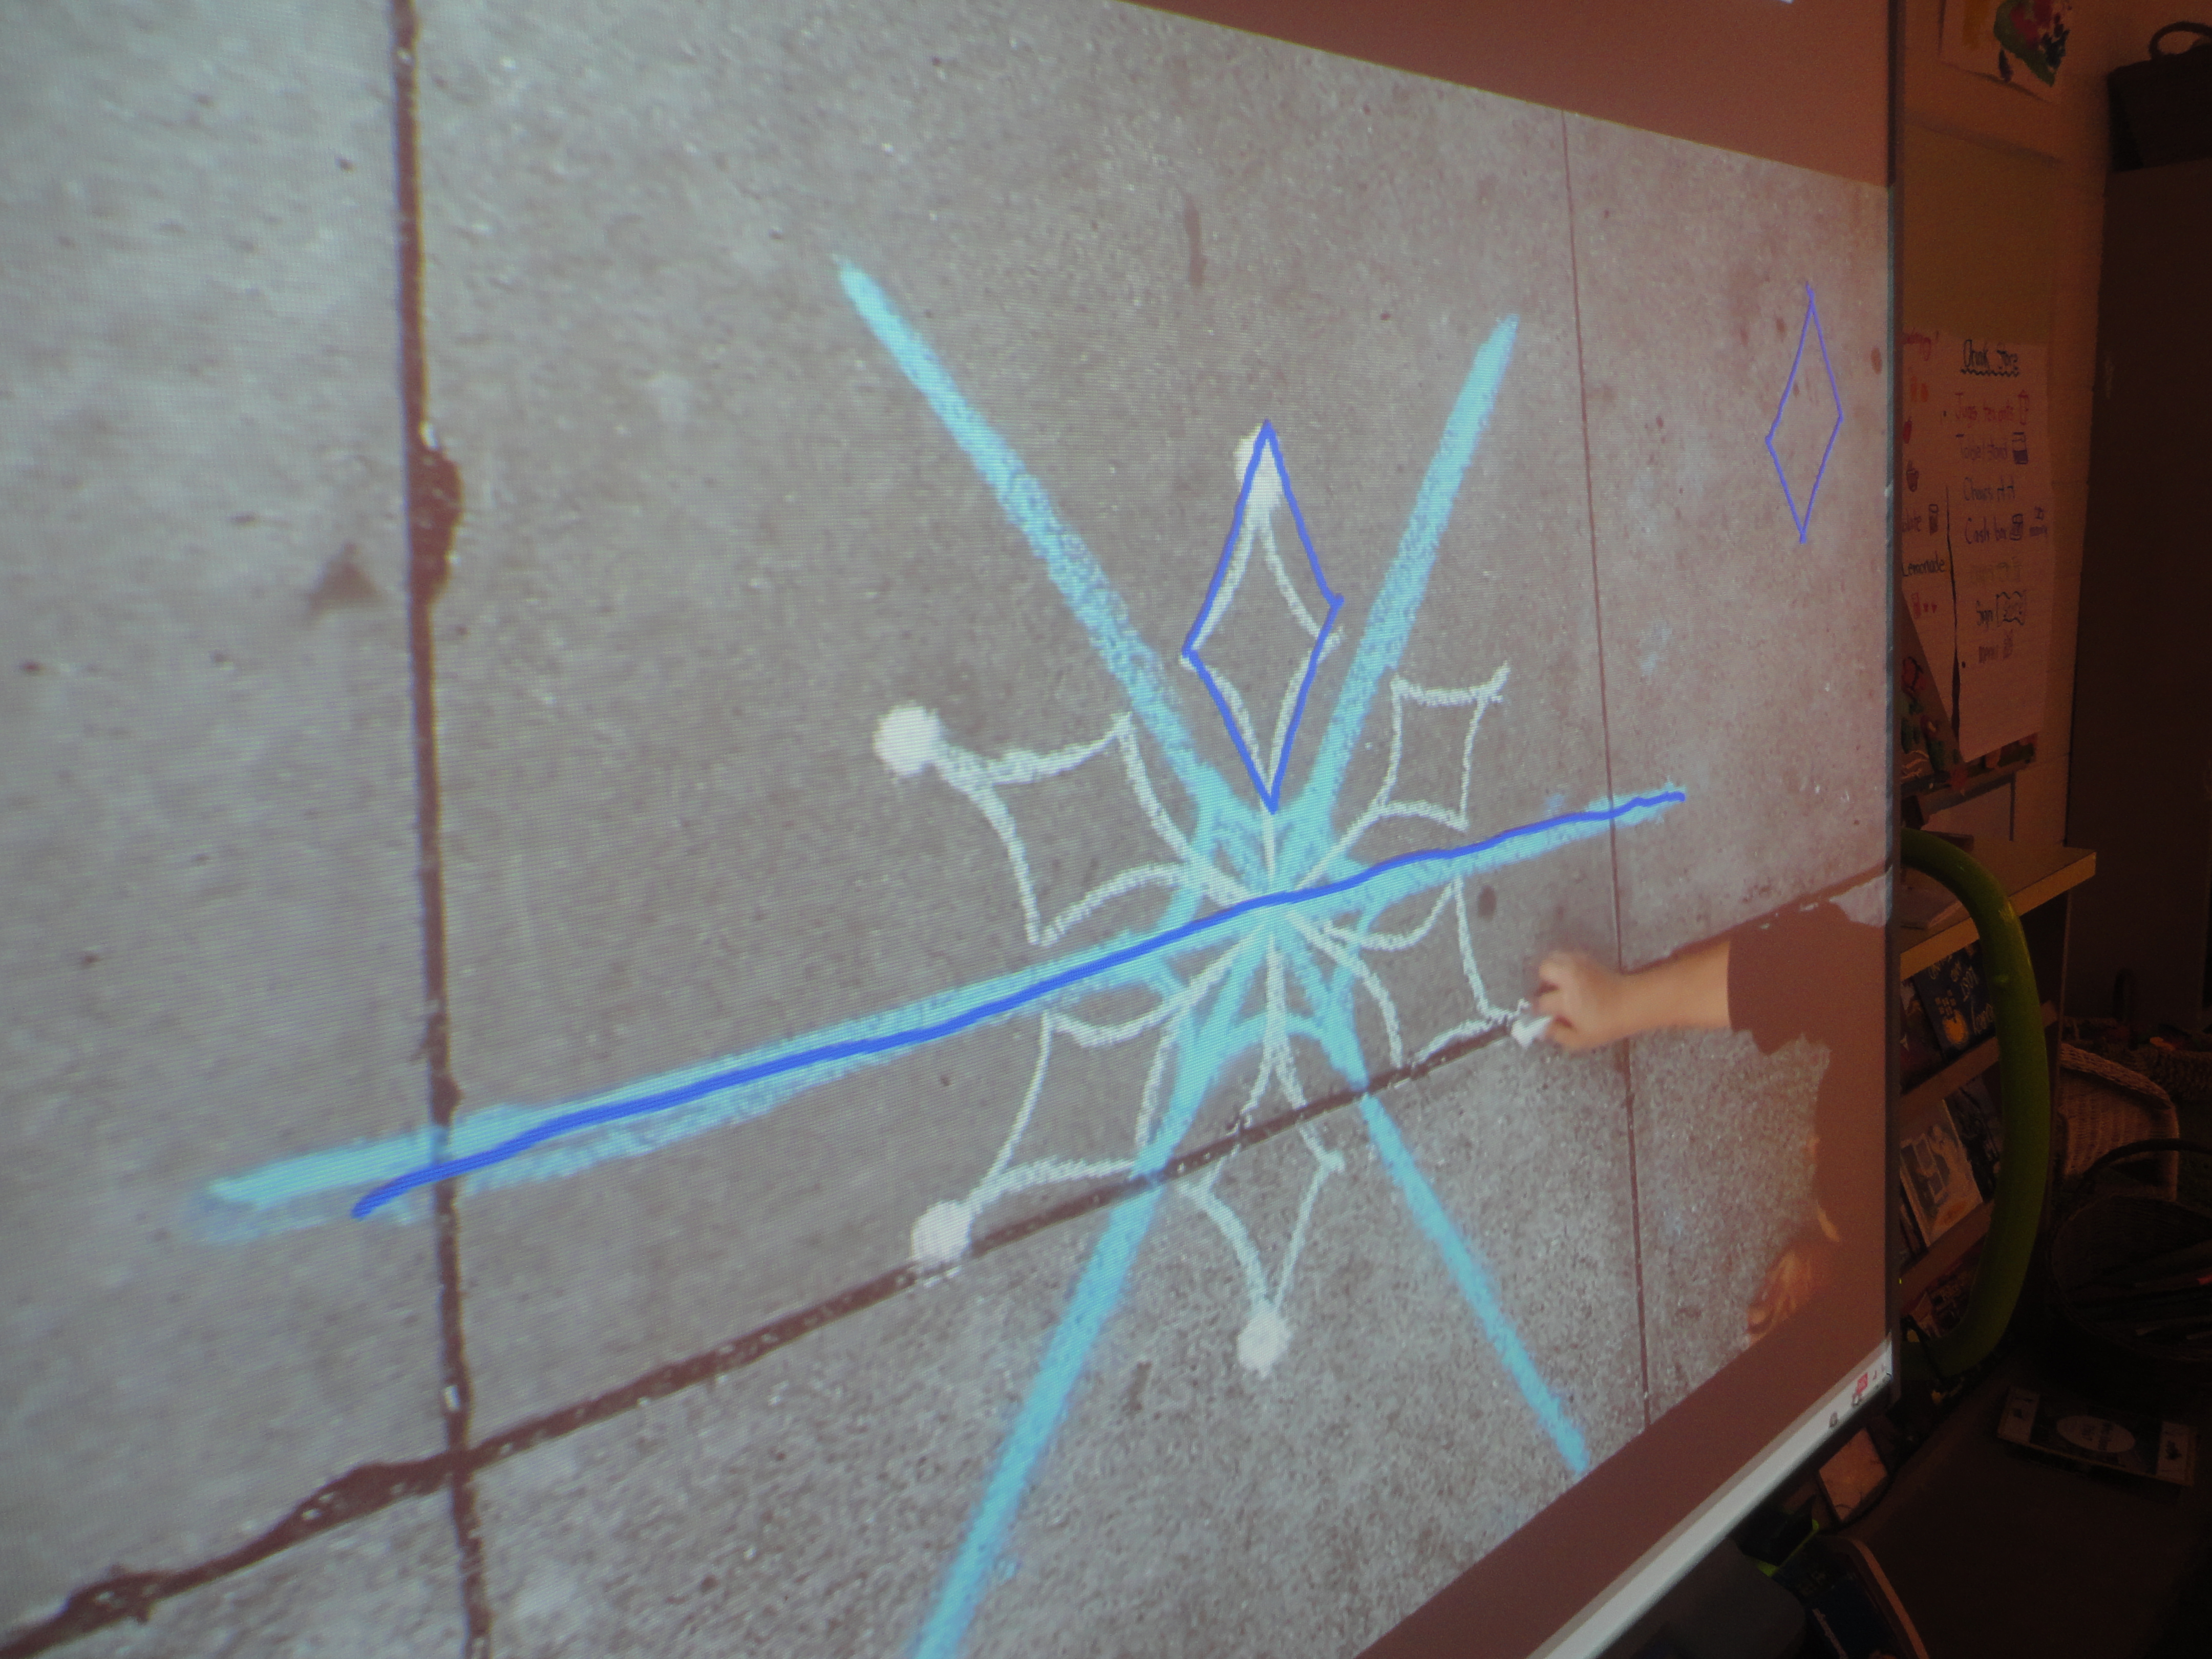
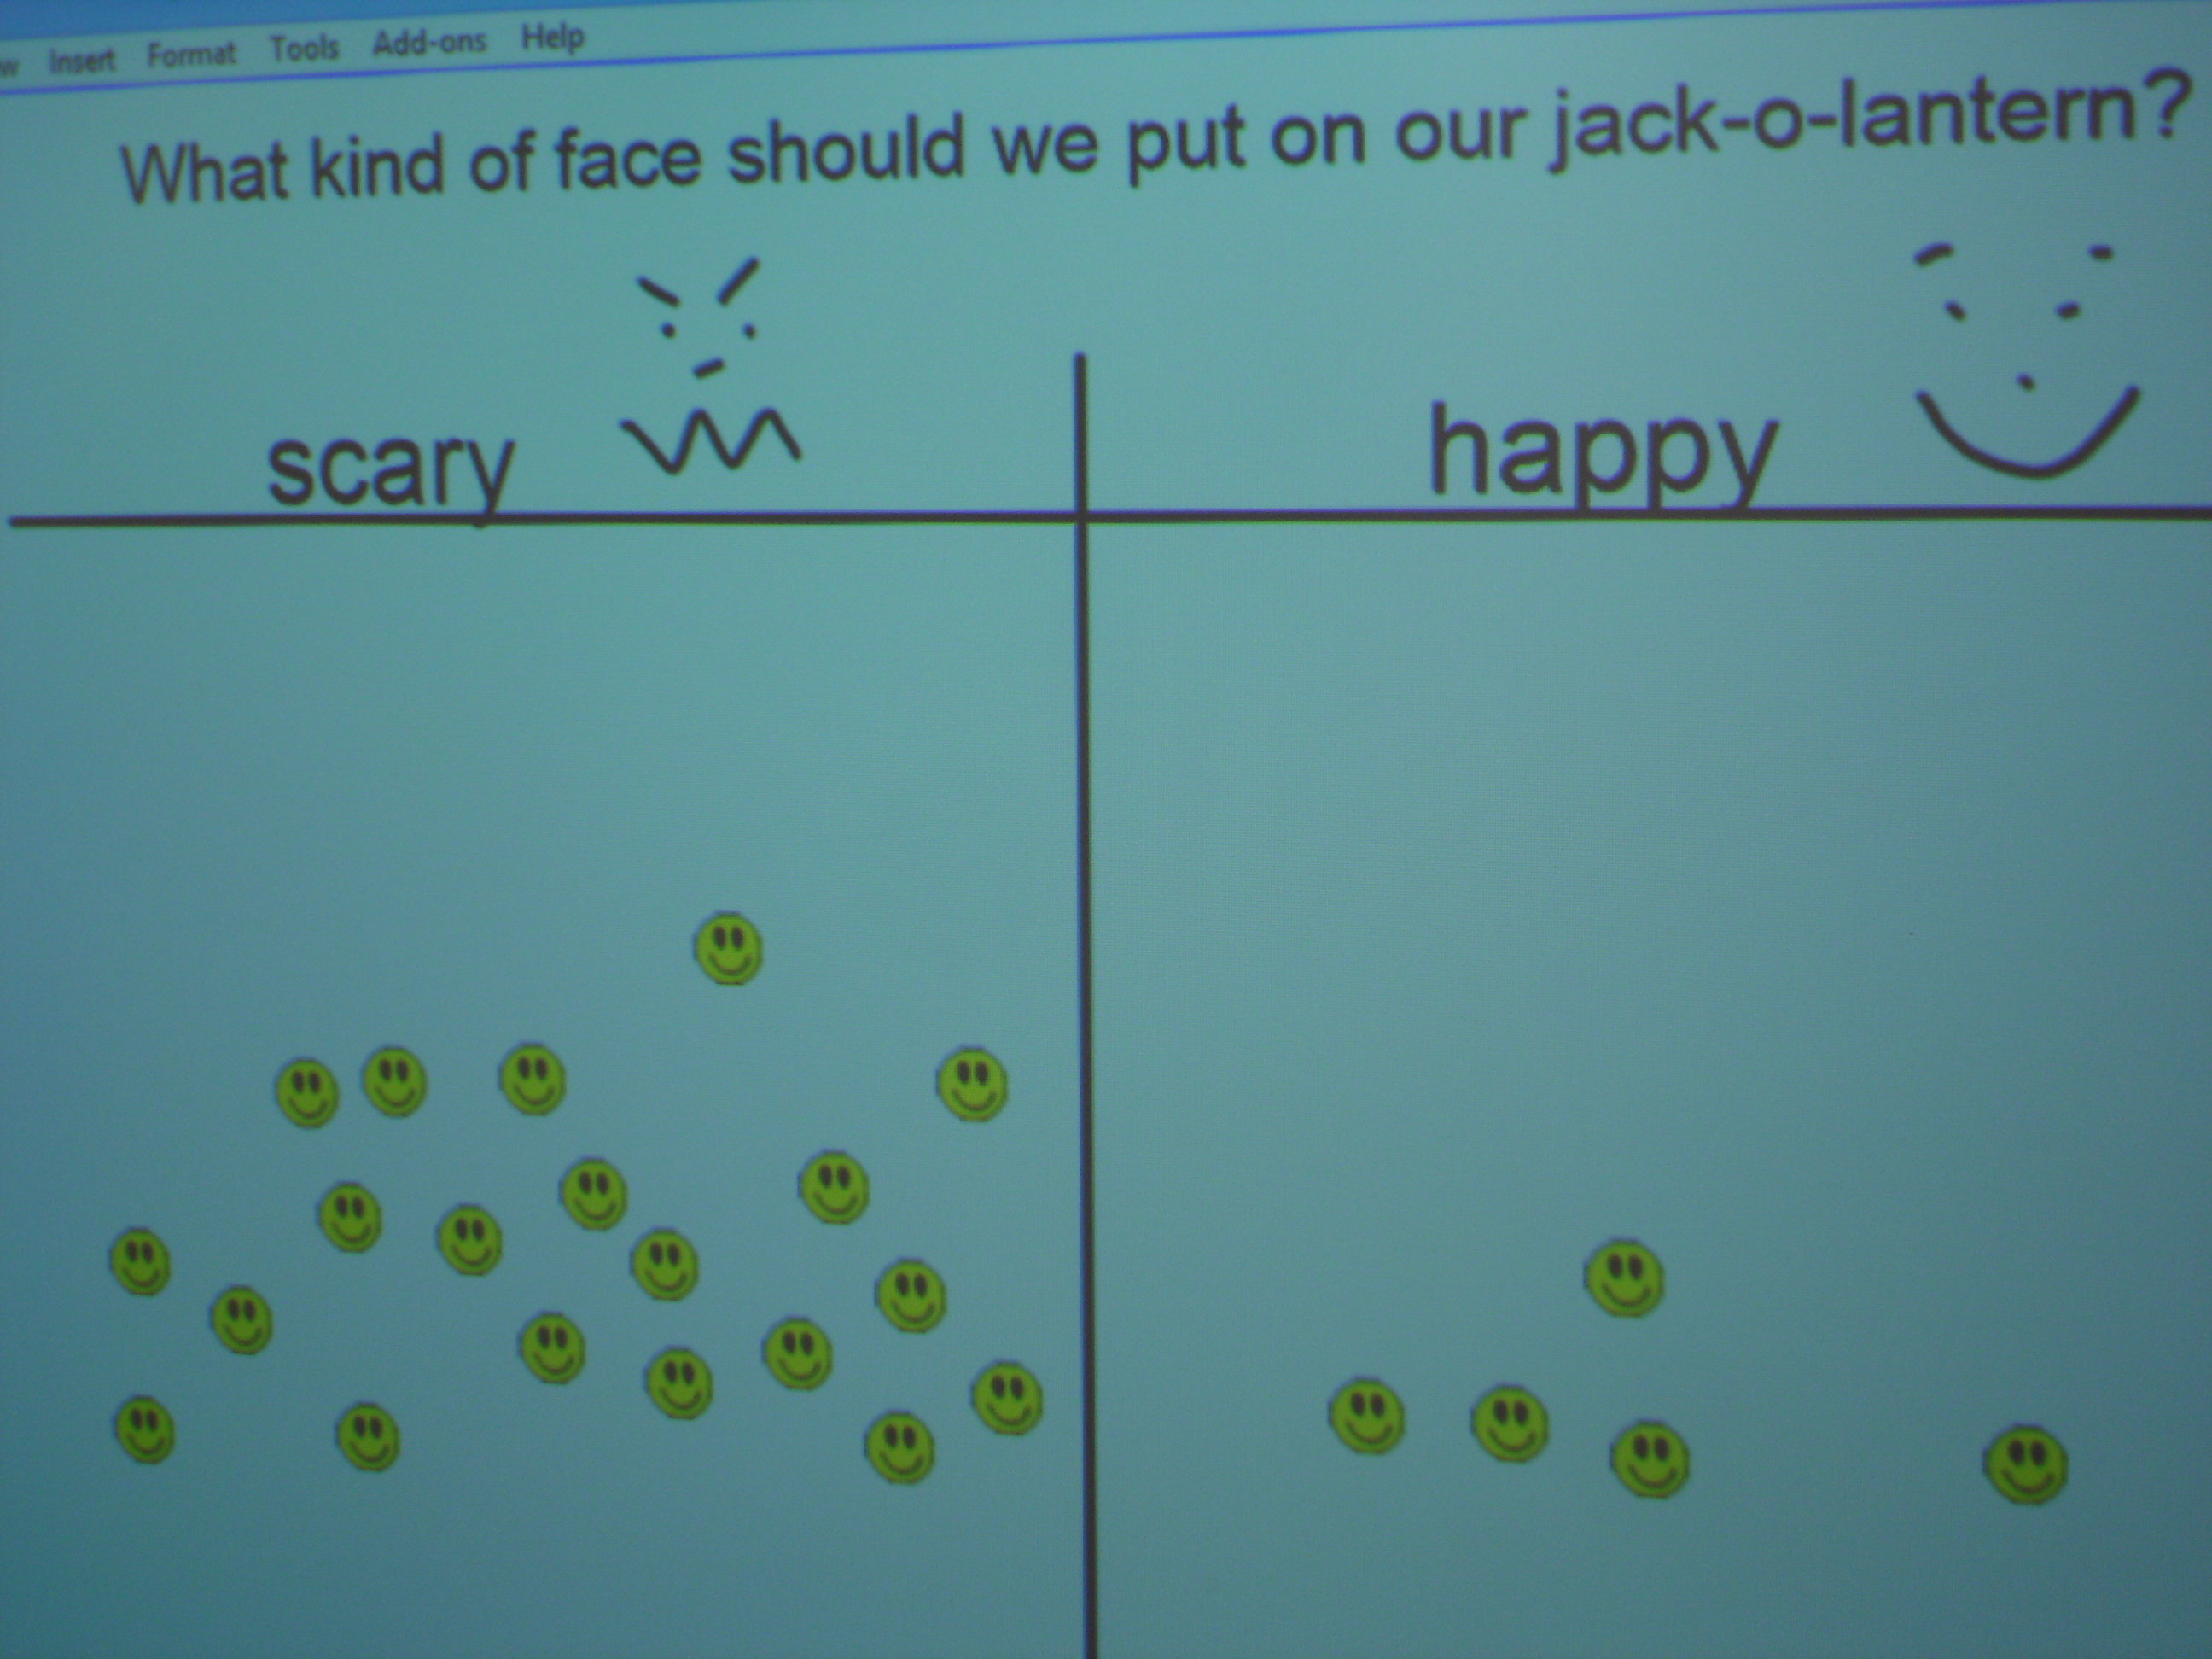
After sharing Sam’s idea during reflection time, of course the class was excited about the opportunity to put it to a vote! After looking at some pictures online of scary and happy Jack-O-Lanterns, we did our survey on the Smart Board. What an authentic way to talk about the purpose of surveys. Afterwards, many children were inspired to replicate this idea on their own during discovery time.
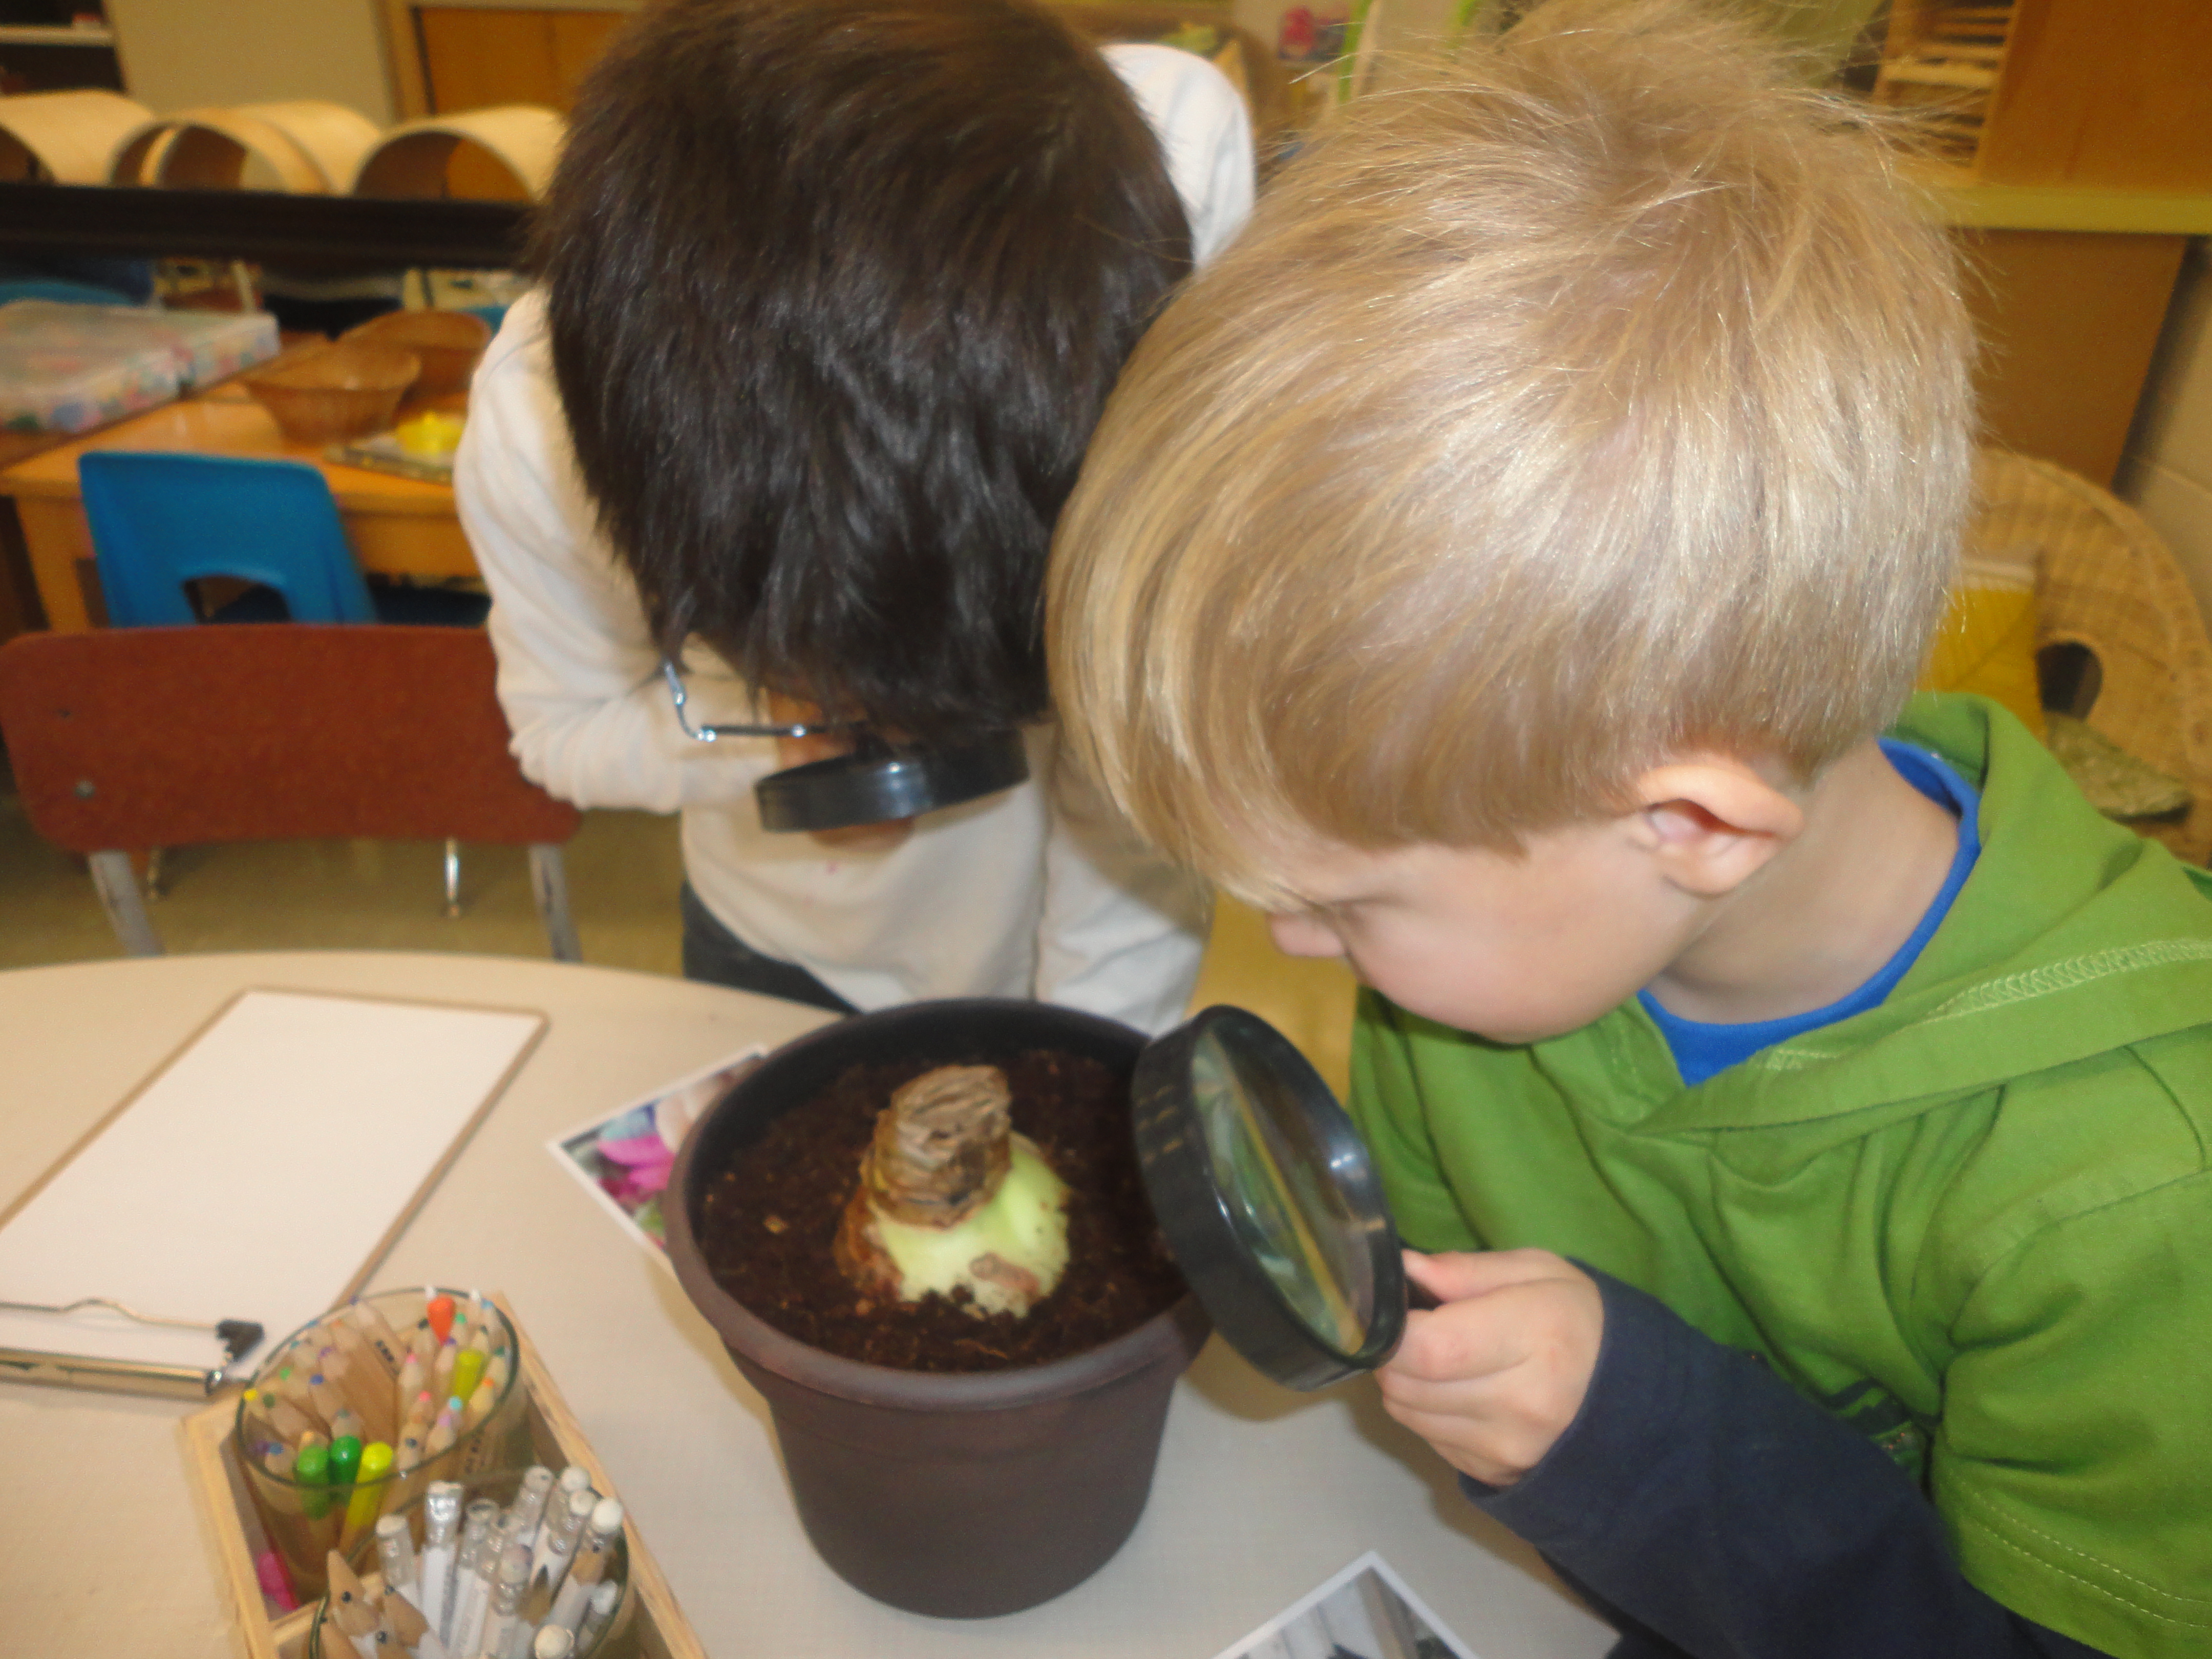
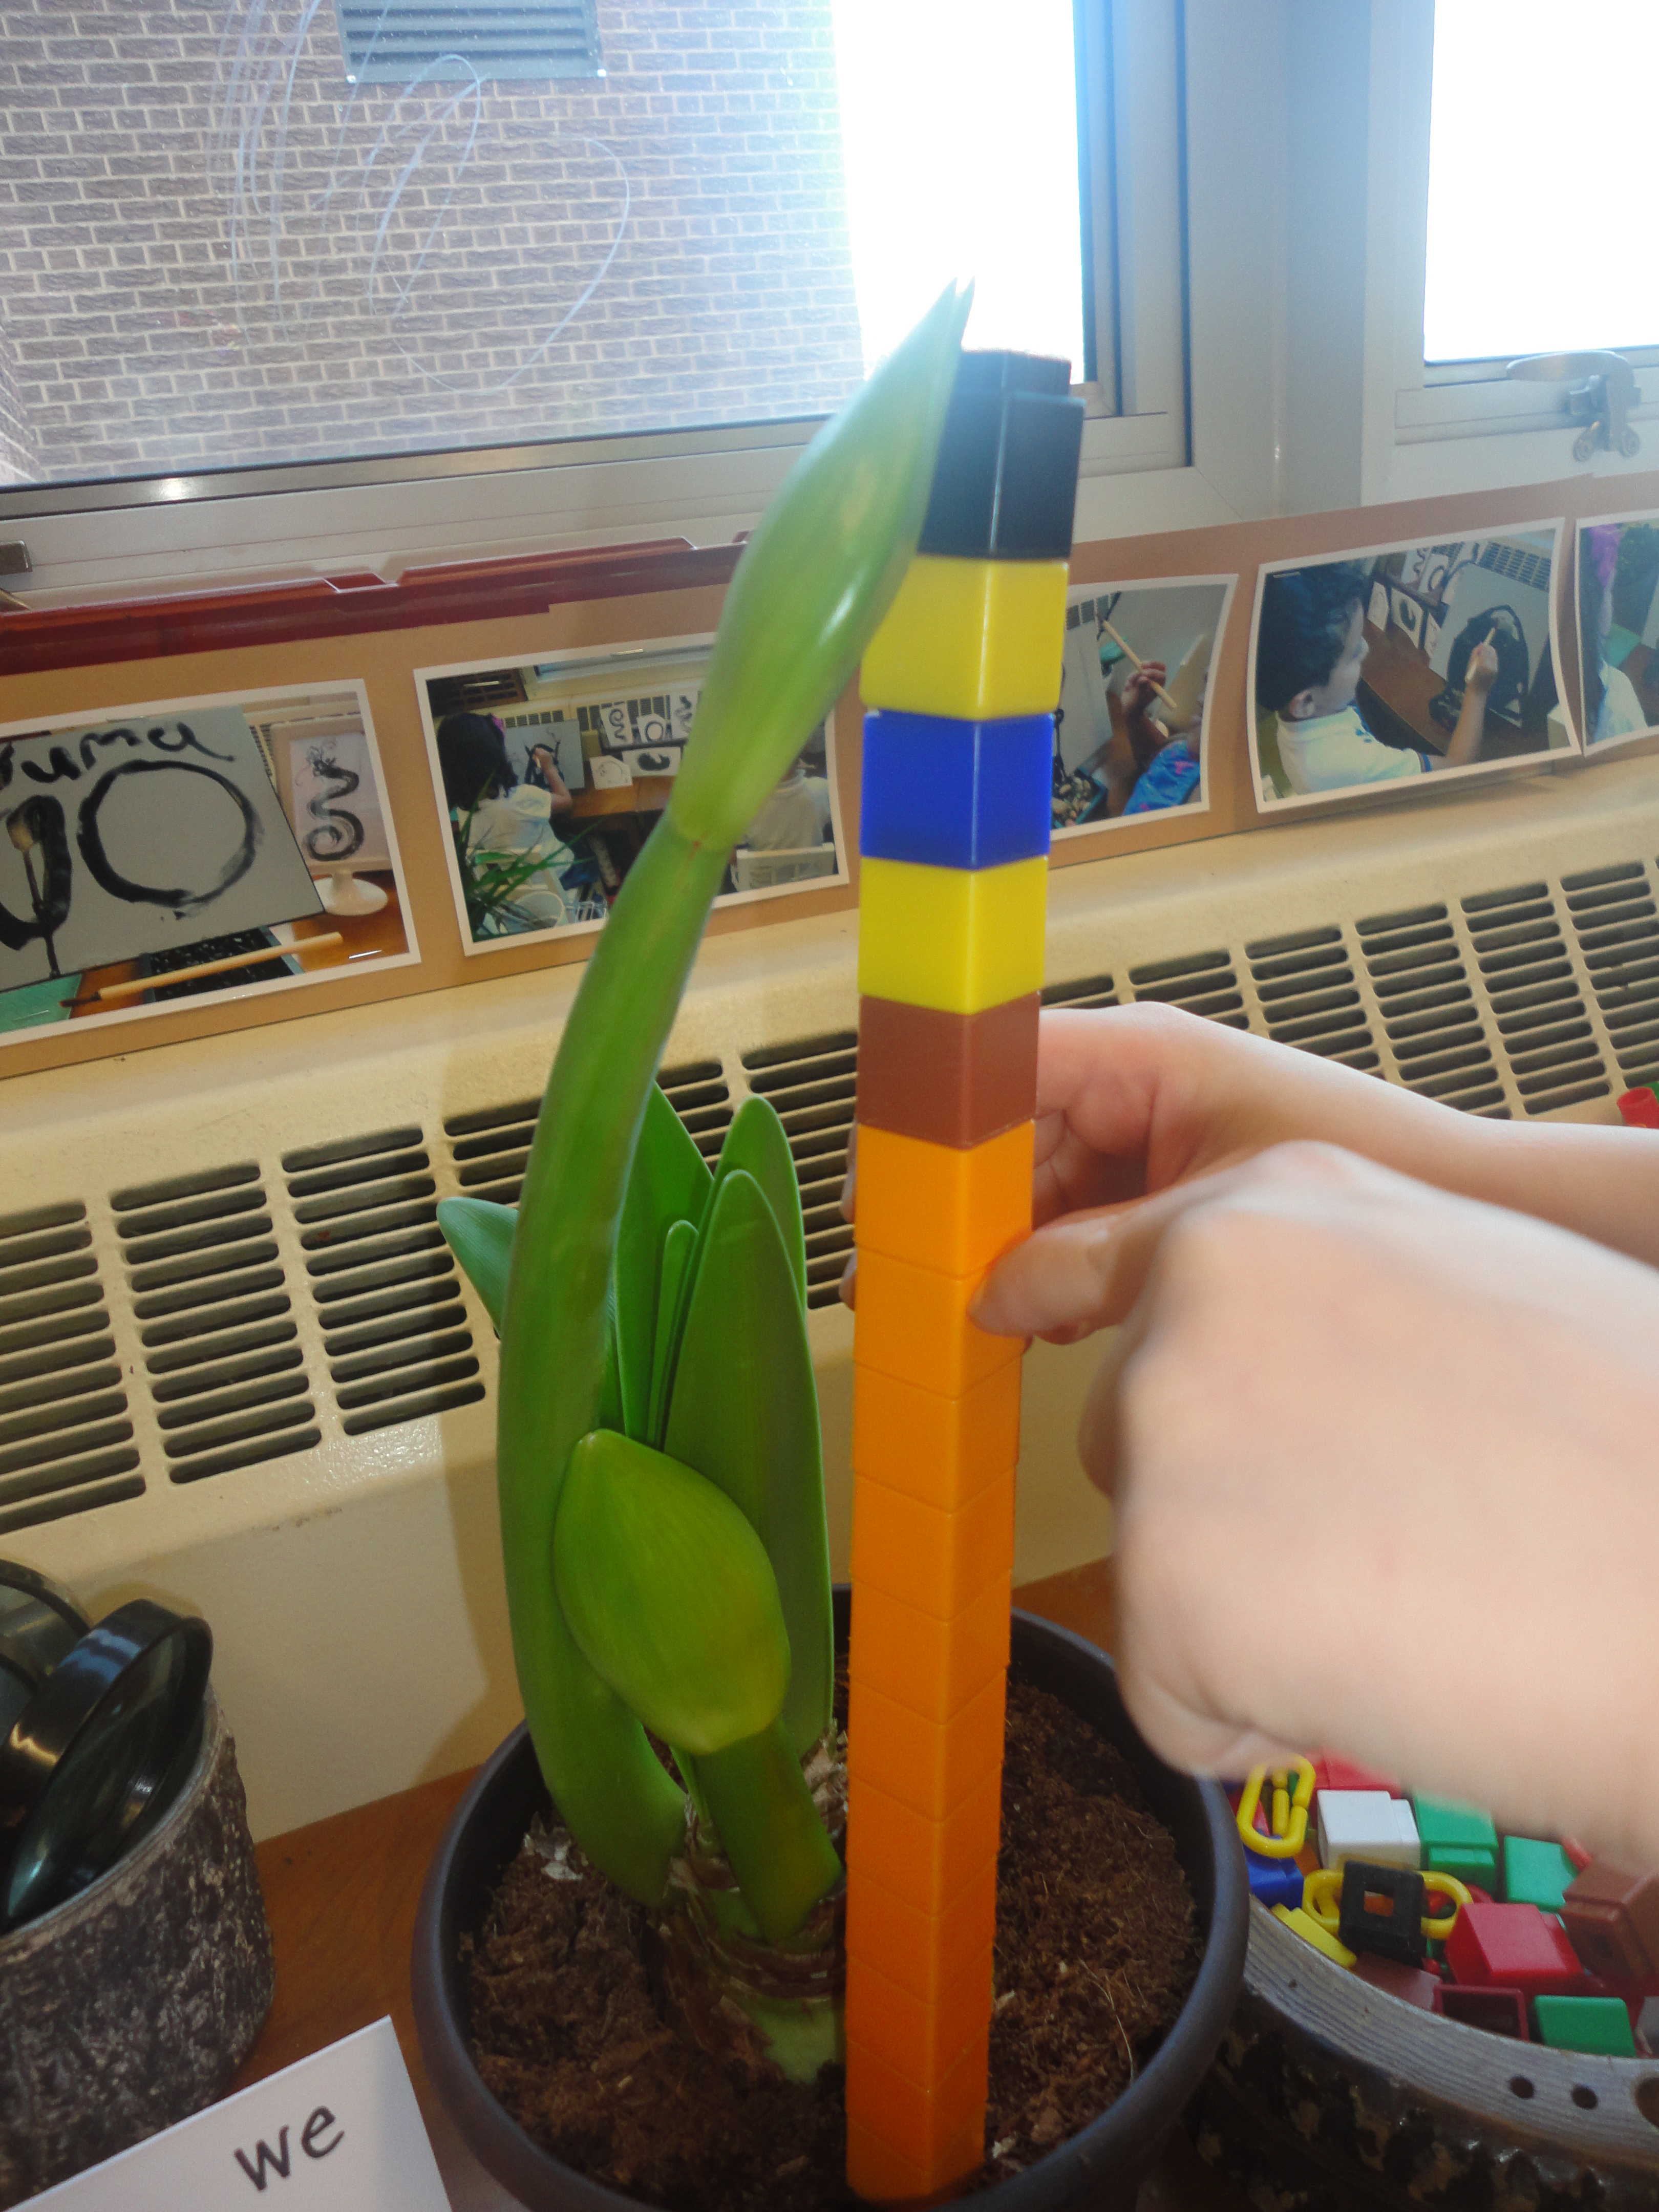
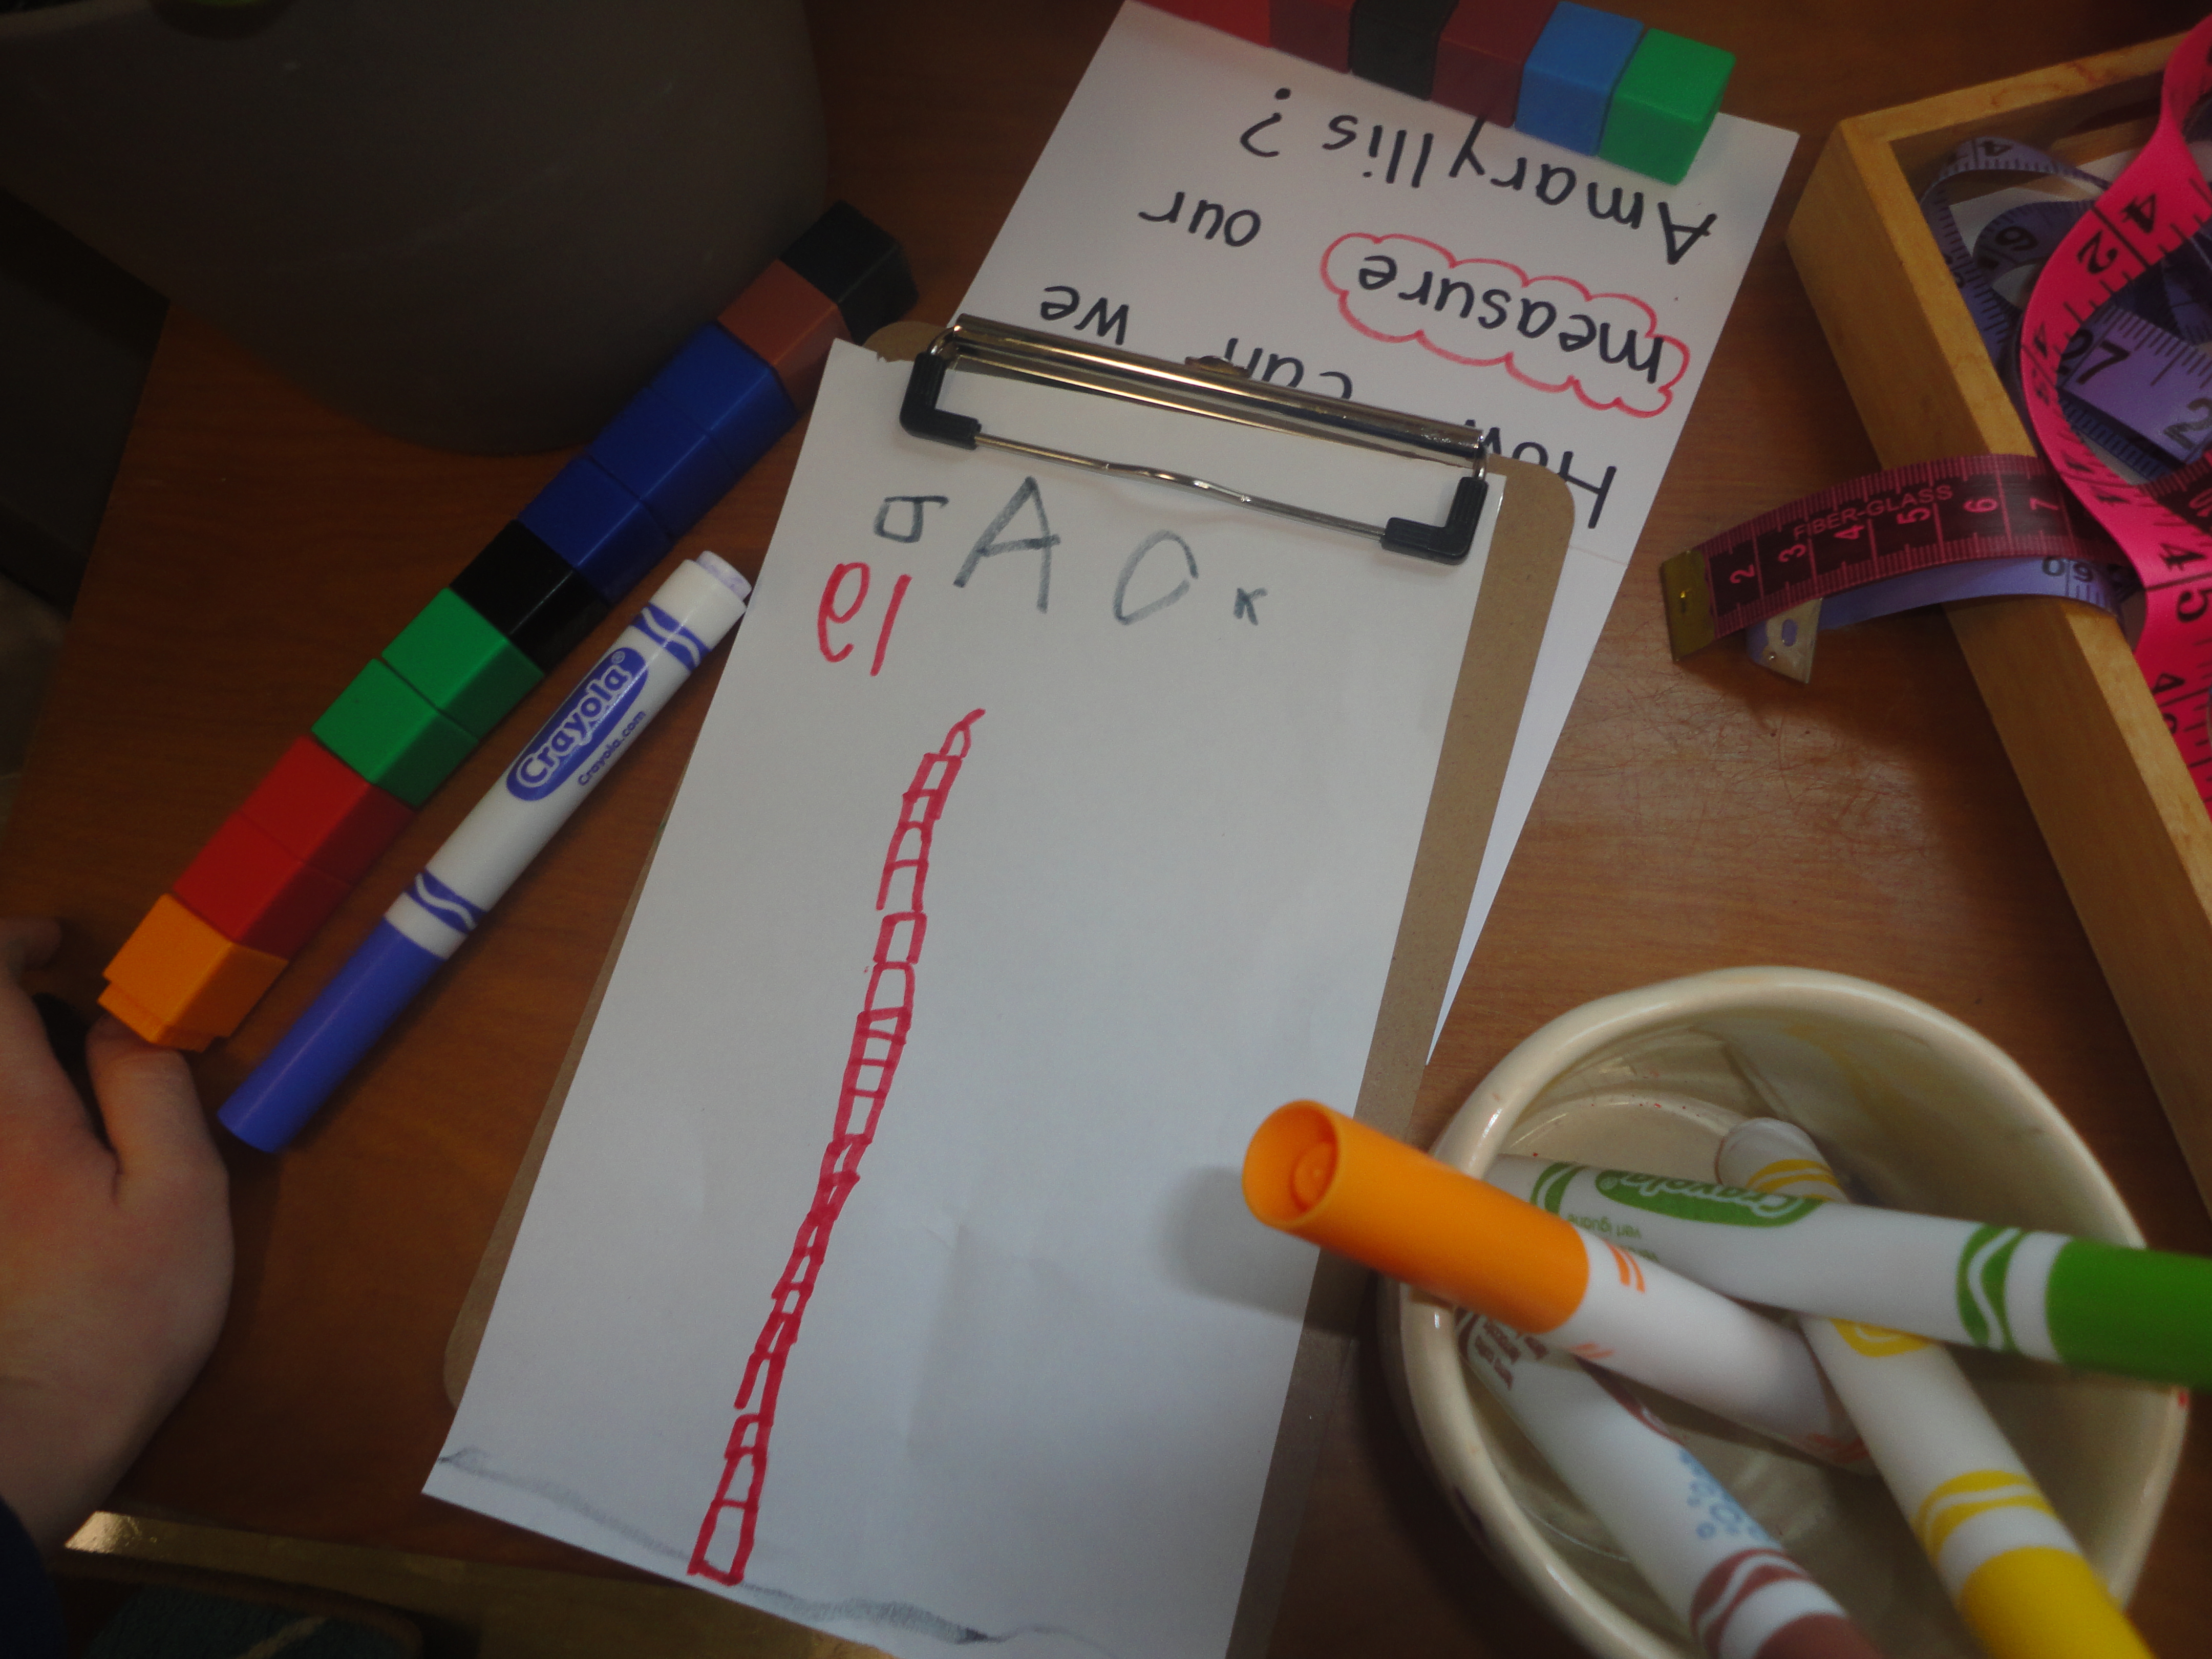
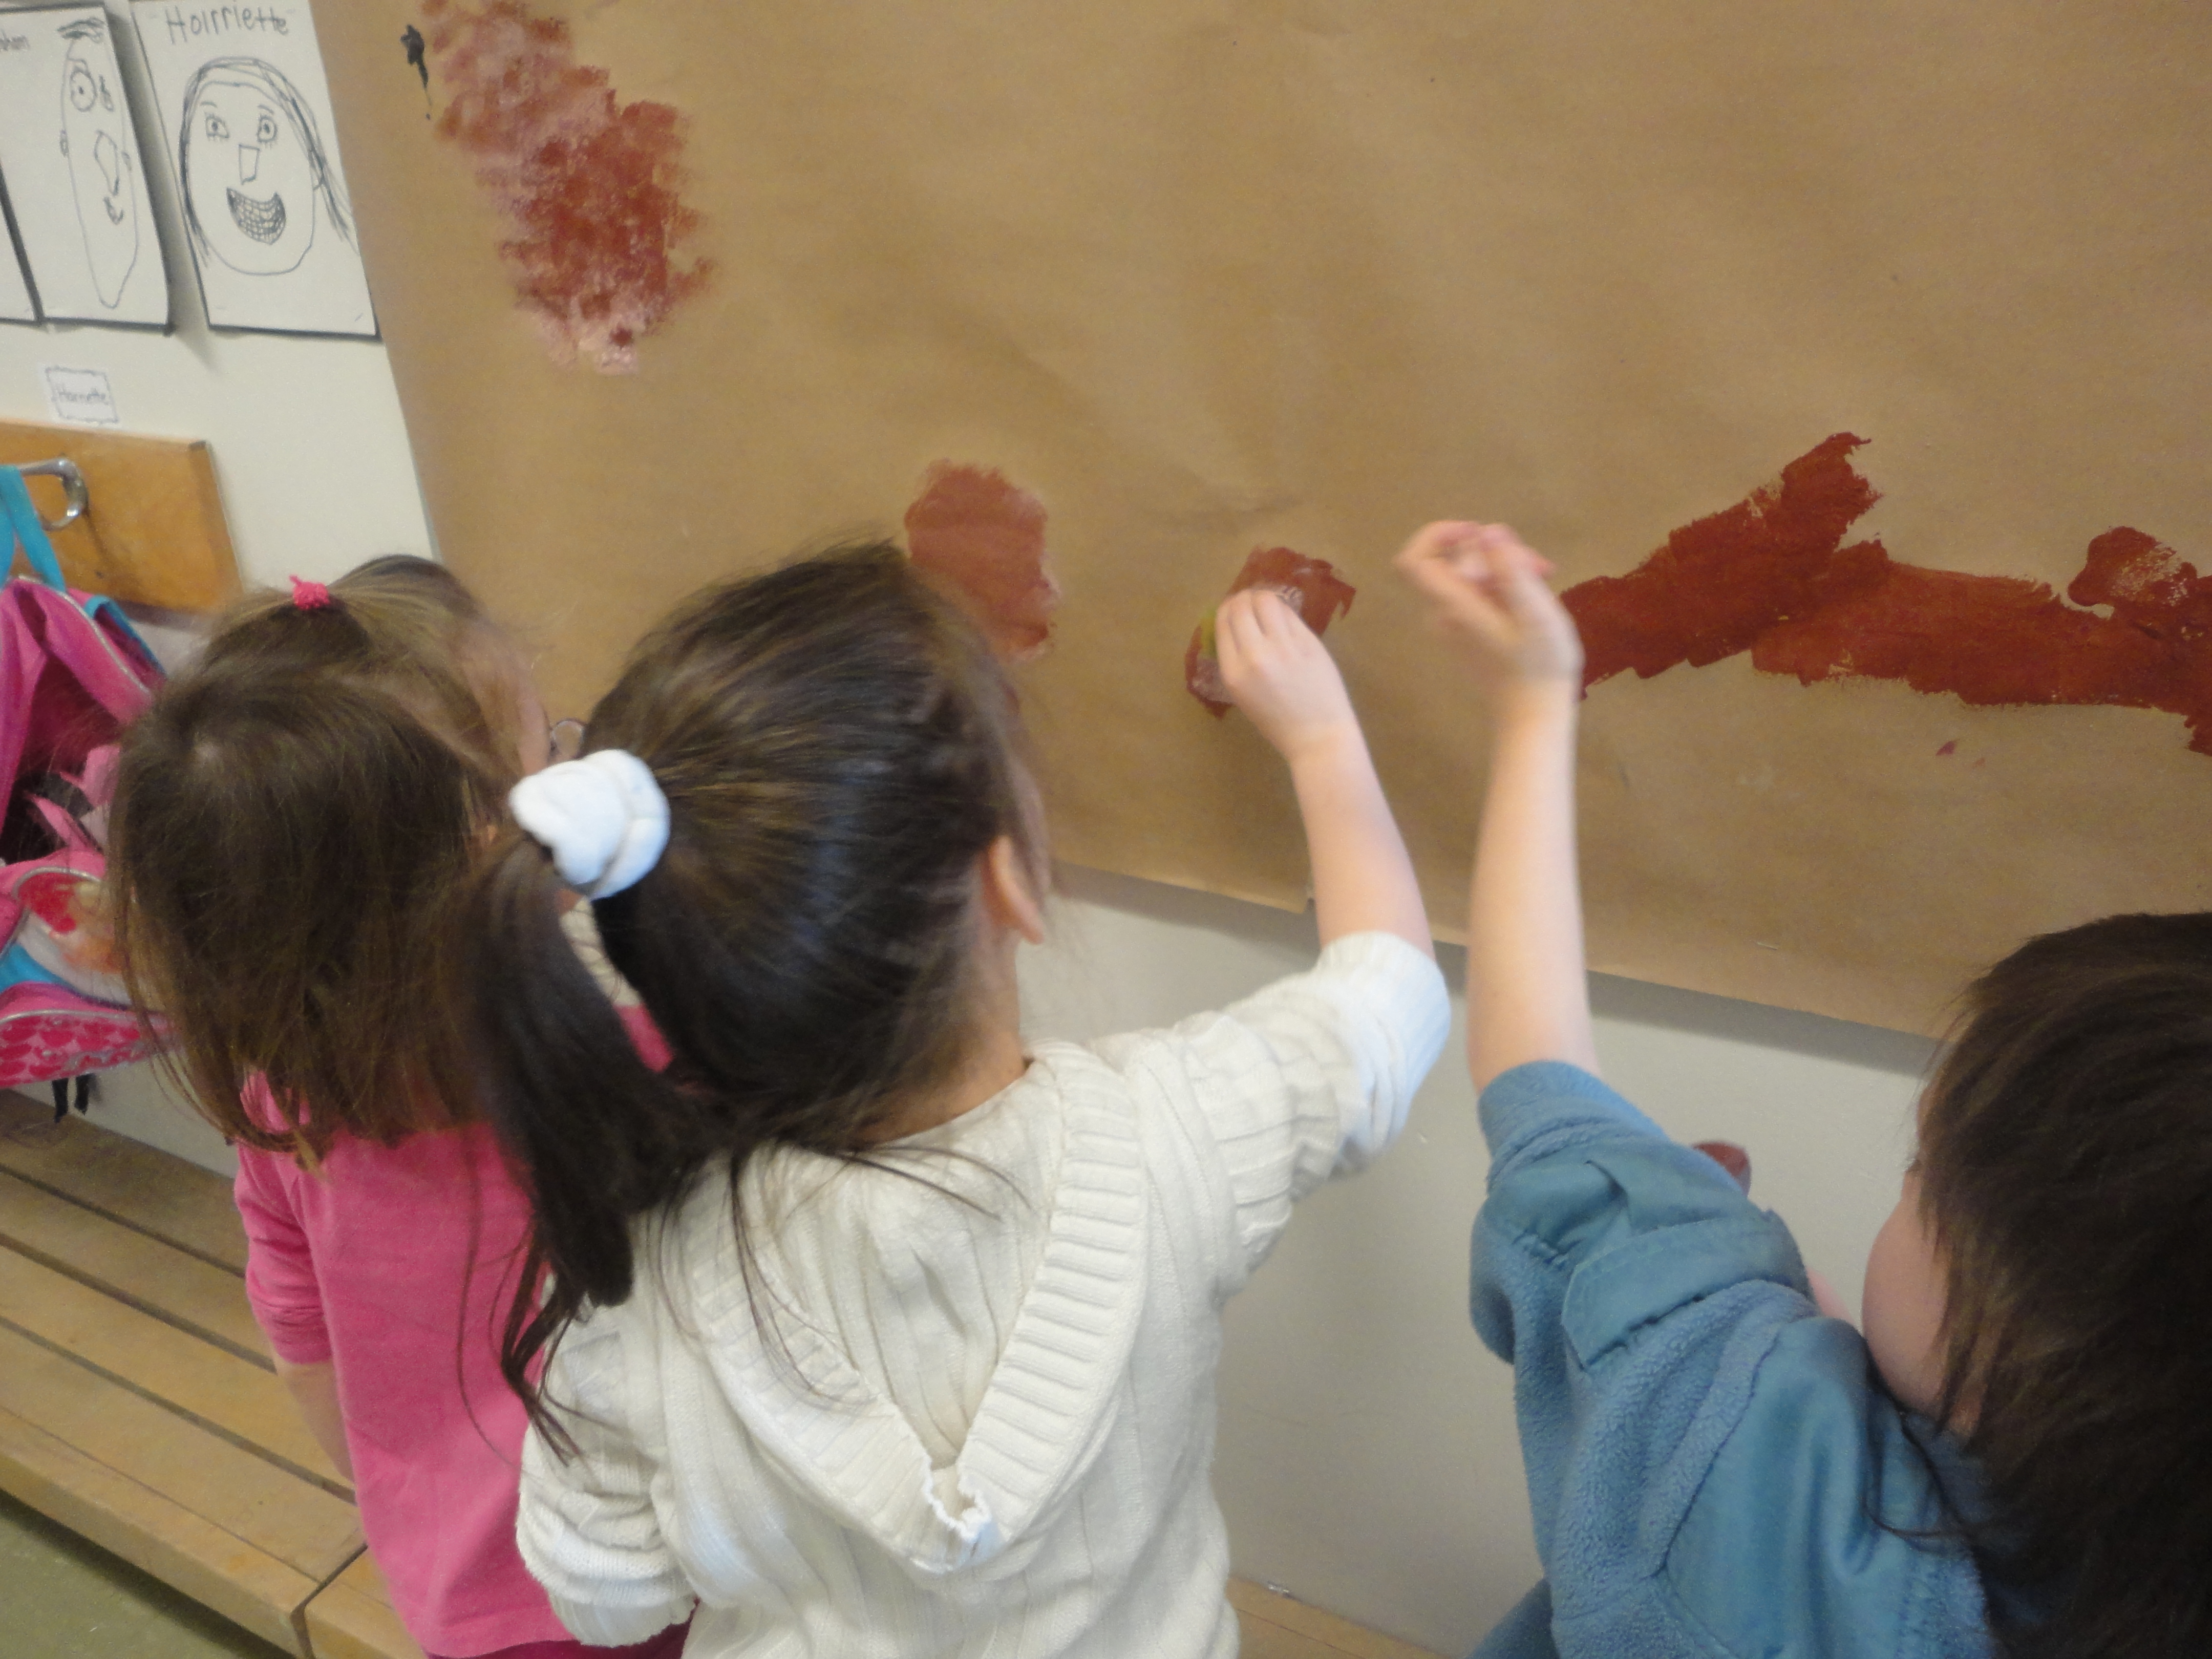
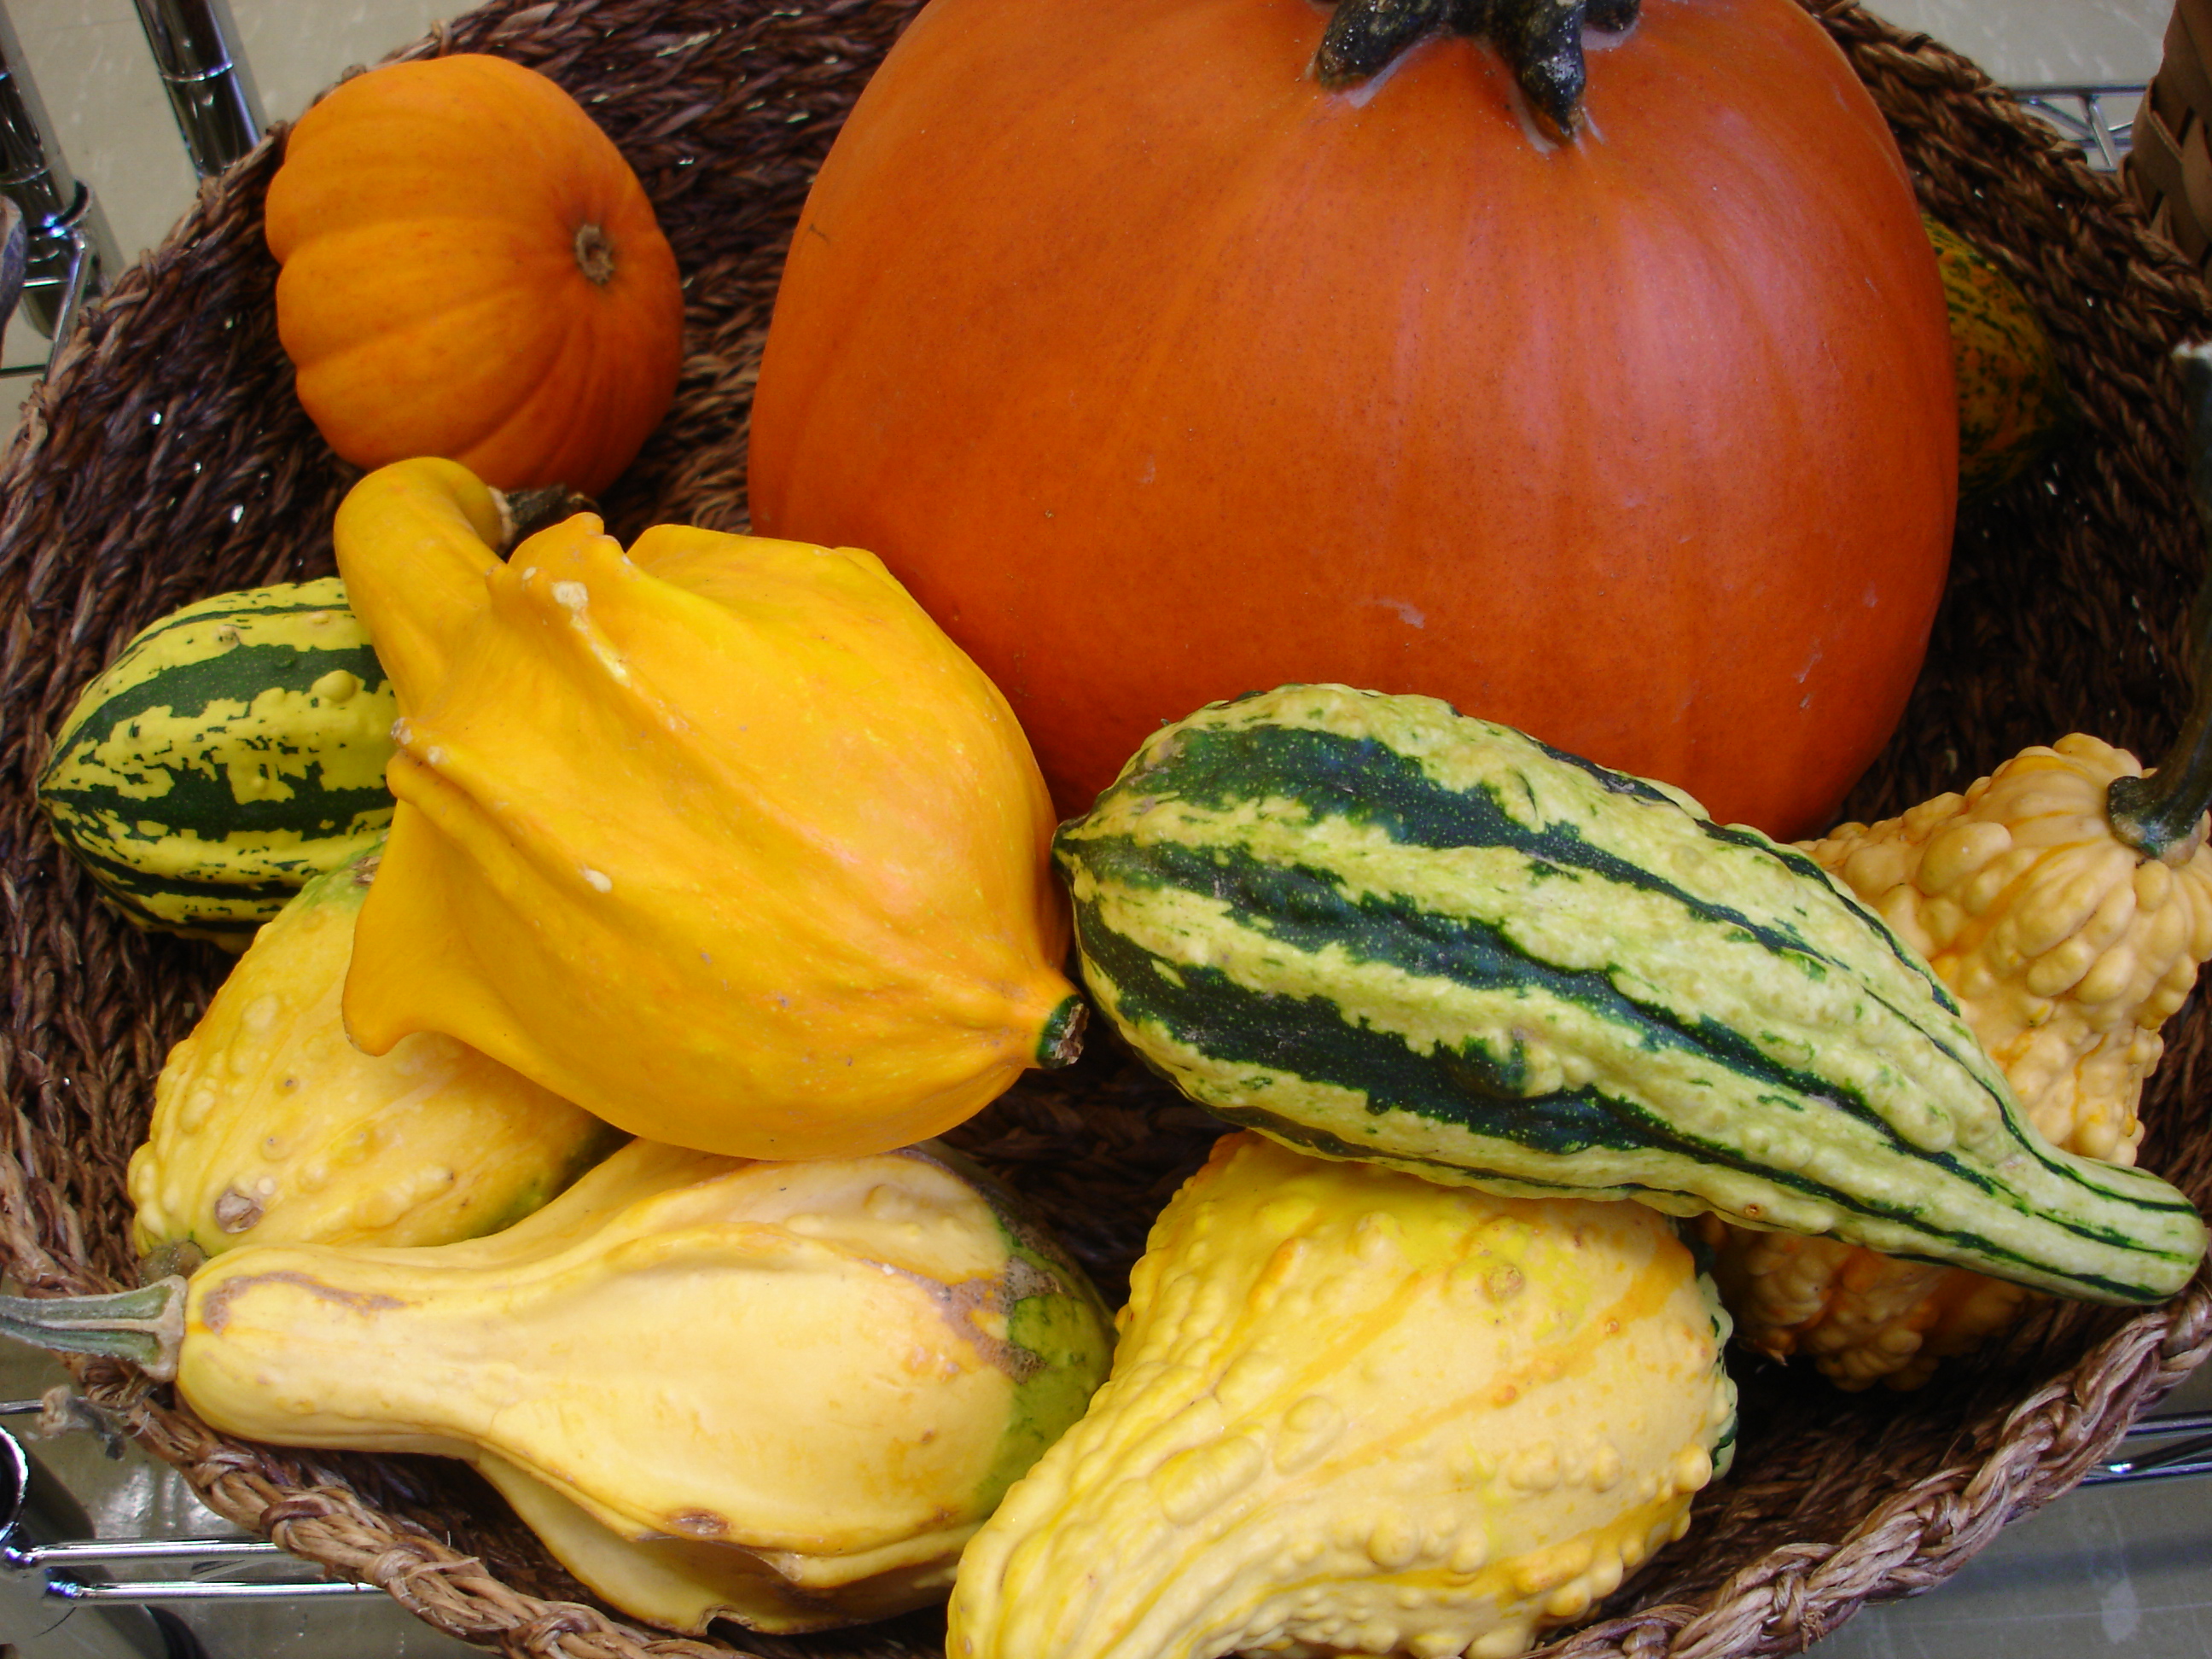
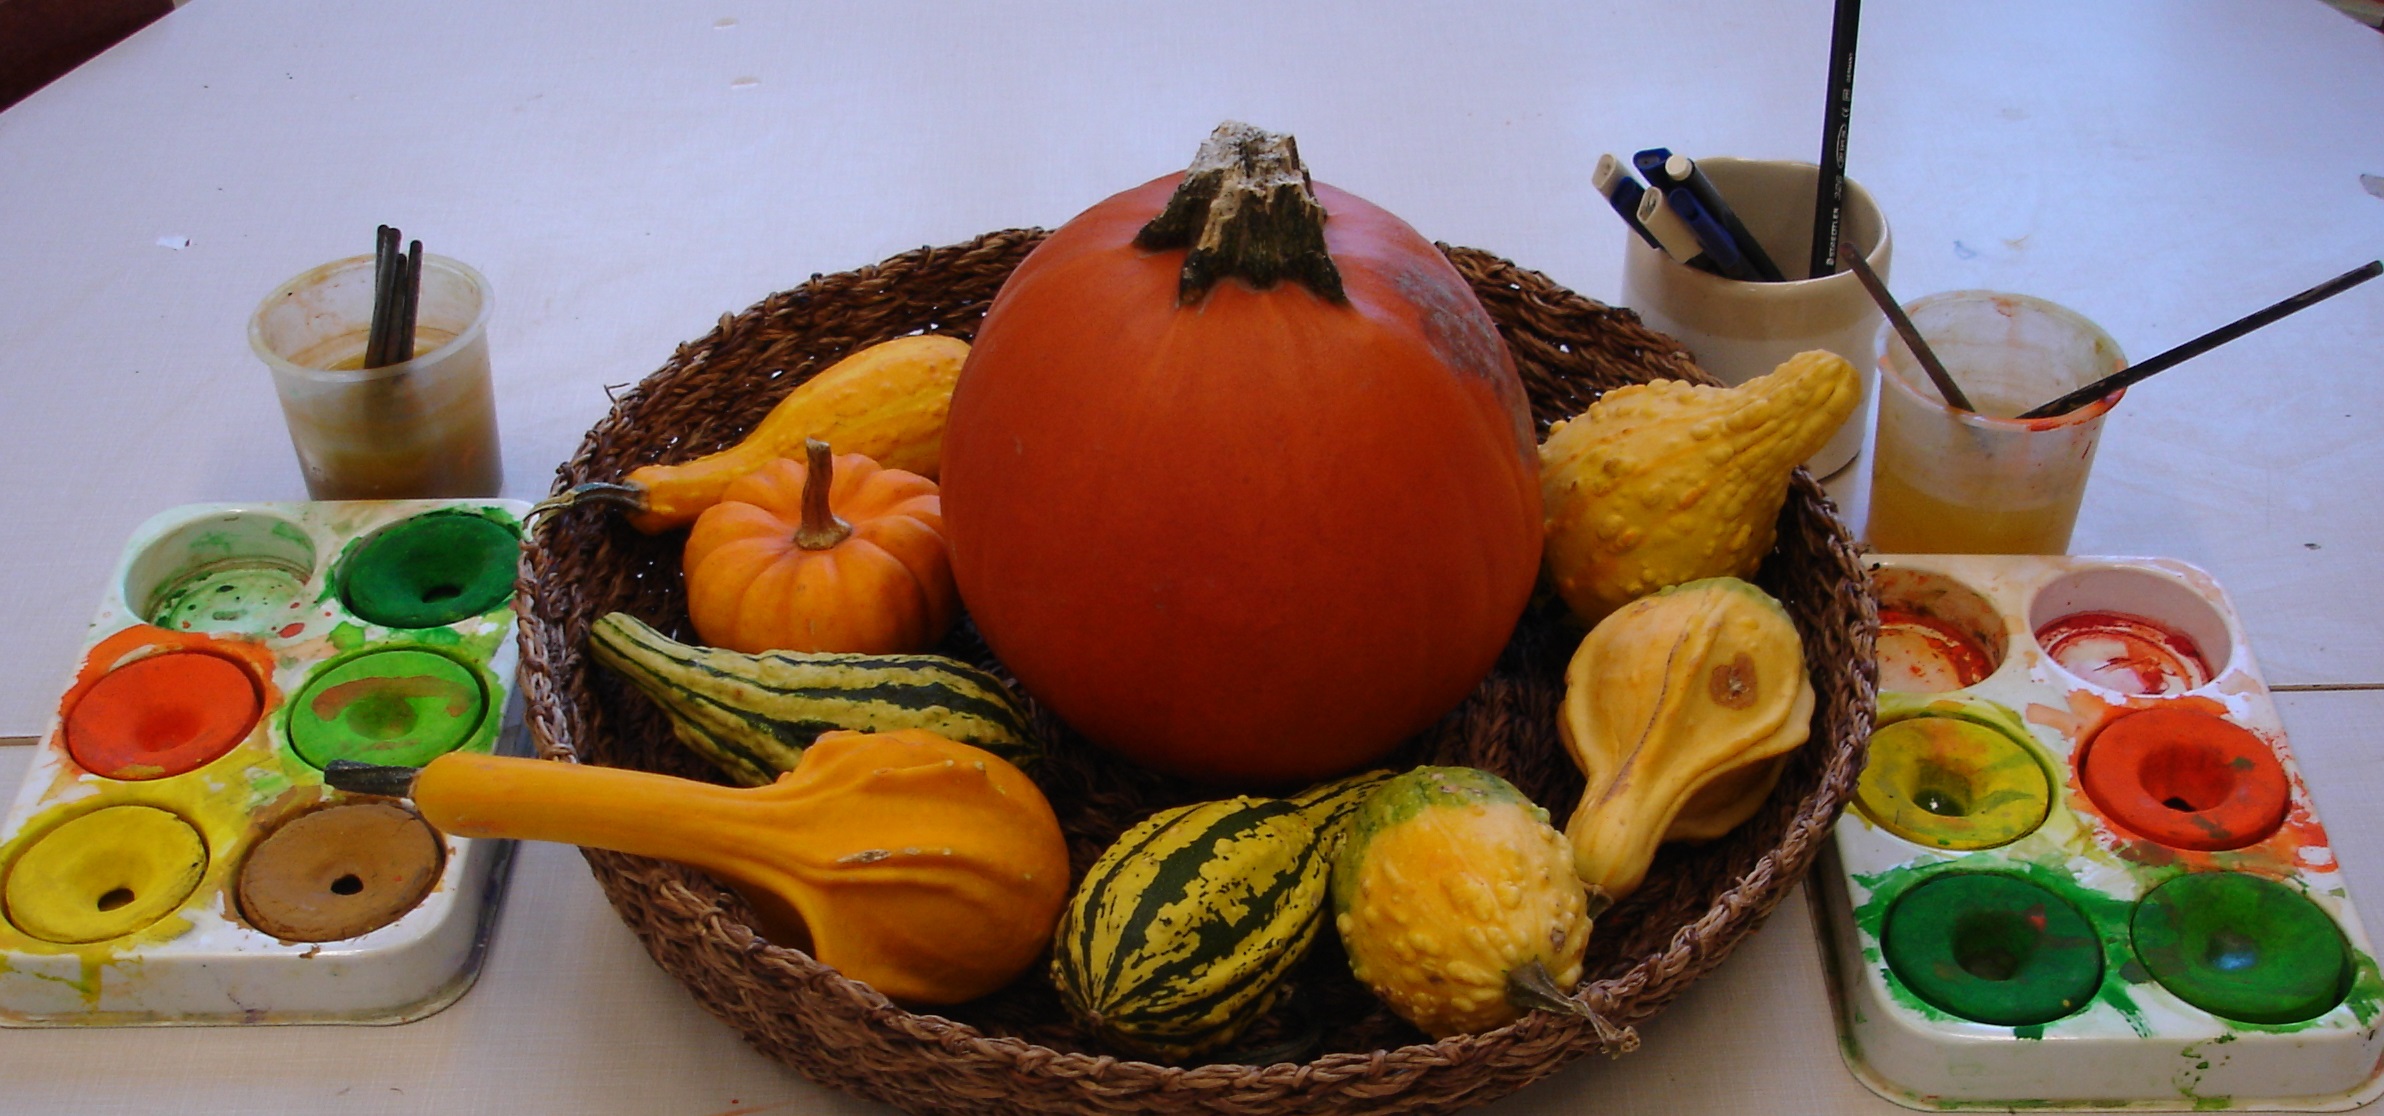
Around Halloween we were also working on measurement and pumpkin measuring became another popular and interesting provocation. Here, the children were given snap cubes and pumpkins of different sizes (which we happened to bring back from a recent trip to the farm). The children were asked to find out how many cubes tall the pumpkins were. I was also interested in finding out if the children could identify which pumpkins were the tallest or smallest and how they could prove their thinking. Because pumpkins are round and we were measuring with cube sticks, it became clear that accuracy in the measurements was hard to prove simply by using our eyes. I asked one student how she was sure her measuring stick was the same height as her pumpkin, and this is what she did:
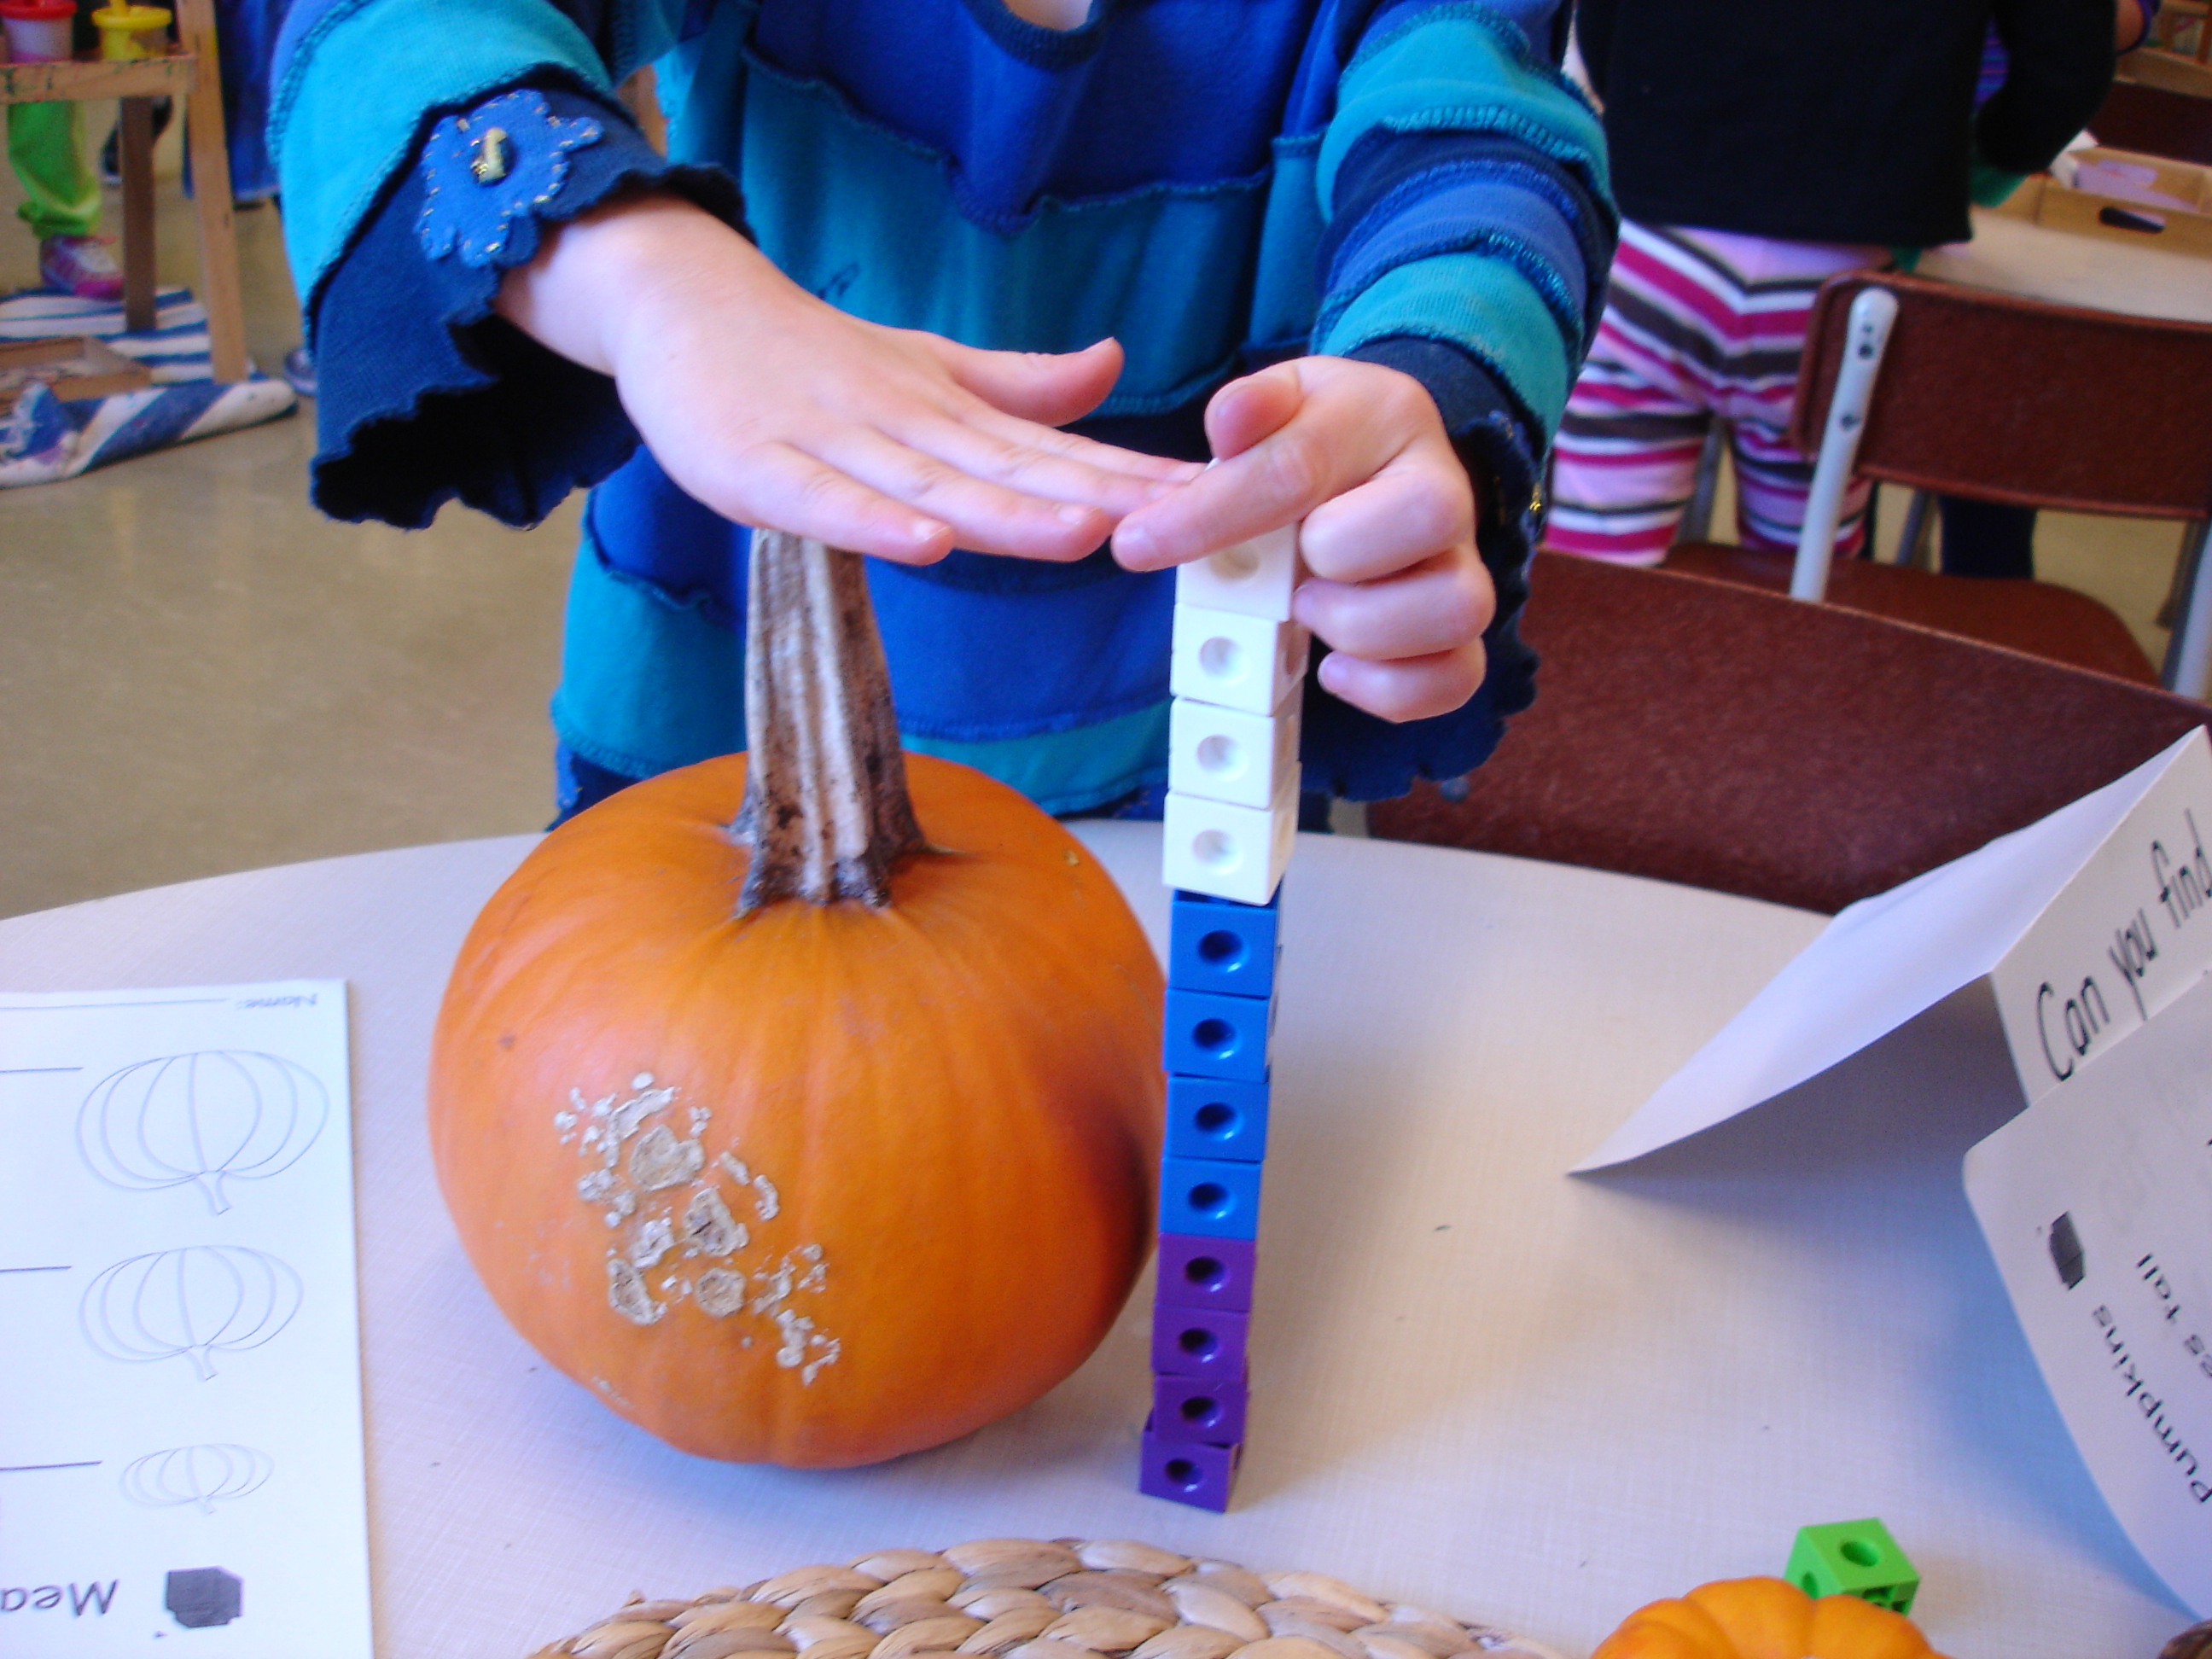
During reflection time, we posted this picture on the SmartBoard so this student could share her thinking with the class. It gave us an opportunity to talk about the importance of accuracy when measuring. Later that same day, a group of excited boys called me to the math centre. They had been inspired by our discussion before lunch but had come up with a “better way” to show their measurements were accurate:
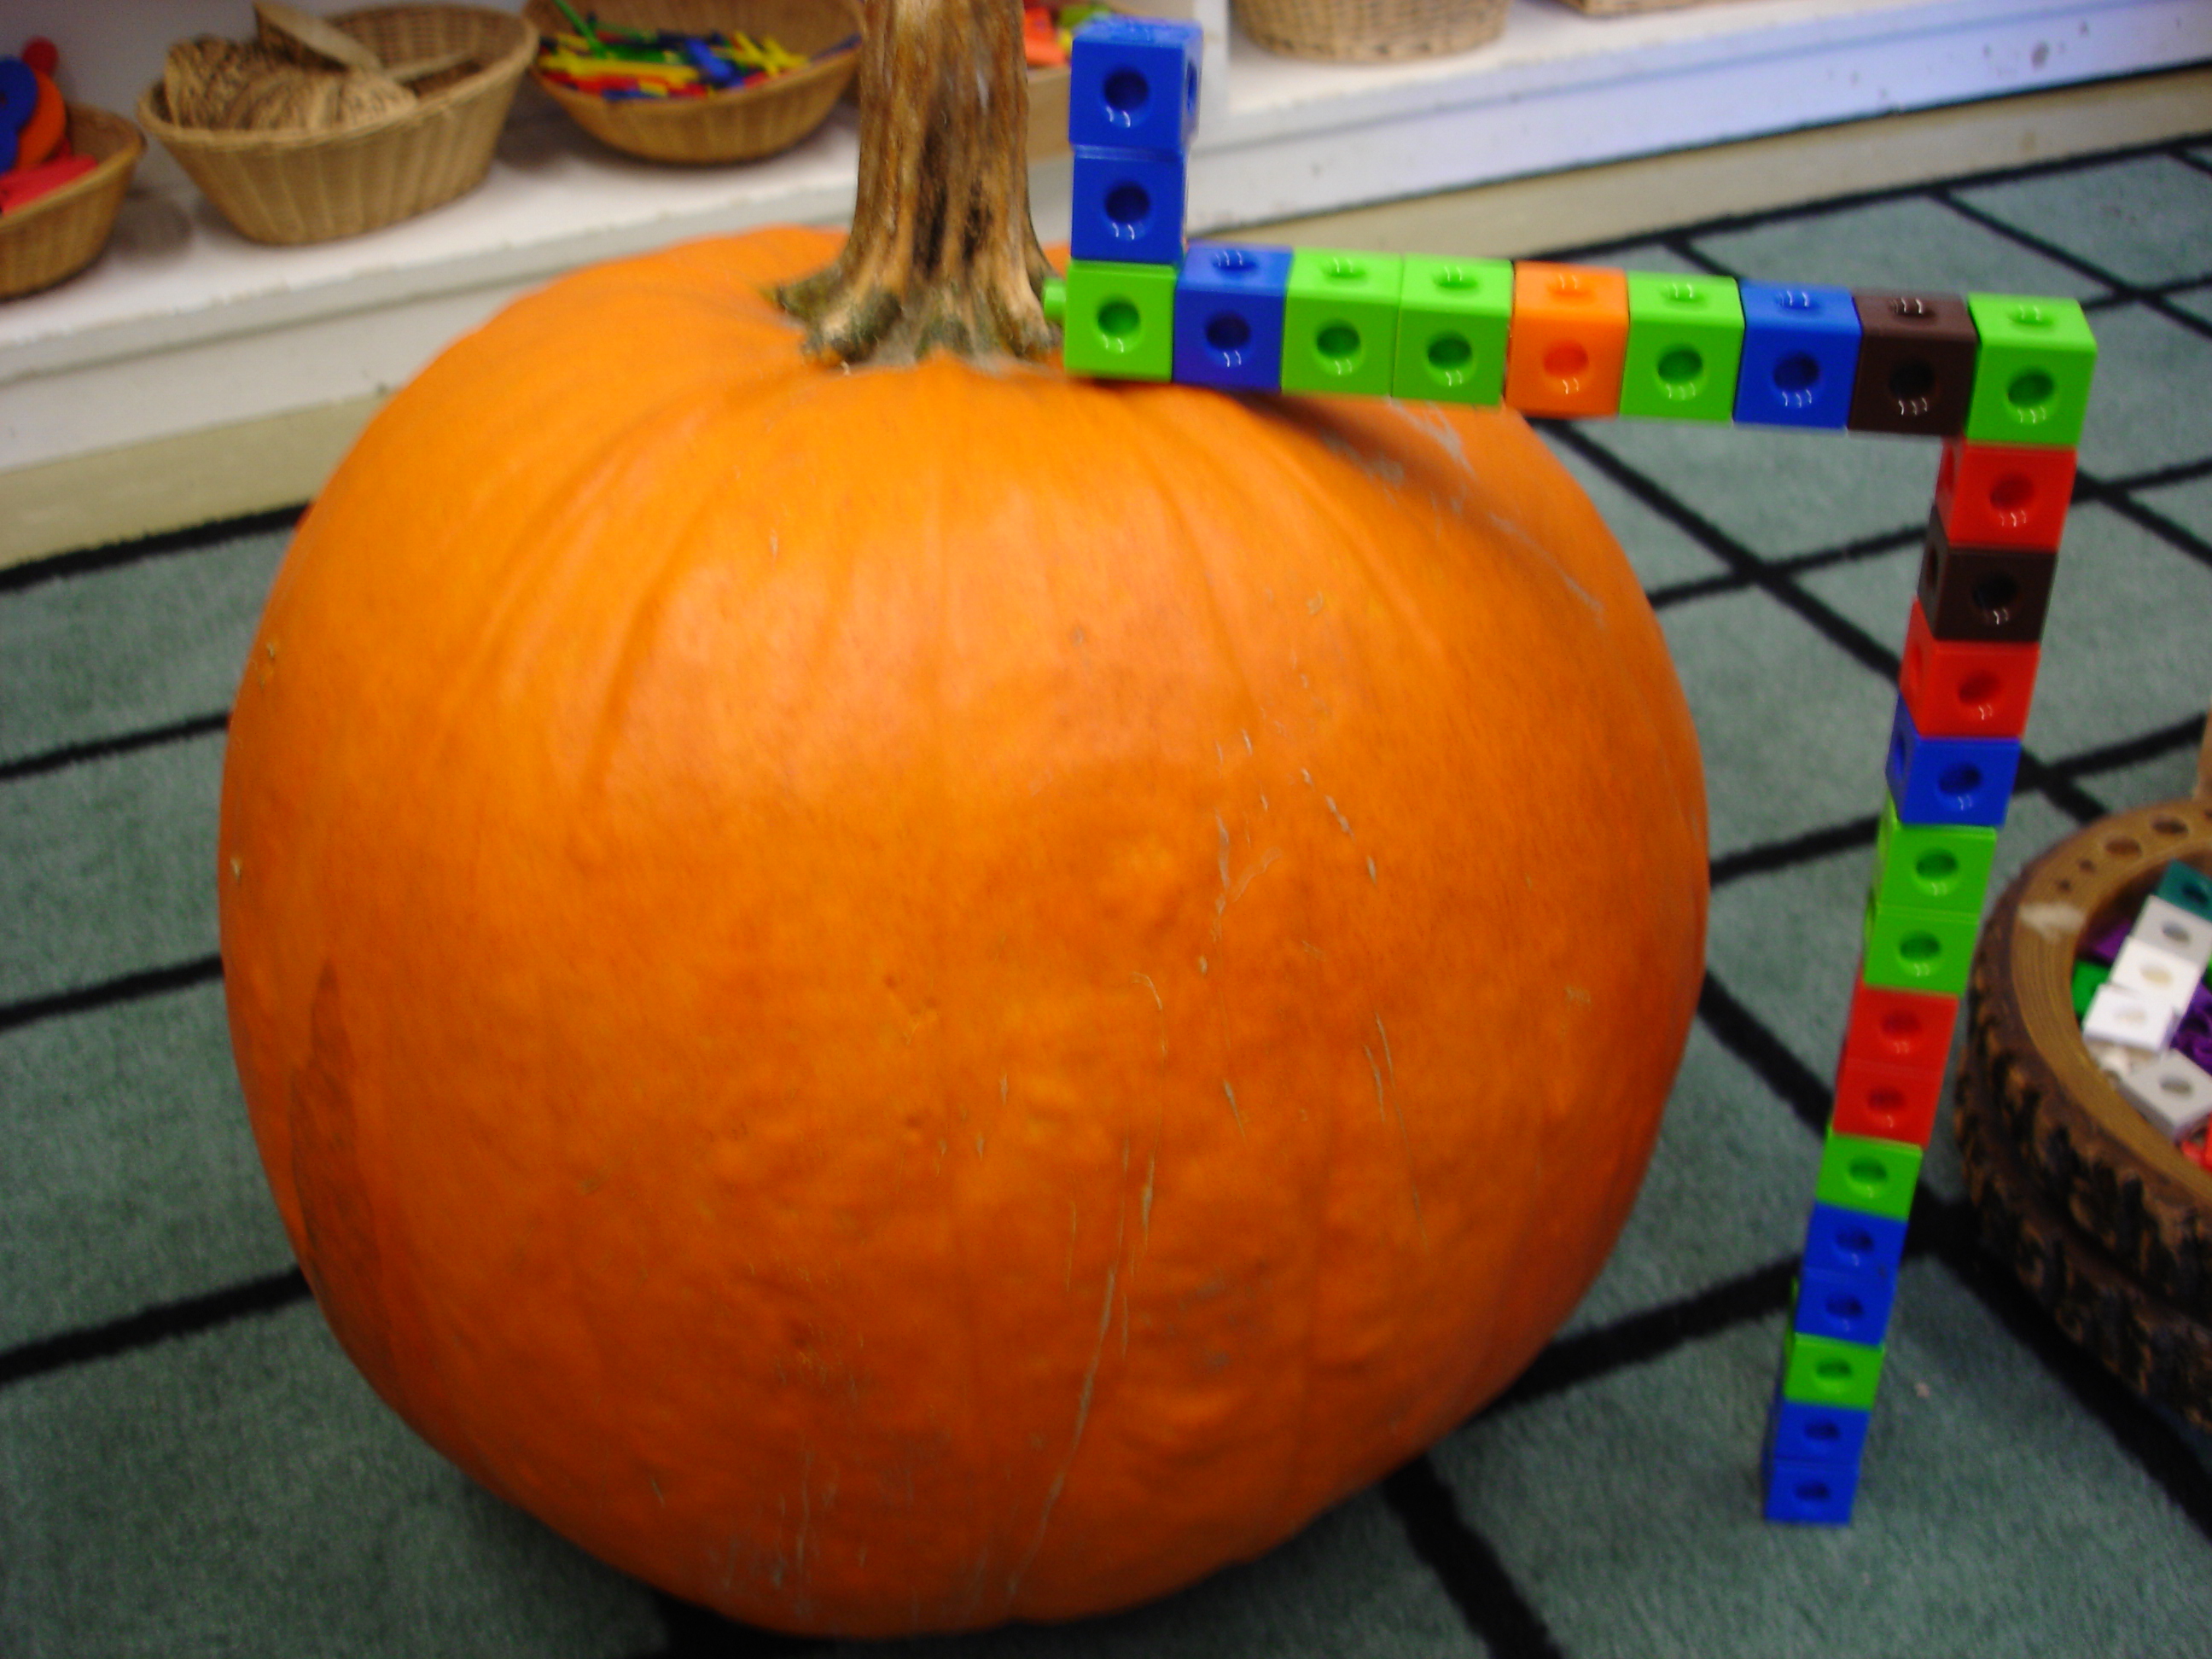
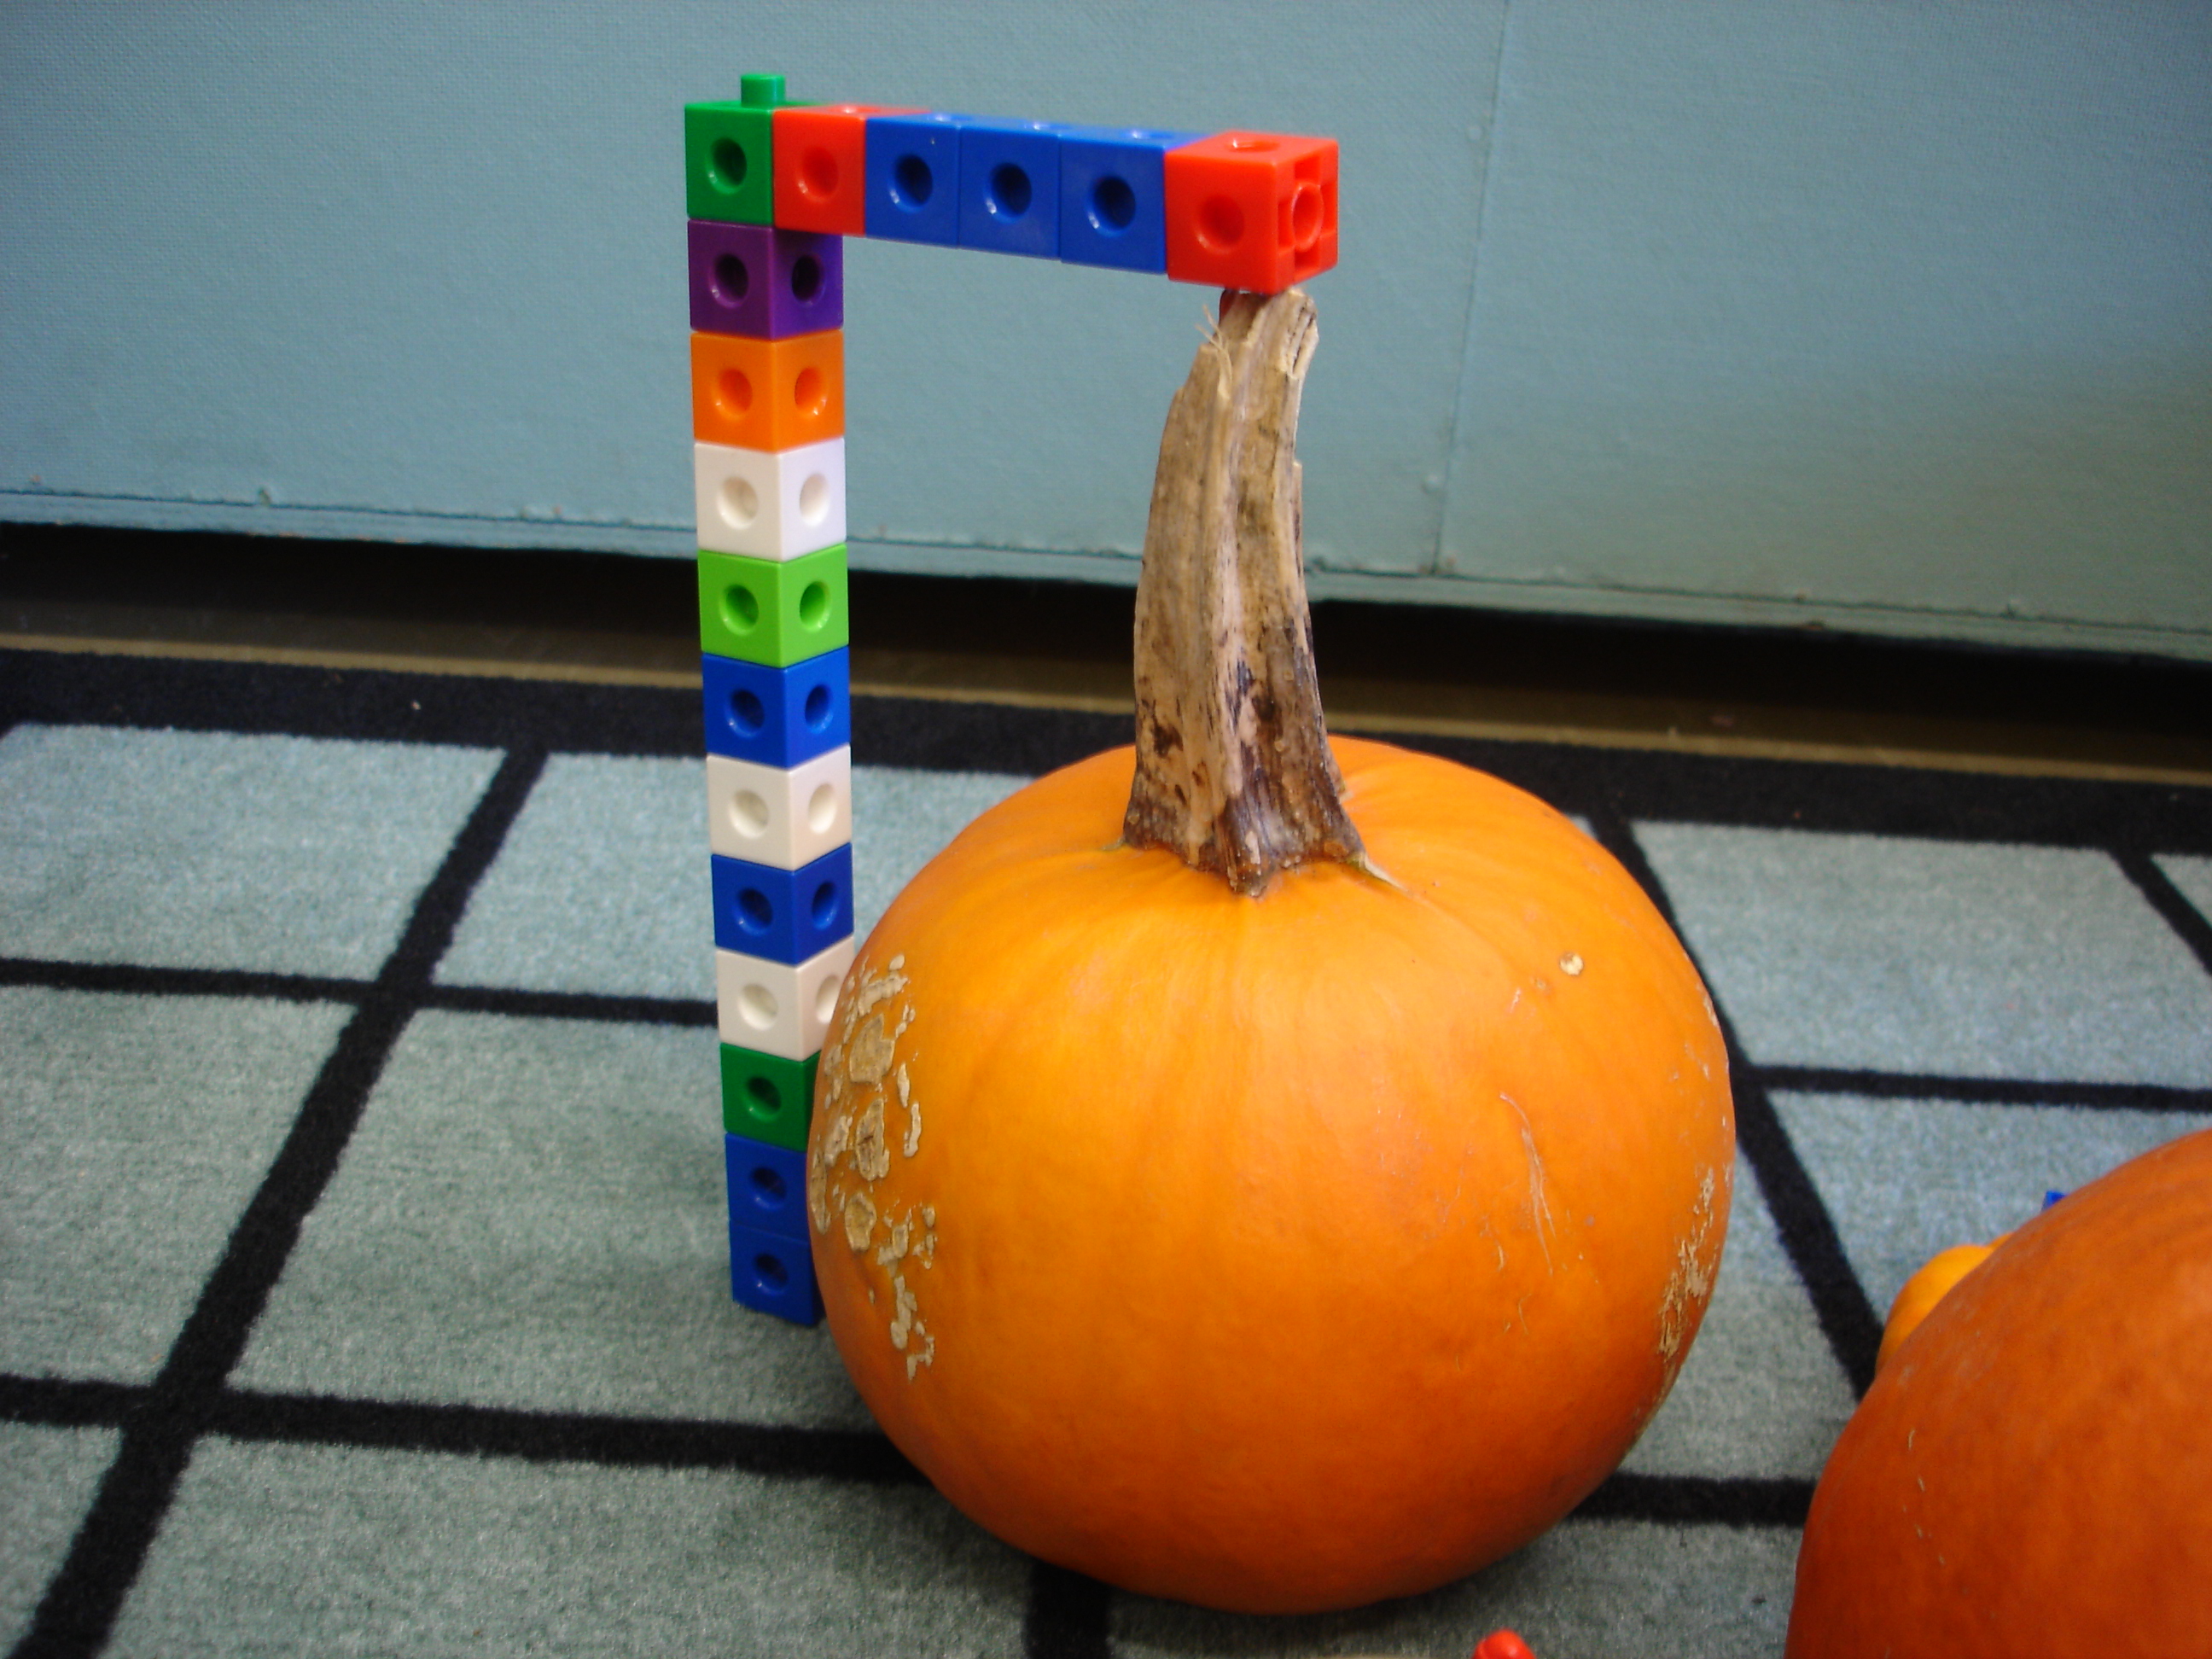
The boys then used these structures to directly compare heights to see which pumpkins were taller. Amazing!
Are your students excited about Halloween? How are you incorporating your students’ interests in this spooky holiday in your classroom?