Art and Fine Motor Instruction: Snowflakes

DSC02151

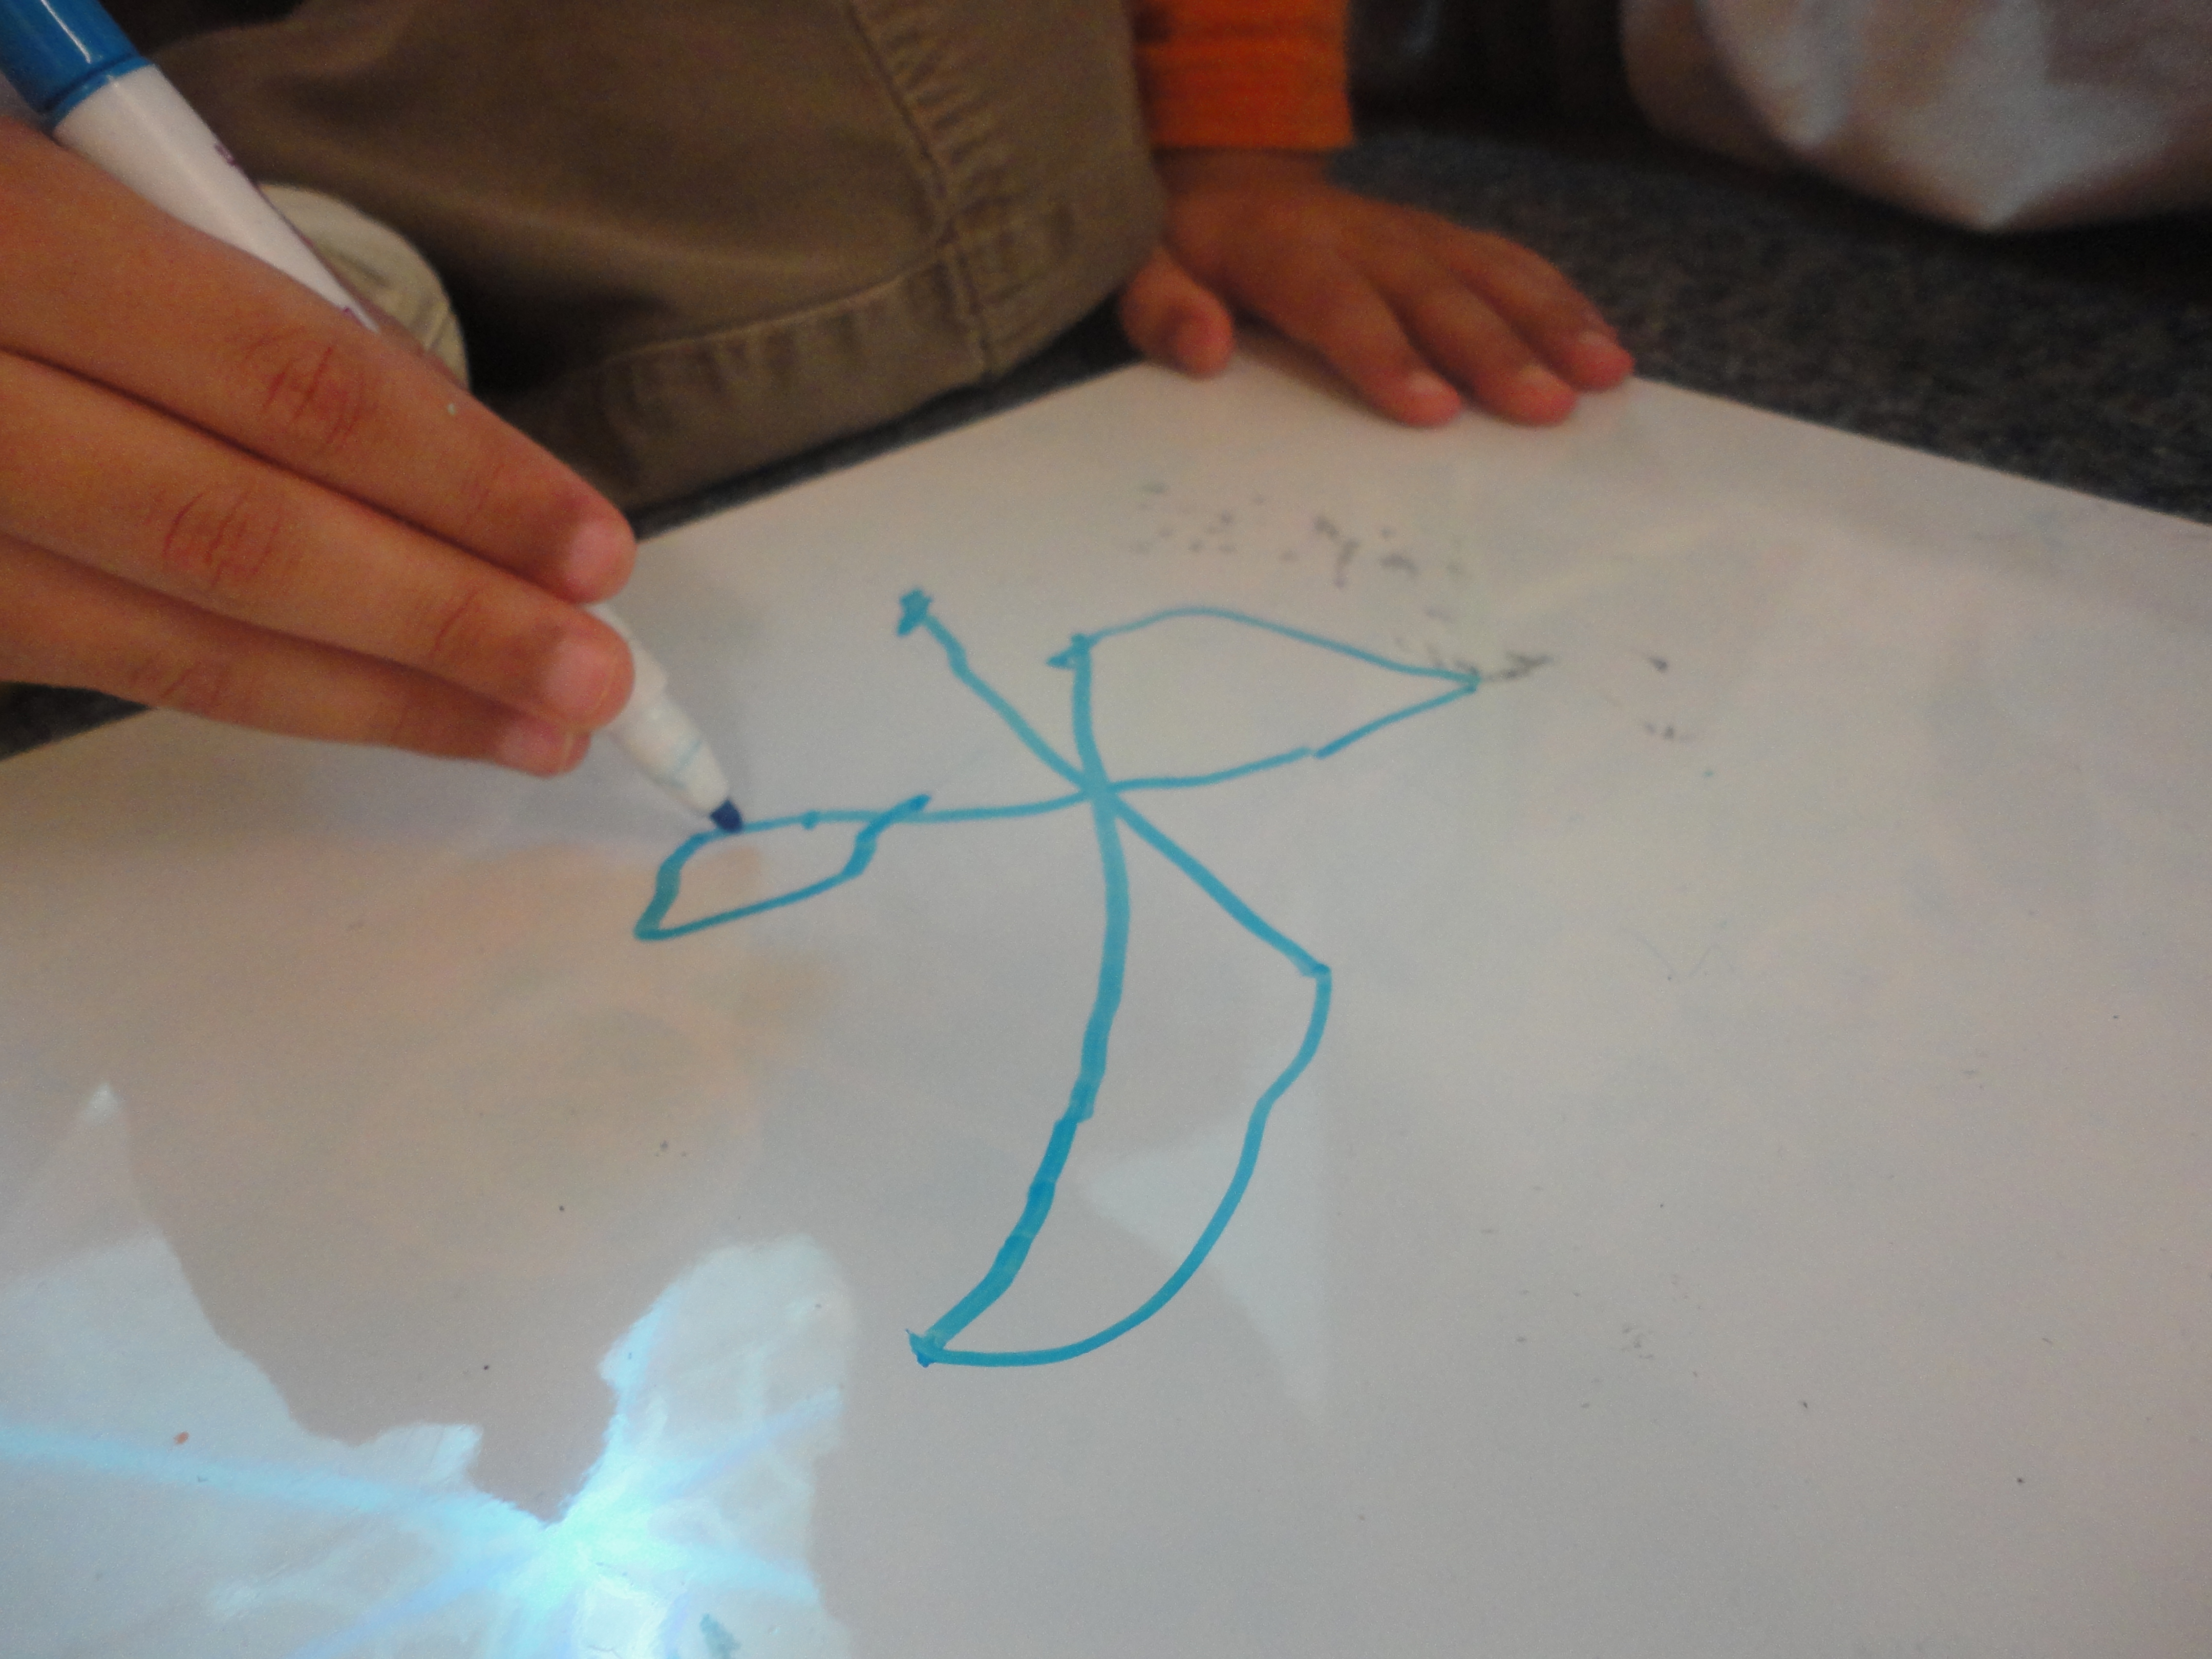
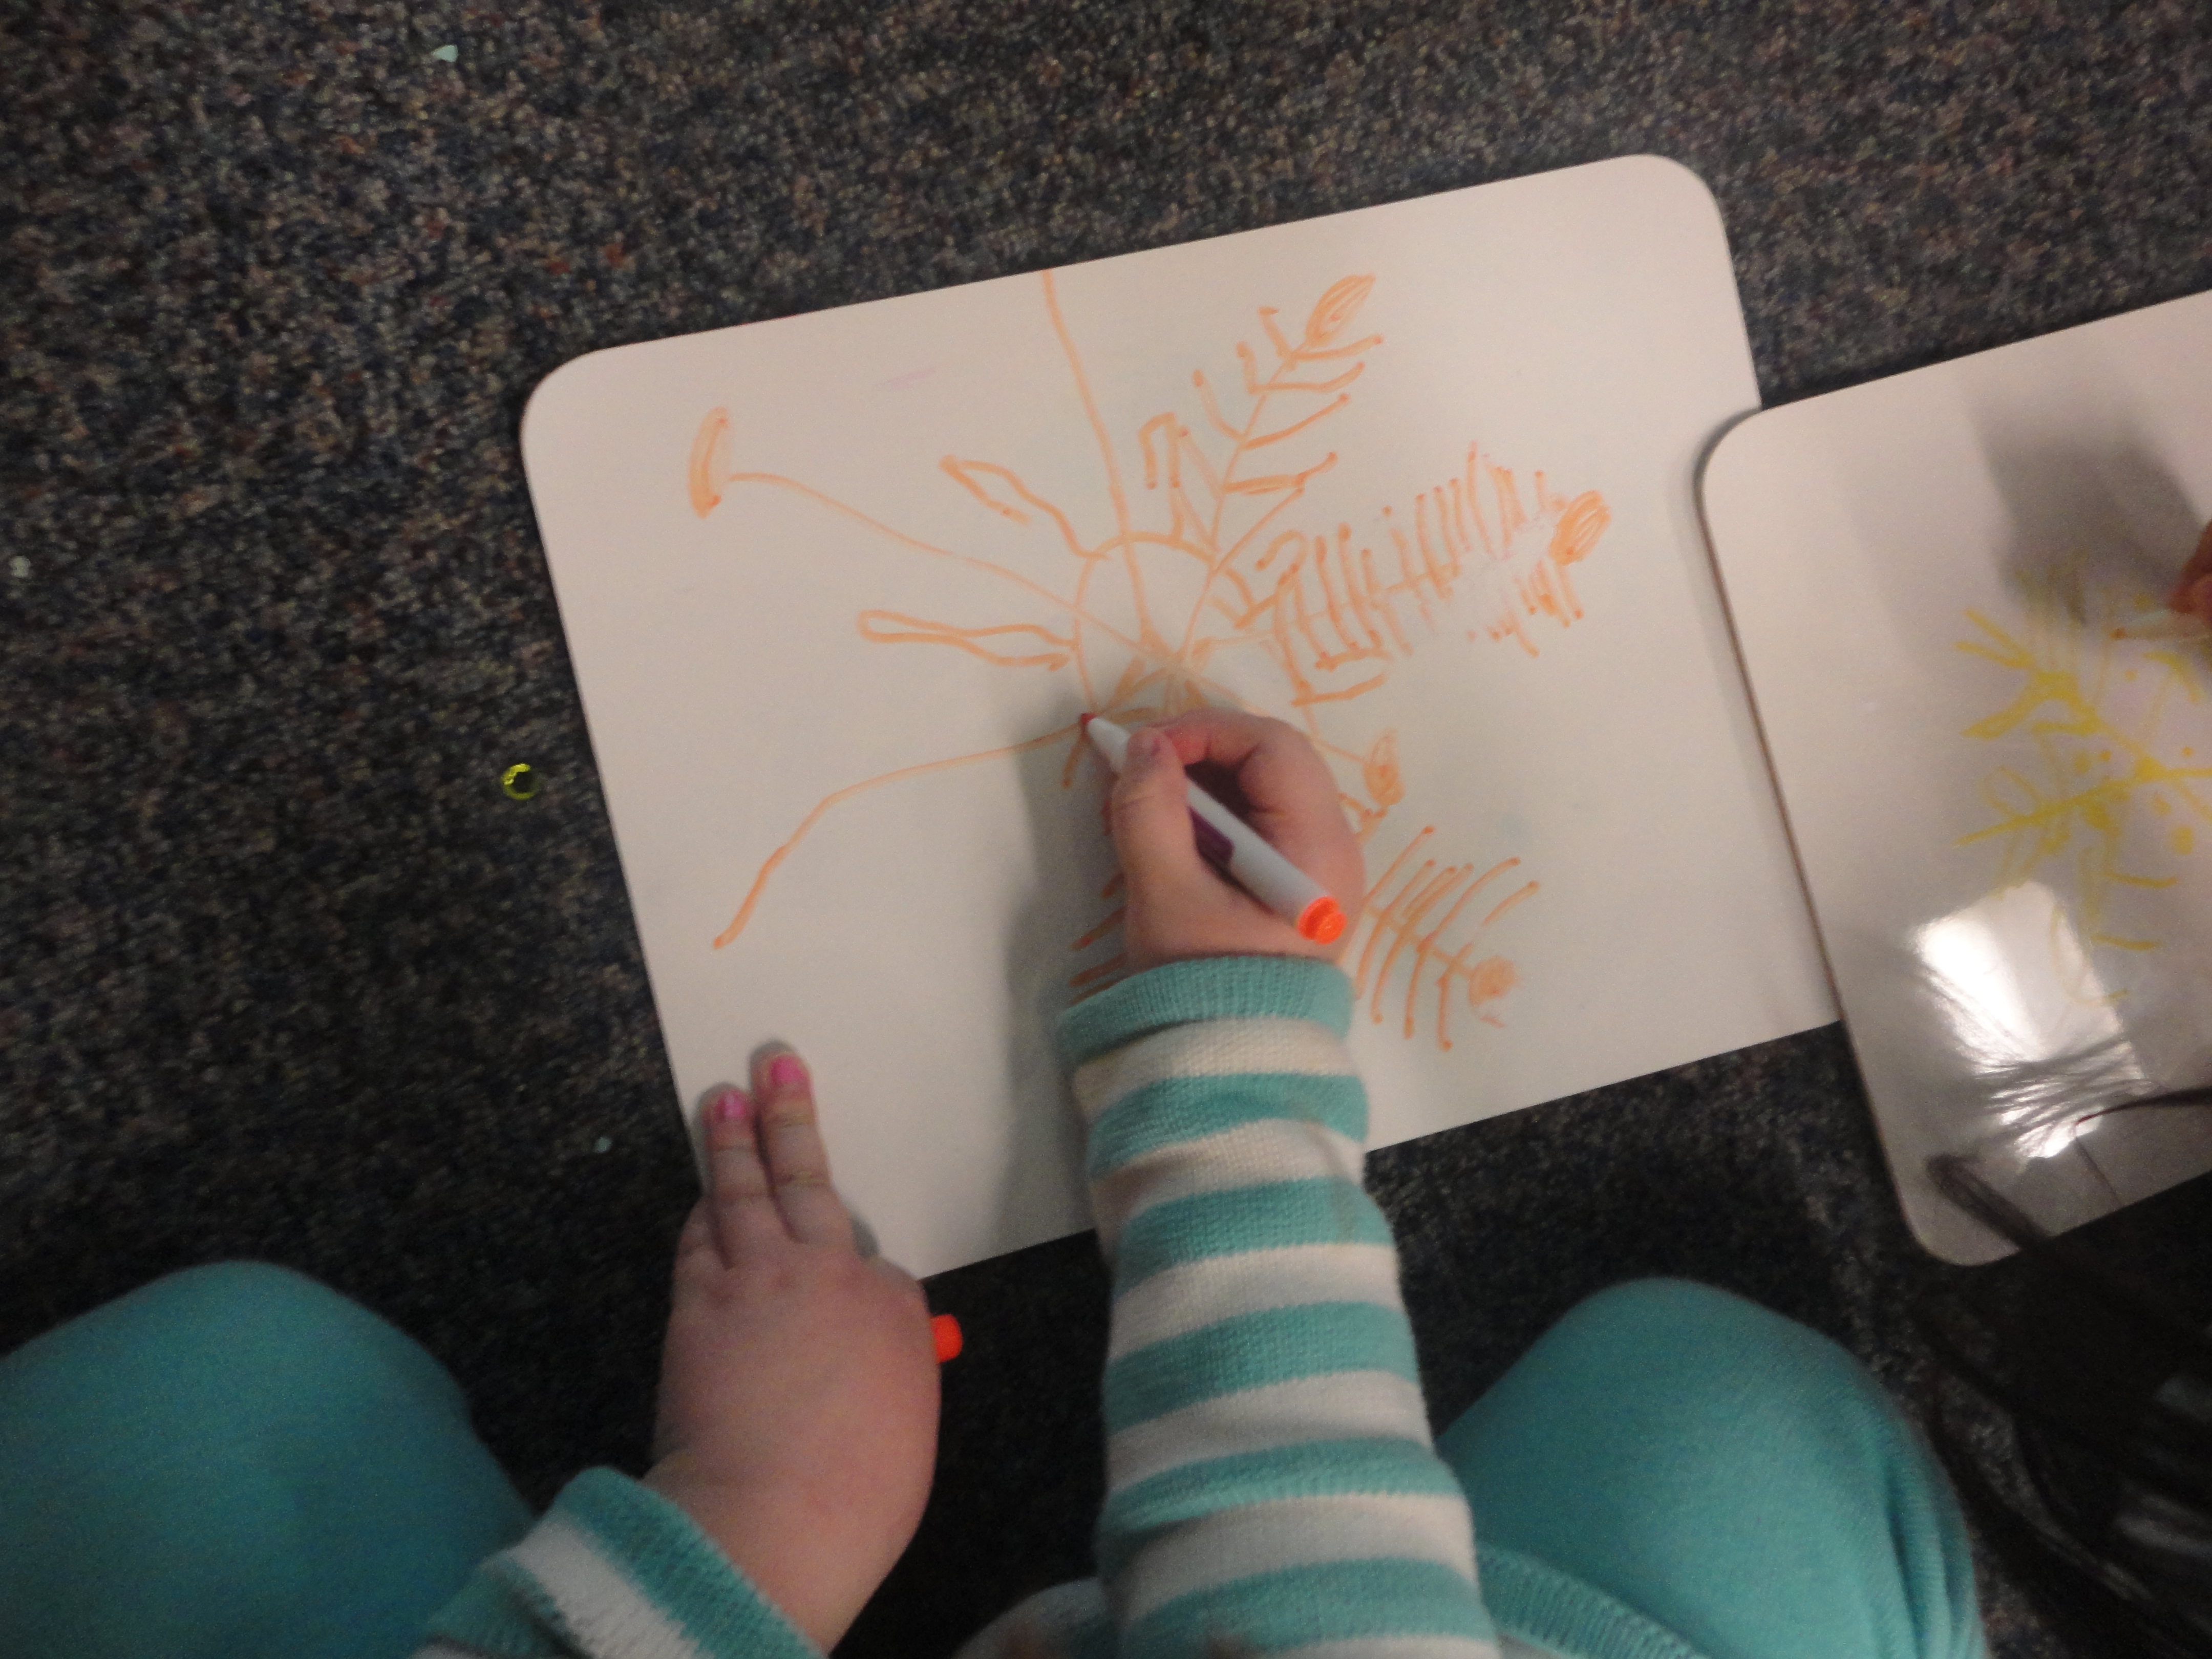
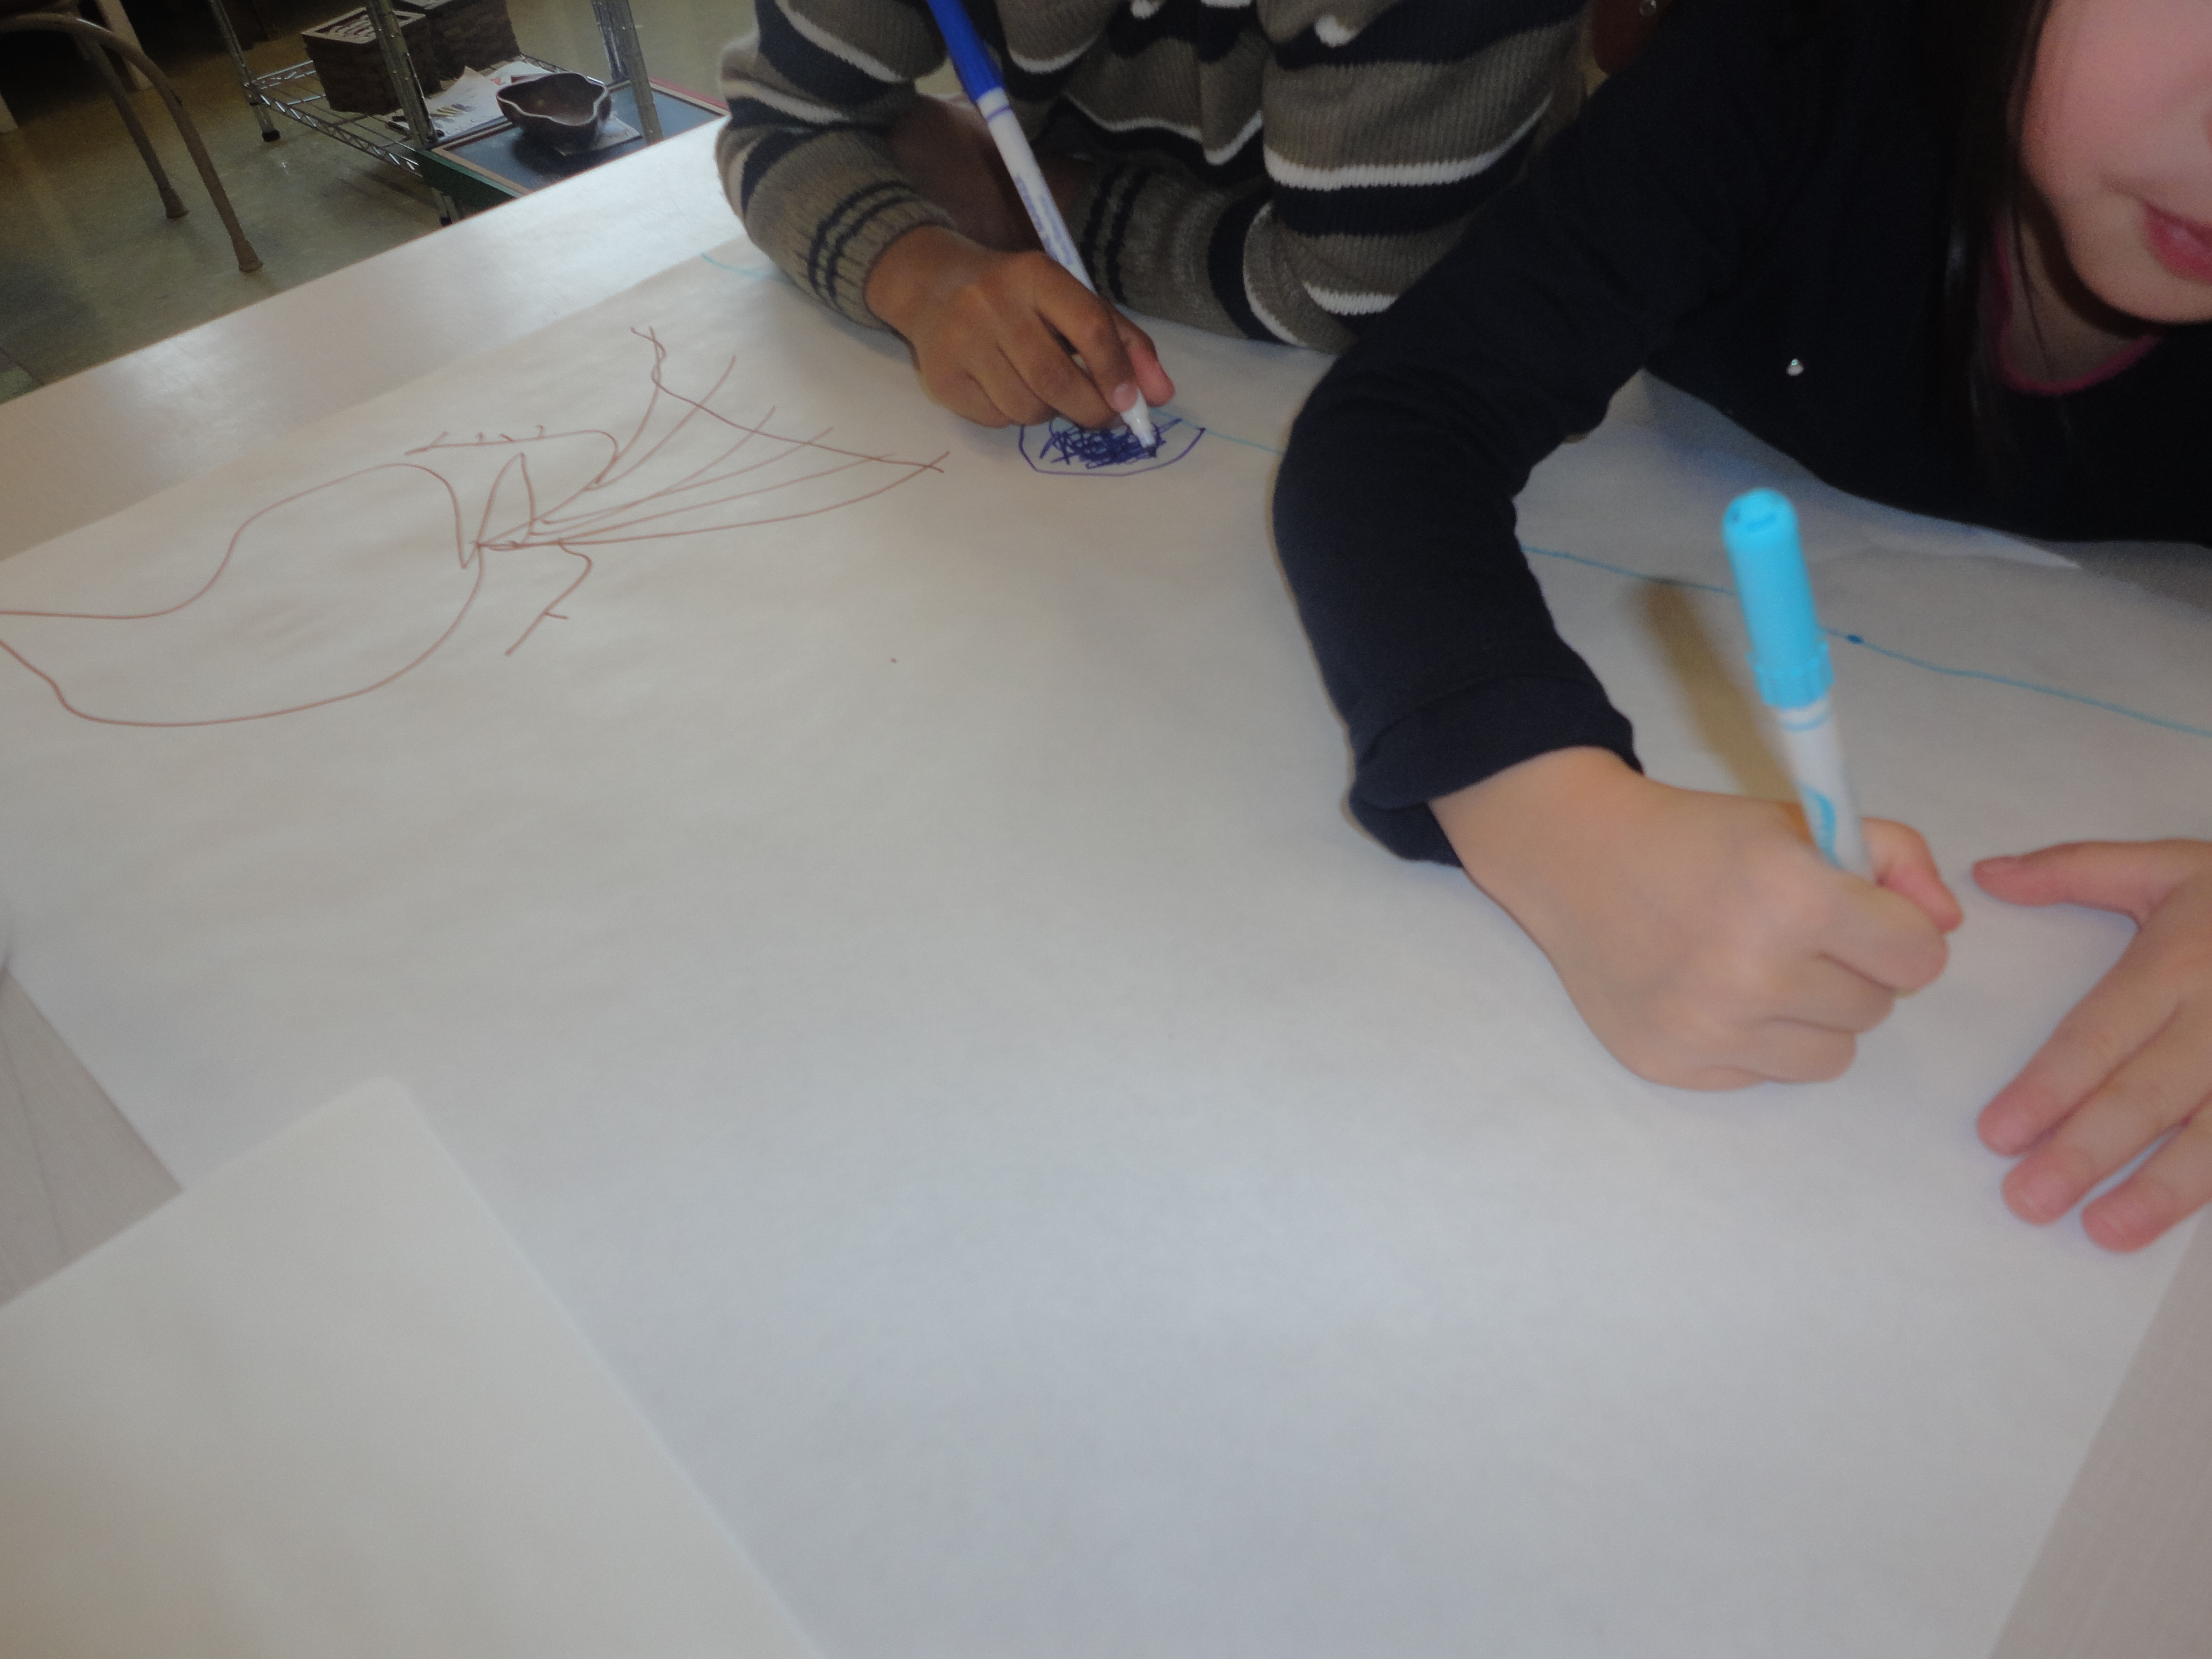
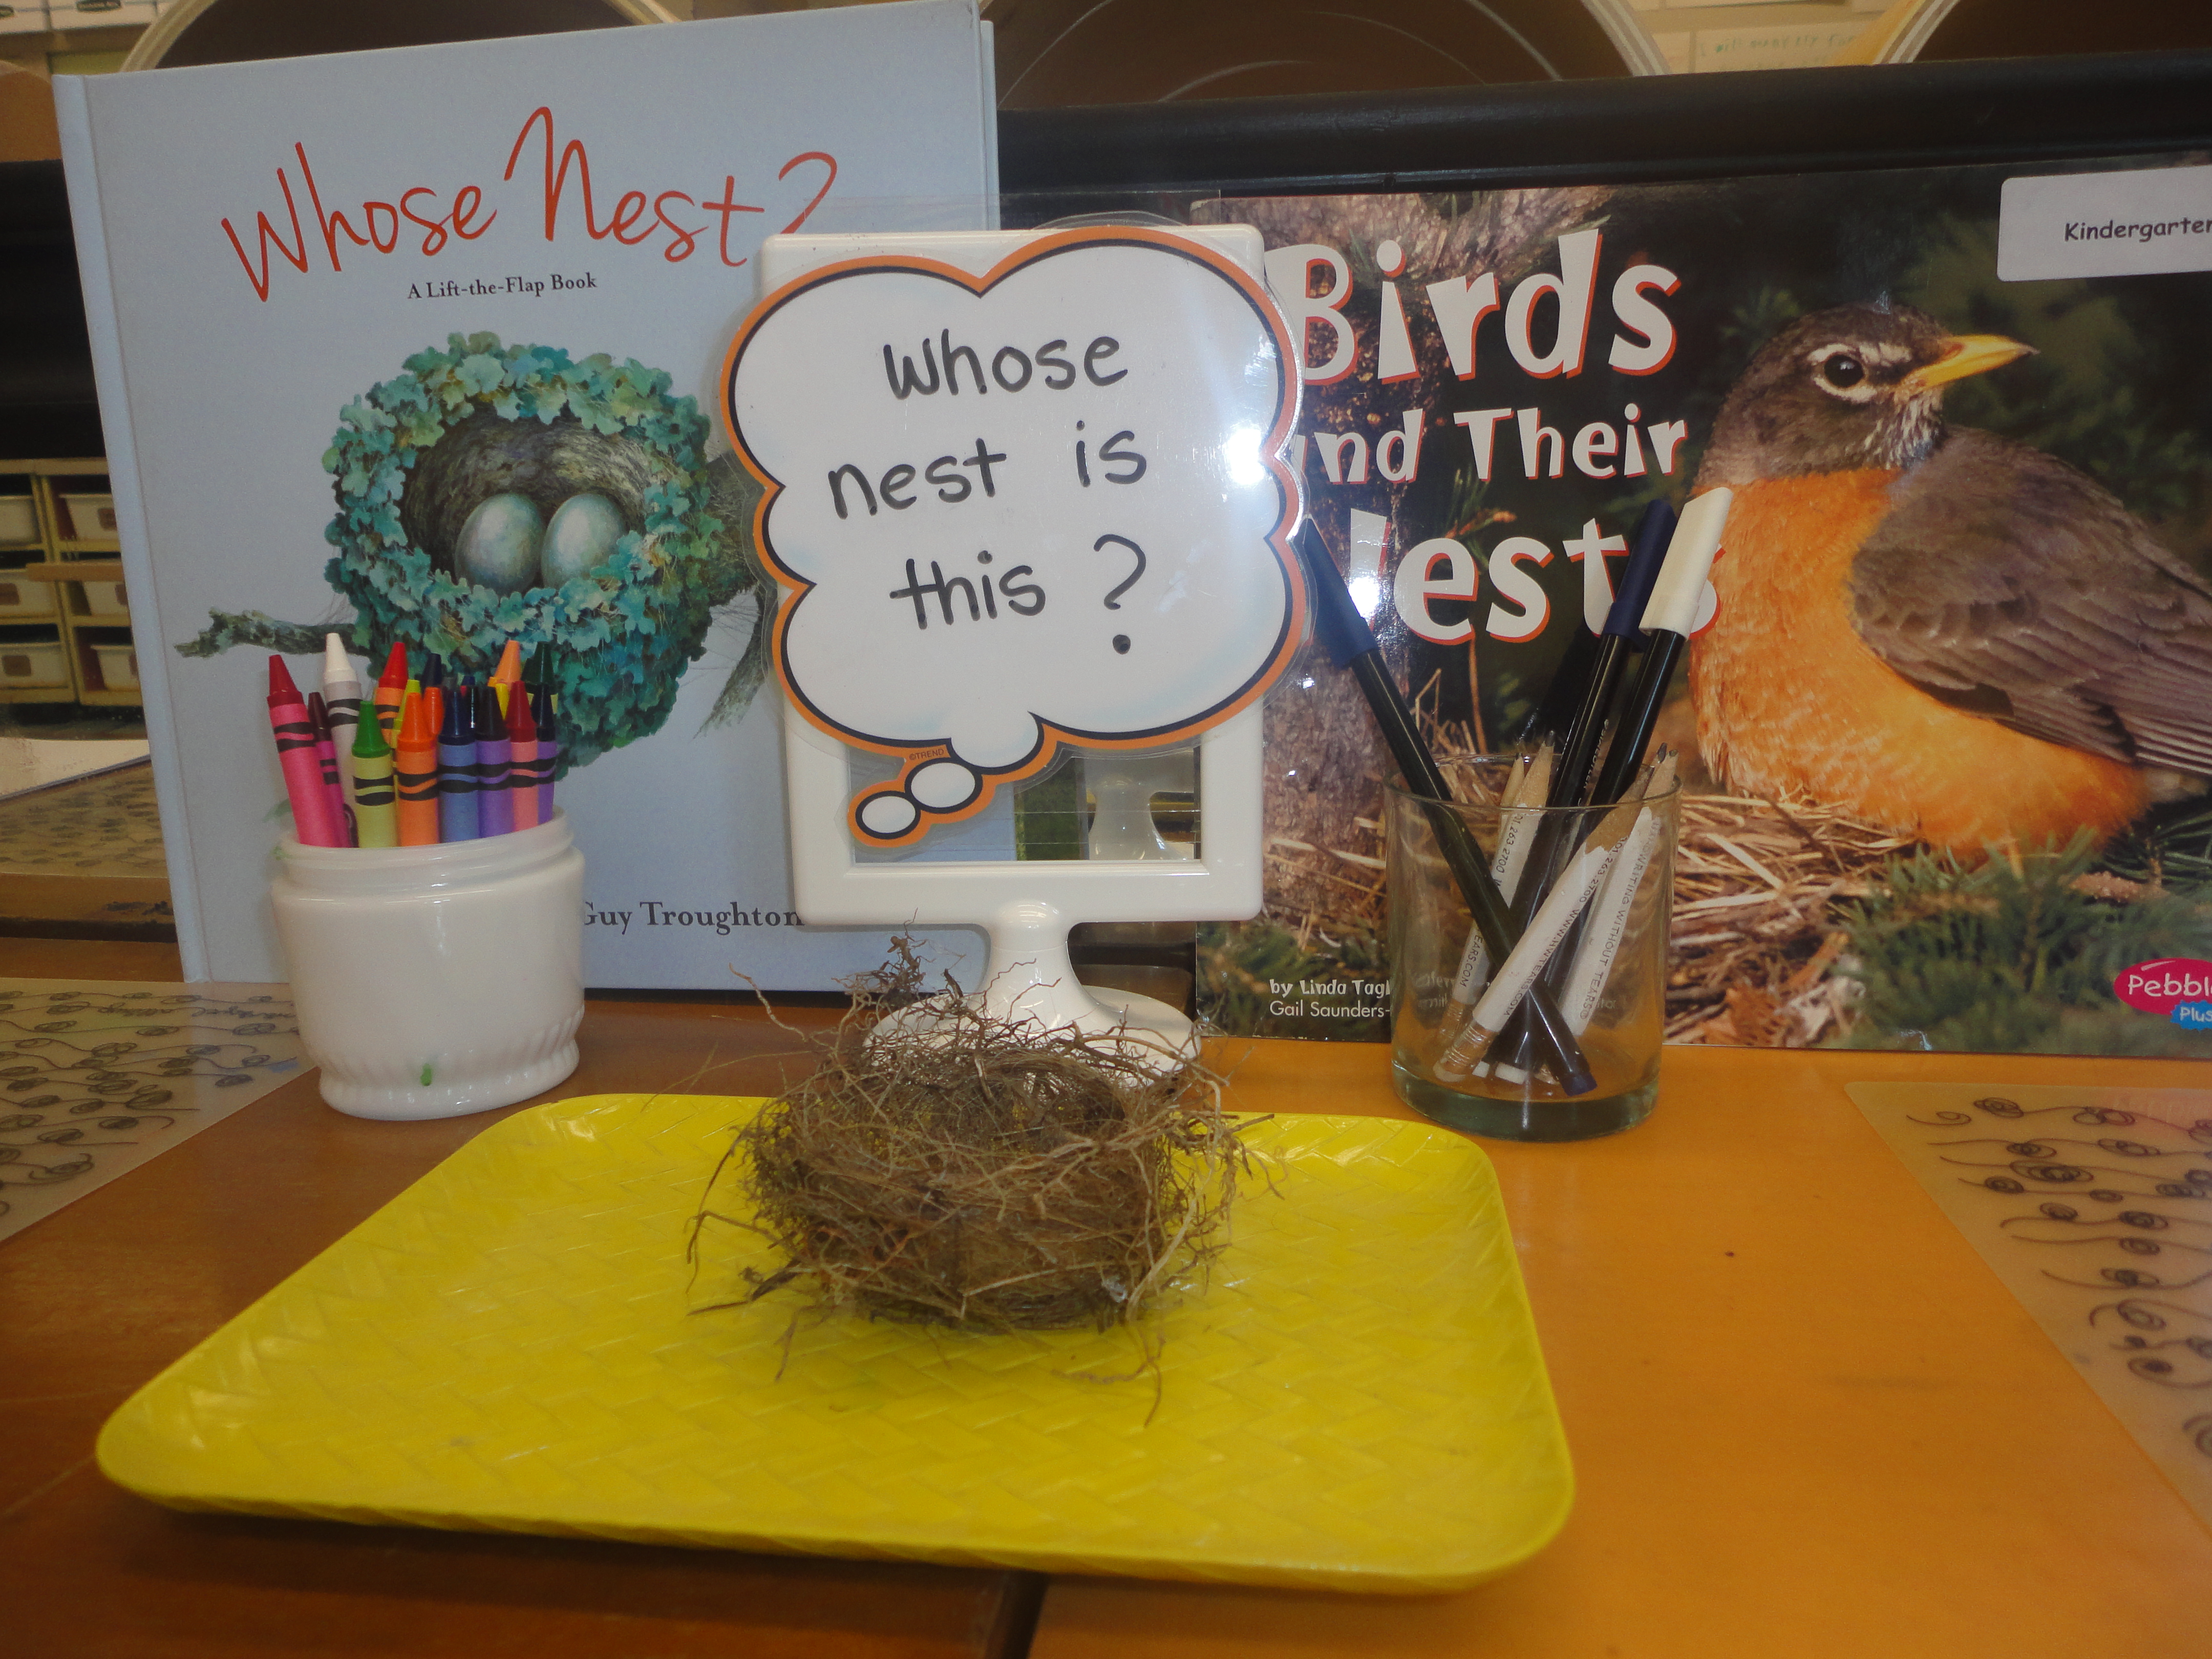
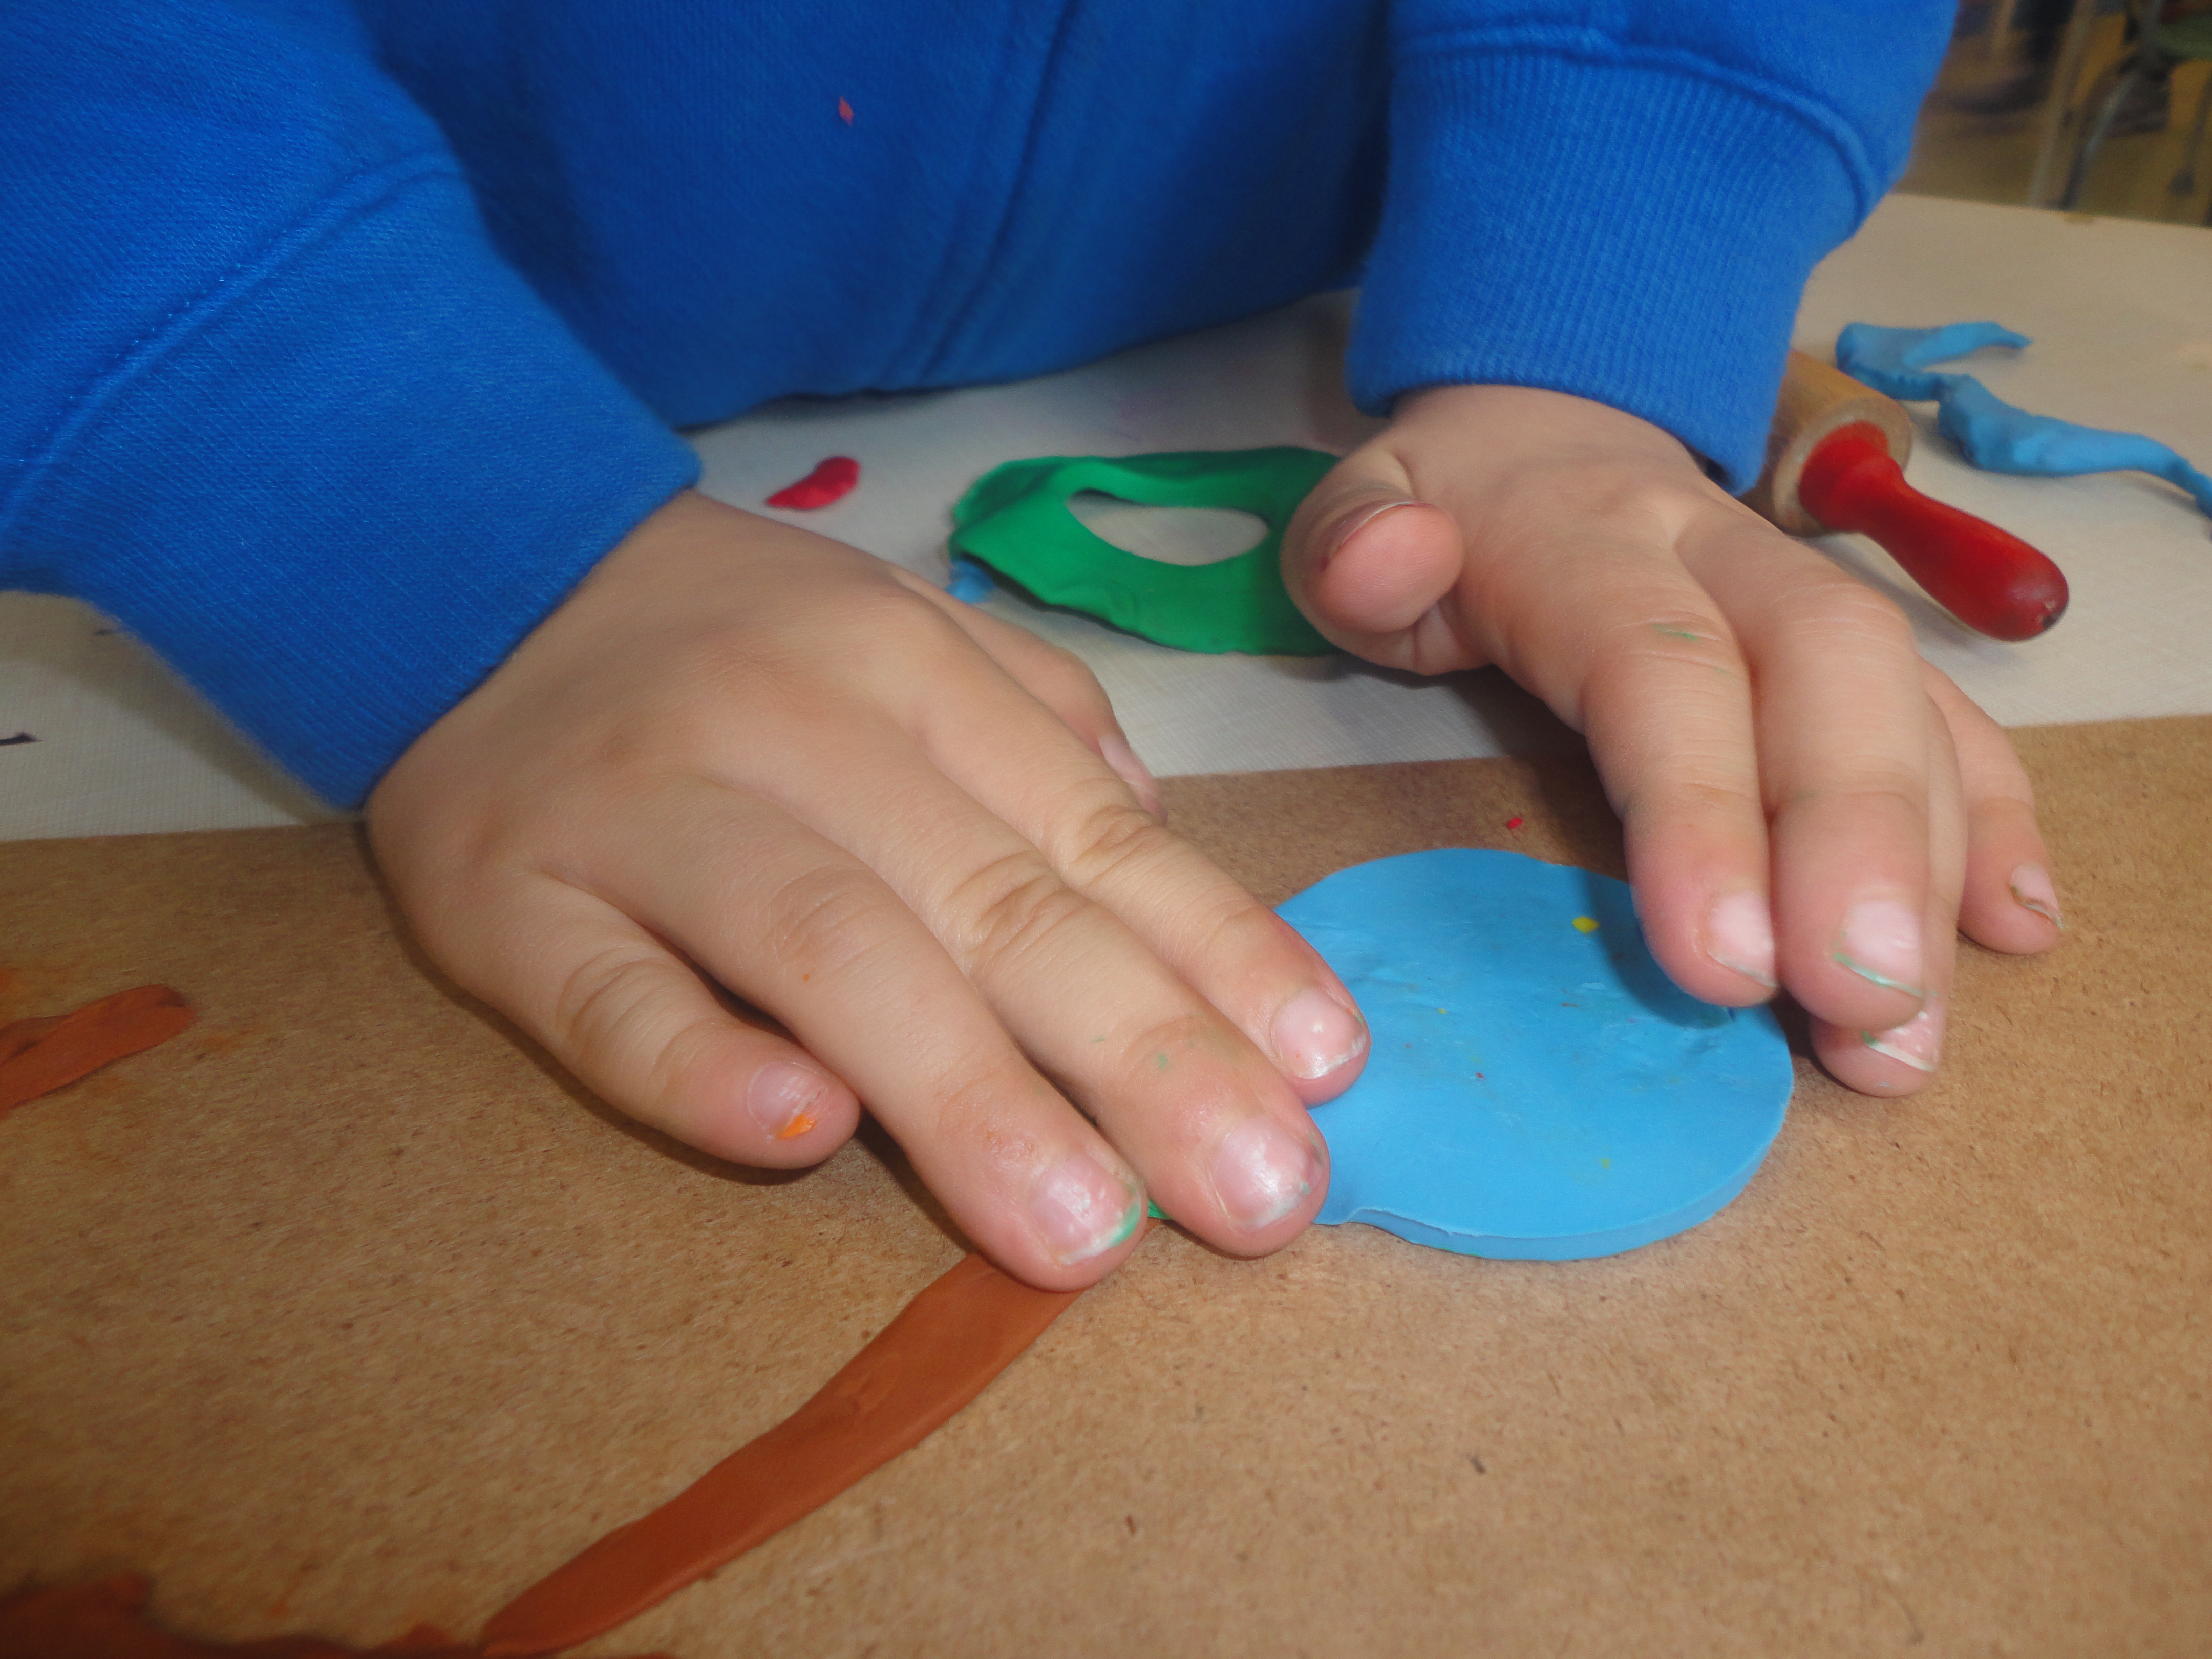
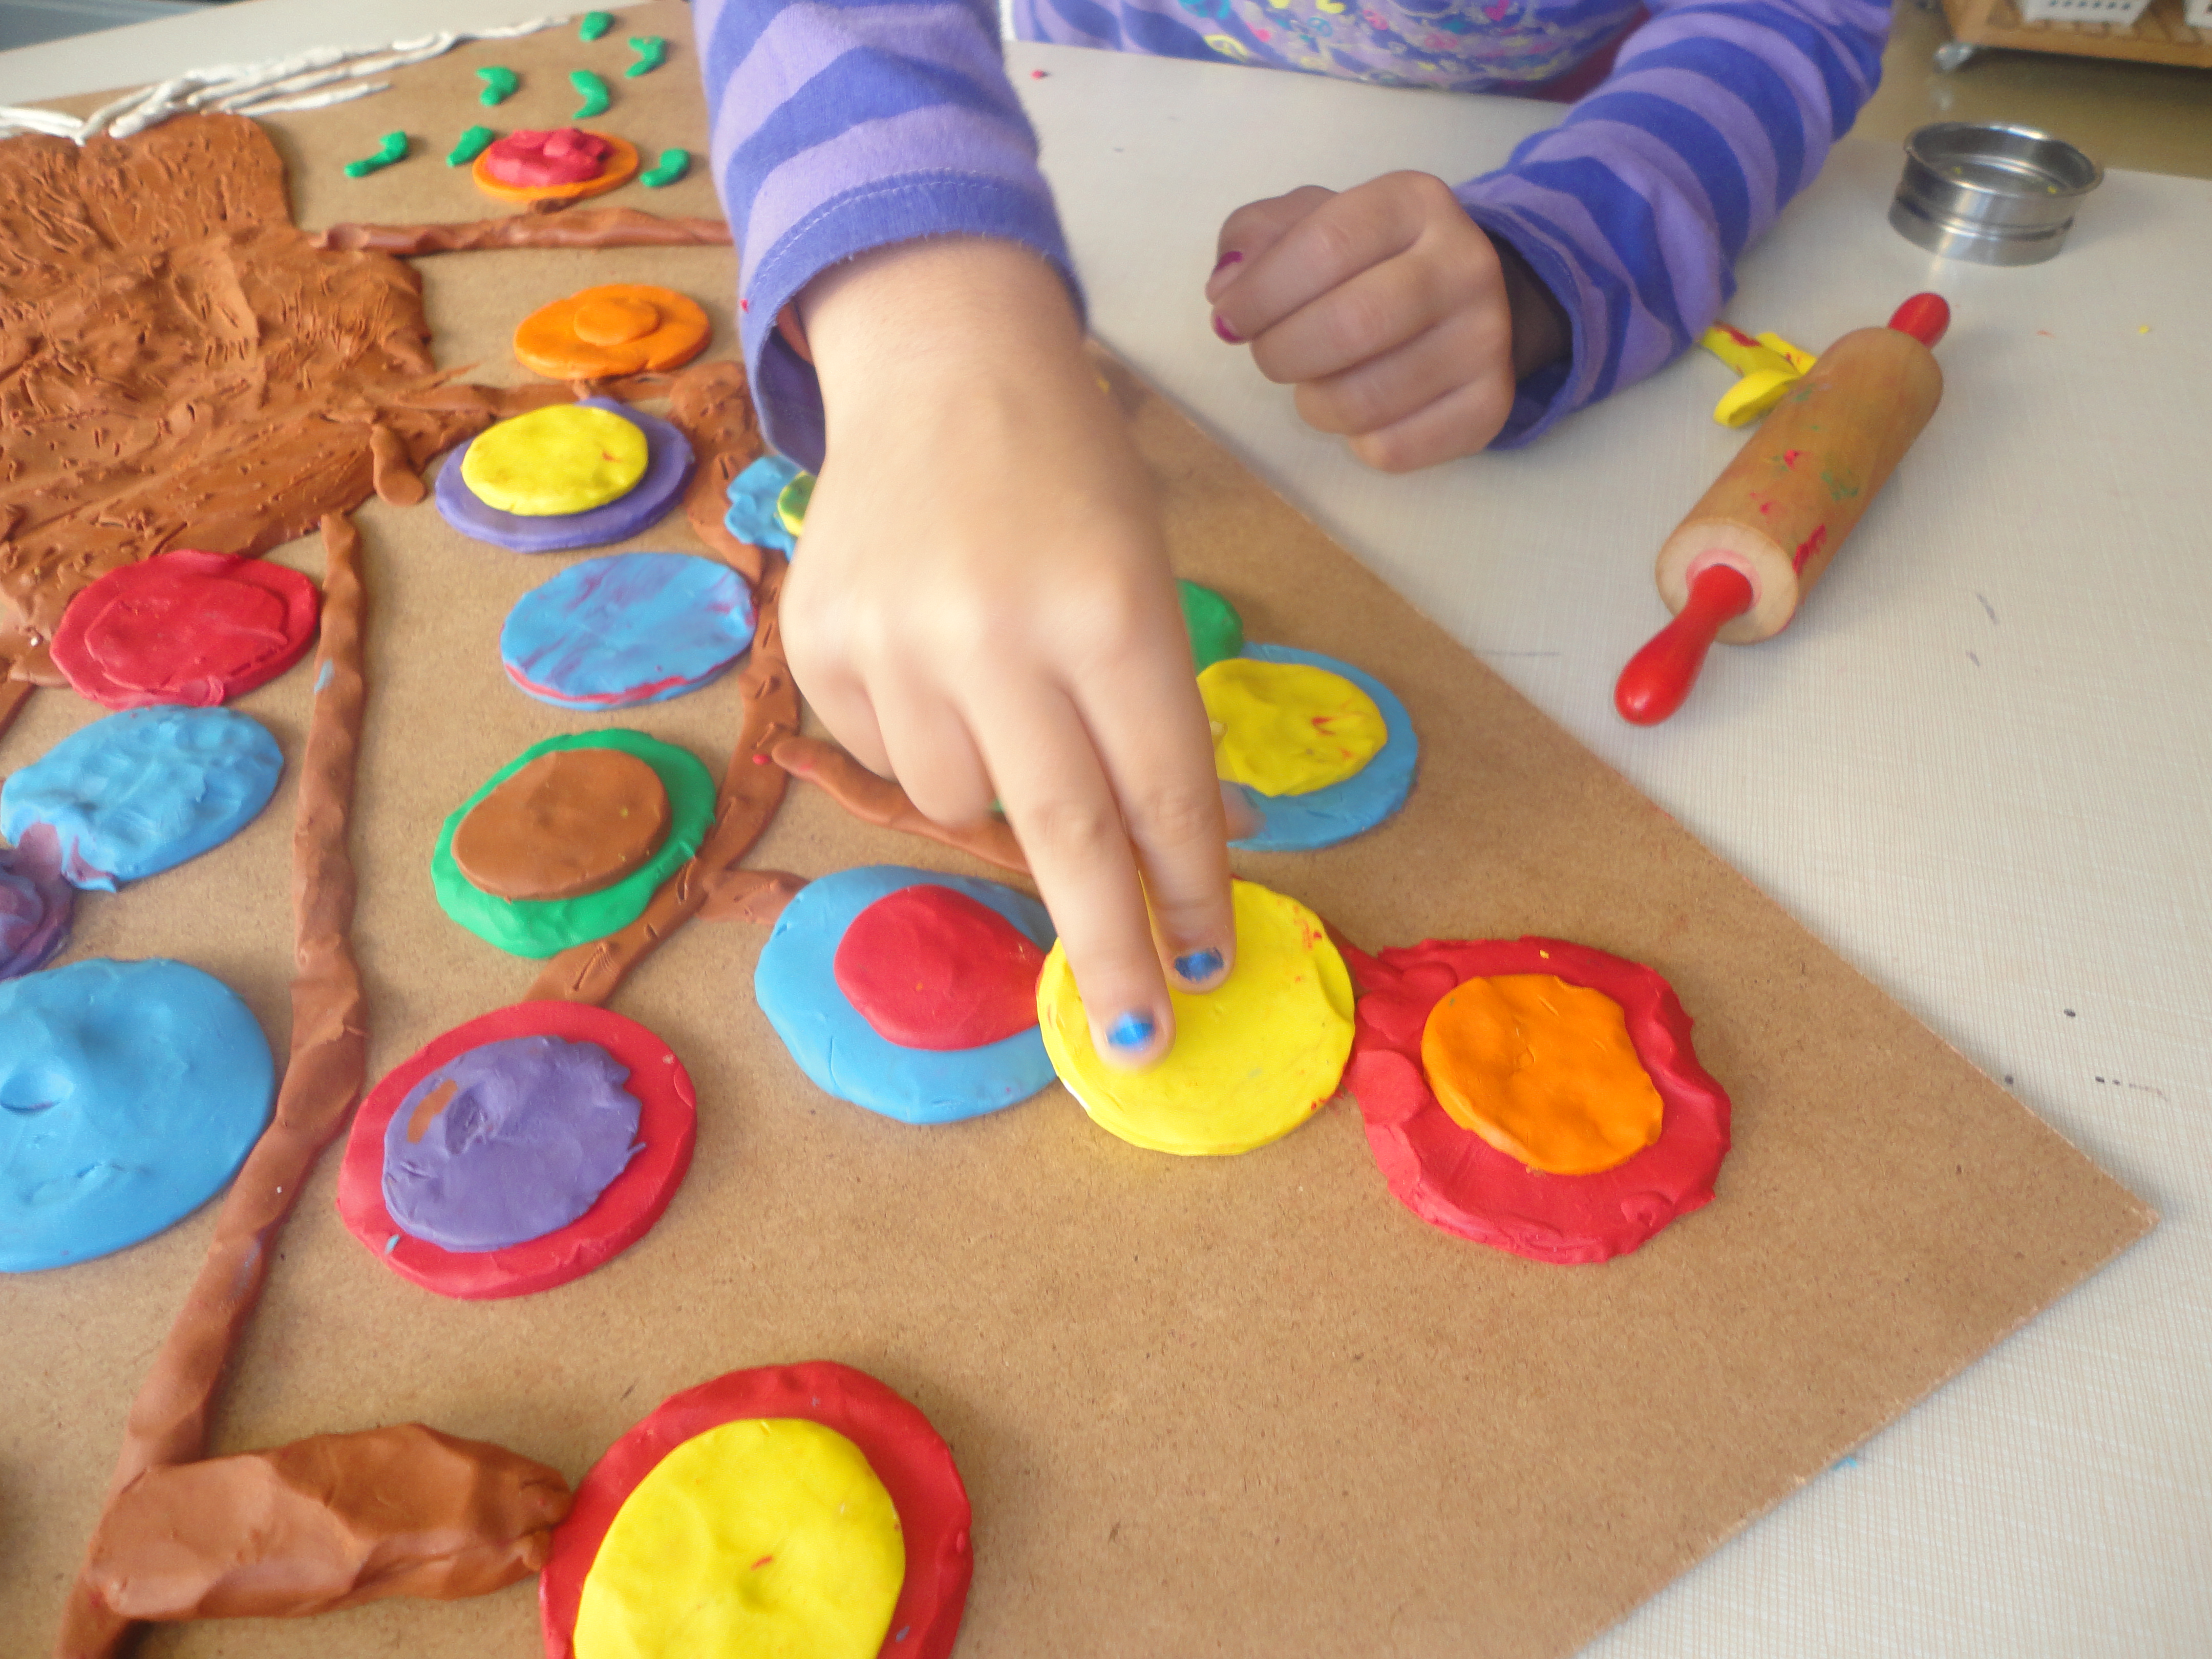
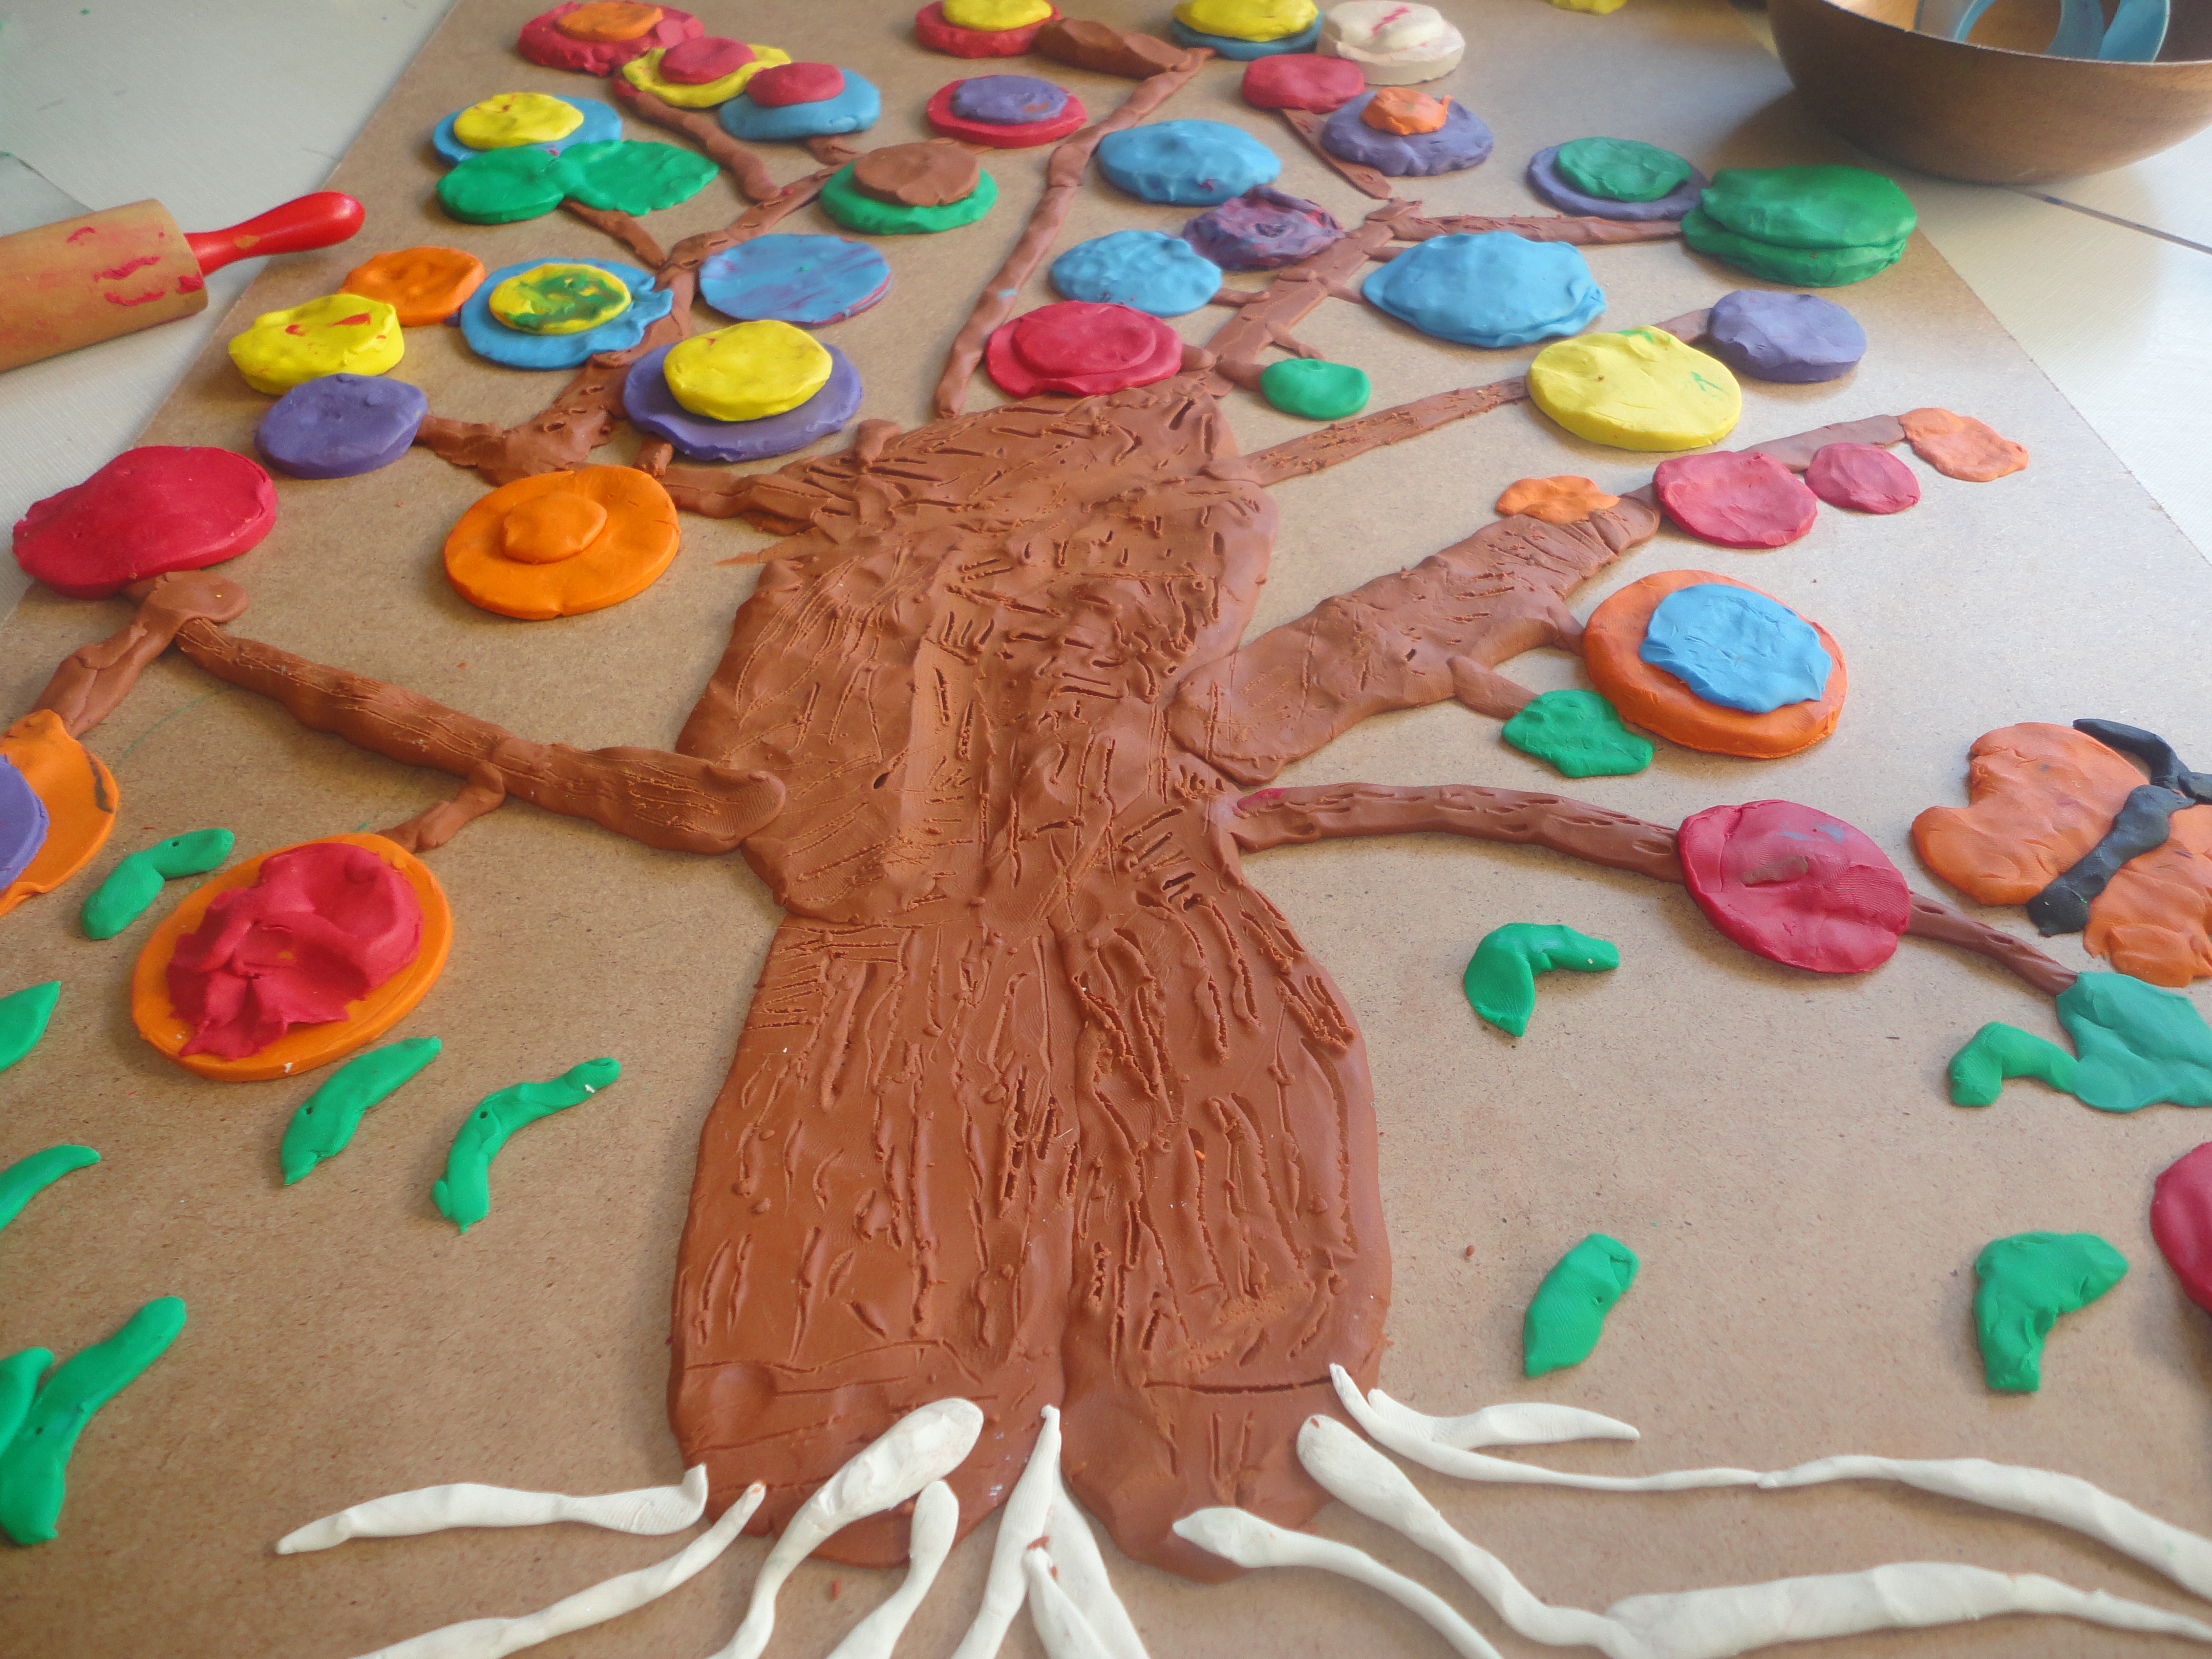
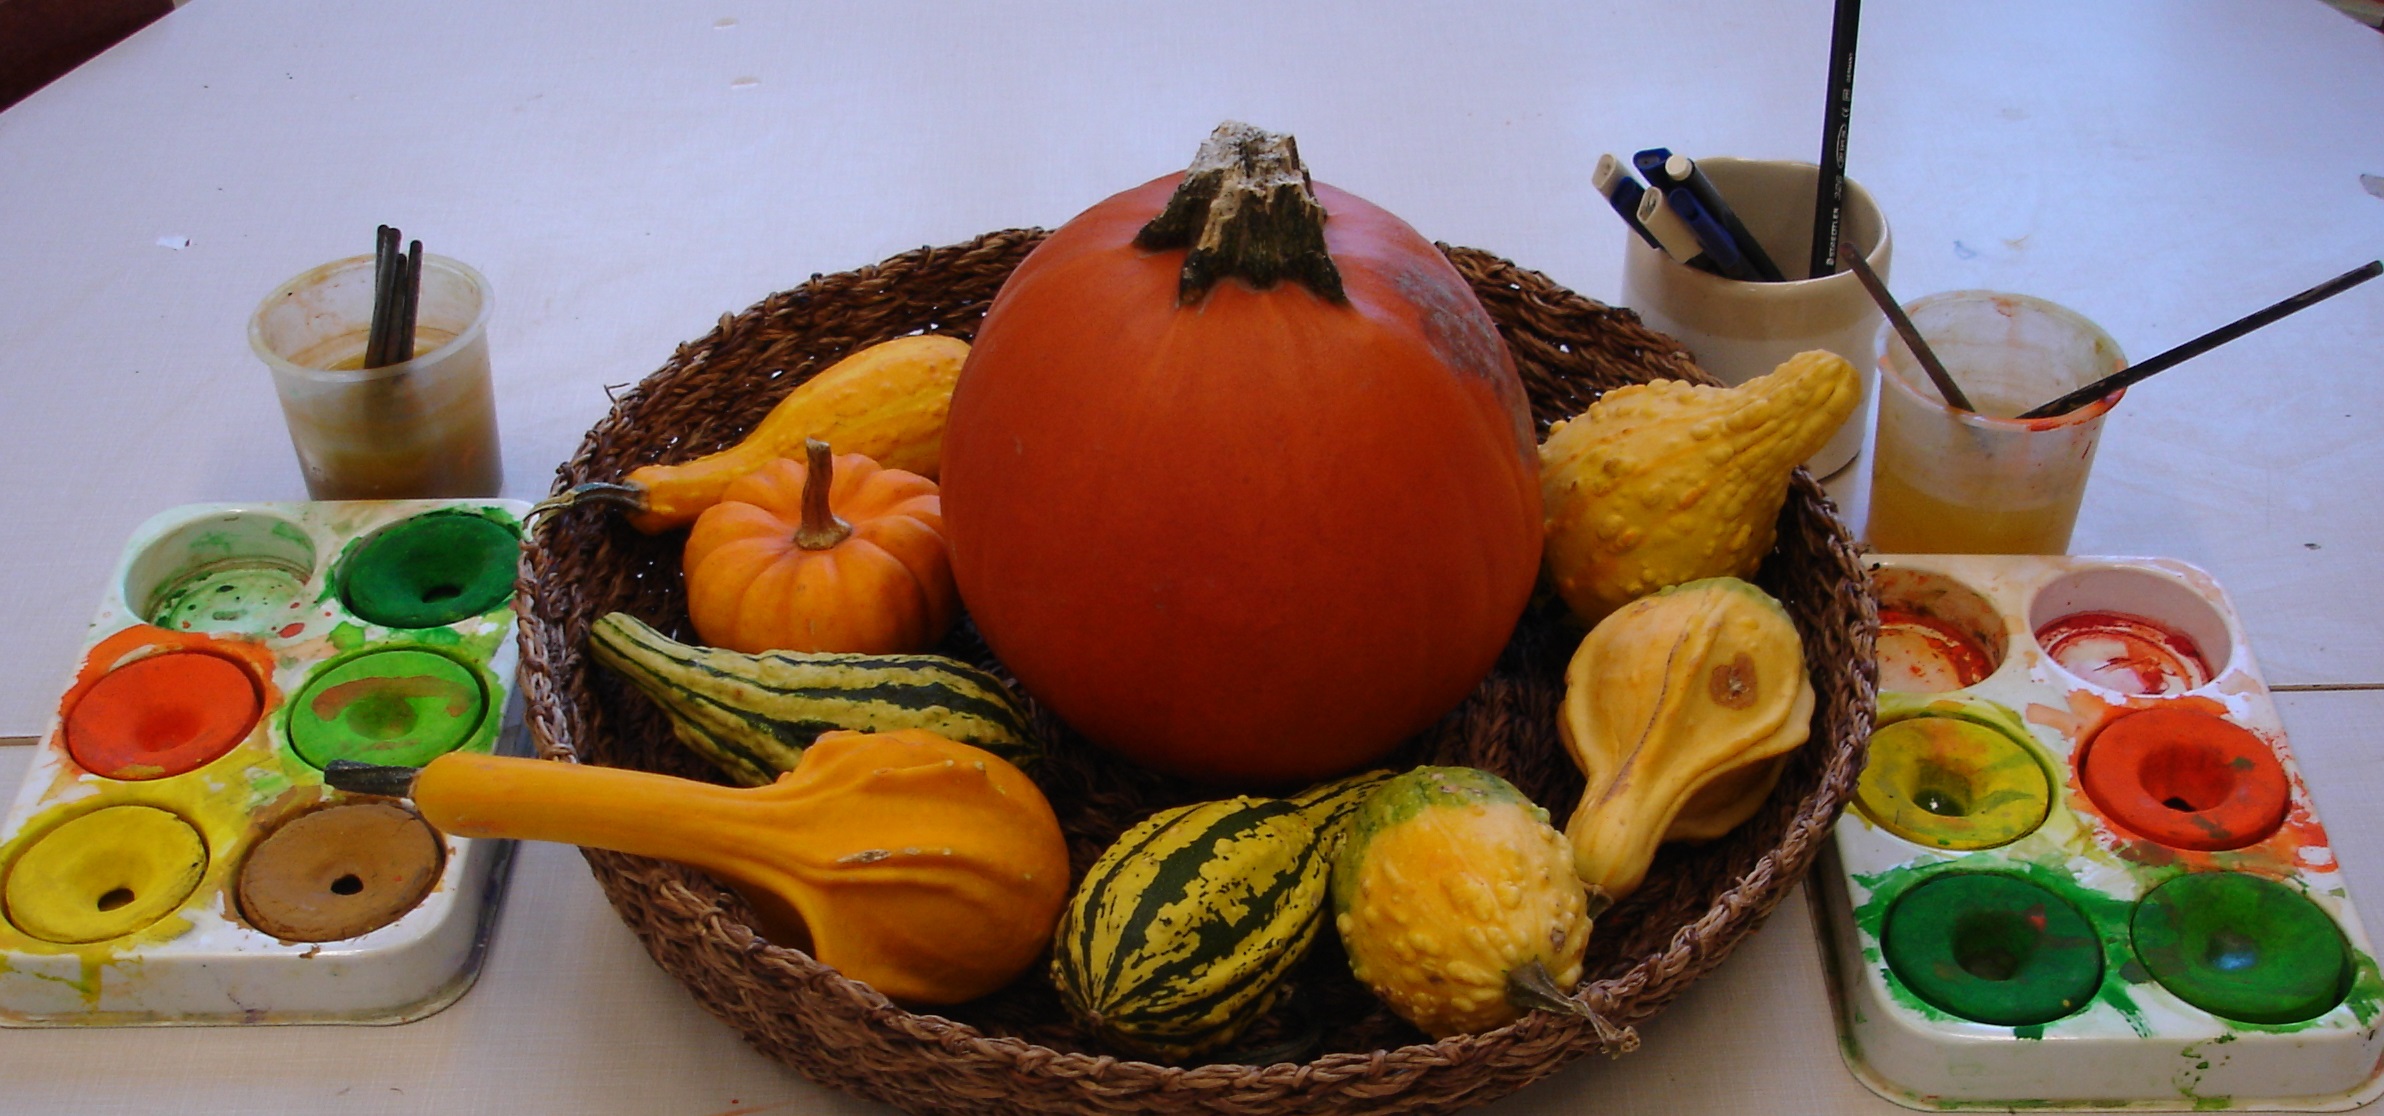
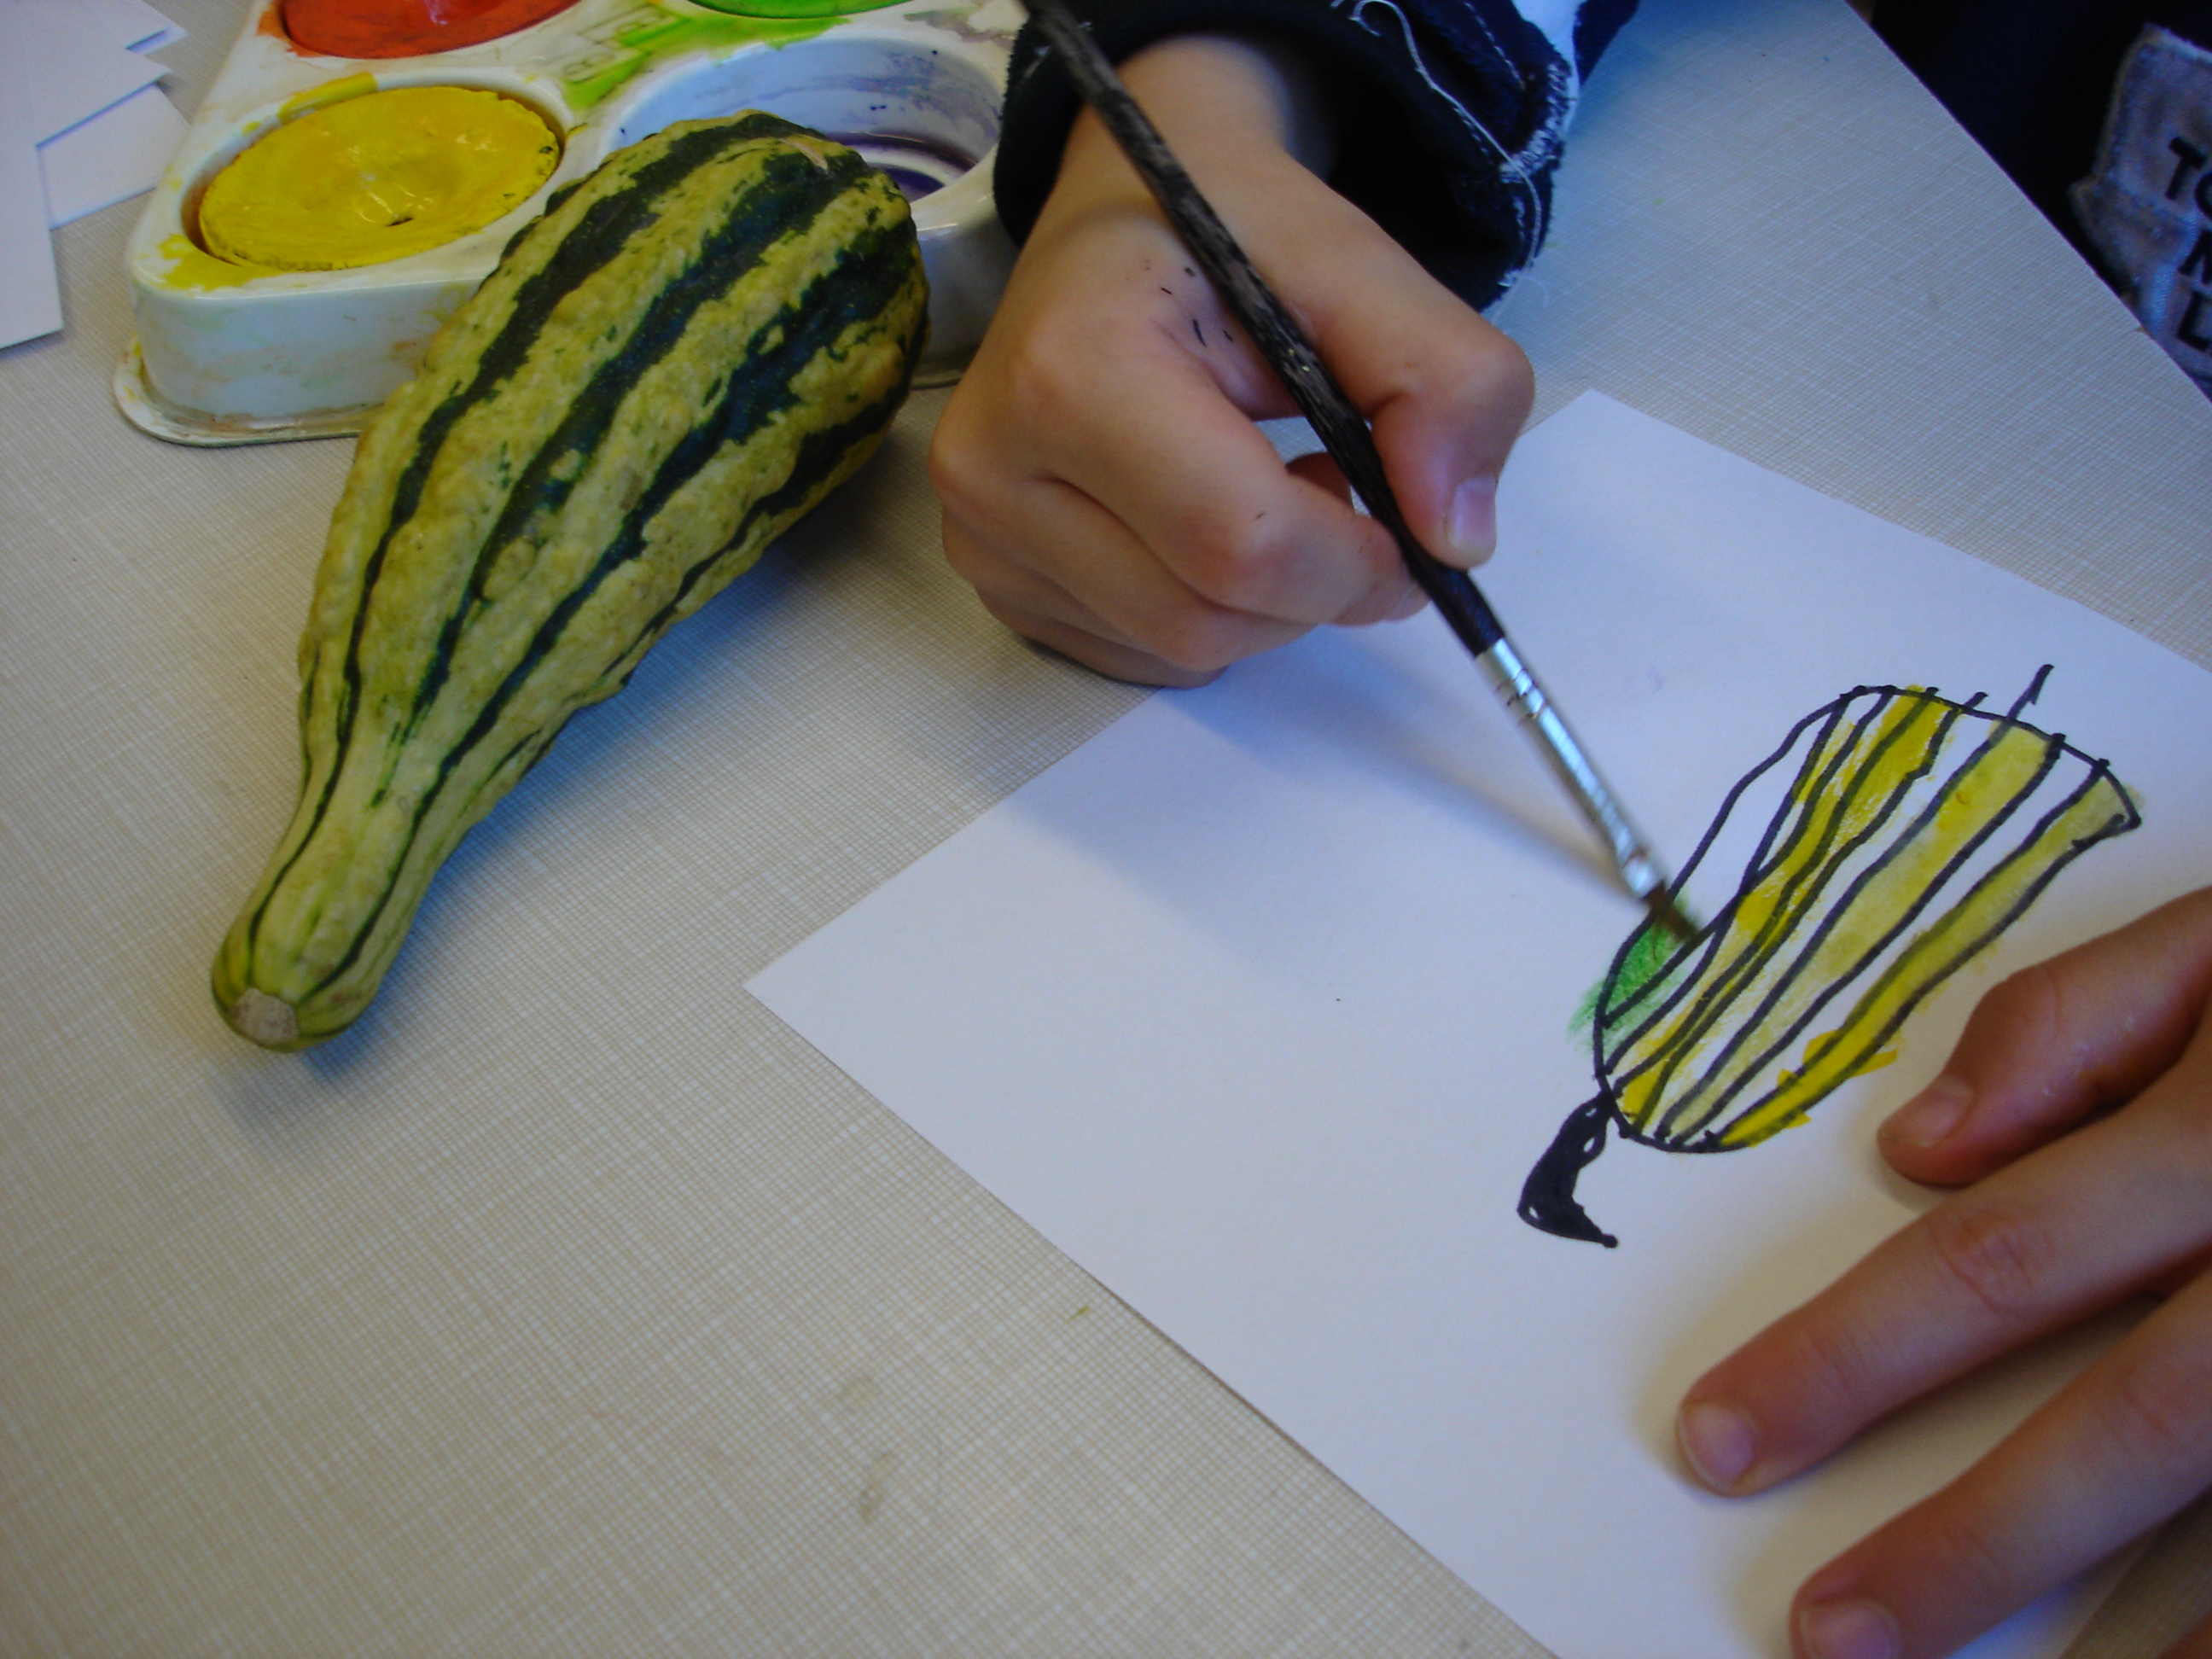
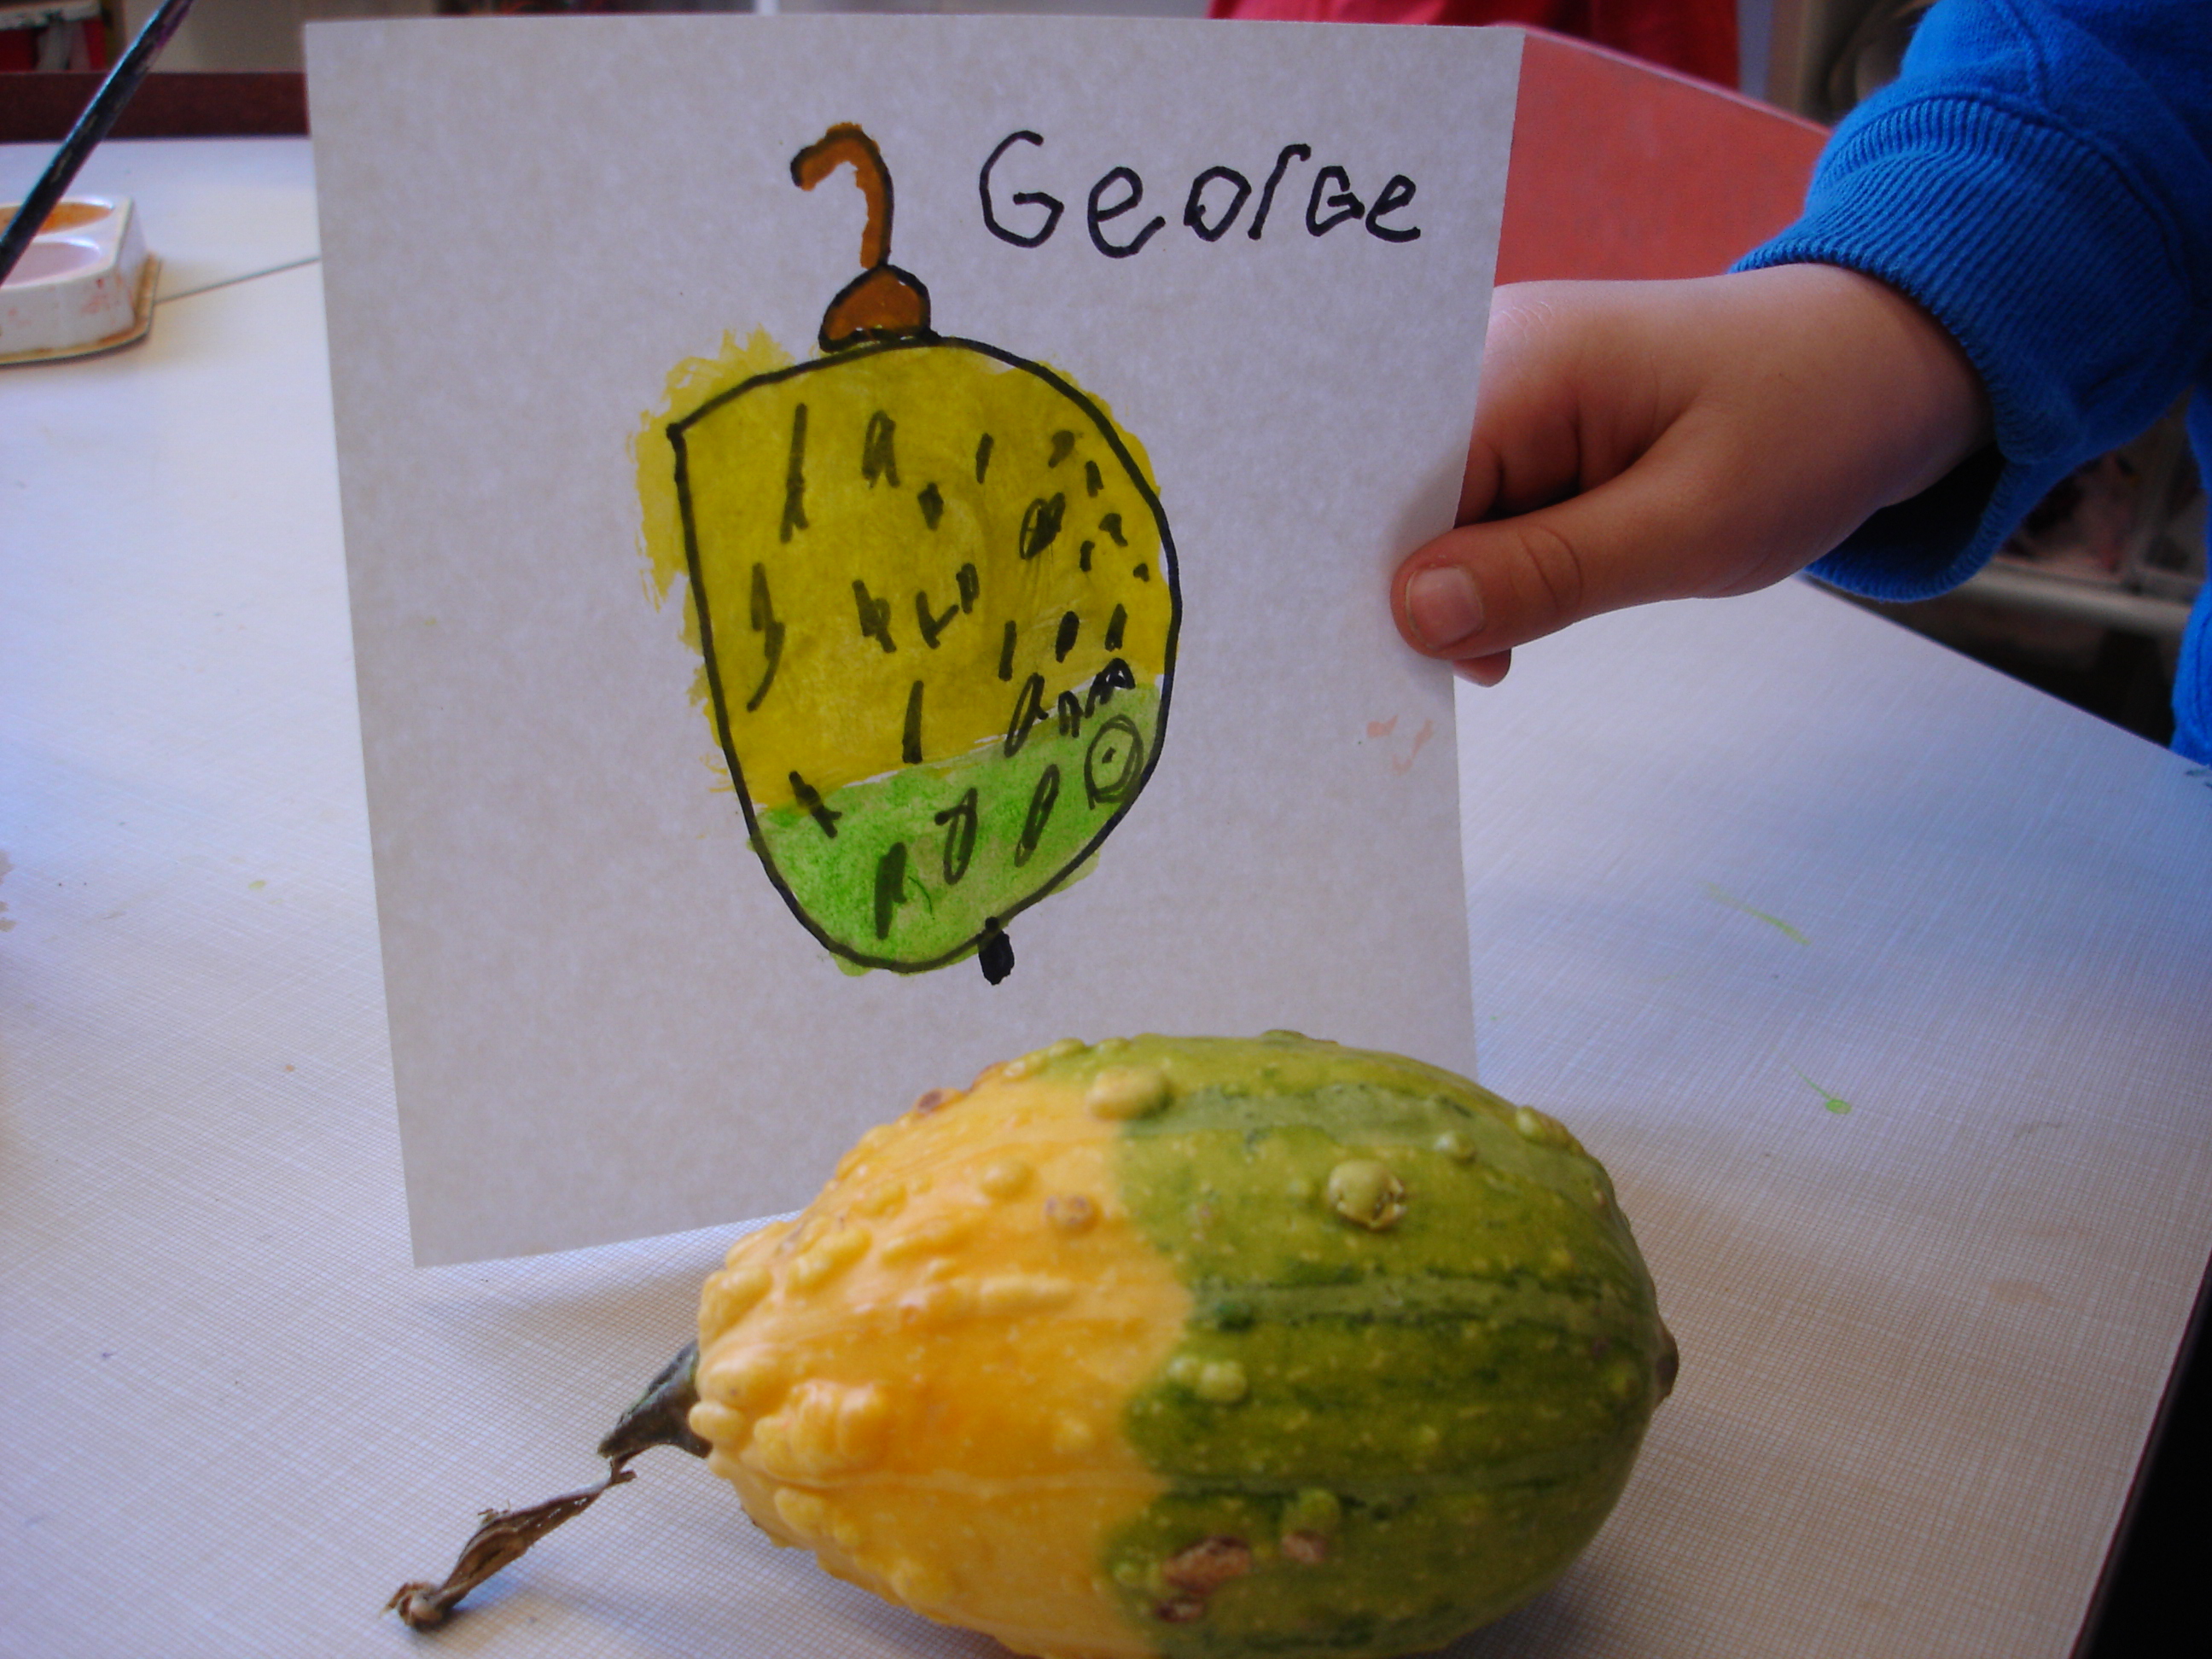
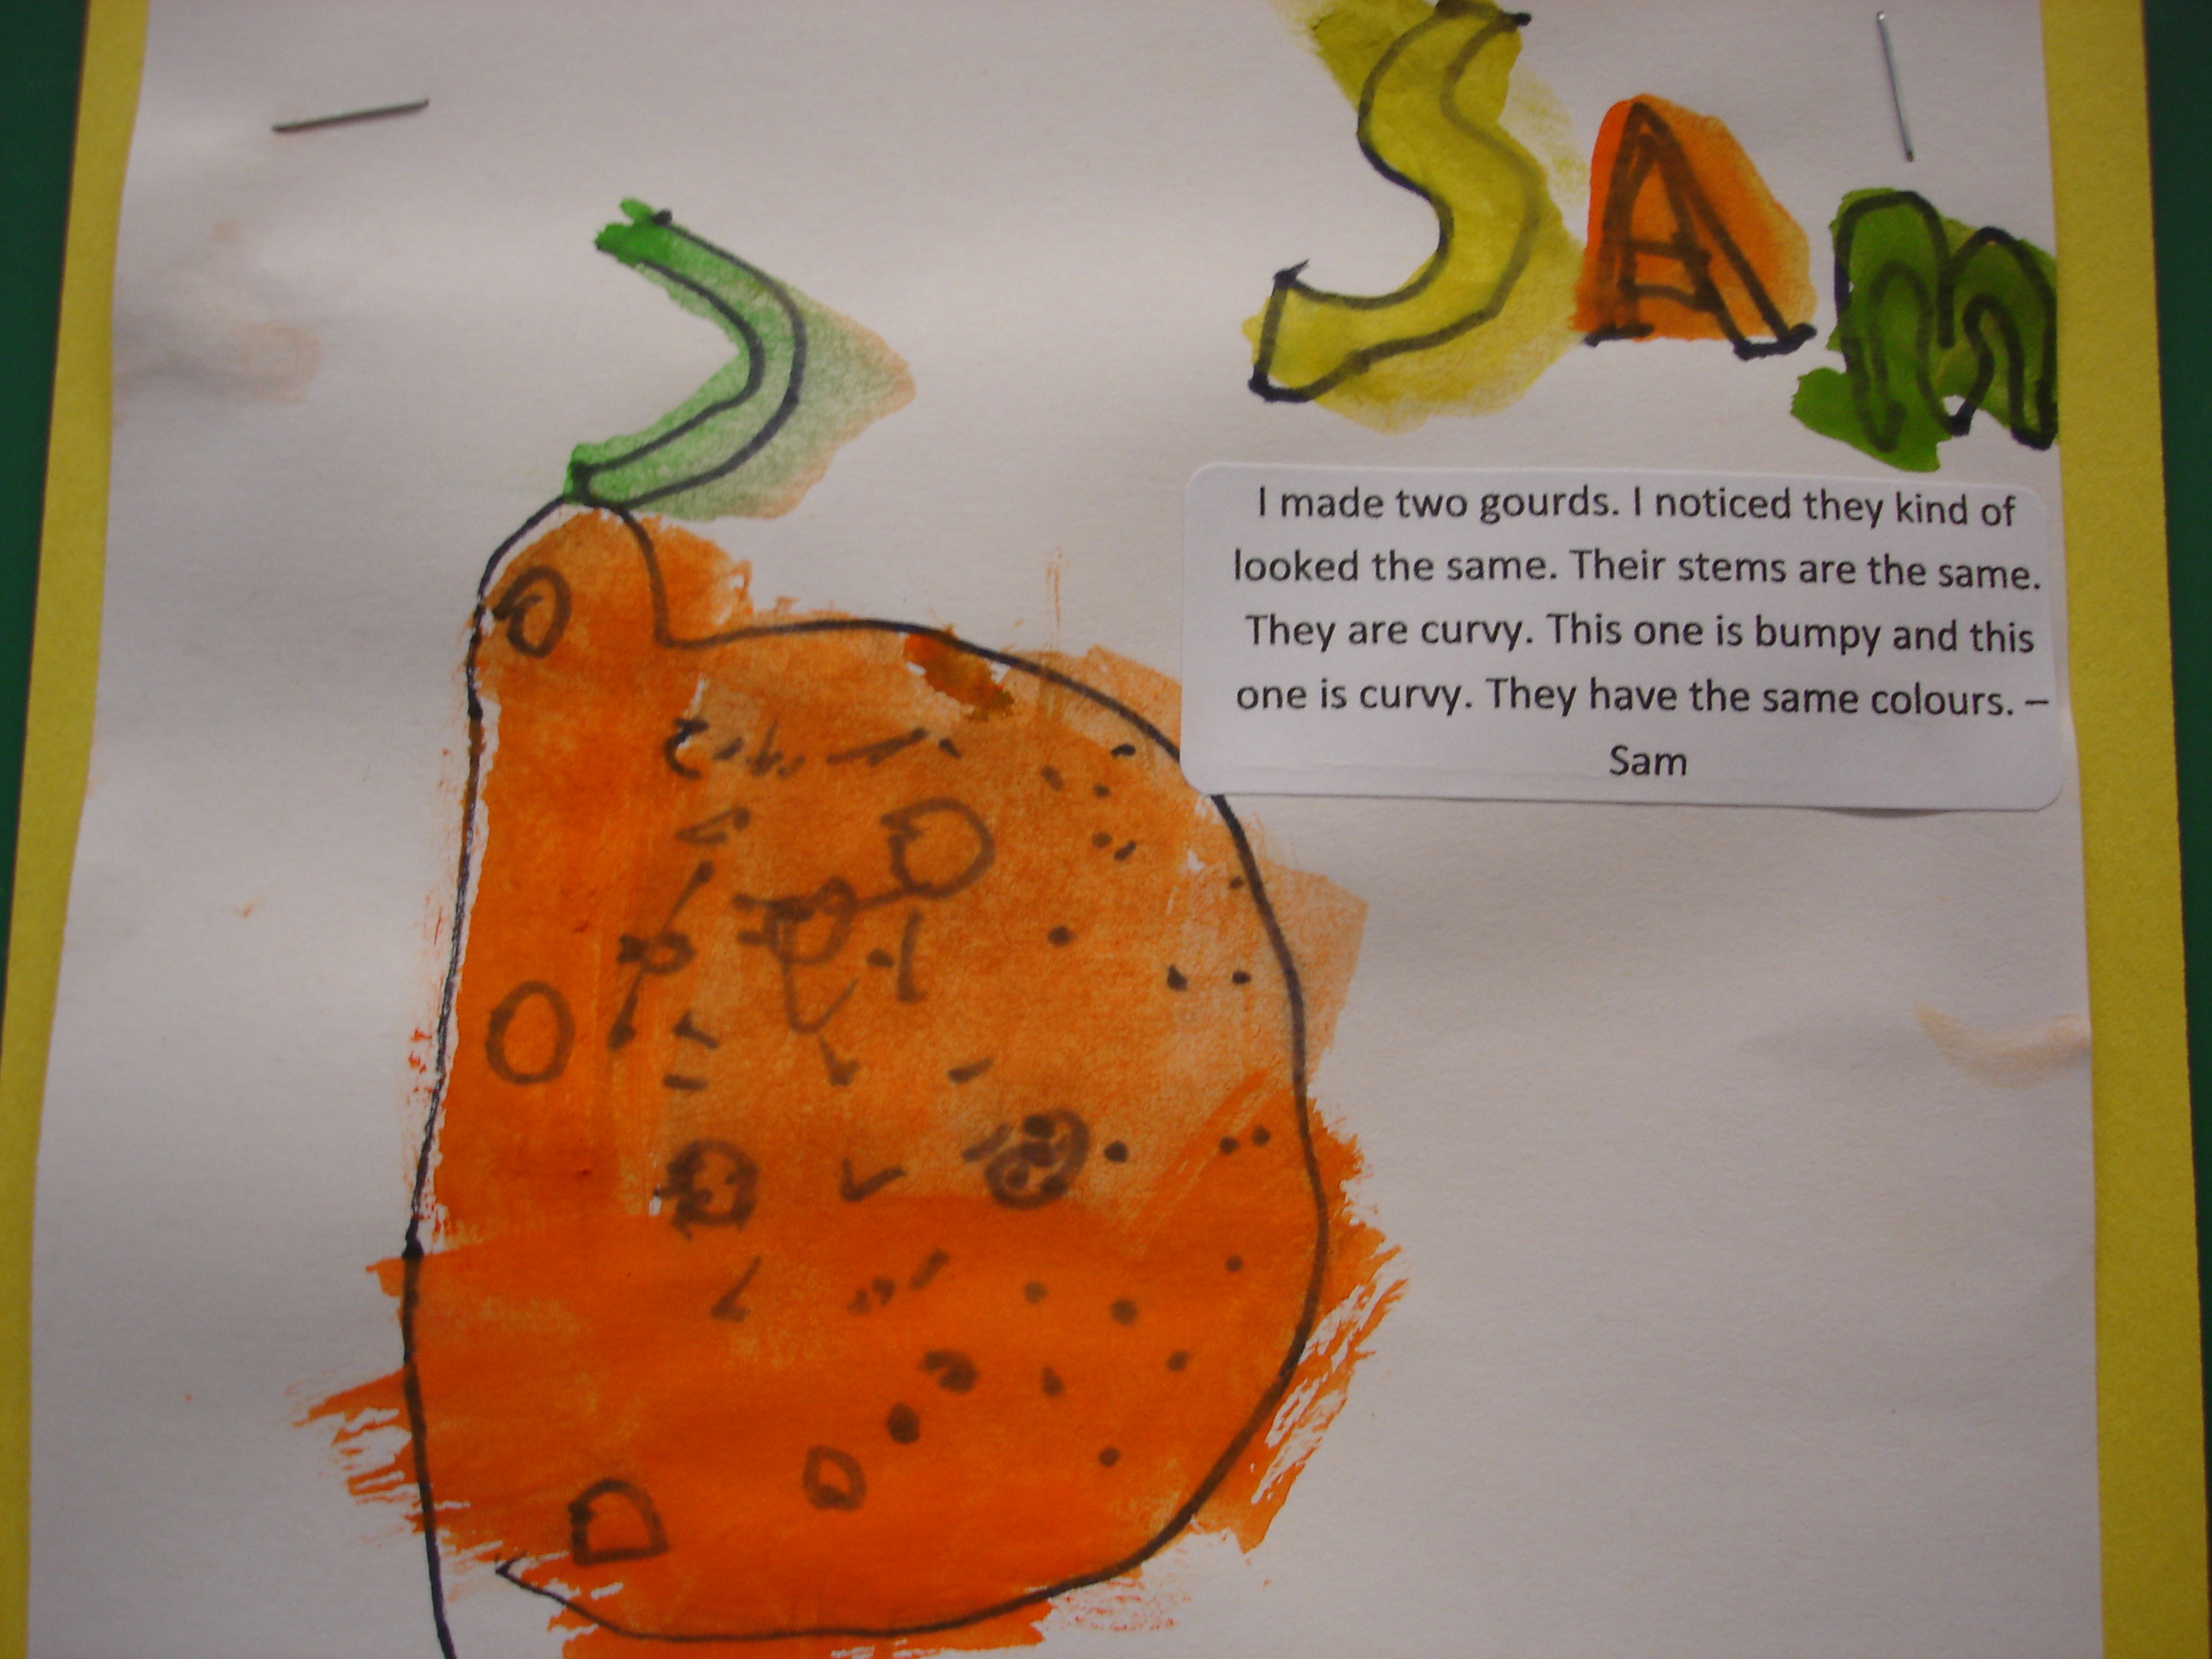
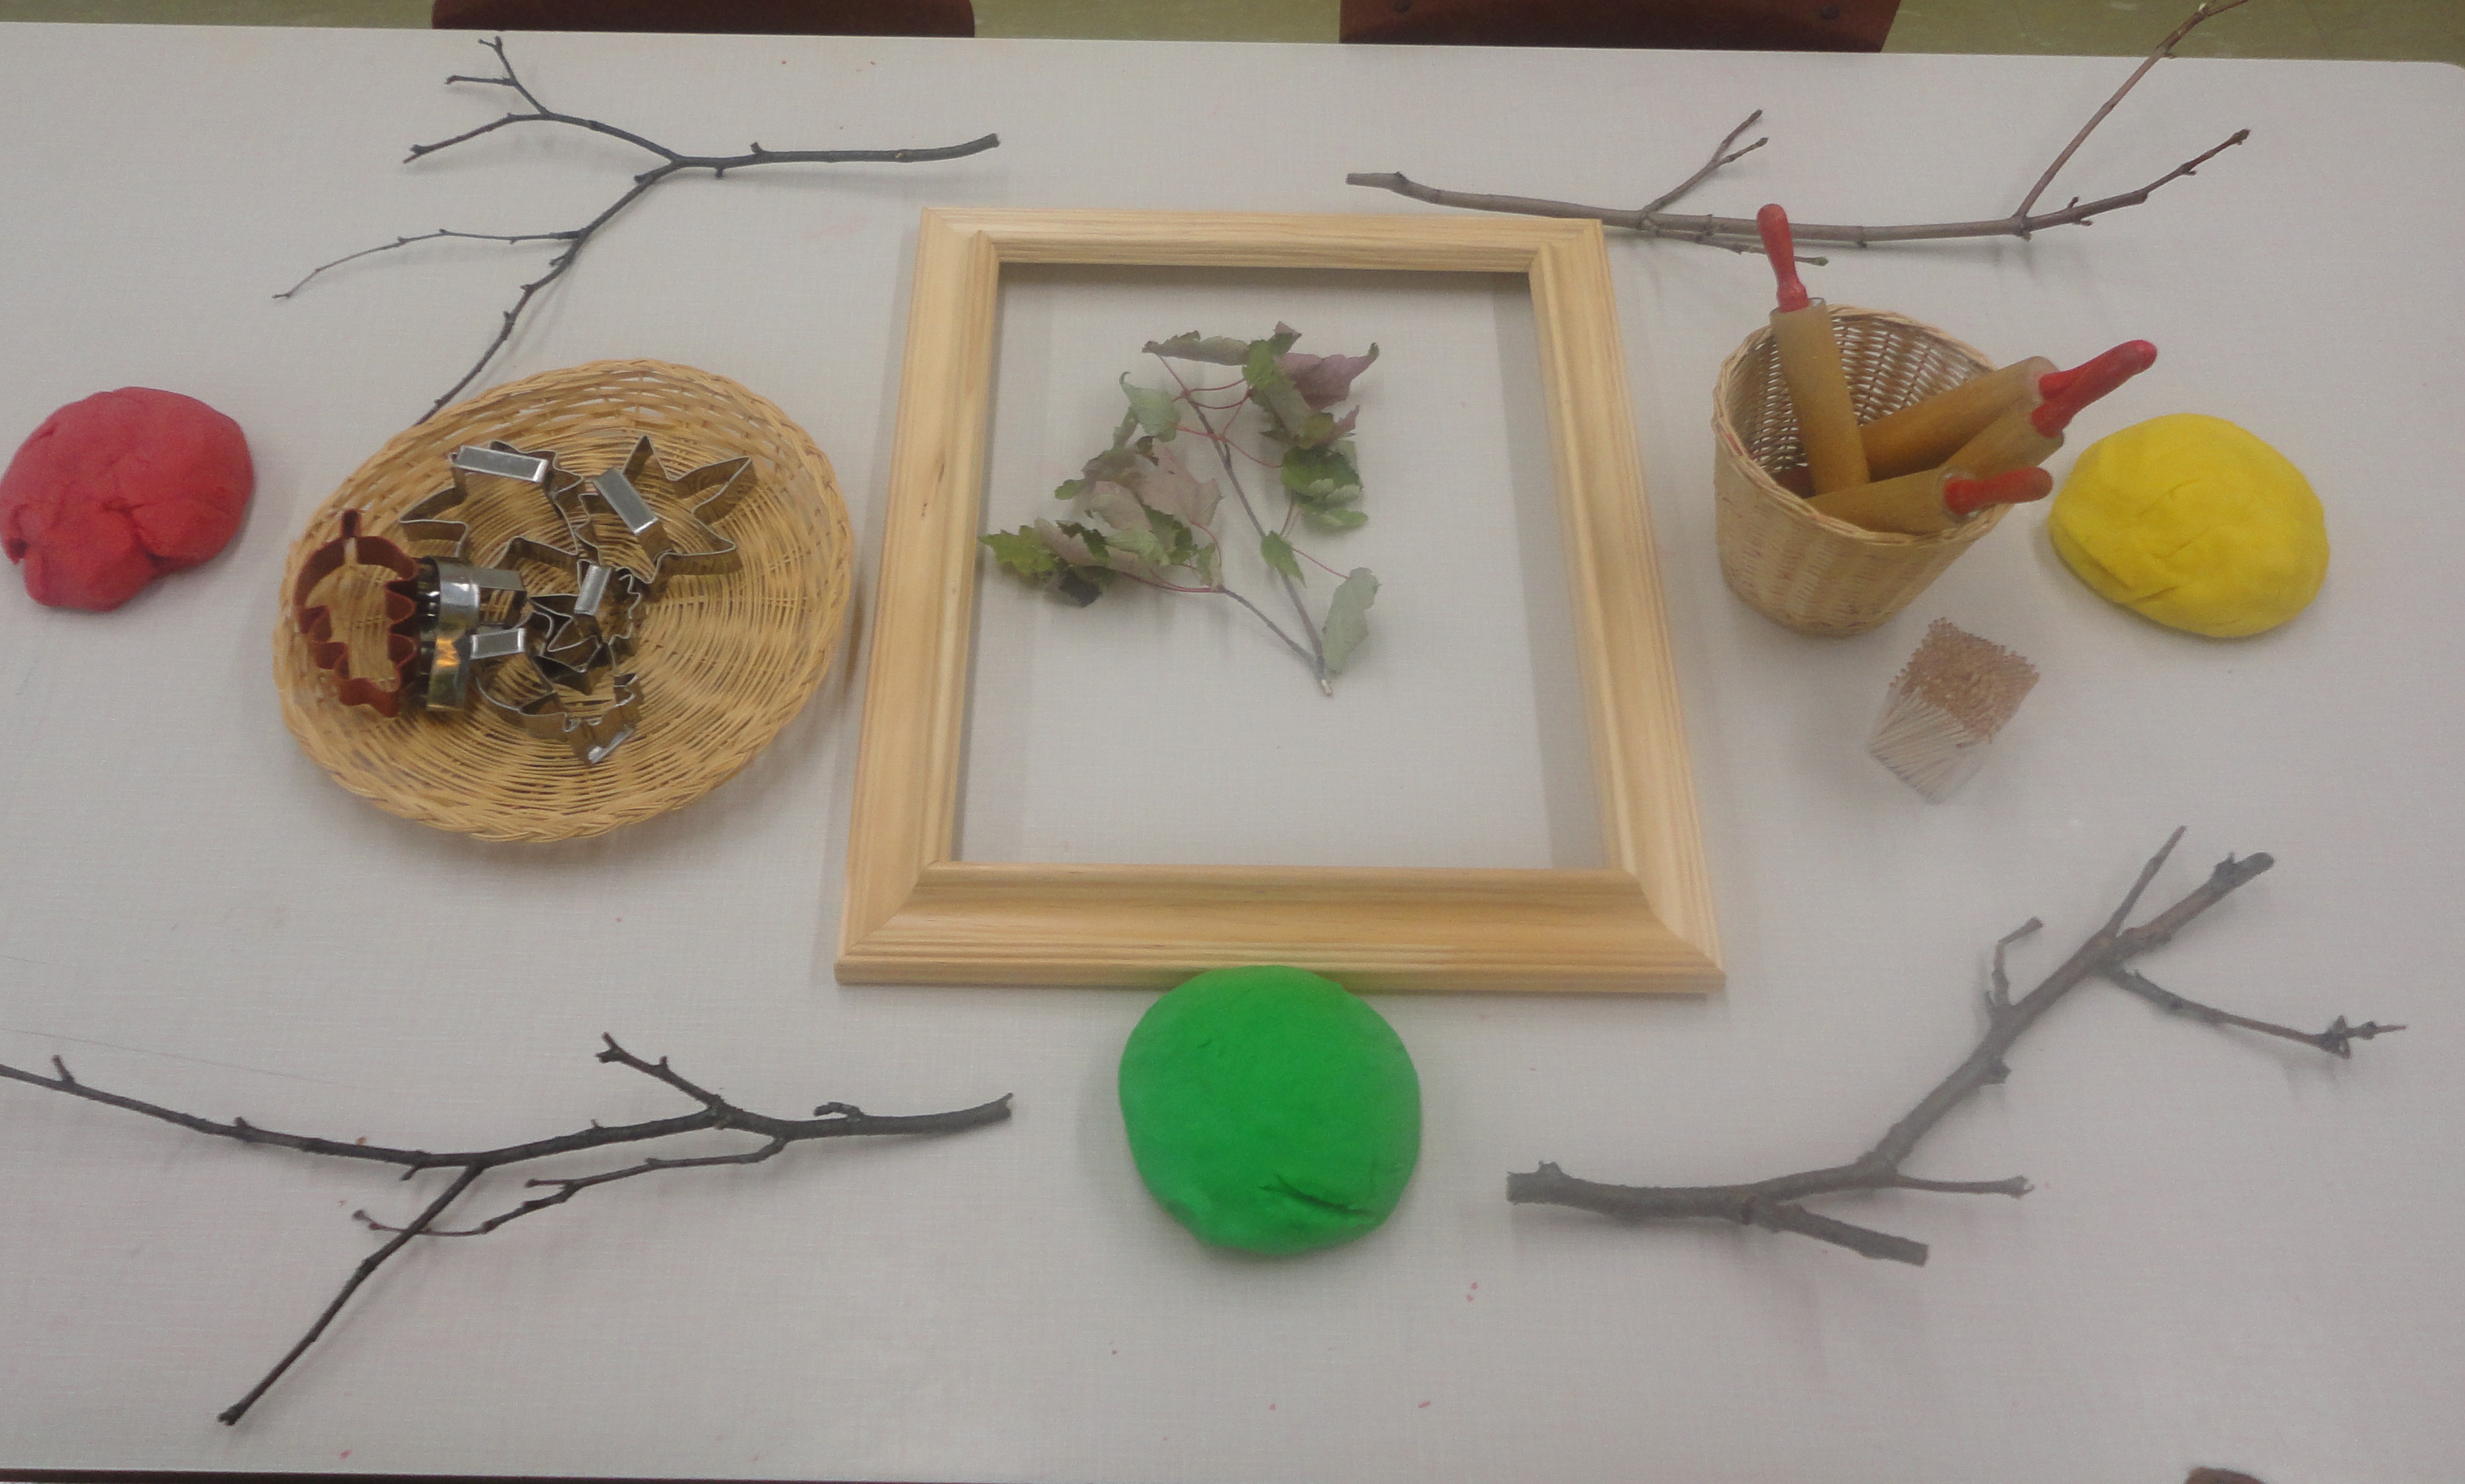
This year I added a new lesson format to our weekly schedule: Art and Fine Motor Instruction. During these weekly lessons we focus on enhancing the children’s fine motor skills through guided instruction. I choose our focus based on the children’s interests and needs or match our drawing practice to the inquiry projects we are working on. During the lesson, each student has their own 9 x 12 whiteboard and whiteboard marker with an eraser. I find that the non-permanence of the whiteboard is especially wonderful for this type of practice because it is totally risk-free. If the children draw something they don’t like, they can simply erase it and try again without getting frustrated. The format is completely accessible for all my learners – even those that are still learning how to grip a writing utensil correctly. I have to say, our weekly art lesson is probably my most treasured time of the week. The children are so engaged, focused, and excited. They always leave the lesson feeling more confident as artists than they did when they began.

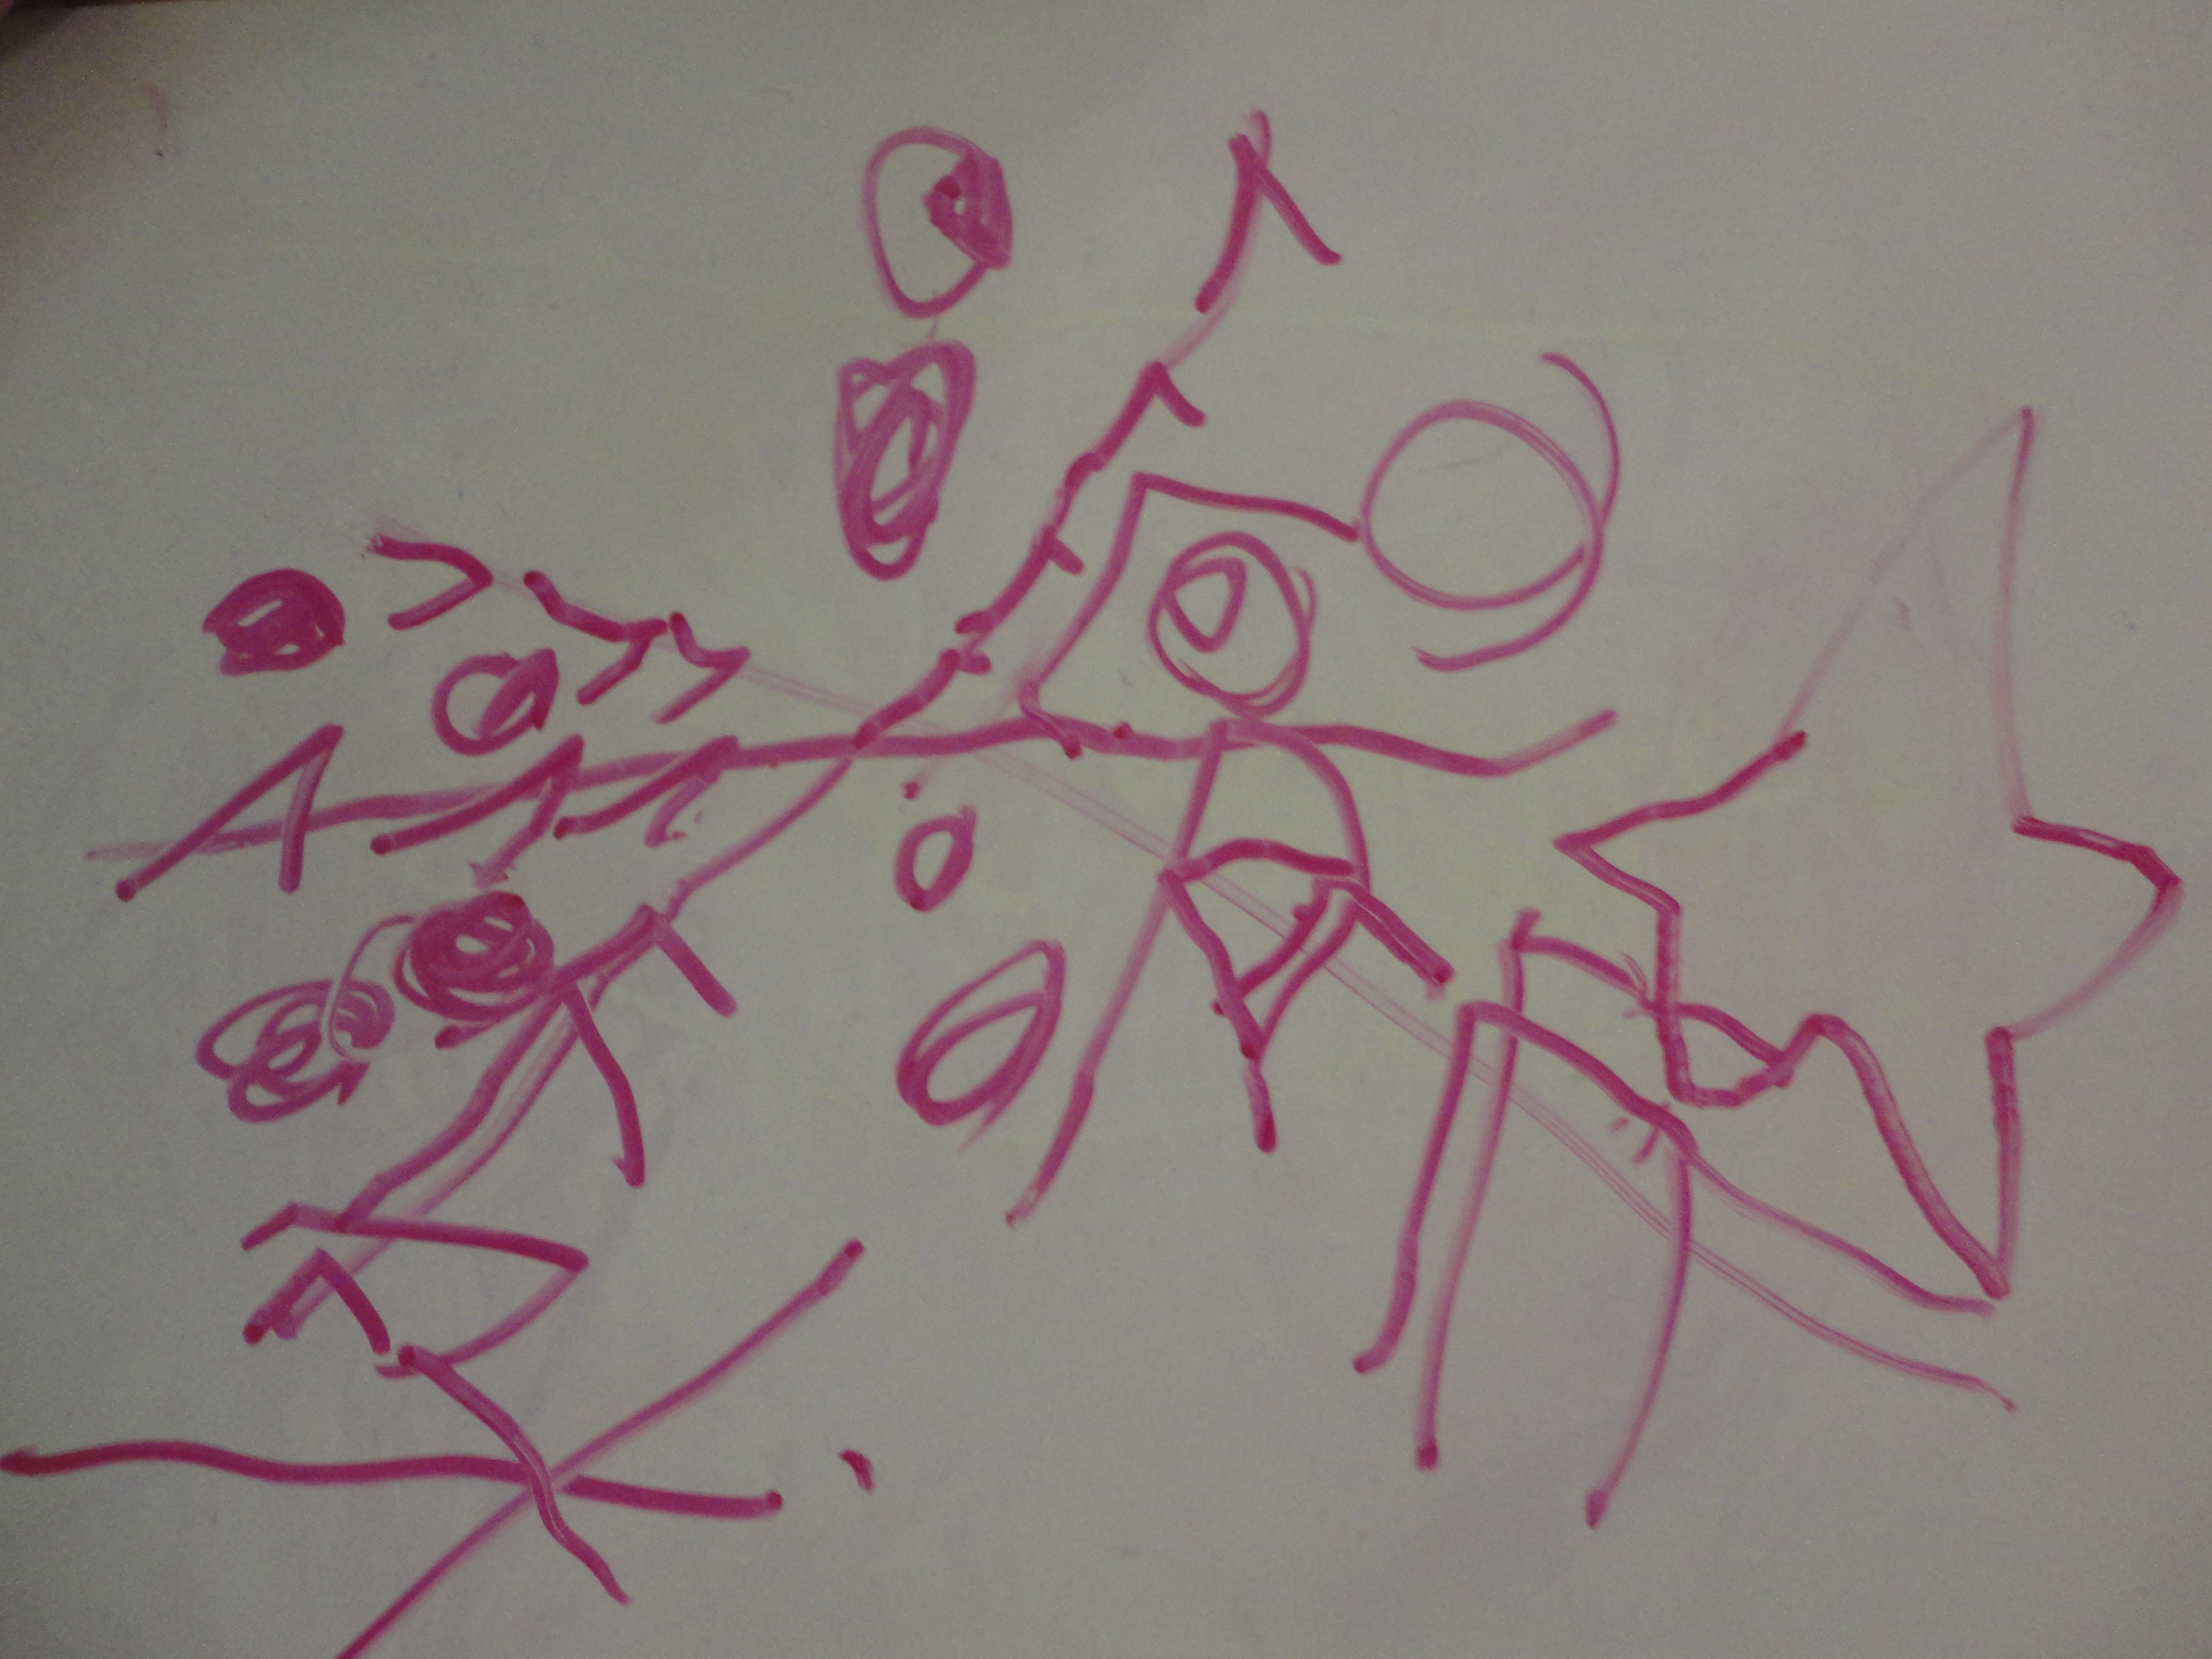
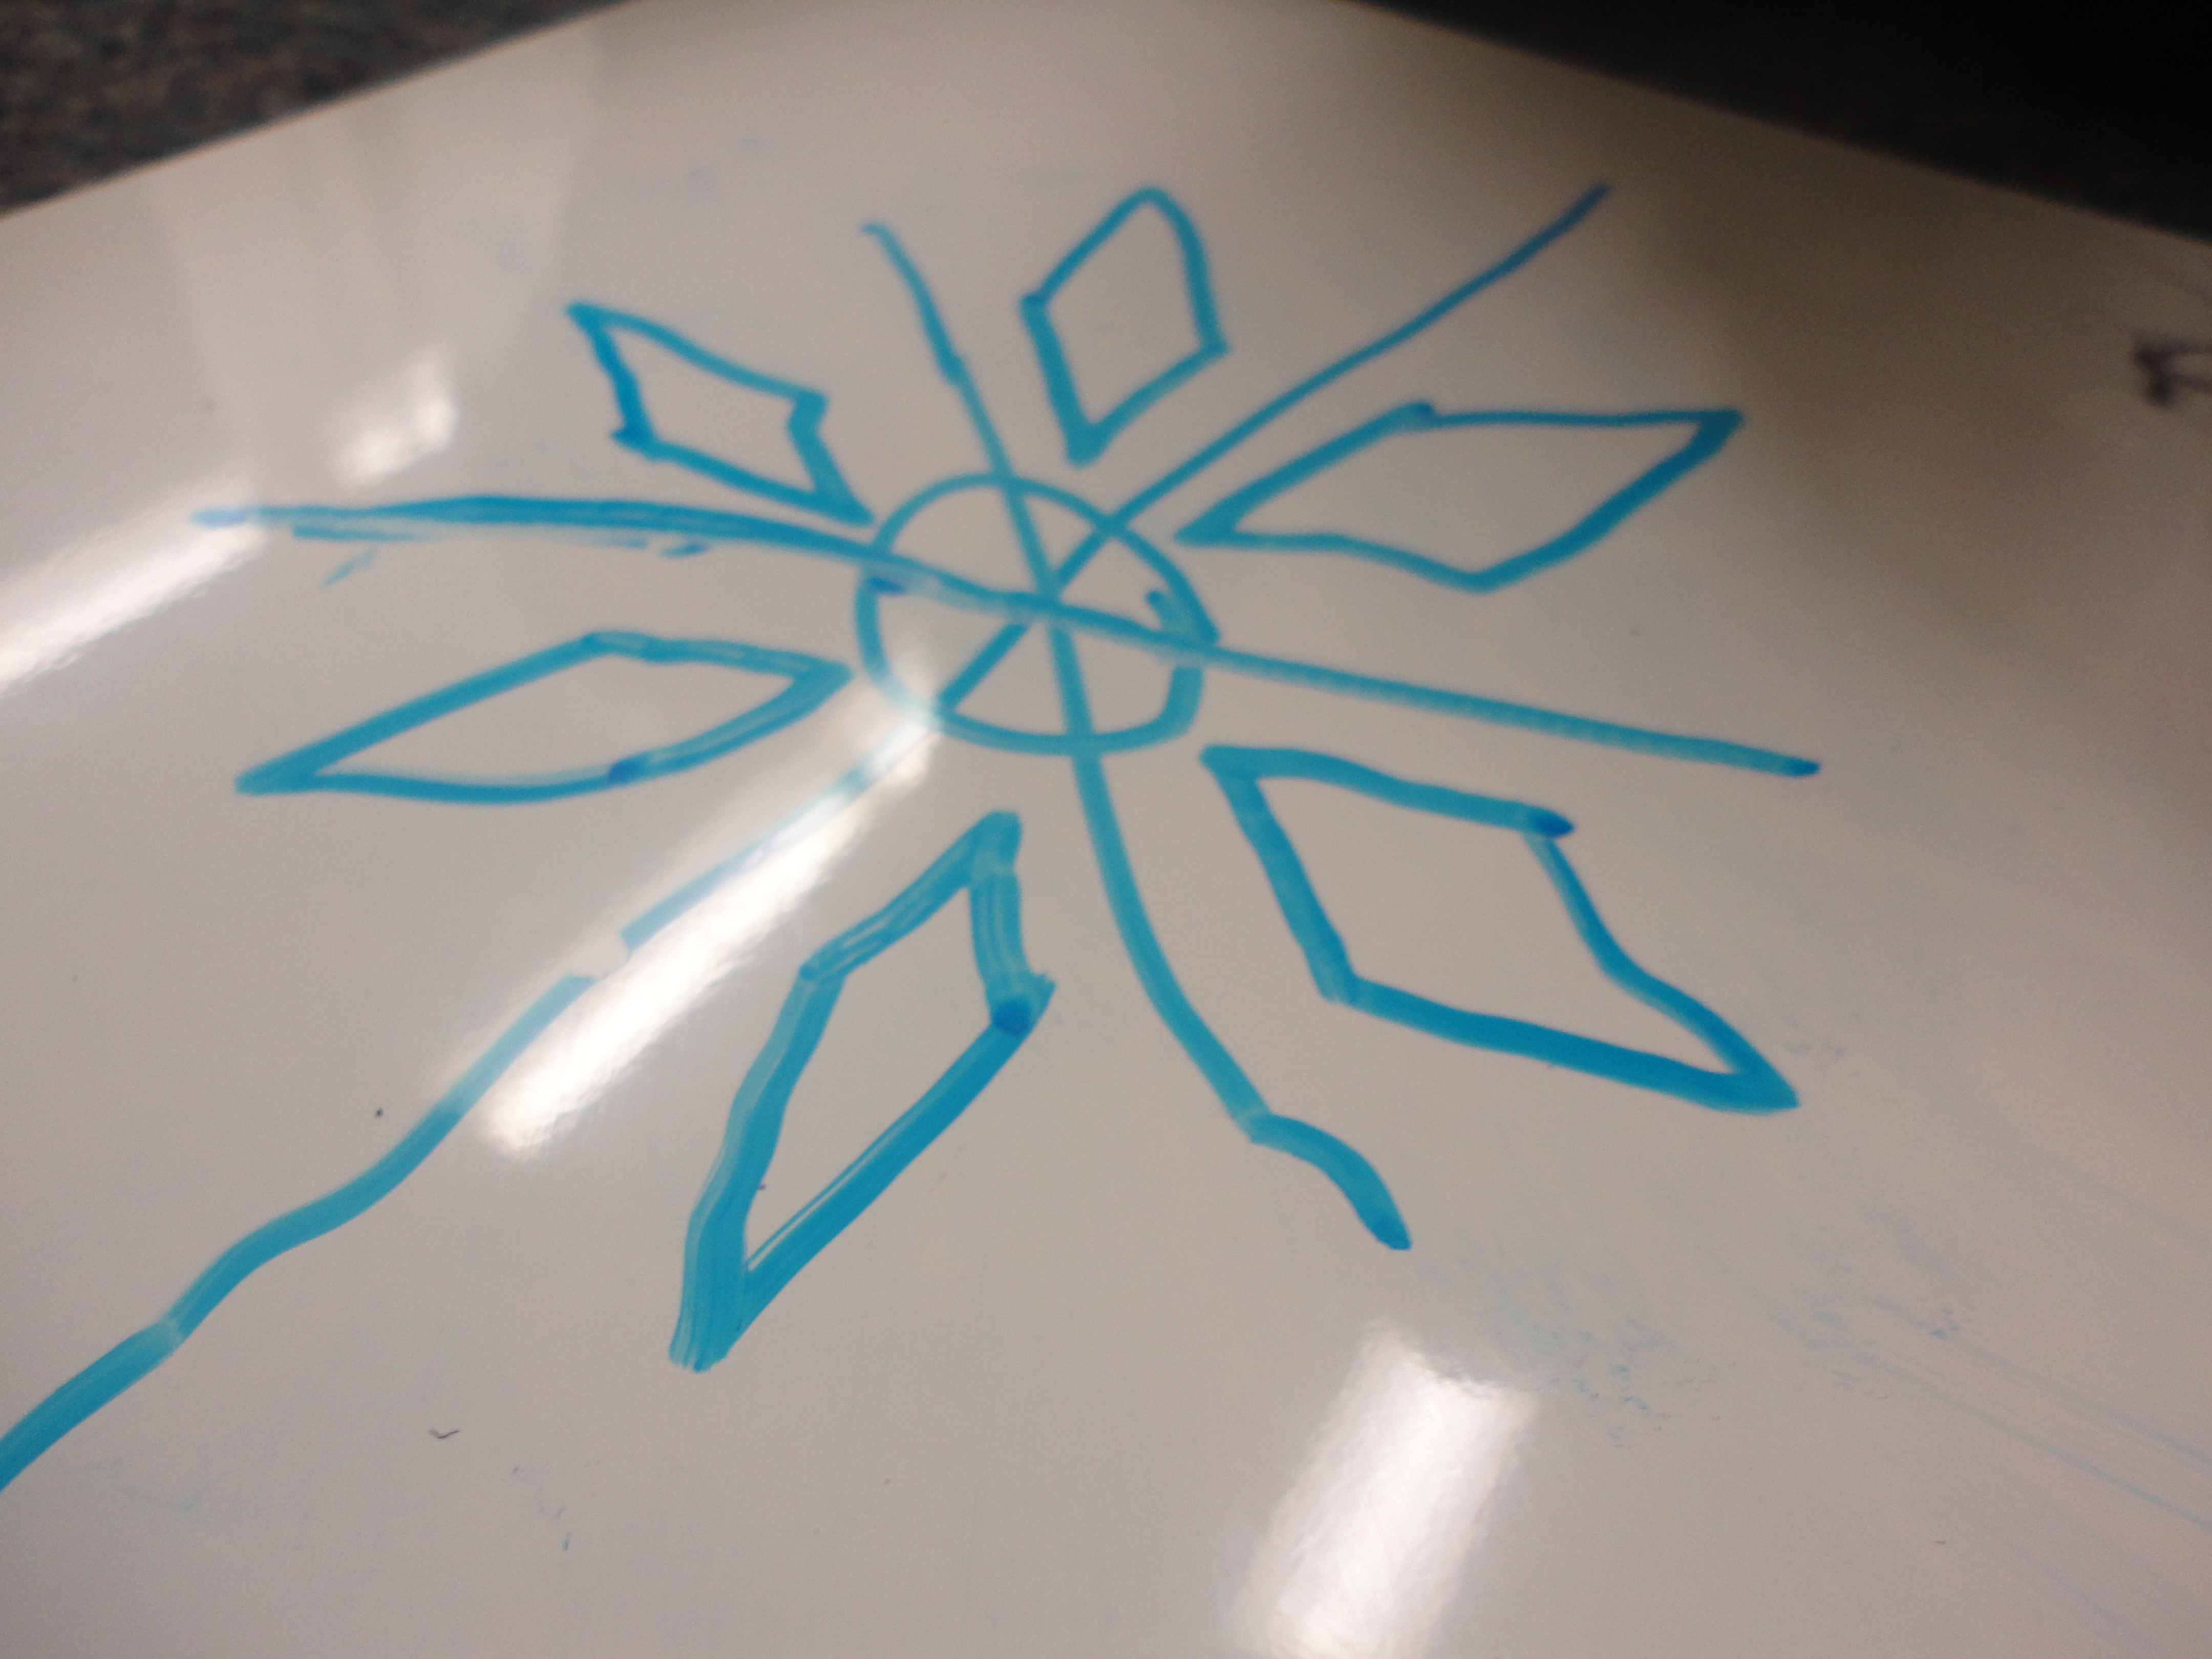
This week, our focus was on drawing Snowflakes. I had noticed that snowflake designs were beginning to pop up everywhere – at the light table and in the children’s art and writing. I found this wonderful video on Youtube that provided some wonderful inspiration for the students and teaching points for me:

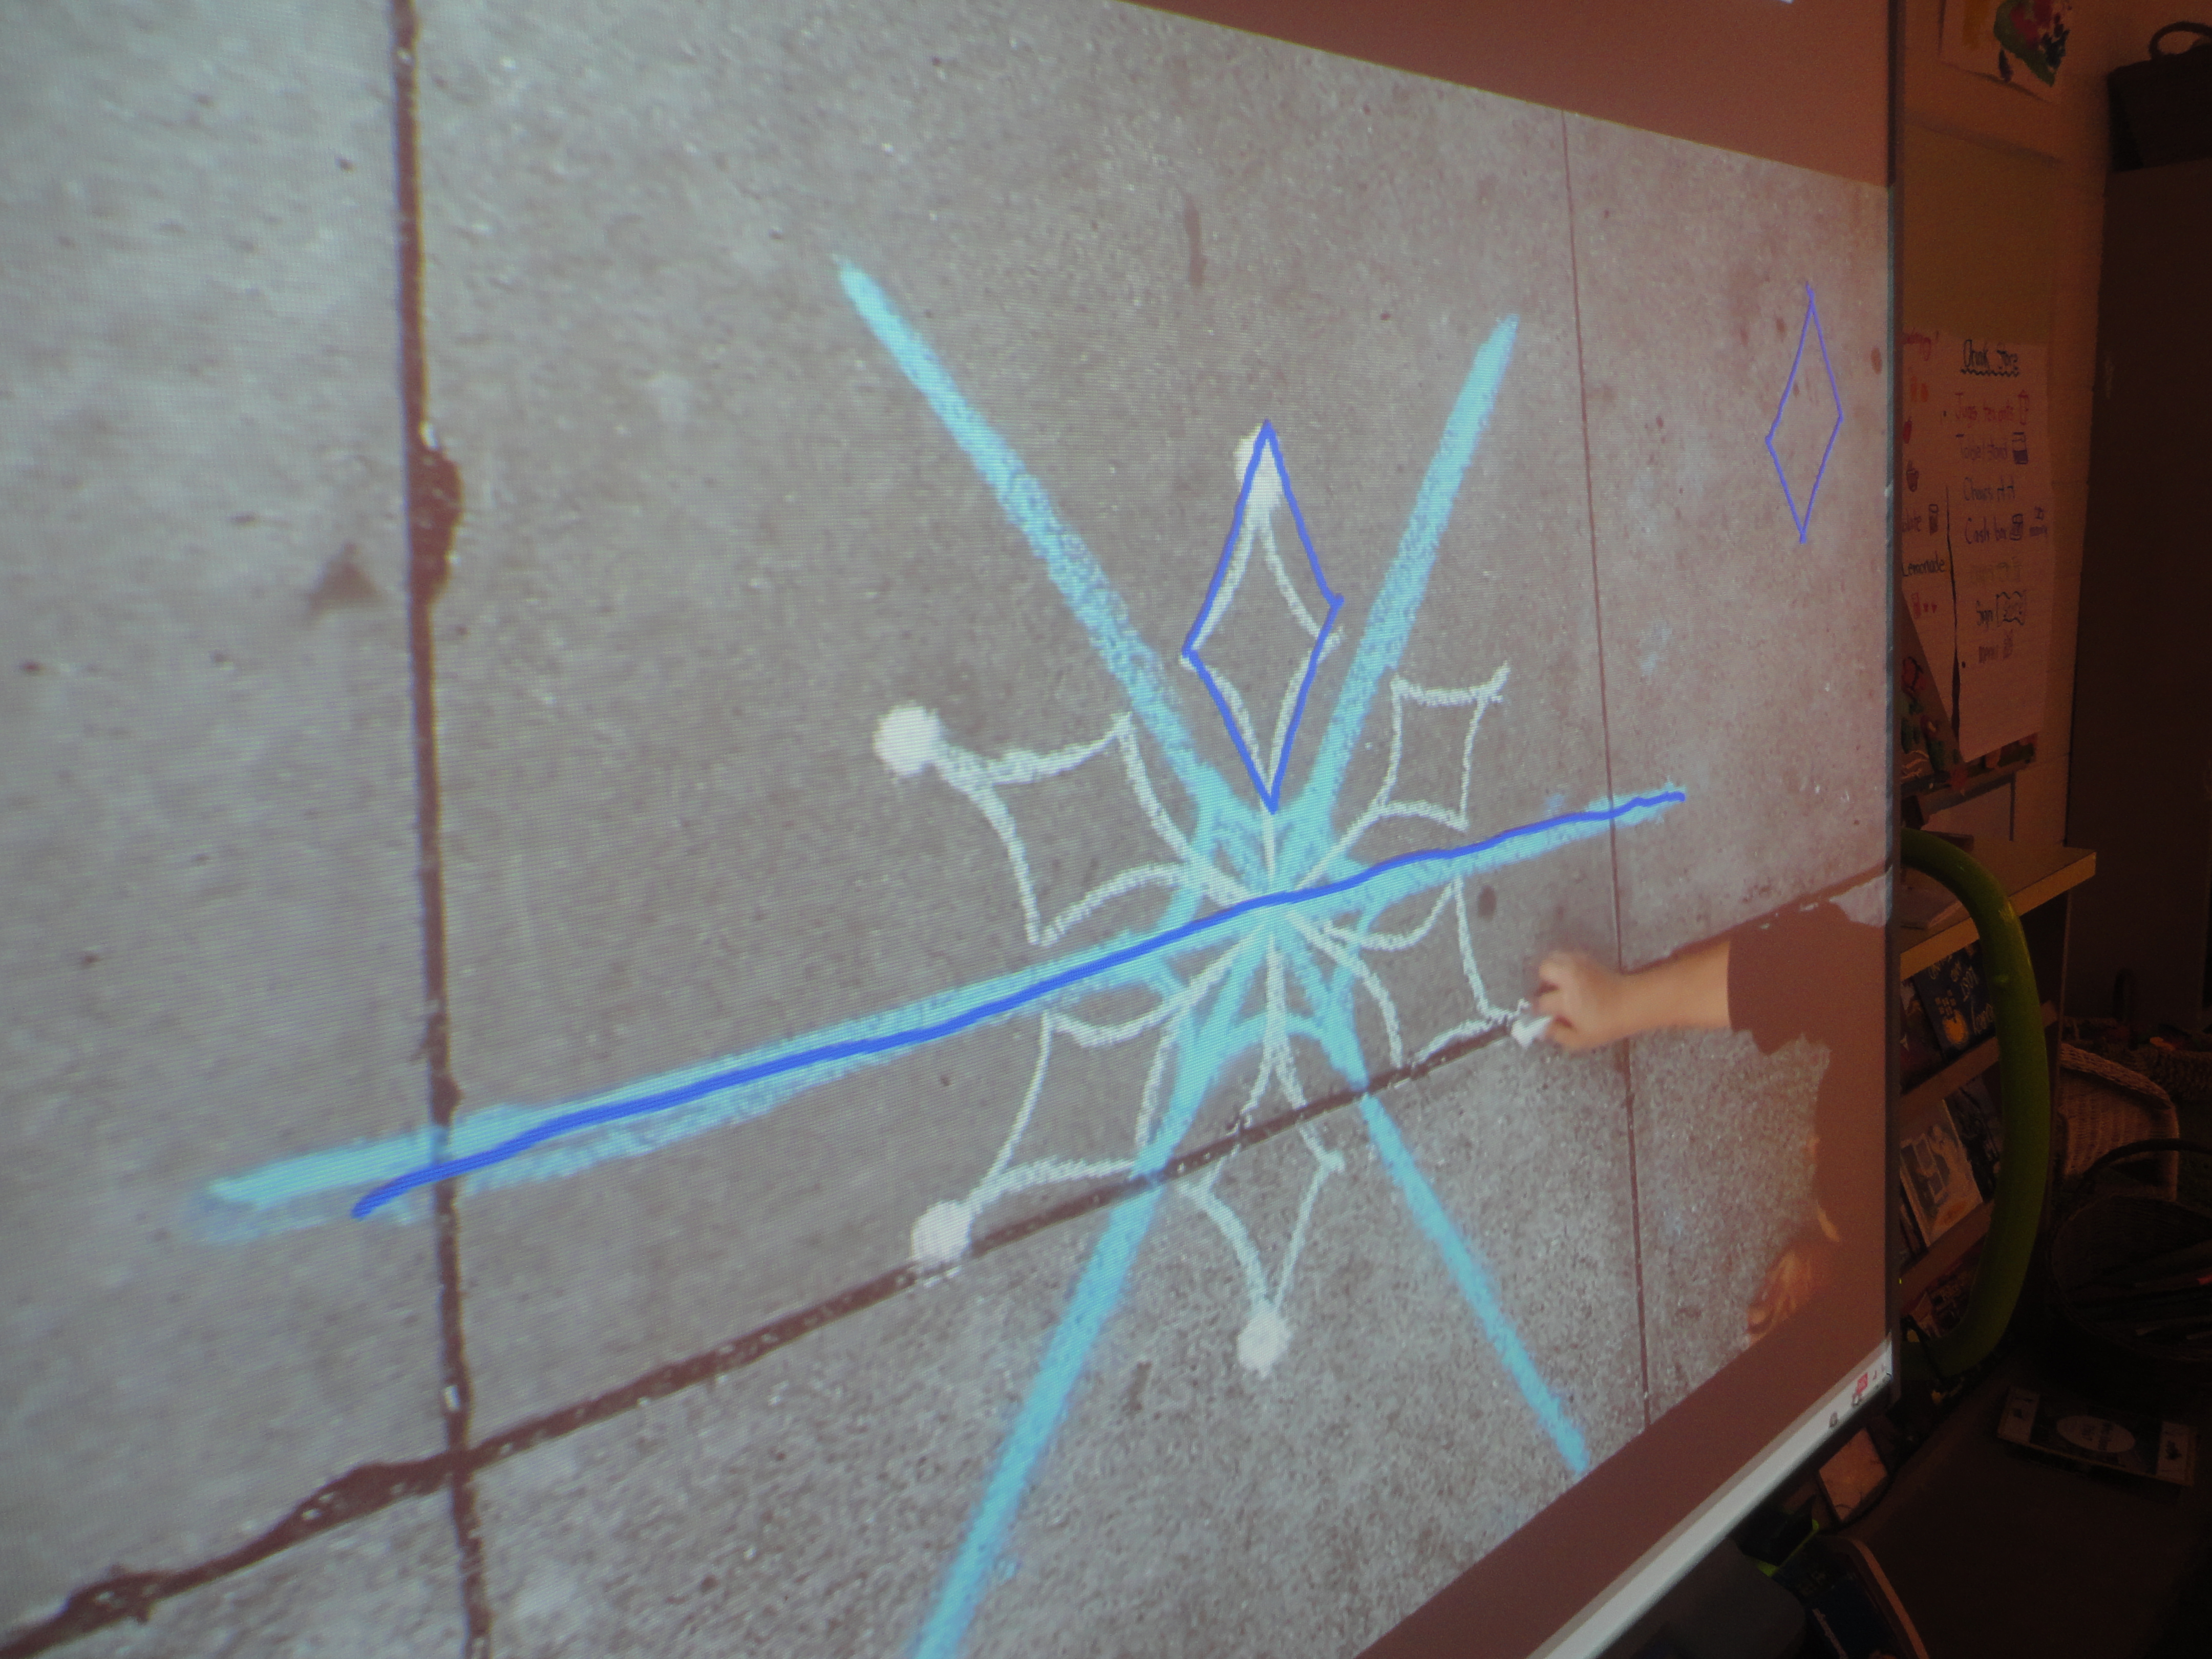
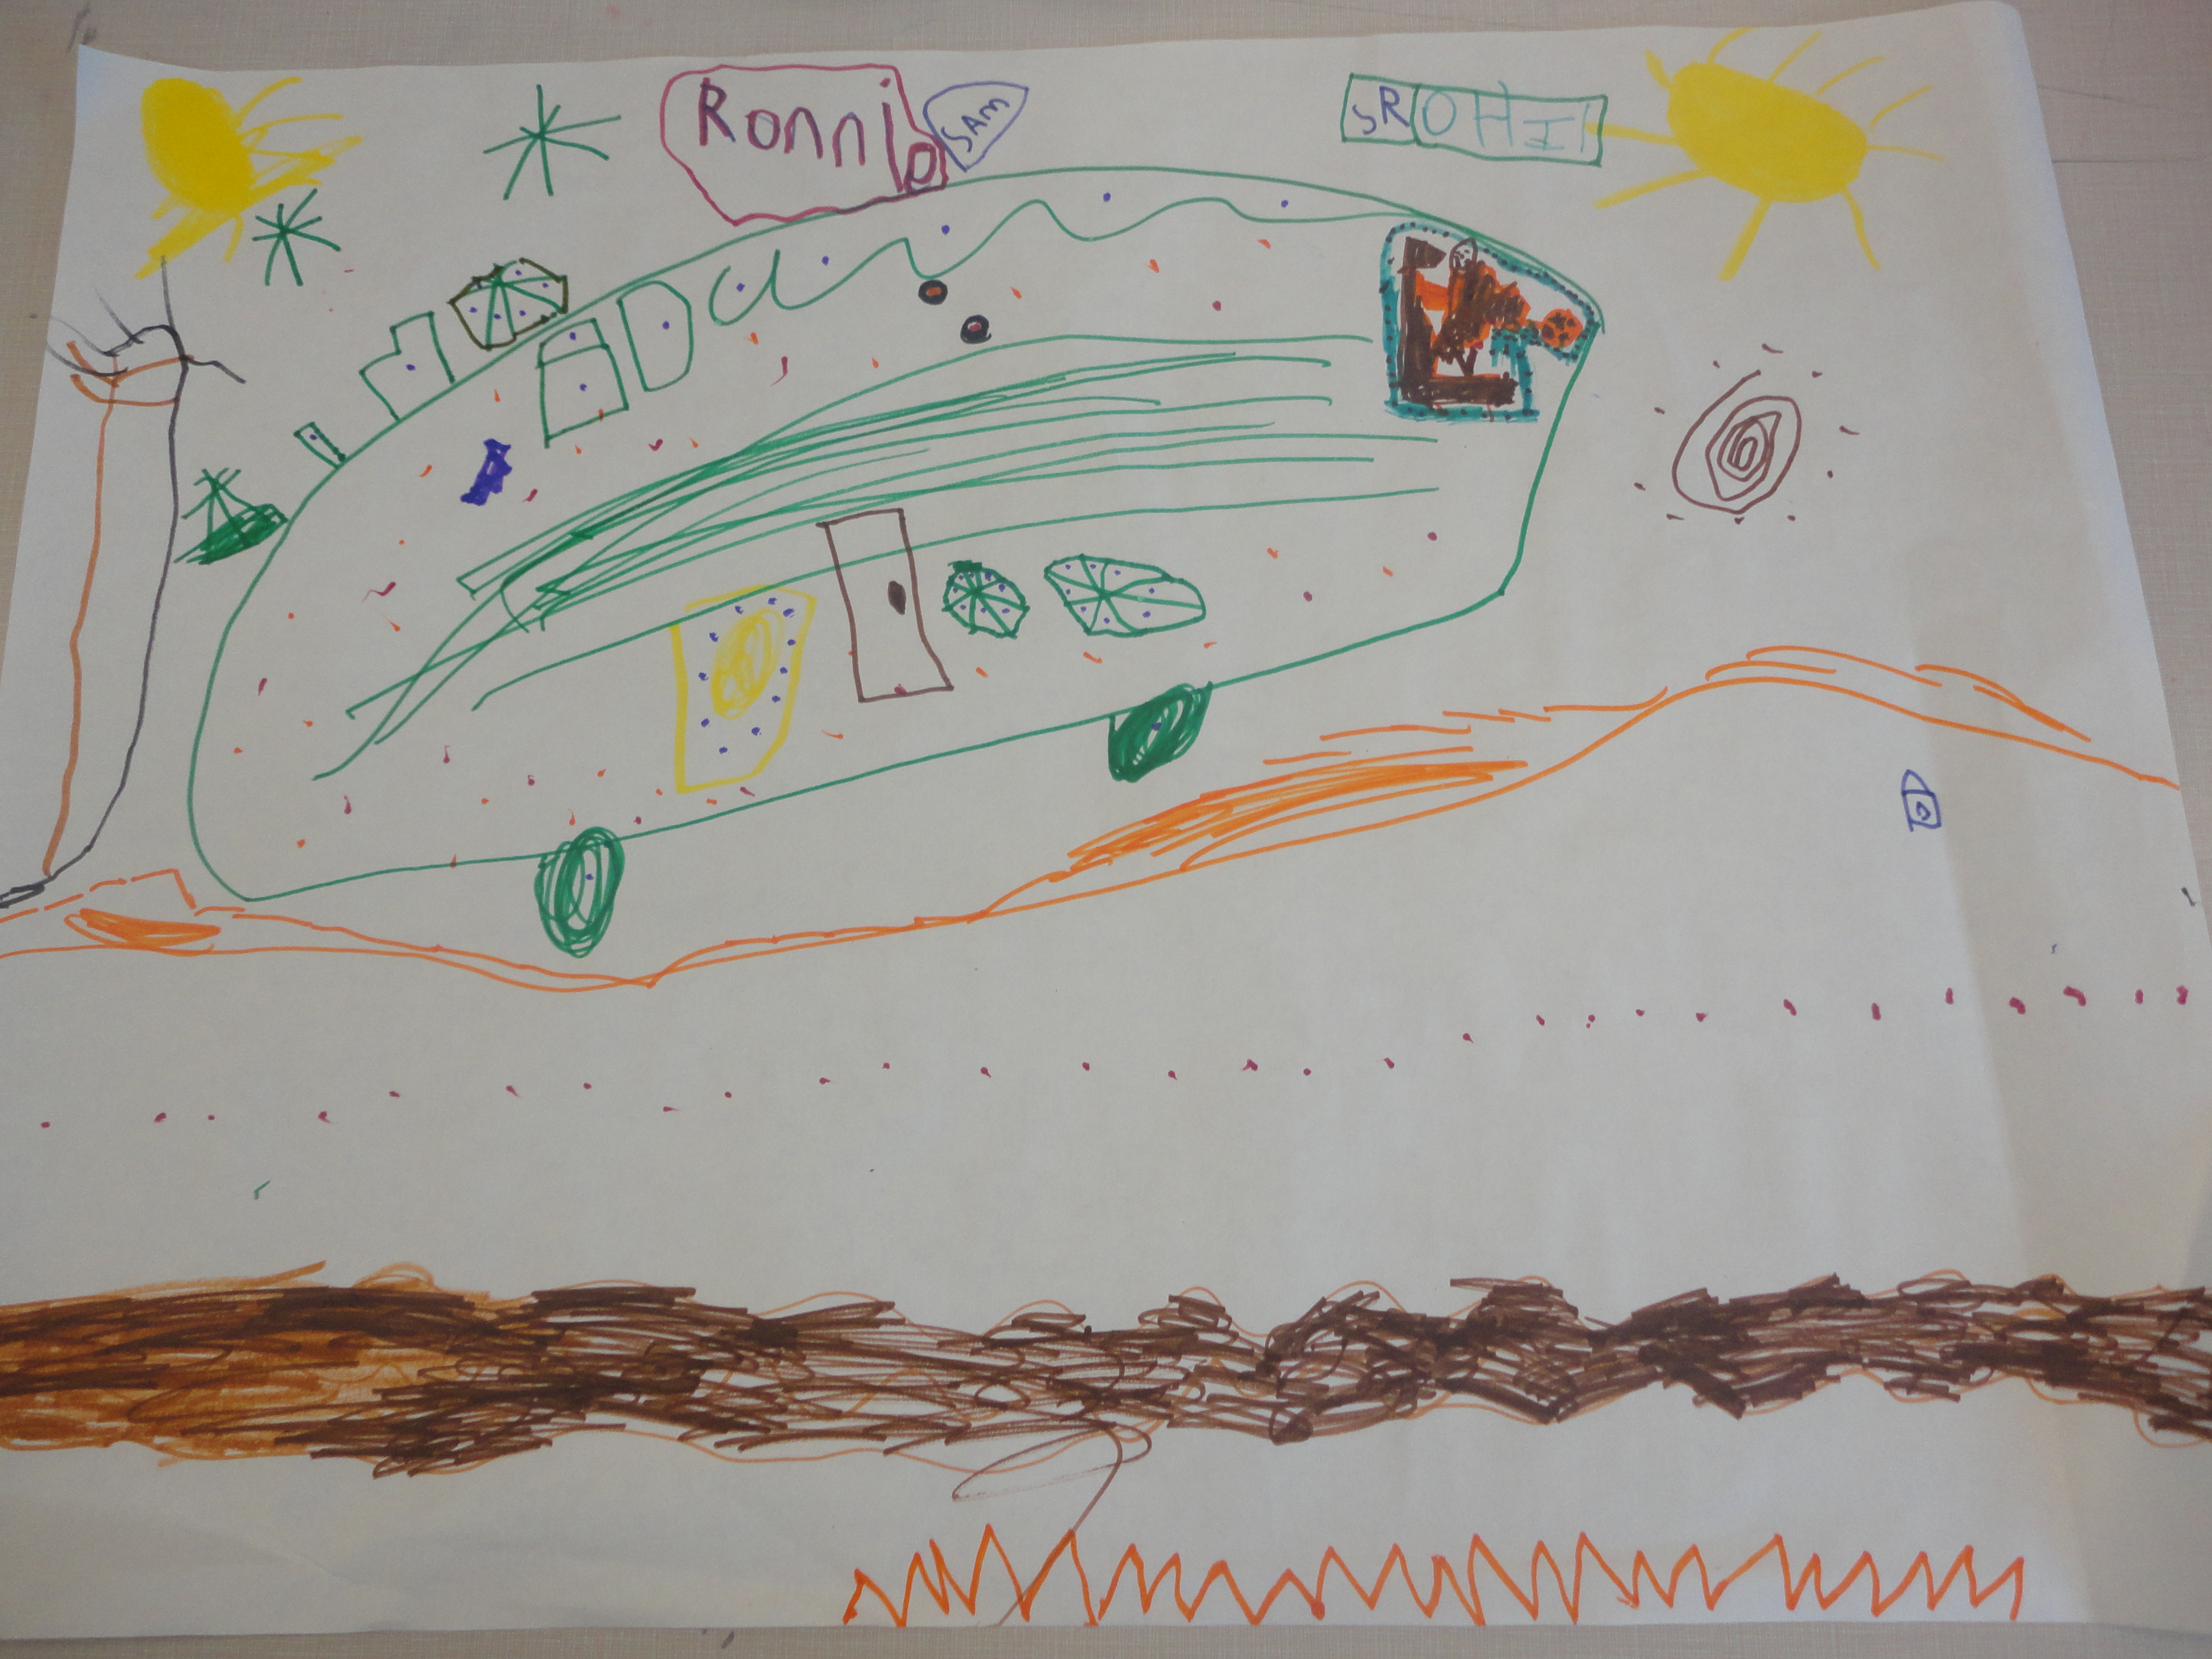
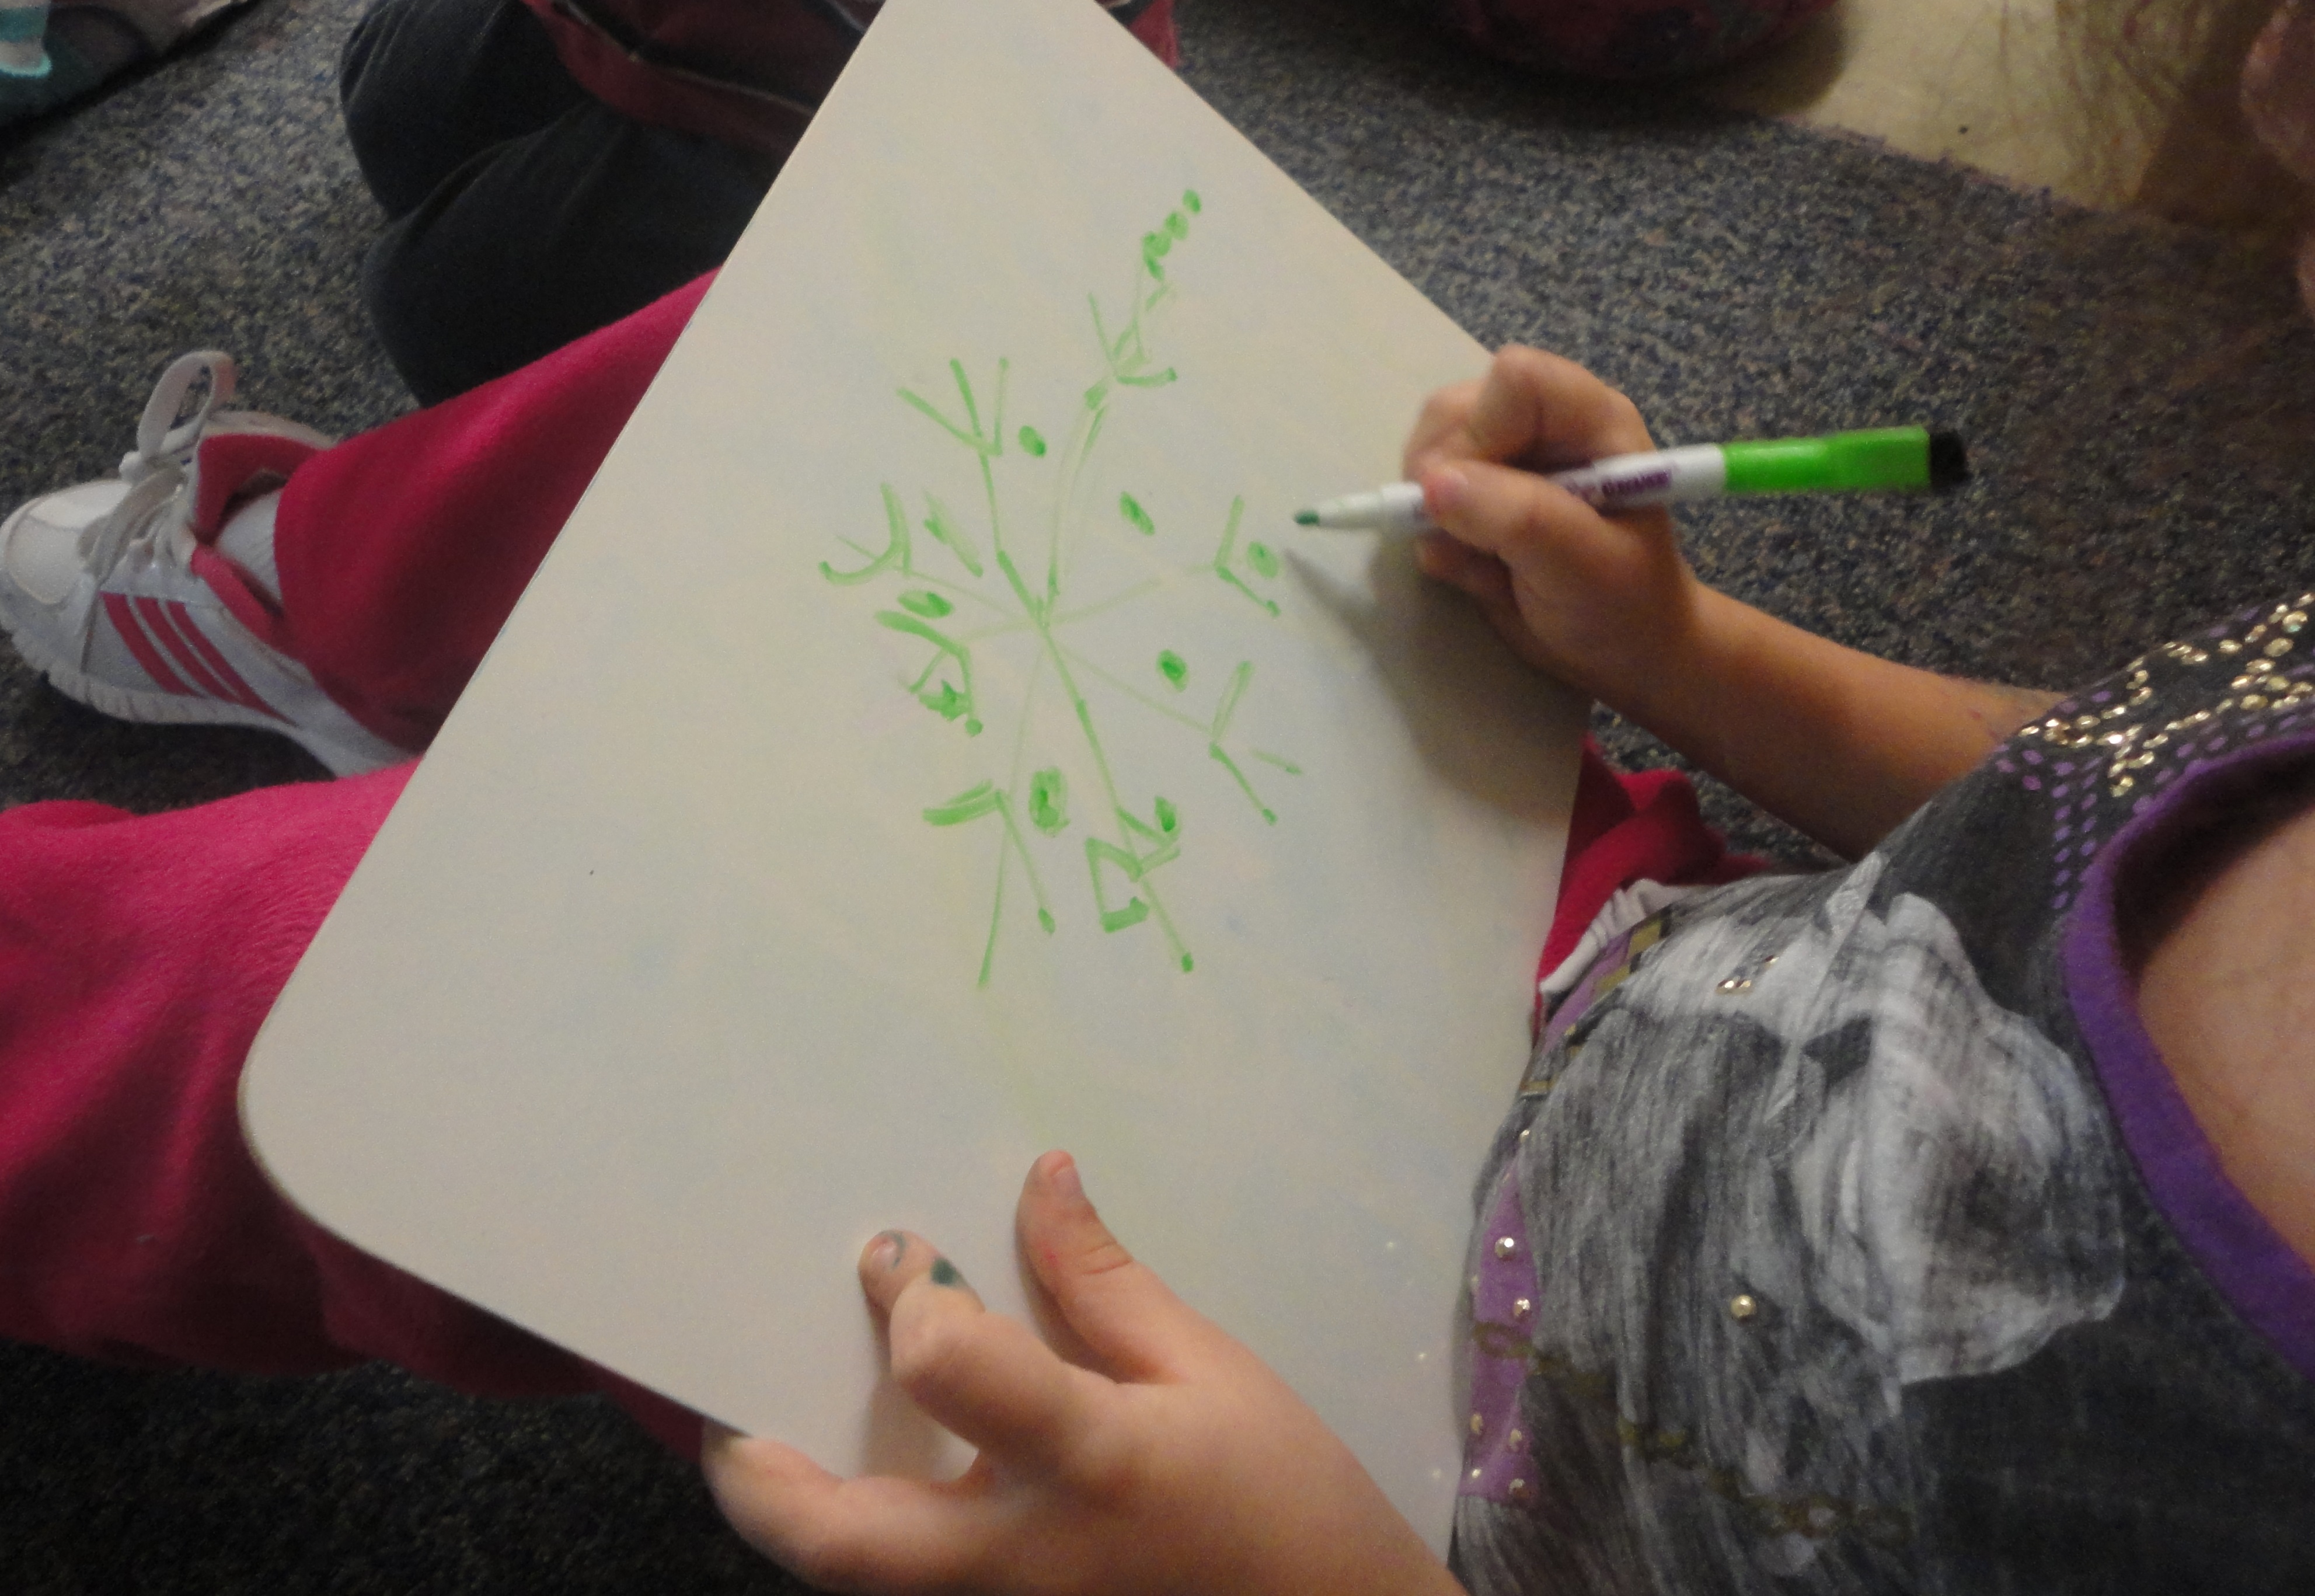
After watching the video a few times, I was able to pause it at certain points and, using the pens on my SMARTBoard, highlight the lines and shapes that are used to create a snowflake design. The children immediately began trying to create their own snowflakes on their boards. They noticed shapes and designs (diamonds, webs, dots, etc.) and experimented with symmetry. We stopped on several of the snowflake designs so the children could try them out. At the end of the lesson, the children excitedly held up their boards for all to see. They were so proud of themselves as artists!

DSC02165

DSC02159

DSC02158

DSC02152

DSC02160

Inspiring Young Authors: Big Paper for Big Ideas

Image

This year, the writing table is one of the most popular centres in our classroom. I often hear from visitors to our class that teachers are having a hard time getting their kids to visit the writing table. My answer? BIG paper! The biggest paper you can find! In my experience, children are inspired by the prospect of a giant canvas. In my class this week, we added large paper (18×24) to the writing table. We are learning about teamwork and working together this month as part of our board’s character education program, so we discussed with the class that having large paper would provide an excellent opportunity for them to work with a partner (or two) to create a drawing or story. I was so pleased to see the children working together to choose a theme/topic and discuss the elements they wanted to include. Children easily shared materials and workspace, and were just as proud of the way they collaborated as they were with their finished products.

If you haven’t given large paper a go, I encourage you to give it a try!

Image

Image

Image

Image

Squirrel Nests…a Nature Walk Adventure

DSC01896

A fabulous resource for talking about nature with young children is Discovering Nature With Young Children by Ingrid Chalufour and Karen Worth. These authors have really thought about all aspects of exploring nature with young children and have presented their ideas in a practical and useful guide. Many of the ideas for this experience I borrowed from this resource.

After our bird nest explorations the children were beginning to talk about other animals that live in nests. Since all the leaves had finally fallen from the trees in our neighbourhood, more nests had become visible. I had a book about squirrel nests, and many children said that they had spotted some squirrel nests in the trees on their way to school. I thought that this could be a good focus for our nature walk.

In order to prepare the children for our nature walk goal, we looked again at our squirrel nest book and found some pictures of squirrel nests online. We asked those children who had said they had seen squirrel nests already to give us some pointers on where we should look. Here were some of their suggestions, which I recorded on the SmartBoard.:

“Look in the tree branches.”

“You have to look up!”

“Look for a big nest. Bigger than a bird’s nest.”

“Look for a clump of sticks and leaves and mud.”

To build excitement for our squirrel nest hunt, I also provided the children with materials to make ‘binoculars’ (of the paper tube variety…). Small details like this can really help build excitement and help children focus on the goal at hand. I could tell my students felt like professional science explorers with their handmade binoculars in hand.

binoculars

On the walk we found so many squirrel nests! The children were busy running from tree to tree, shouting and pointing upwards. The highlight of the walk was the tree we found with not one, but 5 nests, which one of my students referred to as a “squirrel apartment building.” The noisy excitement was only quelled when we happened to spot a grey squirrel on the lawn nearby. The children immediately understood that we needed to keep quiet and calm in order to see what the squirrel was up to. We watched as the squirrel scrambled into a pine tree and looked down on us. We wondered what he was thinking about. In our follow up discussion the next day, our brief encounter with the squirrel produced a lot of questions and predictions from the students:

A.M.: I wonder why the squirrel ran away.

Y.T: I wonder why the squirrel was watching us.

J.K: Maybe the squirrel thought we might put him in a cage.

J.M.: I think the squirrel ran away because he thought we were going to eat him.

F.S.: I wonder why squirrels are afraid of people.

Some other questions that arose were:

I wonder why squirrel nests are bigger than birds’ nests.

I wonder how many squirrels live in one nest.

I wonder if squirrels have acorns in their nests.

I wonder how squirrels know how to make nests.

As a follow up to our nature walk, we created a provocation at the science table that asked the children to make a nest for our little squirrels. Again, it was another way for children to ask questions, demonstrate what they learned from our discoveries, and connect more deeply with the topic.

DSC01972

DSC01970

Whose Nest is This?

Image

Last week one of our students found a small nest on her way to school. The exploration of the nest during our sharing circle produced a lot of wonderment from the students:
E.A.: I wonder what kind of bird made it. I thought maybe a sparrow or a robin or a hummingbird.
H.K.: I wonder if a baby was born in the nest.
J.M.: I wonder why the nest is so small. Can it be a real nest? Maybe it’s too small to be somebody’s nest.
G.M.: I wonder where the nest came from. Maybe it was in a tree and the wind blew it down and then E.A. found it.
J.K.: I wonder what the leaves inside are for.
C.G.: I wonder where the baby has gone to.
A.: I wonder where the mom has gone to.

After reading some supporting materials about birds and their nests and the nests of other creatures, we created a provocation to see who the children thought may have made the nest. The small size of the nest was quite puzzling to the children, as they could not seem to imagine how a bird and her babies could fit inside.

Image

Image

Here is the drawing S.M. made after looking inside one of our nest books:

Image

S.M: “A bee. It has to be something so small because the nest is so small.”

Here are a few samples of some other ideas the children came up with:

photo

I am excited to see where this discussion goes next week as we delve into how animals prepare for winter and explore other nests in our neighbourhood!

Our Wonderful Tree: A Collaborative Art Piece

Image

This week, two projects we have been working on came together at the Art Studio: The Dot Project and our Tree Study. I could easily tell you all about it, but instead we asked the students to write about what they created, how they made it, and how they felt about it. Here is what the children wanted to say (they even came up with the title!):

Our Wonderful Tree: A Beautiful Art Piece
We made art at the Art Studio – something we’ve never made before! We used Plasticine. Plasticine is like Playdough except it is hard. We had to rub the Plasticine with our hands to warm it up. Some of us blew hot air on it or put it on the heater to make it soft. We made a tree trunk and tree branches. Then, we each made a leaf in the shape of a dot. Some of us put our leaves on top of other leaves. We used all the colours of the rainbow (and the colours of fall). Some of us mixed up the colours to make swirls of colour. Our Kindergarten helpers helped us add grass and a butterfly and a flower to our work. Our work makes us happy because it’s so big! We are surprised that we made something that we’ve never made before and it turned out so nice. We are proud that we made such nice art. Some of us are sad that we are finished because we wanted to keep doing more!

Image

Image

Image

Image

Stone Towers

Image

This term we have been working on a tower inquiry. As with any inquiry we are engaged in, I am constantly looking for ways to provoke or enhance student thinking and learning throughout various centres in the classroom. In the summer time I visited the beach quite regularly and was always fascinated by the small stone towers that were left behind on the beach by talented beach-combing architects. Of course, eventually I was inspired to build my own…and I snapped a picture of my creation. This week I placed a picture of my stone tower, along with a challenge to my students, in our small building area. Since tower building with rocks is a bit of a challenge, I was looking for the children to use what they have learned about balance and problem solving to build the tallest tower they could. I also wanted to introduce them to the concept of recording their work on paper, so I provided them with paper, fine tipped markers, and crayons. This is how the centre looked:

Image

Image

The children were quite excited to give this challenge a go. As they worked, I took notes on how they approached the challenge, what strategies they used, and how they problem solved. The children most enjoyed recording their towers on paper – even taking care to draw them as accurately as they could by counting and checking how many stones they used, demonstrating each stone’s size, and colouring them in the appropriate colour.

Here are some of the students’ thinking I captured:

M.B.: “1, 2, 3, 4. I used 4. I put the big big big rock first and then I got medium sized, small and then so small at the top.”

S.M.: It looks like a snowman. I used 5 rocks. First I got a big one, and then another one the same size, and then some small ones.

A.F.: I saw they were all kinds of grey colours. I used 3 stones. I didn’t use more because I was worried it would make it fall down.

A: I need the flatter ones. I got five! 1, 2, 3, 4, 5!

DSC01617

DSC01546

DSC01552

Stay tuned for more updates on our tower inquiry!

The Colours of Fall Inquiry

Image

In October we went on our first nature walk of the school year. In the weeks leading up to our walk, many children had begun to notice the changes that were happening outside. Leaves were being brought in to school, the children were wearing warmer jackets, and our special Maple tree out front had started to turn red.

Before our walk, the children were given a job to do. They were asked to look for evidence of the colours of fall. While we were outside we took pictures and collected samples of the children’s discoveries. The next day, we put all our leaves, pine needles, maple seeds, and pine cones in the middle of the carpet and talked about the colours we noticed. We decided to sort our items by colour to make it easier to see what we had found. The children identified the colour piles we would need and we placed coloured construction paper mats in brown, red, green, orange, and yellow down on the floor. Then we sorted! Each student was given an opportunity to sort some leaves. It was quite interesting to see how the leaves were debated amongst the group. Here is a conversation that arose during the process:

S: “I’m not sure about this leaf. Is it red?”


[some children say no, others say yes]


J: “Put it on the red mat and see.”


S: “It doesn’t look like the other red leaves”


Ms McD: “What does it mean when we say something is red? Is there one kind of red?”


[the class thinks there is one kind of red]


J: “Turn it over. The back is red. The front is just dark. It’s still red.”


[some children are satisfied with this]


W: Yes, there is more than one kind of red. There’s red and dark red.


E: And light red too.

The children were debating each leaf and from those debates were emerging concepts about colour and categorization. We decided to save our sorted colour piles by gluing our artifacts in place and pursue the children’s thinking further by creating a colour provocation at the Art Studio. Here is what our colour provocation looked like:

Image

At this centre we placed our colour-sorted leaves, photos from our nature walk, paint chips from the hardware store, and paint for mixing. The children were encouraged to look at the objects on the table and create their own special fall colour. After mixing, the children were asked about their process: What colour did you make? What name might you give your colour? How did you make it? Where might you see this colour outside?

Image  Image

When it came to naming their colour creations, the children were quite inspired by the variety of names we read off the hardware store paint chips – names like “brilliant sun,” and “orange fiesta.” These descriptions helped the children come up with their own unique names such as, “swamp green” (J.M.), “Dark, dark, orange corn” (J.K.), “twirly brown” (W.W.), “dark super purple” (A.F.) and “jewel pink” (A.A). An important part of this project was documenting it. We decided to place the children’s paint samples (which they painted on small canvasses) along with their colour names and descriptions on the wall ‘gallery style’. We included in our documentation all of the artifacts and photographs that gave us inspiration for the project. The children love to look at the work they created. They particularly enjoy seeing the beautiful range of colours their classmates created. We can definitely feel that the idea of colour will be something we will likely revisit throughout the year.

Image

Has your class embarked on a colour inquiry? I’d love to hear about your experiences!

In the Art Studio: Still Life Portraits

Image

This experience is another gem that comes from Ann Pelo, author of The Language of Art: Inquiry Based Studio Practices in Early Childhood Settings.

Here is what Ann has to say about still-life portraits:

“In creating still-life portraits, children form an intimate relationship with their subject. They spend time looking closely, aligning themselves with the subject of their work. Then they translate their understanding of the subject to paper, first sketching with black pen and then adding colour.”

Image

In my classroom, I refer to still-life portrait experiences such as these as “dainty painting.” ‘Dainty’ refers to the fact that the children use fine tipped markers and fine brushes to create their artwork. I have never understood why Kindergarten children are always given large, fat brushes to paint with. Large brushes are incredibly difficult to manipulate with small hands, hold more paint than is often needed, and are not useful for adding small details. In the pictures below, you’ll notice that we use only the smallest of brushes for this activity. If the goal is for the children to notice the finest of details in their subject, we need to give them the proper tools for them to recreate what they see.

Image

Before painting, the teacher spends time with the children looking closely at the gourds. The children are encouraged to talk about what they notice about each gourd’s size, texture, shape, and colour. Interesting markings or designs are also noted. When the children have had time to get acquainted with their subject, they are given fine black markers to sketch what they see. At this point the teacher may offer suggestions on how the children can add more details to their work. Finally, the children use watercolour paints to add colour to their sketches.

Image

J: I got a beautiful gourd. I notice it’s green on the bottom and yellow on top. It is a beautiful gourd. It has lots of bumps on it too.

E: I made lots of bumps because it is bumpy. My gourd is orange and yellow. It looks like a pear. The stem is green – actually, it’s a really dark green.

G: There are lines on the pumpkin so I drew them. The lines help me keep my painting neat.

W: This one is hard because it has two colours. I can’t make it the right colour. When I added more green it turned the yellow green too and I can’t fix it.

Y: It’s a fluffy one. It’s green, yellow, and orange. It has so many bumps. It looks like a melon.

K: The stem is kinda wiggly!

Image

Dainty painting is an art experience that we revisit often throughout the year. Over time, the children become expert at using their senses, describing what they notice, and using their art skills to recreate what they see on the page.

Leaf Man: “A Leaf Man’s got to go where the wind blows…”

Image

If you haven’t had the pleasure of discovering Lois Ehlert, award-winning author and illustrator of over 20 children’s books, then I highly recommend that you take a trip to your local library and check her out! This month I was reading one of my favourite Ehlert books, “Leaf Man.” For weeks the children have been bringing in leaves they have discovered on their way to school and I wanted to find a way to celebrate and encourage their discoveries. “Leaf Man” is a story about a man made of leaves who blows across the sky over several other leaf-composed creatures (birds, farm animals, etc.). After reading this book with my students, I created a provocation of leaves, stones, and sticks and asked the children if they could create their own leaf creature. In addition to composing pictures with found materials, I was also looking for children to express a connection with/understanding of the story we read as well as demonstrate some story telling/imaginative skills when talking about what they had made. Here are a few samples of the students’ work and thinking:

Image

R.K: My leaf man is doing a cartwheel just like I can do on my trampoline at home!

A: This is a portrait of a Leaf Man. It’s about a Leaf Man that flew away, up, up, up, and his leaves fell down on him because he was blown away by a storm.

A.F.: I used rocks for his eyes and nose. His mouth is a smiling leaf. I used sticks for the legs and ripped the leaves to make his hands and feet. My Leaf Man will fly over lots of things!

Image

E.A.: My Leaf Girl only has one leg because no other leaves can stand still. My Leaf Girl is flying over chickens! The wind is blowing her.

J.M: My Leaf Man is lying down and looking at the clouds to see what shapes they are. He saw a special cloud that looked like a house!

Image

Our class quilt of leaf creations:

Image

Autumn Playdough Provocations II

playdough leaf

This playdough provocation was inspired by the tree study we have been doing this term. In our weekly art lesson the children were able to practice drawing a portrait of a tree in the schoolyard and began to notice the parts of the tree as they sketched. I wanted to extend the children’s thinking about trees by getting them to focus on smaller details – like how the leaves attach to the branches.

For this provocation I put three different colours of playdough, some tree branches, leaf cookie cutters, leaves, and toothpicks on the table. I wanted the children to see a real example of how leaves attach to a branch and also have an opportunity to notice the details in the leaves themselves. The toothpicks were there as a tool for the children to add details to the leaves they cut with the cookie cutters.

Image

I think the results were quite beautiful! Here are a few examples of the students’ work:

Image

DSC01314 DSC01316

For more Autumn playdough provocations and the recipe I use for my playdough, please visit the link below:

https://thecuriouskindergarten.wordpress.com/2013/10/12/autumn-playdough-provocations/