The Colours of Fall Inquiry

Image

In October we went on our first nature walk of the school year. In the weeks leading up to our walk, many children had begun to notice the changes that were happening outside. Leaves were being brought in to school, the children were wearing warmer jackets, and our special Maple tree out front had started to turn red.

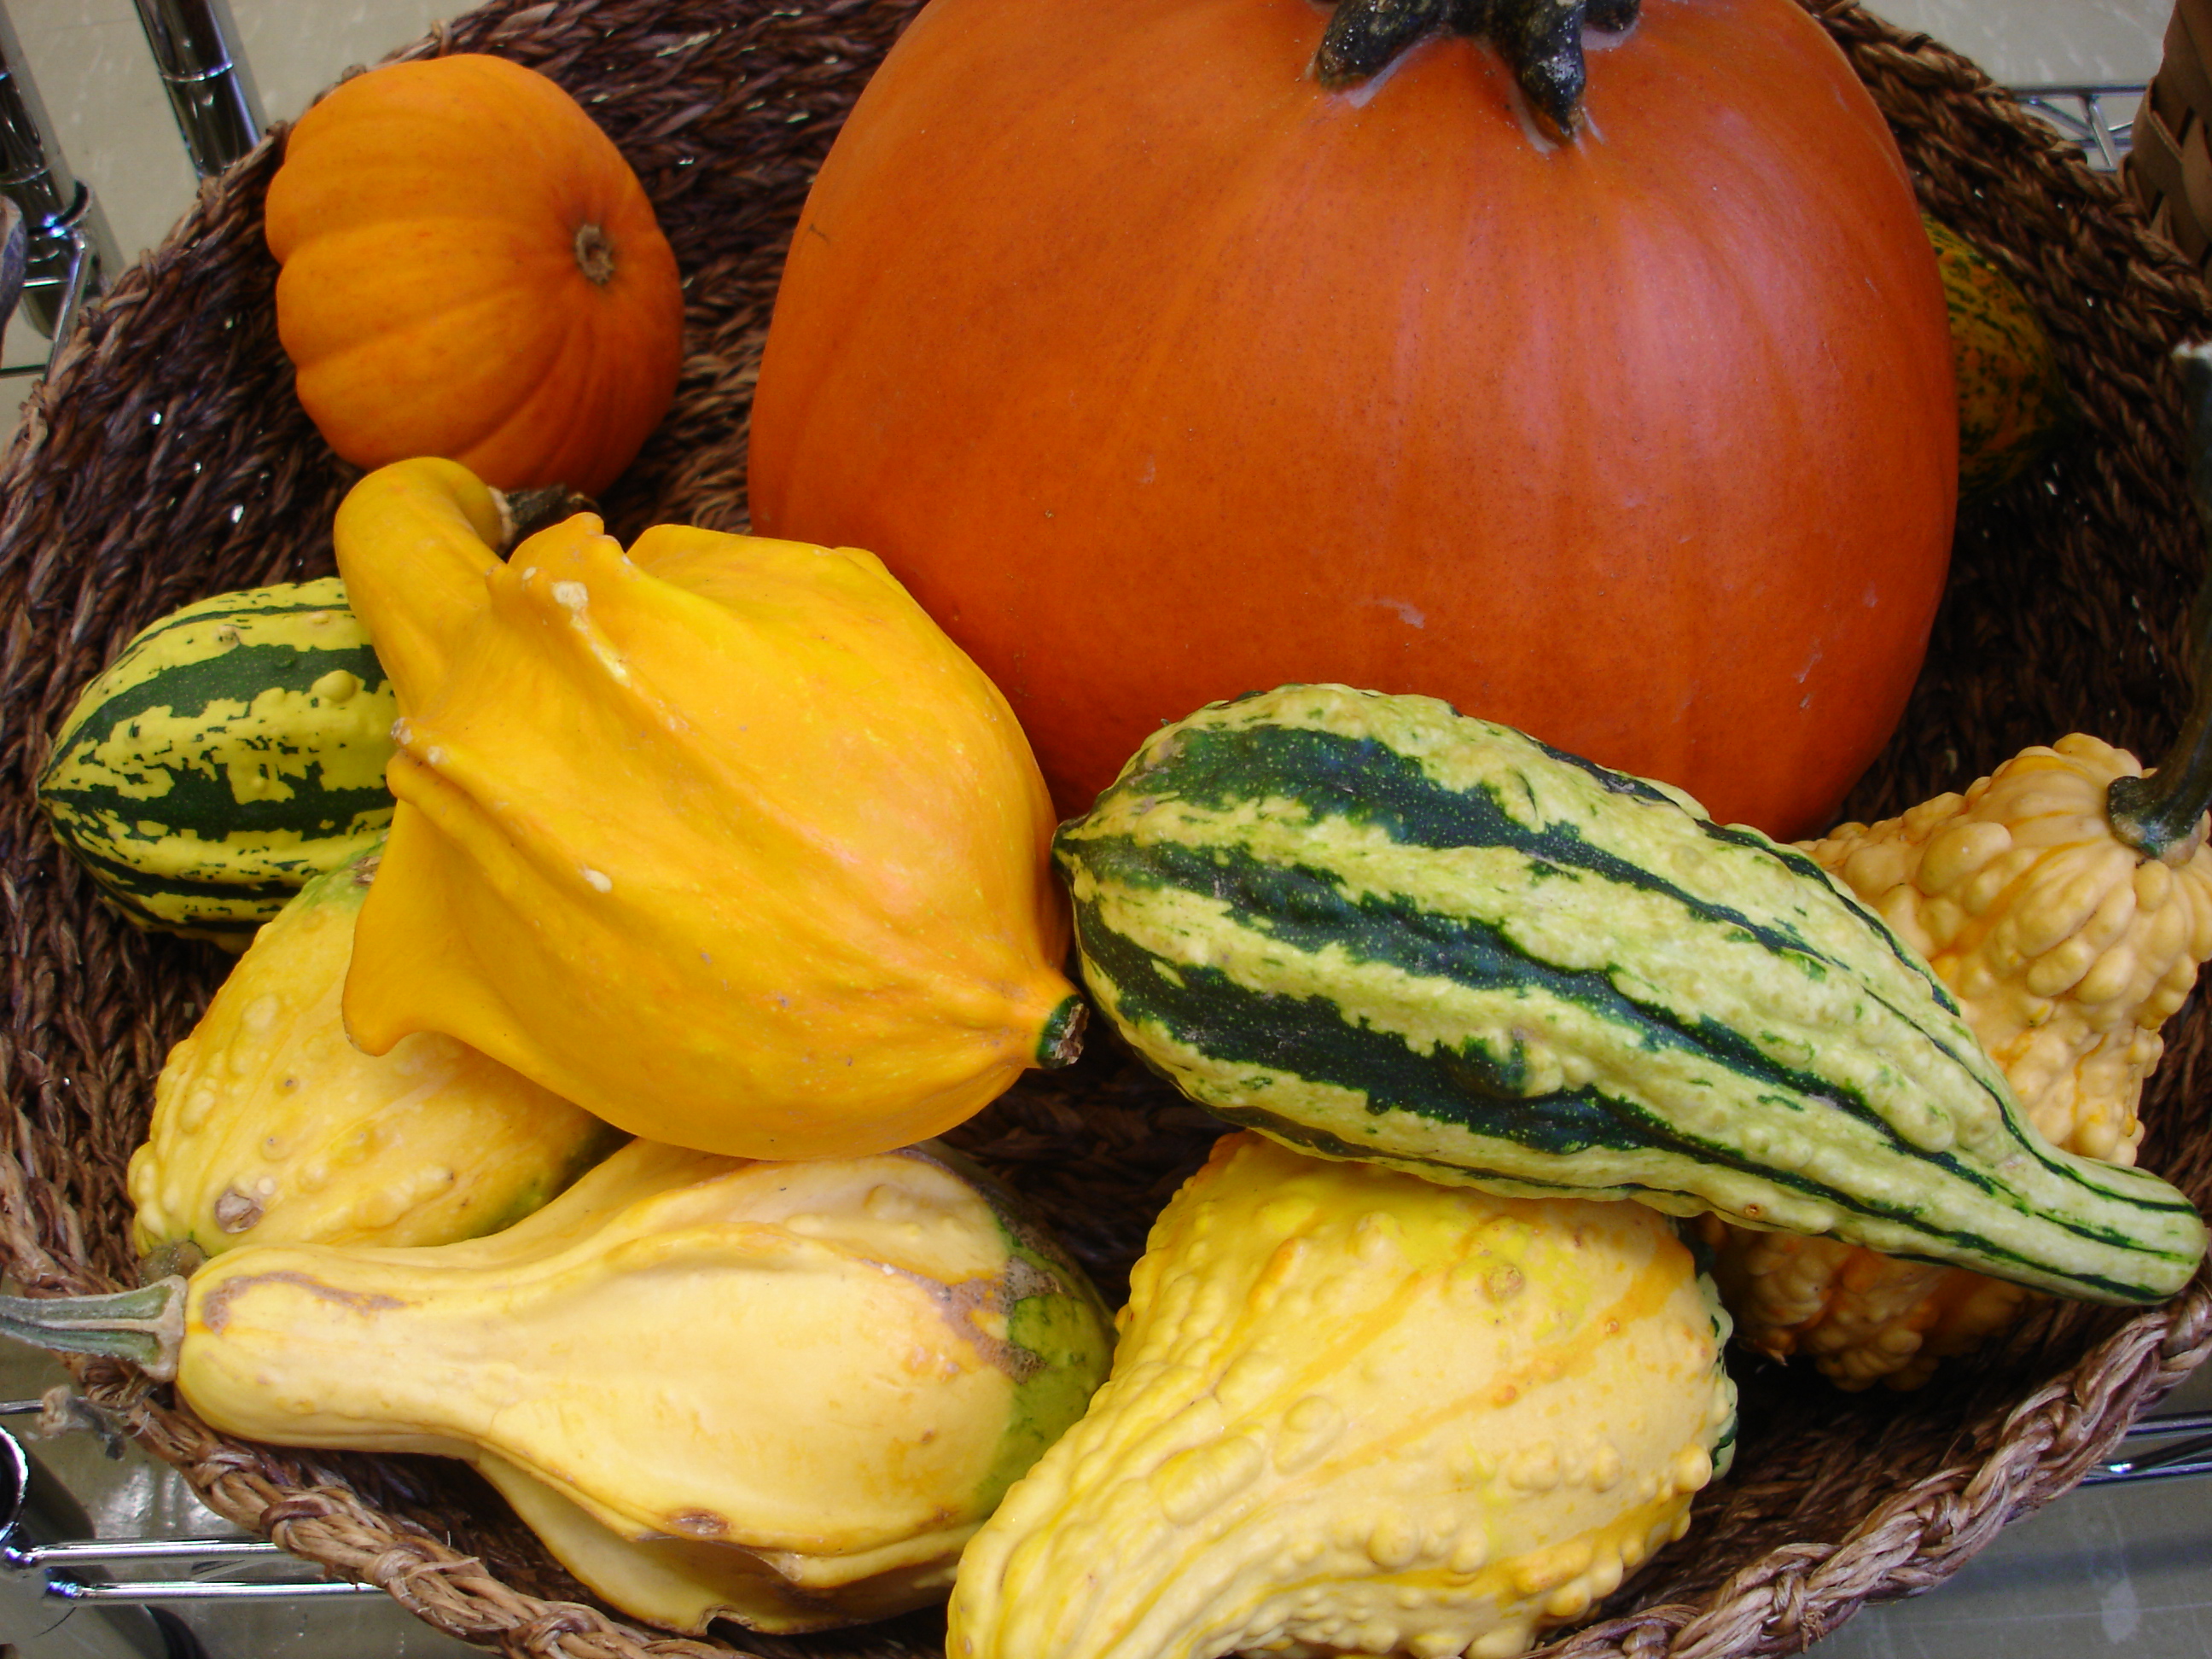
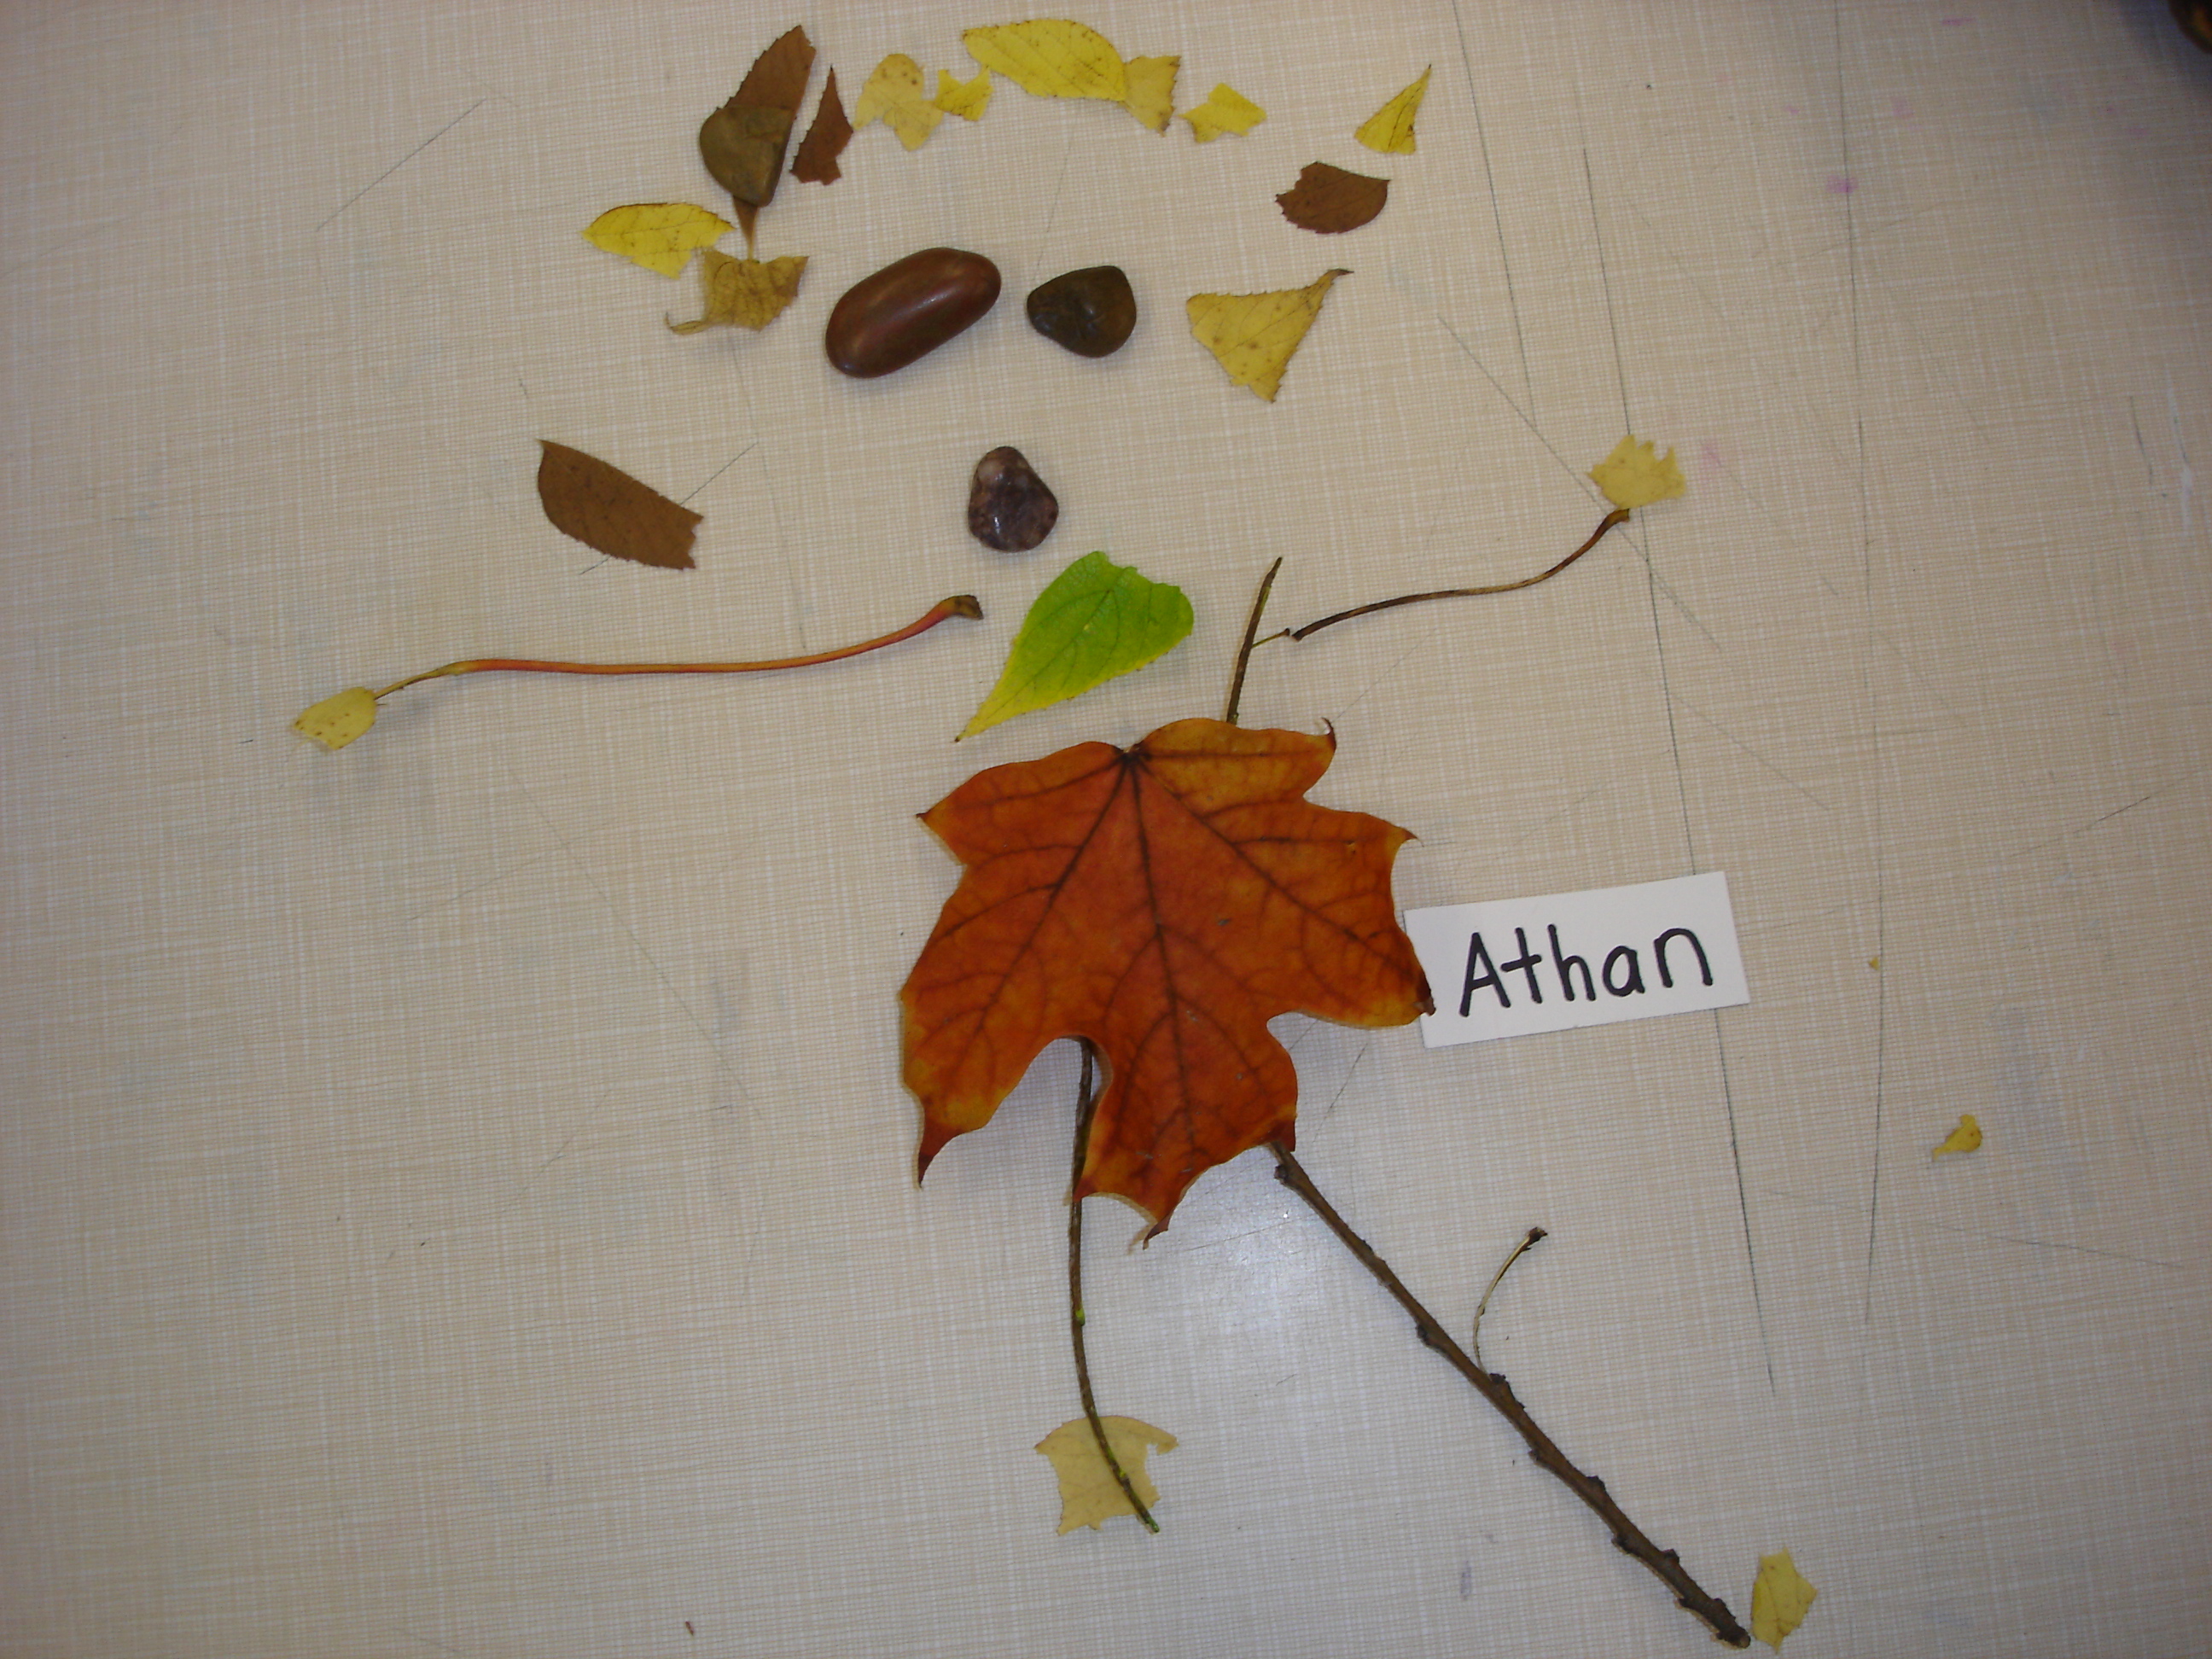
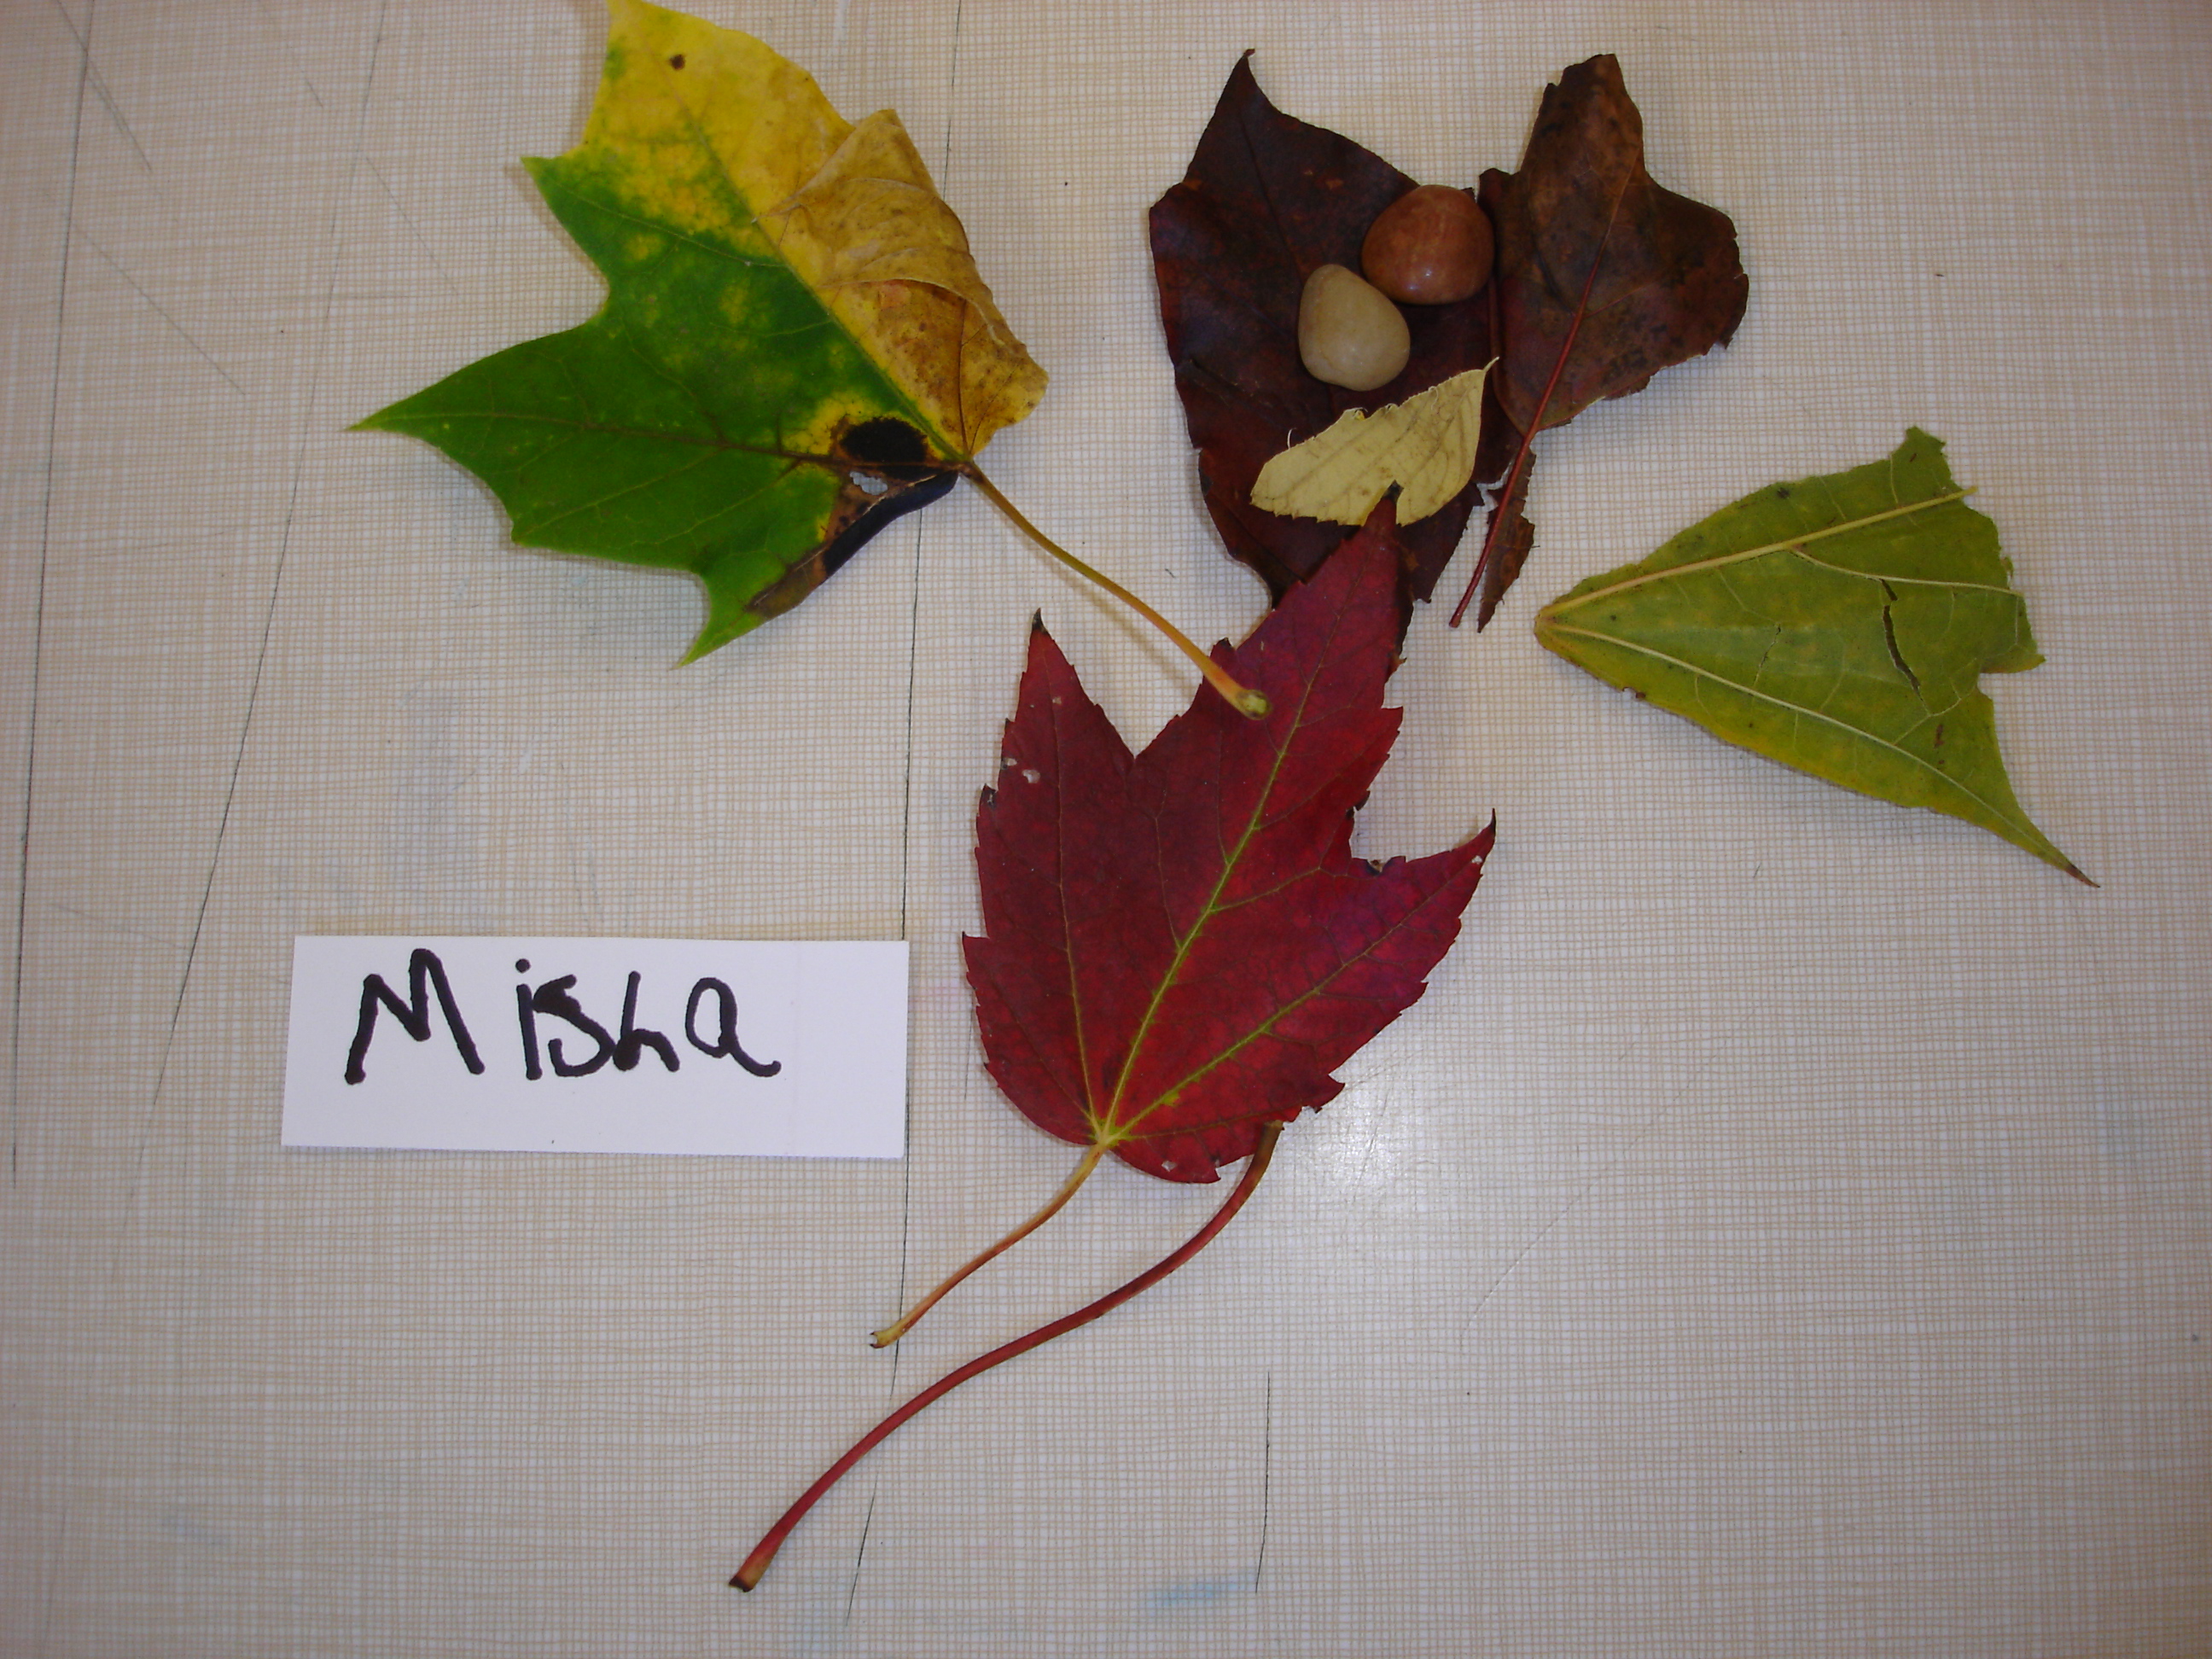
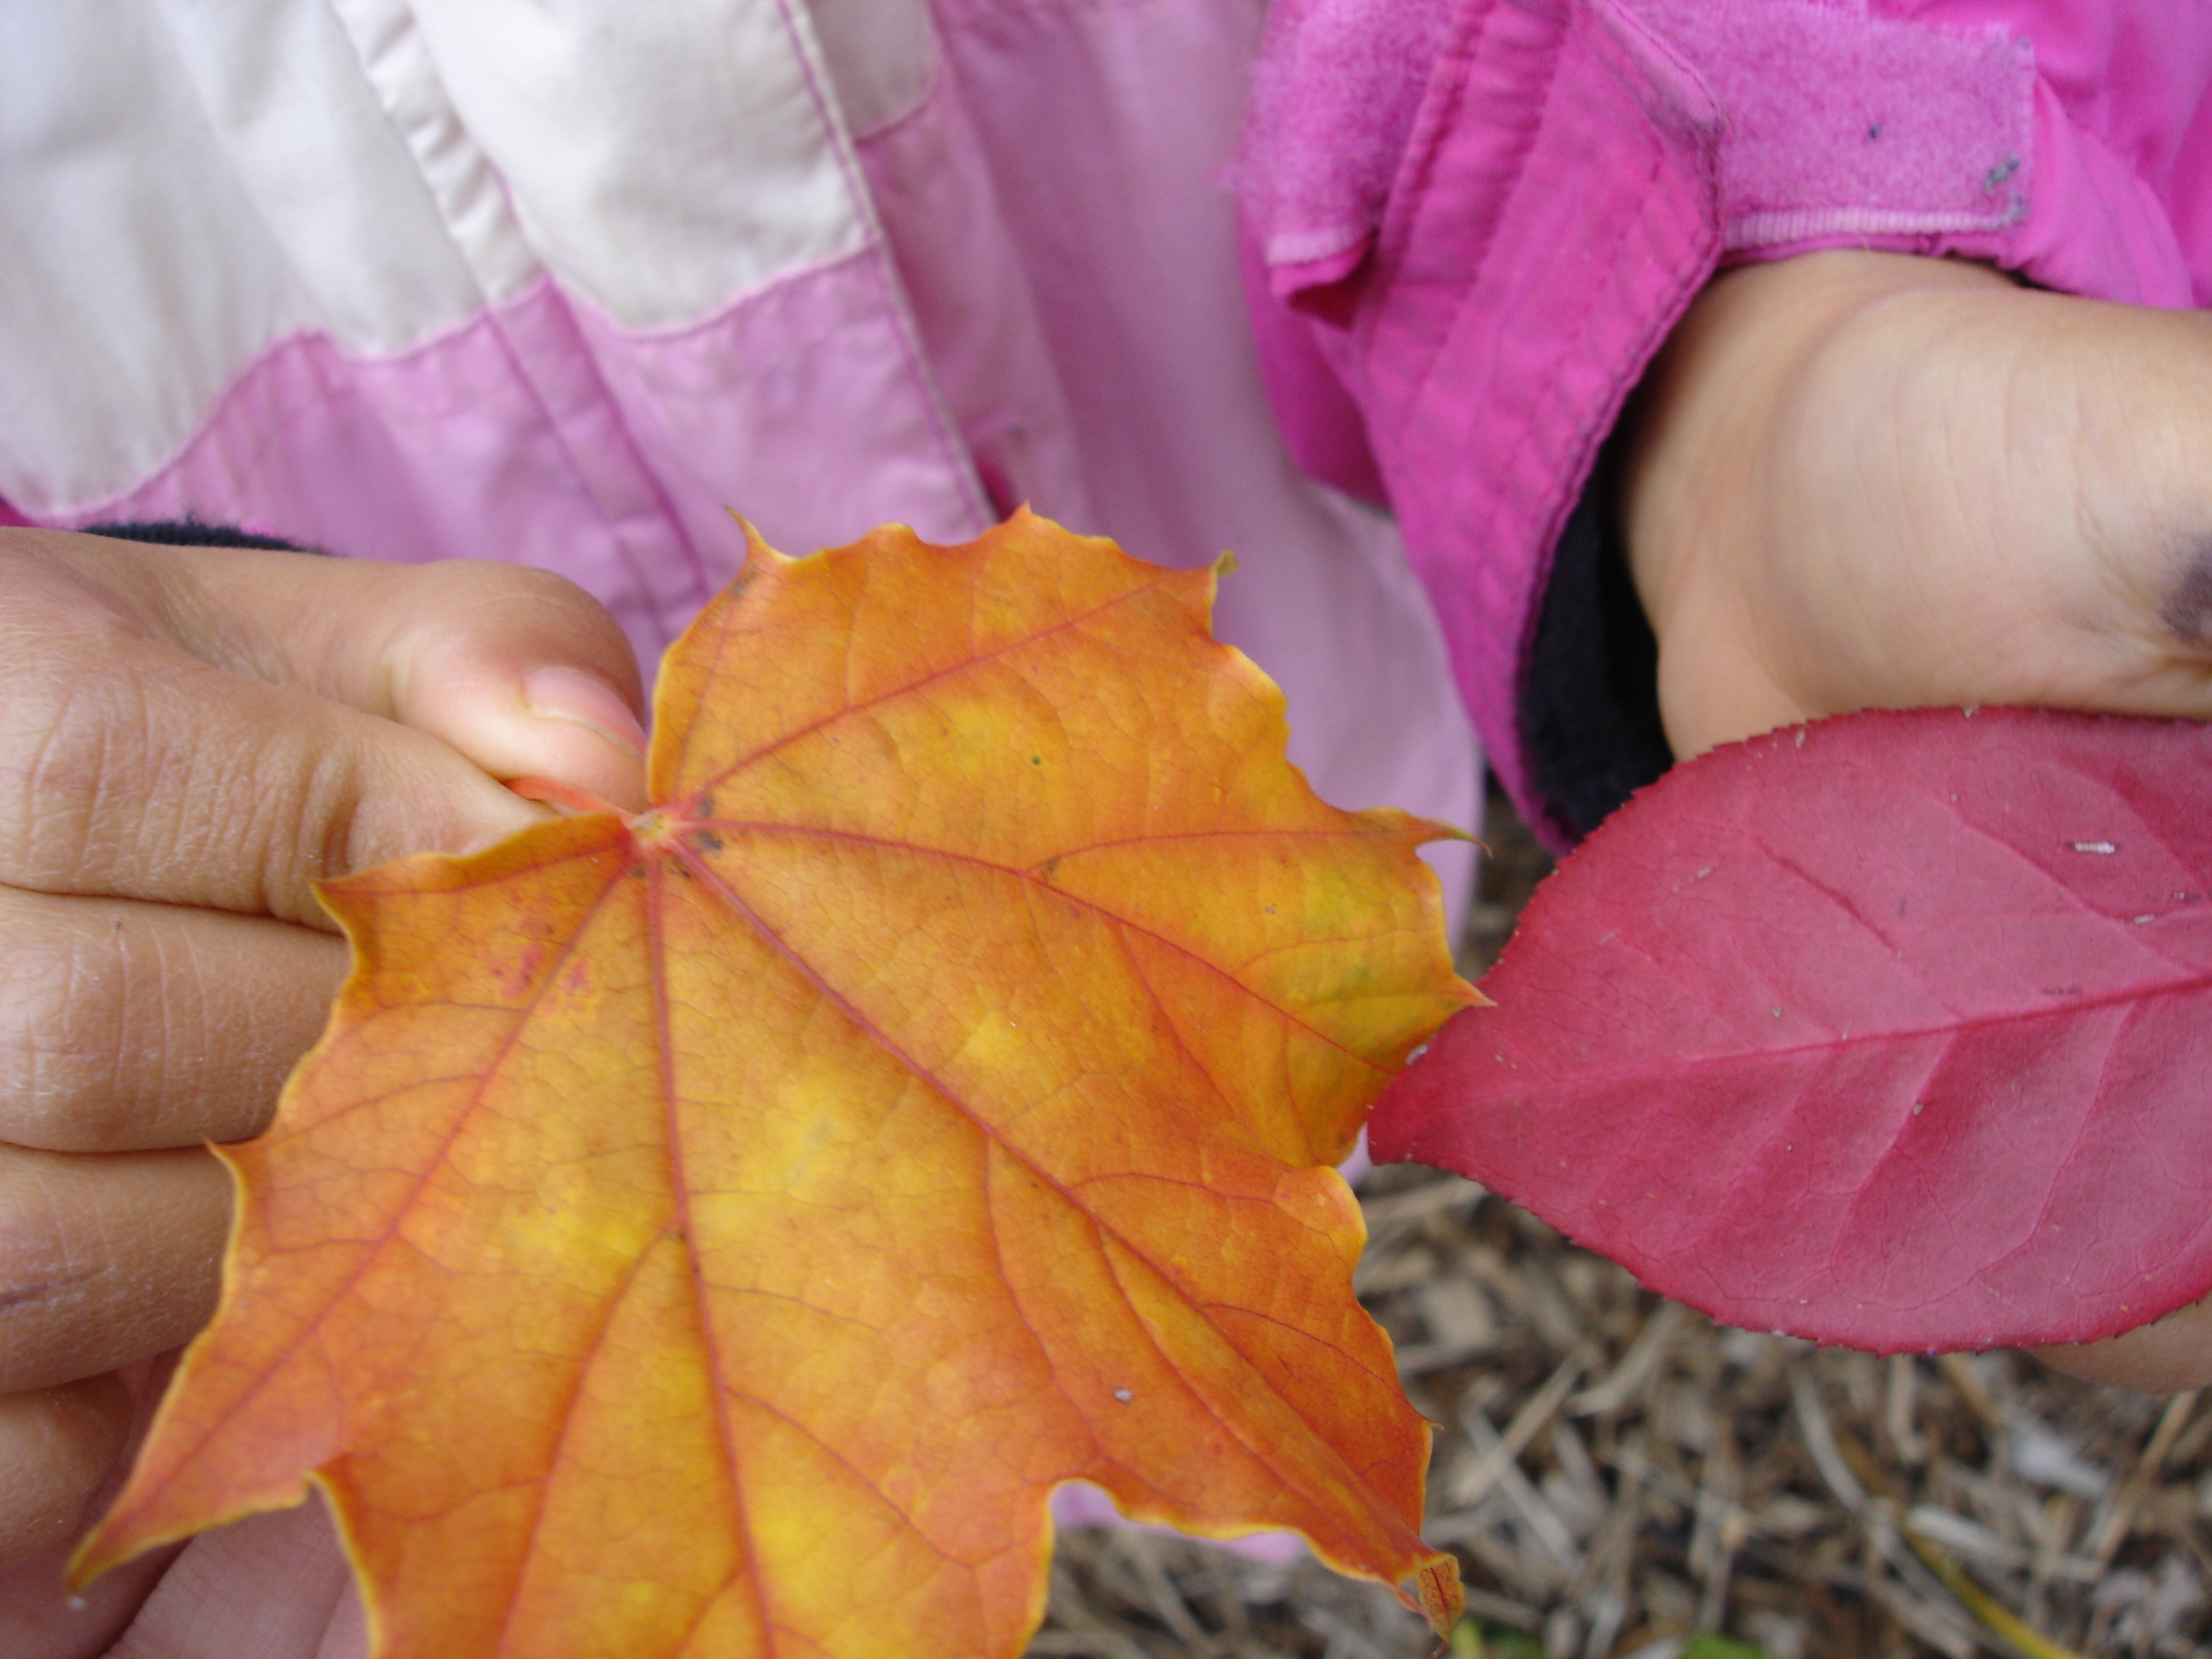
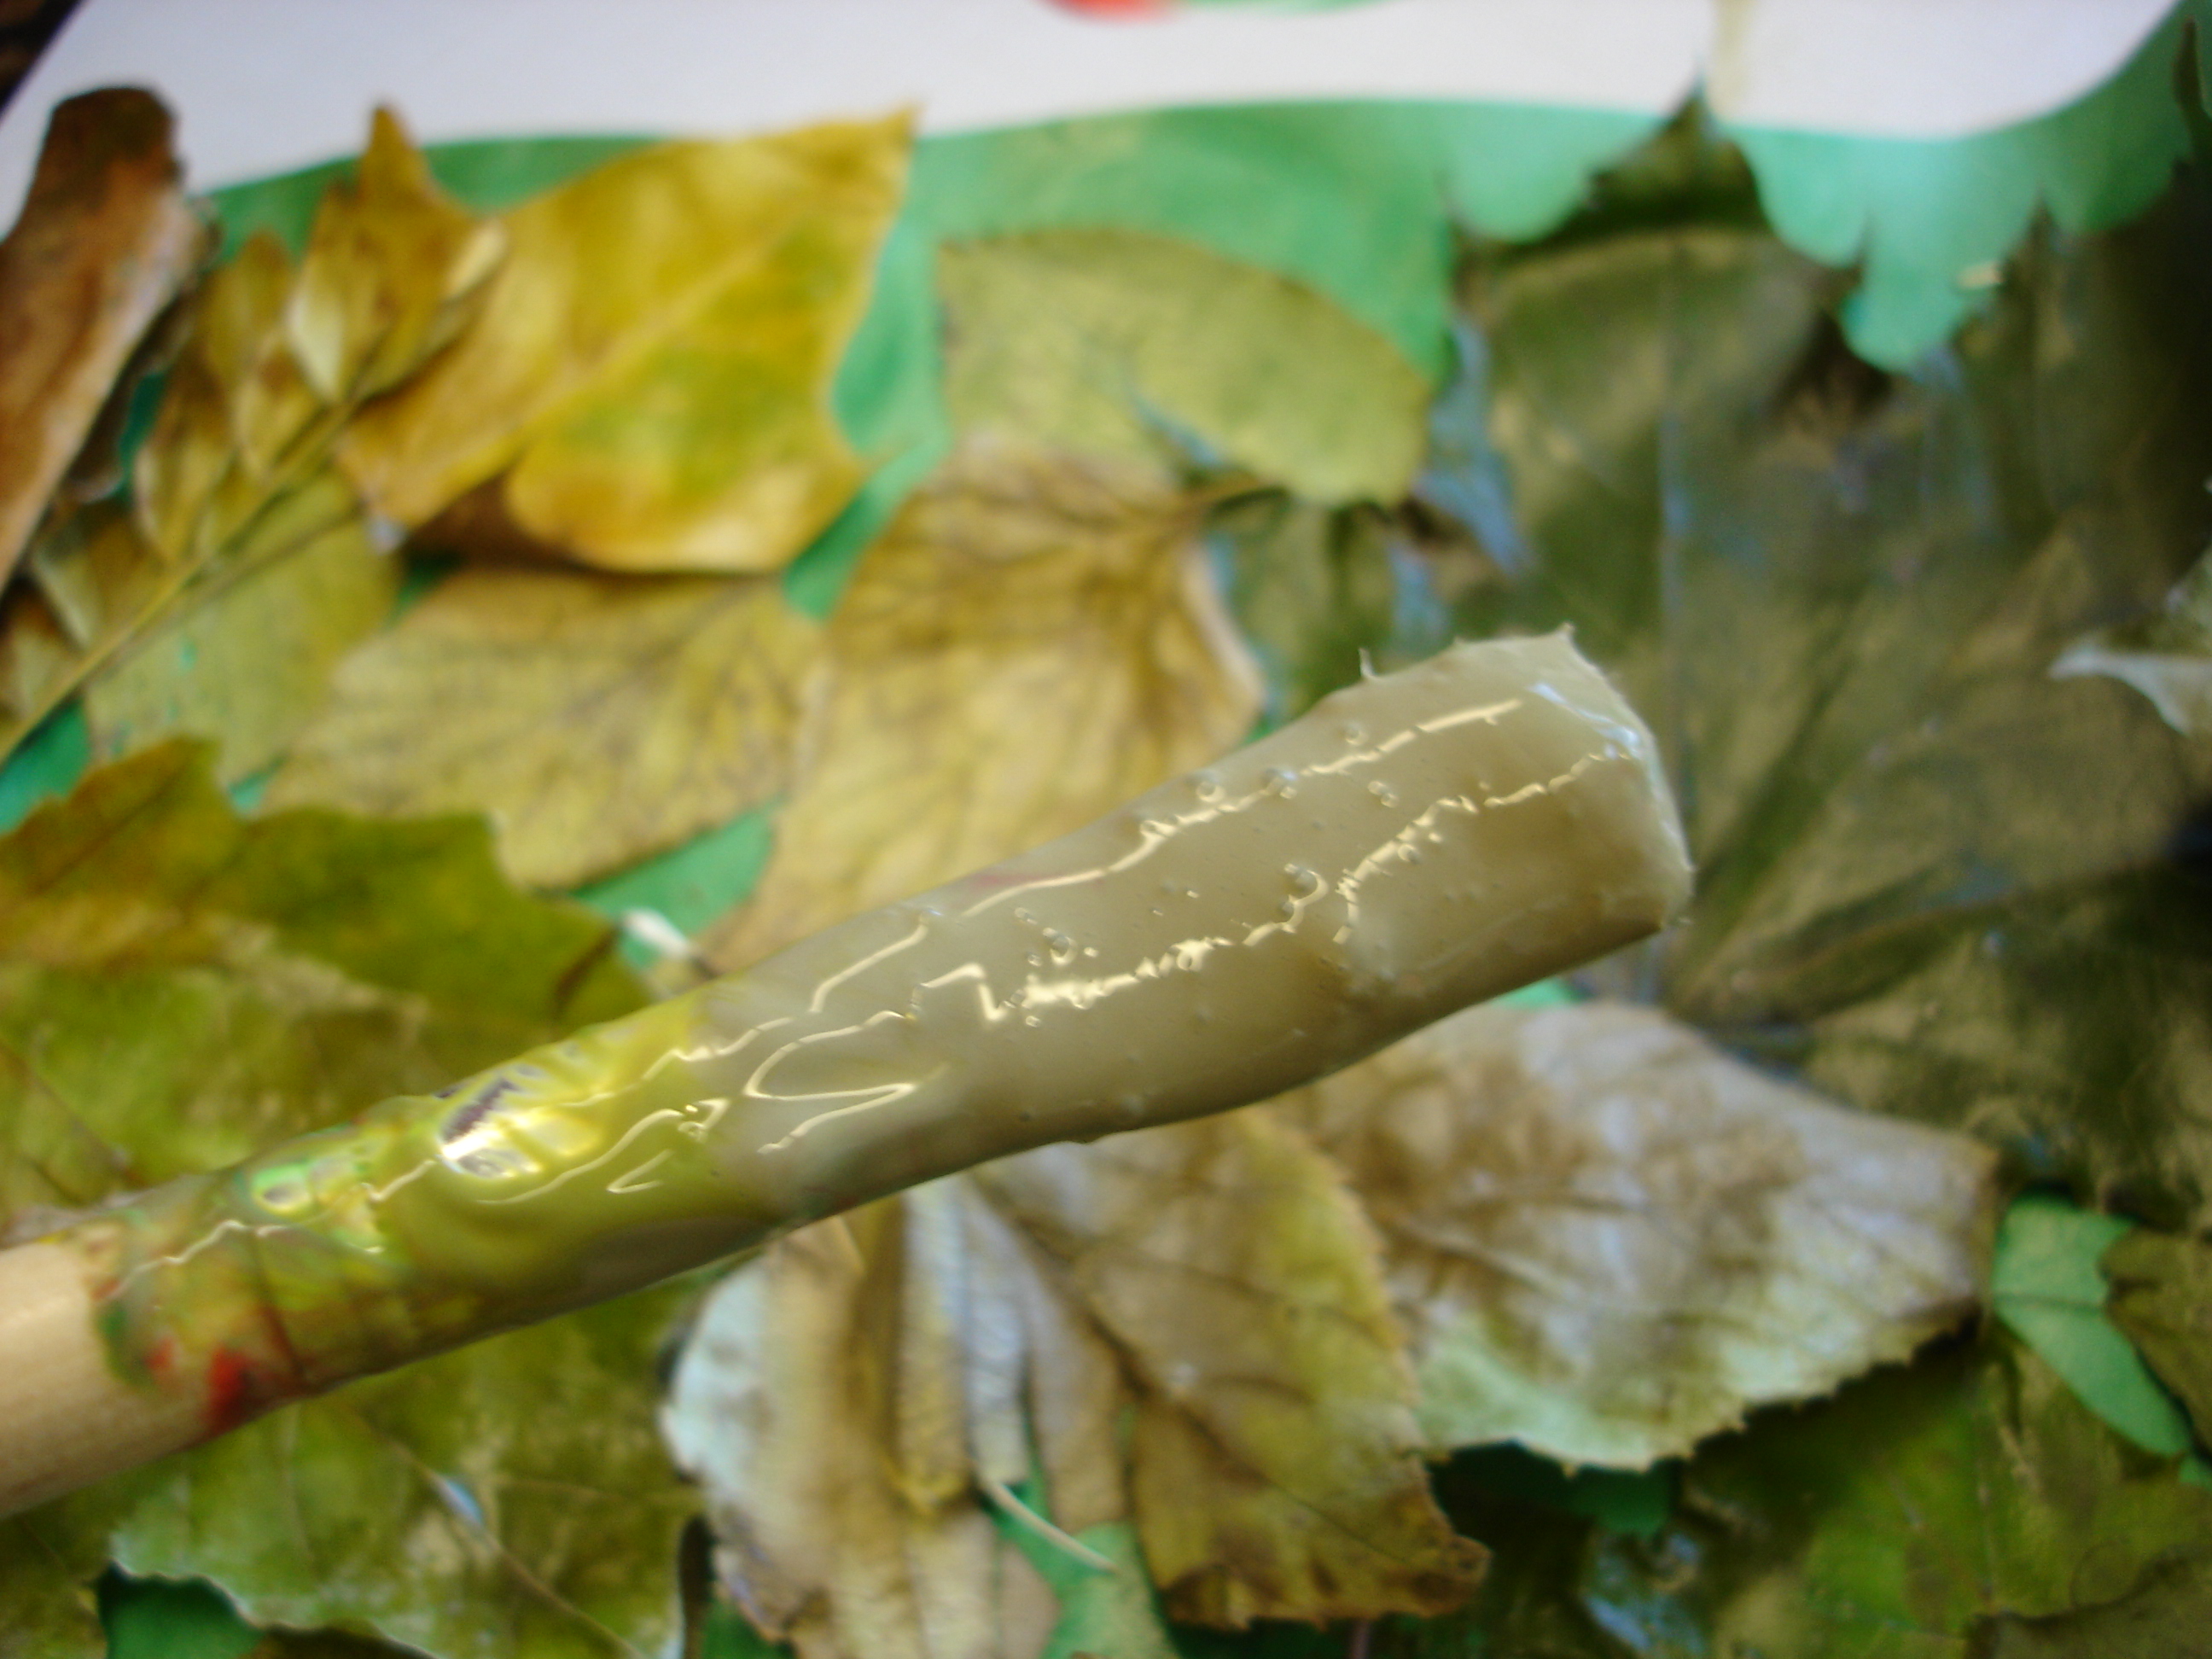
Before our walk, the children were given a job to do. They were asked to look for evidence of the colours of fall. While we were outside we took pictures and collected samples of the children’s discoveries. The next day, we put all our leaves, pine needles, maple seeds, and pine cones in the middle of the carpet and talked about the colours we noticed. We decided to sort our items by colour to make it easier to see what we had found. The children identified the colour piles we would need and we placed coloured construction paper mats in brown, red, green, orange, and yellow down on the floor. Then we sorted! Each student was given an opportunity to sort some leaves. It was quite interesting to see how the leaves were debated amongst the group. Here is a conversation that arose during the process:

S: “I’m not sure about this leaf. Is it red?”


[some children say no, others say yes]


J: “Put it on the red mat and see.”


S: “It doesn’t look like the other red leaves”


Ms McD: “What does it mean when we say something is red? Is there one kind of red?”


[the class thinks there is one kind of red]


J: “Turn it over. The back is red. The front is just dark. It’s still red.”


[some children are satisfied with this]


W: Yes, there is more than one kind of red. There’s red and dark red.


E: And light red too.

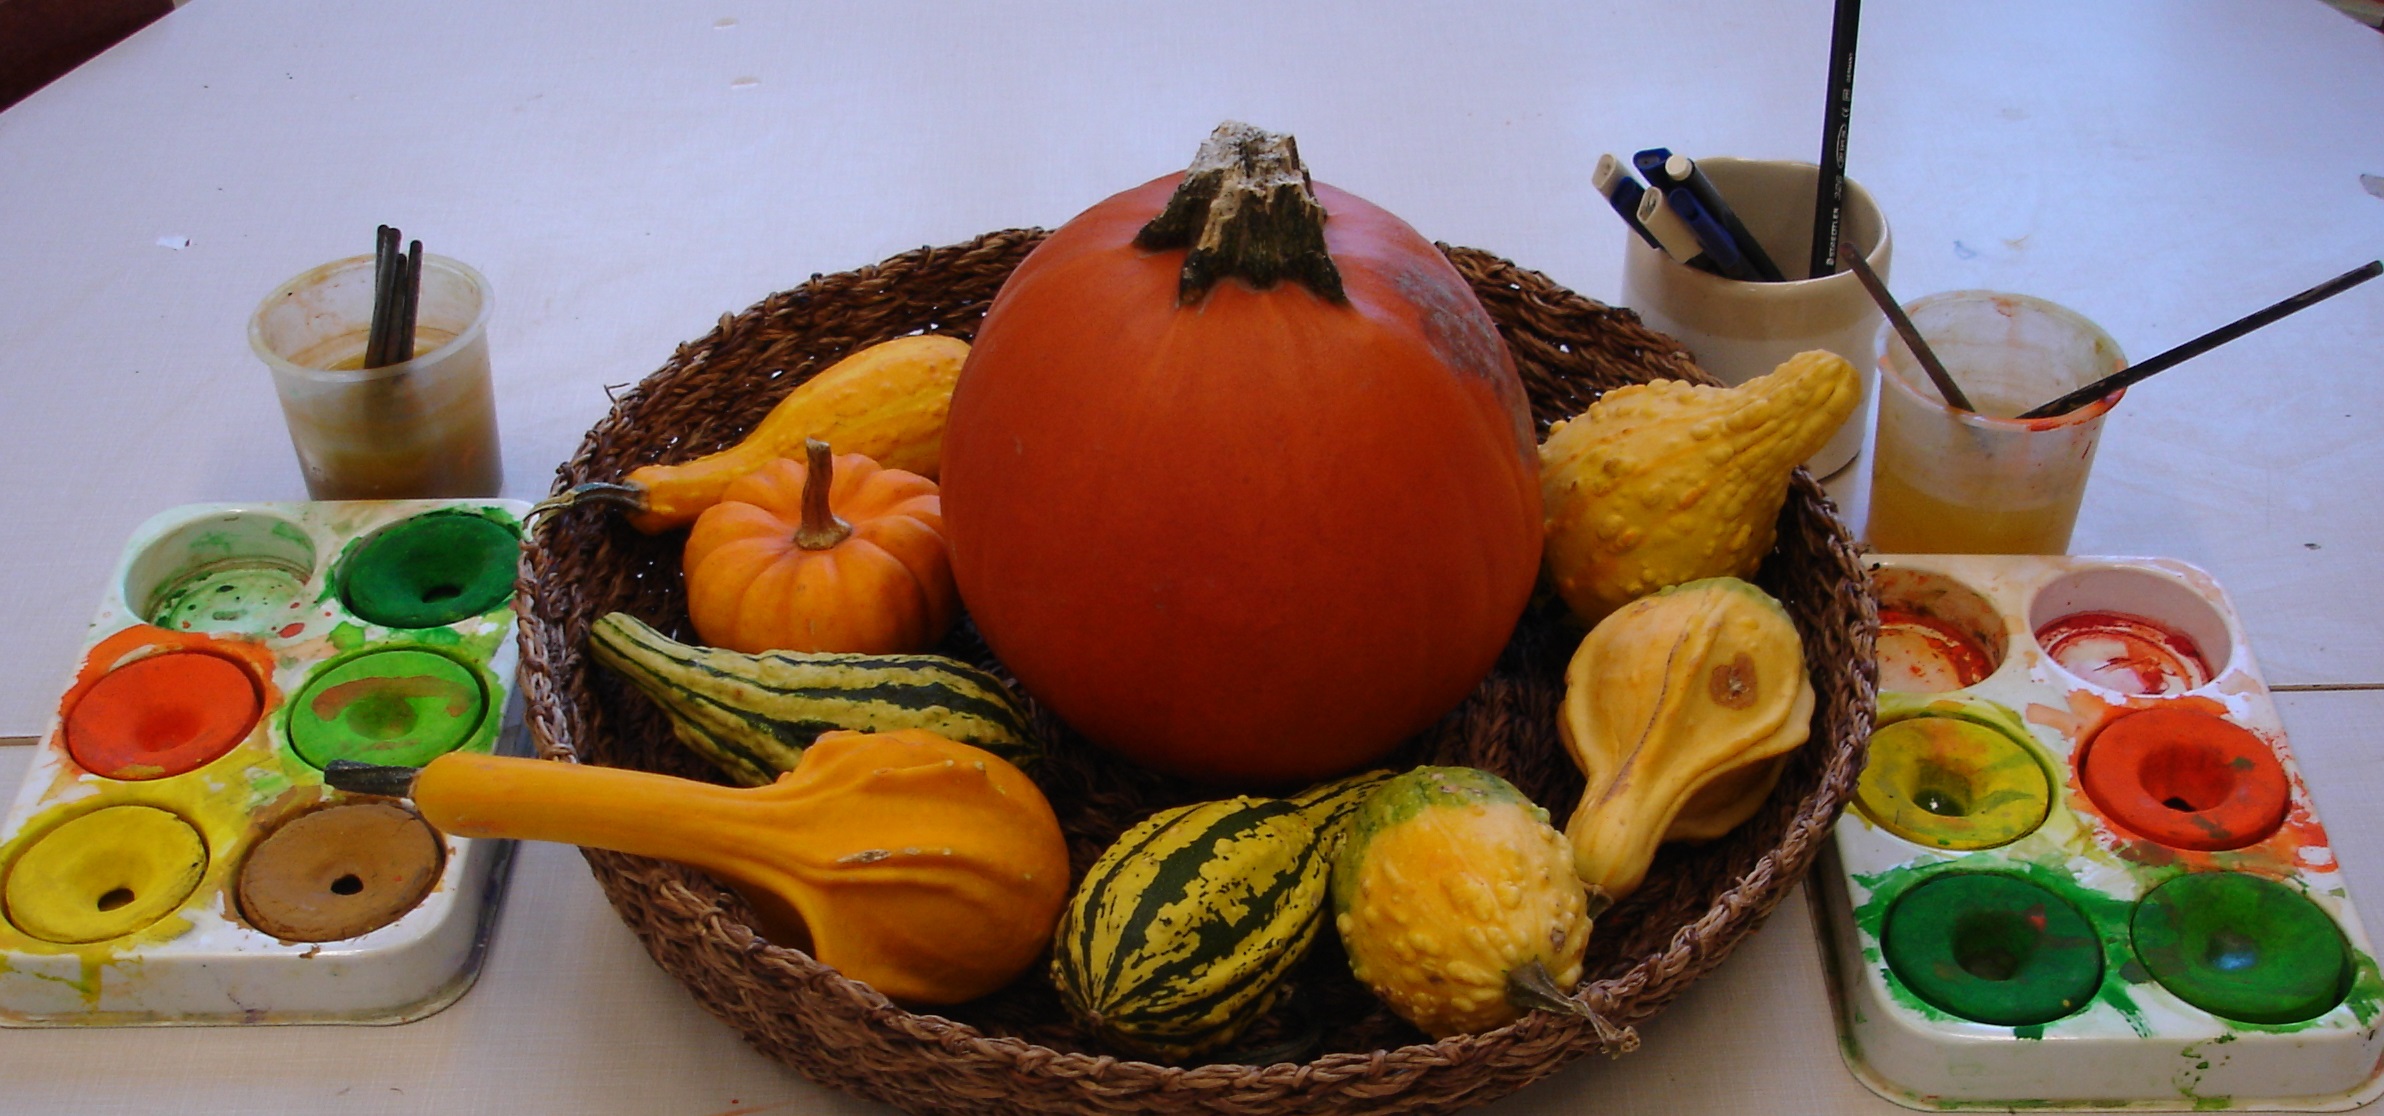
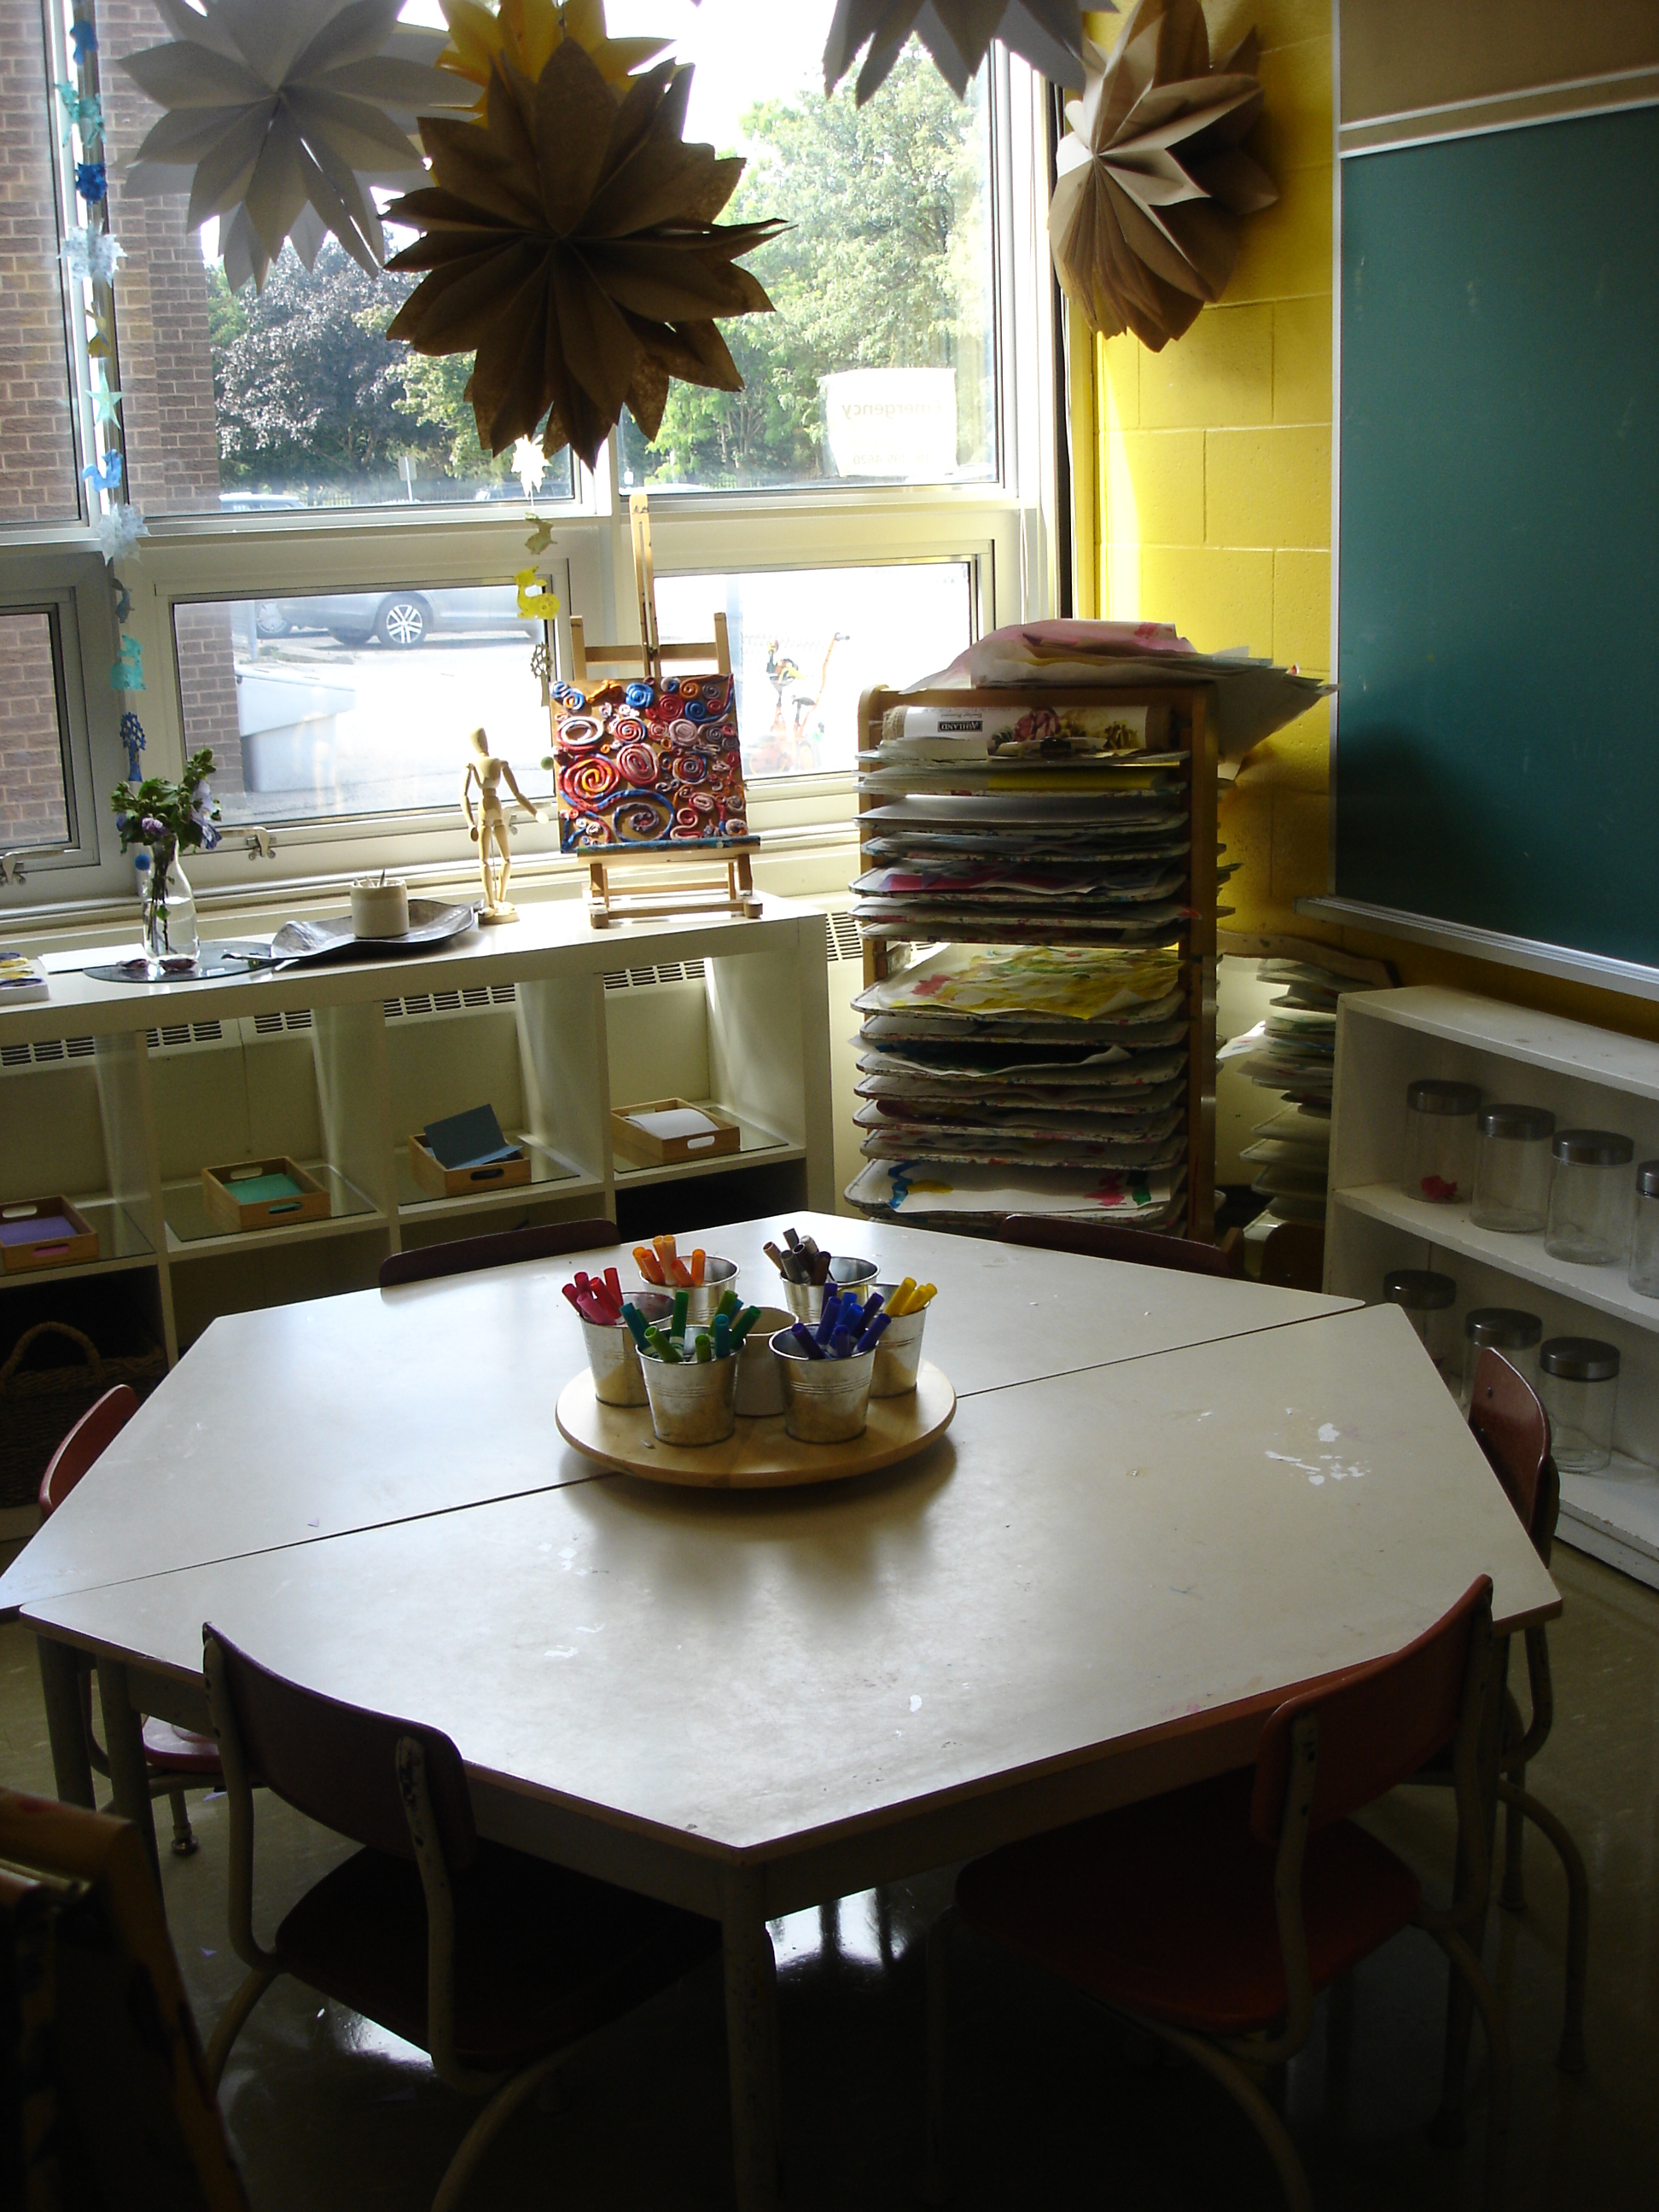
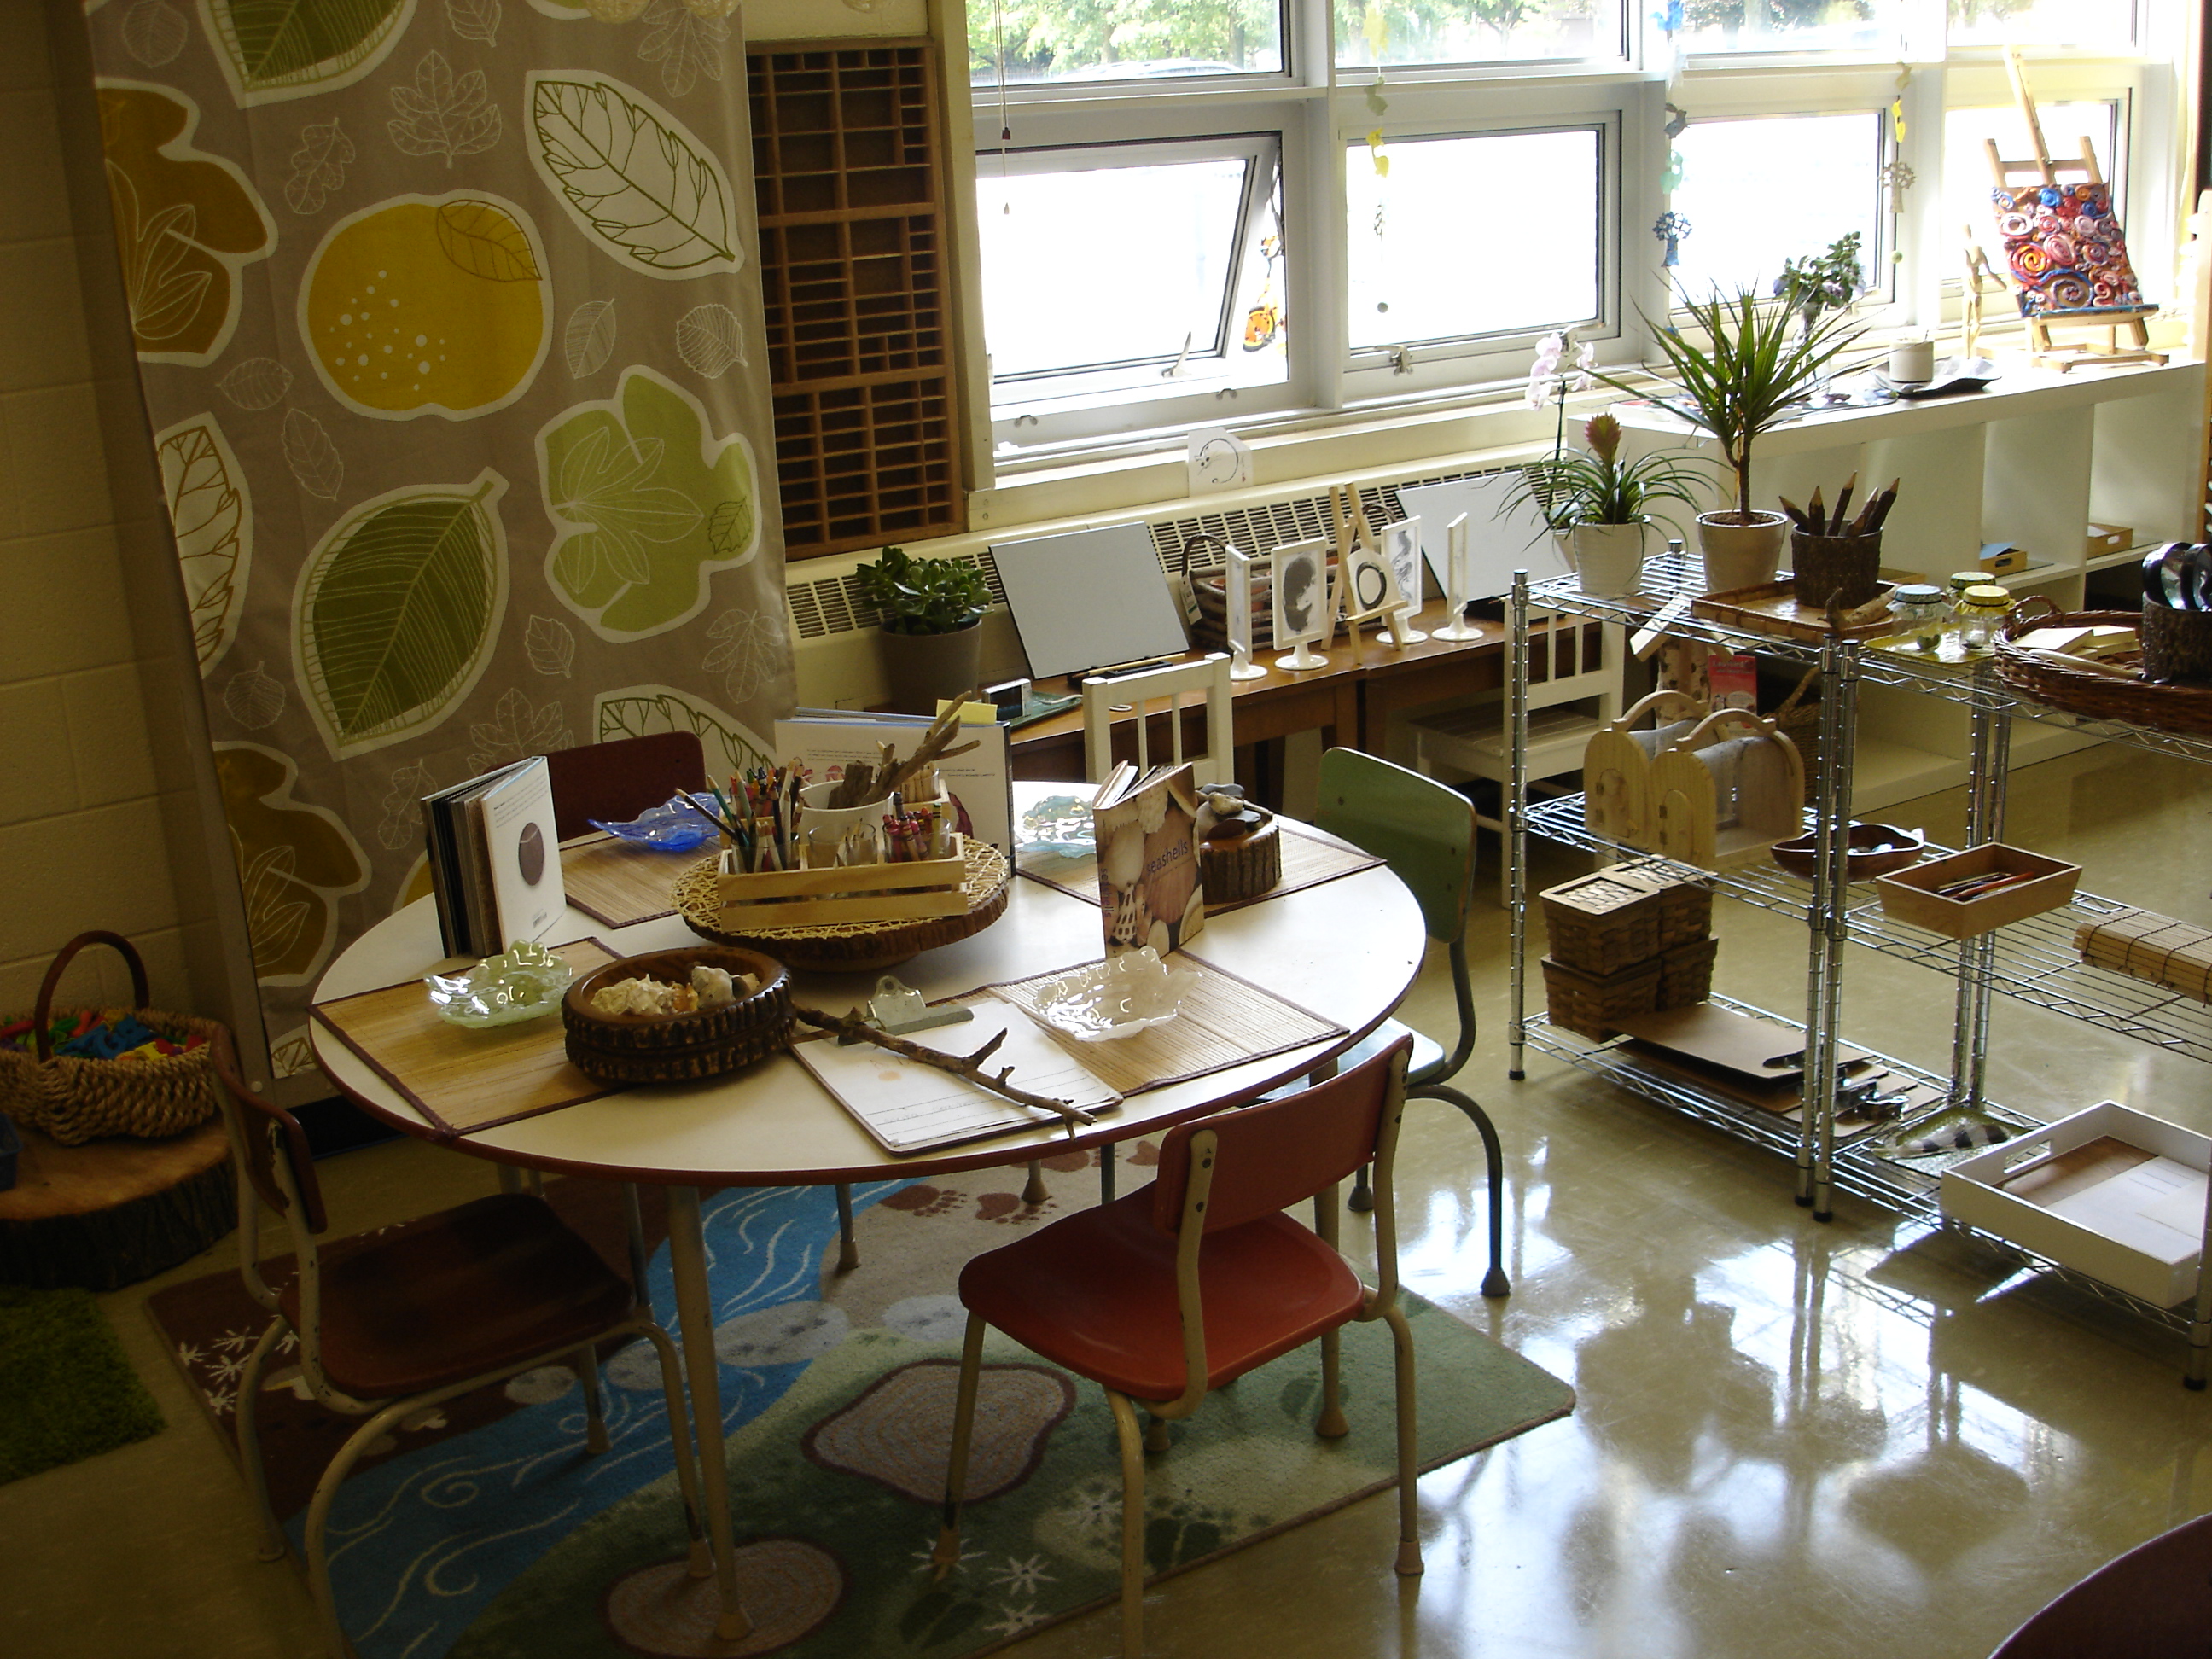
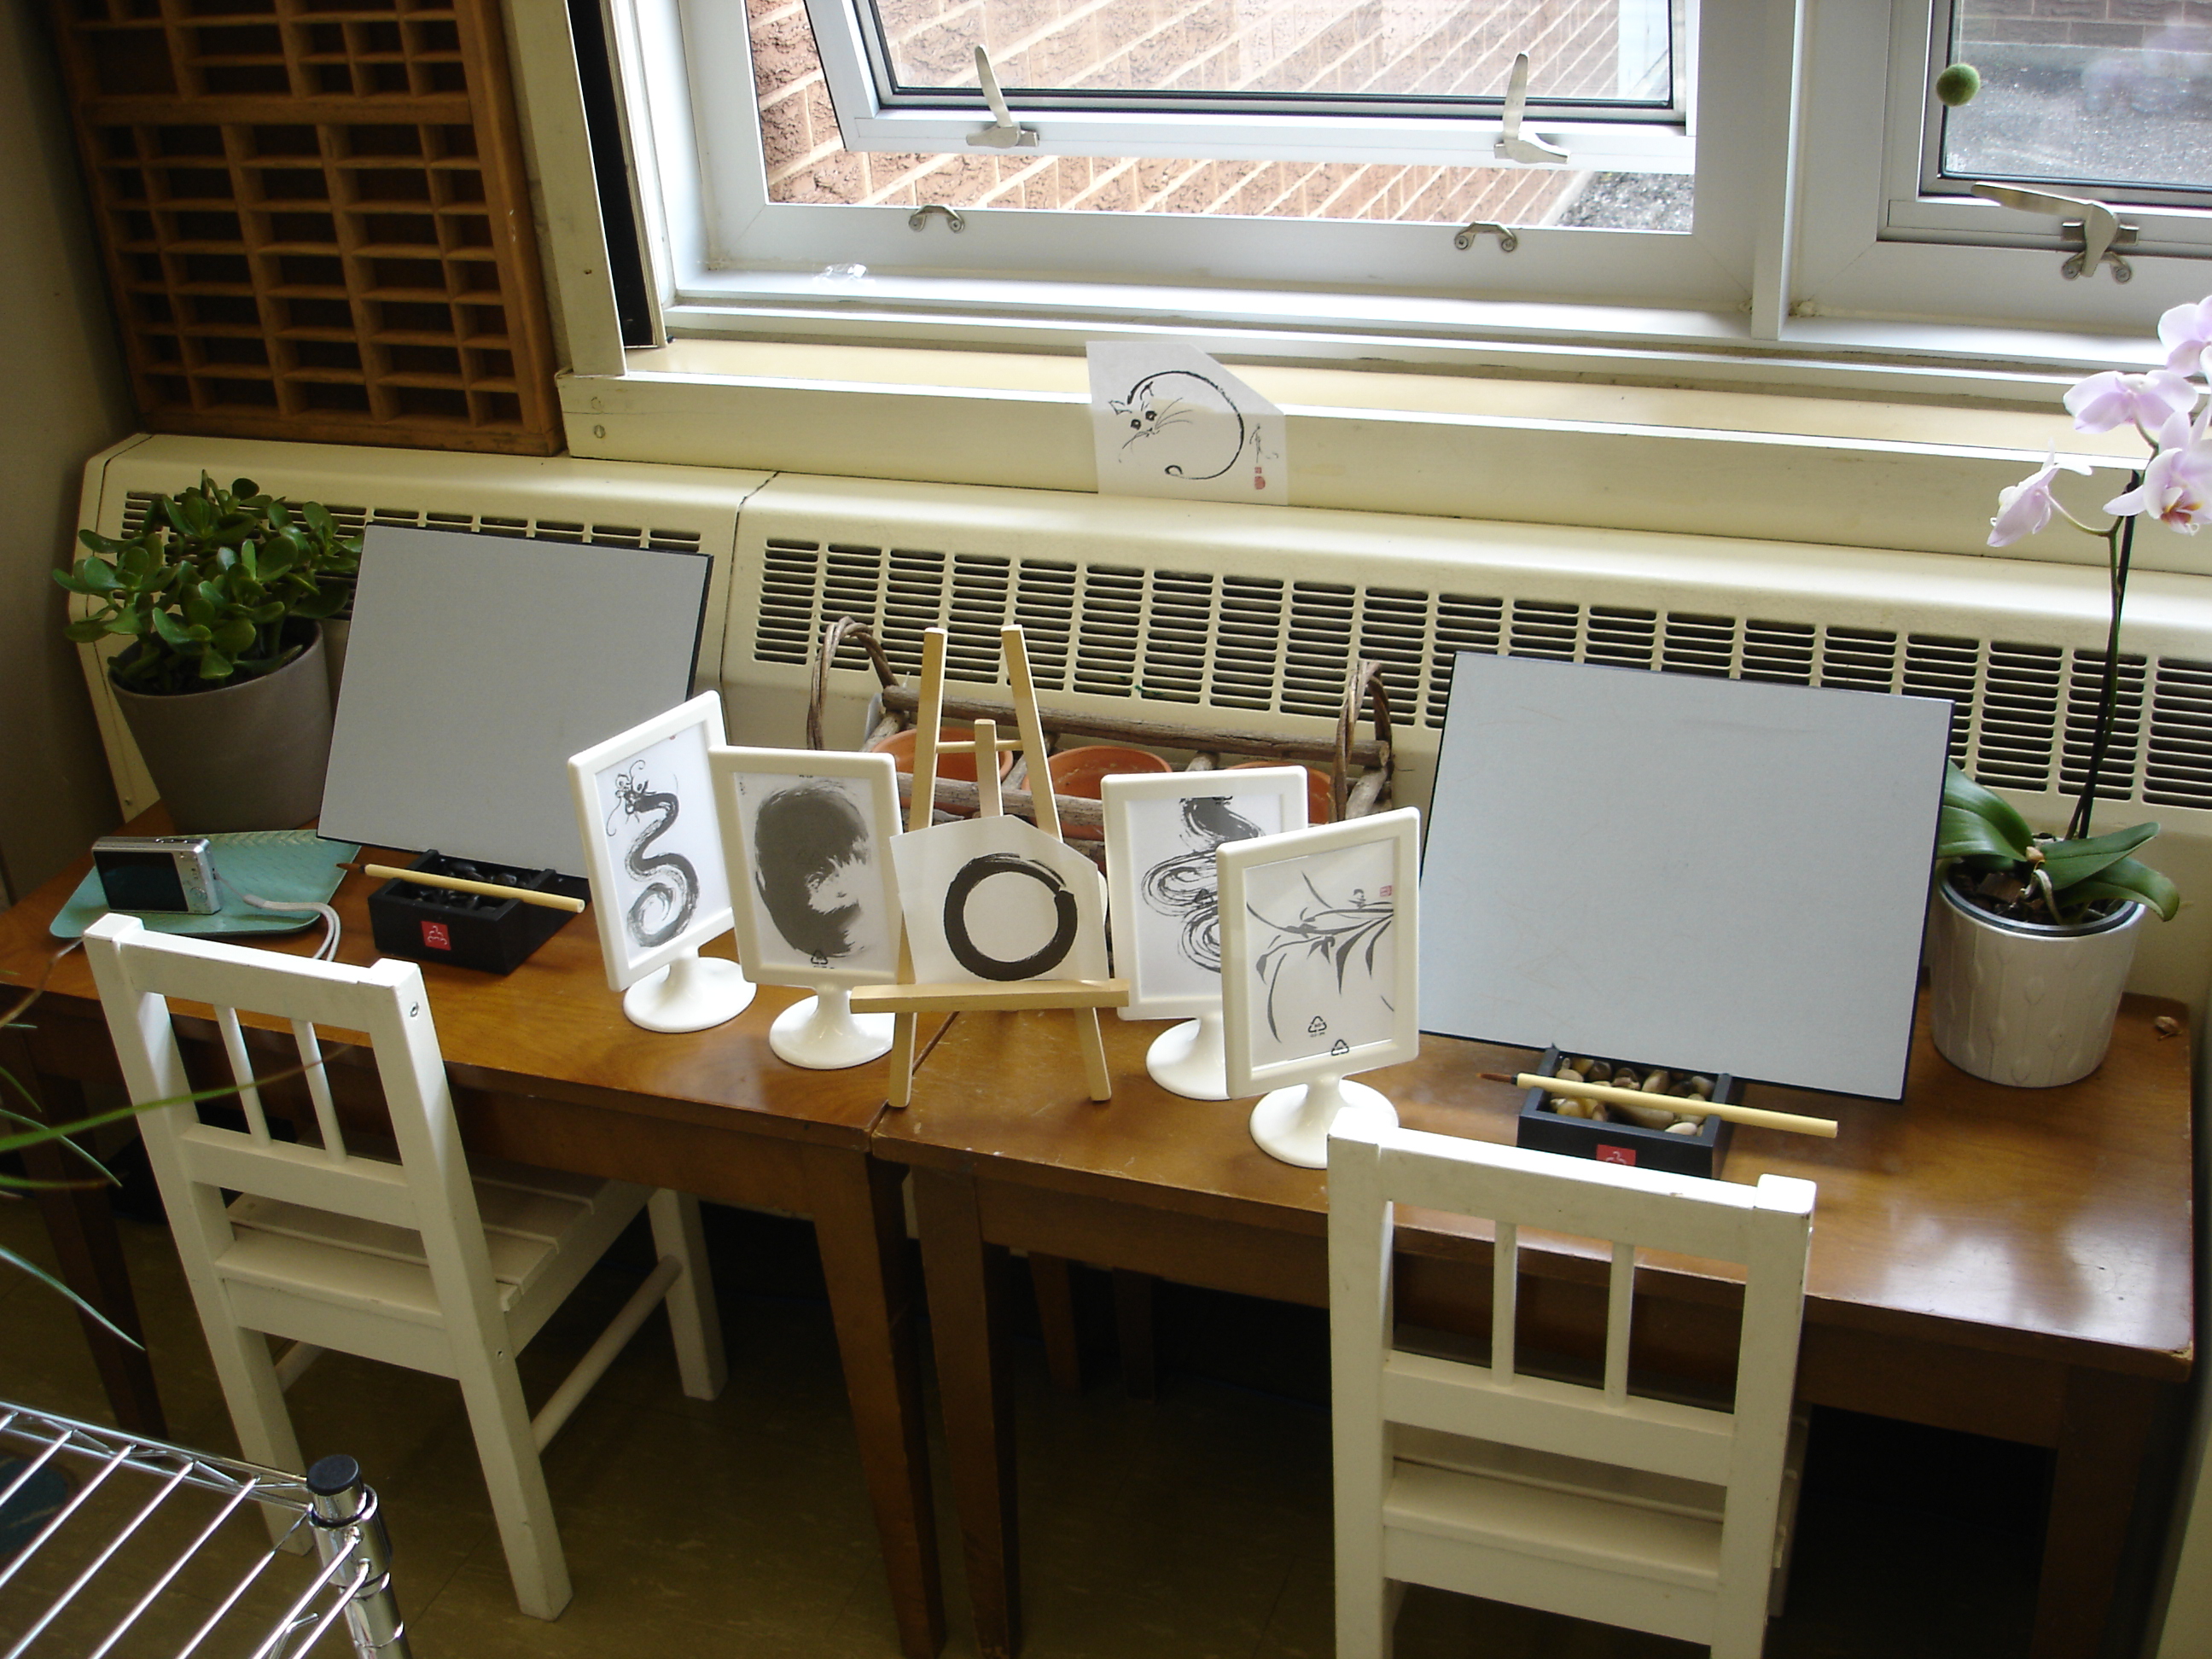
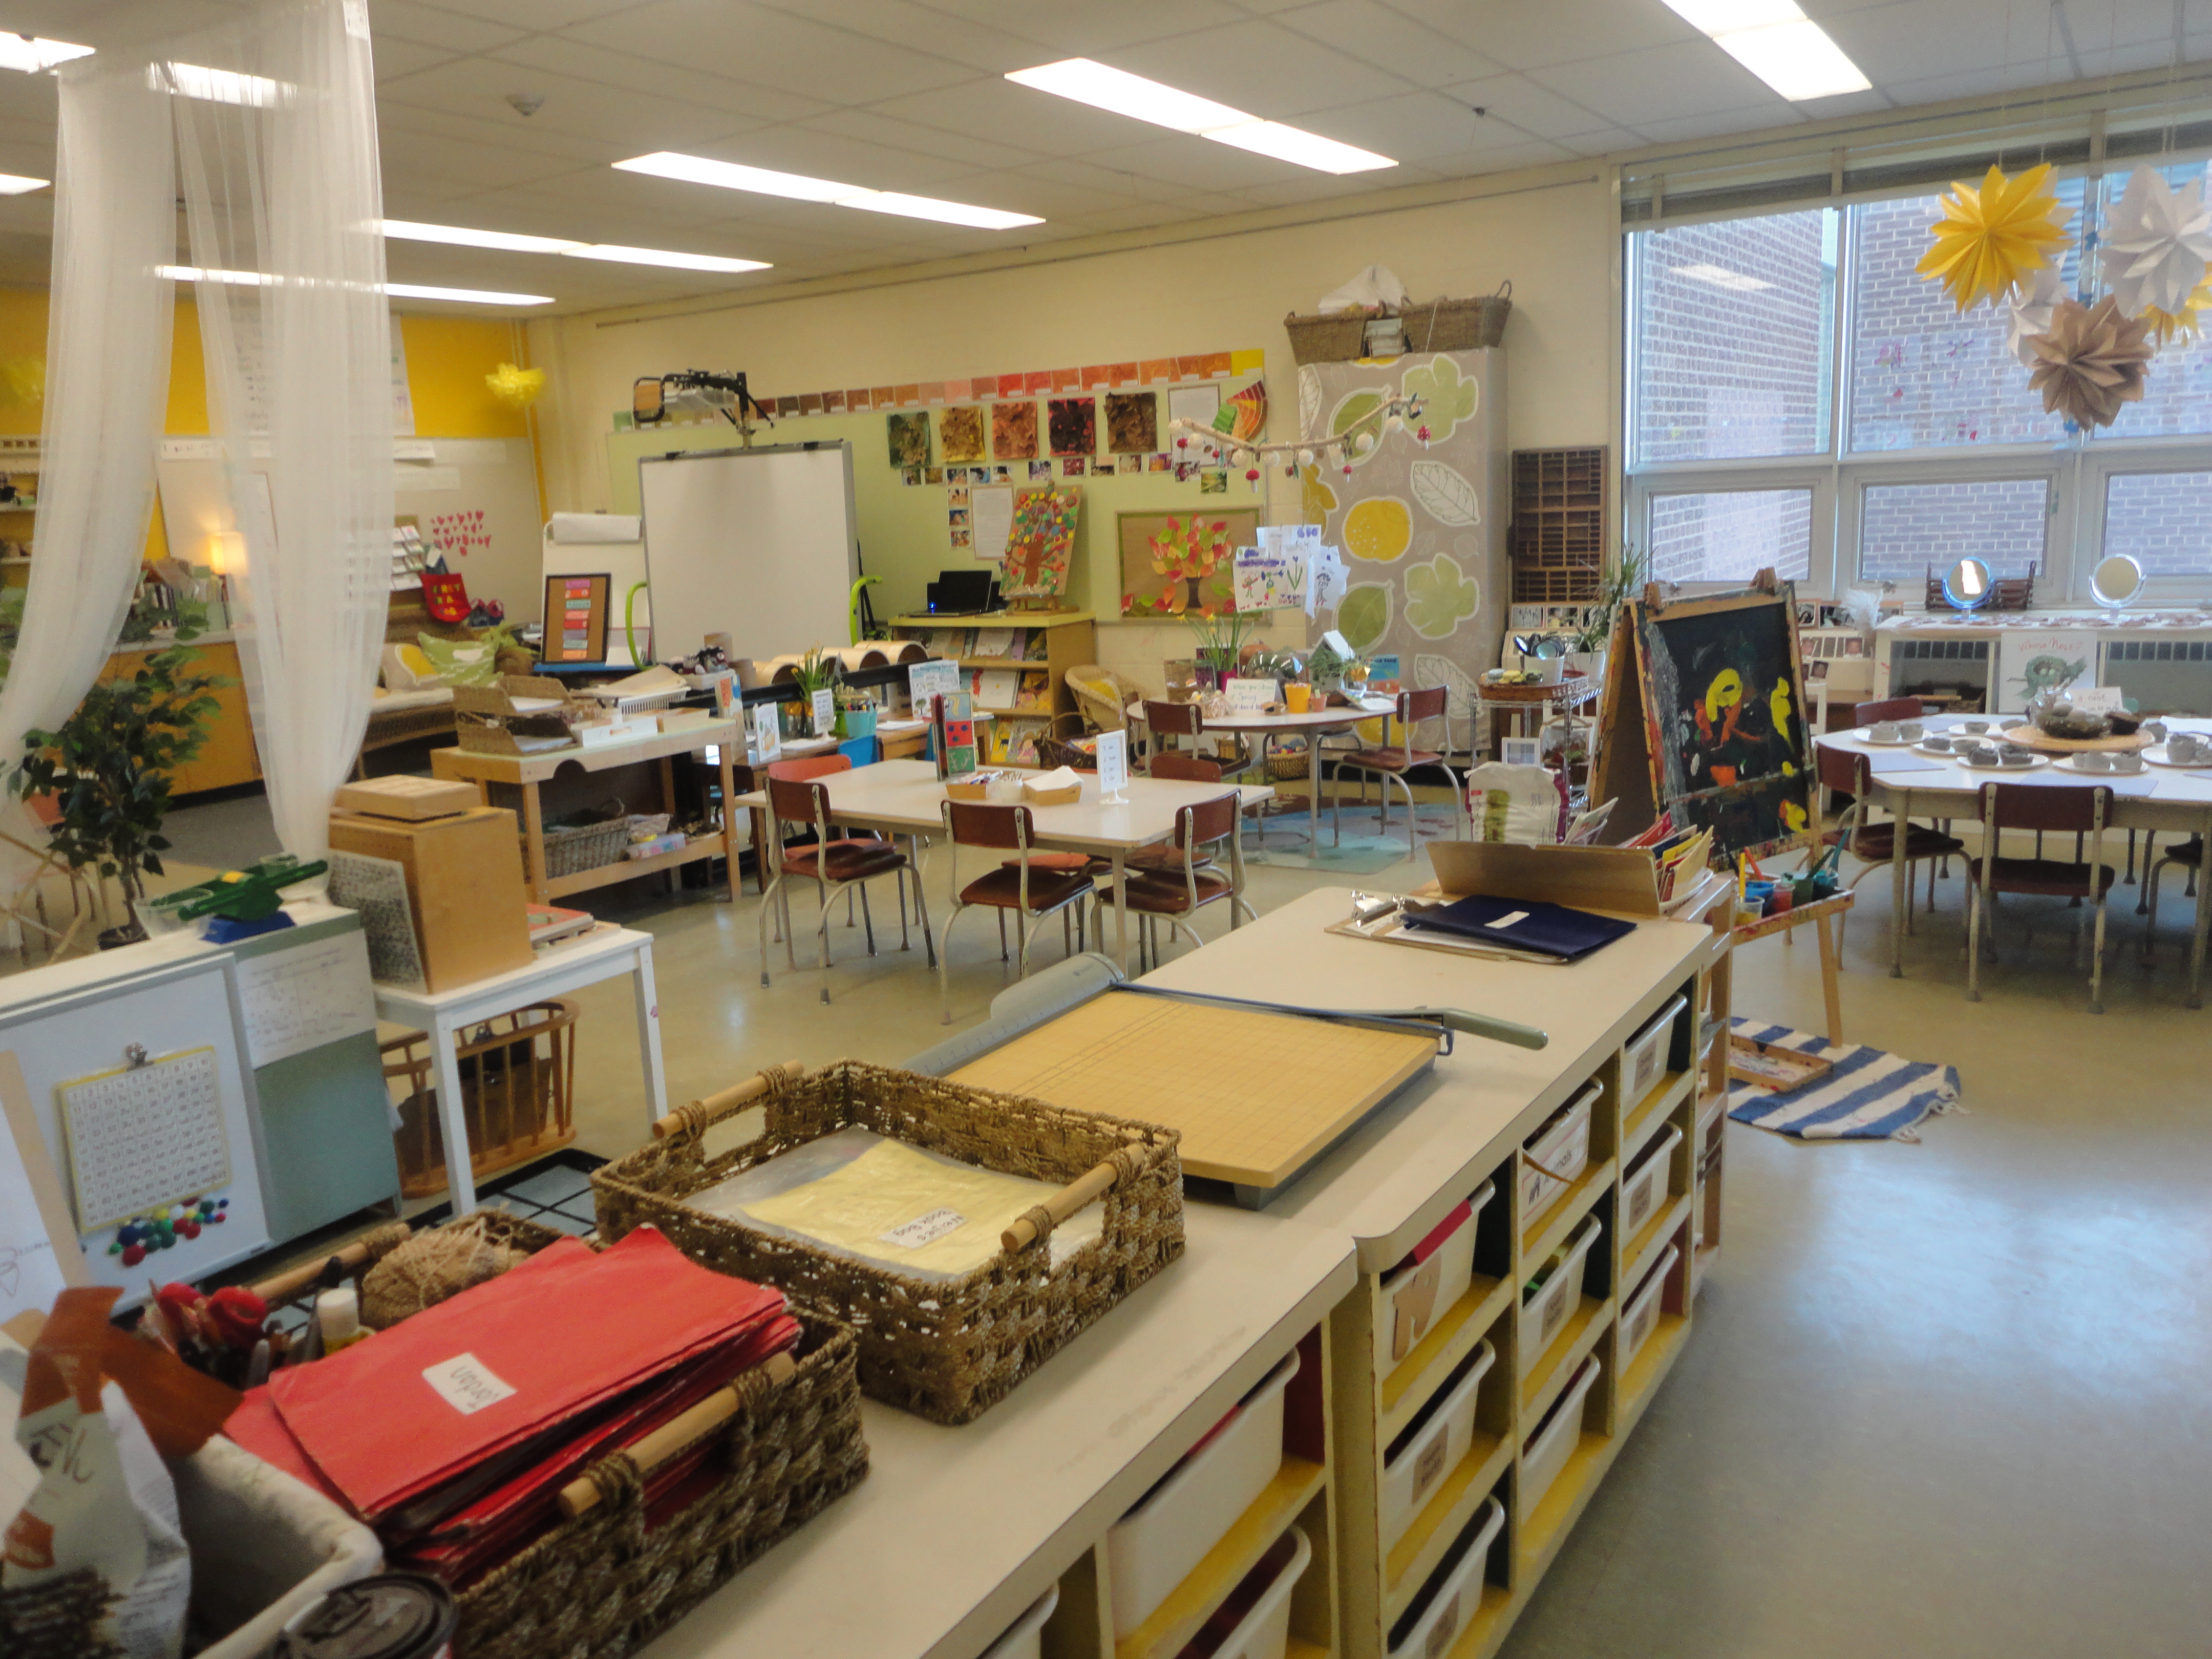
The children were debating each leaf and from those debates were emerging concepts about colour and categorization. We decided to save our sorted colour piles by gluing our artifacts in place and pursue the children’s thinking further by creating a colour provocation at the Art Studio. Here is what our colour provocation looked like:

Image

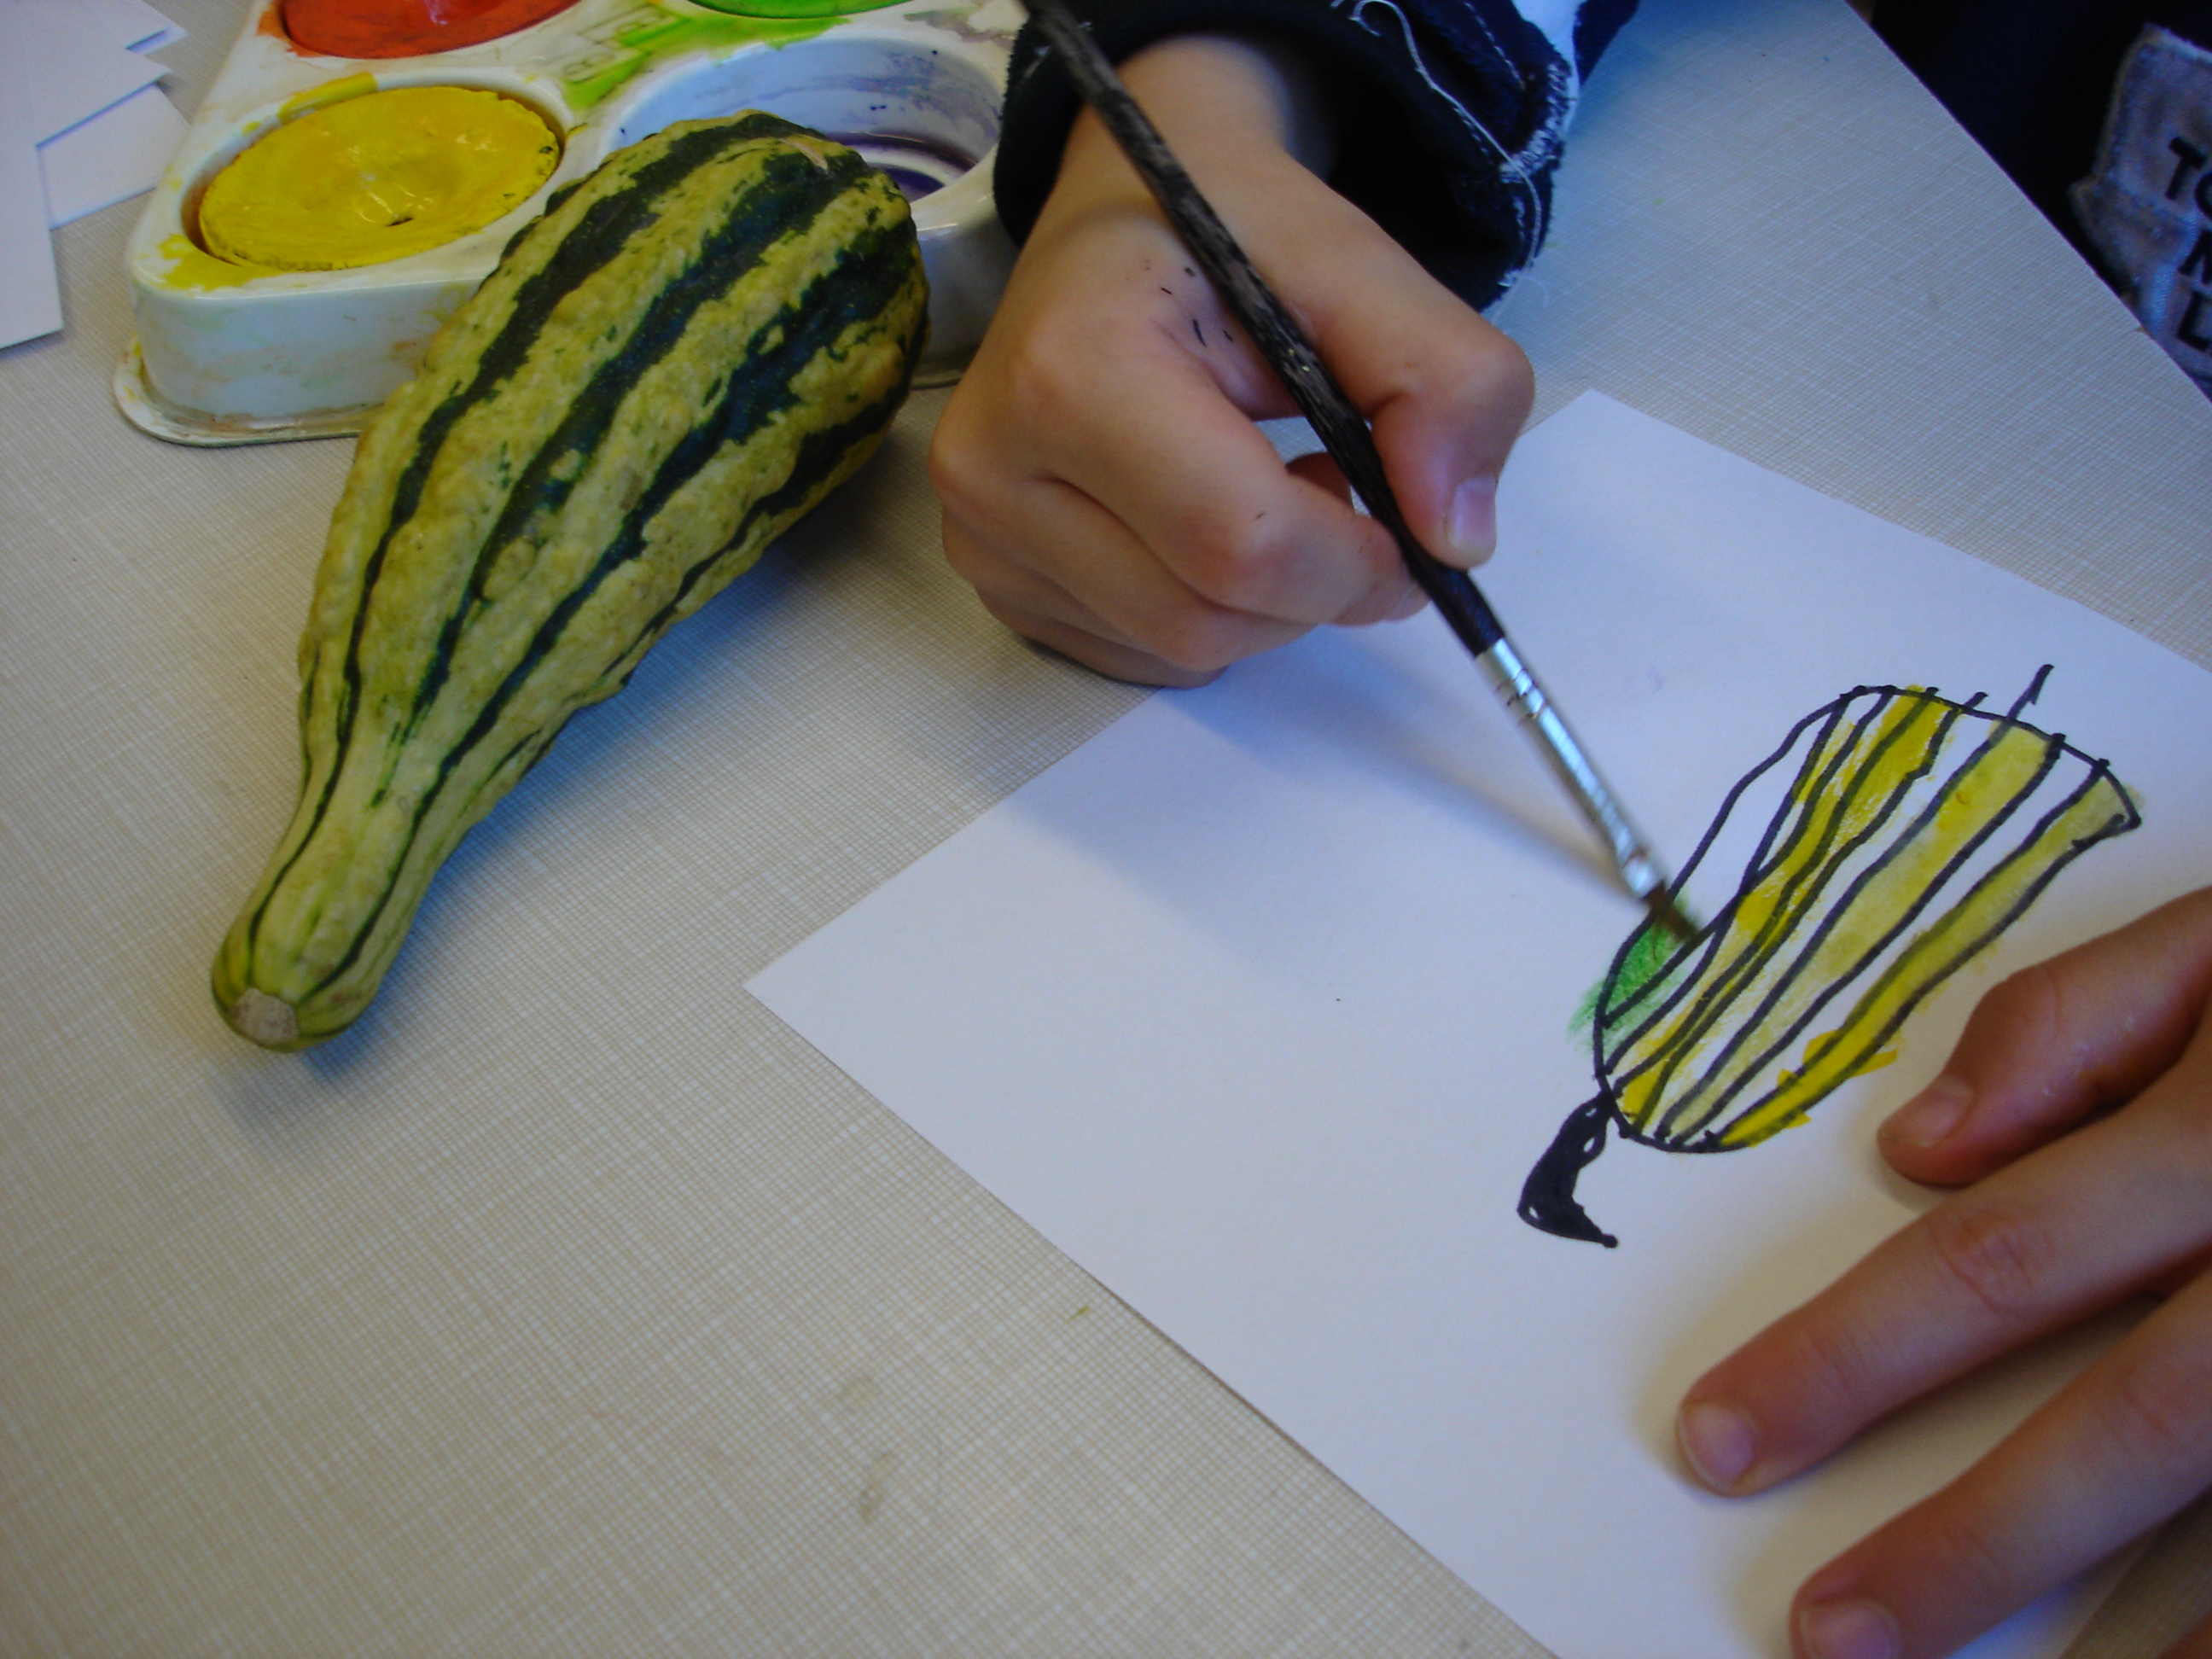
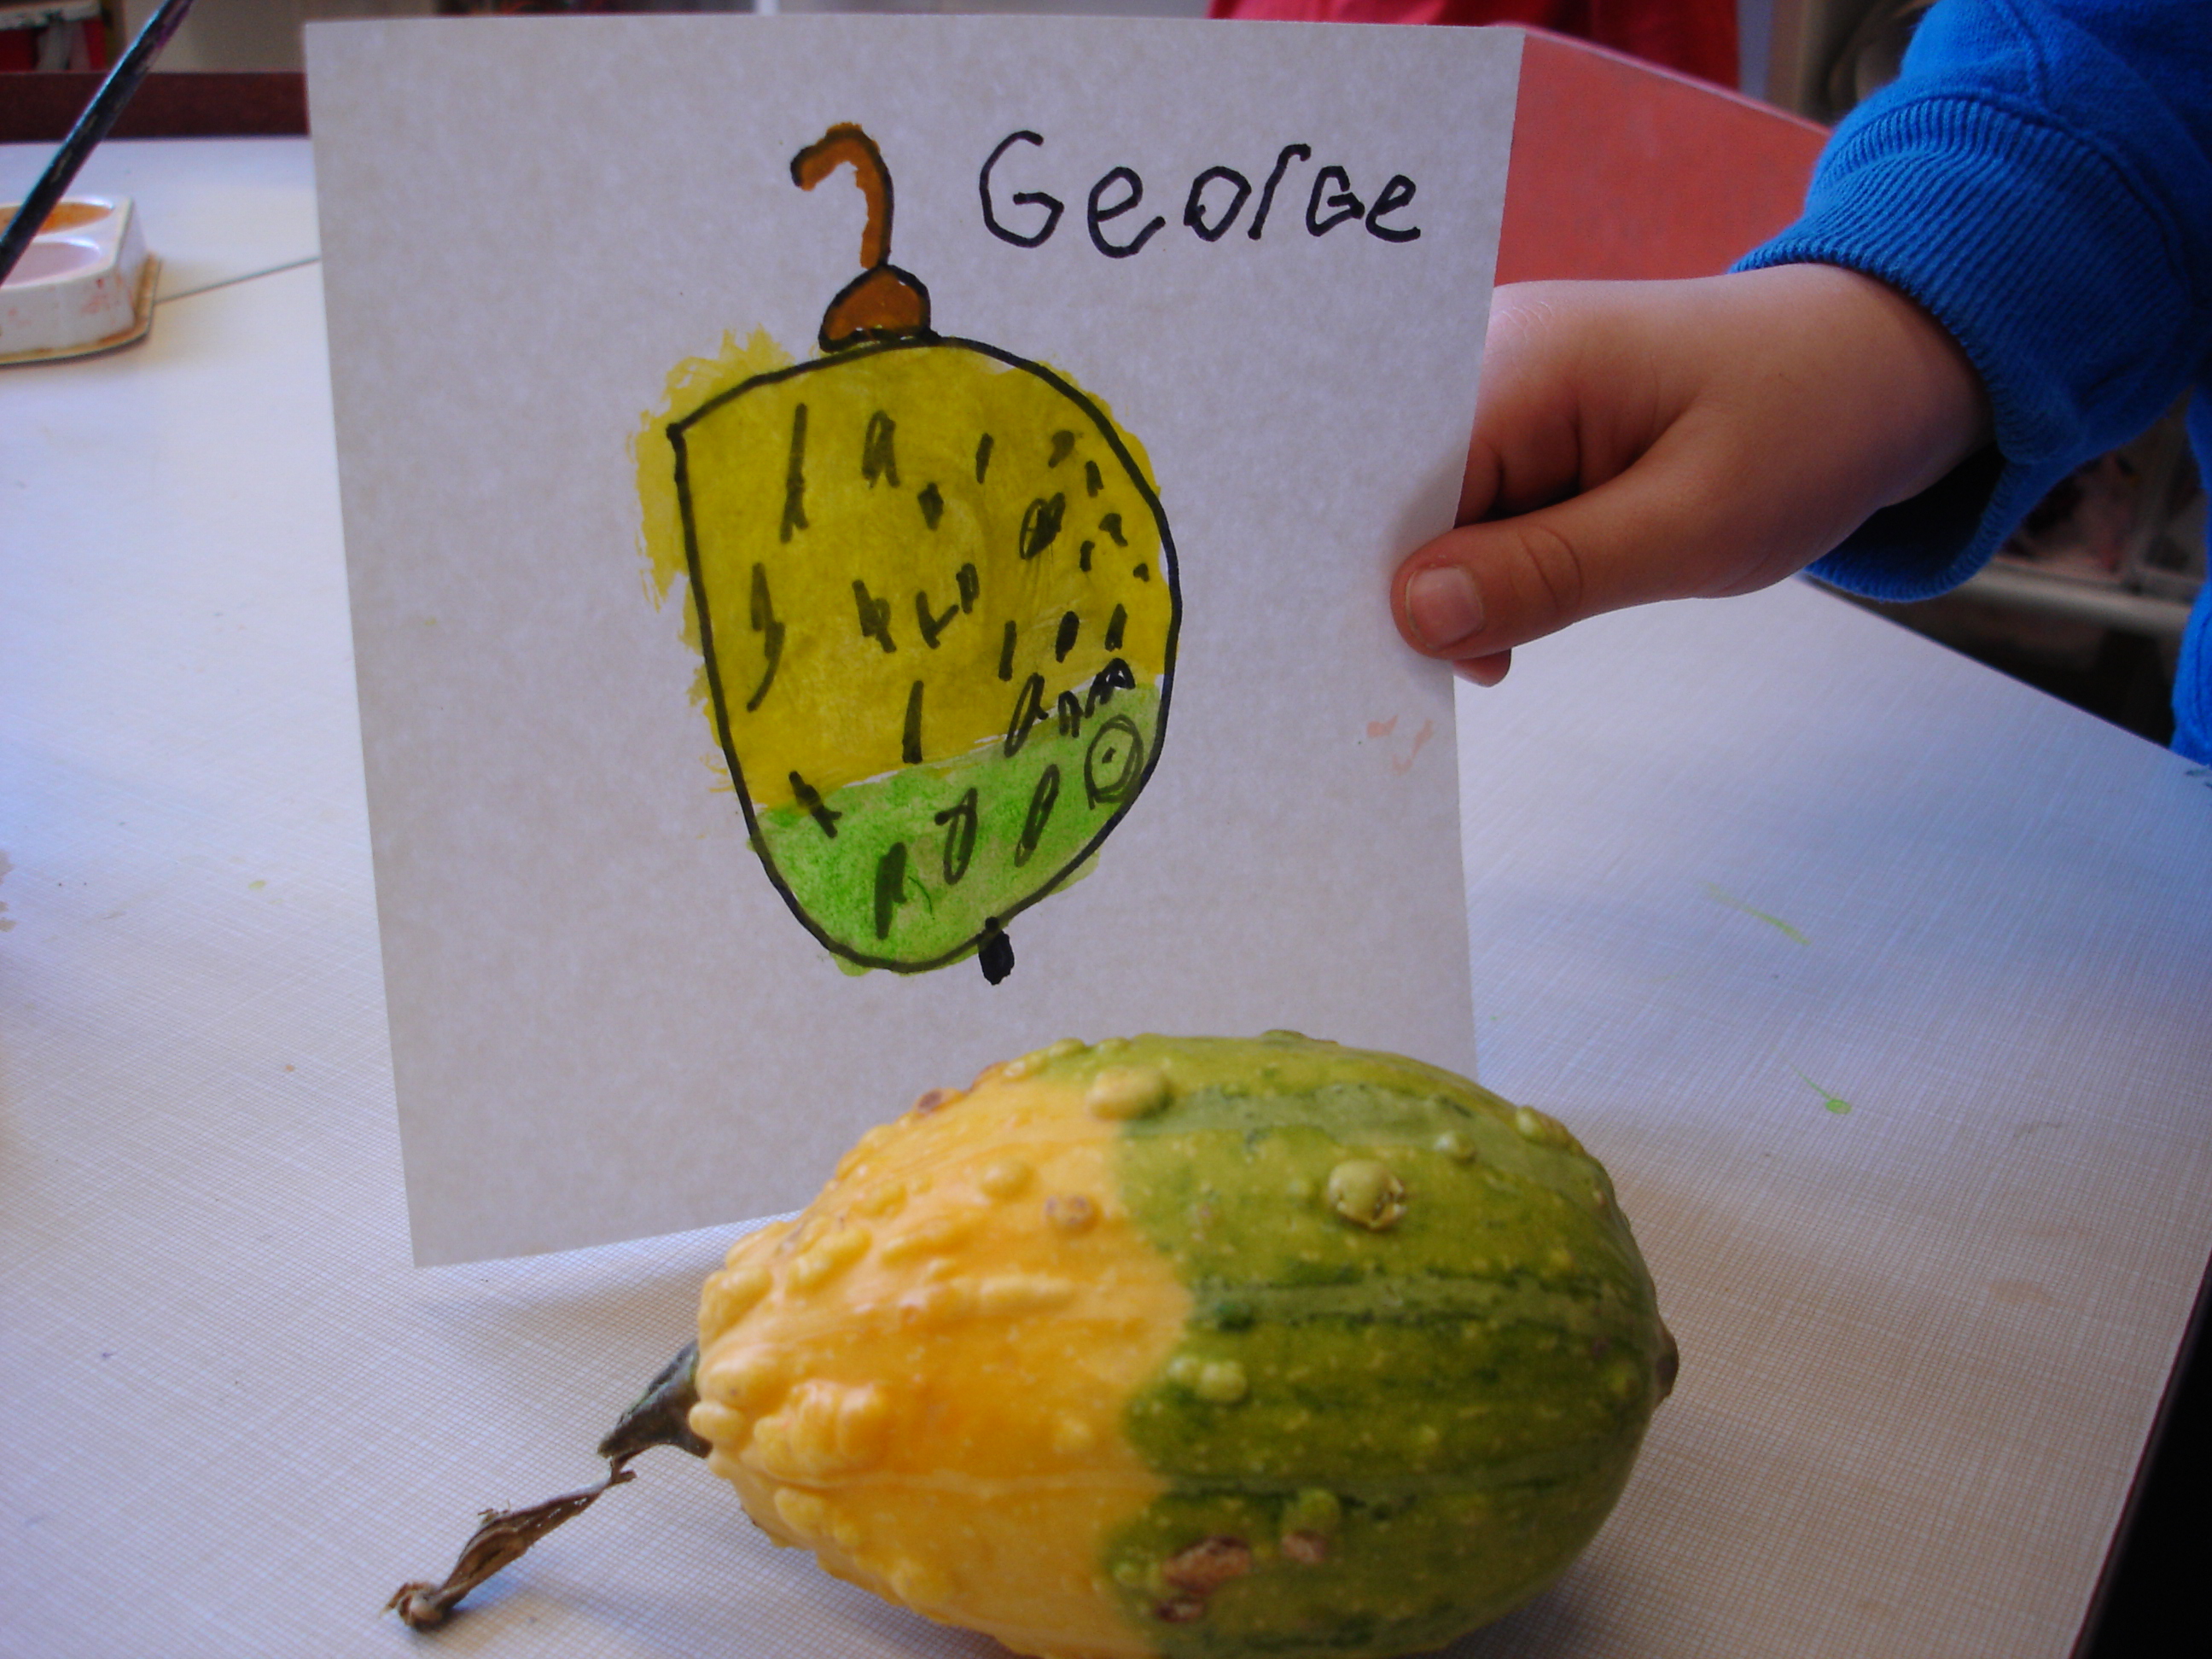
At this centre we placed our colour-sorted leaves, photos from our nature walk, paint chips from the hardware store, and paint for mixing. The children were encouraged to look at the objects on the table and create their own special fall colour. After mixing, the children were asked about their process: What colour did you make? What name might you give your colour? How did you make it? Where might you see this colour outside?

Image  Image

When it came to naming their colour creations, the children were quite inspired by the variety of names we read off the hardware store paint chips – names like “brilliant sun,” and “orange fiesta.” These descriptions helped the children come up with their own unique names such as, “swamp green” (J.M.), “Dark, dark, orange corn” (J.K.), “twirly brown” (W.W.), “dark super purple” (A.F.) and “jewel pink” (A.A). An important part of this project was documenting it. We decided to place the children’s paint samples (which they painted on small canvasses) along with their colour names and descriptions on the wall ‘gallery style’. We included in our documentation all of the artifacts and photographs that gave us inspiration for the project. The children love to look at the work they created. They particularly enjoy seeing the beautiful range of colours their classmates created. We can definitely feel that the idea of colour will be something we will likely revisit throughout the year.

Image

Has your class embarked on a colour inquiry? I’d love to hear about your experiences!

In the Art Studio: Still Life Portraits

Image

This experience is another gem that comes from Ann Pelo, author of The Language of Art: Inquiry Based Studio Practices in Early Childhood Settings.

Here is what Ann has to say about still-life portraits:

“In creating still-life portraits, children form an intimate relationship with their subject. They spend time looking closely, aligning themselves with the subject of their work. Then they translate their understanding of the subject to paper, first sketching with black pen and then adding colour.”

Image

In my classroom, I refer to still-life portrait experiences such as these as “dainty painting.” ‘Dainty’ refers to the fact that the children use fine tipped markers and fine brushes to create their artwork. I have never understood why Kindergarten children are always given large, fat brushes to paint with. Large brushes are incredibly difficult to manipulate with small hands, hold more paint than is often needed, and are not useful for adding small details. In the pictures below, you’ll notice that we use only the smallest of brushes for this activity. If the goal is for the children to notice the finest of details in their subject, we need to give them the proper tools for them to recreate what they see.

Image

Before painting, the teacher spends time with the children looking closely at the gourds. The children are encouraged to talk about what they notice about each gourd’s size, texture, shape, and colour. Interesting markings or designs are also noted. When the children have had time to get acquainted with their subject, they are given fine black markers to sketch what they see. At this point the teacher may offer suggestions on how the children can add more details to their work. Finally, the children use watercolour paints to add colour to their sketches.

Image

J: I got a beautiful gourd. I notice it’s green on the bottom and yellow on top. It is a beautiful gourd. It has lots of bumps on it too.

E: I made lots of bumps because it is bumpy. My gourd is orange and yellow. It looks like a pear. The stem is green – actually, it’s a really dark green.

G: There are lines on the pumpkin so I drew them. The lines help me keep my painting neat.

W: This one is hard because it has two colours. I can’t make it the right colour. When I added more green it turned the yellow green too and I can’t fix it.

Y: It’s a fluffy one. It’s green, yellow, and orange. It has so many bumps. It looks like a melon.

K: The stem is kinda wiggly!

Image

Dainty painting is an art experience that we revisit often throughout the year. Over time, the children become expert at using their senses, describing what they notice, and using their art skills to recreate what they see on the page.

Leaf Man: “A Leaf Man’s got to go where the wind blows…”

Image

If you haven’t had the pleasure of discovering Lois Ehlert, award-winning author and illustrator of over 20 children’s books, then I highly recommend that you take a trip to your local library and check her out! This month I was reading one of my favourite Ehlert books, “Leaf Man.” For weeks the children have been bringing in leaves they have discovered on their way to school and I wanted to find a way to celebrate and encourage their discoveries. “Leaf Man” is a story about a man made of leaves who blows across the sky over several other leaf-composed creatures (birds, farm animals, etc.). After reading this book with my students, I created a provocation of leaves, stones, and sticks and asked the children if they could create their own leaf creature. In addition to composing pictures with found materials, I was also looking for children to express a connection with/understanding of the story we read as well as demonstrate some story telling/imaginative skills when talking about what they had made. Here are a few samples of the students’ work and thinking:

Image

R.K: My leaf man is doing a cartwheel just like I can do on my trampoline at home!

A: This is a portrait of a Leaf Man. It’s about a Leaf Man that flew away, up, up, up, and his leaves fell down on him because he was blown away by a storm.

A.F.: I used rocks for his eyes and nose. His mouth is a smiling leaf. I used sticks for the legs and ripped the leaves to make his hands and feet. My Leaf Man will fly over lots of things!

Image

E.A.: My Leaf Girl only has one leg because no other leaves can stand still. My Leaf Girl is flying over chickens! The wind is blowing her.

J.M: My Leaf Man is lying down and looking at the clouds to see what shapes they are. He saw a special cloud that looked like a house!

Image

Our class quilt of leaf creations:

Image

Beautiful Stuff

Image

Maintaining a variety of supplies at the Art Studio can be a challenge on a limited budget. I often have visitors to my classroom ask me where I get my materials. One simple way to stock your studio is to involve the children and their families in setting it up. This year we stocked our studio by embarking on a “Beautiful Stuff Project” – an idea I read about in Beautiful Stuff: Learning with Found Materials by Cathy Weisman Topal and Lella Gandini. Just like the book suggests, we wrote a letter to the parents with the children. Here is what the children said:

Image

Each student received a large paper bag with a clothespin on top. They were told their stuff must fit in the bag and should be clipped shut to ensure their materials stayed top secret until sharing day.

Along with stocking our Art Studio, I was also interested in creating an authentic opportunity for the children to sort. We have been working on sorting as one of our Math goals. One of the questions we have been asking is: “How does sorting the materials in the classroom help us with our learning?”

On sharing day, we asked each student to talk about one special item from their bag in our sharing circle. And then…we dumped our Beautiful Stuff out on the the carpet. After a few minutes of excited exploration, we got down to the business of figuring out what to do with our collections.

Some children thought we should put our stuff back in our bags and share as needed, but it was decided that it would be too hard to know what we had and besides, the idea was for everyone to put their stuff together. We decided the materials definitely needed to be sorted…but how? By colour? By size? When we thought about how we were going to use our stuff (at the Art Studio to make creations) the children decided it would be best to sort our stuff by type of material. After all, sometimes you might just need a straw or a button and you want to know exactly where to find it! We proceeded by making a list of categories on the SMART Board from the stuff that we could find: buttons, straws, paper, tissue, wooden things, metal things, caps, small boxes, beads, etc. We ended up with over 20 different kinds of materials! Finally, we sorted – adding materials to different containers that we had gathered at the carpet. Our Art Studio is now brimming with materials just waiting to be turned into beautiful creations!

Image

Image

Here is the first creation that came out of our newly stocked Art Studio:

E: “I made a ‘Beautiful Maker’. It’s a machine that makes things beautiful.” 🙂

Image

Books that Inspire Young Authors

Image

Every once in a while I come across a book that is so delightfully magical I simply cannot wait to share it with my students. This week I have not one, but TWO such delightful books, based on similar ideas. The first is Press Here by Herve Tullet and the second is Tap the Magic Tree by Christie Matheson. As read-alouds, both books offer opportunities for student participation and are excellent resources for making predictions. In Press Here, the author commands the reader to tap on a single yellow dot in the middle of the page. When the page is turned…voila! A second yellow dot has appeared! The book continues in this vein, asking the reader to clap, blow, tip the book this way and that, until it ends where it started with one yellow dot. The first time I read this book was before lunch, and as the children lined up in the hall I head them exclaiming “You could write clap five times and draw five dots!” and “Yeah! And you can tap all the yellow dots and then make them blue!” They were writing their very own versions of the story! What an inspiring book for my young authors!

Tap the Magic Tree is essentially the same, except with an additional conceptual focus on the changes that occur across the seasons in one apple tree. This story tied in nicely to our Maple Tree Inquiry and discussions that have already been occurring about the fall changes in our community. Since the children were already thinking of ways to create their own versions of this story we set up a provocation at our classroom writing centre this week. What a busy centre this has been! Along with a copy of the book, our provocation included writing materials, newsprint for book pages, construction paper for a book cover, and a stapler. Several versions of Tap the Magic Tree have since appeared in our classroom and the children have been keen to have their classmates’ versions read to them during sharing time. What a wonderful opportunity this has been to create excitement around reading and writing in our classroom!

Image              Image

Do you have a book to recommend that helped inspire your young authors? I am always looking for the next great read-aloud!

Fostering partnerships between home and school…

One of the things that most inspires me about schools in Reggio Emilia is the connectivity they have to the families and the communities they serve. Something I am striving for this year is a stronger link between home and school. Some of the questions I have been pondering are: How do I make my students and their parents feel welcome in our learning space? How do I develop a learning partnership with my students’ families? How can I tap into the rich knowledge, skills, and experiences each family possesses?

Image

This is a picture of our classroom family wall – a dedicated spot in the room that holds photographs of the children and their families (and pictures of my family and our ECE’s family too!). As the photos have been brought in we have taken time each day during our sharing circle for the children to introduce and talk about their families. We’ve learned about brothers and sisters, moms and dads, grandmas, papas, opas, and bubbis (and even a few family pets!). Throughout our discussions, we’ve encouraged the children to think about what makes their families special. After sharing, I also photocopy each photo and use it for an interactive writing activity with each student which gets posted on our author’s wall. The children have been so excited to take turns sharing their families with us and can often be found gazing at the family photographs on our family wall during centre time.

Image

Another way I am trying to connect with parents this year is by sending out a weekly email which highlights some of the ideas/concepts/discussions that occurred in our class during the week. The email includes photographs which demonstrate the children’s thinking and learning. The hope is that some of the discussions we are having at school will be carried on at home.

Image

What are some ways you celebrate your students’ families and involve parents in your program?

A new year, a new classroom!

Our classroom Art Studio - the hub of our classroom.

Our classroom Art Studio – the hub of our classroom.

Currently stocked with beach related natural materials from my summer adventures. A lot of students have been inspired to share their own summer beach experiences while visiting this centre.

The Science and Nature Centre. Currently stocked with beach related natural materials from my summer adventures. A lot of students have been inspired to share their own summer beach experiences while visiting this centre.

Where our students try their hand at playing teacher. Also a cozy spot to curl up with a book.

The Teacher Centre. Where our students try their hand at playing teacher. Also a cozy spot to curl up with a book.

A magical place to creatively experiment with water.

Buddha Boards! A magical place to creatively experiment with water.

Math Centre

Math materials have been chosen purposely to encourage counting and sorting.

Math materials have been chosen purposely to encourage counting and sorting.

Natural materials appear in the math centre too. The numbered blocks are coasters I found at Winners!

Natural materials appear in the math centre too. The numbered blocks are coasters I found at Winners!

Labeled bins contain building materials for our Math Science Investigations building program.

Math Centre. Labeled bins contain building materials for our Math Science Investigations building program.

An important centre at the beginning of the year. The familiar homey objects here often create a cozy atmosphere in the classroom.

The Drama/House Centre. An important centre at the beginning of the year. The familiar homey objects here help to create a cozy atmosphere in the classroom.

House Centre

We chose to put out familiar sand tools and continue our extension of summer experiences with sand castle molds. All the materials are placed on a mat so children know where to put them when they are finished.

The Sand Centre. We chose to put out familiar sand tools and continue our extension of summer experiences with sand castle molds. All the materials are placed on a mat so children know where to put them when they are finished.

I opted for a large variety of materials here - scoops, cups of various shapes and sizes, squirters and pumps as well as whimsical objects like boats and rubber duckies.

The Water Centre. I opted for a large variety of materials here – scoops, cups of various shapes and sizes, squirters and pumps as well as whimsical objects like boats and rubber duckies.

Playdough Centre

Big Blocks

Small Building Centre

Writing Centre

Meeting Area

Teacher Area

No More Teacher Desk!

*Update: I get a lot of requests for wide-angle shots of my classroom which show what it looks like mid-year (after the children’s learning has taken over!). Here are a few pictures from the middle of the year so you can get a feel for the actual set up and space in our room:

DSC03265 DSC03263 DSC03264